
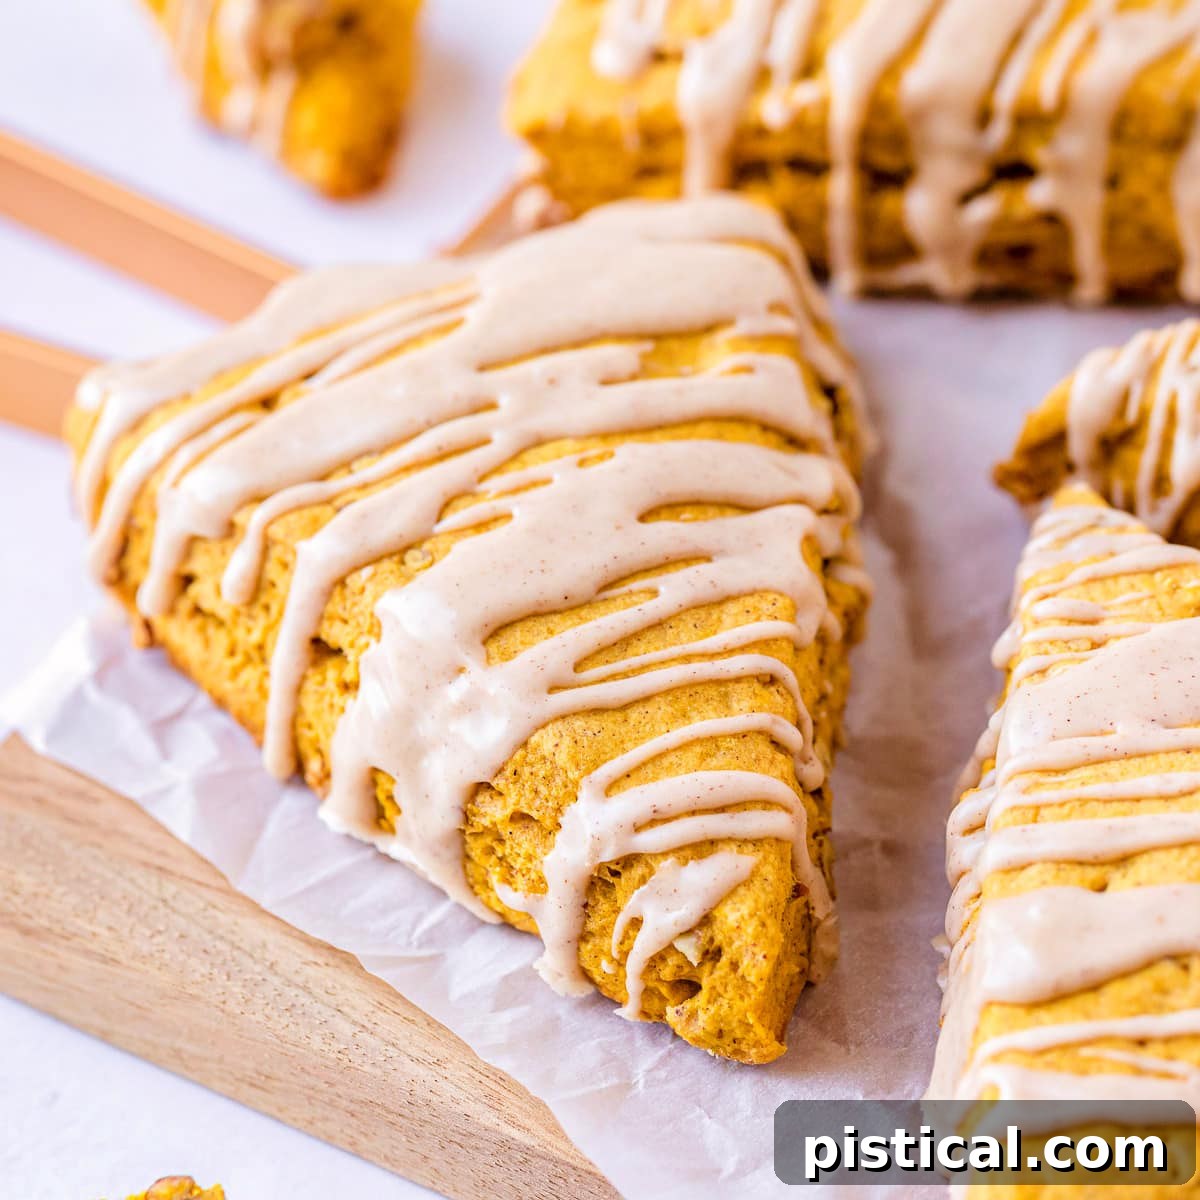
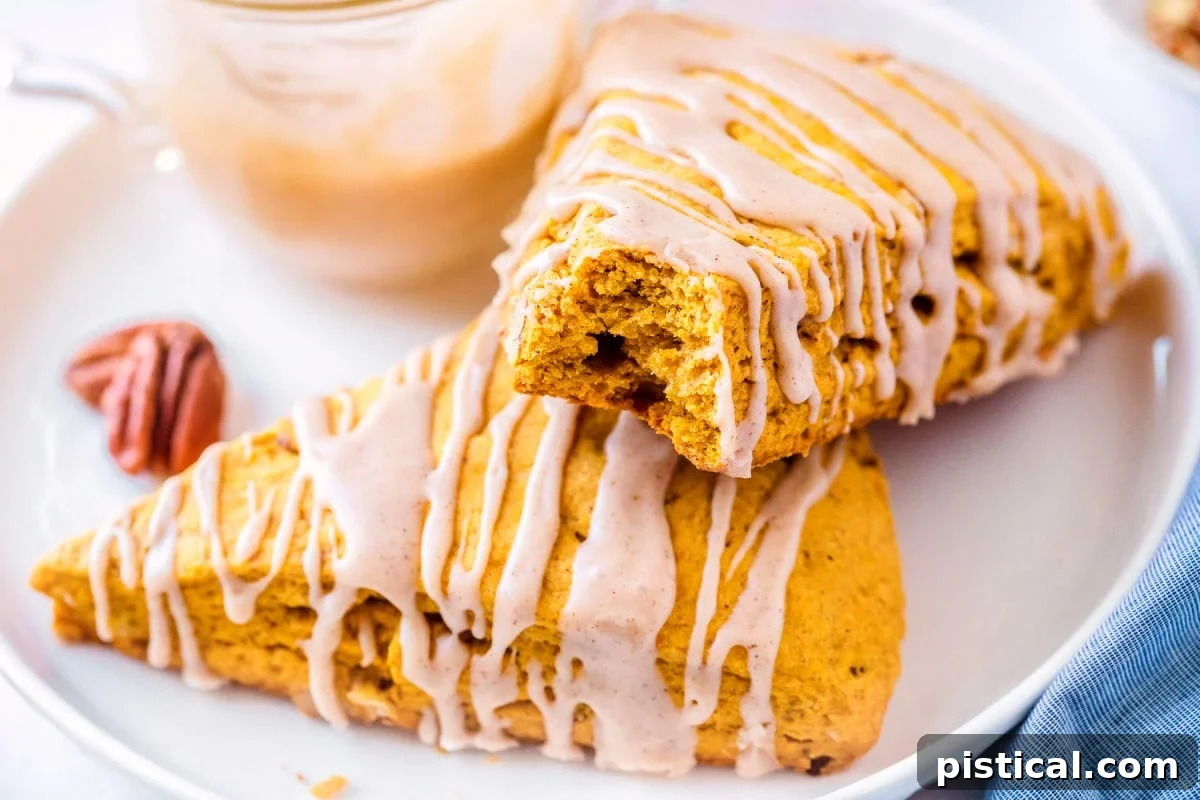
These Pumpkin Scones are more than just a seasonal treat; they’re a heartwarming embrace of autumn, designed to elevate any breakfast or brunch menu, especially as the holidays approach. The star of this easy scone recipe is undoubtedly the luscious maple-cinnamon glaze, which adds an irresistible finish that will have everyone asking for more. If you have a fondness for flaky, buttery scones, you’ll also adore my simple Cranberry Orange Scones and refreshing Lemon Blueberry Scones!
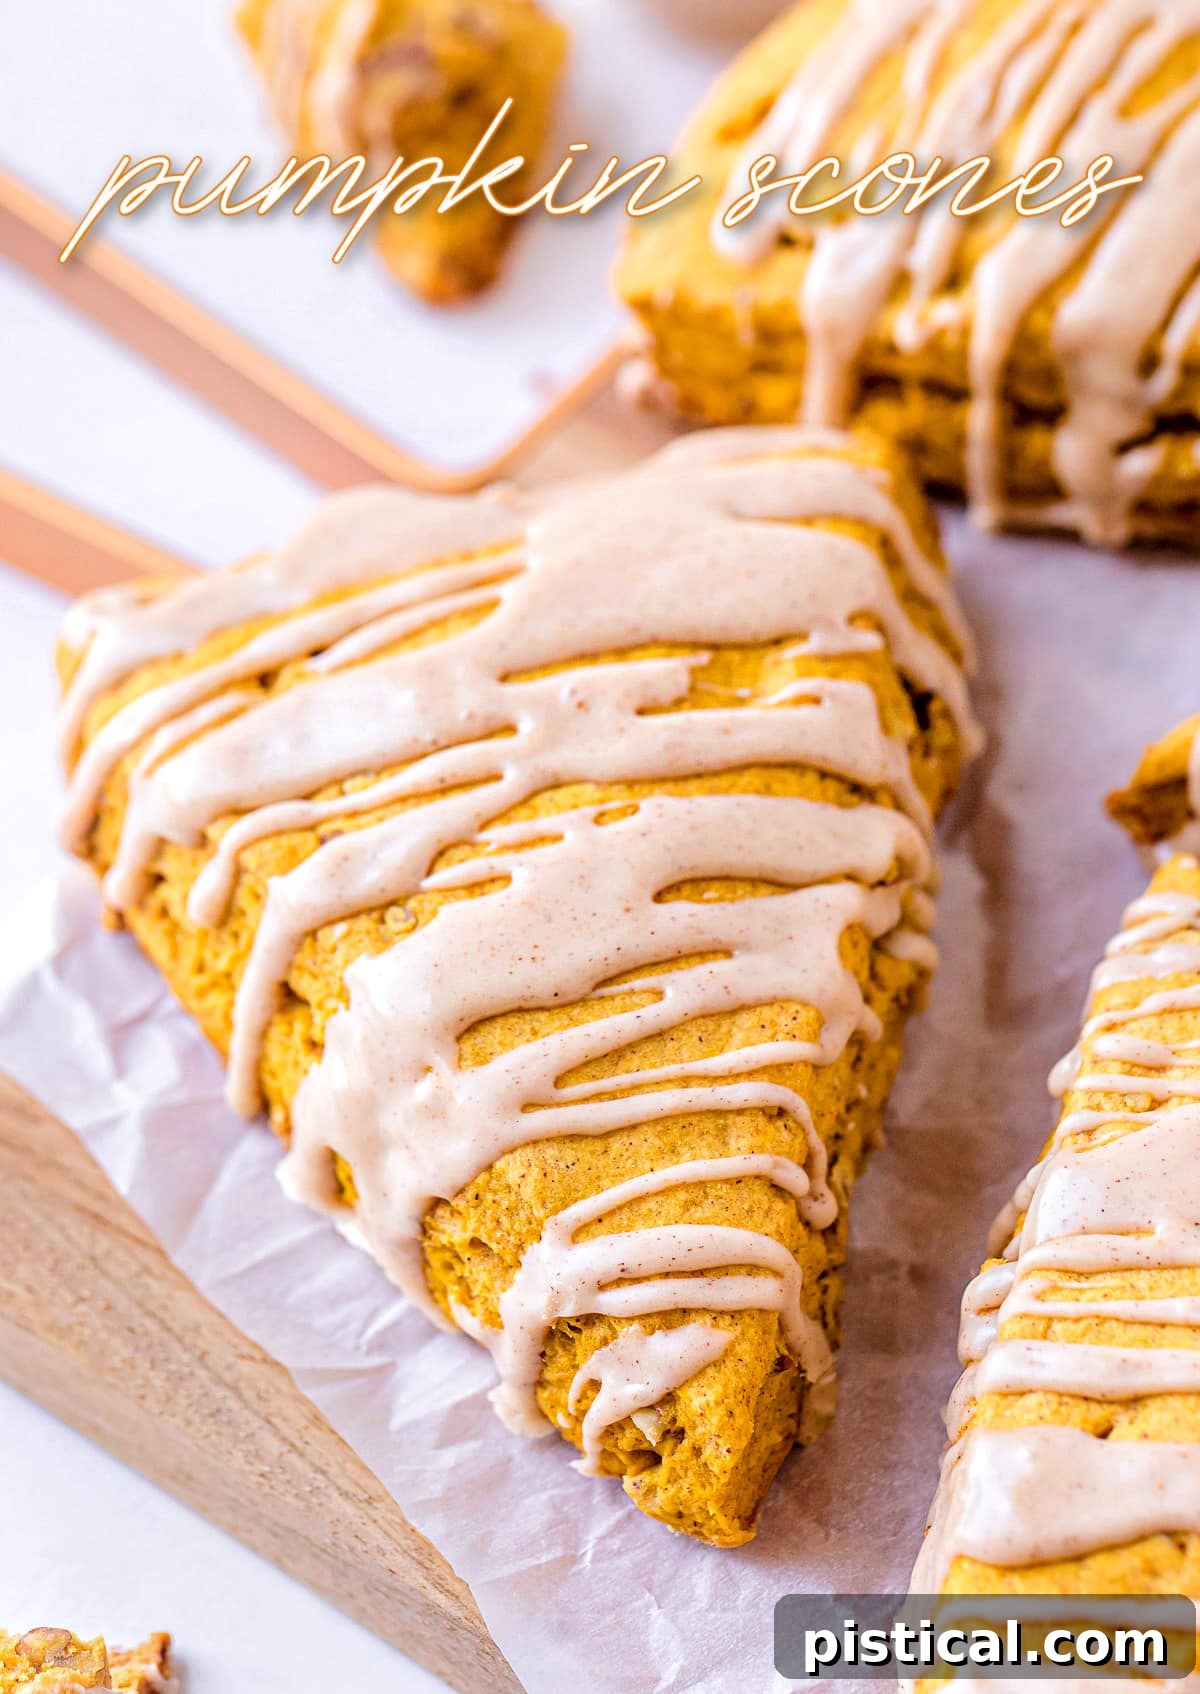
The Ultimate Pumpkin Scone Recipe for Fall and Beyond
Just a few weeks ago, I shared my beloved recipe for Cranberry Orange Scones, and the outpouring of love and positive feedback was truly incredible! Your enthusiasm inspired me to perfect and share this equally delightful pumpkin scone recipe, just in time for peak pumpkin season. Whether you’re planning a cozy breakfast, an elaborate brunch spread, or simply seeking a comforting pumpkin-inspired dessert, I’m confident that these scones will become a cherished favorite in your home, just as they are in ours.
There’s something uniquely magical about pumpkin in baked goods. It lends a beautiful moisture, a subtle earthiness, and a vibrant color that truly captures the spirit of fall. When combined with warm spices and a touch of sweetness, it transforms a simple scone into an extraordinary culinary experience. This recipe is designed to be straightforward, ensuring even novice bakers can achieve perfectly golden, flaky results.
Crafting Perfect Pumpkin Scones: Essential Ingredients
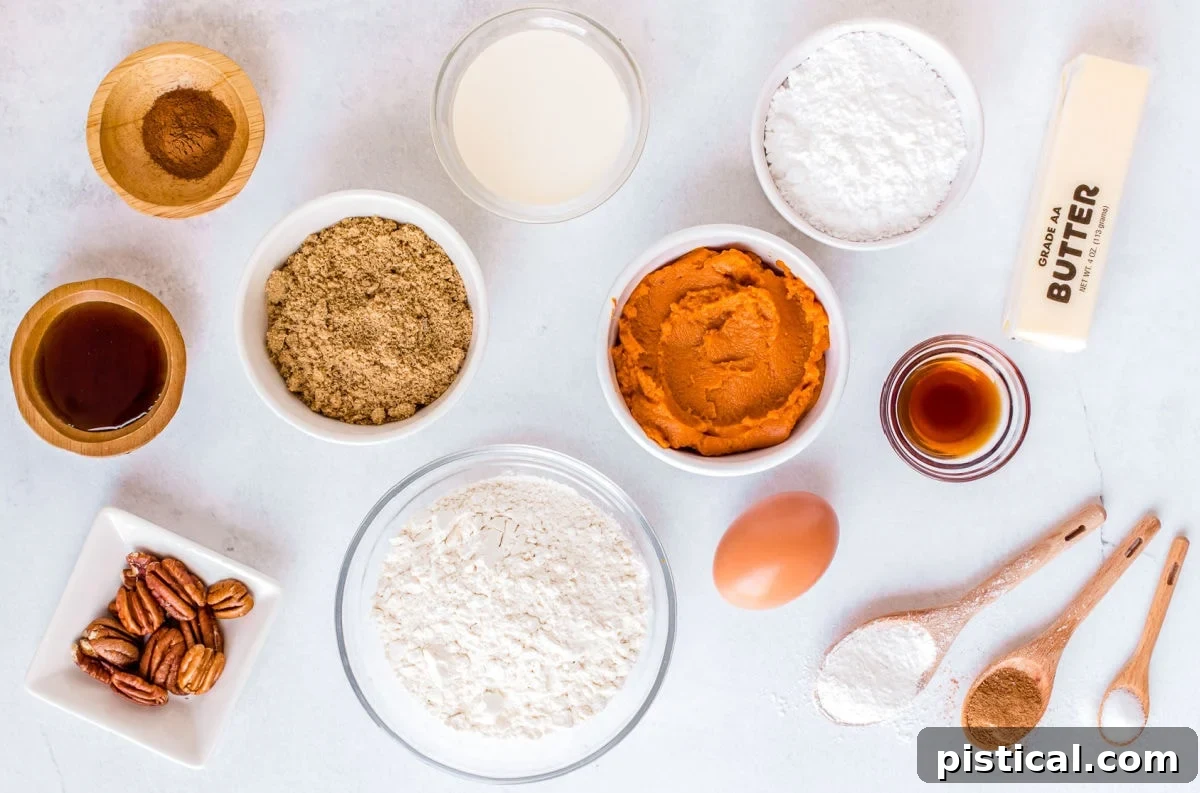
Creating these exquisite pumpkin scones requires a handful of common pantry staples, especially if you’re accustomed to baking during the autumn and winter months. The beauty of this recipe lies in its simplicity and the harmonious blend of flavors. Let’s explore the key components you’ll need to gather:
- All-Purpose Flour: The foundation of our scones, providing structure and texture. Ensure it’s fresh for the best results.
- Baking Powder: Our primary leavening agent, responsible for the scones’ characteristic rise and tender crumb.
- Ground Cinnamon: A classic warm spice that beautifully complements pumpkin. Don’t skimp on this!
- Pumpkin Pie Spice: This blend of cinnamon, nutmeg, ginger, and cloves is crucial for that signature fall flavor. If you don’t have it, you can easily make your own.
- Salt: A pinch of salt enhances all the other flavors, balancing the sweetness and deepening the spice profile.
- Cold Salted Butter: The secret to flaky scones! Cold butter creates pockets of steam in the oven, leading to a light, airy texture. If using unsalted butter, simply add an extra ¼ teaspoon of salt to the dry ingredients.
- Heavy Cream: Provides richness and helps bind the dough. For a slightly lighter option, whole milk can be substituted, though heavy cream yields a more tender scone.
- Light Brown Sugar: Adds a gentle sweetness and a subtle molasses note that pairs wonderfully with pumpkin. Dark brown sugar can be used for a deeper, more robust flavor.
- 100% Pure Pumpkin Puree: This is key! Ensure you’re using pure pumpkin puree, not pumpkin pie filling, which is pre-sweetened and spiced. The latter will alter the flavor and texture of your scones significantly.
- Egg: Acts as a binder and contributes to the scone’s rich texture and golden color.
- Maple Extract: Elevates the maple notes in the glaze, creating a cohesive flavor profile. If unavailable, vanilla extract is an excellent alternative.
- Pecans (Roughly Chopped): Optional but highly recommended for a delightful crunch and nutty flavor. Feel free to substitute with walnuts or omit entirely if nuts aren’t your preference.
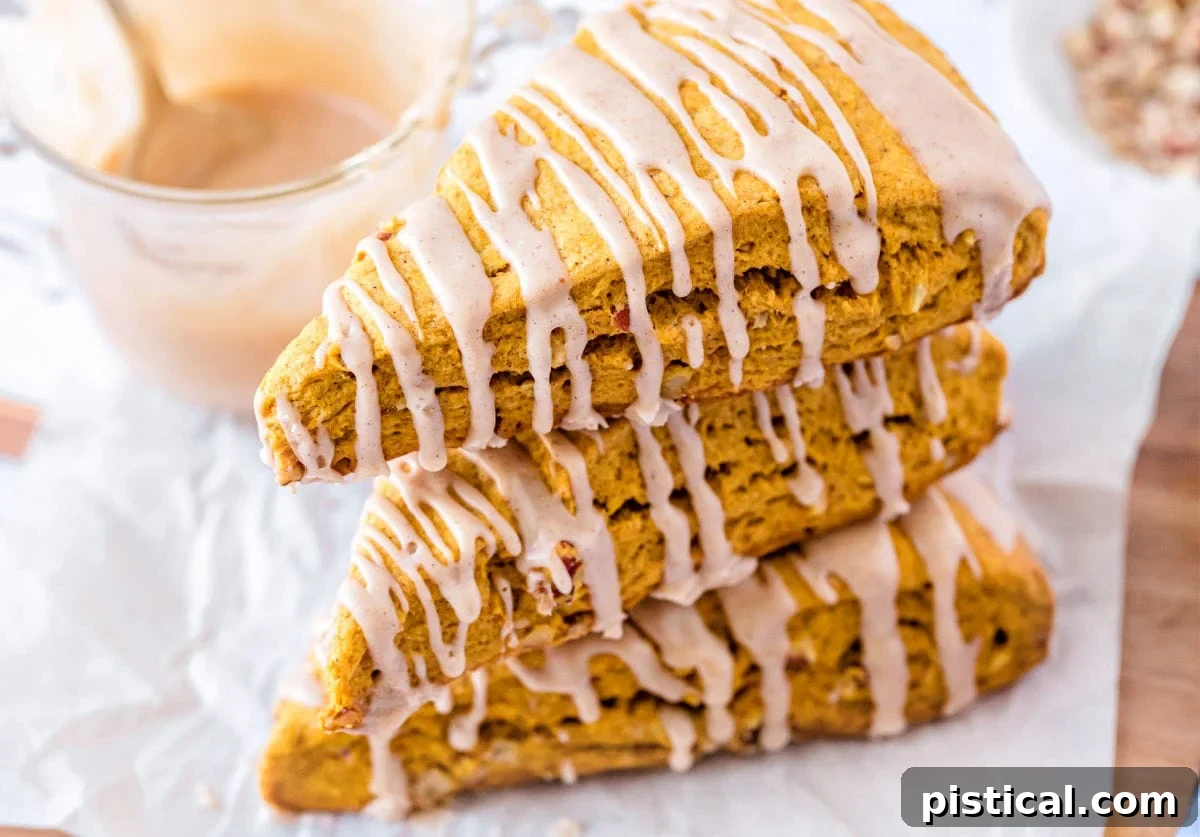
The Irresistible Maple-Cinnamon Glaze: A Sweet Finish
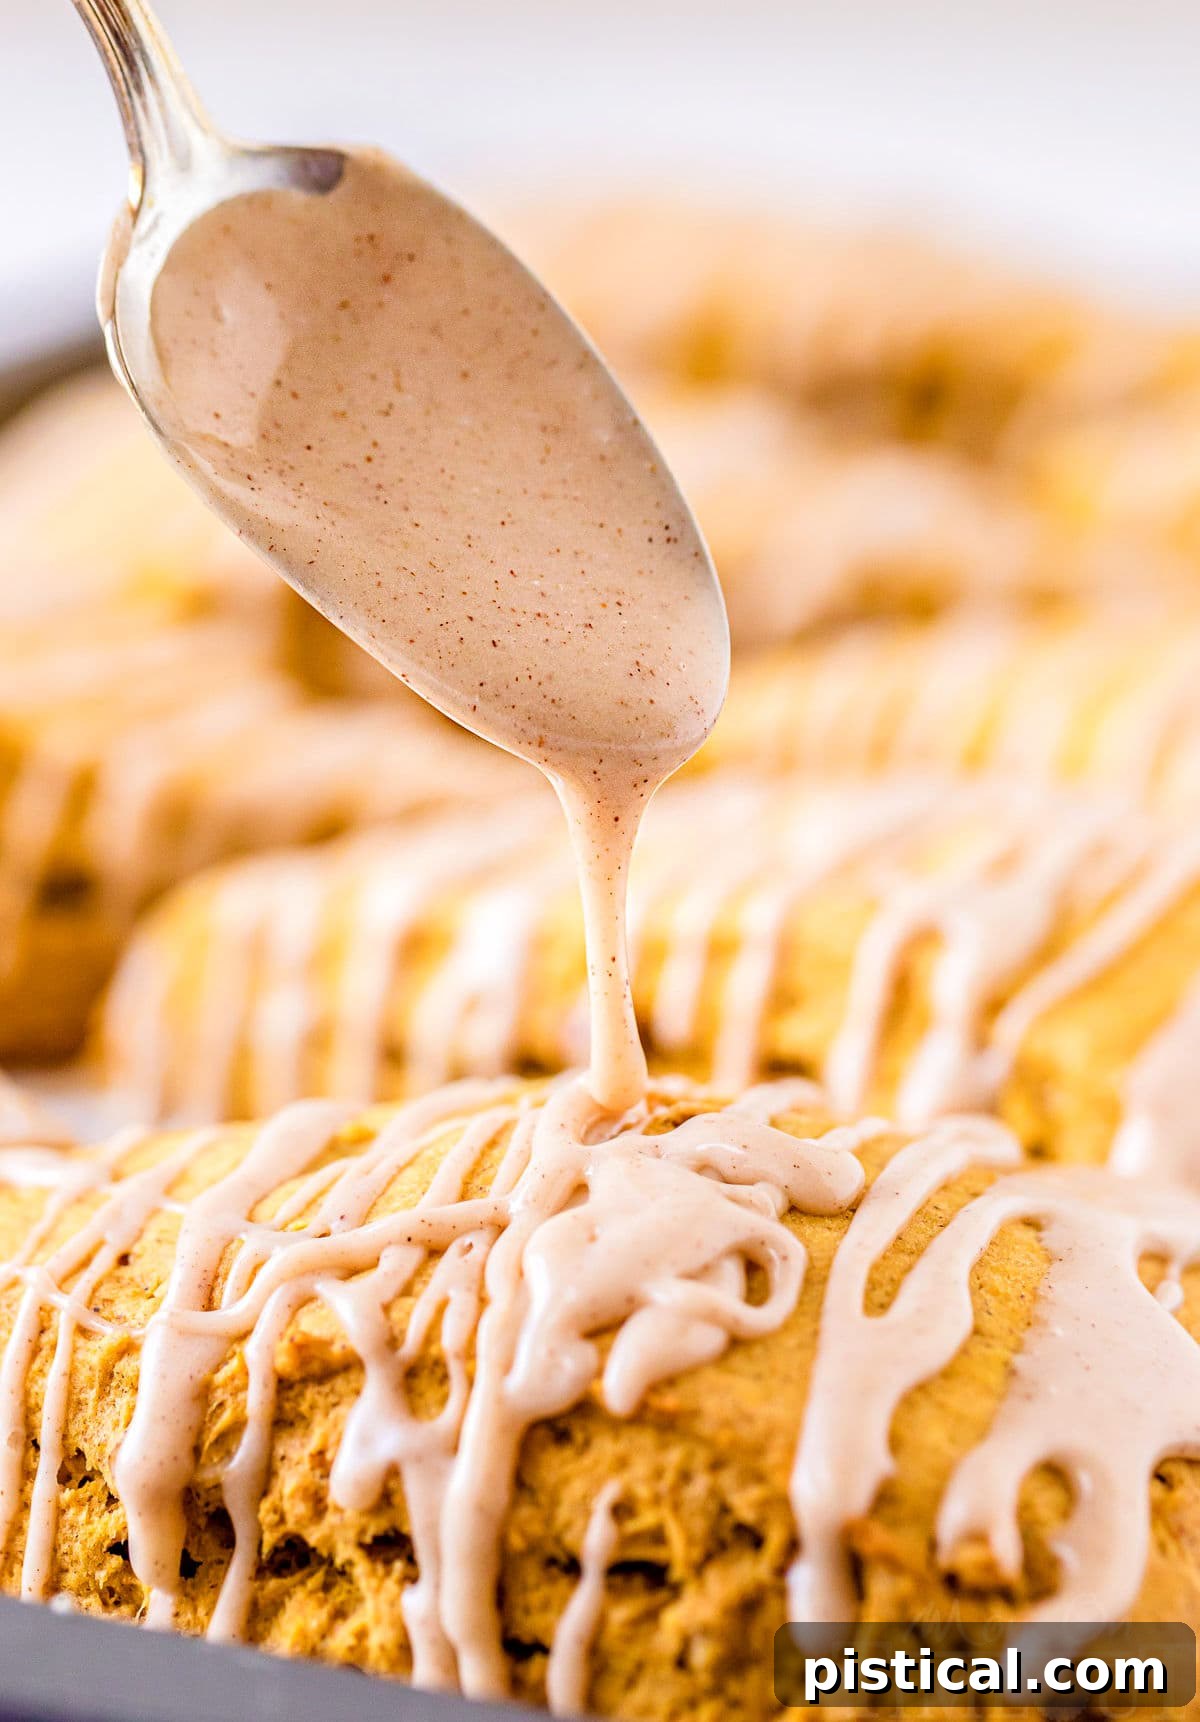
While these easy Pumpkin Scones are undeniably delicious on their own, the optional maple-cinnamon glaze truly takes them to the next level. This simple addition introduces a layer of sweetness and a burst of complementary flavor that transforms a great scone into an unforgettable one. The marriage of rich maple and warm cinnamon, derived from the pumpkin pie spice in both the scones and the glaze, is an incredible combination that perfects these autumnal delights.
What You’ll Need for the Glaze:
- Powdered Sugar: Forms the base of our smooth, pourable glaze.
- Real Maple Syrup: Essential for that authentic, rich maple flavor.
- Heavy Cream: Provides the perfect consistency and adds to the glaze’s lusciousness.
- Maple Extract: Intensifies the maple flavor, making it truly shine.
- Pumpkin Pie Spice: A touch of this spice in the glaze ties all the flavors together, echoing the scone’s profile.
Crafting the Glaze:
- In a small bowl, whisk together all the glaze ingredients until you achieve a smooth, uniform consistency.
- Adjust the thickness as needed: If the glaze is too thin, gradually add more powdered sugar, one tablespoon at a time, until it thickens to your desired consistency. If it’s too thick, add heavy cream, one teaspoon at a time, until it reaches a pourable, drizzle-friendly state.
Step-by-Step Guide: How to Make Flaky Pumpkin Scones
Creating homemade pumpkin scones might seem daunting, but with these clear and detailed steps, you’ll achieve bakery-quality results in your own kitchen. Precision and careful handling of the dough are key to that coveted flaky texture.
- Prepare Your Baking Station: Begin by preheating your oven to 400°F (200°C). Line a large baking sheet with parchment paper or a silicone baking mat. This prevents sticking and ensures even baking.
- Combine Dry Ingredients: In a spacious mixing bowl, vigorously whisk together your all-purpose flour, baking powder, ground cinnamon, pumpkin pie spice, and salt. This step ensures all the leavening agents and spices are evenly distributed throughout the dough.
- Incorporate Cold Butter: Add the cubed, cold salted butter to the dry ingredients. Using a pastry cutter, two forks, or even your fingertips (working quickly to keep the butter cold), cut the butter into the flour mixture until it resembles coarse crumbs, with some pea-sized pieces of butter remaining. This is crucial for creating those flaky layers. Stir in the chopped pecans at this stage if you’re using them.
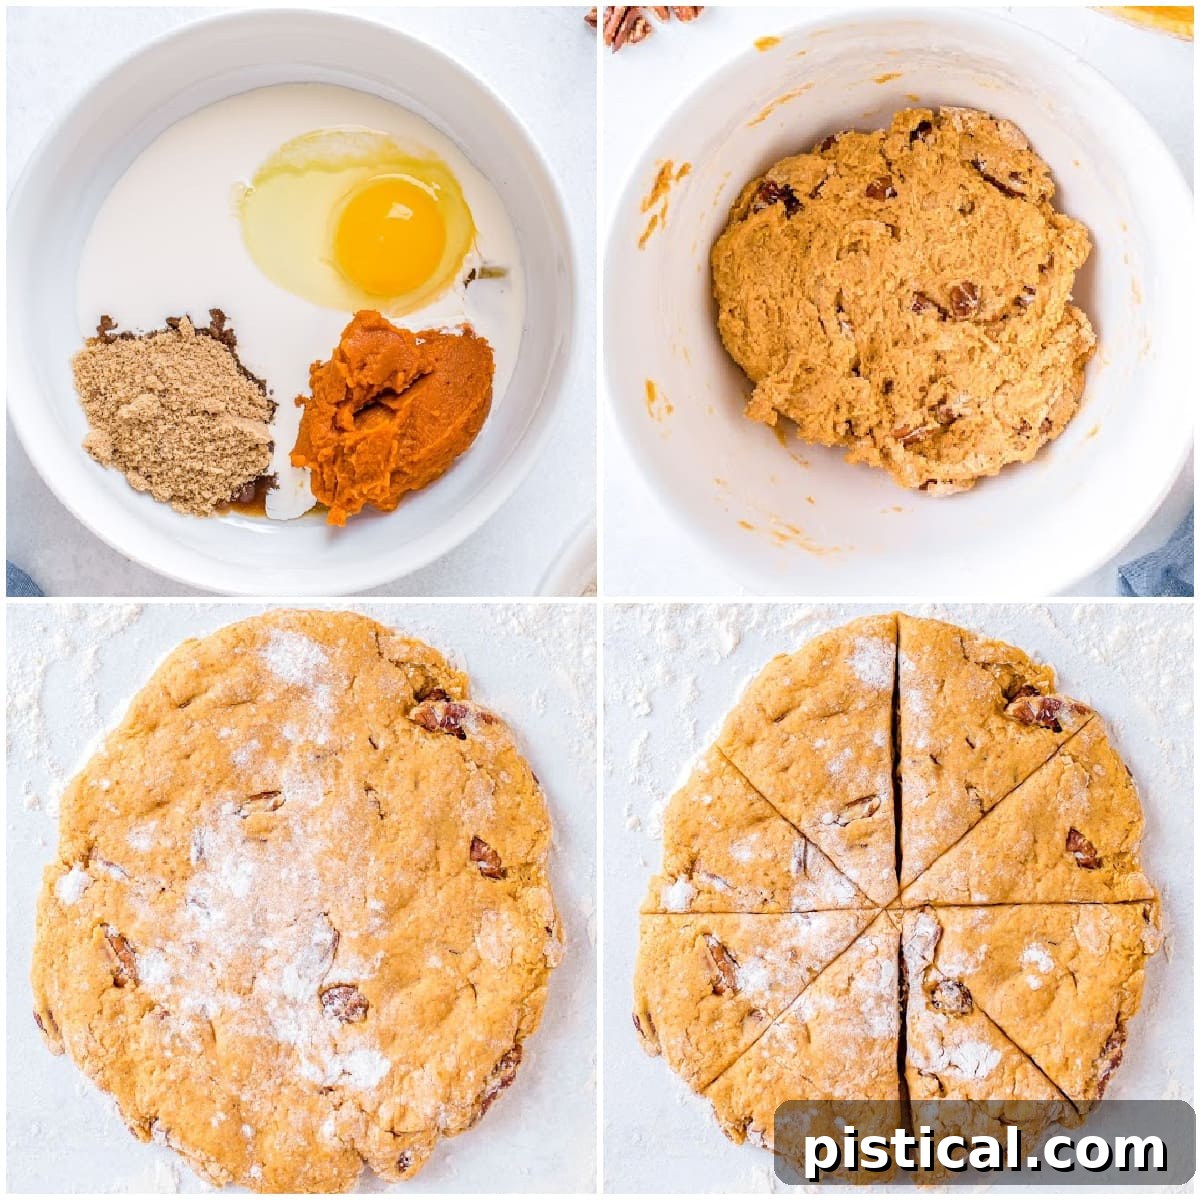
- Prepare Wet Ingredients: In a separate, medium-sized mixing bowl, whisk together the heavy cream, light brown sugar, pure pumpkin puree, egg, and maple (or vanilla) extract until well combined and smooth.
- Gently Combine Wet and Dry: Slowly pour the wet ingredients over the dry ingredients. Mix gently with a spatula or wooden spoon until everything is just moistened and barely combined. The dough should come together but should not be overly wet or sticky. Be careful not to overmix; overworking the dough develops gluten, leading to tough scones. You might not need all of the wet ingredients, depending on your flour and humidity, so add cautiously.
- Shape the Dough: Lightly flour a clean work surface. Transfer the scone dough onto this surface. Gently pat and shape the dough into a uniform 9-inch circle. Aim for an even thickness, approximately 1 inch, to ensure the scones bake consistently.
- Cut into Wedges: Using a sharp knife or a bench scraper, cut the circular dough into eight equally sized wedges. This traditional scone shape is both appealing and practical.
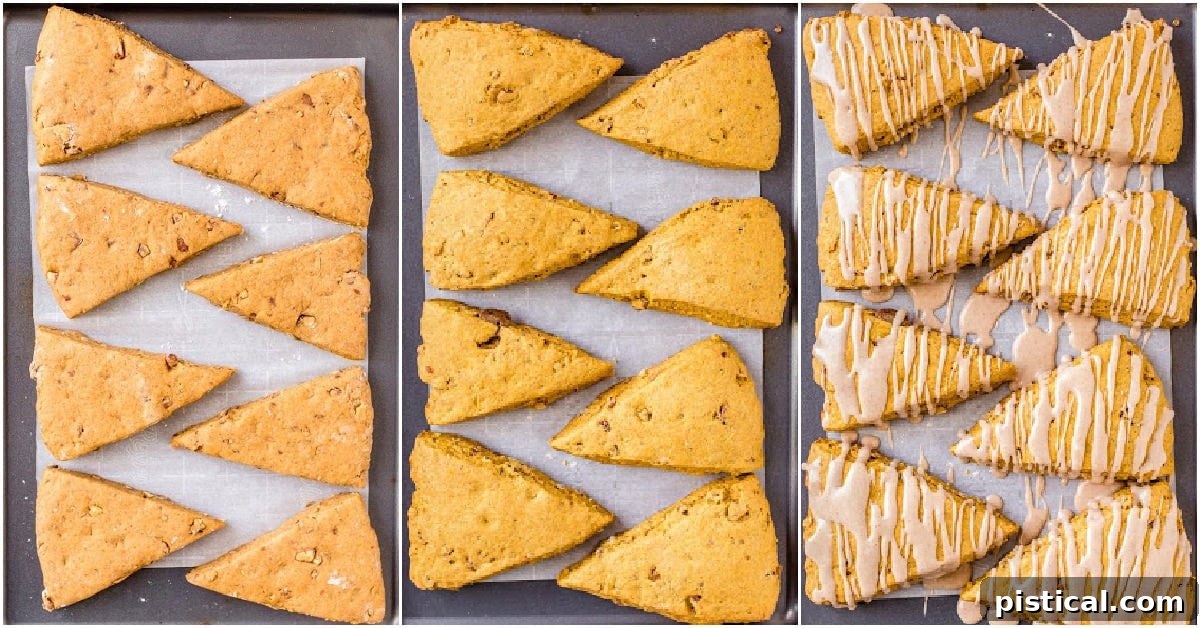
- Arrange and Bake: Carefully transfer the dough wedges to your prepared baking sheet, spacing them about 2 inches apart to allow for proper airflow and even baking. Bake for 20-25 minutes, or until the scones are beautifully golden brown and a wooden skewer inserted into the center comes out clean.
- Cool Before Glazing: Remove the baked scones from the oven and let them cool on the baking sheet for a few minutes before transferring them to a wire rack to cool completely. Glazing them while hot will cause the glaze to melt and run off.
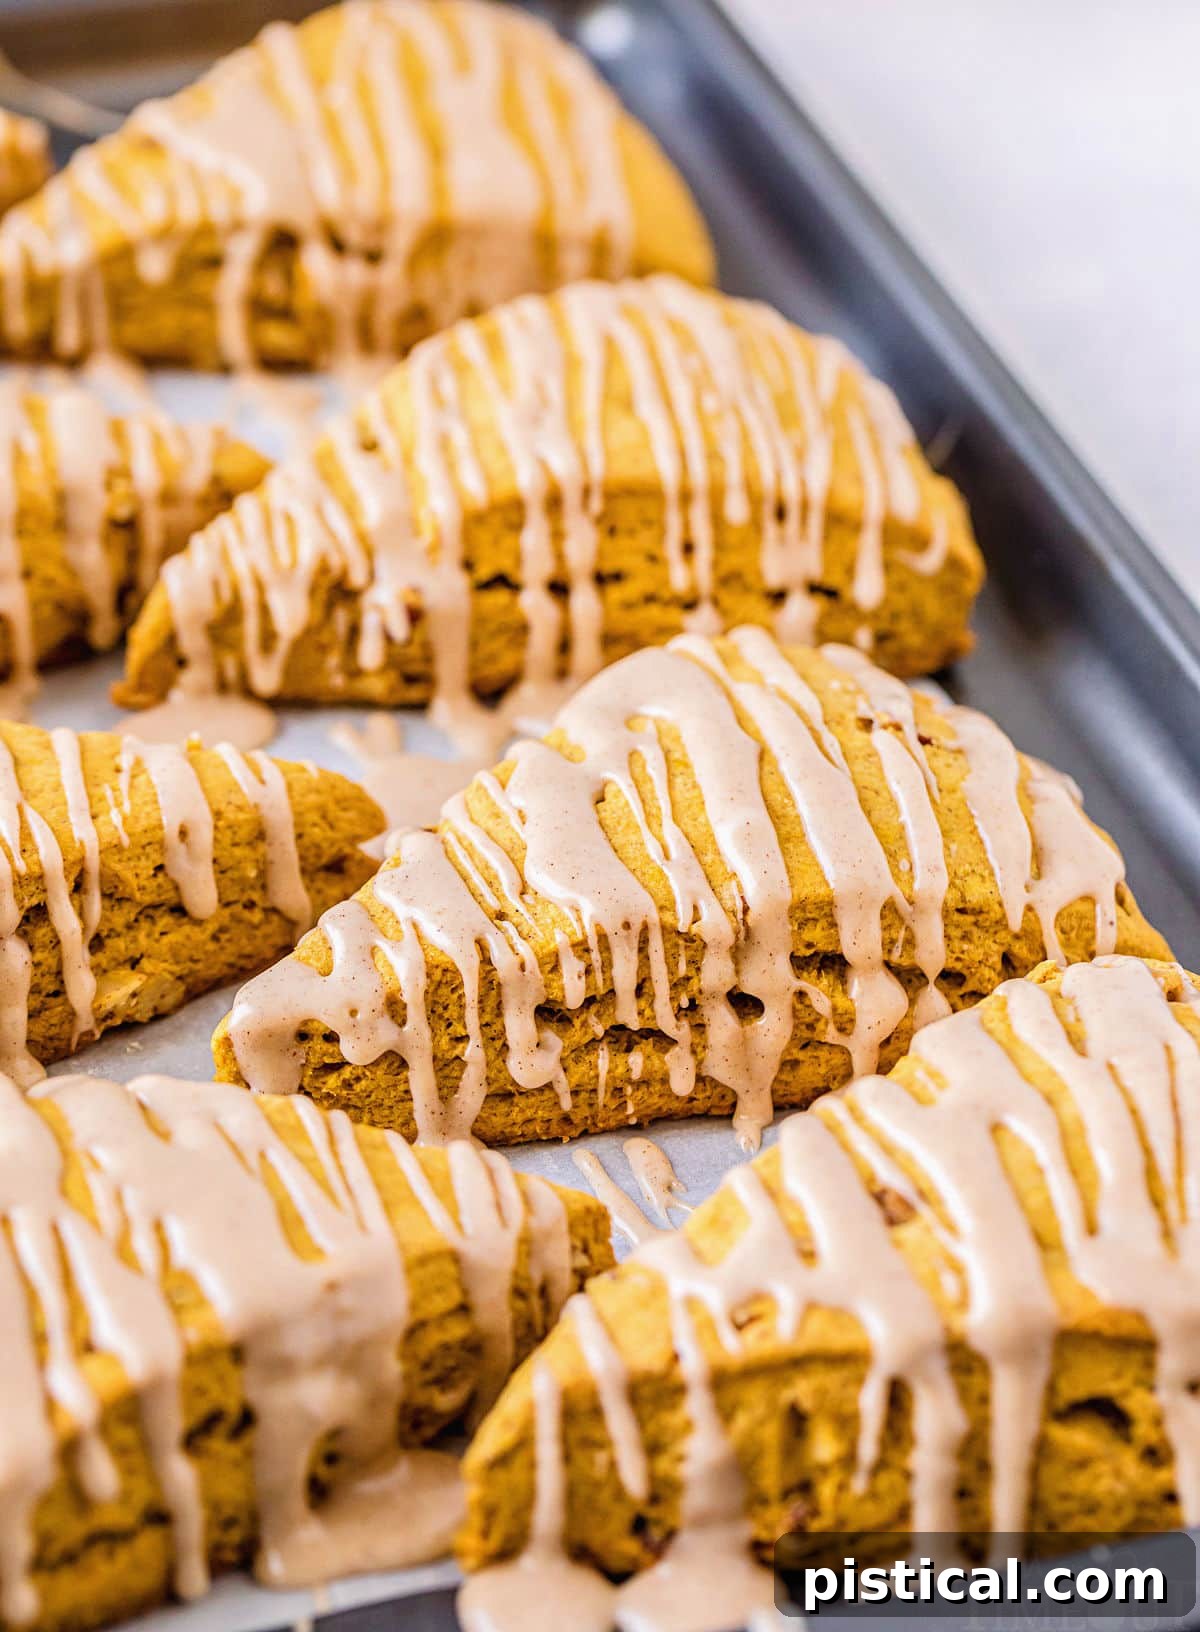
- Drizzle and Serve: Once the scones have cooled to room temperature, stir your prepared maple-cinnamon glaze one last time. Drizzle generously over each scone just before serving.
Expert Tips for Exceptionally Flaky Pumpkin Scones
Achieving the perfect scone involves a few key techniques. Follow these expert tips to ensure your pumpkin scones are tender, flaky, and absolutely delicious every time:
- Keep Ingredients Cold: This is arguably the most important tip. Using very cold butter, heavy cream, and even eggs helps prevent the butter from melting before it hits the hot oven. When cold butter melts in the oven, it releases steam, creating those wonderful, flaky layers that define a great scone. You can even cube your butter and then freeze it for 10-15 minutes before mixing.
- Don’t Overwork the Dough: Mix the wet and dry ingredients just until they come together. Overmixing develops the gluten in the flour, which will result in tough, dense scones rather than light and flaky ones. A slightly shaggy dough is perfectly acceptable.
- The Butter-Cutting Method: If you don’t have a pastry cutter, you can use a food processor. Simply pulse the dry ingredients a few times, then add the cubed cold butter and pulse until coarse crumbs form. Be careful not to over-process. Alternatively, two butter knives or a sturdy fork can also do the trick.
- Adjust Glaze Consistency: The maple glaze is easy to customize. If it appears too thick for drizzling, add more heavy cream (half a teaspoon at a time) until it reaches a pourable consistency. If it’s too runny, gradually whisk in more powdered sugar (one tablespoon at a time) until it thickens.
- Even Thickness is Key: When shaping your dough into a circle, strive for an even thickness. This ensures all the scone wedges bake at the same rate, preventing some from being undercooked and others overcooked.
- Avoid Twisting the Cutter (if using a round cutter): If you opt for round scones instead of wedges, press the cutter straight down and lift it straight up. Twisting the cutter seals the edges of the dough, which can prevent the scones from rising properly and creating beautiful layers.
Frequently Asked Questions About Pumpkin Scones
Here are answers to some common questions you might have when baking and enjoying your pumpkin scones:
Can I freeze these scones?
Absolutely! Scones freeze beautifully. Once they have cooled completely after baking, transfer them to a freezer-safe zip-top bag or an airtight container. They can be stored in the freezer for up to 2-3 months. To reheat, you can microwave them for about 20-30 seconds on medium heat until warmed through, or thaw them at room temperature for a couple of hours. For a crisper exterior, reheat thawed scones in a preheated oven at 300°F (150°C) for about 5-10 minutes.
Can scones be made in advance?
Yes, this pumpkin scone recipe is fantastic for making ahead. After baking, the scones remain fresh and delicious at room temperature for about 2-3 days when stored properly. You can also bake them a day or two before serving and then glaze them right before your guests arrive for maximum freshness and appeal. For longer storage, freezing (as detailed above) is your best option.
How do I store scones?
To keep your baked pumpkin scones fresh, store them at room temperature for up to 2-3 days. Place them in an airtight container or cover them loosely with plastic wrap to prevent them from drying out. For slightly longer storage, you can keep them in an airtight container in the refrigerator for up to a week. Always allow refrigerated scones to come to room temperature or gently warm them before serving for the best texture and flavor.
Is it better to use cold ingredients for scones?
Without a doubt, yes! Using cold ingredients, particularly cold butter and heavy cream, is a cornerstone technique for achieving light, flaky scones. The cold butter melts slowly in the hot oven, creating steam pockets that puff up and separate the layers of dough, resulting in a wonderfully tender and flaky interior – much like a perfect pie crust. Cold ingredients also prevent the dough from becoming sticky and hard to handle.
Explore More Delightful Pumpkin Recipes
If you’re as enamored with pumpkin as we are, you’ll love these other fantastic recipes that celebrate the versatile autumn squash:
- Pumpkin Dinner Rolls: Soft, savory rolls perfect for any holiday meal.
- Pumpkin Lasagna: An easy, no-bake dessert layered with creamy pumpkin goodness.
- Perfect Pumpkin Pancakes: Start your morning with a stack of fluffy, spiced pancakes.
- Pumpkin Chocolate Chip Cookies: A classic cookie with a delightful fall twist.
- Sweet Pumpkin Empanadas: Flaky pastries filled with a sweet pumpkin mixture.
- Pumpkin Donuts: Baked, not fried, and topped with a luscious maple glaze.

Print Recipe |
Pin Recipe
Pumpkin Scones
These Pumpkin Scones are a delightful addition to any breakfast or brunch menu – especially during the holidays! The maple-cinnamon glaze adds an irresistible finish to this easy scone recipe!
Course: Bread, Breakfast
Cuisine: American
Keyword: pumpkin scone recipe, pumpkin scones
Prep Time: 5 hours 20 minutes
Cook Time: 20 minutes
Servings: 8 scones
Author: Trish – Mom On Timeout
Ingredients
For the Scones:
- 2 cups all-purpose flour, plus more for dusting
- 1 tablespoon baking powder
- 2 teaspoons ground cinnamon
- 1 teaspoon pumpkin pie spice
- ½ teaspoon fine sea salt
- ½ cup cold salted butter, cut into 1” cubes
- ½ cup chopped pecans (optional)
- ½ cup heavy cream
- ½ cup light brown sugar, lightly packed
- ½ cup pumpkin puree (100% pure pumpkin, not pumpkin pie filling)
- 1 large egg
- 1 teaspoon vanilla extract (or maple extract)
For the Maple Glaze:
- 1 cup powdered sugar
- 2 tablespoons real maple syrup
- 2 tablespoons heavy cream
- ½ teaspoon maple extract
- ½ teaspoon pumpkin pie spice
Instructions
- Preheat oven to 400°F (200°C) and line a baking sheet with parchment paper.
- In a large mixing bowl, whisk together the flour, baking powder, cinnamon, pumpkin pie spice, and fine sea salt.
- Add the cubed cold butter. Cut the butter into the flour with a pastry cutter or fork until coarse crumbs form. Stir in the chopped pecans (if using).
- In a separate medium mixing bowl, whisk together the heavy cream, light brown sugar, pumpkin puree, egg, and vanilla extract (or maple extract).
- Slowly pour the wet ingredients over the dry ingredients, mixing just until everything is moist and combined. The dough should not be overly wet. You may not need to use all of the wet ingredients.
- Lightly flour a work surface. Transfer the dough to the floured surface.
- Shape the dough into a 9-inch circle, ensuring it’s about 1 inch thick for even baking.
- Use a knife to cut the dough into eight even-sized wedges.
- Transfer the dough wedges to the prepared baking sheet, placing them about 2 inches apart.
- Bake for 20-25 minutes, or until the scones are golden and a tester inserted into the center comes out clean.
- Remove the scones from the oven and set them aside on a wire rack to cool completely.
- While the scones cool, prepare the glaze: whisk all glaze ingredients together in a small bowl until smooth.
- Drizzle the cooled scones generously with the maple glaze before serving.
Notes
Storage Information: Scones can be stored at room temperature, covered loosely, for 2-3 days, or in an airtight container in the fridge for up to a week. They can also be frozen for up to 2-3 months.
Nutrition Information (per serving)
- Calories: 468 kcal
- Carbohydrates: 60 g
- Protein: 5 g
- Fat: 24 g
- Saturated Fat: 12 g
- Cholesterol: 76 mg
- Sodium: 269 mg
- Potassium: 293 mg
- Fiber: 2 g
- Sugar: 32 g
- Vitamin A: 3041 IU
- Vitamin C: 1 mg
- Calcium: 121 mg
- Iron: 2 mg