Craft Your Own Enchanting Pom Pom Snowman Ornament: A DIY Guide for Festive Decor
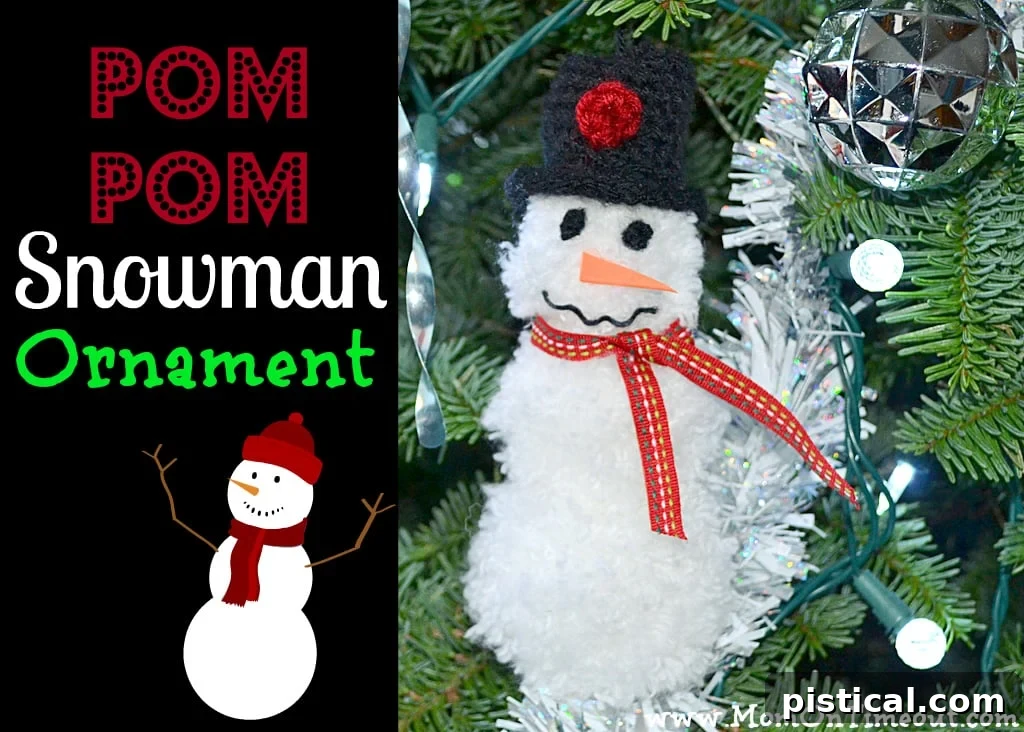
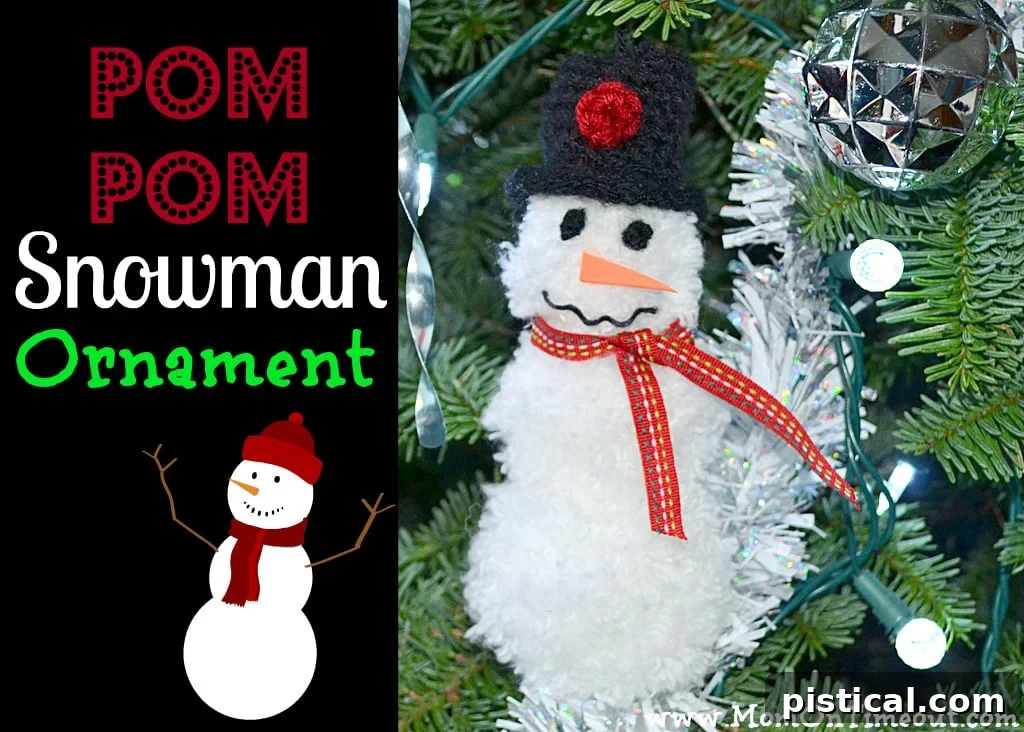
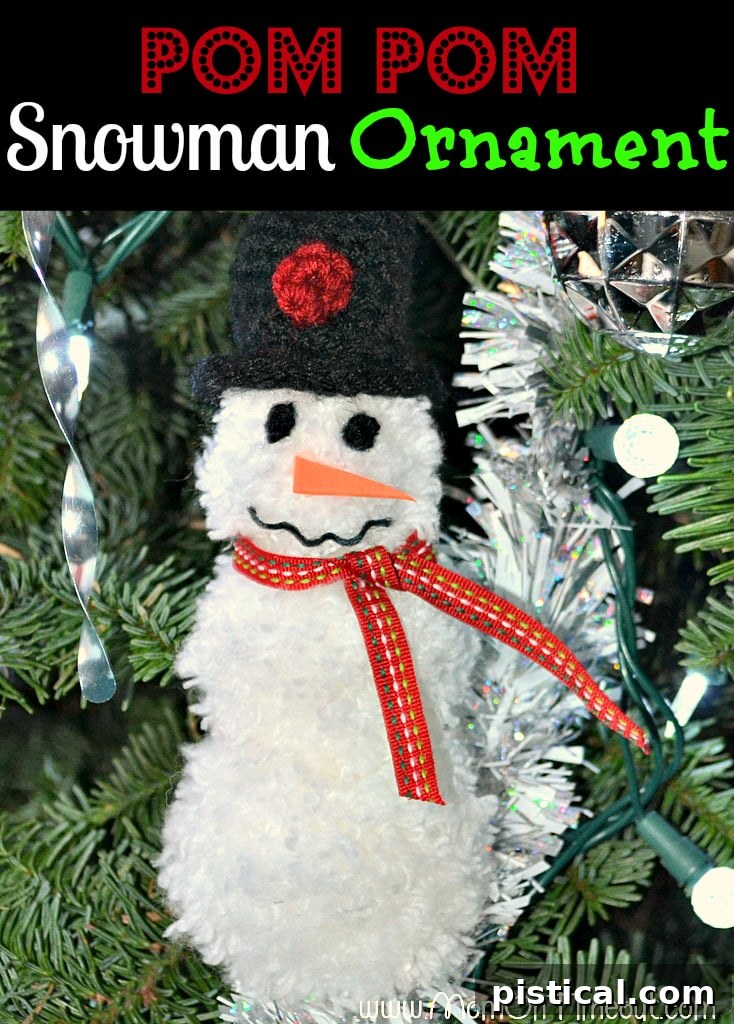
Embrace the heartwarming charm of homemade holiday decorations with this utterly delightful DIY pom pom snowman ornament! As promised, we’re diving into our first pom pom craft, and this project is a true joy to create. Whether you’re looking to adorn your Christmas tree with unique, handmade treasures, craft thoughtful gifts for loved ones, or simply enjoy a relaxing and rewarding seasonal activity, this adorable snowman fits the bill perfectly. Get ready to transform simple yarn into a whimsical winter friend that’s not only cute but also incredibly durable and lightweight. If you’ve been practicing your pom pom making skills, now’s your time to shine! If not, don’t worry – it’s never too late to learn and create something beautiful.
Gather Your Supplies: Everything You Need for Your Pom Pom Snowman
Before you begin crafting your charming snowman, ensure you have all the necessary materials at hand. Most of these items are readily available at craft stores, or you might even have them lying around your home, making this an accessible and budget-friendly project for all ages.
- White Yarn: A skein of white yarn will be the primary material for your snowman’s soft, fluffy body.
- Black Yarn: A small amount of black yarn is needed for the snowman’s eyes and mouth.
- Orange Craft Foam: A small piece of orange foam will be perfect for cutting out the iconic carrot nose. Felt is also a great alternative.
- Hot Glue Gun & Glue Sticks: Essential for securely attaching the various components of your snowman. Always use with caution, especially with children.
- Elmer’s Glue-All or Craft Glue: Ideal for smaller, delicate details like the yarn mouth.
- Sharp Scissors: You’ll need these for cutting yarn, trimming pom poms, and shaping the foam nose.
- Ribbon or Festive String: A thin ribbon or decorative string will serve as the snowman’s scarf and the loop for hanging the ornament.
- Optional Embellishments: Small buttons, beads, glitter, or fabric scraps can be used to add unique touches and further personalize your snowman.
- Optional: A crochet hook if you plan to crochet a miniature hat for your snowman.
Step-by-Step Guide: Crafting Your Adorable Pom Pom Snowman Ornament
Step 1: Mastering Pom Pom Creation for Graduating Sizes
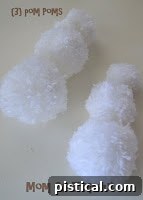
The foundation of your snowman lies in creating three perfectly fluffy pom poms of varying sizes. These will form the head, torso, and base. While the original guide mentions “1-finger, 2-finger, and 3-finger” pom poms, it simply refers to the diameter you create by wrapping yarn around your fingers:
- The Smallest Pom Pom (Head): This will be the snowman’s head. To make it, wrap white yarn around one finger multiple times until you have a dense bundle.
- The Medium Pom Pom (Torso): For the middle section of the snowman, wrap yarn around two fingers. This will create a slightly larger pom pom.
- The Largest Pom Pom (Base): This forms the bottom of your snowman. Wrap yarn around three fingers to achieve the biggest pom pom.
After wrapping, carefully slide the yarn off your fingers, maintaining its looped shape. Take an extra piece of yarn (about 6-8 inches long) and tie it tightly around the center of your looped yarn bundle. Make sure to double-knot it for security. Then, take your scissors and snip through all the loops on both sides. Once snipped, fluff out your pom pom and trim any uneven strands until you have a beautifully round, dense sphere. If you need a visual guide or more detailed instructions on creating perfect pom poms, you can refer back to this helpful tutorial here. Mastering this technique is key to a charming snowman!
Ensure your pom poms are full and well-trimmed. The difference in size between them will give your snowman its classic, endearing shape.
Step 2: Assembling the Snowman’s Body
With your three graduating pom poms ready, it’s time to bring your snowman to life by stacking them. Arrange them from largest to smallest, preparing for assembly. Using your hot glue gun, apply a generous dab of hot glue to the top center of the largest pom pom. Carefully press the medium-sized pom pom onto it, holding firmly for a few seconds until the glue sets. Repeat this process for the smallest pom pom, attaching it securely to the top of the medium one. Take care to align them centrally to create a well-balanced snowman. Ensure each section is firmly attached before moving on to the facial features.
Step 3: Bringing the Face to Life: Nose, Mouth, and Eyes
Now for the most expressive part – giving your snowman a unique personality with his facial features.
Creating the Carrot Nose and Cheerful Mouth
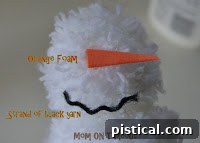
Start with the nose. From your orange craft foam, cut a small, elongated triangle shape. This will be your snowman’s iconic carrot nose. Apply a tiny dot of hot glue to the wider end of the foam carrot and carefully attach it to the middle of the smallest pom pom (the head). Position it snugly and straight.
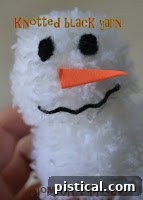
For the mouth, black yarn works wonderfully to create a soft, dotted smile. Cut a short piece of black yarn, perhaps 2-3 inches long. Gently pull the individual strands of the yarn apart to separate them slightly. This gives a nice texture, mimicking tiny pieces of coal. Shape the separated yarn into a slight curve for a smile. Apply a thin line of Elmer’s Glue-All or any clear craft glue where you want the mouth to be, then carefully press the yarn strands onto the glue. This method gives a friendly, handcrafted look. You could also use small black beads or a fine-tip fabric marker for the mouth, depending on your preference.
Crafting Expressive Coal Eyes
Next, let’s give your snowman his charming eyes. For a traditional “coal” eye look, take a piece of black yarn and tie a tight knot. Continue to tie more knots directly on top of the first one, building up a small, round bead of yarn. Keep going until you achieve the desired size for each eye, aiming for two uniform pieces. Once happy with the size, carefully snip any excess yarn close to the knot. Apply a small dab of hot glue to the back of each yarn knot and carefully place them above the nose on the smallest pom pom, ensuring they are evenly spaced and give your snowman a sweet, attentive gaze. As an alternative, small black beads, tiny buttons, or even googly eyes can be used for a different effect.
Step 4: Accessorizing Your Snowman: Hat and Scarf
Designing the Perfect Hat
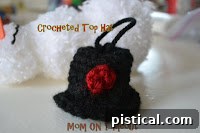
No snowman is complete without a stylish hat! Sticking with the yarn theme, a crocheted miniature hat adds an incredible touch of handmade charm and personality. If you’re proficient with a crochet hook, a simple beanie pattern in black yarn (or any color you prefer!) will work perfectly. (If you’re interested in the specific pattern I improvised, feel free to leave a comment, and I’d be happy to recreate and share it!)
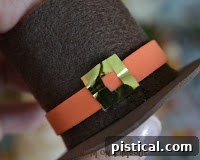
For those who don’t crochet, there’s a fantastic and fun alternative to create an adorable hat! You can craft a hat using a technique similar to the one outlined here for pilgrim turkeys. Essentially, you’ll need a small ring (like a plastic lid ring or a piece of cardboard cut into a ring shape) and strands of black yarn. Fold yarn strands in half and loop them around the ring until it’s completely covered. Then, gather the loose ends at the top and tie them off securely to form the hat’s crown, creating a cute, slightly slouchy beanie. Once your hat is ready, apply a spot of hot glue to the top of your snowman’s head and firmly attach the hat.
Adding a Cozy Scarf
Our little snowman is looking quite dapper with his hat, but he might still feel a bit chilly! A scarf is the perfect finishing touch to complete his ensemble. While a meticulously crocheted scarf would be a lovely addition (perhaps for your next pom pom snowman!), a festive ribbon offers a quick, elegant, and equally charming solution. Choose a thin ribbon in a coordinating color, a cheerful holiday print, or even a classic red and green. Gently tie the ribbon around the snowman’s “neck” – the natural joint between his head and torso pom poms. You can leave the ends to dangle playfully, tie them into a simple knot, or even create a tiny bow. This simple addition instantly elevates your snowman’s charm, making him look perfectly cozy and ready for winter.
Step 5: Adding the Hanging Loop for Your Ornament
To transform your charming snowman into a hangable ornament, the final step is to add a loop. Take a piece of sturdy string, thin ribbon, or a durable piece of yarn, approximately 4-6 inches long. Form it into a loop and carefully apply a small amount of hot glue to the very top of your snowman’s hat (or directly to the top of his head if he’s hatless). Press the ends of the loop firmly into the glue, holding until it sets completely. Ensure the loop is strong enough to support the ornament’s minimal weight and that the glue is fully dry before hanging. This simple addition turns your handcrafted project into a cherished keepsake for your Christmas tree or holiday display.
Tips for a Perfect Pom Pom Snowman and Creative Variations
Making your pom pom snowman is an opportunity for boundless creativity. Here are some extra tips and ideas to make your ornament truly unique:
- Sparkle and Shine: For a magical, snowy effect, gently mist your finished snowman with adhesive spray and sprinkle on some fine glitter.
- Alternate Facial Features: Instead of yarn knots, consider using tiny black beads or small sequins for eyes. A mini red button can also make an adorable nose or add detail down his “chest.”
- Personalize with Color: While white is classic, don’t shy away from experimenting with different yarn colors for your snowman’s body, hat, or scarf. A blue or silver snowman can be quite striking!
- Involve the Kids: This is a fantastic family-friendly craft! Younger children can help with wrapping yarn (with adult supervision), selecting accessories, and gluing larger pieces (hot glue should be handled by adults).
- Gift-Giving Perfection: These handmade ornaments make thoughtful, personalized gifts for teachers, neighbors, friends, and family during the holiday season.
- Add Arms: Small twigs or pipe cleaners can be hot-glued to the sides of the middle pom pom to create little arms.
Why You’ll Love This DIY Snowman Ornament: Unbeatable Benefits
Beyond its undeniable cuteness and the joy of crafting, this pom pom snowman ornament offers some fantastic practical advantages that make it a standout choice for your holiday decorating. You’ll quickly discover why these will become your new favorite additions to your festive collection:
1. Feather-Light Design: One of the absolute best features of these pom pom snowmen is their incredibly light weight. They weigh virtually nothing, which means they won’t weigh down delicate tree branches. This allows them to hang gracefully and securely even on the freshest, most slender tree limbs. You can adorn any part of your tree without worrying about sagging branches or instability – a true delight for decorators!
2. Unbreakable Durability: This is truly a super awesome benefit, especially for homes with active children or curious pets! We all know how easily accidents happen during holiday decorating. Unlike fragile glass or ceramic ornaments that shatter upon impact (ouch!), your sturdy pom pom snowman can withstand accidental bumps, knocks, and even falls without a single crack. Say goodbye to the heartbreak of broken heirlooms and hello to stress-free, child-friendly decorating. This ornament is built to last, bringing joy for many holiday seasons to come.
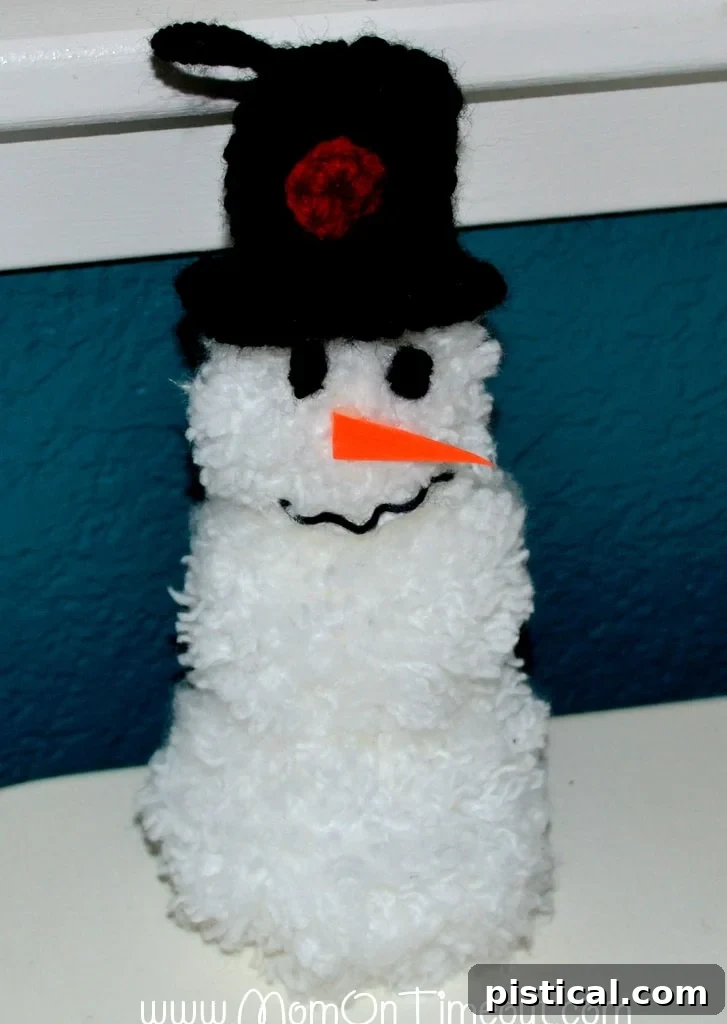
Creating this charming ornament is more than just a craft; it’s an opportunity to create lasting memories and beautiful, resilient decorations that stand the test of time. Enjoy the creative process, and delight in your unique, handmade snowman that brings a little extra warmth and cheer to your holiday season!