
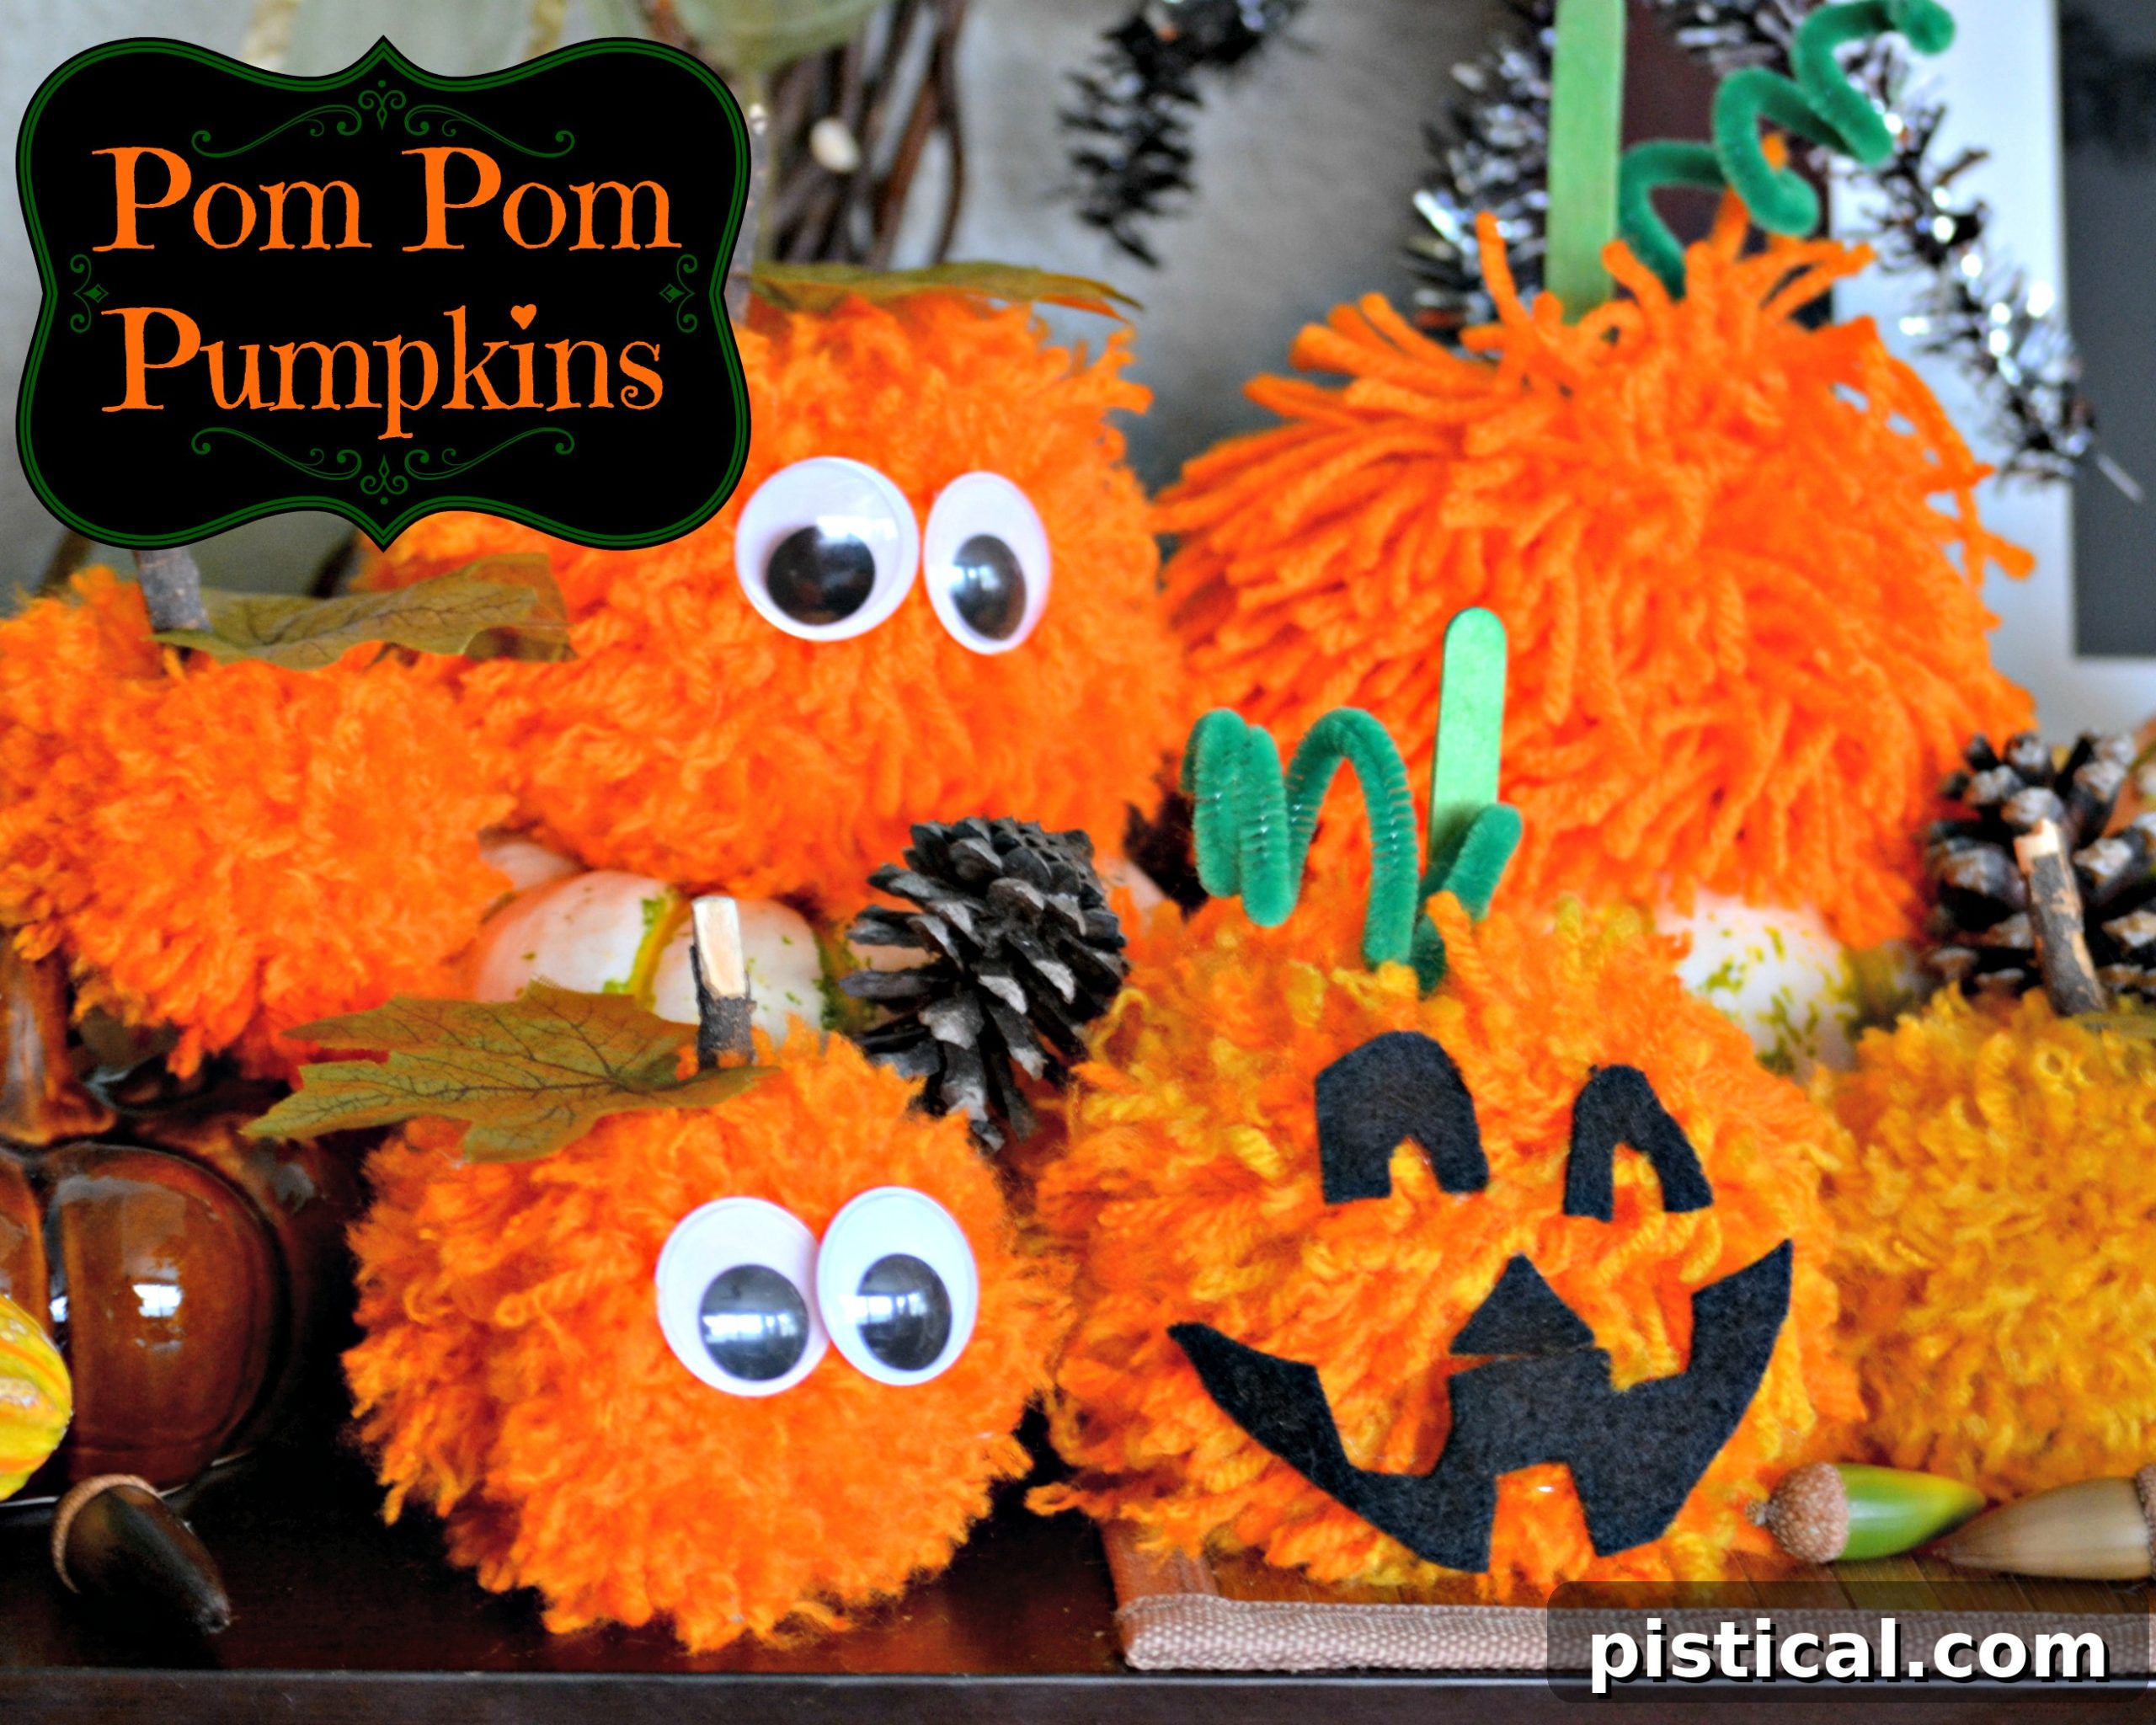
Enchanting DIY Pom Pom Pumpkins: Your Ultimate Guide to Spooktacular Halloween Decor
Transform your home into a festive fall wonderland this Halloween season with an incredibly simple, yet utterly charming craft: Pom Pom Pumpkins! This delightful project is not just super fun for the whole family, but it’s also wonderfully easy to create, making it a perfect activity for kids and adults alike. Get ready to add a touch of handmade magic to your autumn decor!
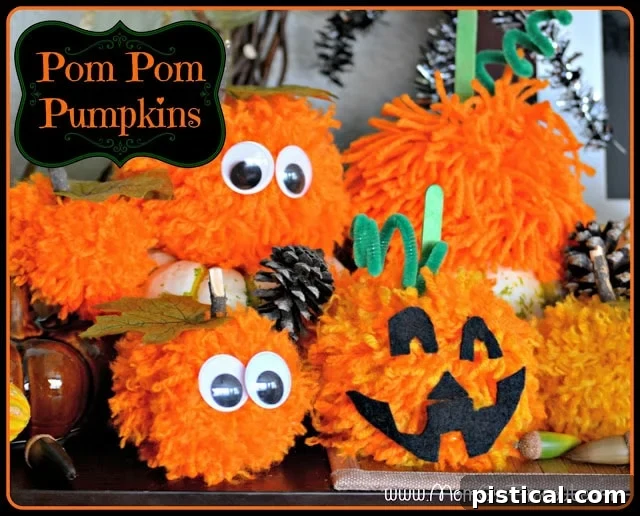
There’s something uniquely satisfying about crafting with pom poms. Their soft, fluffy texture and the endless possibilities for customization make them an ideal medium for creative expression. I particularly adore pom pom crafts because they genuinely engage children, allowing them to participate meaningfully in the creation process. Last year, I shared my somewhat unorthodox yet effective method for making perfect pom poms, along with some charming seasonal crafts. This year, we’re diving into the autumn spirit with our adorable Pom Pom Pumpkins, and let me tell you, they are as cute as can be! They make a fantastic, whimsical addition to any Halloween or fall decor spread. The beauty of this DIY project lies in its versatility; you can tailor your Pom Pom Pumpkin to fit any unique style, from rustic farmhouse to playful jack-o’-lanterns.
Gather Your Supplies: What You’ll Need
One of the best aspects of this charming craft is that it requires only a handful of readily available materials. You likely have most of these items lying around your home already! Here’s a comprehensive list of what you’ll need to embark on your pom pom pumpkin adventure:
- Yarn: This is the star of our project! While traditional orange yarn is perfect for classic pumpkins, don’t shy away from experimenting with other colors. Think cream, white, grey, or even variegated yarns for unique, rustic, or spooky effects. Different thicknesses and textures of yarn will also produce varying results, adding depth and interest to your collection.
- Stem Material: This is where creativity truly shines! You can use anything from simple popsicle sticks to more natural elements like small twigs found in your yard, acorns collected from a nature walk, or even fragrant cinnamon sticks for an added sensory dimension. The choice of stem can dramatically alter the character of your pumpkin.
- Googly Eyes: For those who love a bit of quirky charm, googly eyes are an absolute must. They instantly bring personality and playfulness to your pom pom pumpkins, transforming them into friendly (or comically spooky) characters.
- Leaves: Adding small decorative leaves enhances the pumpkin aesthetic. You can use artificial fabric leaves, cut shapes from felt in autumnal colors (greens, browns, yellows), or even tiny dried leaves for a more natural look.
- Felt: Felt is incredibly versatile for crafting. Use it to cut out facial features like triangles for eyes and noses, or jagged mouths for classic jack-o’-lanterns. You can also use felt to create tiny hats or other embellishments for your pumpkins.
- Pipe Cleaner: Pipe cleaners are fantastic for creating curly vines that mimic real pumpkin tendrils. They’re easy to bend, secure, and come in a variety of colors to match your yarn.
- Scissors: Essential for cutting yarn and trimming your pom poms into perfect spheres.
- Hot Glue Gun (with adult supervision): While not strictly necessary for every step, a hot glue gun makes attaching stems, eyes, and other embellishments much quicker and more secure. Always ensure adult supervision when children are using a hot glue gun.
Directions: Crafting Your Adorable Pom Pom Pumpkins
One of the greatest joys of engaging in pom pom crafts, especially with younger children, is the level of independence it fosters. For the most part, kids can truly lead the charge in making these fluffy creations, which makes the activity all the more rewarding and fun for everyone involved!
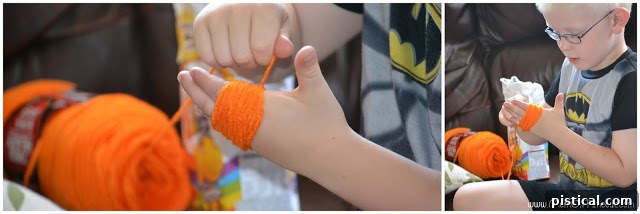
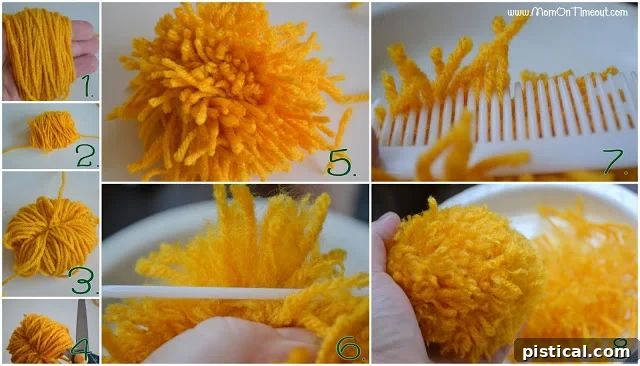
For those who prefer a visual aid or need a bit more guidance, I’ve provided thorough instructions with detailed photos on my original pom pom making post. It’s a fantastic resource if you need clarification on any of these steps to achieve perfectly fluffy pom poms every time.
1. The Art of Making Pom Poms: Your Foundation
The first and most crucial step is creating the pom pom itself. This is simpler than you might think and can be easily adapted to produce various sizes and densities:
- Wrap the Yarn: Begin by wrapping the yarn around your fingers. The number of fingers you use directly determines the size of your pom pom. For a small pumpkin, use two fingers; for a medium one, use three; and for a larger, more substantial pumpkin, wrap around four fingers. Wrap the yarn generously – hundreds of times for a dense, full pom pom. The more wraps, the lusher your finished product will be.
- Secure the Center: Once you’re satisfied with the bulk of your wrapped yarn, carefully slide it off your fingers, keeping the bundle intact. Lay this bundle on top of a separate, shorter piece of yarn (about 8-10 inches long). This will be your tying thread.
- Tie Tightly: Pull the tying yarn up and over the center of the bundle. Bring the ends together and tie a knot – make sure it is VERY tightly secured. This is essential for preventing your pom pom from falling apart.
- Double Knot for Security: Turn the bundle over and tie another knot, pulling it as tight as you possibly can. For extra security, especially with thicker yarns, you might even tie a third knot. The tighter the knot, the more secure and uniform your pom pom will be.
- Cut the Loops: Now, using a sharp pair of scissors, carefully cut through all the loops of yarn around the entire bundle. Take your time to ensure every loop is cut.
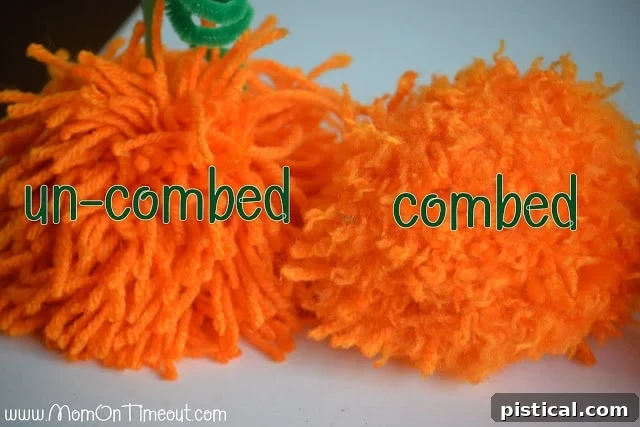
- Shape and Trim: Once all the loops are cut, you’ll have a shaggy, uneven ball of yarn. This is where the magic happens! Gently fluff out your pom pom. For a fuller, more uniform look, you can “comb” the yarn gently with your fingers or a wide-tooth comb, being careful to hold the center tightly so you don’t pull out any strands. Finally, trim the pom pom into a nice, spherical shape, much like giving it a haircut. Don’t be afraid to trim generously to achieve a perfect, dense pumpkin shape.
To illustrate the impact of trimming, here’s a visual example comparing a carefully combed and trimmed pom pom versus one that’s left un-combed. The combed one clearly appears fuller and more neatly shaped, offering a more refined “pumpkin” look.
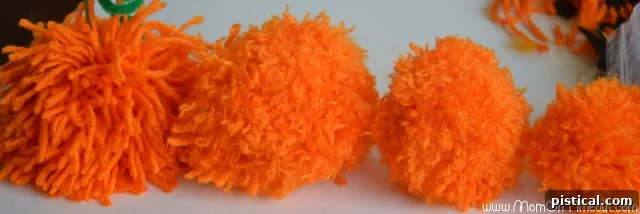
Experimentation is key! You can see here the delightful variety of sizes you can achieve simply by altering the number of fingers used for wrapping and the amount of yarn applied. This allows for a charming collection of pumpkins, big and small.
2. Bringing Your Pumpkin to Life: Attaching Stems and Vines
Once your pom pom is perfectly shaped, it’s time to add the iconic pumpkin stem and perhaps a playful vine:
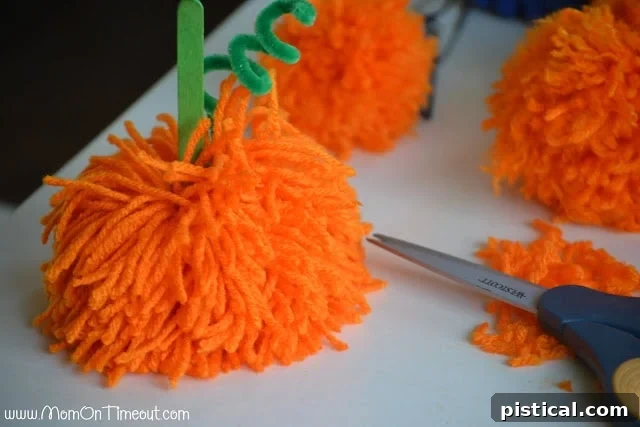
You have a wonderful array of choices for your pumpkin stems. While Reece opted for a simple popsicle stick, you could also use small, sturdy twigs collected from nature, an elegant cinnamon stick for a fragrant touch, or even a craft dowel. For the whimsical curly vine, we simply wrapped a pipe cleaner tightly around a finger (or a pencil) to achieve that perfect curl, and then secured it to the chosen stem.
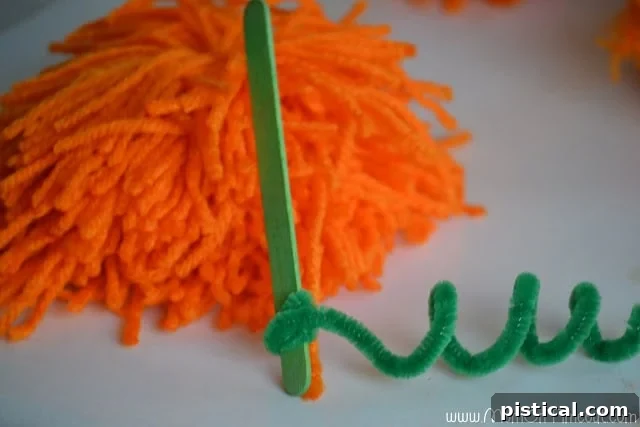
Gently insert the prepared stem into the center of your pom pom. For a more permanent fixture, a small dab of hot glue (applied by an adult) can be used to secure the stem firmly in place. This ensures your pumpkin holds together beautifully for display.
3. Adding Personality: Faces and Embellishments
Now for the most exciting part – giving your pumpkins their unique character!
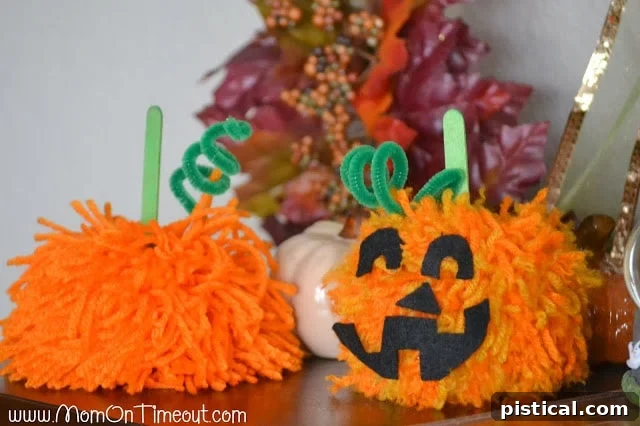
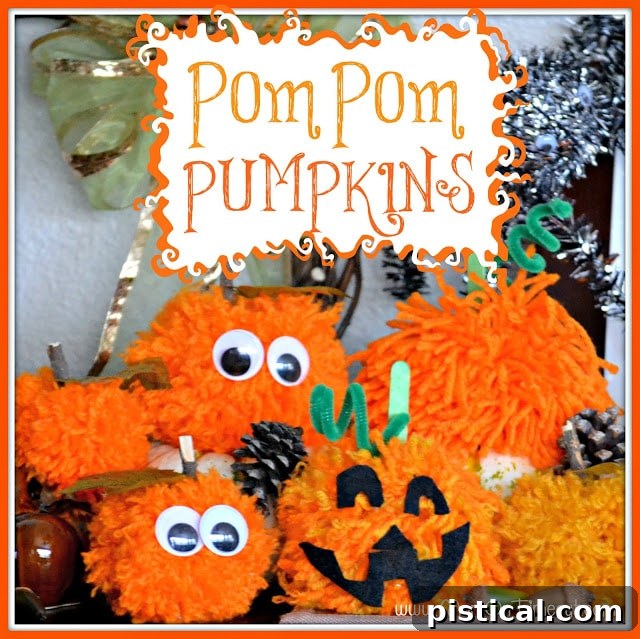
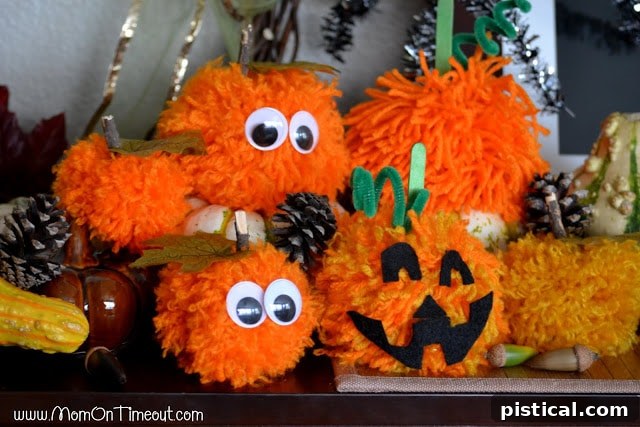
I’m particularly fond of the shabby chic pumpkin on the left, with its understated elegance. Reece, on the other hand, was all about classic Halloween fun and, of course, wanted his to be a vibrant jack-o’-lantern! Notice the charming touch on the pumpkin on the right, which creatively incorporates two different colors of yarn for added depth and visual interest. This subtle detail demonstrates how simple variations can lead to completely distinct looks.
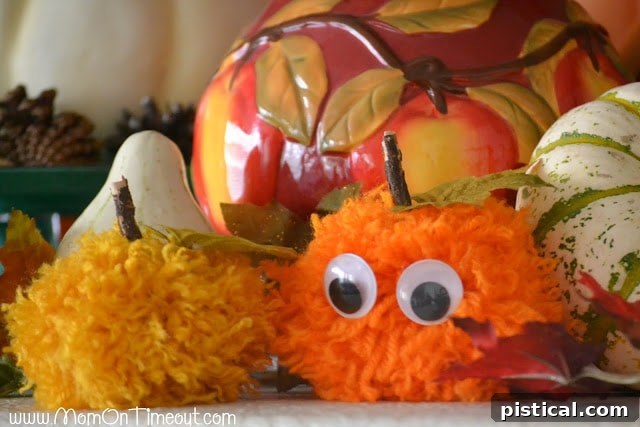
Bryce, another budding crafter, chose to personalize his pumpkins with whimsical googly eyes, and I must agree, his creations turned out super cute and full of character! For an extra touch of autumn flair, we carefully added a small decorative leaf to the top of some of our pumpkins, nestled right beside the stem. These little details truly bring each pom pom pumpkin to life.
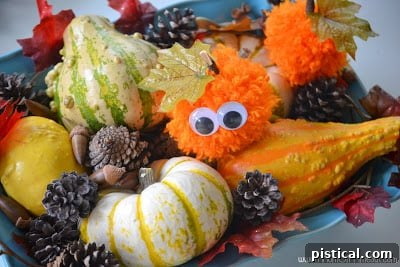
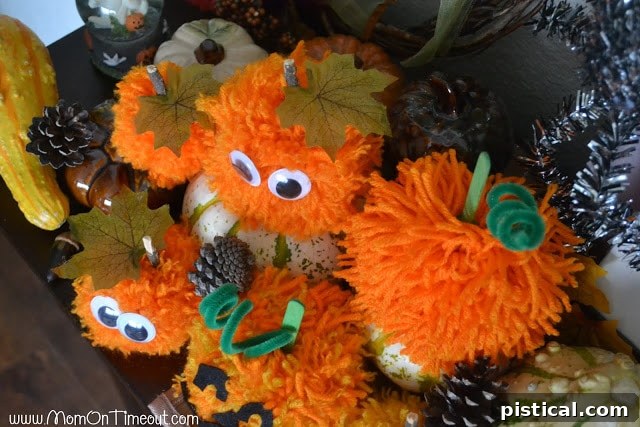
Here is a lovely shot from above, showcasing the collective charm and varied textures of our finished pom pom pumpkin patch.
Creative Variations and Display Ideas for Your Pom Pom Pumpkins
The fun doesn’t stop once you’ve made your basic pom pom pumpkins! This craft lends itself beautifully to endless customization, allowing you to create a truly unique collection that complements your personal decor style. Think beyond traditional orange; experiment with luxurious cream or pristine white yarn for elegant, ghostly pumpkins that fit a minimalist or farmhouse aesthetic. For a more whimsical look, blend different yarn colors within a single pom pom, creating striped or mottled effects that mimic heirloom pumpkin varieties.
Consider the texture of your yarn as well. Chunky yarn will yield a larger, more rustic pumpkin, while a finer wool can create a denser, more refined look. Adding elements like glitter, tiny bows, or even miniature plastic spiders can transform your pumpkins from simple fall decor into festive Halloween accents. You could even use glow-in-the-dark yarn for a spooky surprise!
Once your delightful pom pom pumpkins are complete, the possibilities for display are boundless. Arrange them in a charming centerpiece on your dining table, mixing various sizes and colors in a rustic wooden bowl or on a decorative tray. Scatter them across your mantelpiece alongside flickering LED candles and other fall foliage for a cozy autumn vibe. Create a whimsical garland by stringing several pumpkins together with twine, perfect for draping across a doorway or window. They also make adorable additions to a Halloween wreath or can be placed individually on shelves, windowsills, or even used as unique place card holders for a festive dinner party. These small, fluffy decorations are also perfect for gifting to friends and family, sharing the handmade joy of the season.
The Joy of Crafting with Kids: Benefits Beyond Decor
Beyond creating charming Halloween decorations, engaging in crafts like these Pom Pom Pumpkins offers a wealth of developmental benefits for children. The act of wrapping yarn, tying knots, and carefully trimming promotes the development of fine motor skills and hand-eye coordination, which are crucial for writing and other detailed tasks. Following step-by-step instructions helps build executive functioning skills, teaching children patience and the ability to complete a task from start to finish.
Perhaps most importantly, crafting sparks creativity and imagination. Kids get to make choices about colors, sizes, and embellishments, fostering their unique artistic voice. The sense of accomplishment they feel upon completing their own pumpkin is invaluable, boosting self-esteem and encouraging future creative endeavors. Moreover, crafting together provides wonderful opportunities for family bonding, creating cherished memories that extend far beyond the holiday season.
Share Your Spooktacular Creations!
We absolutely love seeing what you create! If you make your own Pom Pom Pumpkins using this guide, please share your photos with us. We’d be thrilled to see how you’ve personalized your fluffy fall decor. Happy crafting, and have a wonderfully creative Halloween season!

Connect with me!
Linking up at some of these festive crafting parties.