
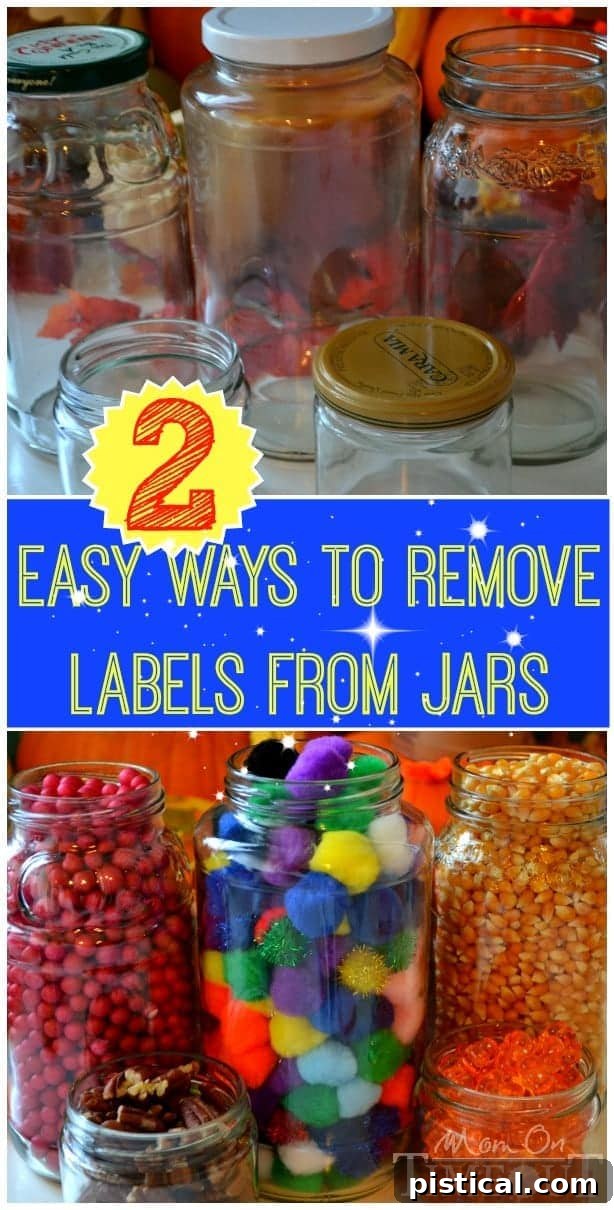
Effortless Jar Label Removal: Two Proven Methods for Perfectly Clean Glass Jars
Say goodbye to stubborn sticky residue and unsightly labels! Learn just how easy it is to remove those pesky labels from jars with our two incredibly effective and simple methods. Get ready to transform your ordinary glass jars into versatile treasures!
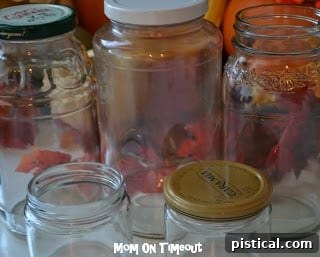
As the seasons change and holidays approach, our homes often fill with more creative projects and the desire for organization. And what better way to embrace sustainability and creativity than by repurposing glass jars? These humble containers are true gems for anyone looking to add a touch of rustic charm, smart storage, or a personalized flair to their home. They are incredibly useful for everything from practical storage solutions in the pantry and bathroom to elegant rustic vases, unique candle holders, or even convenient vessels for homemade cleaning solutions.
The Universal Frustration: Stubborn Labels and Sticky Residue
While the potential of glass jars is immense, there’s one common hurdle that often deters even the most enthusiastic DIYer: the notorious jar label. Cleaning labels and their persistent sticky residue off glass can feel like an intimidating and incredibly time-consuming process. We’ve all been there, tirelessly scrubbing, soaking, and experimenting with various household remedies. From peanut butter and vinegar to hot water, soap, dishwasher cycles, and countless oils, the internet is brimming with suggestions on how to tackle these adhesive nuisances.
However, after years of repurposing jars for countless projects and testing a wide array of methods, I’ve managed to narrow down the options to just two that consistently deliver exceptional results. These aren’t just effective; they’re also remarkably efficient. No more endless scrubbing or wasted effort! You can choose the method that best suits your resources and preferences, confident that you’ll achieve perfectly clean, label-free jars every time.
Before You Begin: Essential Preparation Steps
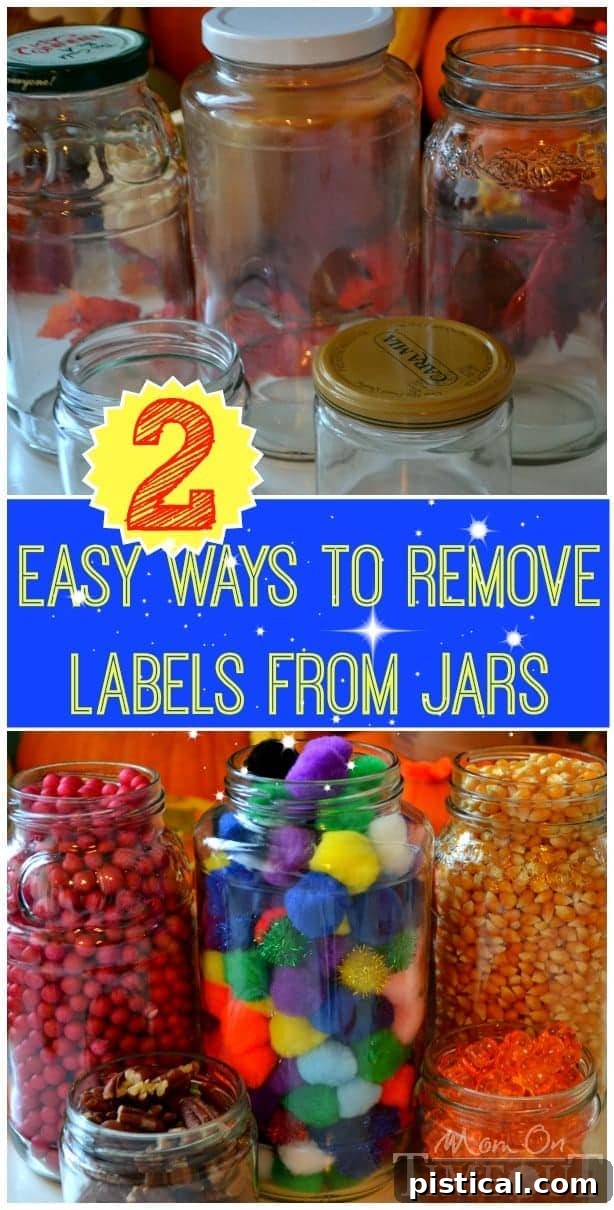
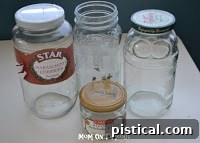
To maximize your efficiency and make the process even smoother, I highly recommend gathering several jars at once. This batch approach not only saves time but also allows you to tackle a variety of sizes and shapes – some jars even boast really beautiful, embossed designs that truly shine once their labels are removed.
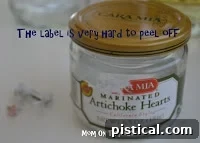
Regardless of which removal method you choose, the very first step is to remove as much of the paper label as possible. An incredibly easy and effective way to kickstart the adhesive release is to fill each jar with really hot water. The heat helps to soften the glue, making the initial peeling much simpler. Just be sure to exercise caution when handling the hot jar to avoid any burns!
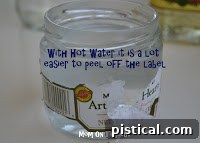
Allow the jar to sit for a few minutes with the hot water inside. This gives the adhesive time to warm up and become more pliable, almost turning into a liquid state. After a short wait, you can start gently peeling off the label. Many times, large portions of the label will come off cleanly at this stage, leaving you with minimal residue to tackle later.
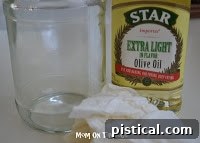
Method 1: The Eco-Friendly & Gentle Approach – Olive Oil
First Method: Olive Oil
Using olive oil is my personal favorite method for label removal because it’s not only incredibly effective but also eco-friendly, readily available, and incredibly easy to use. The science behind it is simple: oils are excellent at breaking down the chemical bonds of many adhesives, causing them to lose their stickiness.
How to Use Olive Oil for Label Removal:
- Prepare the Jar: After removing the main paper label with the hot water soak, ensure the exterior of the jar is relatively dry.
- Apply Olive Oil: Pour a few generous drops of olive oil directly onto a paper towel or a clean cloth. You want enough to saturate the towel slightly without it dripping excessively.
- Rub Away the Residue: Gently but firmly rub the oil-soaked towel over the remaining adhesive residue. Use circular motions and apply a consistent, light pressure. You’ll notice the sticky glue starting to clump up and loosen.
- Persistence Pays Off: Keep rubbing until all of the residue is completely gone. This process typically only takes a minute or two per jar, depending on the stubbornness of the adhesive. It might feel like it’s just smearing at first, but with continued rubbing, the residue will eventually lift off.
- Clean Up: After successfully removing all the sticky residue, it’s crucial to wash your jar thoroughly to remove any oily film. I usually just run mine through the dishwasher, but a good scrub with hot soapy water works perfectly too. This ensures your jars are perfectly clean and ready for their new purpose, free from any oily residue that might attract dust or interfere with future projects.
This method is fantastic because it avoids harsh chemicals and leaves your hands feeling soft, not dried out. It’s a truly natural and satisfying way to clean your jars.
Method 2: The Quick & Powerful Solution – Nail Polish Remover
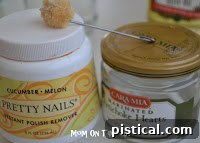
For those times when speed is of the essence, or you’re dealing with particularly tenacious adhesive, nail polish remover (specifically acetone-based formulas) is an absolute powerhouse. This method is often a little faster than the olive oil technique, dissolving the toughest glues almost instantly. However, it’s important to be mindful of the fumes that accompany nail polish remover.
How to Use Nail Polish Remover for Label Removal:
- Ensure Ventilation: Before you start, make sure you’re in a well-ventilated area. Open a window or work outdoors to minimize exposure to fumes.
- Prepare the Remover: Pour a small amount of nail polish remover onto a cotton ball or a paper towel. If your remover comes with an applicator, you can use that directly.
- Scrub Away: Firmly rub the remover-soaked cotton ball or paper towel over the remaining label and adhesive. You’ll witness the glue dissolve and slide right off with remarkable speed. It’s incredibly satisfying to watch the stubborn residue disappear.
- Repeat if Necessary: For very thick or old adhesive, you might need to re-saturate your cotton ball and repeat the scrubbing process once or twice.
- Combat Fumes: As a tip, if the smell of acetone bothers you, consider using a scented nail polish remover. Many brands offer pleasant scents like “cucumber melon” (as I do!) or lavender, which can make the experience a bit more tolerable.
- Thorough Cleaning: Again, it’s paramount to wash the jar thoroughly with soap and hot water after using nail polish remover. This removes any chemical residue and lingering scent, ensuring your jar is clean and safe for its next use.
While potent, this method is remarkably efficient for deeply embedded adhesives and those occasions when you need your jars ready in a flash.
Achieve Perfectly Clean Jars, Every Time!
These two methods are truly fail-proof. I can honestly say I have never encountered a jar label or adhesive residue that I couldn’t conquer using either the eco-friendly olive oil technique or the quick-action nail polish remover method. The days of dreading jar label removal are officially over!
Next time you find yourself about to toss out a perfectly good glass jar, take a moment to consider its potential. Think of the endless possibilities for upcycling and repurposing it into something beautiful, organized, or practical for your home. With these simple tips, transforming “trash” into “treasure” is easier than you ever imagined. Embrace the joy of crafting, organizing, and living more sustainably by giving those glass jars a second life.
I encourage you to try one – or both – of these proven methods. You’ll be amazed at how effortlessly you can achieve sparkling clean jars, ready for your next creative endeavor. Let me know what you think and which method becomes your go-to!

Connect with me and share your creative jar projects!
Linking up at some of these parties.