
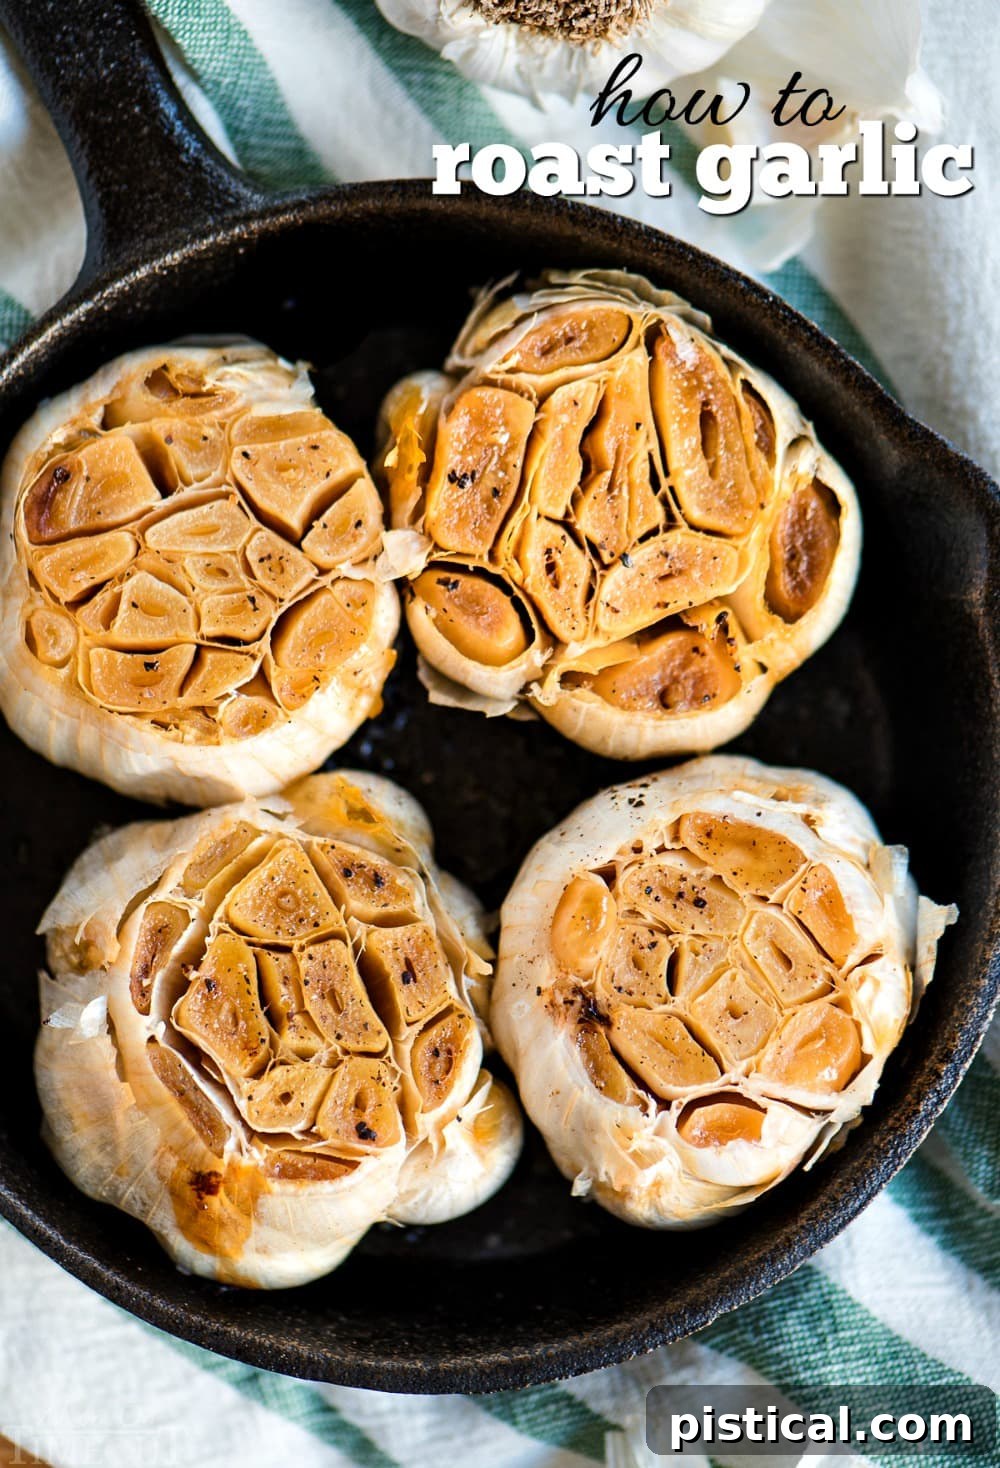
Roasted garlic is a true culinary game-changer, elevating simple dishes with its rich, mellow, and incredibly sweet flavor profile. If you’ve ever wondered how to roast garlic, you’ve landed in the perfect spot! This simple technique transforms pungent raw garlic into a creamy, spreadable delicacy that adds tremendous depth and complexity to virtually any meal.
Roasting garlic takes away its characteristic sharp bite, replacing it with a caramelized sweetness that is utterly irresistible. It’s a fundamental ingredient in many gourmet and comfort food dishes, proving its versatility time and again. Get ready to unlock a world of flavor with this easy guide!
The Magic of Roasted Garlic: Why You Should Roast It
For many home cooks, roasted garlic feels like a secret ingredient reserved for fancy restaurants. However, it’s one of those mysterious ingredients that becomes surprisingly simple once you try it. The transformation from raw to roasted garlic is truly remarkable.
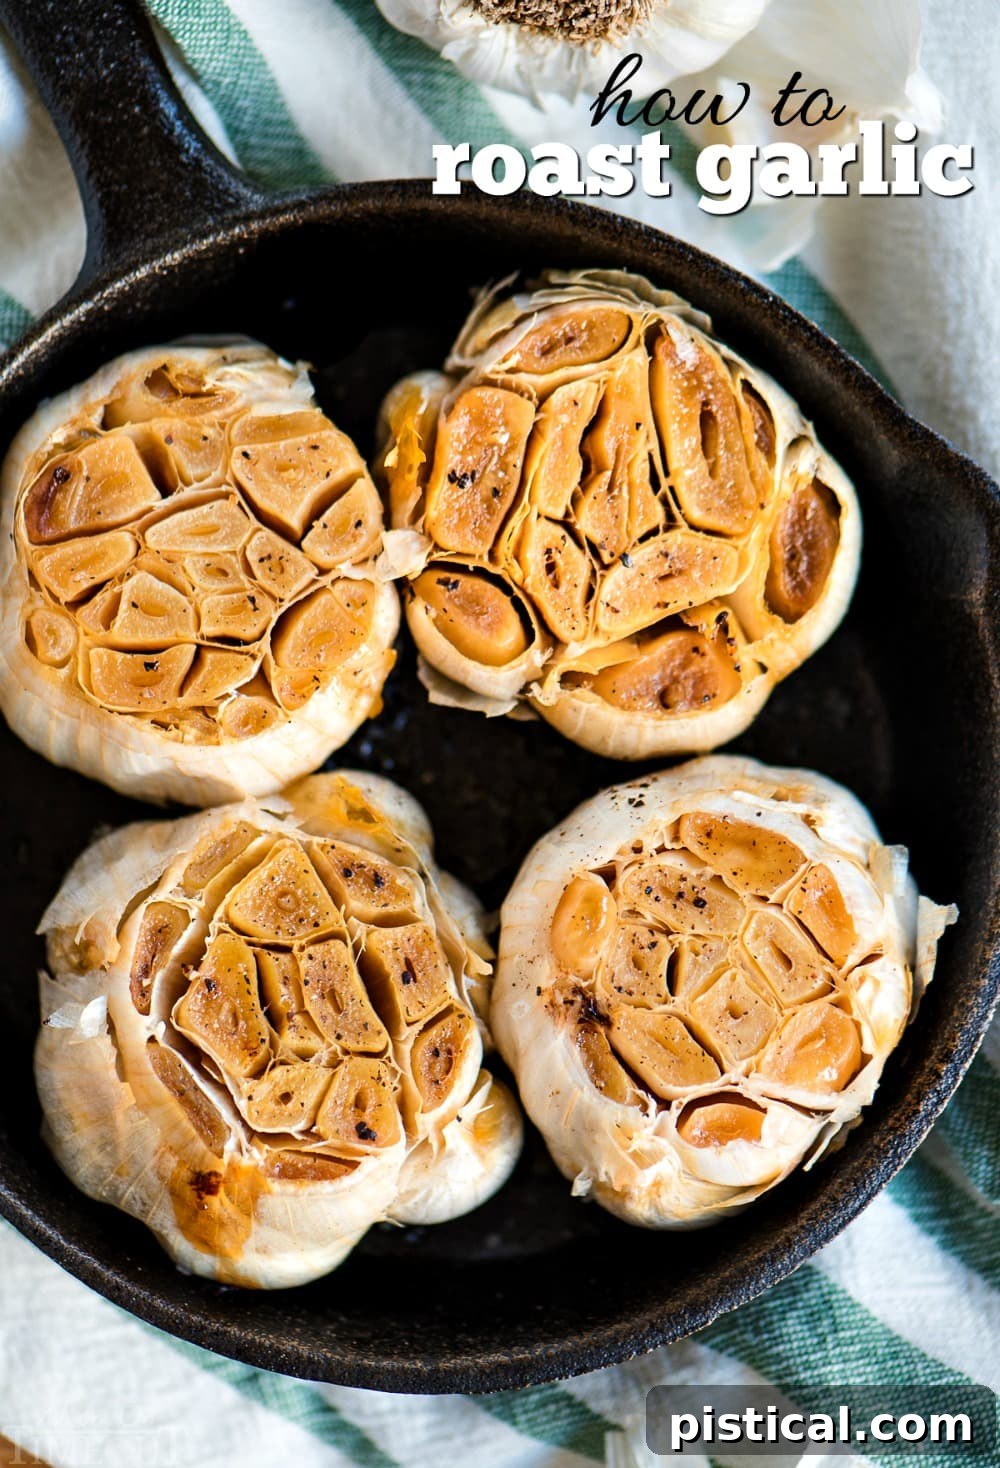
Why go through the effort of roasting garlic? The primary reason is flavor. Roasting eliminates the sharp, sometimes overpowering, bitterness of fresh garlic. Instead, the high heat causes the garlic’s natural sugars to caramelize, creating a rich, sweet, and nutty flavor. The cloves become incredibly soft, almost butter-like, making them easy to mash and incorporate into various dishes. This mellowed flavor profile adds an unparalleled depth that fresh garlic simply cannot achieve.
Imagine spreading this caramelized goodness on a crusty piece of bread, stirring it into your favorite pasta sauce, or using it to enrich a creamy dip. The possibilities are endless, and you seriously can’t go wrong.
How to Roast Garlic: A Simple Step-by-Step Guide
Roasting garlic is an incredibly straightforward process that yields impressive results with minimal effort. Here’s how you can achieve perfectly sweet and tender roasted garlic every time.
Equipment You’ll Need:
- Oven
- Small baking dish, cast iron skillet, or even a muffin tin
- Aluminum foil
- Sharp knife
- Cutting board
Ingredients:
- Whole heads of garlic
- Extra virgin olive oil
- Salt (sea salt or kosher salt recommended)
- Freshly ground black pepper (optional, but enhances flavor)
- Preheat Your Oven: Start by preheating your oven to 400°F (200°C). This ensures even cooking and perfect caramelization.
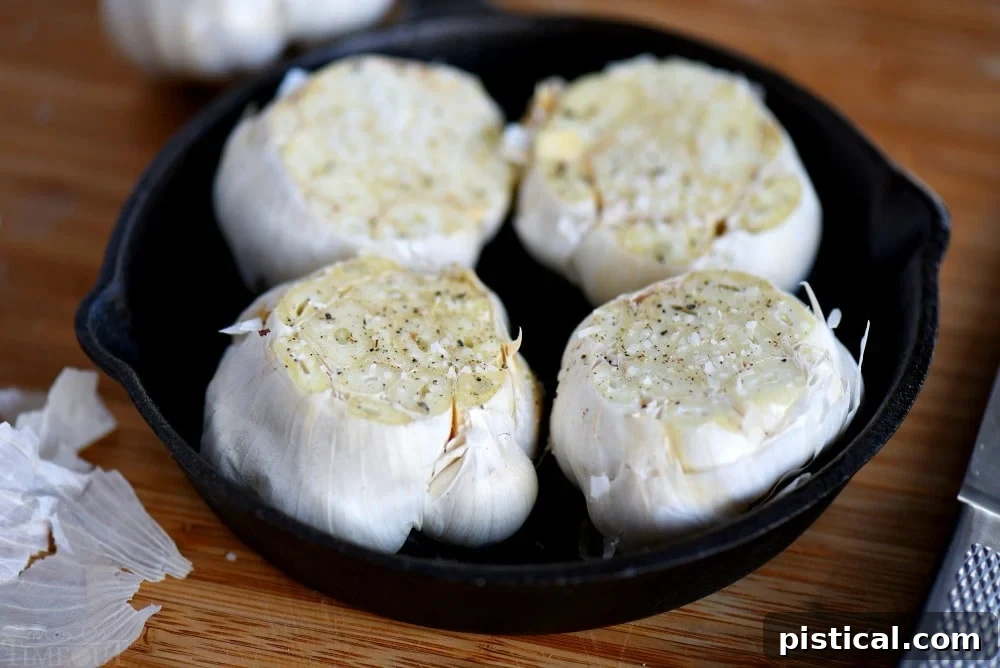
- Prepare the Garlic Heads: Take each head of garlic and, using a sharp knife, carefully slice off the top third or quarter. The goal is to expose the tops of all the individual cloves within the head. Be gentle but firm. There’s no need to peel the entire head; the skin helps hold the cloves together during roasting.
- Prepare the Baking Dish: Drizzle a small amount of olive oil (about 1-2 teaspoons) into the bottom of a small cast iron skillet or a baking dish. This prevents the garlic from sticking and aids in the caramelization process. If you’re roasting just one or two heads, a small ramekin or even a muffin tin can work perfectly to keep them upright.
- Arrange and Season: Place the prepared garlic heads in the oiled dish, cut side up. Drizzle a little more extra virgin olive oil over the exposed cloves. The oil helps conduct heat, keeps the garlic moist, and contributes to that desired golden-brown finish. Finally, sprinkle generously with salt and a pinch of black pepper. While optional, these seasonings enhance the natural sweetness of the roasted garlic.
- Cover and Bake: Tightly cover the baking dish or skillet with aluminum foil. This traps steam, ensuring the garlic cooks thoroughly and becomes incredibly soft without drying out or burning. Bake for 40 to 50 minutes.
- Check for Doneness: After 40 minutes, carefully remove the foil and check the garlic. It should be deeply golden brown and very soft. You can test for doneness by gently piercing a clove with a fork – it should feel completely tender and mushy. If it’s not yet soft or caramelized enough, return it to the oven uncovered for another 5-10 minutes, checking frequently to prevent burning.
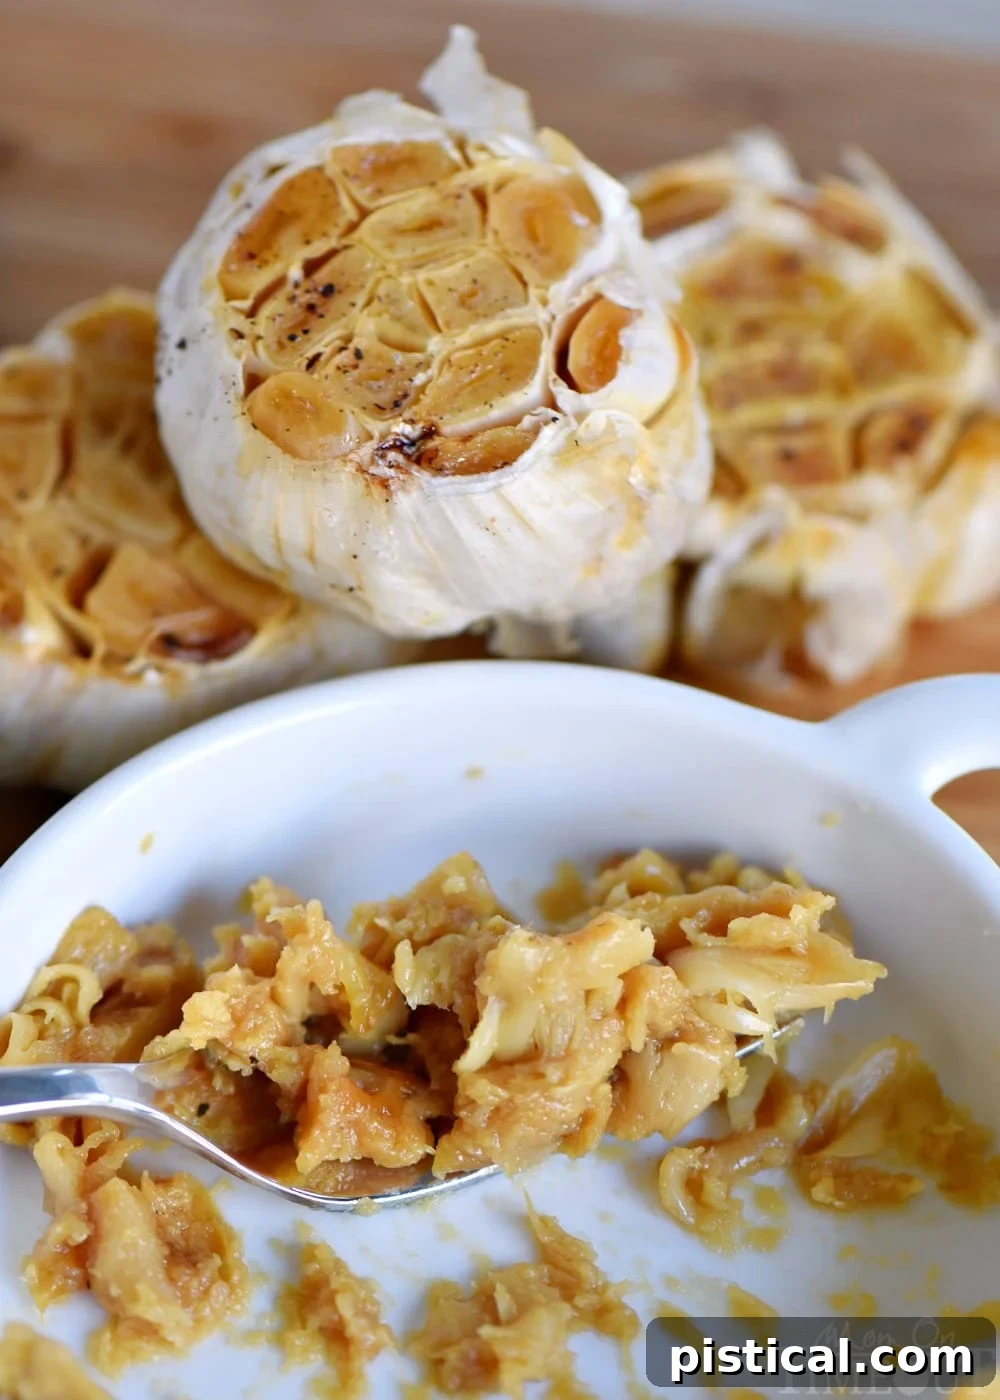
- Extract the Cloves: Once the garlic is roasted to perfection, allow it to cool slightly so it’s comfortable to handle. To extract the soft cloves, simply hold the head and gently squeeze from the root end upwards. The caramelized cloves will easily slide out, ready to be used. They will be soft, mushy, and perfectly sweet.
Tips for Perfect Roasted Garlic Every Time
- Don’t Skimp on the Oil: Olive oil is crucial for both flavor and texture. It helps prevent the garlic from drying out and promotes that beautiful caramelization.
- Keep It Covered: Covering the garlic with foil for most of the cooking time creates a steamy environment that ensures the cloves become incredibly tender without burning. Removing the foil towards the end can help achieve a deeper golden color if needed.
- Choose the Right Garlic: Fresh, firm garlic heads with tight skins are best. Avoid heads that feel soft or have sprouts, as they might be bitter.
- Single Layer for Even Roasting: If roasting multiple heads, try to keep them in a single layer in the baking dish to ensure even heat distribution.
- Adjust Roasting Time: The size of your garlic heads and your oven’s calibration can affect roasting time. Larger heads will need more time, while smaller ones might cook faster. Always check for tenderness.
Creative Ways to Use Your Delicious Roasted Garlic
Once you’ve experienced the rich, sweet flavor of roasted garlic, you’ll want to add it to everything! Its versatility knows no bounds. Here are some of our favorite applications:
- Spread on Bread: The simplest and most delightful way! Spread it generously onto a piece of toasted baguette, crusty French bread, or crackers. It’s an instant gourmet snack.
- Enhance Soups: Stir the mashed roasted garlic into your favorite soups for an instant boost of rich flavor. It’s phenomenal in a classic tomato soup, a creamy potato soup, or this Olive Garden’s Zuppa Toscana soup – WOW!
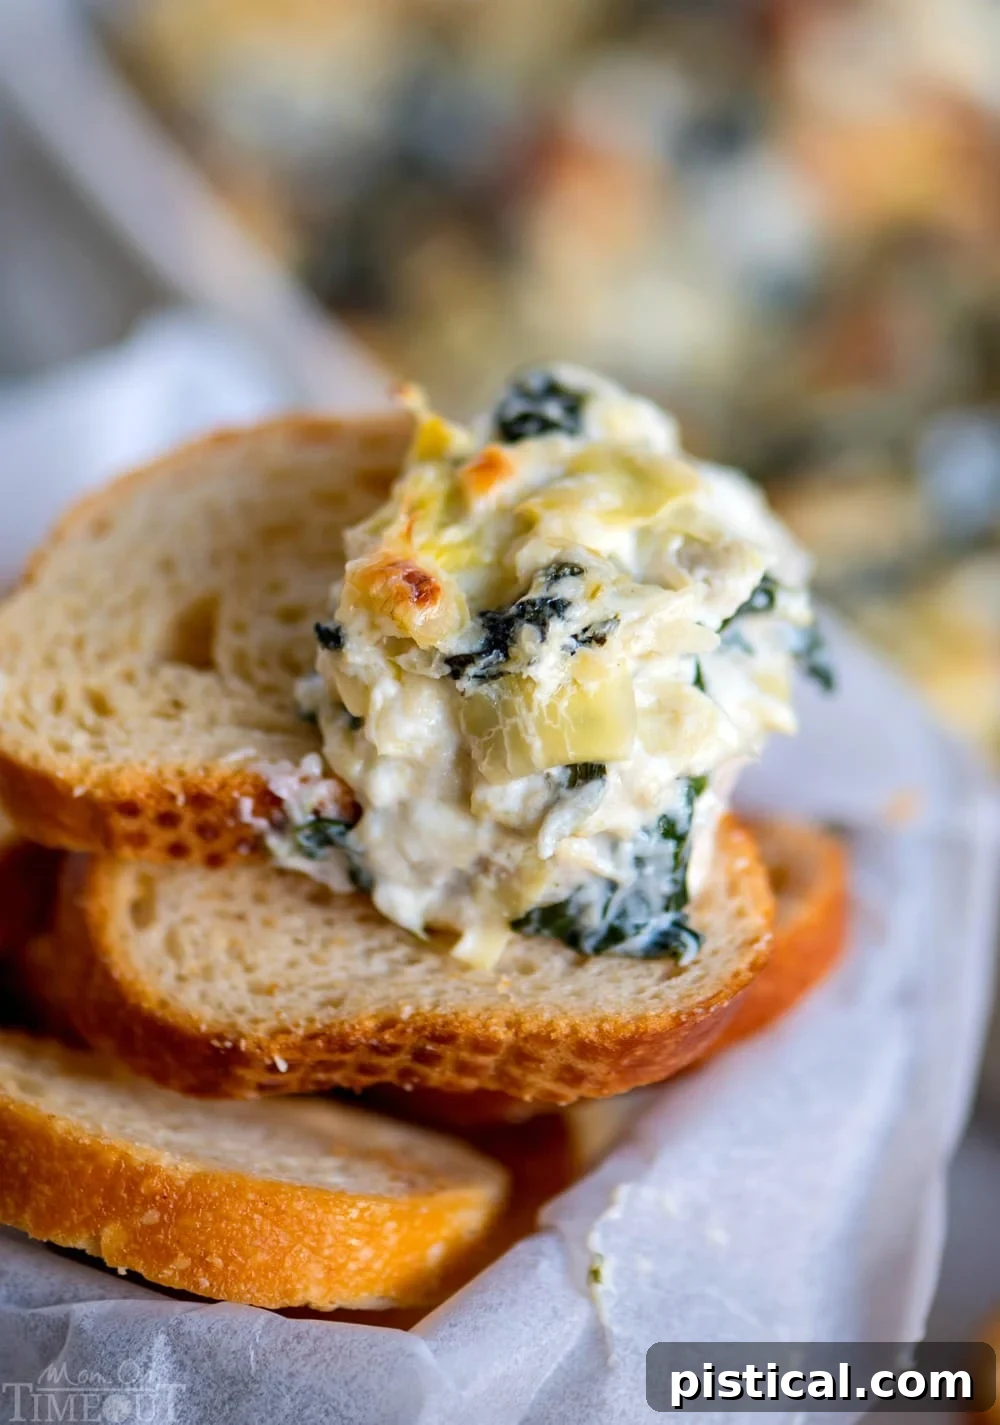
- Savory Dips: Roasted garlic is a superstar in dips. Mix it into hummus, add it to your guacamole, or make a heavenly Spinach Artichoke Dip with roasted garlic for an unforgettable appetizer. Once you’ve made it this way, you simply can’t go back.
- Pasta Sauces: Mash it into marinara, Alfredo, or pesto for an incredible depth of flavor. It pairs wonderfully with creamy and tomato-based sauces alike.
- Vegetable Roasts: Toss it with roasted vegetables like potatoes, carrots, or Brussels sprouts. The sweet garlic complements their natural flavors beautifully. You can also make amazing Garlic Roasted Potatoes.
- Compound Butter: Mash roasted garlic into softened butter with some fresh herbs (like rosemary or thyme) for a luxurious compound butter. Use it to baste steaks, spread on corn on the cob, or finish off roasted chicken.
- Salad Dressings and Vinaigrettes: Whisk mashed roasted garlic into your homemade salad dressings for an aromatic kick.
- Sandwiches and Wraps: Use it as a flavorful spread in sandwiches instead of plain mayonnaise, or mix it into chicken or tuna salad.
- Mashed Potatoes: Fold it into creamy mashed potatoes for an elegant side dish. Try our Slow Cooker Garlic Buttermilk Mashed Potatoes for a real treat.
- Pizza Topping: Dot your pizza with roasted garlic cloves before baking for an extra layer of savory sweetness.
Storing Roasted Garlic for Later Use
Roasted garlic can be prepared in advance, making meal prep a breeze. Proper storage ensures you always have this incredible ingredient on hand.
- Refrigeration: Store peeled roasted garlic cloves in an airtight container in the refrigerator for up to 3-4 days. For extended freshness, you can cover the cloves completely with olive oil in a jar. Ensure the garlic is fully submerged to prevent air exposure. Stored this way, it can last for up to 2 weeks in the fridge. *Always use clean utensils when removing garlic from oil to prevent contamination.*
- Freezing: Roasted garlic freezes beautifully.
- Whole Cloves: Place individual roasted garlic cloves on a parchment-lined baking sheet and freeze until solid. Once frozen, transfer them to a freezer-safe bag or container. This prevents them from clumping together.
- Mashed Paste: Mash the roasted garlic into a paste, then spoon small portions onto a parchment-lined baking sheet or into an ice cube tray. Freeze until solid, then transfer the frozen portions to a freezer-safe bag.
Frozen roasted garlic can last for up to 3 months. Thaw in the refrigerator or add directly to hot dishes.
Frequently Asked Questions About Roasting Garlic
What kind of garlic should I use for roasting?
Any variety of garlic can be roasted, but larger heads of garlic, like standard white or purple garlic, tend to be easier to handle and yield more substantial cloves. Look for firm heads without soft spots or green sprouts.
Can I roast individual garlic cloves?
Yes, you can! Individual cloves will roast faster. Toss peeled cloves with olive oil, salt, and pepper, then roast in a covered dish for 20-30 minutes, or until tender and golden. This is great if you don’t need a whole head.
What temperature should I roast garlic at?
400°F (200°C) is an ideal temperature for roasting garlic. It’s hot enough to caramelize the sugars and tenderize the cloves without burning them too quickly. Lower temperatures can also work but will take longer, while higher temperatures increase the risk of charring.
How can I tell when roasted garlic is done?
Roasted garlic is done when the cloves are golden brown, deeply caramelized, and feel completely soft and mushy when pierced with a fork. They should easily squeeze out of their skins.
My roasted garlic is bitter. What went wrong?
If your roasted garlic tastes bitter, it might have been roasted at too high a temperature, leading to burning rather than caramelization. Ensure it’s covered for most of the cooking time and check for tenderness and color. Another reason could be using older garlic that had started to sprout, which can be bitter.
Can I make roasted garlic without olive oil?
While olive oil is highly recommended for its flavor and ability to prevent drying, you could technically use another neutral oil or even a little butter. However, olive oil truly enhances the overall taste and texture.
Is roasted garlic healthier than raw garlic?
The health benefits of garlic are well-documented. While roasting can reduce some of the allicin (the compound responsible for raw garlic’s pungent flavor and some health benefits), it still retains many beneficial compounds. It’s a flavorful way to incorporate more garlic into your diet, and its mellow taste makes it easier for some people to digest compared to raw garlic.
More Garlic-Infused Recipes to Try
If you’re a true garlic lover, these recipes will further inspire your culinary adventures:
- Garlic Parmesan Breadsticks
- Oven Roasted Herb and Garlic Parmesan Potatoes
- Air Fryer Garlic Bread
- Garlic Herb Roast Chicken
- Honey Garlic Chicken
How To Roast Garlic
Transform pungent raw garlic into a sweet, creamy, and spreadable culinary delight with this easy oven-roasted garlic recipe. Perfect for enhancing dips, spreads, sauces, and more!

Ingredients
- 4 heads garlic
- 2 tablespoons extra virgin olive oil
- 1 teaspoon sea salt or kosher salt
- ⅓ teaspoon fresh ground black pepper
Instructions
- Preheat oven to 400°F (200°C).
- Drizzle a small amount of olive oil into the bottom of a small baking dish or cast iron skillet.
- Cut the top quarter or third off each head of garlic so the cloves are exposed.
- Place the garlic heads in the baking dish with the roots on the bottom and the cut side on top. You want them to stay upright during the roasting process, so make sure they are snug. If you are only roasting one or two heads, crumple up some foil and place it between the garlic heads to keep them upright, or use a smaller dish.
- Drizzle the remaining olive oil over the top of the garlic heads and sprinkle with salt and pepper.
- Cover the dish or skillet tightly with foil and bake for 40 to 50 minutes. You’ll know the garlic is done when it is fork-tender and beautifully caramelized with a nice golden color. If it’s not there yet, leave it in the oven for another few minutes before checking again.
- Let cool long enough to handle before gently pushing the cloves out. Start from the root and push up, just like you are trying to squeeze the last bit of toothpaste out of the tube.
- The roasted garlic will be spreadable, so use it on some toasted French bread, stir into your favorite sauce (it’s amazing in Alfredo sauce!), or add it to soups. Enjoy!
Nutrition
- Calories:
- 104 kcal
- Carbohydrates:
- 9g
- Protein:
- 2g
- Fat:
- 7g
- Saturated Fat:
- 1g
- Polyunsaturated Fat:
- 1g
- Monounsaturated Fat:
- 5g
- Sodium:
- 586mg
- Potassium:
- 115mg
- Fiber:
- 1g
- Sugar:
- 0.3g
- Vitamin A:
- 3IU
- Vitamin C:
- 9mg
- Calcium:
- 52mg
- Iron:
- 1mg
Mastering how to roast garlic is a simple yet incredibly rewarding skill that will undoubtedly enhance your cooking. This versatile ingredient adds a gourmet touch to countless dishes, transforming ordinary meals into extraordinary culinary experiences. So, grab a few heads of garlic, some olive oil, and get ready to create something truly delicious. Happy roasting!