

Have you ever considered the incredibly simple, yet rewarding, process of making homemade yogurt? Forget the need for specialized gadgets; your trusty slow cooker is all you need to transform milk into delicious, creamy yogurt right in your own kitchen.
Prepare to embark on a culinary journey as we unveil the secrets of How to Craft Perfect Homemade Yogurt in Your Slow Cooker! This comprehensive guide will walk you through every step, ensuring a successful batch of luscious yogurt that surpasses store-bought varieties.

Why Embrace Homemade Slow Cooker Yogurt?
In our household, yogurt is more than just a snack; it’s a staple. From vibrant breakfast parfaits, affectionately dubbed “energy bowls,” enjoyed several mornings a week, to nourishing fuel for Saturday swim meets, its versatility and health benefits are unmatched. Making your own yogurt at home brings a multitude of advantages that go beyond mere convenience.

First and foremost, it’s incredibly **cost-effective**. The price of quality yogurt, especially organic or Greek varieties, can quickly add up. By purchasing milk in larger quantities and making your own, you’ll notice significant savings over time. Beyond the financial benefits, making your own yogurt provides complete **control over ingredients**. You dictate what goes in – no artificial sweeteners, preservatives, or thickeners you can’t pronounce. This ensures a purer, healthier product for you and your family.
Furthermore, milk’s inherent versatility opens up a world of possibilities. Mastering homemade yogurt is just the beginning; you can explore variations of homemade cheeses or even ice cream, tailoring flavors and textures to perfectly match your personal preferences and dietary needs. Ready to dive in? Let’s get started on this surprisingly simple journey!
Getting Started: The Essential Tools and Ingredients
Don’t be intimidated by the process; making yogurt from scratch is more forgiving than you might think. While it involves several steps, the active hands-on time is minimal, and I’m here to guide you through each stage. You’ll need just a few basic items:
- **A Slow Cooker:** Your primary piece of equipment. Any standard slow cooker will work perfectly.
- **A Thermometer:** Crucial for monitoring milk temperature. A candy thermometer or instant-read thermometer is ideal.
- **Milk:** The foundation of your yogurt.
- **Yogurt Starter:** A small amount of store-bought yogurt with live active cultures, or a portion from a previous homemade batch.
This method is surprisingly resilient. I’ve had batches heat up higher than recommended and still turn out perfectly creamy. It’s truly a recipe where you can build confidence with each attempt!
Step 1: Heating the Milk to the Perfect Temperature
The first crucial step is to pour a half-gallon of milk into your slow cooker. Turn the setting to high. Our goal is to bring the milk’s temperature to between **180°F-185°F**. This pasteurization process serves two main purposes: it denatures the milk proteins, which helps create a thicker yogurt, and it kills any undesirable bacteria that might compete with your yogurt cultures. The heating phase typically takes my slow cooker a little over 2 hours, usually falling between 2 and 2.5 hours. Keep a close eye on your thermometer during this time.
I opted for whole organic milk for my boys, appreciating its rich flavor and nutritional profile. However, this recipe is incredibly adaptable. You can use any type of milk – skim, 2%, whole, or even non-dairy alternatives (though results may vary slightly). The fat content of your milk will directly influence the thickness and creaminess of your final yogurt. Higher fat milk yields a richer, thicker yogurt. Regardless of your choice, remember that milk is a powerhouse of nutrition, offering 9 essential nutrients in every 8-ounce serving. This includes 8 grams of high-quality protein for lean muscle, B vitamins for energy, Vitamin A for a healthy immune system, and bone-building nutrients like calcium and Vitamin D. It’s a truly nutritious foundation for your homemade treat.
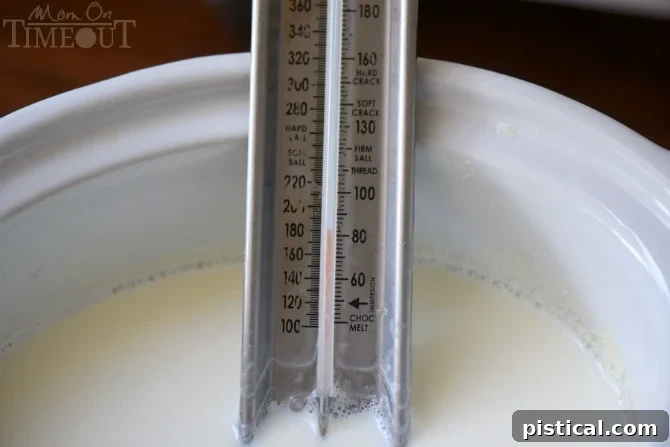
Step 2: Cooling the Milk to Incubation Temperature
Once your milk reaches the target temperature of 180°F-185°F, it’s time to cool it down. Turn off your slow cooker. We need the temperature to drop to approximately **115°F** (anywhere between 110°F and 120°F is ideal). This specific temperature range is vital because it’s where the beneficial yogurt bacteria thrive without being killed by excessive heat.
To expedite the cooling process and prevent excess condensation from dripping into your milk, I recommend a simple trick: slightly pop the lid of your slow cooker. Additionally, place a clean paper towel between the lid and the crock insert. This acts as a barrier, absorbing steam and ensuring no unwanted water dilutes your yogurt. If a skin forms on top of the milk as it cools, don’t worry – simply use a spoon to carefully scoop it out and discard it before proceeding.
Step 3: Preparing Your Yogurt Starter
While the milk is cooling, take one-third cup of your chosen yogurt starter (I prefer Greek yogurt for its robust cultures, but any plain yogurt with live active cultures will work) and set it out on your counter. The goal here is to allow the starter yogurt to come closer to room temperature. This minimizes the temperature shock when it’s introduced to the cooled milk, ensuring the live cultures remain vibrant and ready to multiply.
The yogurt starter is the magical ingredient! It contains the beneficial bacteria (probiotics) that will ferment the milk, transforming it into yogurt. These friendly bacteria consume the lactose (milk sugars) and produce lactic acid, which thickens the milk and gives yogurt its characteristic tangy flavor and creamy texture.
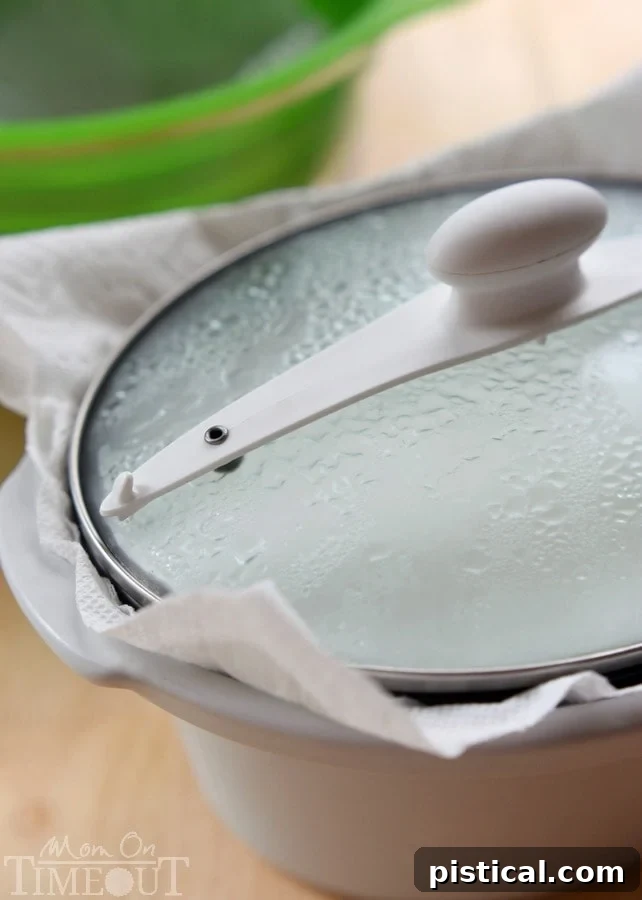
Step 4: Incorporating the Starter Cultures
Once your milk has cooled to about 110°F-115°F and your starter yogurt is near room temperature, it’s time to combine them. This step requires a gentle touch to protect those delicate live cultures. Scoop out about one cup of the warm milk from the slow cooker and transfer it to a small bowl containing your room-temperature yogurt starter. Gently whisk or stir the milk and yogurt together until smooth. The key here is to be loving and gentle, ensuring the cultures aren’t disturbed excessively.
Now, carefully drizzle this yogurt and milk mixture over the top of the milk in the slow cooker. Here’s a critical tip I discovered through experimentation: **DO NOT STIR IT IN**. I tried various methods, and simply drizzling the starter over the surface yielded the best results. The cultures will naturally disperse and begin their work without vigorous mixing.
Step 5: The Incubation Process – Where the Magic Happens
This is the longest, yet most passive, stage of yogurt making: incubation. The milk, now inoculated with live cultures, needs a consistently warm environment to ferment. An ideal incubation period is around 8 hours, often done overnight, allowing the bacteria ample time to work their magic.
My preferred method for incubation ensures a stable, warm temperature:
Wrap your slow cooker (with the lid securely on) in a large, thick towel. This acts as insulation, maintaining warmth. Then, very carefully transfer the wrapped slow cooker to your oven. Crucially, **do not turn on the oven’s heat**. Instead, simply turn on the oven light. The small amount of heat generated by the light bulb is often just enough to create the perfect cozy environment for your yogurt cultures to flourish. Ensure your oven rack is positioned low enough so the slow cooker, or at least its insert and lid, fits comfortably without being bumped. Leave it undisturbed for at least 8 hours, or ideally, overnight. This quiet period is when the magical transformation from milk to thick, tangy yogurt truly occurs!
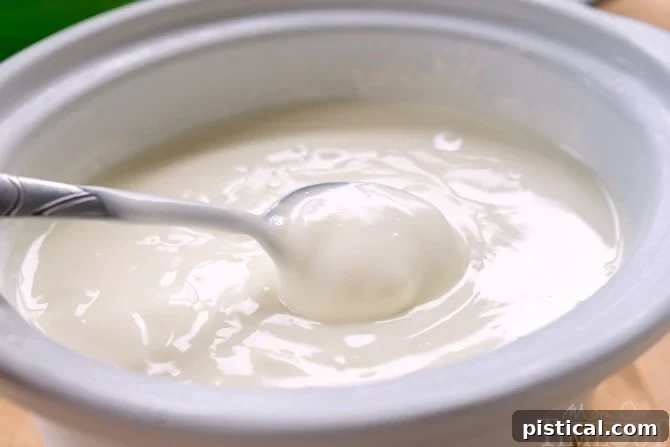
Step 6: Cooling and Setting Your Fresh Yogurt
After its long incubation, your yogurt is ready to emerge from the oven. At this point, it will likely still be warm and have a slightly delicate consistency. To firm it up and halt the fermentation process, it’s essential to cool it down. Carefully remove the slow cooker from the oven and transfer the yogurt into airtight containers. Then, place these containers in the refrigerator for at least four hours. This chilling period allows the yogurt to set properly, resulting in a much firmer and more enjoyable texture.
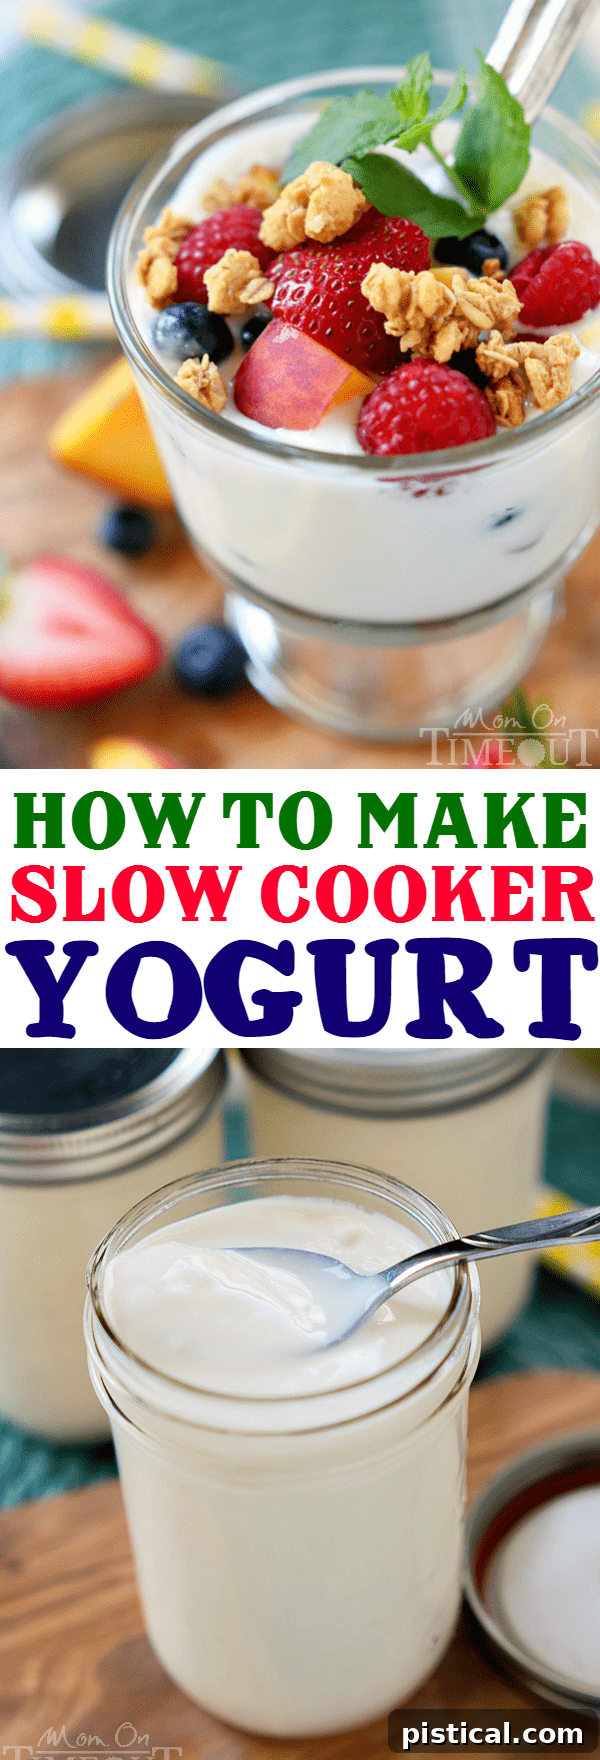
Upon refrigeration, you’ll notice a significant change in its consistency. It will thicken considerably, though its exact firmness will depend on the type of milk used and whether you choose to strain it further. Here’s a peek at what it looks like after a good chill:
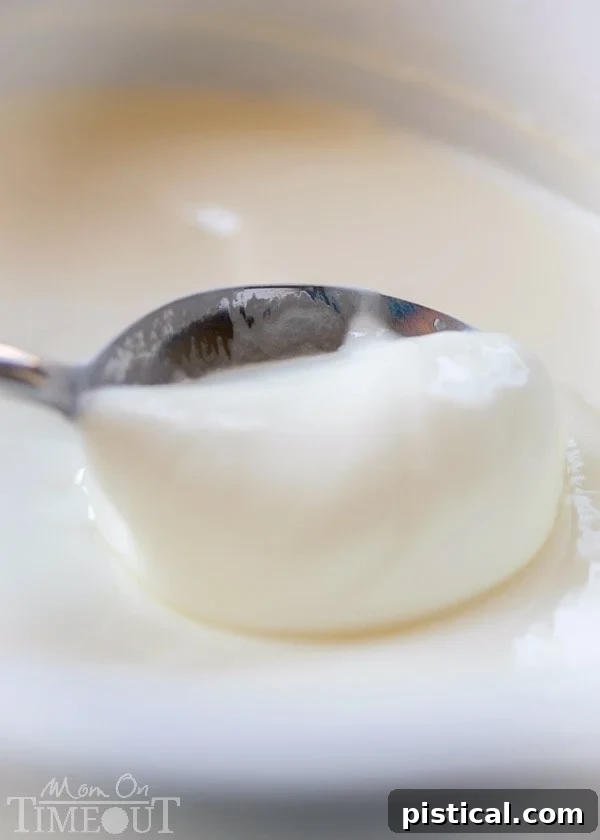
Step 7: Achieving Thicker Yogurt – The Art of Straining (Optional)
Now we come to the final, entirely optional, step. If you’re content with the consistency of your newly made yogurt – congratulations, you’re done! Simply transfer it to airtight containers, and it’s ready to enjoy. However, if you, like us, prefer a thicker, creamier, and more concentrated yogurt reminiscent of Greek yogurt, then read on for the straining process.
Straining involves separating the whey, the yellowish liquid that naturally separates from the solid yogurt curds. Removing the whey results in a denser, richer yogurt with a more intense flavor. Many traditional recipes suggest using cheesecloth for this purpose, but in my experience, cheesecloth can be frustrating. Even when quadrupled or layered multiple times, it often allows some of the precious yogurt solids to pass through along with the whey. This is far from ideal.
Here’s a game-changing tip: **use coffee filters!** Even if you don’t own a coffee machine that uses them, a large pack of paper coffee filters is incredibly inexpensive and remarkably effective. Place a colander over a large bowl, then line the colander with coffee filters. Start with one on the bottom, then arrange others up the sides as needed to cover the surface. Carefully transfer portions of your yogurt into the filter-lined colander. Allow the whey to drip out; this usually takes about 30 minutes per batch. The beauty of coffee filters is their fine porosity – they allow only liquid (whey) to pass through, keeping all your yogurt solids safely contained. Plus, scraping the strained yogurt from a coffee filter is infinitely easier and less wasteful than from a sticky cheesecloth.
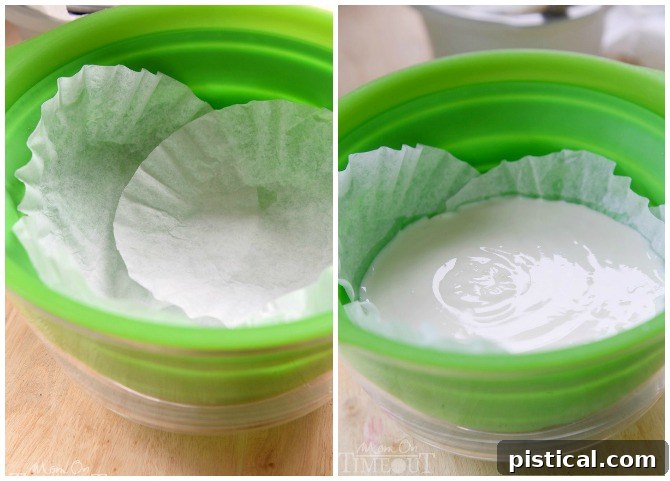
To maximize the removal of whey and achieve your desired thickness, you’ll want to perform this straining process in batches. I typically divide a half-gallon batch into three straining sessions, or use multiple colanders simultaneously if available. This is what the separated whey looks like:
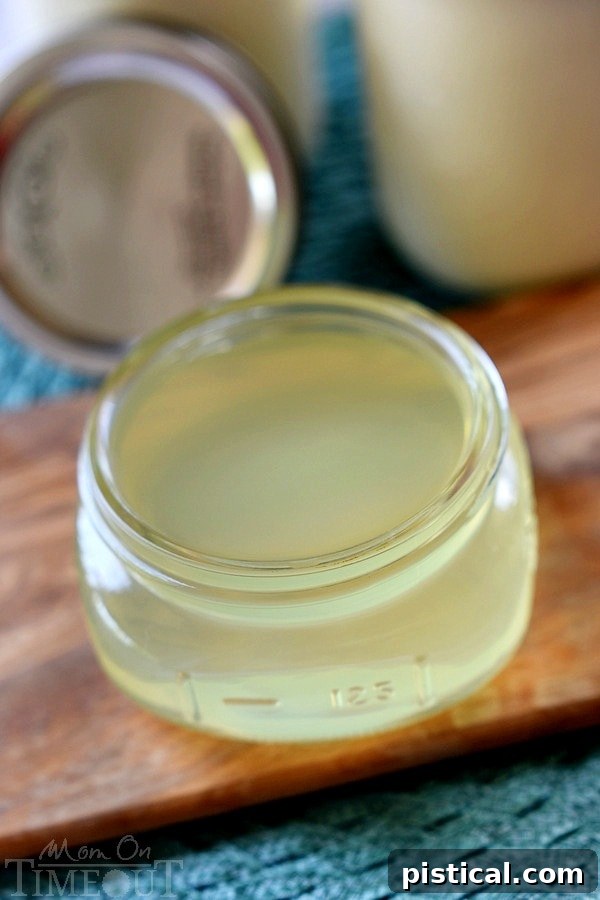
While I usually discard my whey, it’s a nutrient-rich liquid with potential uses, such as in smoothies, baking, or even as a fertilizer for plants. After straining, what you’re left with is a wonderfully thick, naturally sweet, and incredibly rich yogurt, perfectly ready for you to customize and enjoy.
Storage and Serving Suggestions for Your Homemade Delight
From a half-gallon of milk, you can expect to yield approximately 6 cups (give or take) of delicious homemade yogurt. This is an excellent return, especially considering the only byproduct is the easily managed whey. I find it convenient to divide the freshly made yogurt into small mason jars, making them perfect for grab-and-go breakfasts or snacks throughout the week. Store your homemade yogurt in airtight containers in the refrigerator, where it will stay fresh for up to a week.
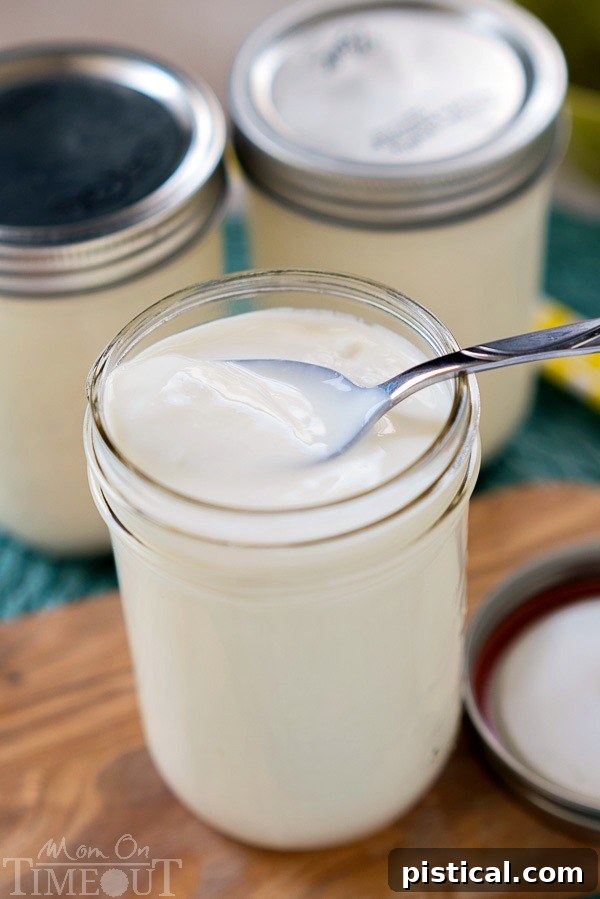
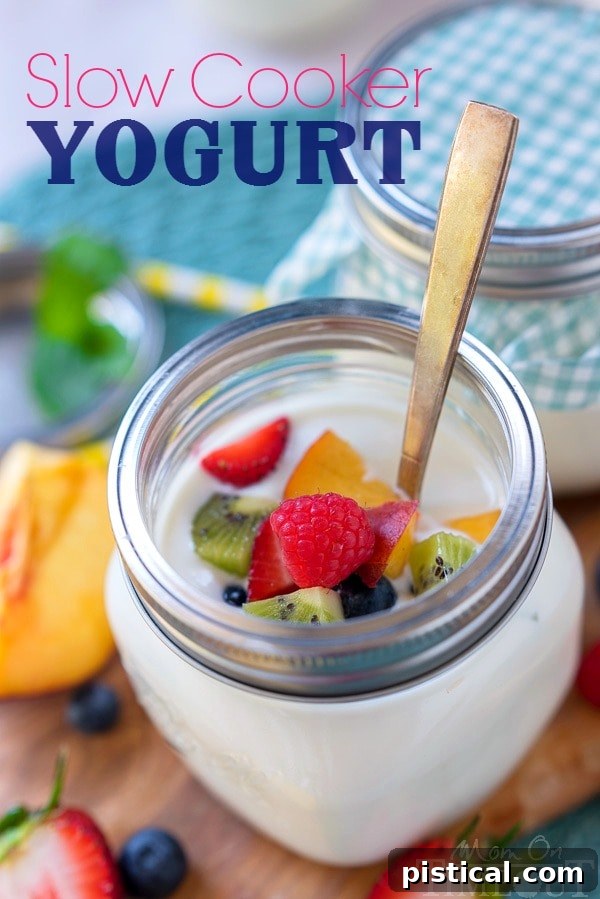
The beauty of plain homemade yogurt lies in its versatility. In the mornings, I love to dress it up with a medley of fresh seasonal fruit, a sprinkle of crunchy granola, and a drizzle or two of local honey for natural sweetness. My husband often packs his for work, enjoying a wholesome and satisfying meal. You can also experiment with other toppings like chopped nuts, seeds, cinnamon, vanilla extract, or even a swirl of fruit preserves.
Conclusion: A Wholesome Reward for Minimal Effort
There you have it! While the process of making yogurt in a slow cooker may appear lengthy due to incubation times, the amount of active work involved is remarkably minimal. The true reward lies in knowing exactly what you’re nourishing your family with – a pure, naturally nutrient-rich food that’s free from additives. I wholeheartedly encourage you to give this recipe a try. It’s a rewarding experience that yields delicious results every time. And remember, always save a portion of your homemade yogurt to use as a starter for your very next batch, ensuring a continuous supply of fresh, wholesome goodness!

Print Recipe
Pin Recipe
How To Make Yogurt In A Slow Cooker!
Discover how easy it is to make delicious, creamy homemade yogurt using just your slow cooker. No fancy machine needed!
Course: Breakfast
Cuisine: American
Keyword: slow cooker yogurt, homemade yogurt, DIY yogurt
Prep Time: 5 minutes
Cook Time: 12 hours
Total Time: 12 hours 5 minutes
Servings: 6 cups
Calories: 201 kcal
Author: Trish – Mom On Timeout
Ingredients
- 1/2 gallon milk (whole milk recommended for thicker yogurt)
- 1/3 cup yogurt (room temperature, Greek yogurt with live active cultures preferred)
Instructions
- Pour a half-gallon of milk into a slow cooker and set it to high. Heat the milk until it reaches a temperature between 180°F-185°F. This typically takes 2 to 2.5 hours.
- Once the milk hits 180°F, turn off the slow cooker. Allow the milk to cool down to a temperature of 110°F-120°F (ideally around 115°F). You can slightly prop the lid and place a paper towel between the lid and the crock to absorb steam.
- While the milk cools, place 1/3 cup of yogurt starter on your counter to bring it to room temperature.
- When the milk reaches the target cooling temperature, scoop out about 1 cup of the warm milk and gently mix it with the room-temperature yogurt starter in a small bowl until smooth.
- Carefully drizzle the yogurt-milk mixture over the top of the cooled milk in the slow cooker. **Do not stir it in.**
- Wrap the slow cooker in a large towel for insulation. Transfer it carefully to your oven (turned off). Turn on the oven light to provide a consistent, low warmth for incubation. Leave undisturbed for at least 8 hours, or overnight.
- After incubation, remove the yogurt from the oven. Transfer it into airtight containers and refrigerate for at least four hours to allow it to set firmly.
- (Optional for thicker yogurt) To strain: Place a colander over a large bowl and line it with coffee filters. Transfer portions of the yogurt into the lined colander and allow the whey to strain out for about 30 minutes. Repeat in batches until desired thickness is achieved.
- Transfer the finished yogurt into airtight containers and store in the refrigerator for up to one week. Enjoy!
Nutrition Facts (per serving)
Calories: 201kcal | Carbohydrates: 16g | Protein: 10g | Fat: 11g | Saturated Fat: 6g | Cholesterol: 33mg | Sodium: 142mg | Potassium: 437mg | Sugar: 17g | Vitamin A: 525IU | Calcium: 373mg | Iron: 1mg
Explore more delightful recipes featuring milk products:
Monster Cookie Dough Ice Cream
Rocky Road Pudding Pops
Banana Pudding Pie – from scratch!

Connect with me!
Find more great content by linking up at some of these parties.
Disclosure: This post is sponsored by MilkPEP. All opinions are, as always, 100% my own. Thank you for supporting the brands that I love and that make Mom On Timeout possible!