
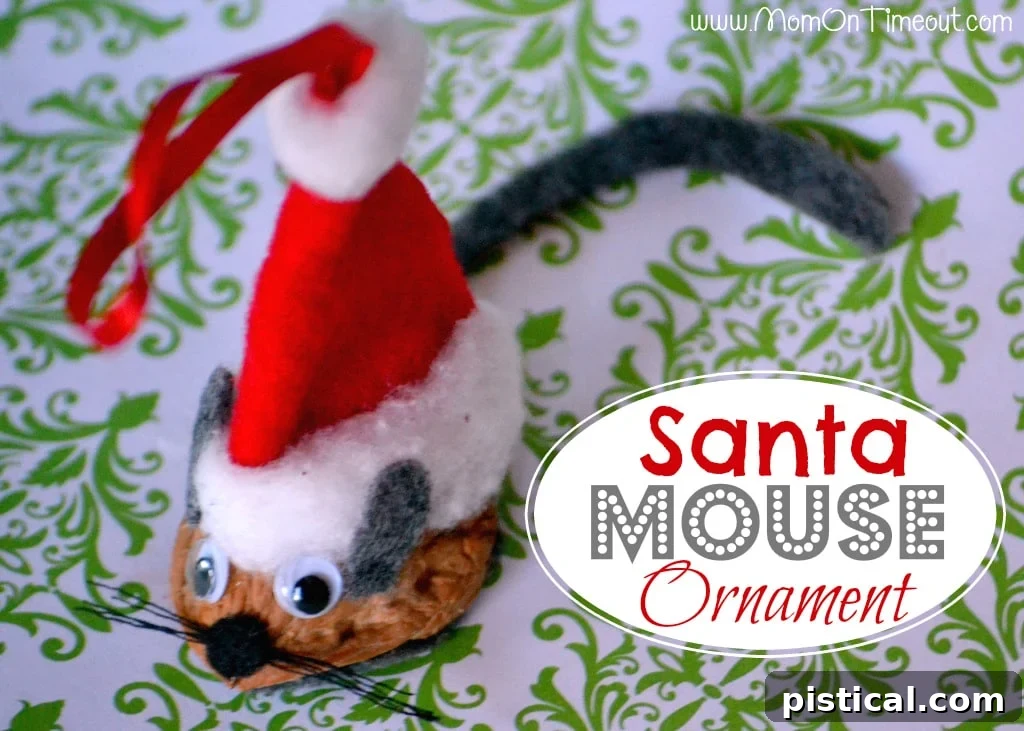
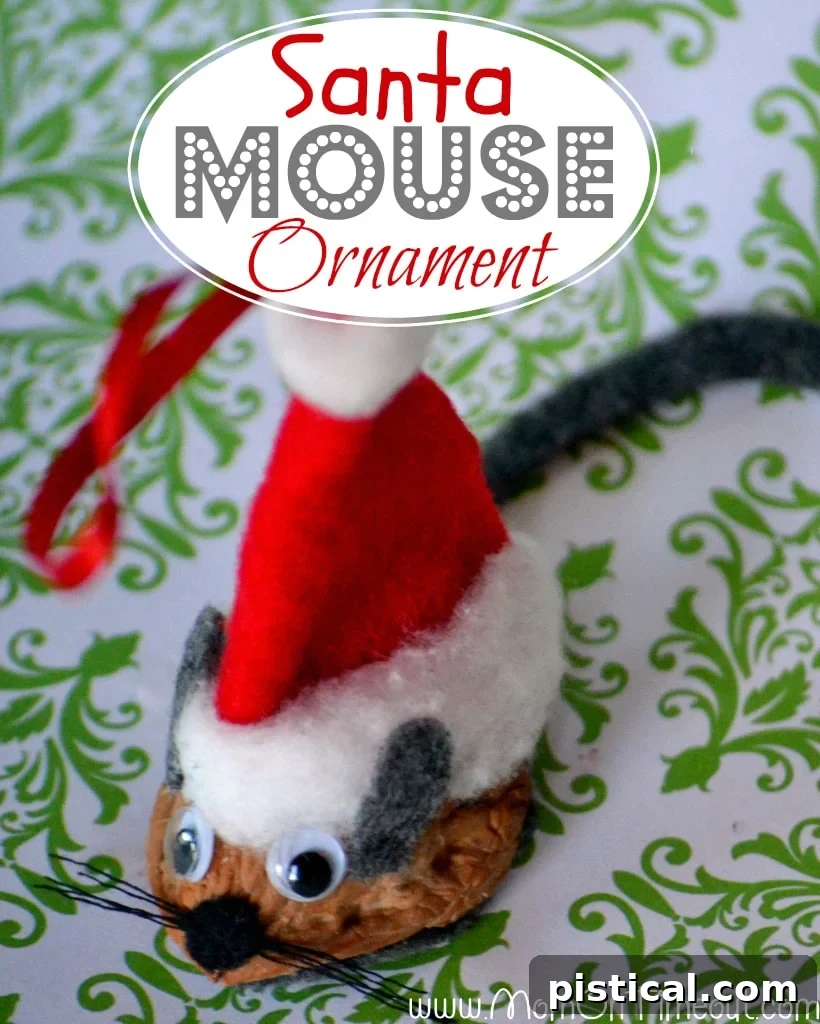
DIY Santa Mouse Ornament: Craft a Cherished Christmas Heirloom
Christmas is a season brimming with magic, traditions, and the warmth of family memories. Among the myriad ways we celebrate, crafting holds a special place, allowing us to imbue our holiday decor with personal touches and a sense of history. This year, I had the immense pleasure of revisiting a beloved craft from my own childhood: the adorable Santa Mouse ornament. For as long as I can recall, these charming little mice have graced our family Christmas tree, each one holding a special place in my heart. My dear sister, knowing my nostalgic longing, thoughtfully lent me one of her original Santa Mice, providing the perfect inspiration to create a new batch for my family’s tree.
There’s something uniquely heartwarming about hanging an ornament you’ve crafted yourself, or even better, one that carries the echoes of past Christmases. These Santa Mice are not just decorations; they are tiny vessels of sentiment, embodying the spirit of handmade gifts and shared traditions. They are wonderfully simple to make, budget-friendly, and suitable for crafters of all skill levels, making them a fantastic project to undertake solo or with loved ones. Join me on this creative journey as we bring these festive little characters to life, transforming simple walnut shells into enchanting Christmas keepsakes that will be cherished for years to come. This detailed tutorial will guide you through every step, ensuring your success in creating your own adorable Santa Mouse ornaments.
Materials You’ll Need for Your Santa Mouse Ornaments
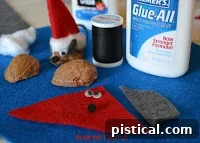
Gathering your materials is the first exciting step in any crafting adventure. For these delightful Santa Mouse ornaments, you’ll find most items are readily available at craft stores or even around your home. The beauty of this project lies in its simplicity and the modest cost of its components, making it accessible for everyone.
- Walnut Half Shells: These form the sturdy, natural body of our Santa Mice. Look for shells that are intact and relatively clean. You’ll need one good half shell per mouse.
- Felt (Gray, Red, Black):
- Gray felt: Essential for the mouse’s ears, underbody, and charming tail, providing a realistic mouse texture.
- Red felt: For crafting the iconic and festive Santa hat. Any shade of vibrant red will work perfectly.
- Black felt: A small scrap is needed for the tiny, distinct mouse nose.
- Cotton Balls: These provide the fluffy white trim and pom-pom for Santa’s hat, adding a classic touch.
- Strong Craft Glue: A reliable liquid craft glue designed for fabric and small embellishments is ideal. Alternatively, a low-temperature hot glue gun (with adult supervision) can be used for faster drying times.
- Black Thread: For crafting the delicate, expressive whiskers of your mouse. Black embroidery floss or sturdy sewing thread works well.
- Small Googly Eyes: These are crucial for giving your Santa Mouse its endearing personality and bringing its face to life.
- Ribbon or String: A small length (approximately 4-6 inches) of thin ribbon or sturdy string will serve as the hanger, allowing your finished ornament to dangle gracefully from your tree. Choose a color that complements the red and gray of the mouse.
Essential Tools for Crafting
Beyond the primary materials, a few basic tools will make your crafting process smoother and more enjoyable, ensuring precision and ease.
- Sharp Scissors: Indispensable for precise cutting of felt, thread, and ribbon, ensuring clean edges for a professional finish.
- Craft Knife or Nutcracker: To carefully open the walnut shells without causing damage to the halves. Exercise extreme caution when using a craft knife.
- Pencil or Marker: Useful for tracing shapes onto felt before cutting, especially for the body and ears.
- Tweezers (Optional): Can be incredibly handy for placing small pieces like googly eyes, whiskers, or small cotton bits with precision.
- Protected Work Surface: Lay down an old newspaper, craft mat, or wax paper to protect your table from glue and craft debris.
Step-by-Step Directions: Crafting Your Santa Mouse
Now, let’s dive into the fun part – assembling your very own Santa Mouse ornaments! Follow these detailed instructions to create these festive little critters, bringing a touch of handmade charm to your holiday decor.
Step 1: Preparing Your Walnut Shells
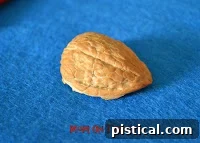
The journey begins with preparing your walnut half shells, which will form the charming body of your Santa Mouse. Carefully clean out the insides of your walnut shells, ensuring no nut remnants remain. Sometimes, achieving a perfectly intact half shell requires sacrificing its counterpart. A helpful technique is to gently score the seam of the walnut with a craft knife before using a nutcracker; this can significantly aid in a cleaner split. Always exercise caution and use appropriate safety measures when handling sharp tools. Ensure the insides are completely dry before moving on to the next step, as moisture can affect glue adhesion.
Step 2: Crafting the Santa Hat Hanger
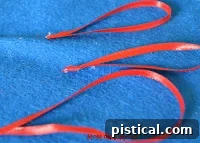
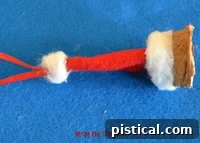
Every ornament needs a way to hang gracefully from your Christmas tree! Select a length of ribbon or string, approximately 4-6 inches long, depending on your desired hanging length. Loop the ribbon and securely glue the ends together, forming a small, sturdy loop. This loop will be strategically placed inside the Santa hat, creating the hanger for your finished ornament. Choose a ribbon color that either matches the red felt or offers a subtle contrast.
Step 3: Creating the Iconic Santa Hat
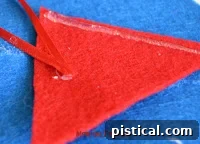
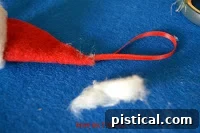
 Now it’s time to craft the festive red Santa hat that will crown your little mouse. From your red felt, carefully cut out a triangle shape. The exact size of the triangle will depend on the size of your walnut shell; generally, aim for a base that is slightly wider than the walnut and a height that gives it a classic Santa hat peak. Apply a thin line of glue along one of the non-base sides of the felt triangle, then gently bring the two non-base sides together to form a cone shape. Before completely sealing the cone, insert the glued ends of your ribbon hanger inside, ensuring the loop extends neatly from the top point of the hat. Firmly press the felt sides together to secure the hanger and form a well-defined cone.
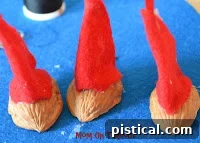
Once your hat cone is formed and dry, apply a bead of glue around the inside base of the hat. Carefully position and glue the hat onto the top of your walnut shell. It is important to leave ample space at the front of the walnut shell for the mouse’s face – specifically for attaching the nose, whiskers, and googly eyes later. Allow this assembly to dry thoroughly to ensure the hat is firmly attached and won’t shift.
Step 4: Adding the Fluffy Hat Trim
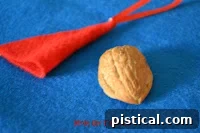
No Santa hat is truly complete without a fluffy white trim! Take a cotton ball and gently unroll it, pulling out a thin, elongated strip of cotton. This strip will form the base trim of the Santa hat, giving it that iconic festive look. Apply a thin line of glue around the base of the felt hat where it meets the walnut shell. Carefully press the unrolled cotton strip onto this glue, completely covering up the seam between the felt and the walnut. This not only adds a traditional Santa aesthetic but also gives your ornament a neat, finished appearance.
Step 5: Attaching the Hat Pom-Pom
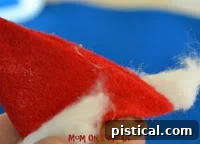
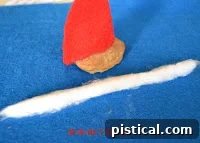 To put the finishing touch on the Santa hat, pull off another small, fluffy piece of cotton from a cotton ball. Gently roll it between your fingers to form a compact, spherical pom-pom. Apply a tiny dab of glue to the very tip of the Santa hat cone and carefully press your newly formed cotton pom-pom onto it. This small detail adds an extra layer of charm and authenticity to your mouse’s festive headwear.
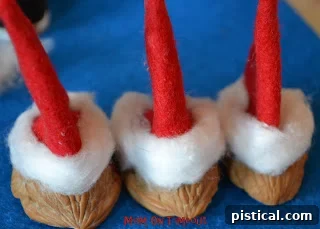
Step 6: Bringing the Mouse Face to Life (Nose, Whiskers, and Eyes)
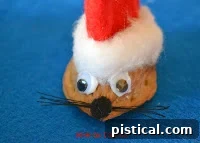
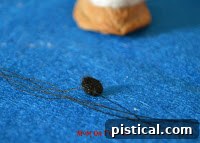
 Now for the delightful details that give your Santa Mouse its endearing personality. First, for the nose, cut a very small, neat circle from your black felt. Apply a tiny dot of glue to the very front tip of the walnut shell, in the space you left, and carefully place the black felt circle on top. Next, cut three or four short lengths of black thread (about 1 inch each) for the whiskers. Arrange them artfully around the nose, fanning them out slightly, and secure them with another tiny dab of glue, ensuring they are symmetrical. Finally, glue the small googly eyes just above the nose and whiskers, positioning them to give your mouse a friendly, curious, and cheerful expression. This step truly makes your mouse come alive!
Step 7: Crafting the Ears
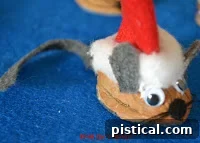
 The ears are essential for completing the mouse’s recognizable silhouette. From your gray felt, cut out two small, rounded ear shapes. Aim for them to be proportionate to the size of your walnut shell and the rest of the facial features. Apply a small amount of glue to the base of each felt ear and carefully attach them to the sides of the walnut shell, positioned slightly above and behind the googly eyes. Ensure they are symmetrical and upright for the best overall effect. Allow the glue to set firmly before handling further.
Step 8: Designing the Mouse Body and Tail
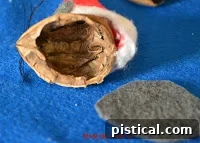
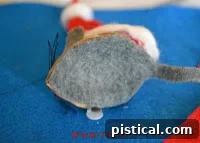
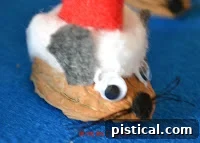 To give your Santa Mouse a proper body and tail, take your gray felt. Carefully trace the bottom curve of your walnut shell onto the felt with a pencil or marker. Then, either freehand or draw a simple, elongated body shape extending from this curve, complete with a long, thin tail. For a seamless and neat appearance, it’s often easiest to cut the body shape and the tail as a single continuous piece of felt. This creates a tidy base and a charming tail that extends naturally from the back of the walnut. Once cut, apply glue to the traced portion and carefully attach it to the bottom of the walnut shell, ensuring the tail points backward. Allow it to dry completely, and just like that, your adorable Santa Mouse is complete!
Tips for Crafting Your Perfect Santa Mouse
To ensure your Santa Mouse crafting experience is as smooth and enjoyable as possible, consider these helpful tips and tricks:
- Glue Application: When using liquid craft glue, apply it sparingly to avoid visible residue. If using a hot glue gun, work quickly but carefully, as hot glue sets very fast.
- Precision Cutting: Using sharp, small crafting scissors will allow for more precise cuts on the felt, particularly for the small details like the nose and ears, resulting in a cleaner, more refined ornament.
- Patience with Drying: Allow sufficient drying time between each major gluing step. This prevents pieces from shifting and ensures a secure, long-lasting bond. Rushing can lead to frustration and a less polished final product.
- Template Creation: If you’re making multiple mice, consider creating small paper templates for the felt hat, ears, and body/tail. This ensures consistency across all your ornaments.
- Involving Children: This is a wonderful craft for families! Younger children can help with unrolling cotton balls, selecting googly eyes, and gluing larger pieces, always under adult supervision, especially when hot glue or sharp tools are involved.
- Personal Touch: Don’t hesitate to add your own creative flair! Consider adding a tiny bead for the nose instead of felt, or perhaps a touch of glitter to the hat trim for extra sparkle.
Variations and Personalization for Your Walnut Shell Ornaments
While the classic Santa Mouse is undeniably charming, there’s plenty of room for creative personalization and variations. Make each ornament uniquely yours or expand your crafting to create a whole collection of festive little creatures:
- Color Schemes: Experiment with different felt colors for the hats – perhaps green for an elf mouse, blue for a winter-themed mouse, or even sparkly felt for a touch of glam. You could also use brown felt for the mouse body to mimic different mouse breeds.
- Alternative Embellishments: Instead of simple cotton, try using tiny bells, miniature buttons, or even small pom-poms for the hat trim and pom-pom. A small sequin could make a cute, shiny alternative to a felt nose.
- Different Nut Shells: If walnuts aren’t readily available, consider using other types of nut shells like almonds or even acorns. You’ll need to adjust the size of your felt pieces and facial features accordingly.
- Non-Holiday Versions: The basic walnut shell mouse can be adapted for any season! Change the hat to a party hat for a birthday mouse, add tiny flowers for a spring mouse, or a small leaf for an autumn mouse.
- Add Names or Dates: Use a fine-point permanent marker to discreetly write the year or the name of the recipient on the underside of the walnut shell. This transforms your craft into a truly personalized and date-stamped keepsake.
- Other Walnut Shell Characters: With a bit of imagination, you could adapt this basic walnut shell technique to create other charming characters. Think miniature owls with feather wings, tiny bunnies with long ears, or even miniature gnomes with long felt beards.
The Joy of Handcrafted Christmas Ornaments
Completing a DIY project like these Santa Mouse ornaments brings a profound sense of accomplishment and joy. There’s an undeniable charm that handcrafted items lend to holiday decor, a warmth and personality that mass-produced items simply can’t replicate. Each little mouse, with its unique quirks and handmade character, tells a story and becomes a tangible piece of your family’s Christmas narrative.
These ornaments are more than just festive decorations; they are potential family heirlooms, passed down through generations, each one carrying cherished memories of Christmases past. The act of crafting itself is a wonderful way to slow down during the busy holiday season, to engage in a mindful activity, and to create something beautiful with your own hands. Whether you make one or a dozen, these Santa Mouse ornaments are sure to bring smiles and add a touch of nostalgic magic to your holiday celebrations, becoming beloved components of your festive traditions for years to come.
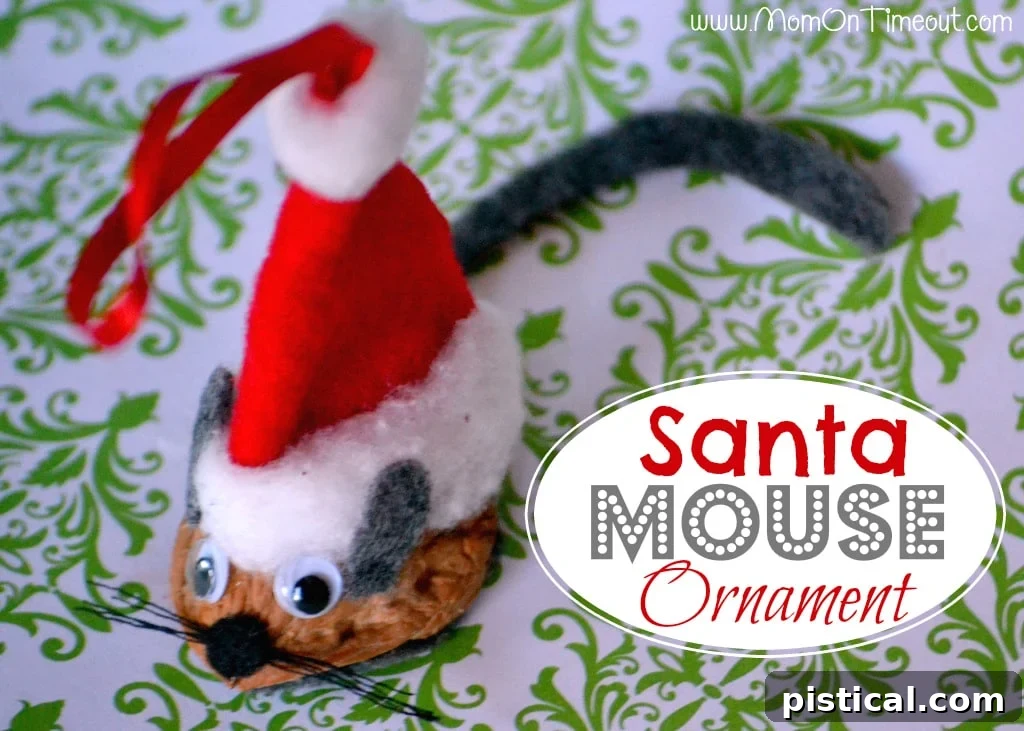
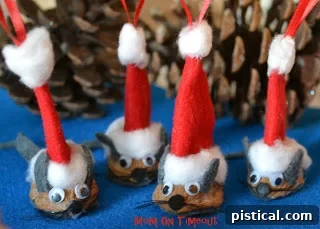
I crafted four little mice for our family tree this year, and seeing them hung by my loved ones fills me with immense satisfaction. Aren’t they simply adorable? I wholeheartedly encourage you to embark on this charming project and add these delightful Santa Mice to your own holiday traditions. Happy crafting and Merry Christmas!