
Welcome to the ultimate guide for crafting the most incredible Chewy Chocolate Chip Cookies you’ll ever experience! Forget everything you thought you knew about baking this classic treat, because this easy chocolate chip cookie recipe is truly life-changing. Imagine perfectly soft, delightfully chewy cookies, generously studded with rich chocolate in every single bite. What makes them even better? This recipe comes together in one bowl, requires no electric mixer, and consistently delivers thick, soft, and unbelievably chewy cookies. Prepare for an unmatched flavor and texture that will make these your go-to homemade chocolate chip cookies. If you love simple, delicious cookie recipes, be sure to also explore our No Bake Cookies and our incredibly easy, 4-ingredient Almond Joy Cookies!
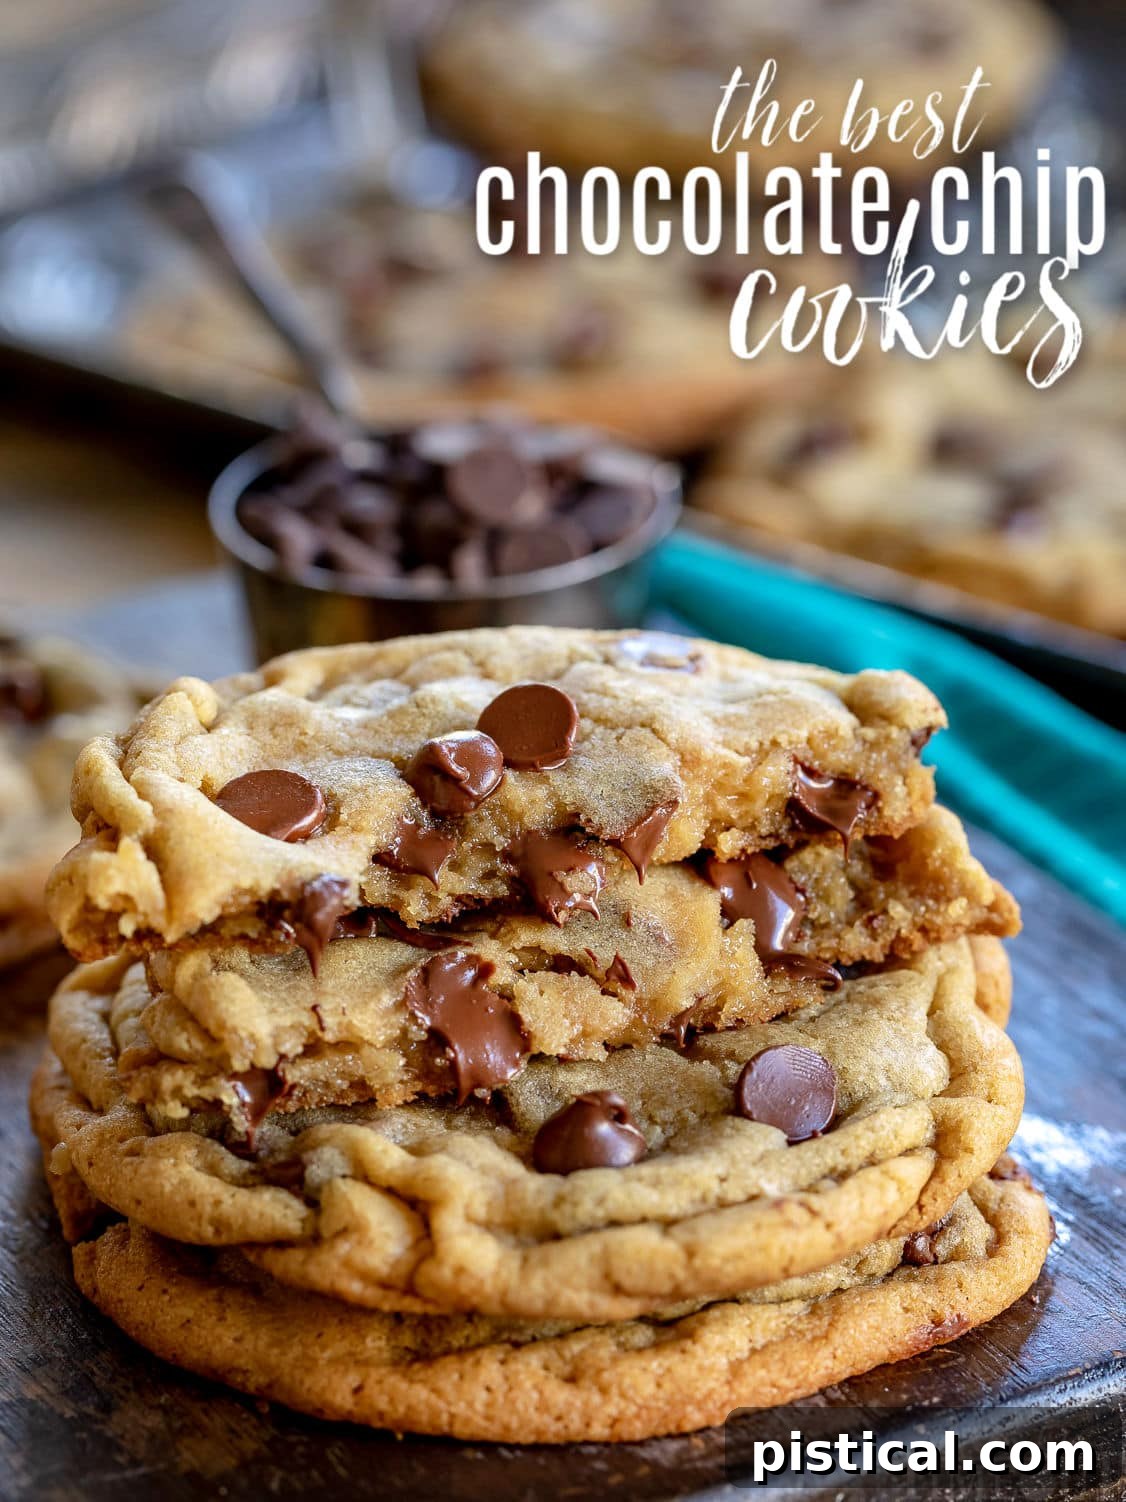
Discover the Secret to the Best Chewy Chocolate Chip Cookies
For over a decade, I’ve been perfecting this easy chocolate chip cookie recipe. While my original version, developed almost 10 years ago, was beloved, I’ve made a series of subtle yet significant tweaks in recent years that have elevated it to an entirely new level of perfection. These careful adjustments have touched every aspect of the cookie, from simplifying the preparation process to enhancing the depth of flavor and creating an even more irresistible texture. The result is a cookie that consistently delivers on its promise of soft, thick, and chewy goodness, making it the undisputed champion in my baking repertoire and soon, in yours.
What Makes This the Ultimate Chocolate Chip Cookie Recipe?
We all have our ideal vision of the perfect chocolate chip cookie. For some, it’s a crispy edge, for others, a cakey center. However, for those who crave a truly thick, soft, and chewy experience bursting with chocolate, this recipe stands head and shoulders above the rest. Here’s why this particular combination of features results in a genuinely superior homemade chocolate chip cookie:
- Effortless Preparation: No Mixer Needed! One of the biggest advantages of this recipe is its incredible simplicity. By utilizing melted butter, we bypass the need for an electric mixer, which is typically essential for creaming butter and sugar. This means less equipment to clean, less noise in the kitchen, and a quicker start to your baking adventure. The entire dough can be mixed in a single bowl, making cleanup a breeze and allowing you to focus on the joy of baking. This one-bowl method is a game-changer for busy bakers or anyone who appreciates efficiency.
- Consistently Thick, Soft, and Chewy Perfection. This recipe is engineered for consistency. Every batch, every time, you’ll pull out cookies that are perfectly thick, wonderfully soft in the center, and boast that desirable, satisfying chewiness. No more flat, hard, or overly crispy cookies – just pure, unadulterated cookie bliss that holds its shape and texture beautifully. This reliability is key for any baker seeking to impress or simply enjoy a perfect cookie.
- A Symphony of Chocolate in Every Bite. What’s a chocolate chip cookie without an abundance of chocolate? This recipe ensures that each bite delivers a generous explosion of chocolate goodness. Whether you prefer semi-sweet, milk, or dark chocolate, the balance of dough to chocolate is carefully calibrated to provide maximum flavor impact without overwhelming the cookie’s delicate texture. It’s a chocolate lover’s dream come true!
- Lightning-Fast Dough Prep & Essential Chill. You might think “best ever” means complicated, but this dough comes together in less than 10 minutes of active preparation. While there’s a crucial 30-minute freezing step (which we’ll delve into later), the hands-on time is minimal. This speed, combined with the unparalleled flavor and texture developed during the chill, makes for an incredibly rewarding baking experience that fits into even the busiest schedules.
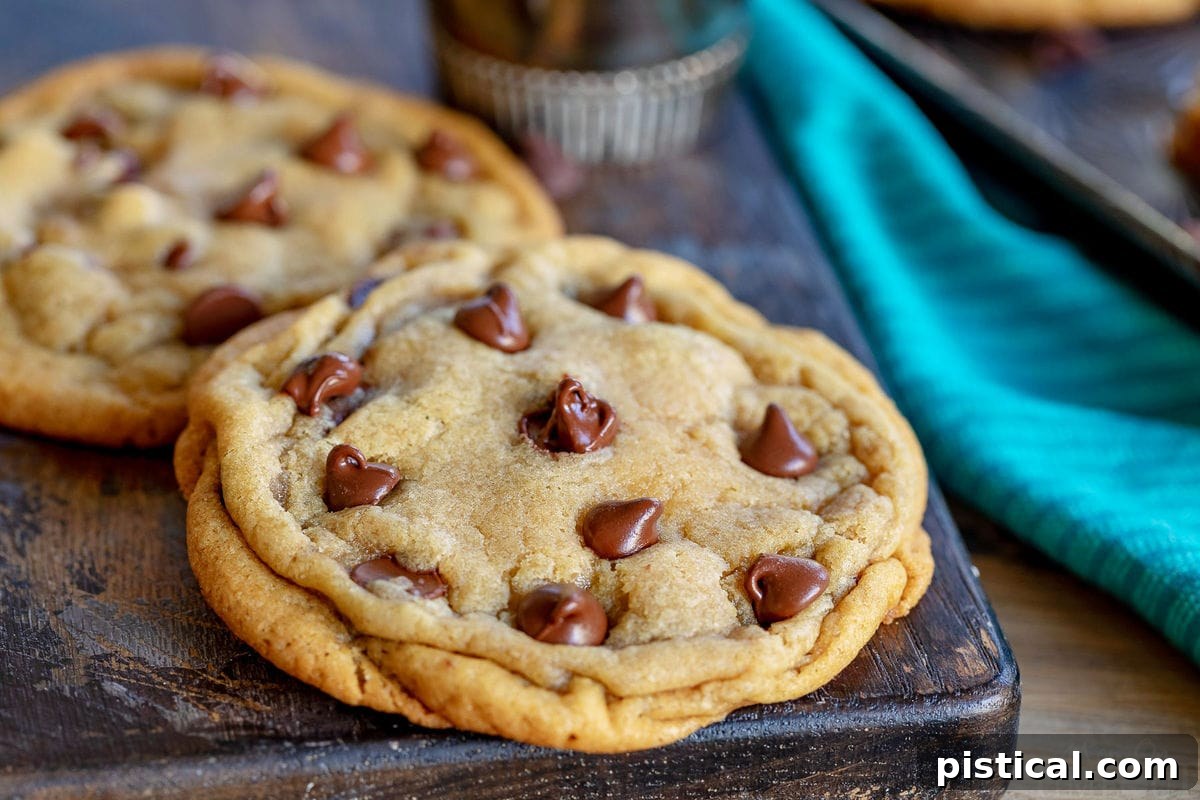
The Secrets to Unbelievably Chewy Chocolate Chip Cookies
Achieving that coveted, irresistible chewiness in a chocolate chip cookie isn’t accidental; it’s a science. This recipe relies on three core components that work in harmony to produce the ultimate chewy chocolate chip cookie experience:
-
The Magic of Melted Butter
Unlike many traditional recipes that call for softened or creamed butter, this chocolate chip cookie recipe begins with melted butter. This seemingly small change is foundational to the cookie’s chewiness. Melted butter disperses more evenly throughout the dough, contributing to a more tender and pliable texture. When I updated this recipe, I carefully adjusted the flour quantity to perfectly balance the melted butter, preventing any potential greasiness while maintaining that crucial chew. Remember, the key is to let the melted butter cool slightly until it becomes opaque before combining it with the sugars. This ensures proper emulsion and the best possible texture.
-
The Power of an Extra Egg Yolk
This recipe calls for not just one whole egg, but also an additional egg yolk. This extra yolk is a secret weapon for tender and chewy cookies. Egg yolks are rich in fat and emulsifiers, which contribute to a softer, richer crumb. The added fat enhances the moisture content, directly translating to increased chewiness. Furthermore, the egg yolk acts as a binding agent, holding the dough together beautifully and preventing crumbling, resulting in a perfectly structured yet delightfully tender cookie.
-
The Unbeatable Brown Sugar to Granulated Sugar Ratio
The type and ratio of sugars play a pivotal role in the final texture of your cookies. In this recipe, we use a 2:1 ratio of brown sugar to granulated sugar. Brown sugar, with its molasses content, is hygroscopic, meaning it attracts and retains moisture. This is why it’s absolutely critical for delivering undeniable moisture and keeping the cookies wonderfully soft for days. The higher proportion of brown sugar not only contributes to a deeper, richer flavor but is also a primary factor in achieving that signature, long-lasting chewiness that sets these cookies apart.
Essential Ingredients for Homemade Chocolate Chip Cookies
While the ingredients for these cookies might seem standard, it’s the precise measurements and thoughtful ratios that truly distinguish this recipe. Each component plays a specific role in achieving the perfect balance of flavor and texture:
- All-Purpose Flour: The foundation of our cookie dough, providing essential structure and binding all the ingredients together. In this perfected recipe, we’ve increased the flour ever so slightly to counteract the richness of the melted butter and prevent the cookies from spreading too much, ensuring they remain wonderfully thick and never greasy.
- Baking Soda: Our leavening agent, baking soda reacts with the acidic brown sugar to create carbon dioxide bubbles, giving the cookies a slight lift and contributing to their soft interior.
- Corn Starch: A staple in many of my best cookie recipes, corn starch is the secret to achieving incredible tenderness and softness. It works by inhibiting gluten development, resulting in a more delicate crumb. It also helps to maintain the cookies’ thick, substantial shape, delivering soft chocolate chip cookies without needing any pudding mix.
- Salt: Often overlooked, salt is a flavor enhancer that balances the sweetness and brings out the complex notes of all the other ingredients, particularly the rich chocolate. Don’t skip it!
- Vanilla Extract: For the most authentic and aromatic flavor, always opt for real vanilla extract. The quality of your vanilla makes a noticeable difference. Alternatively, vanilla bean paste offers an even more intense vanilla presence, adding beautiful specks of vanilla bean to your cookies.
- Unsalted Butter: The star of our chewy texture. It needs to be melted and then cooled just slightly until it becomes opaque. This specific state of the butter is the absolute key to achieving those extra chewy chocolate chip cookies we’re aiming for. Using unsalted butter allows you to control the exact amount of salt in the recipe.
- Brown Sugar: We use an extra generous amount of brown sugar, and for good reason! Its molasses content is responsible for the irresistible moisture, deep caramel notes, and, most importantly, the incredible chewiness and softness that lasts for days. It’s the ultimate ingredient for truly soft chocolate chip cookies.
- Granulated Sugar: While brown sugar takes center stage for chewiness, granulated sugar is still vital. It contributes to the cookie’s slight crisp on the edges, aids in proper spreading during baking, and helps in the absorption of other ingredients, ensuring a balanced flavor and texture.
- Egg & Egg Yolk: The combination of a whole egg and an additional egg yolk is crucial. The extra yolk adds richness and fat, which makes the cookies even more tender, moist, and enhances their binding properties. Make sure they are at room temperature for best results!
- Chocolate Chips: I typically use classic semi-sweet chocolate chips for their balanced sweetness, but feel free to customize! You can substitute milk chocolate or dark chocolate chips, or even a combination of your favorite baking chips. For an extra chocolatey experience, consider using a mix of mini chocolate chips and chocolate chunks to create delightful pockets of melted chocolate throughout the cookies.
Baking Made Easy: How to Make Chocolate Chip Cookies From Scratch
You might be surprised at how quickly this incredible chocolate chip cookie dough comes together. In less than 10 minutes of active preparation, you’ll have a batch of dough ready for chilling, setting you on the path to cookie perfection. Here’s a quick overview of the straightforward process:
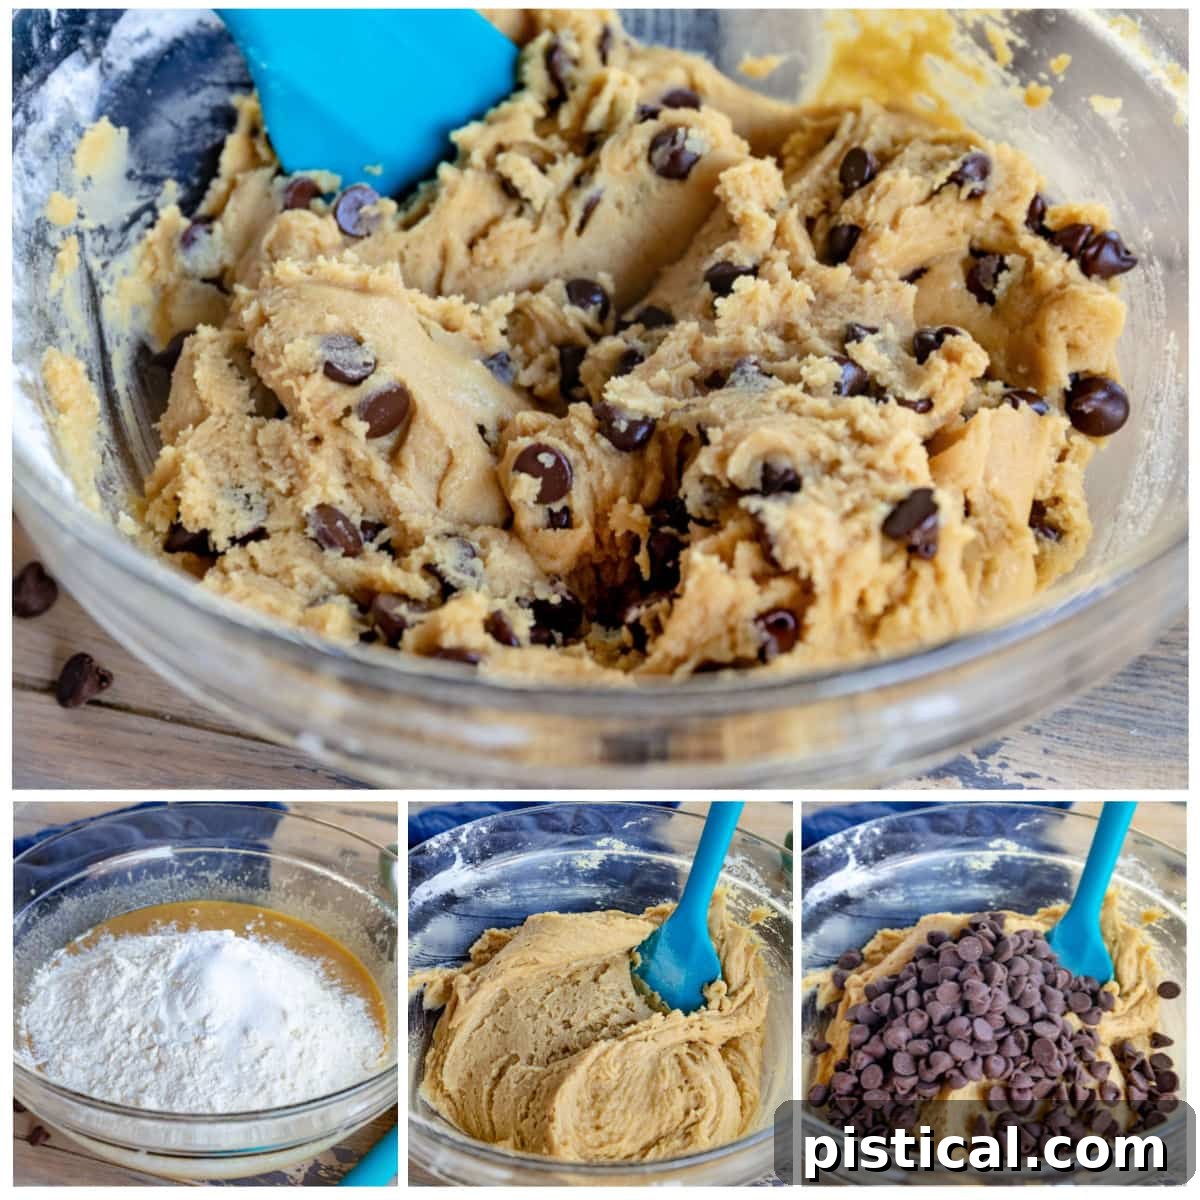
- Combine Wet Ingredients: Start by whisking together the cooled melted butter with both brown and granulated sugars. Once smooth, incorporate the egg, extra egg yolk, and vanilla extract until the mixture is light and creamy.
- Gently Fold in Dry Ingredients: In a separate bowl, whisk your dry ingredients (flour, baking soda, corn starch, and salt). Gradually add the dry mixture to the wet ingredients, mixing just until everything is combined. Be careful not to overmix! Finally, fold in your chosen chocolate chips.
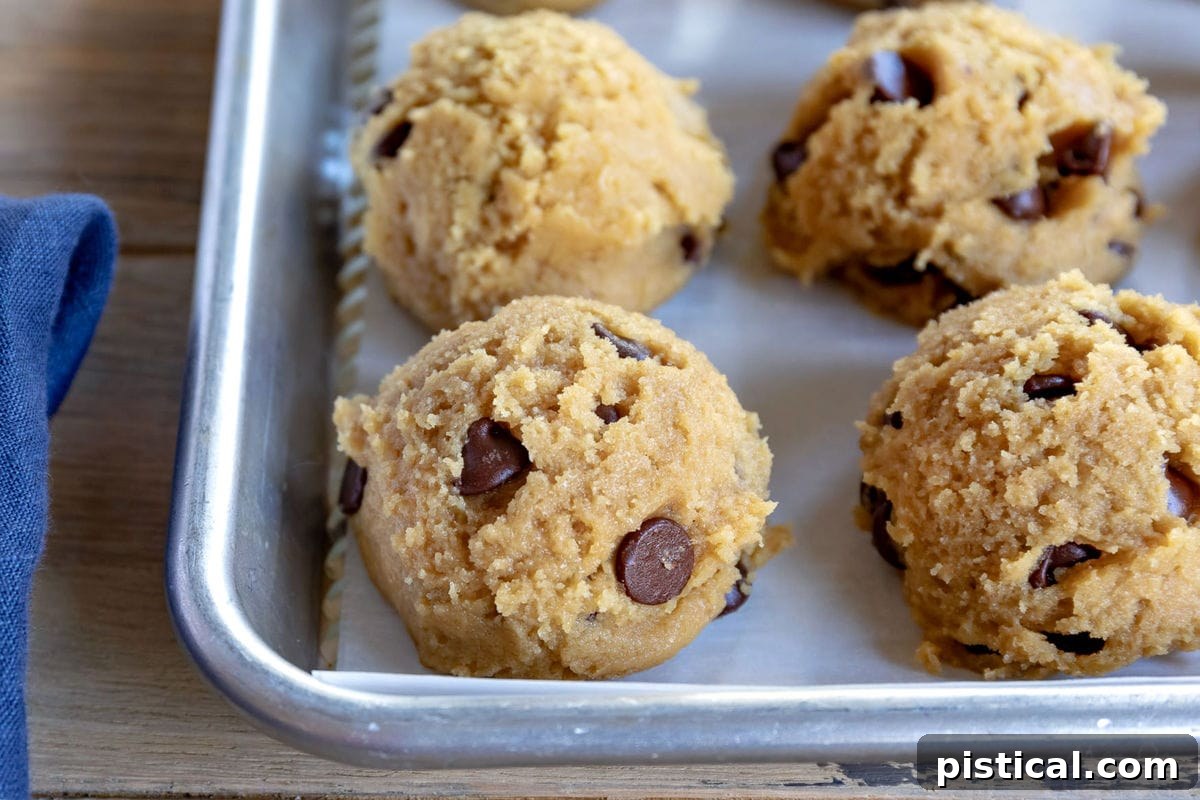
- Scoop and Chill: This is a crucial step for texture. Scoop the dough into uniform balls and then freeze them for 30 to 60 minutes. This chilling period is non-negotiable for achieving the perfect thickness and chewiness.
- Bake to Golden Perfection: Once chilled, arrange your cookie dough balls on a baking sheet and bake until the edges are golden and the centers are just set. Allow them to cool slightly on the sheet before transferring to a wire rack. Then, prepare to enjoy the best chocolate chip cookies of your life!
The Critical Step: Chilling Your Chocolate Chip Cookie Dough
You might be tempted to skip this step, but please, resist the urge! Chilling the cookie dough is absolutely essential for achieving the thick, soft, and chewy texture that defines these incredible chocolate chip cookies. While you *can* bake them without chilling, the difference in the final product is so significant that it’s worth the wait. Here’s a deeper look into why chilling is a non-negotiable part of this recipe:
- Flavor Development and Integration: As the dough chills, the ingredients have time to truly meld together. This allows the flavors of the butter, sugars, vanilla, and chocolate to deepen and harmonize, creating a more cohesive, intensely satisfying, and complex flavor profile that simply can’t be achieved with unchilled dough. It’s like letting a stew simmer – the longer it sits, the richer the taste.
- Preventing Over-Spreading: Since this recipe uses melted butter, the dough can be quite soft. Chilling is vital because it allows the melted butter to solidify once more. This firming of the butter ensures that the cookies maintain their shape during baking, preventing them from spreading too rapidly or becoming thin and crispy. Properly chilled dough yields a beautifully thick cookie with a substantial, satisfying bite. If you skip this step or don’t chill long enough, you’ll likely end up with cookies that spread out too much on the baking sheet.
- Enhancing Thickness and Chewiness: Beyond just preventing spread, the cold temperature of the dough causes it to bake more slowly. This gradual baking process allows the exterior of the cookie to set while the interior remains wonderfully soft and pliable, directly contributing to that irresistible thick and chewy texture. A chilled dough ensures that beautiful contrast between a slightly crisp edge and a gooey, tender center.
Over the years, I’ve refined my chilling method. Initially, I would chill the entire bowl of dough in the refrigerator for an hour or more. However, with time (and the joys of carpal tunnel!), scooping hard, chilled dough became a struggle. This led to a crucial modification: I now recommend scooping and forming the dough balls before chilling. This small adjustment has made a monumental difference in ease of preparation.
Additionally, for the absolute best results, I now strongly recommend freezing the scooped cookie dough balls for 30 to 60 minutes instead of merely refrigerating them. This specific freezing period results in cookies that are noticeably thicker, incredibly softer, and possess the chewiest texture I have ever achieved. It’s the ultimate secret weapon for cookie perfection.
The Joy of Convenience: How to Freeze Chocolate Chip Cookie Dough
Having a stash of frozen chocolate chip cookie dough, ready to be popped into the oven at a moment’s notice, truly feels like one of life’s greatest gifts. Imagine the sheer delight of fresh-baked cookies whenever the craving strikes, with minimal effort!
The good news is that this recipe already guides you 90% of the way there. Once you’ve scooped and formed your dough balls and placed them on a baking sheet, you’re just a few steps away from freezer-ready perfection:
To freeze your dough for future baking, simply flash freeze the scooped cookie dough balls on a baking sheet for an hour or so, until they are completely solid. This step prevents them from sticking together. Once firm, transfer the frozen cookie dough balls into a freezer-safe ziploc bag or an airtight container. Your homemade chocolate chip cookie dough can be stored in the freezer for up to 3 months, ensuring you always have a batch of deliciousness within reach.
For efficient freezing, I highly recommend using a quarter sheet pan to flash freeze the cookie dough balls. For baking, a half sheet pan provides ample space for optimal cookie spread and even baking.
Baking Frozen Chocolate Chip Cookie Dough: A Quick Guide
When that craving for a warm, gooey chocolate chip cookie strikes, and you have a stash of frozen dough, you’re just minutes away from satisfaction. Here’s how to bake your delicious homemade chocolate chip cookies directly from the freezer:
- Simply remove the desired number of cookie dough balls from your freezer bag. There’s no need to thaw them beforehand.
- Preheat your oven to 325°F (160°C). Arrange the frozen cookie dough balls about 3 inches apart on a baking sheet lined with parchment paper or a silicone baking mat.
- Bake for an additional 1 to 2 minutes longer than the time stated in the original recipe (typically 14-17 minutes total). Keep an eye on them; the edges should be golden, and the centers should look slightly underbaked.
Alternatively, if you prefer, you can let the dough thaw in the refrigerator for several hours or at room temperature on the counter for about 30 minutes. Once thawed, bake them for the normal amount of time as specified in the main recipe instructions.
Mastering Your Bake: Expert Tips for the Best Chocolate Chip Cookies
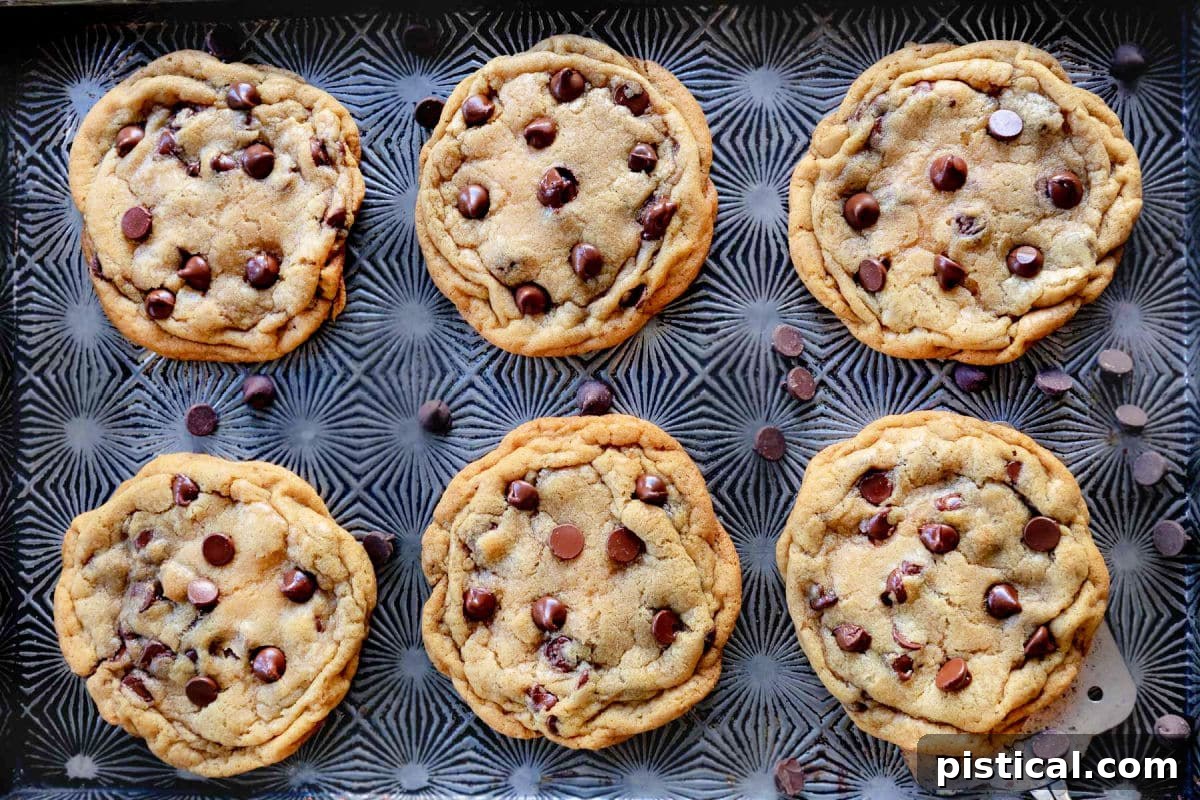
Achieving truly extraordinary chocolate chip cookies goes beyond just the ingredients; it’s also about the technique. Here are some essential tips to ensure your homemade chocolate chip cookies turn out perfectly every time:
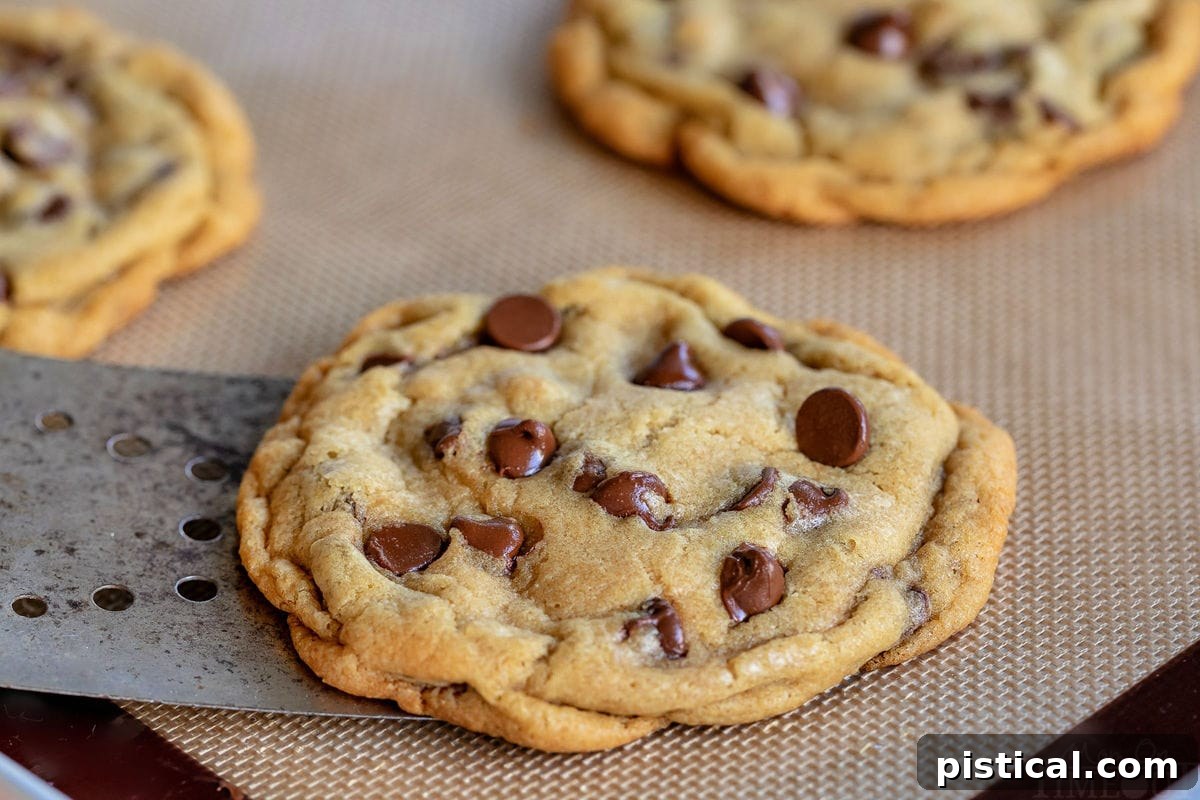
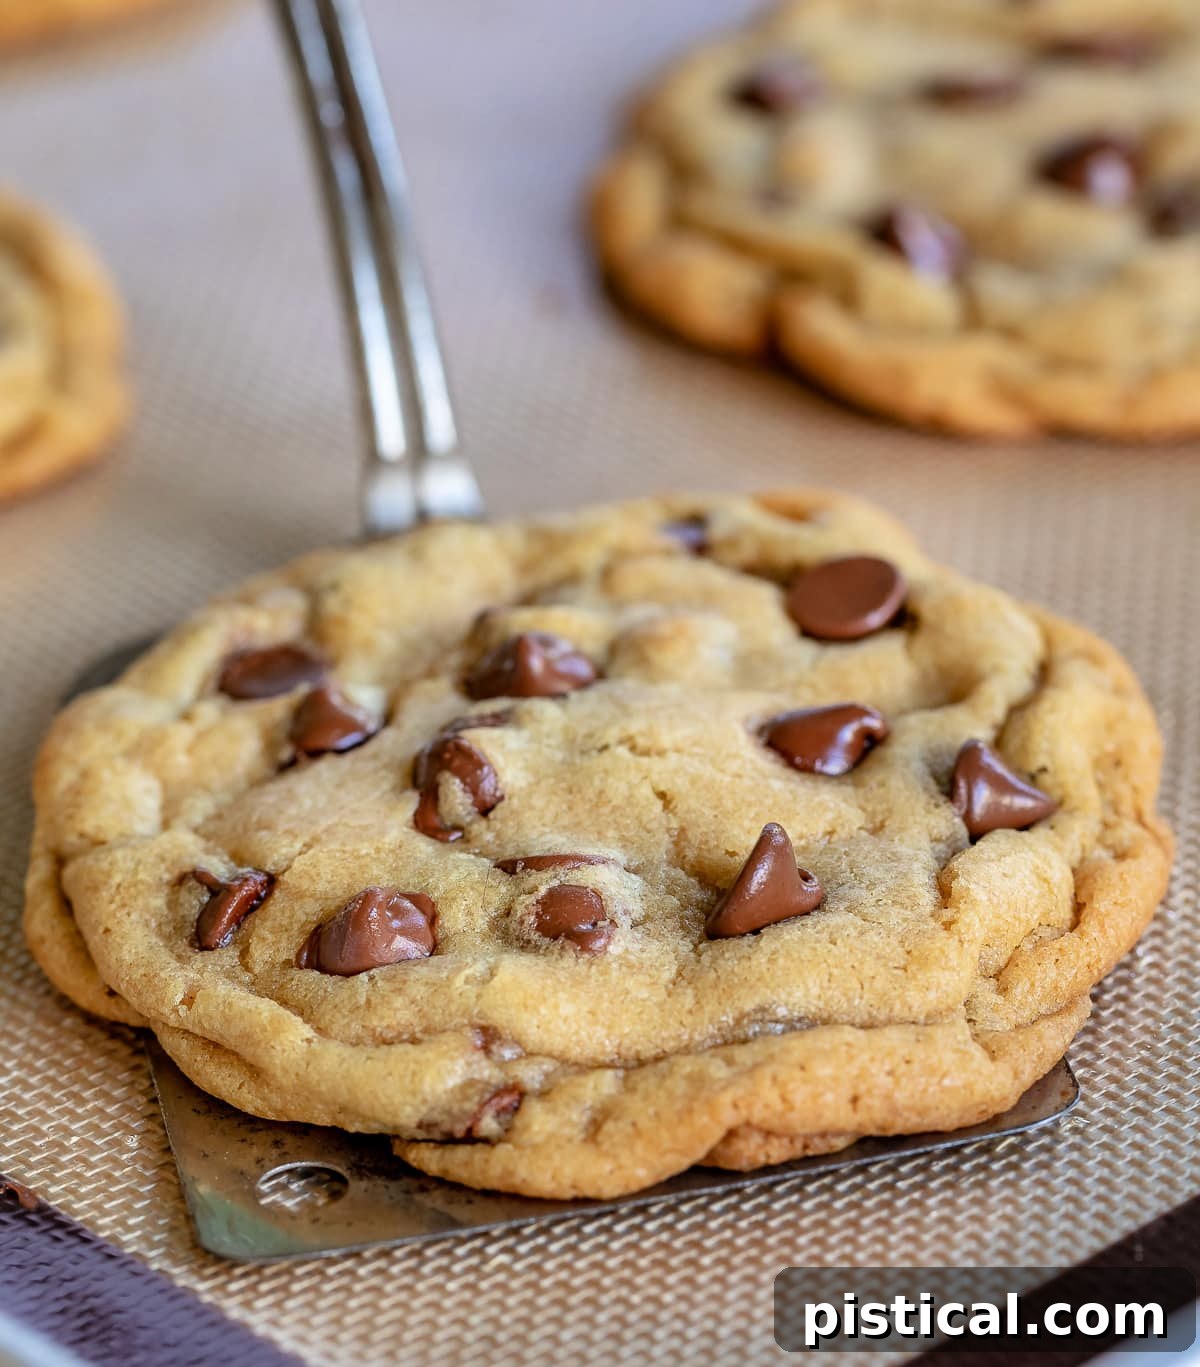
- Embrace the Silicone Baking Mat: Through countless batches during recipe development, one truth consistently emerged: silicone baking mats are a game-changer. They provide superior grip and heat distribution, which significantly helps the cookies maintain their thick, round shape and resist excessive spreading. While parchment paper works, silicone mats offer an unmatched level of control for achieving that ideal cookie form. If you don’t own one, it’s a worthwhile investment for any serious baker!
- Don’t Forget the Finishing Touch: Decorate! For an added touch of bakery-quality appeal, I love to press a few extra chocolate chips onto the top of each cookie dough ball. You can do this either before freezing, just before baking, or even immediately after they come out of the oven while they’re still warm and pliable. This simple step creates beautiful pockets of visible chocolate on top, making your cookies look even more tempting and professional.
- The Golden Rule: Don’t Overbake! This might be the most crucial tip for soft and chewy cookies. The moment the edges of your cookies turn a delicate golden brown, and the centers appear just slightly underbaked (even a little gooey), it’s time to pull them from the oven. Remember, the cookies will continue to bake and set on the hot baking sheet for several minutes after removal. This residual heat, known as carryover cooking, is what allows the centers to remain incredibly soft, tender, and perfectly chewy, preventing them from becoming dry or hard.
- Measure Flour with Precision: Accurate flour measurement is key to preventing dry, crumbly cookies or overly spread-out ones. The best method is the “spoon and level” technique. First, give your flour in its canister a good stir with a spoon to aerate it. Then, gently spoon the flour into your dry measuring cup until it’s overflowing. Do not pack it down. Finally, use the flat edge of a knife or a straight-edged tool to scrape away any excess flour from the top of the measuring cup, ensuring a perfectly level and accurate measurement.
Creative Variations to Elevate Your Chocolate Chip Cookies
While this recipe for chewy chocolate chip cookies is perfect as is, it also serves as an excellent canvas for creativity. Feel free to experiment with these delicious variations to customize your cookies and delight your taste buds:
- Explore Different Chocolate Varieties: Don’t limit yourself to just semi-sweet chocolate chips! Try substituting with rich milk chocolate chips for a sweeter, creamier profile, or intense dark chocolate chips for a more sophisticated, bittersweet flavor. A combination of different chocolate types (e.g., milk and dark, or semi-sweet and white chocolate) can also create a wonderfully complex chocolate experience.
- Introduce Fun Add-Ins: Elevate your cookies with unexpected textures and flavors. Consider folding in small candies like M&Ms for a burst of color and crunch, chewy caramel bits for a gooey surprise, or even crushed pretzels for a salty-sweet twist. The possibilities are endless, allowing you to tailor your cookies to any occasion or preference.
- Adjust Size for Any Crowd: This recipe yields generous, thick cookies, but you can easily make them smaller if you’re serving a crowd or prefer bite-sized treats. Simply scoop out smaller portions of dough (e.g., 2 tablespoons instead of ¼ cup) and reduce the baking time by a few minutes. Keep a close eye on them to ensure they don’t overbake.
- Incorporate Your Favorite Nuts: For those who love a nutty crunch, adding about half a cup of your favorite chopped nuts can be a fantastic addition. Pecans, walnuts, or peanuts all pair beautifully with chocolate. Simply fold them into the cookie dough along with the chocolate chips before chilling. Toasting the nuts lightly before adding them can further enhance their flavor.
Explore More Irresistible Chocolate Chip Cookie Recipes
If you’re now a devoted fan of baking chocolate chip cookies, you’ll love exploring these other delightful variations from our collection:
- Pumpkin Chocolate Chip Cookies
- Banana Chocolate Chip Cookies
- Brown Butter Chocolate Chip Cookies
- Easter Chocolate Chip Cookies
- Chocolate Chip Skillet Cookie
The BEST Chewy Chocolate Chip Cookies Recipe

Print Recipe
Pin Recipe
The BEST Chewy Chocolate Chip Cookies
The BEST Chocolate Chip Cookies of your life! Soft and chewy and bursting with chocolate goodness, this easy chocolate chip cookie recipe is life changing. Made in one bowl without a mixer, this recipe delivers soft, thick, chewy cookies every single time! Truly the ultimate chewy chocolate chip cookie with unmatched flavor and texture!
Course: Dessert
Cuisine: American
Keyword: chewy chocolate chip cookies, chocolate chip cookies
Prep Time: 10 minutes
Cook Time: 15 minutes
Total Time: 25 minutes
Servings: 12
Calories: 438kcal
Author: Trish – Mom On Timeout
Ingredients
- 2 ⅓ cups all-purpose flour
- 1 teaspoon baking soda
- 1 tablespoon corn starch
- ½ teaspoon salt
- 1 tablespoon vanilla extract
- ¾ cup unsalted butter (melted and cooled just until opaque)
- 1 cup brown sugar
- ½ cup granulated sugar
- 1 egg (room temperature)
- 1 egg yolk (room temperature)
- 1 ½ cups semi-sweet chocolate chips
Instructions
- Whisk together the melted butter, brown sugar and granulated sugar in a large bowl for two minutes.
- Whisk in the vanilla extract, egg and egg yolk until the mixture is light and creamy.
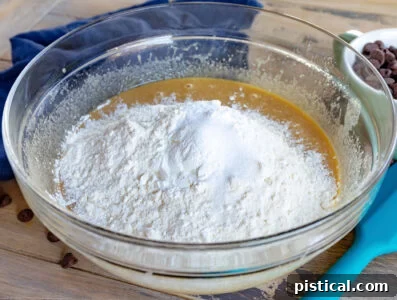
- Add the flour, baking soda, corn starch and salt and mix just until combined.

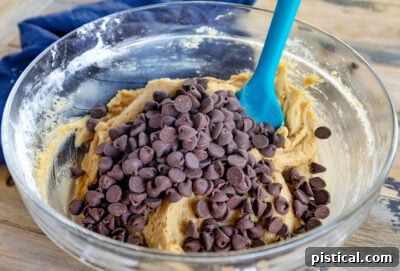
- Stir in the chocolate chips.
- Scoop out cookie dough, about 1/4 cup per cookie, and roll the dough balls in your hands until smooth. Place on a parchment lined baking sheet and chill in refrigerator for 1 hour or in the the freezer for 30 minutes.
- Preheat oven to 325°F (160°C).
- Place cookie dough about 3 inches apart on a parchment lined baking sheet or a baking sheet with a silicone baking mat.
- Bake for 12 to 15 minutes in the preheated oven. The cookies are done when the edges are golden and the center looks slightly under baked.
- Let the cookies cool on the baking sheet for at least 5 minutes and then transfer to a wire racks to finish cooling.
- Store in an airtight container for up to 5 days.

Notes
Tools Needed
- Sheet Pans: I use a quarter sheet pan for freezing and a half sheet pan for baking.
- Silicone Baking Mat
- Cookie Scoop – I actually use an ice cream scoop like this one to get nice, large cookies.
Nutrition
Calories: 438kcal | Carbohydrates: 57g | Protein: 5g | Fat: 21g | Saturated Fat: 13g | Cholesterol: 62mg | Sodium: 204mg | Potassium: 186mg | Fiber: 2g | Sugar: 35g | Vitamin A: 407IU | Calcium: 40mg | Iron: 3mg
Originally published November 28, 2011.