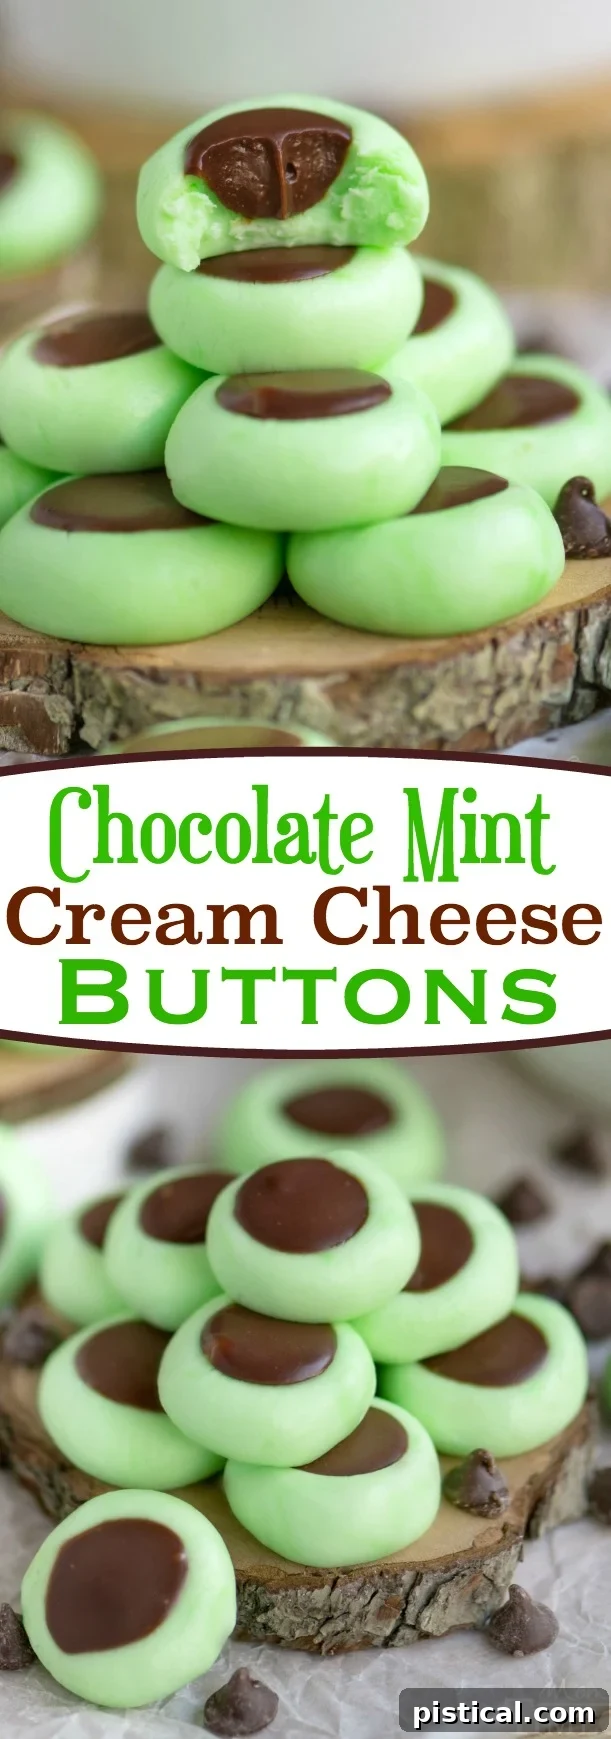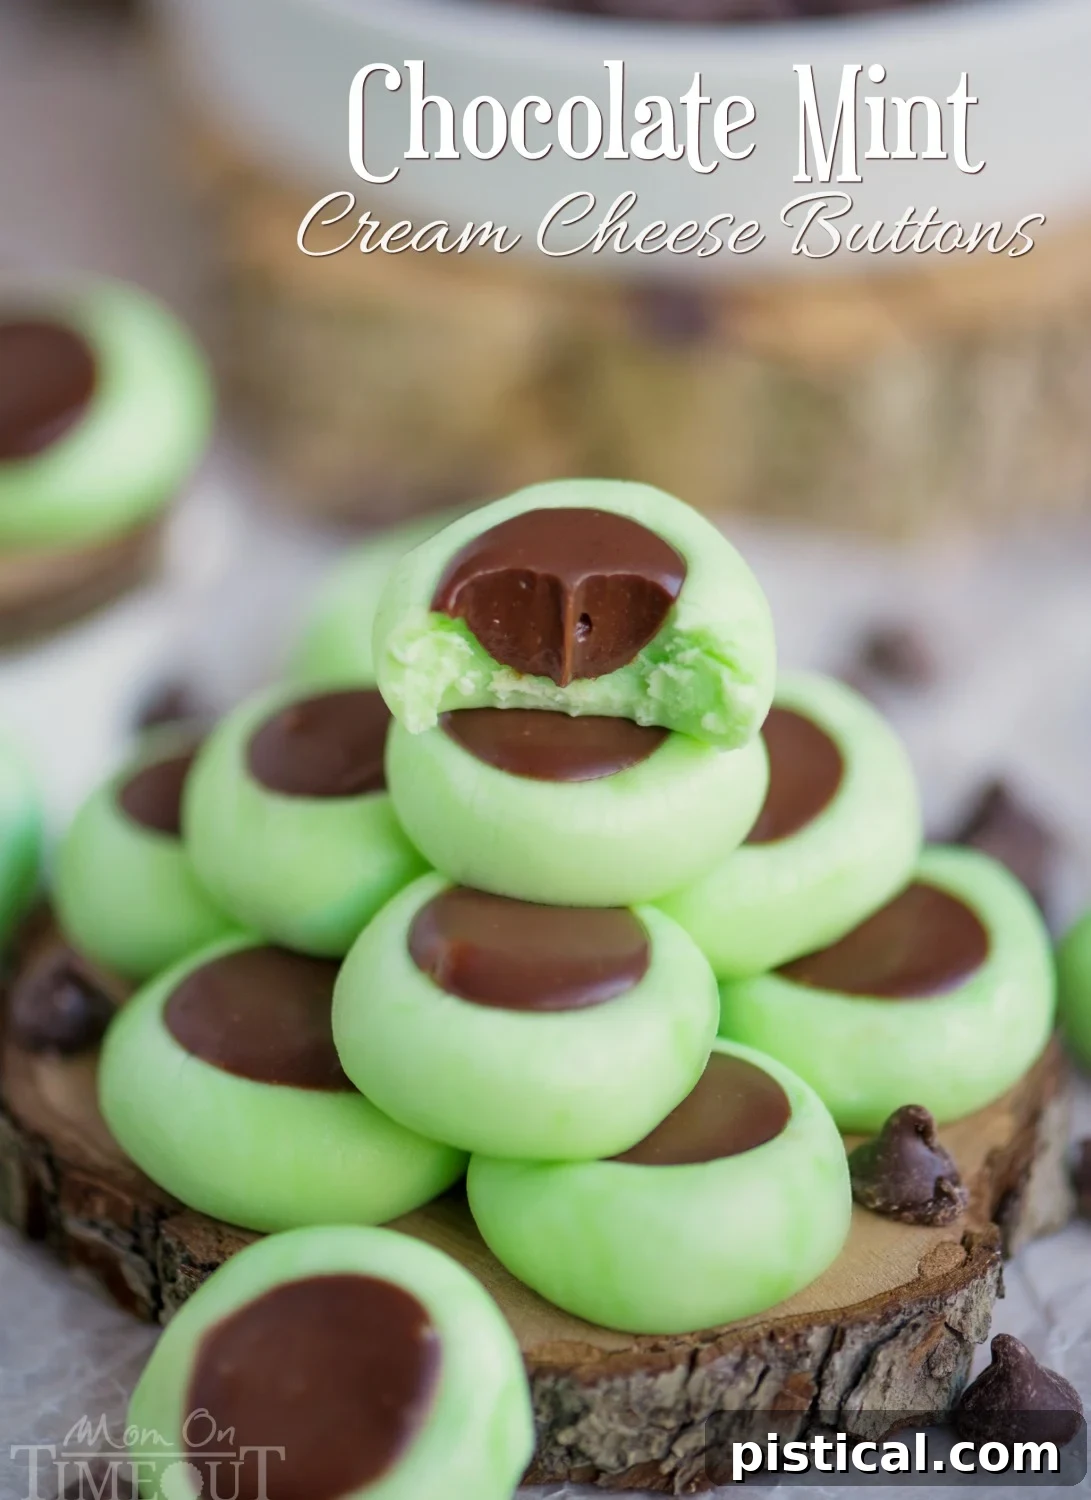
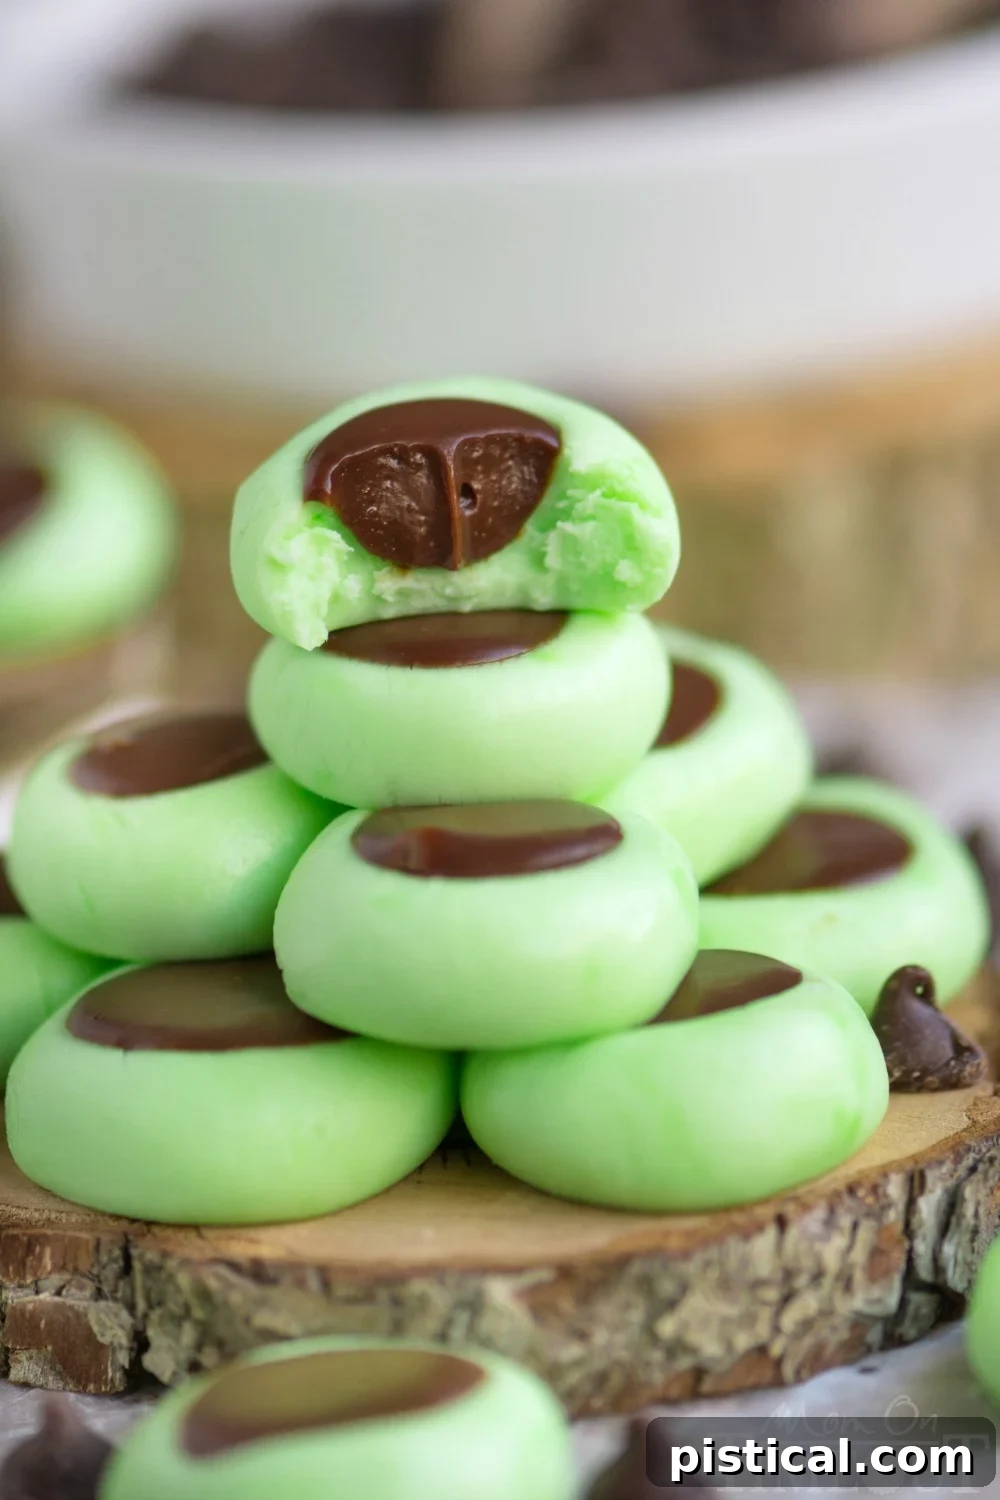
Indulge in the irresistible charm of these Chocolate Mint Cream Cheese Buttons – a delightful confection perfect for any celebration or simply as a special treat. These exquisite mint-flavored cream cheese bites are generously filled with a rich, decadent chocolate ganache, creating a harmonious blend of cool mint and deep cocoa that is guaranteed to captivate the taste buds of all chocolate and mint enthusiasts among your friends and family.
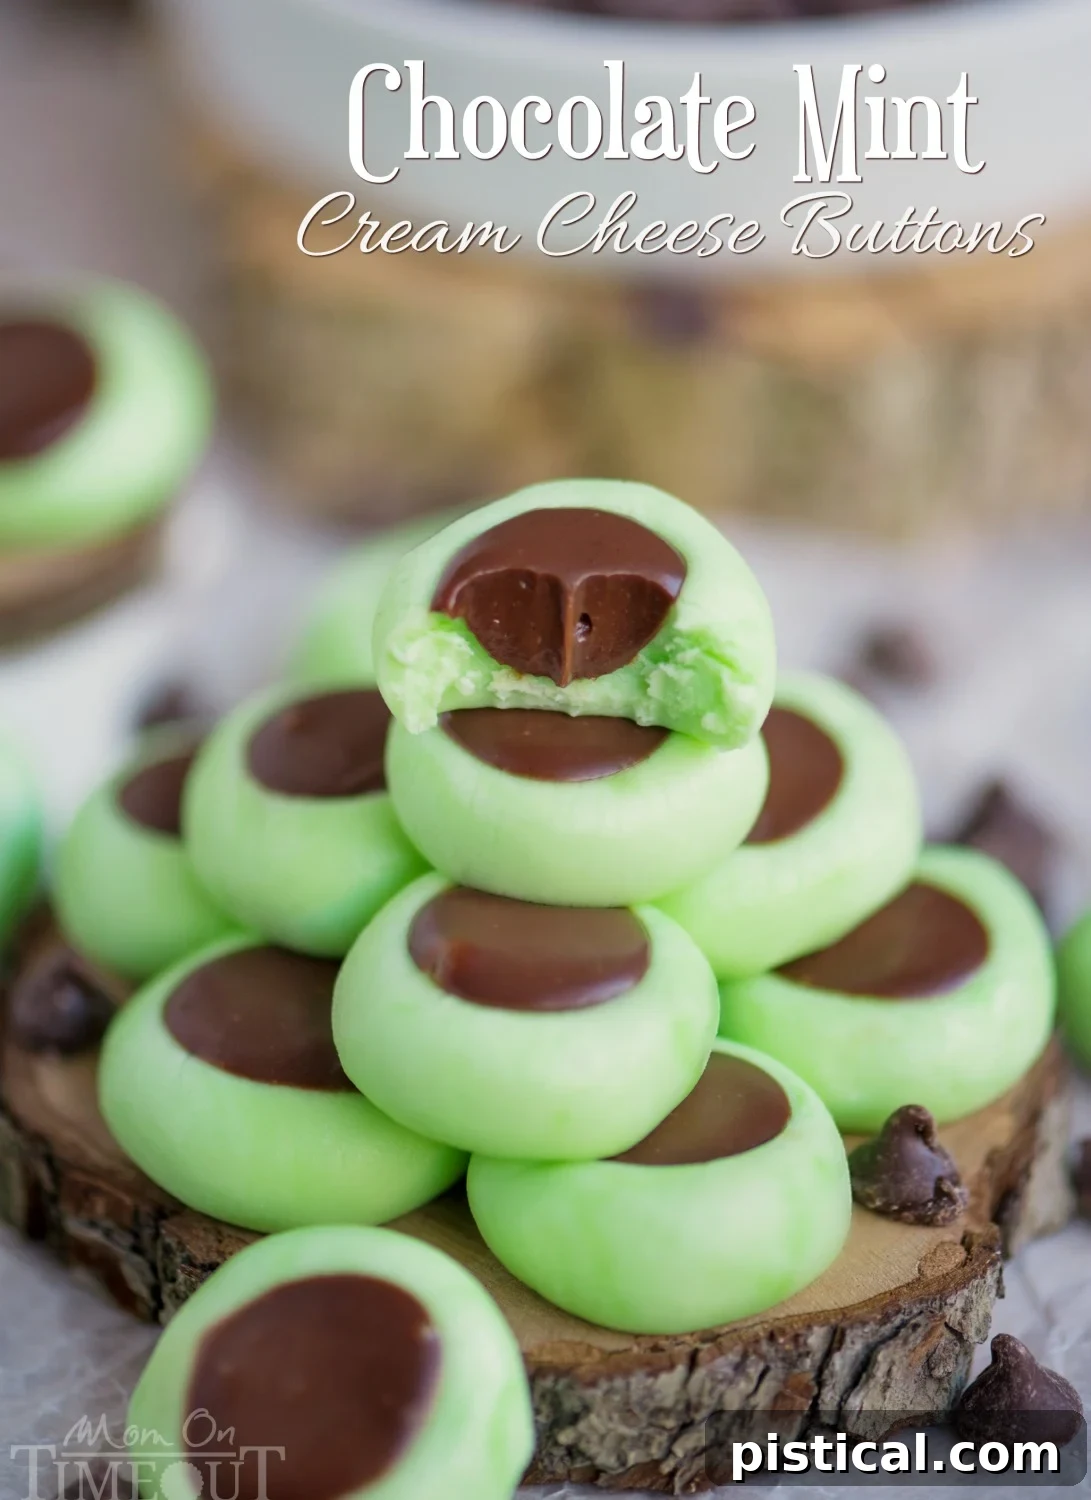
Discover the Magic of Homemade Chocolate Mint Cream Cheese Buttons
Have you ever found yourself searching for that perfect, easy-to-make dessert that not only impresses but also satisfies a specific craving? Look no further! While many recipes for cream cheese mints exist, this particular rendition elevates the classic with a luxurious chocolate ganache filling, transforming them into sophisticated “buttons” that are as beautiful as they are delicious. We’ve had countless requests for a reliable, simple cream cheese mint recipe, and we are thrilled to finally share this ultimate version with you.
Especially as we approach festive seasons, such as St. Patrick’s Day, these minty delights become an instant favorite. This easy candy recipe features a vibrant, mint-flavored cream cheese base, meticulously crafted and then lovingly piped with a smooth, rich chocolate ganache. They’re a proven hit at any party, disappearing from platters at an alarming rate due to their irresistible charm and “crazy easy” preparation. What’s even better? This recipe yields a generous six dozen candies, ensuring there’s plenty to go around, whether you’re hosting a large crowd or simply want to stock up on a delightful homemade treat.
Perfectly Portioned Bite-Sized Bliss
One of the key secrets to the appeal of these mints is their size. We prefer to make them truly bite-sized, ensuring each piece is a perfect, indulgent mouthful. Using about a level teaspoon of dough for each mint ensures consistency in size and allows them to be devoured in one satisfying bite. Uniformity not only makes them visually appealing but also guarantees an even distribution of flavor in every piece.
In the past, we’ve experimented with simpler fillings, such as pressing a Hershey’s Kiss into the center – a fun and quick option. However, we wholeheartedly believe that the current version, where a small indentation is created and then filled with homemade chocolate ganache, elevates these mints to an entirely new level. After all, isn’t everything just a little bit better with a touch of silky, rich ganache? This simple addition transforms a humble cream cheese mint into a gourmet confectionery.
The Art of Color and Flavor: Spearmint vs. Peppermint
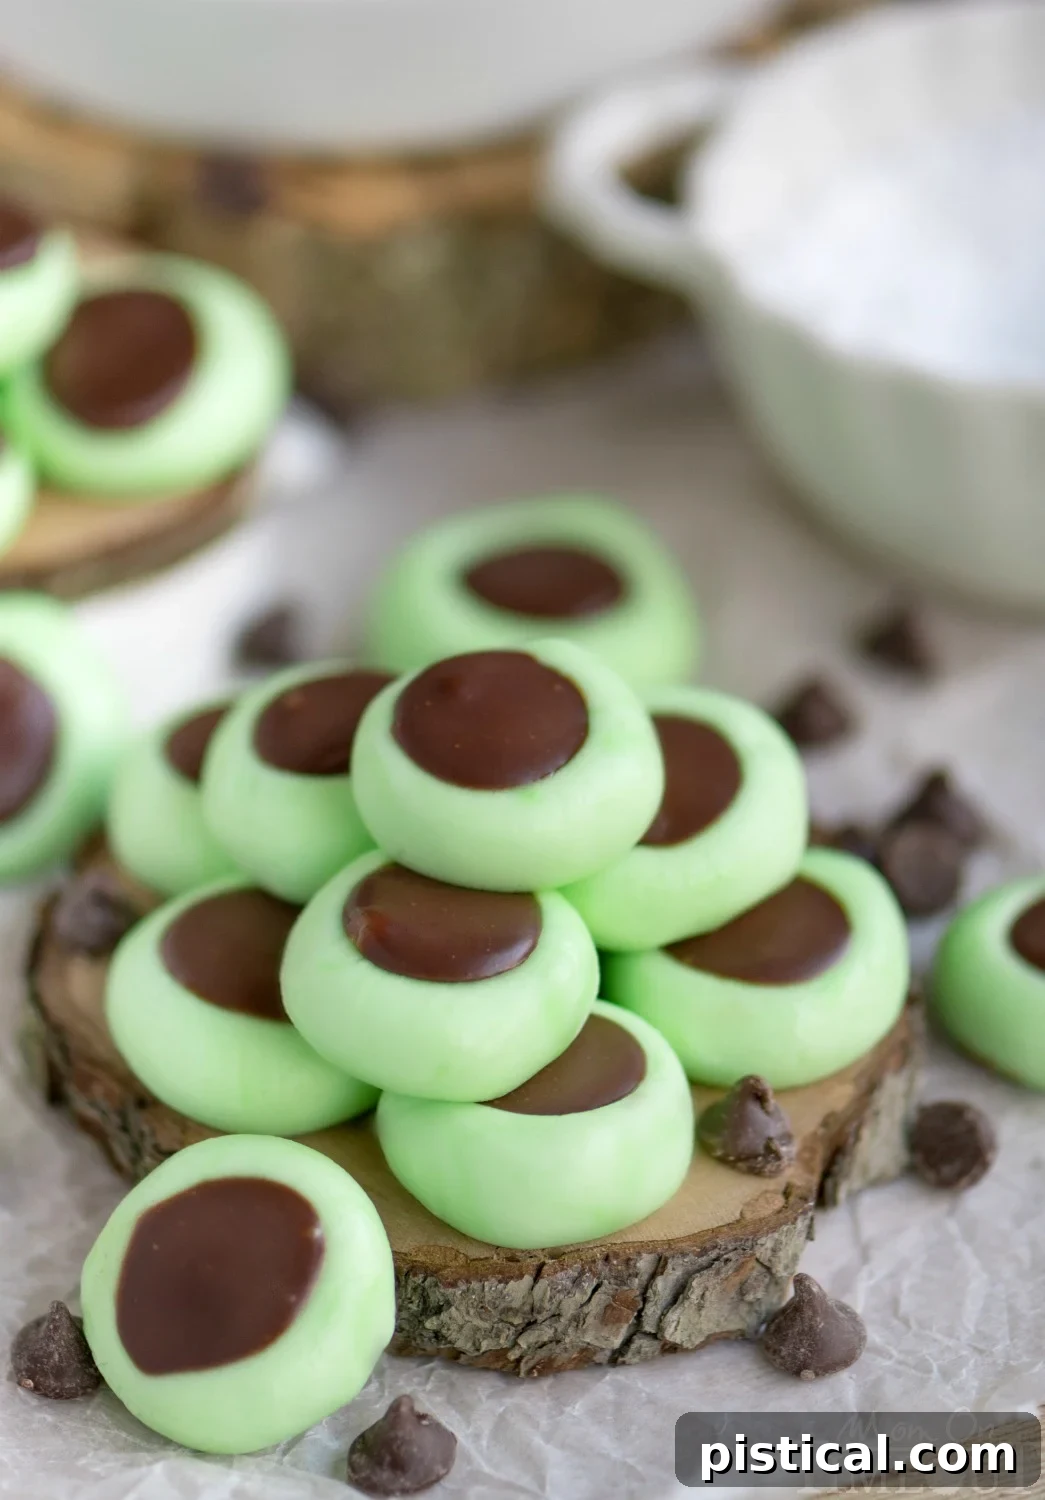
While the cream cheese mints can certainly be left white for a classic look, adding a touch of color can significantly enhance their presentation and communicate their flavor profile. We love to tint ours a soft green, signaling to guests that they are indeed mint-flavored. The trick is not to go overboard; just a few drops of color are sufficient. For the best results, always opt for gel food coloring over liquid versions, as gel adds color without introducing excess moisture to the dough, which could alter its perfect consistency.
When we say “mint flavored,” we are specifically referring to *spearmint*. This distinct flavor provides that classic, refreshing mint taste often associated with these types of candies. It’s crucial not to confuse it with peppermint extract, which has a much bolder, sharper profile. While peppermint is delicious, particularly around the holidays, it creates a very different experience. If you do choose to use peppermint extract, we recommend coloring your candies pink to visually distinguish them from their spearmint counterparts. We’re firm believers in letting the color guide the flavor expectation!
A Visual Guide to Creating Your Own Minty Masterpieces
Sometimes, seeing is believing, especially when it comes to baking and confectionery. That’s why we’ve created a quick video tutorial to walk you through each step of making these incredible Chocolate Mint Cream Cheese Buttons. You can watch the full demonstration below to see just how straightforward and enjoyable the process is. It’s a fantastic activity for the whole family, and kids especially love helping out with the rolling and indenting!
Video
More Mint & Chocolate Delights You’ll Love
If you’re anything like us, the combination of mint and chocolate holds a special place in your heart. It’s a classic pairing that offers a refreshingly bold yet comforting flavor profile. If you find yourself completely enamored with these Chocolate Mint Cream Cheese Buttons, you’re in for a treat! We highly recommend exploring more recipes that celebrate this fantastic duo. Dive into these equally amazing creations: try our Chocolate Covered Mint Patties for another nostalgic candy, indulge in the rich goodness of Chocolate Mint Brownies, or for a unique party centerpiece, whip up this festive Mint Chocolate Chip Cheese Ball. Each recipe promises a new way to enjoy your favorite flavor combination.

Print
Pin
Chocolate Mint Cream Cheese Buttons
Prep Time
30 minutes
Total Time
30 minutes
Servings
6
dozen
Author
Trish – Mom On Timeout
Ingredients
- 4 oz cream cheese softened to room temperature
- 4 1/2 cups powdered sugar divided
- 1/2 teaspoon mint extract (spearmint for classic mint flavor)
- several drops of green gel food color (optional)
- 1 cup heavy whipping cream
- 10 oz semi-sweet chocolate chips
Instructions
-
Prepare the Mint Dough: In a large mixing bowl, combine the softened cream cheese with one cup of the powdered sugar. Use a stand mixer fitted with a paddle attachment or a hand mixer on medium speed to beat until smooth and well combined. Ensure there are no lumps of cream cheese.
-
Next, add the mint extract and a few drops of green gel food coloring (if desired). Mix until the color is evenly distributed and the extract is fully incorporated, creating a uniformly green dough.
-
Gradually add the remaining powdered sugar, about 1/2 cup at a time, mixing thoroughly after each addition. The dough will become very thick. If your mixer struggles, don’t hesitate to switch to combining the ingredients by hand; often, using your hands is faster and more effective for achieving the right consistency. The goal is a firm, pliable dough that’s easy to handle but not sticky.
-
Shape the Mints: Line a large baking sheet with parchment paper to prevent sticking. This will make transferring and chilling much easier.
-
Scoop out approximately one level teaspoon of the mint dough. Roll it between the palms of your hands to form a smooth, uniform ball. Place each ball onto the prepared baking sheet, leaving a small space between each one. Repeat this process until all the dough has been used.
-
Using the rounded end of a wooden spoon or a small measuring spoon (such as a 1/4 teaspoon), gently press into the center of each mint ball to create a small indentation. If the spoon starts to stick, lightly dust it with a little powdered sugar. This well will hold the delicious ganache.
-
Chill the shaped mints in the refrigerator for at least 1 hour, or until they are firm enough to handle without losing their shape. This step is crucial for maintaining their structure once filled.
-
Prepare the Chocolate Ganache: While the mints are chilling, place the semi-sweet chocolate chips into a heat-proof bowl or a large liquid measuring cup.
-
In a small saucepan, bring the heavy whipping cream just to a simmer over medium heat. Watch it carefully to ensure it doesn’t boil. As soon as small bubbles appear around the edges, remove it from the heat and immediately pour the hot cream over the chocolate chips. Stir once or twice gently, then let it sit undisturbed for 2 minutes to allow the residual heat to melt the chocolate.
-
After 2 minutes, begin stirring the mixture continuously with a whisk or spoon until the chocolate is completely melted and fully incorporated into the cream, resulting in a smooth, glossy ganache.
-
Transfer the warm ganache into a ziploc bag. Allow it to set at room temperature for about 30 minutes, or until it thickens to a yogurt-like consistency. If you’re in a hurry, you can place it in the refrigerator, but monitor it closely as it can firm up very quickly. You want it thick enough to hold its shape when piped, but still smooth.
-
Assemble the Buttons: Once the ganache has reached the desired consistency, snip a small corner off the ziploc bag to create a piping opening. Retrieve the chilled mints from the refrigerator. Carefully pipe the chocolate ganache into the center indentation of each mint, filling it generously.
-
Chill the assembled Chocolate Mint Cream Cheese Buttons for approximately another hour, or until the ganache has completely set and is firm to the touch. This ensures a clean, stable candy.
-
Storage: Store these delectable treats in an airtight container in the refrigerator to maintain their freshness and texture. They can last for up to a week, though we doubt they’ll stick around that long!