
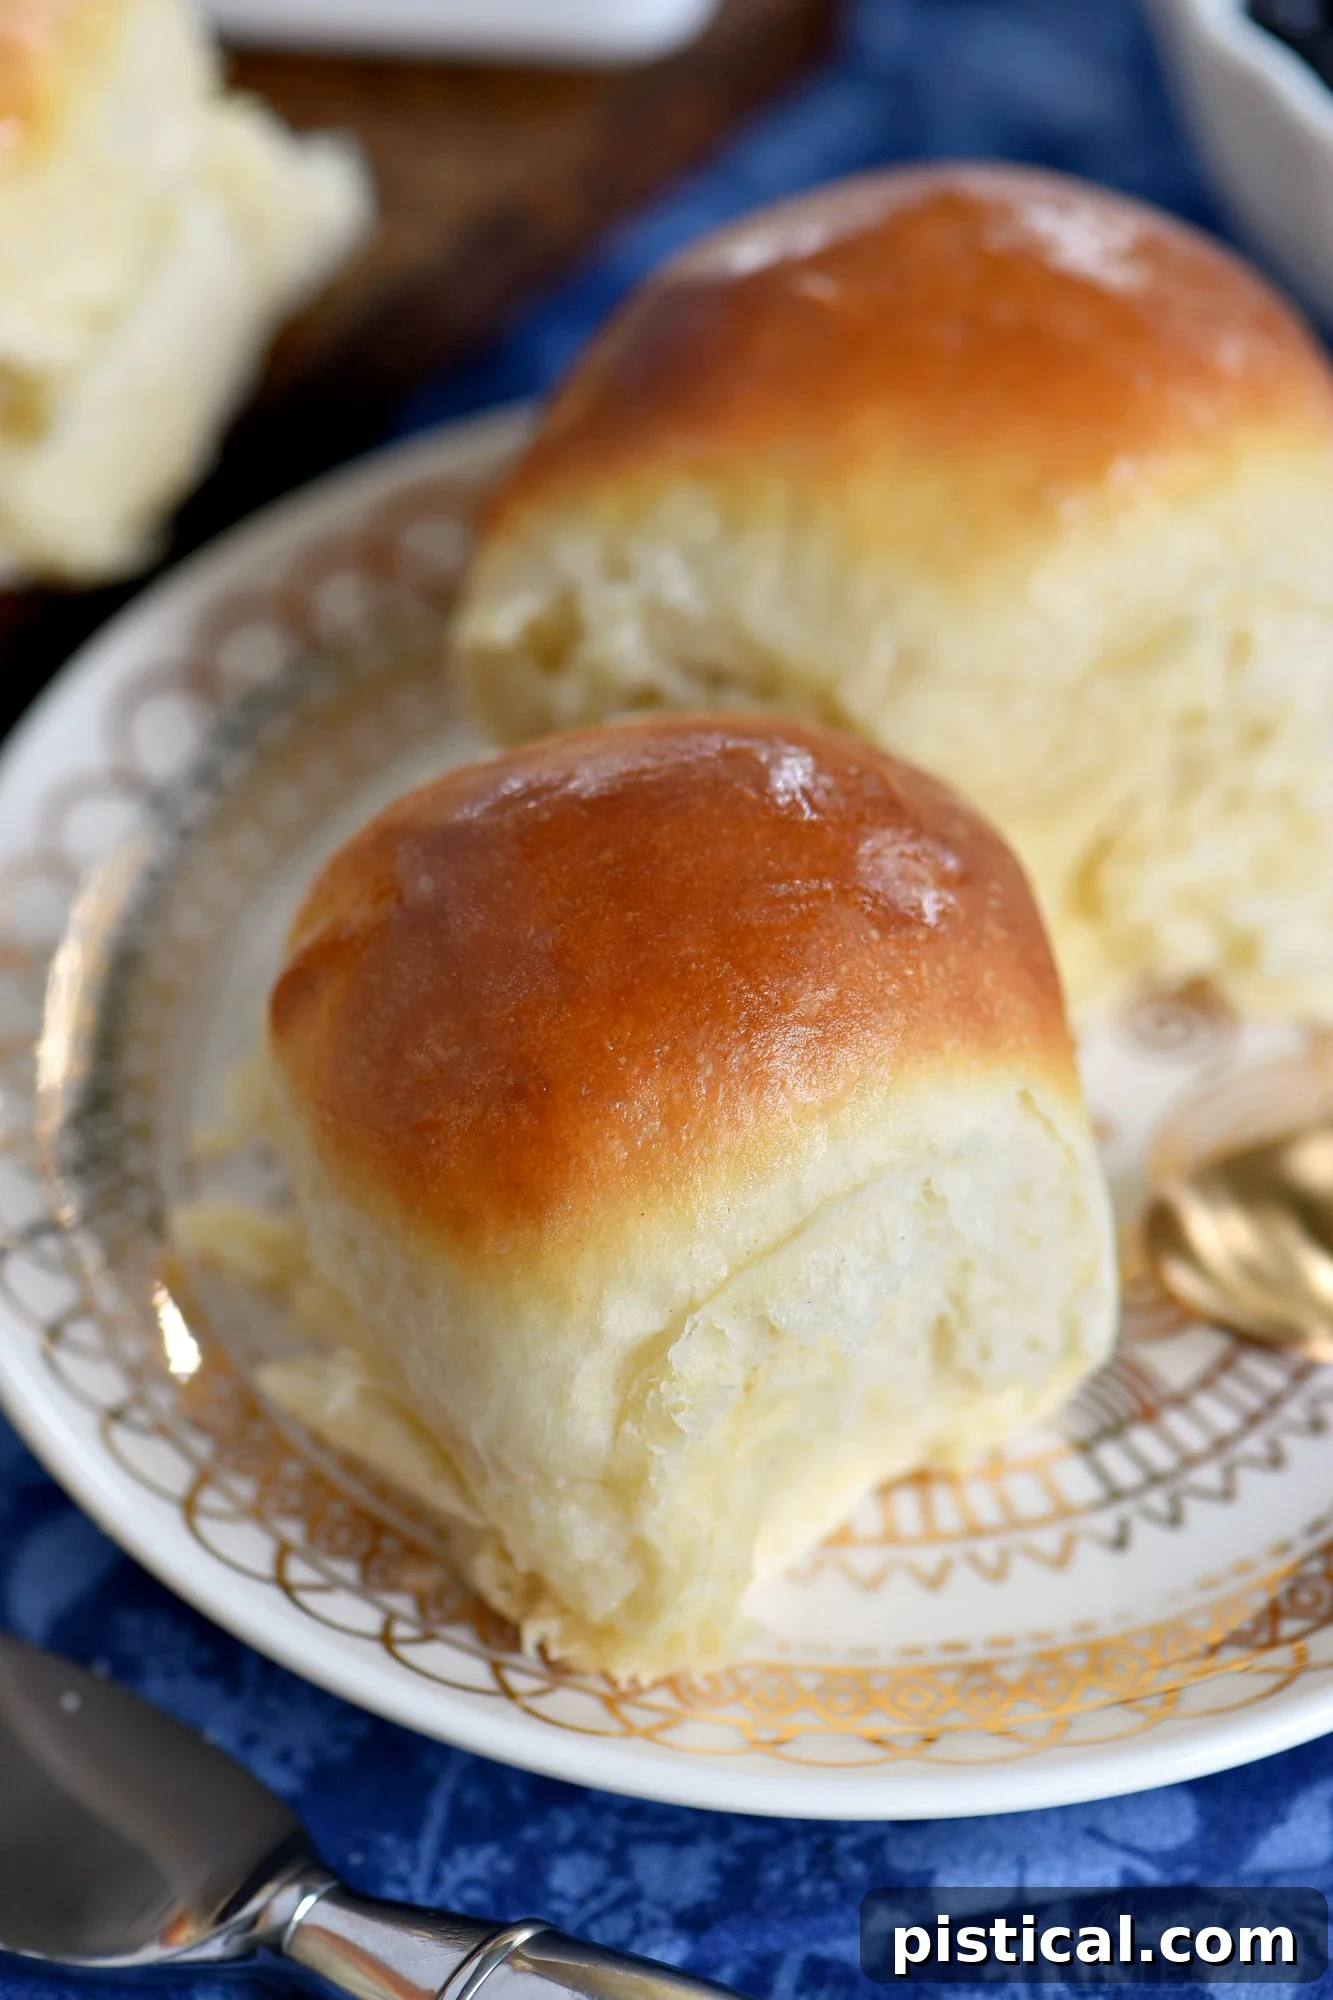
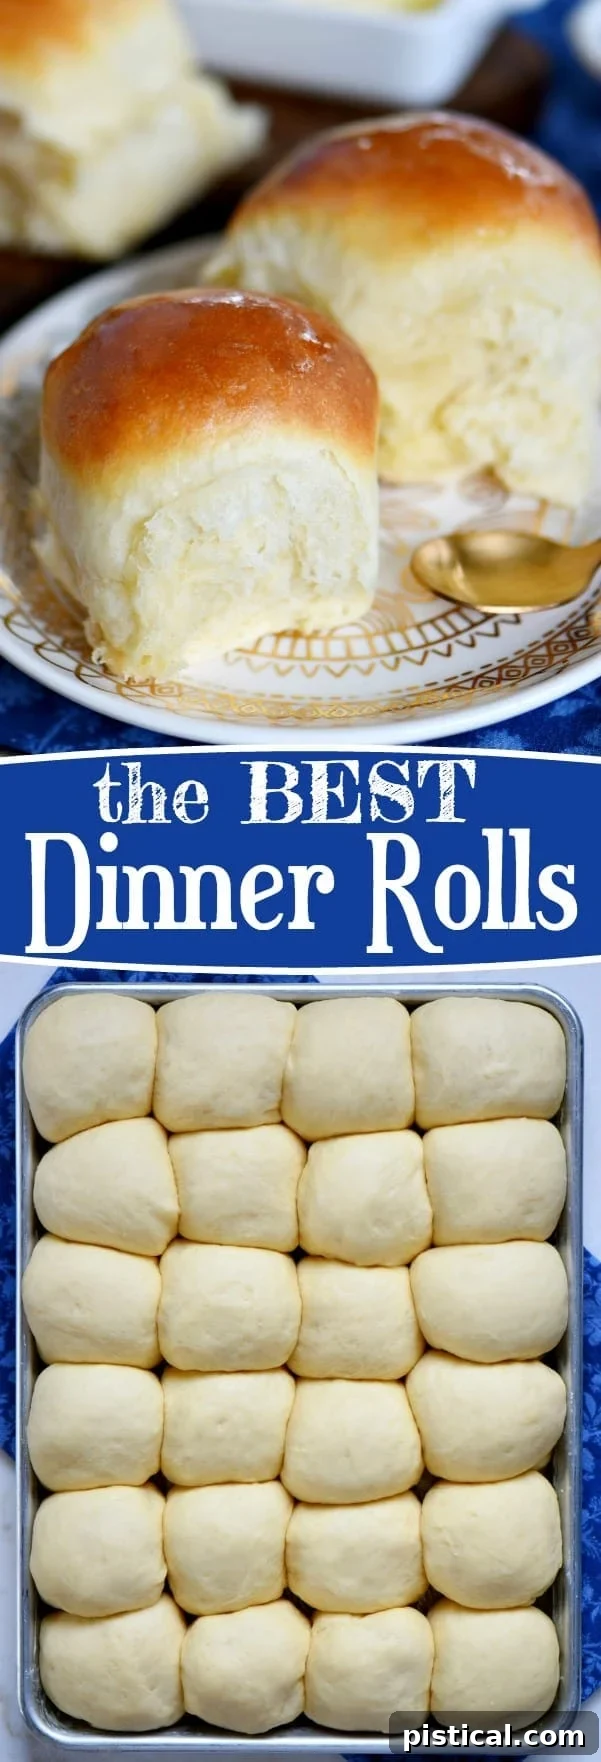
There’s something truly special about the aroma of freshly baked bread filling your home. And when it comes to comfort food, light, fluffy, and buttery dinner rolls are undeniably at the top of the list. They are an irresistible addition to any meal, transforming an ordinary dinner into a memorable feast. Imagine sinking your teeth into a warm, soft roll, made from scratch with just a handful of simple ingredients. This recipe for the BEST Homemade Dinner Rolls brings that dream to your table faster than you might think, ready to impress in about 90 minutes. Perfect alongside Buttermilk Ranch Oven Fried Chicken or these delicious Turkey Meatballs, these rolls are versatile and utterly delightful.
Sign up to get my new recipes in your inbox! Follow me on Facebook and Instagram!
PIN IT NOW!

The Best Homemade Dinner Rolls Recipe
Every home cook needs a reliable and easy dinner roll recipe in their collection, and this one truly stands out. These dinner rolls are nothing short of perfect. With a texture so soft and pillowy, and a rich, buttery flavor, they are guaranteed to blow you away. Their incredible versatility makes them a welcome and delicious addition to virtually any meal, from holiday feasts to simple weeknight dinners.
I confess, I’m a huge fan of carbs. While I’m currently working with a nutritionist and carefully managing my daily starch intake, I make sure to choose those starches very wisely. When I decided to make these super soft homemade dinner rolls last week, I took extra precautions to ensure I could indulge in at least two of these amazing rolls, slathered with butter and jelly. Though, to be completely honest, these rolls are so incredibly flavorful on their own that they don’t even need butter – it’s more of a delicious habit at this point.
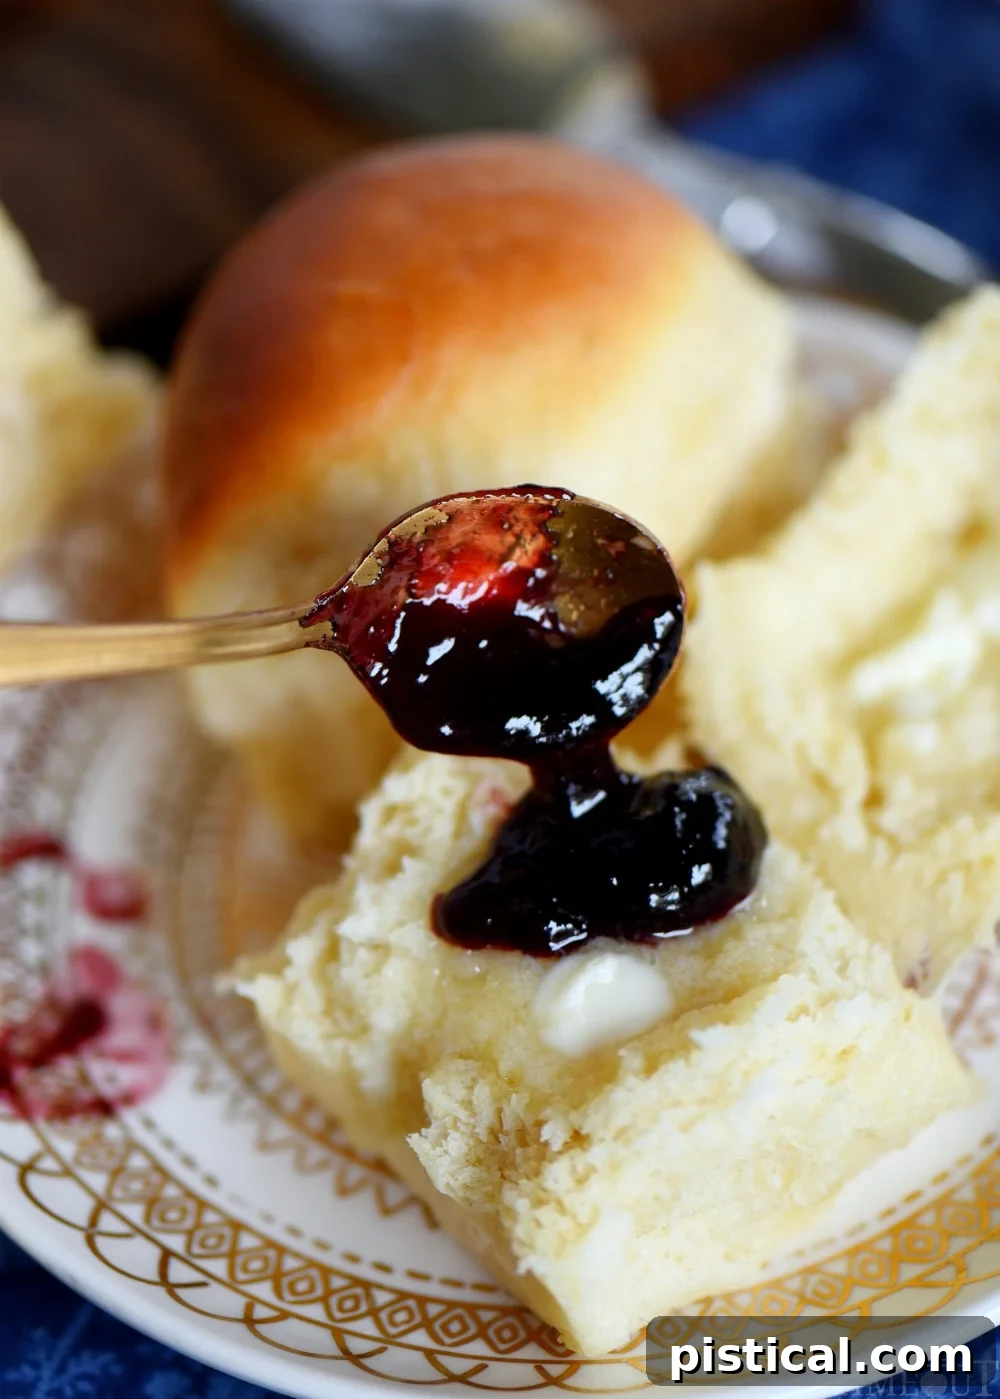
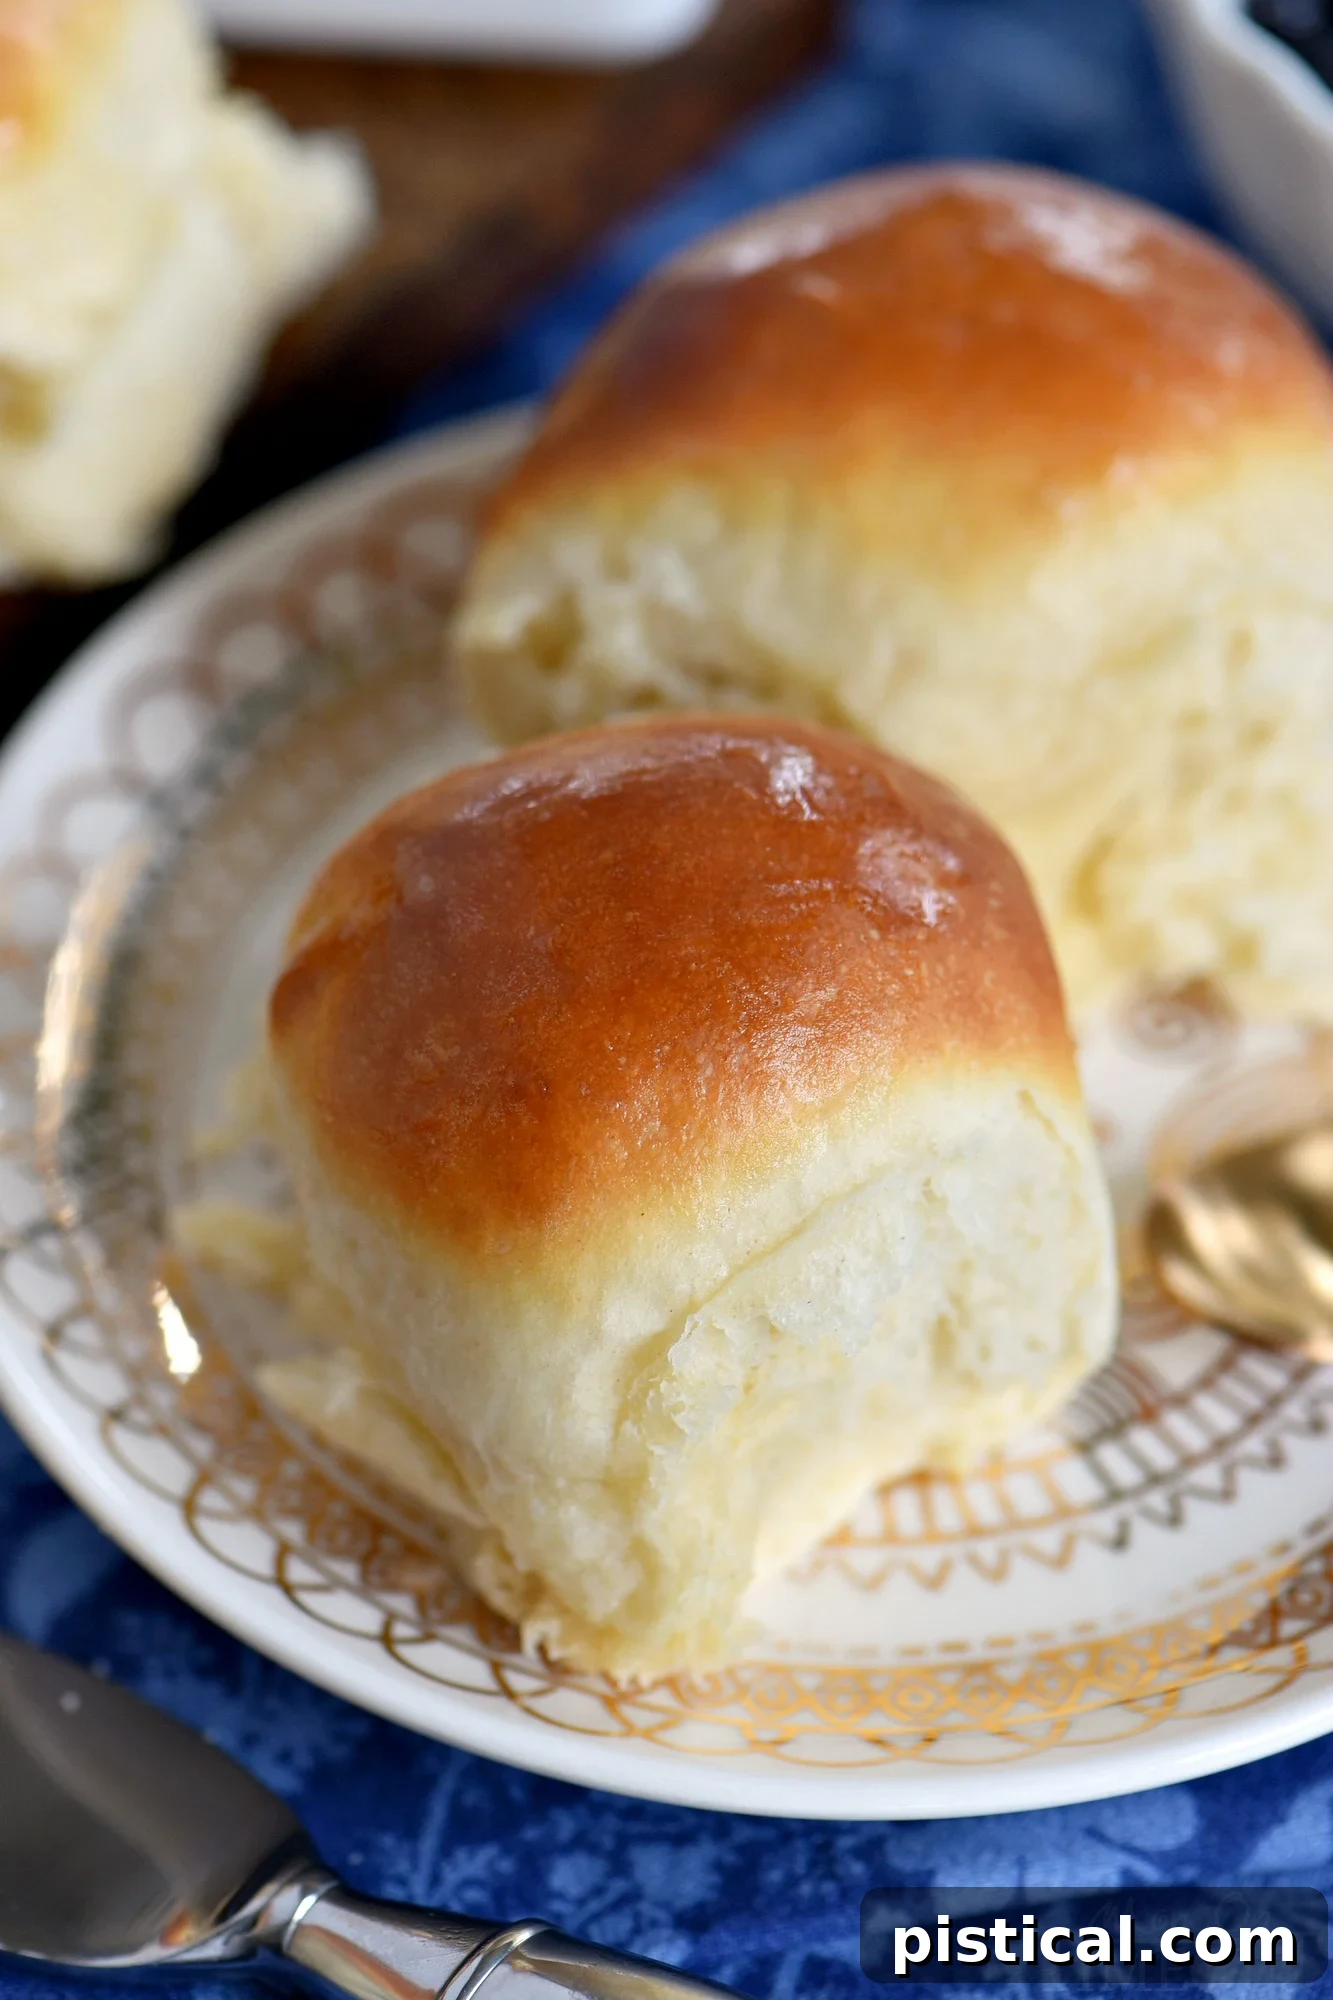
Just look at these fluffy dinner rolls! What I adore about this recipe is the subtle hint of sweetness – it’s just enough to enhance the flavor without making them overly sweet. This balance makes them incredibly versatile. Enjoy them for breakfast, slathered with jam; for lunch, as a soft bread for sandwiches; as a comforting snack; or, of course, as the ideal accompaniment to your dinner. They truly fit every occasion.
Despite their gourmet taste and texture, these homemade dinner rolls are surprisingly quick to make. While they do require two rising periods, each lasting 30 minutes, the overall hands-on time is minimal. From start to finish, you’re looking at about 90 minutes until you can enjoy warm, fresh rolls straight from the oven. The process is streamlined thanks to modern conveniences.
For this easy dinner roll recipe, I rely on my trusty stand mixer. The dough hook does all the heavy lifting, taking care of the kneading process for me. Using rapid-rise or instant yeast in this recipe means you can simply dump all the ingredients into the mixer bowl together, much like you would with a bread machine. This simple approach makes the whole baking experience a breeze – it’s honestly one of the best kitchen hacks for baking enthusiasts!
Tips for Making Perfect Homemade Dinner Rolls Every Time
Achieving perfectly light and fluffy dinner rolls is easier than you think with these expert tips:
- Preparation is Key: This recipe comes together incredibly fast, so it’s a huge advantage to be prepared. Measure out all your ingredients before you even begin. This way, you can just add them into the bowl of your stand mixer and get started without any last-minute scrambling.
- Mind the Milk Temperature: The warmth of the milk is crucial for activating the yeast. Be diligent about checking its temperature. You’re aiming for a range between 100-110°F (38-43°C). I usually warm my milk in the microwave in a glass measuring cup, then use this digital thermometer to ensure it’s just right. If it gets too hot, simply let it cool down to the correct temperature before proceeding. Killing the yeast by using overly hot milk is a common pitfall and a big no-no for fluffy rolls.
- Optimal Rising Environment: Both the first and second rises are crucial for developing flavor and texture, each lasting approximately 30 minutes. Ensure your dough balls are placed in a draft-free location. Cover them loosely with a clean tea towel or plastic wrap to maintain moisture and prevent a dry crust from forming, which can inhibit rising.
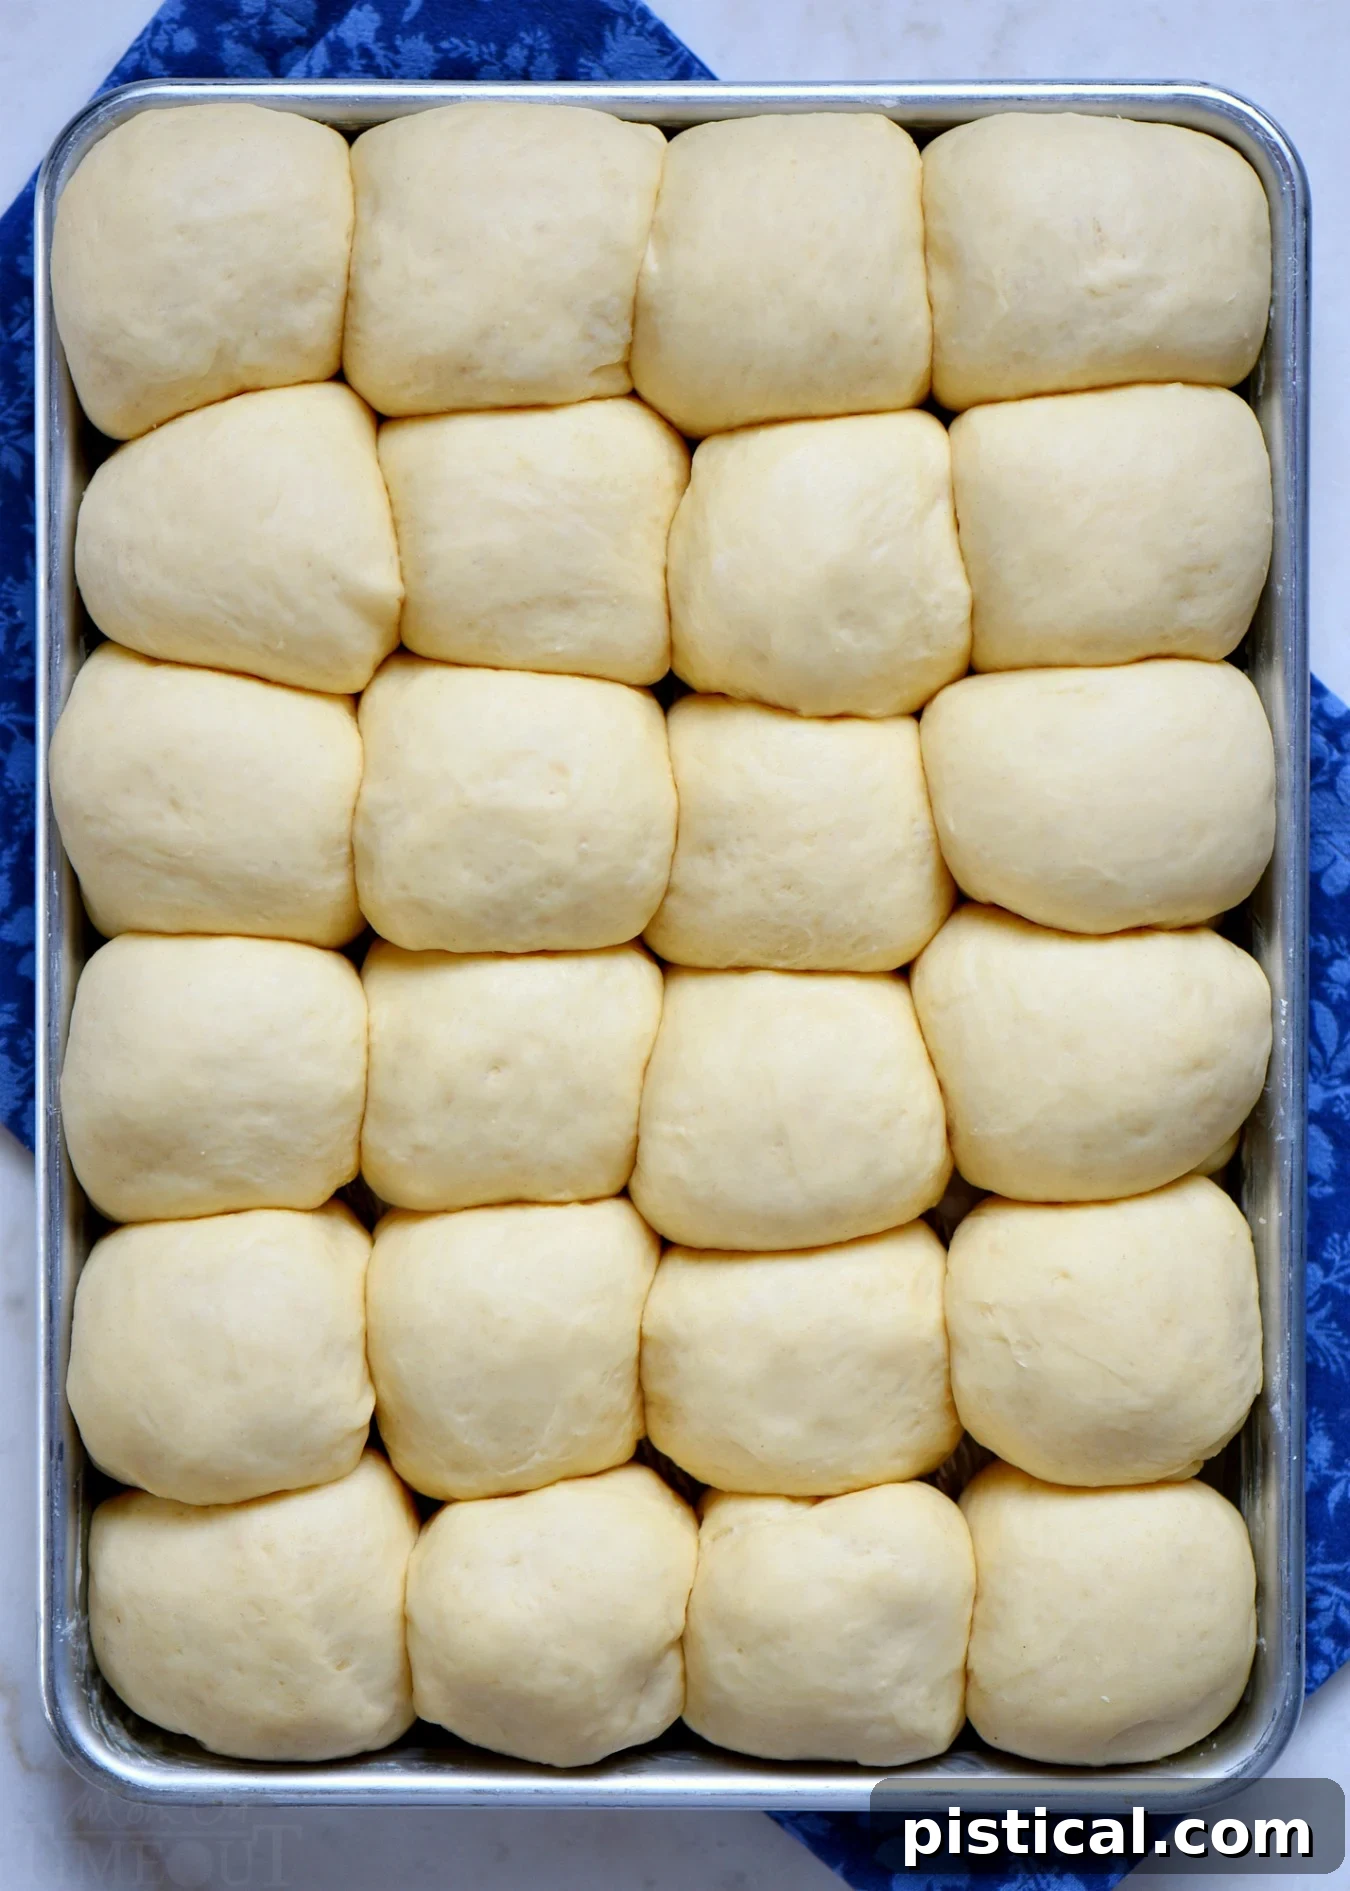
- Uniform Roll Size: To guarantee an even baking time and consistent results, strive to make your rolls roughly the same size. While eyeballing it works for some, for extra precision, gently pat the dough into a rectangle about 8 x 12 inches. Cut this into 4 equal strips, then cut each strip into 6 squares, yielding a total of 24 rolls. For absolute uniformity, a kitchen scale can be used to weigh each dough portion.
- Mastering the Roll Shape: When shaping the dough into balls, I like to create a beautifully smooth top. Achieve this by pulling the “seams” or edges of the dough down to the bottom and giving it a gentle twist. This creates tension on the top surface, resulting in a perfectly rounded roll. Place this seam-side down onto your baking sheet. (The video below provides a visual demonstration if this technique is unclear.)
- Monitor Baking Closely: Begin checking your dinner rolls around the 12-minute mark. If you notice they are starting to brown faster than you prefer before they are fully cooked through, simply place a piece of aluminum foil loosely over the top of the baking sheet. I aim for a beautiful golden-brown color, as this usually indicates they are perfectly done. Always check a center roll for doneness to ensure uniform baking, then tent with foil if they require a few more minutes.
- Don’t Skip the Butter Brush: This final step is vital! Brushing the hot rolls with melted butter immediately after they come out of the oven gives them that irresistible golden sheen, adds a touch more buttery flavor, and contributes to their soft crust. It’s a small step that makes a big difference!
Essential Tools for Crafting Homemade Dinner Rolls
Having the right tools can make your baking experience smoother and more enjoyable. For this recipe, you’ll find these items particularly useful:
- Quarter Sheet Pan: Ideal for baking 24 rolls without overcrowding, ensuring even browning.
- Stand Mixer: A true game-changer for dough recipes, making kneading effortless and consistent.
- Digital Thermometer: Crucial for accurately checking milk temperature to ensure yeast activation.
- Kitchen Scale: (Optional but recommended) For precise portioning of dough, leading to uniformly sized rolls.
- Glass Measuring Cup: Perfect for warming milk in the microwave and easily checking its temperature.
How To Make Dinner Rolls: Watch the Video
If you enjoyed this easy dinner roll recipe, you’ll also love this Cinnamon Bread and these amazing Cheddar Bay Biscuits – truly so good!

The BEST Dinner Rolls
Light, fluffy, buttery dinner rolls are impossible to resist. Homemade with just a handful of simple ingredients, the BEST Dinner Rolls can be on your table in a jiffy. They really are the perfect addition to any meal!
Course: Side Dish
Cuisine: American
Keyword: dinner roll recipe, dinner rolls, dinner rolls recipe
Prep Time: 10 minutes
Cook Time: 12 minutes
Resting Time: 1 hour
Total Time: 22 minutes (active, actual total time including rests is ~90 minutes)
Servings: 24 rolls
Calories: 74 kcal per roll
Author: Trish – Mom On Timeout
Ingredients
- 4 – 5 cups all purpose flour
- 2 tablespoons rapid rise, instant yeast
- ⅓ cup granulated sugar
- 1 tsp salt
- 1½ cups warm milk, 110 degrees F (43 C)
- 5 tablespoons butter, softened
- 1 egg, room temperature
- 2 tablespoons melted butter (for brushing)
Instructions
- Combine 3 cups of flour, yeast, sugar, salt, warm milk, softened butter, and egg in the bowl of a stand mixer.
- Attach the dough hook and turn the mixer to its lowest speed. Mix until the flour is fully incorporated, scraping down the sides of the bowl as necessary to ensure all ingredients are combined.
- Increase the mixer speed to medium and beat the mixture for 2 minutes to develop the gluten.
- Add another 1/2 cup of flour and blend it in with the dough hook until fully incorporated. Repeat with another 1/2 cup of flour, mixing at medium speed for an additional 2 minutes, until a cohesive ball of dough begins to form.
- Add additional flour, one tablespoon at a time, as necessary. The dough should be slightly sticky yet soft, and it should pull away cleanly from the edges of the bowl. Avoid adding too much flour, as this can result in dense rolls.
- Transfer the dough to a lightly greased bowl. Cover the bowl loosely with a clean towel or plastic wrap. Let the dough rise in a warm, draft-free location for 30 minutes at room temperature, until visibly puffy.
- Gently remove the cover and deflate the dough by lightly punching it down to release the air.
- Pinch off pieces of the dough and form 24 individual rolls. For consistent size and even baking, you can weigh each piece of dough; they should be approximately 2 ounces each, though this may vary slightly depending on the total amount of flour added.
- Arrange the formed rolls on a lightly greased quarter baking sheet or a 9×13 inch baking dish, ensuring they are not too tightly packed. Cover them again with a towel or plastic wrap and let them rise for an additional 30 minutes at room temperature.
- While the rolls are completing their second rise, preheat your oven to 375°F (190°C). Bake the rolls for 12 to 15 minutes, or until they are beautifully golden brown and cooked through. If the tops start to brown too quickly before they are done, lightly tent the baking dish with aluminum foil.
- Once baked, remove the rolls from the oven immediately. While still hot, generously brush the tops of the rolls with the 2 tablespoons of melted butter. Serve these delicious rolls immediately and enjoy their warm, buttery goodness!
Notes
Storage Information:
Leftover dinner rolls should be stored in an airtight container at room temperature for up to 4 days to maintain their freshness and softness.
For longer storage, rolls can be frozen for up to 3 months. Ensure they are completely cooled before wrapping them tightly in plastic wrap, then a layer of aluminum foil, or transferring them to a freezer-safe, airtight zip-top bag.
Make Ahead:
This recipe is excellent for making ahead! You can prepare the rolls up to the second rise. After shaping the rolls and placing them on the baking sheet, cover them tightly and refrigerate overnight. About an hour before you plan to bake, remove them from the fridge and allow them to come to room temperature and complete their second rise. Then, bake as directed.
Tips:
If your dinner rolls begin to brown excessively before they are fully baked through, simply tent the baking dish with aluminum foil. This will prevent further browning while allowing the rolls to finish cooking to perfection.
Nutrition
Calories: 74 kcal | Carbohydrates: 7g | Protein: 1g | Fat: 4g | Saturated Fat: 2g | Cholesterol: 17mg | Sodium: 136mg | Potassium: 37mg | Sugar: 3g | Vitamin A: 140IU | Calcium: 20mg | Iron: 0.3mg
Craving more delicious carbs? Be sure to explore these fantastic recipes from my friends:
Brioche Loaf Bread | The Best Cloud Bread | Milk Bread
Looking for some great appetizers to kick off your meal? Try these:
Easy Jalapeno Popper Bites
Bacon Wrapped Chicken Teriyaki Bites
Cranberry Pecan Mini Goat Cheese Balls

For all dinner recipes, go HERE.
For all dessert recipes, go HERE.
Sign up to get emails when I post new recipes!
For even more great ideas follow me on Facebook – Pinterest – Instagram – Twitter – Bloglovin’.
Have a wonderful day!