
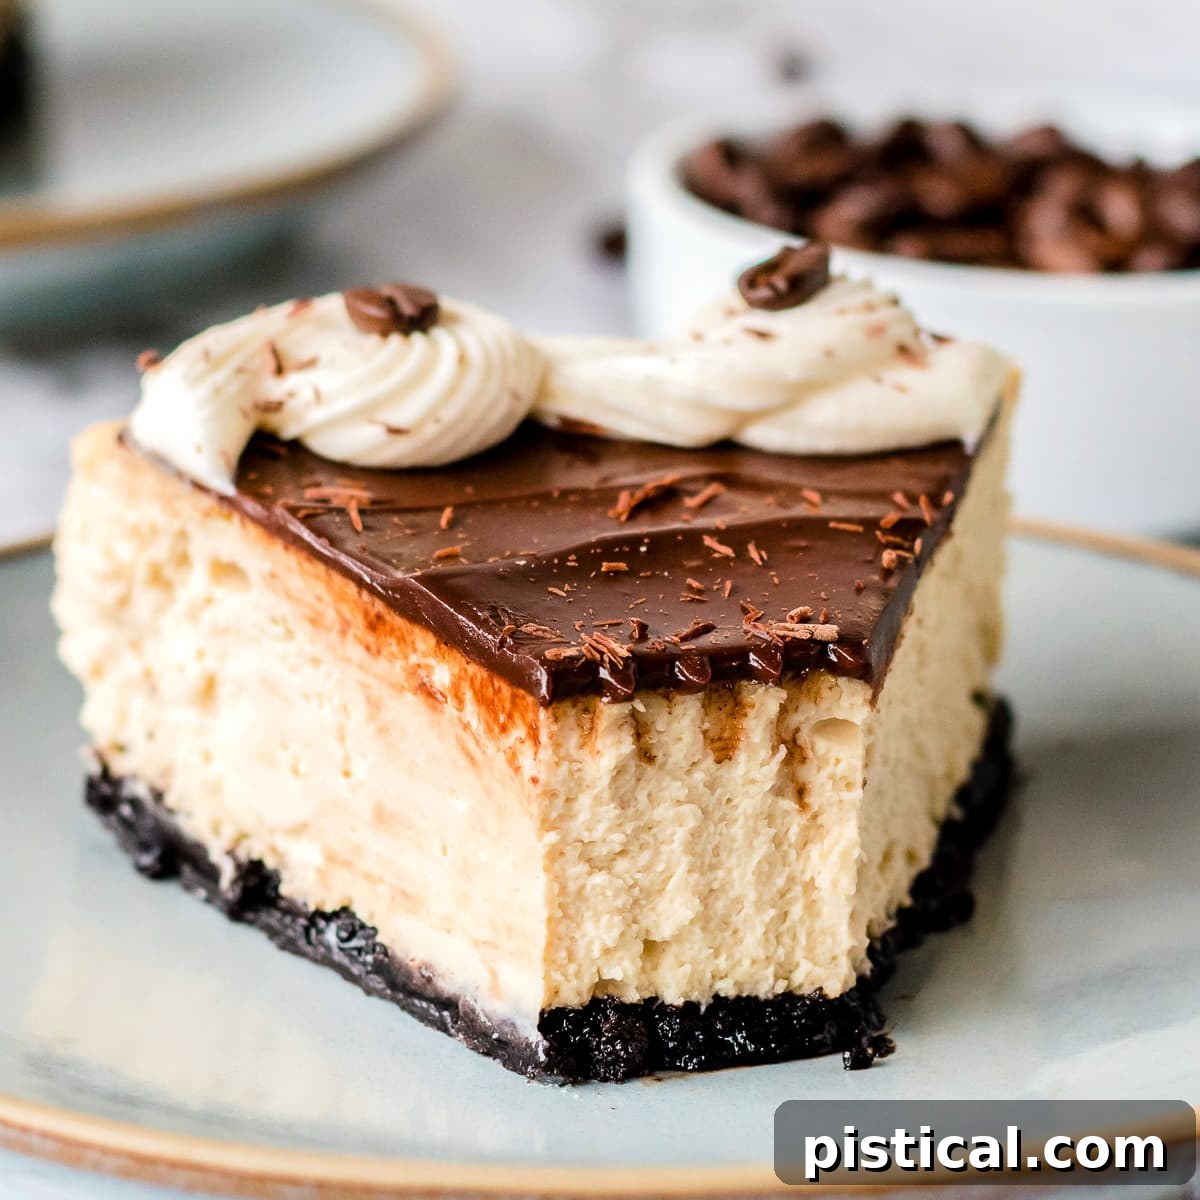
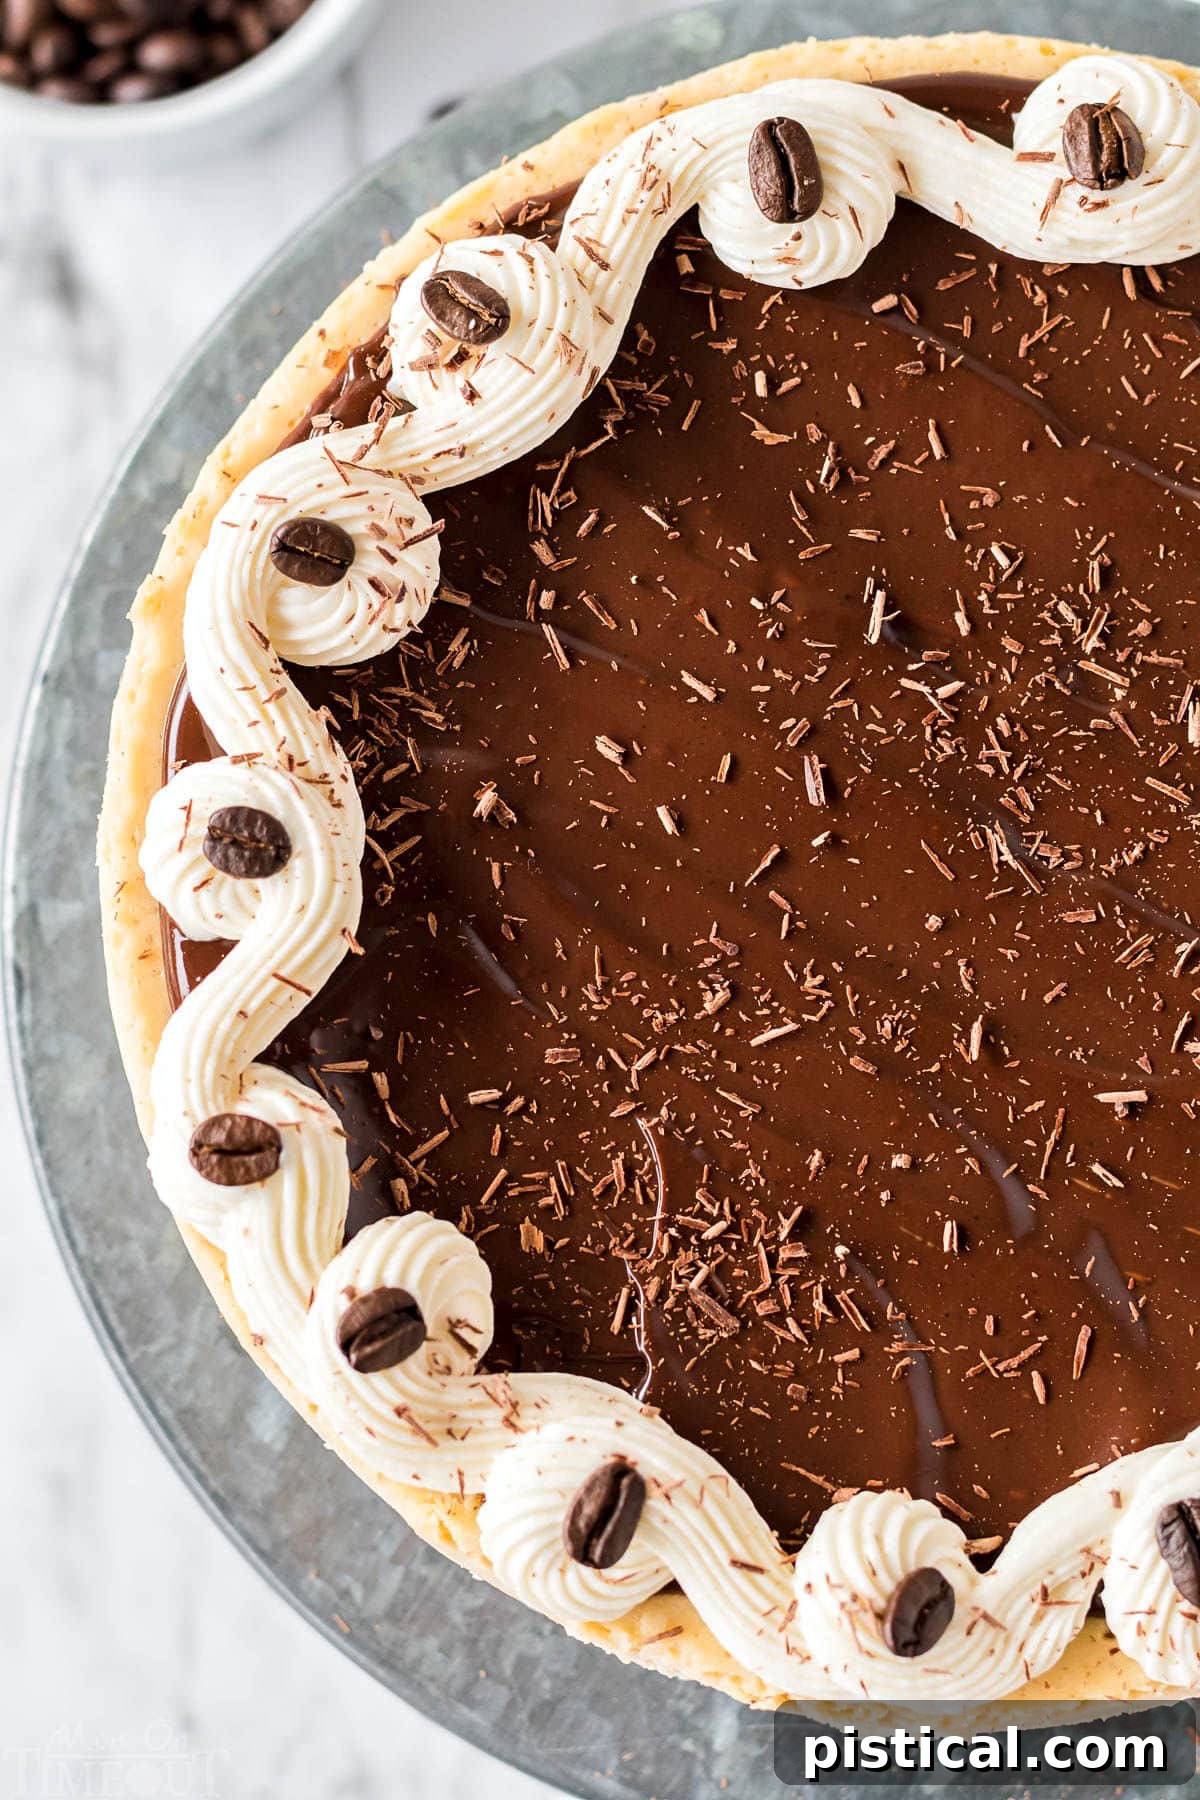
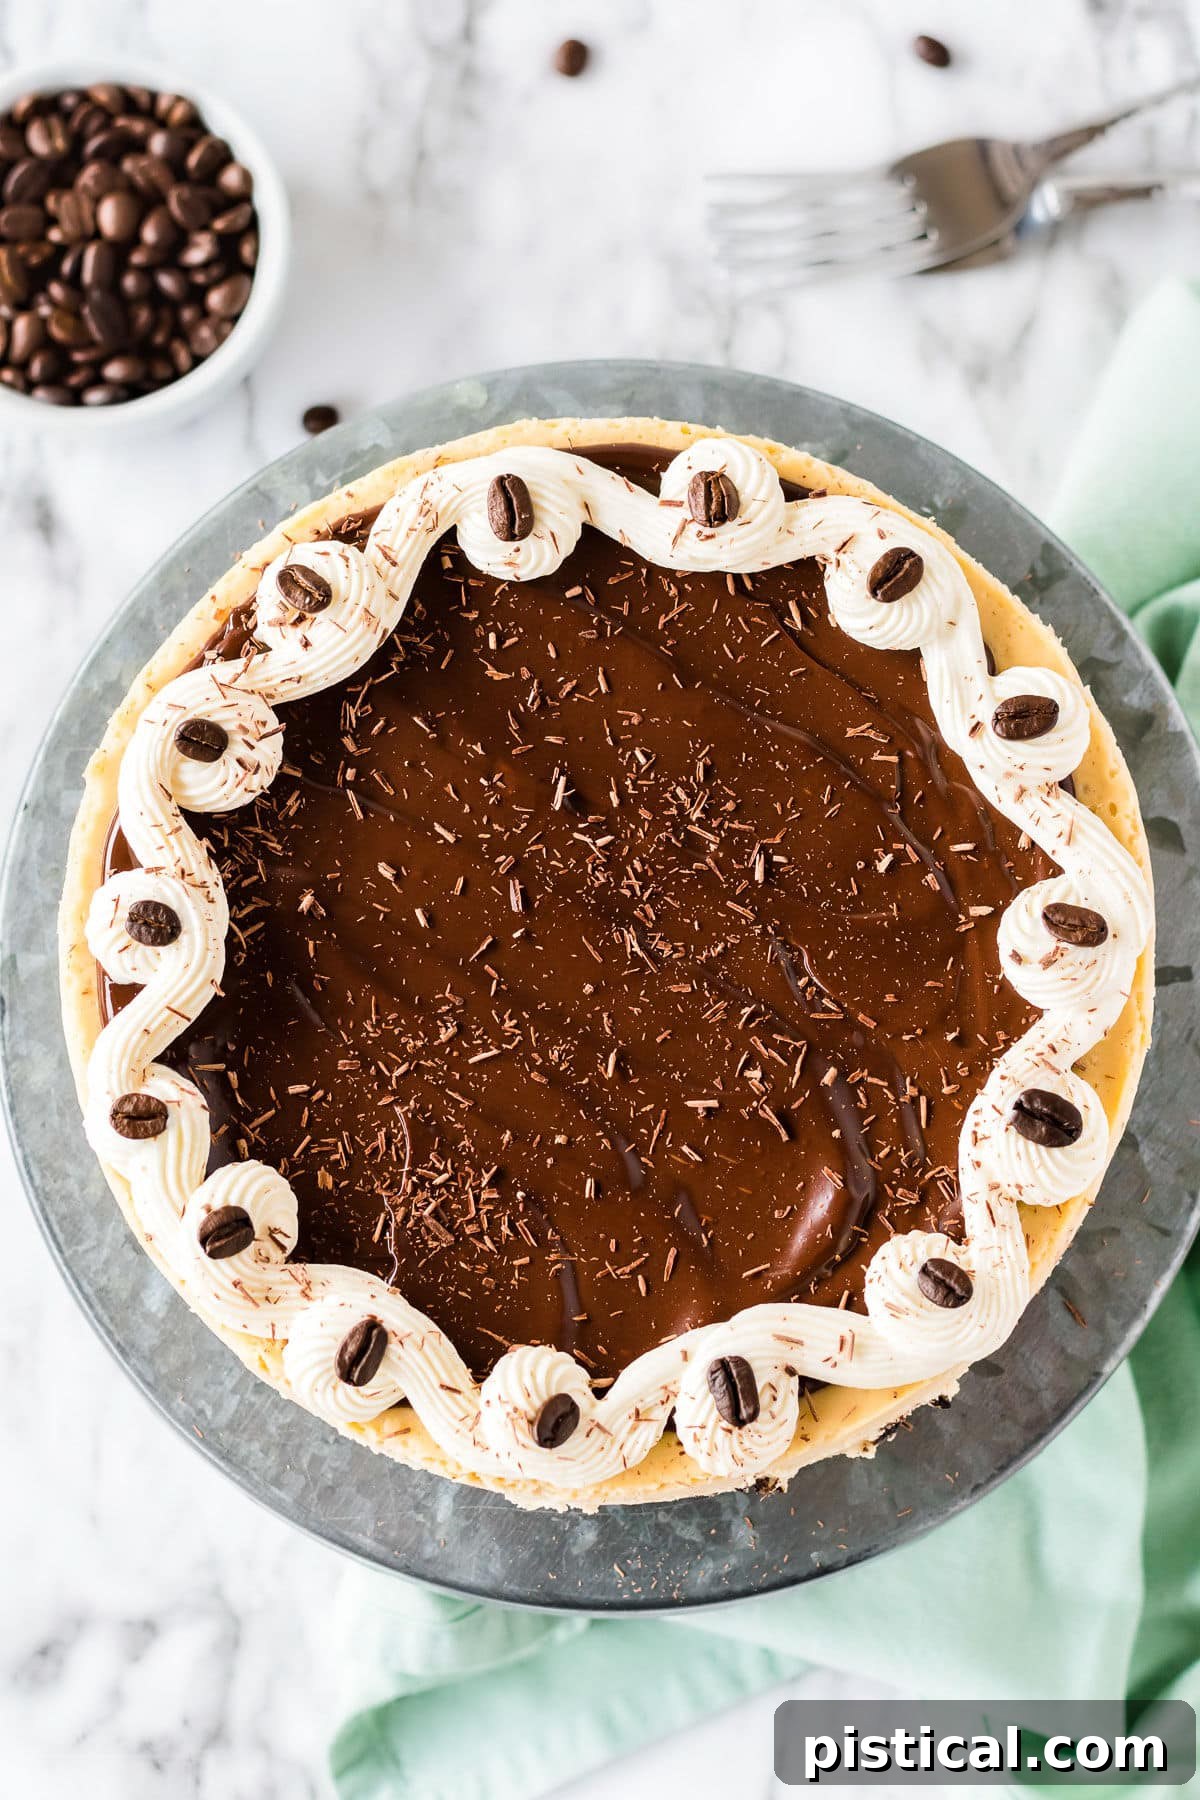
Espresso Cheesecake: The Ultimate Indulgence for Coffee and Chocolate Enthusiasts! This decadent dessert combines the rich, robust flavor of espresso with the creamy luxury of a classic cheesecake, all resting on a delightful OREO crust. Crowned with a luscious chocolate ganache, an elegant swirl of cream cheese frosting, delicate chocolate shavings, and aromatic espresso beans, it’s a masterpiece designed to delight the senses. Prepare to be enchanted by its exquisite taste and stunning presentation!
Are you a devoted cheesecake admirer? Then you absolutely must explore my other irresistible creations, such as the Triple Threat Chocolate Cheesecake and the effortlessly delicious Chocolate Chip No Bake Cheesecake!
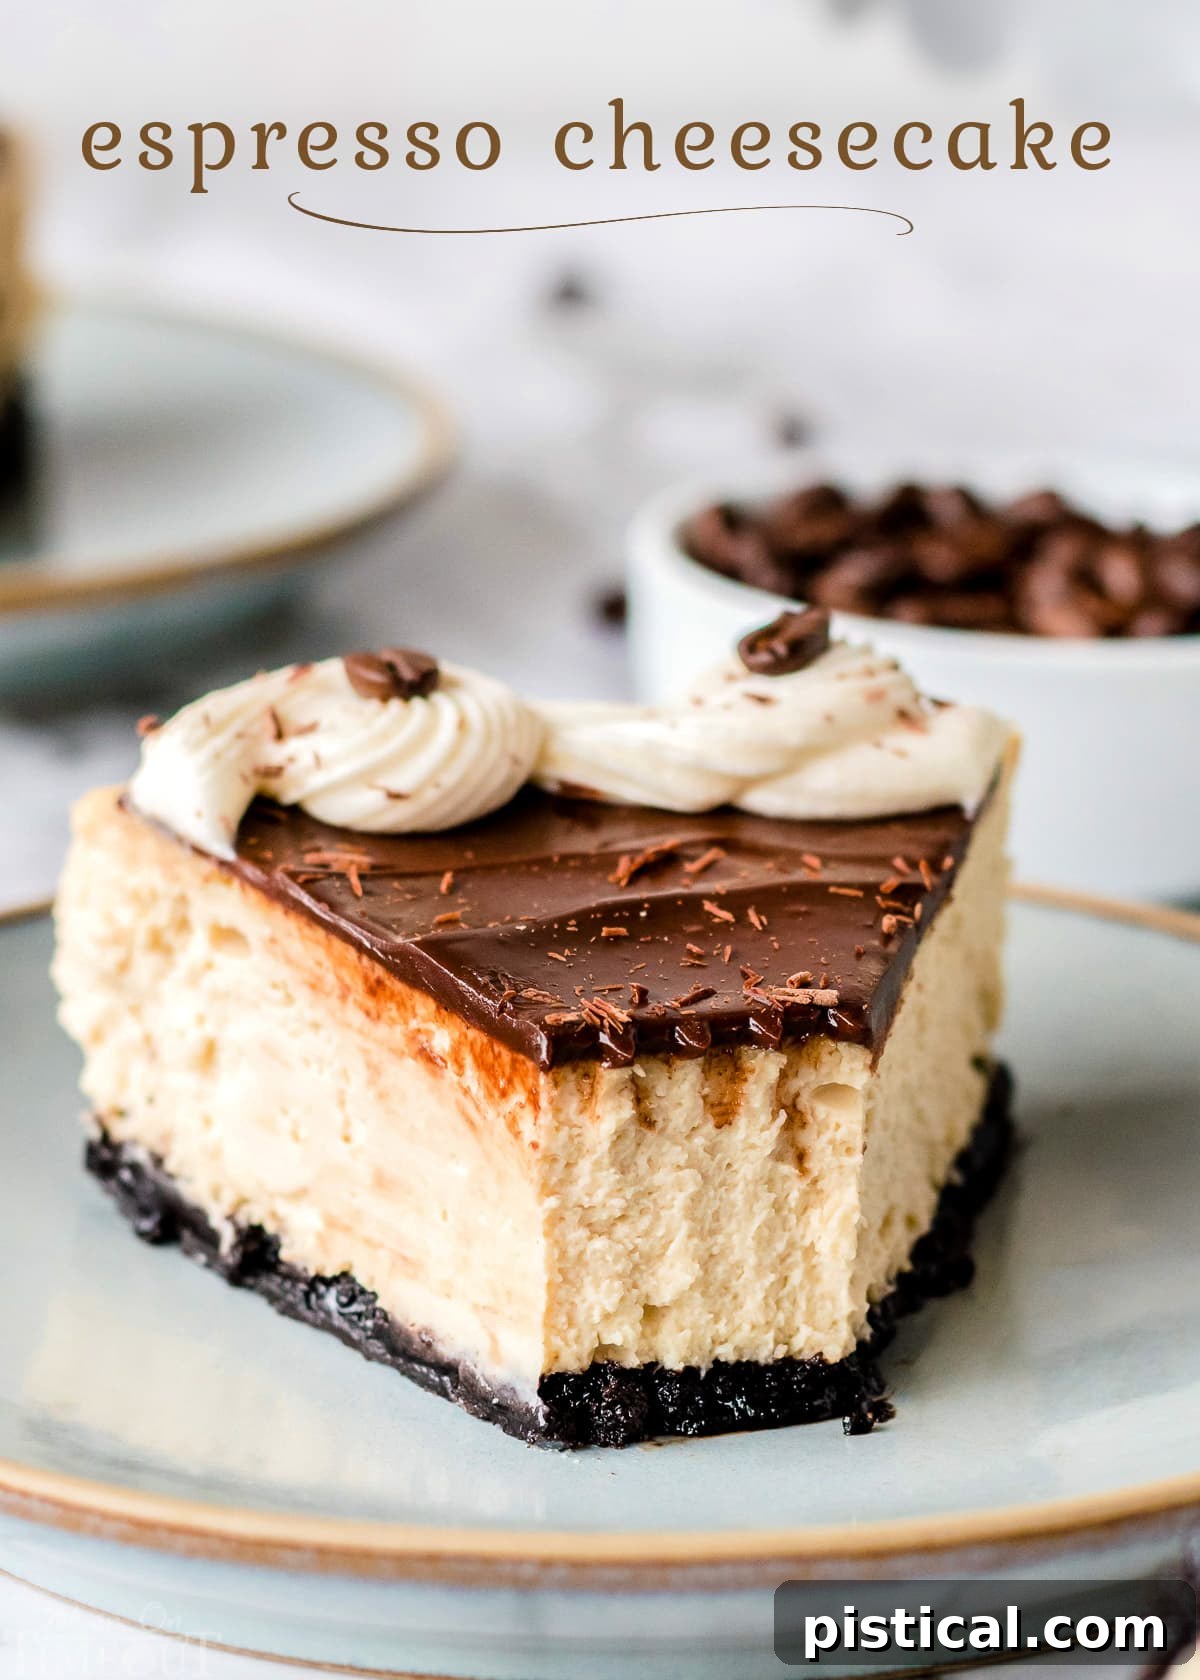
Experience the Magic of Espresso Cheesecake
Imagine your favorite morning espresso transformed into a melt-in-your-mouth dessert – that’s precisely what this extraordinary espresso cheesecake offers! This recipe is more than just a sweet treat; it’s a culinary journey that promises to become a cherished family favorite for every special occasion. Whether you’re planning an intimate date night, a festive holiday gathering, or simply craving a sophisticated dessert, this cheesecake strikes the perfect balance between decadent indulgence and approachable preparation.
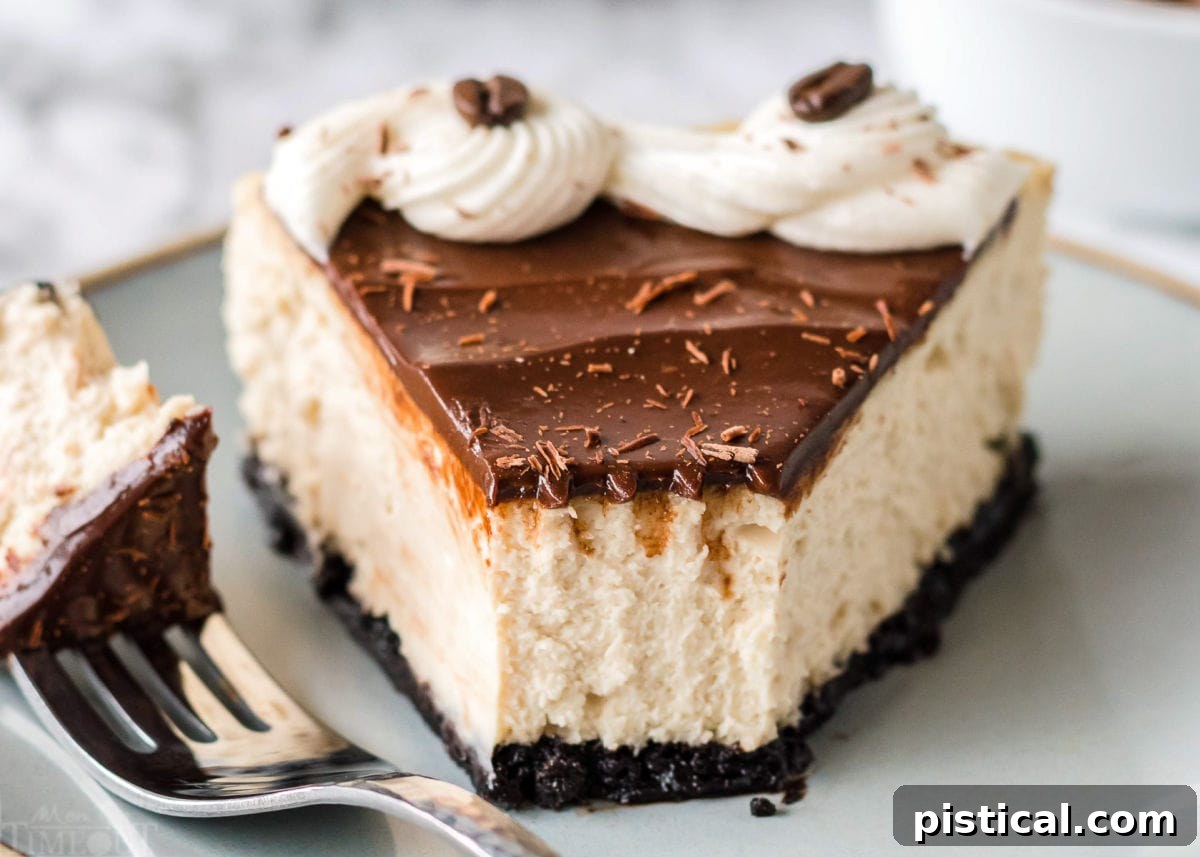
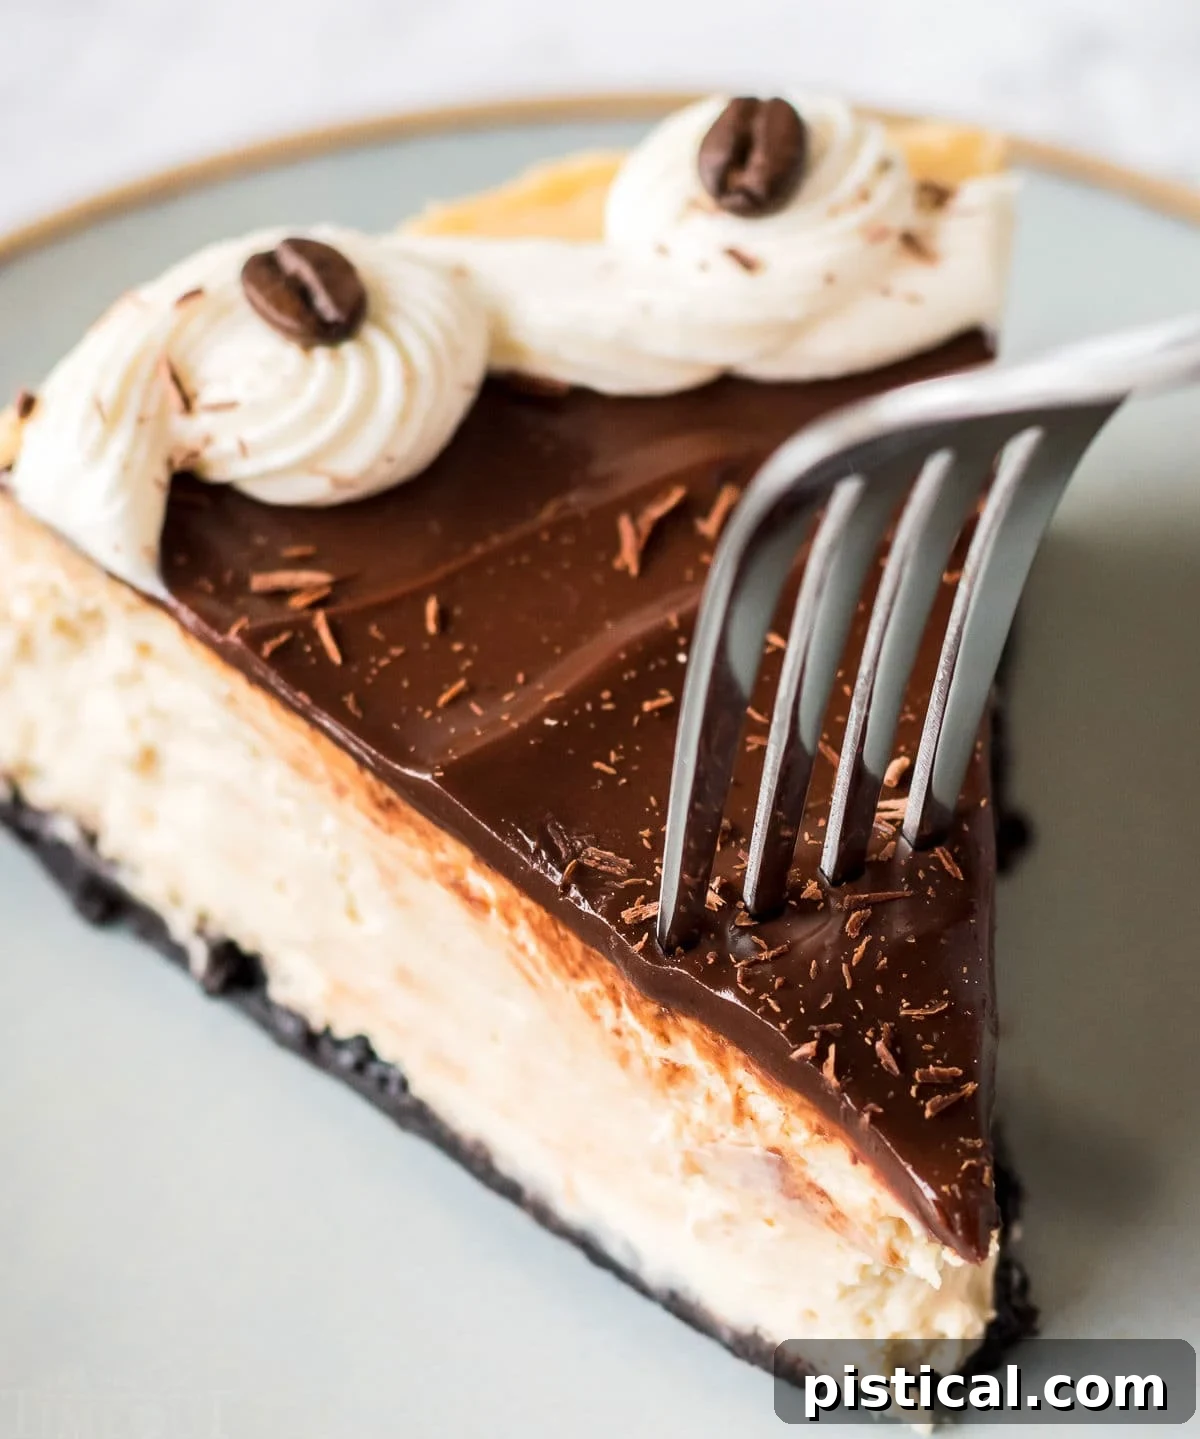
Every bite of this cheesecake delivers a symphony of textures and flavors. The filling boasts an incredibly silky, smooth consistency, infused with just the right amount of bold espresso to awaken your palate without being overwhelming. It’s a delicate dance of creamy sweetness and rich coffee notes. To elevate this exquisite base, a luxurious layer of glossy chocolate ganache cascades over the top, providing a deep, intense chocolate counterpoint. For an added touch of elegance and flavor, an optional swirl of tangy cream cheese frosting completes the ensemble.
To truly make this dessert a showstopper, I recommend finishing it with a sprinkle of delicate chocolate shavings and a scattering of whole espresso beans. These simple embellishments add not only visual appeal but also a delightful textural contrast and an extra burst of coffee aroma. These final touches take mere minutes but transform an already delicious cheesecake into an impressive culinary creation that guests will remember long after the last slice is gone. Get ready to fall in love with your new go-to dessert!
What Exactly is Espresso Cheesecake?
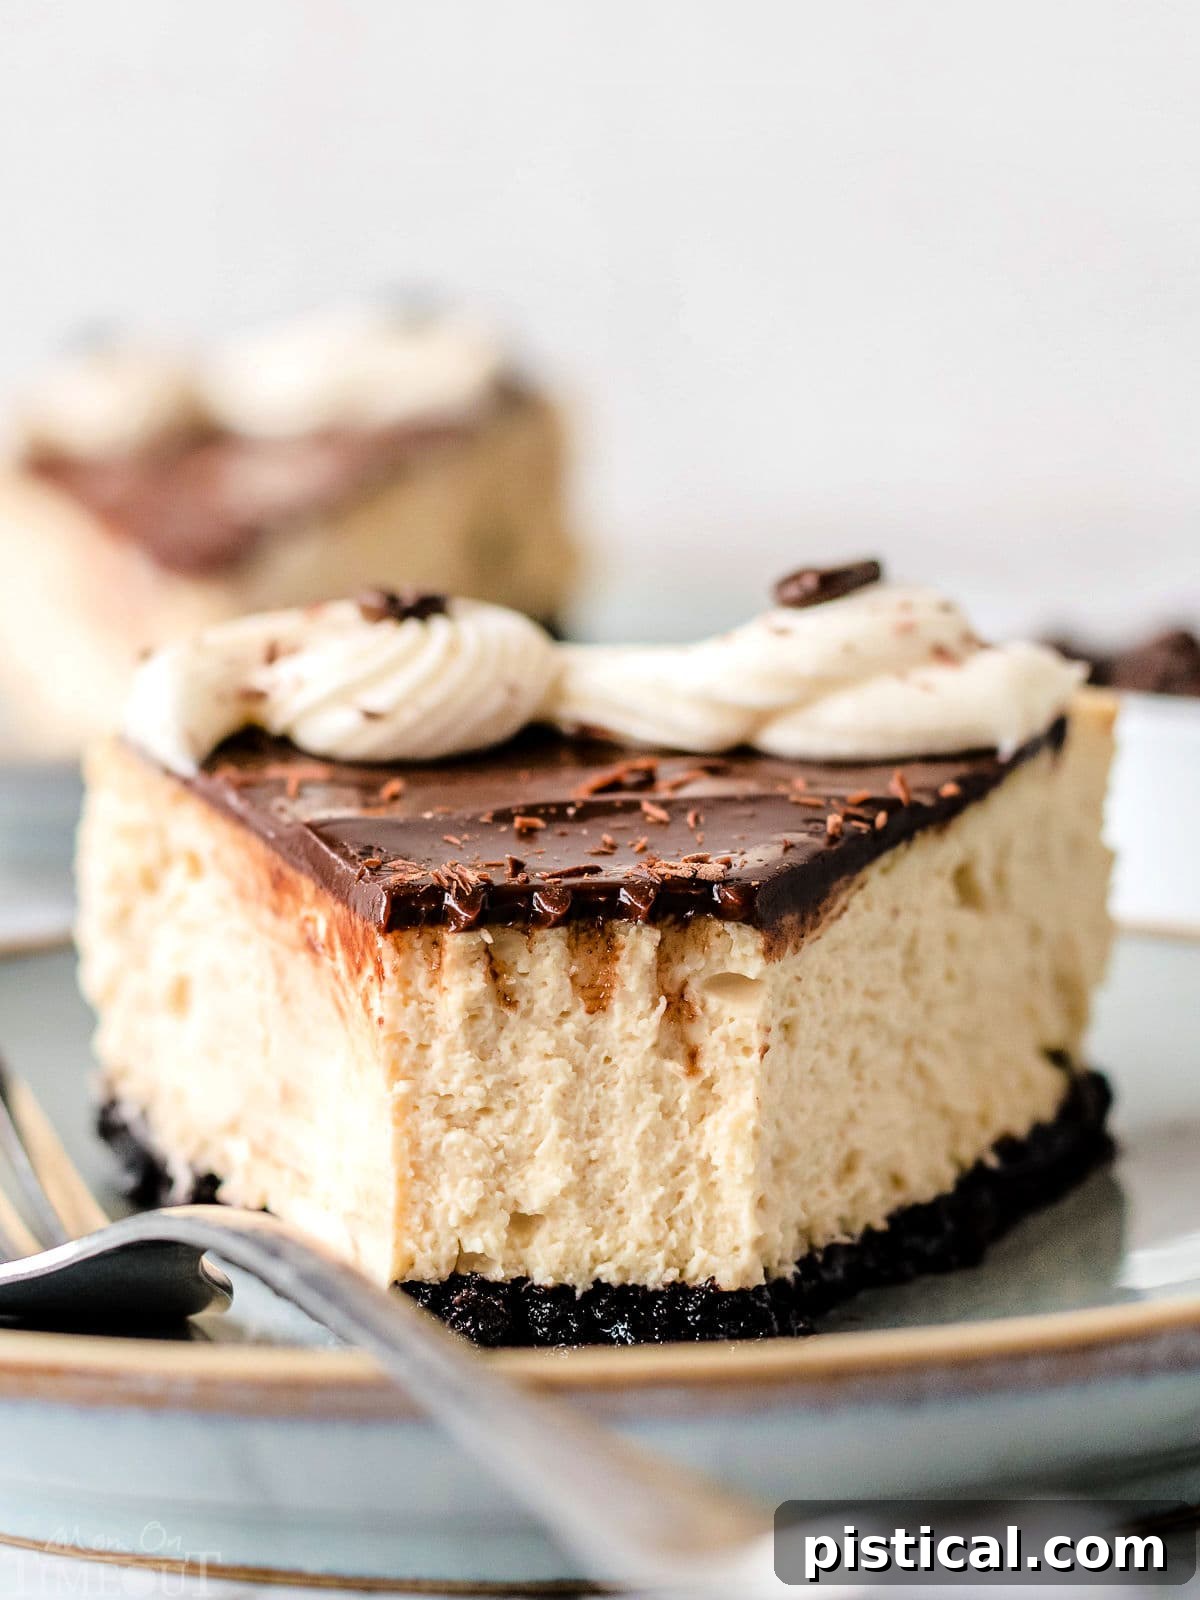
At its core, a cheesecake is a delightful hybrid, blending the airy lightness of a mousse with the satisfying structure of a pie. Our Espresso Cheesecake takes this beloved dessert concept to a new level, infusing it with the invigorating and aromatic essence of your favorite espresso beverage. This isn’t just a coffee-flavored cake; it’s a meticulously crafted dessert featuring a rich, velvety espresso-infused cream cheese filling. This exquisite filling is nestled upon a crunchy, dark OREO cookie crust, which provides a fantastic chocolatey base and textural contrast.
The experience culminates with a decadent chocolate ganache topping, adding another layer of rich cocoa flavor and a beautiful sheen. For anyone who adores the deep, complex flavors of coffee and chocolate, this espresso cheesecake is an absolute dream come true. It’s a sophisticated dessert that celebrates the harmonious pairing of two universally loved ingredients, offering a gourmet experience in every forkful.
More Irresistible Coffee-Flavored Recipes
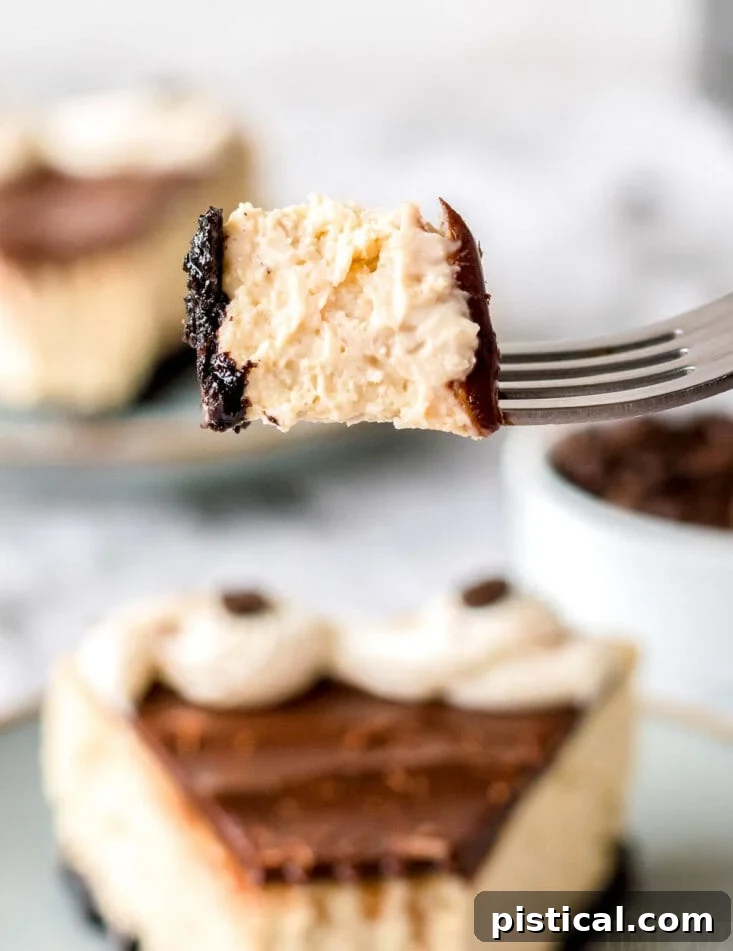
My passion for incorporating coffee and espresso into both cooking and baking runs deep, as these ingredients add an unparalleled depth of flavor and aroma. If you’re as captivated by coffee as I am, you’ll love exploring these other fantastic recipes that celebrate its versatility:
- Espresso Martini: A sophisticated and invigorating cocktail, perfect for after-dinner enjoyment.
- Mocha Breakfast Shake: Start your day with a nourishing and delicious blend of coffee and chocolate.
- Mocha Truffle Brownies: Fudgy brownies elevated with the rich flavors of mocha and a truffle-like texture.
- White Chocolate Snickerdoodle Latte: A comforting and sweet beverage that combines classic cookie flavors with creamy white chocolate and espresso.
Essential Ingredients for Your Espresso Cheesecake
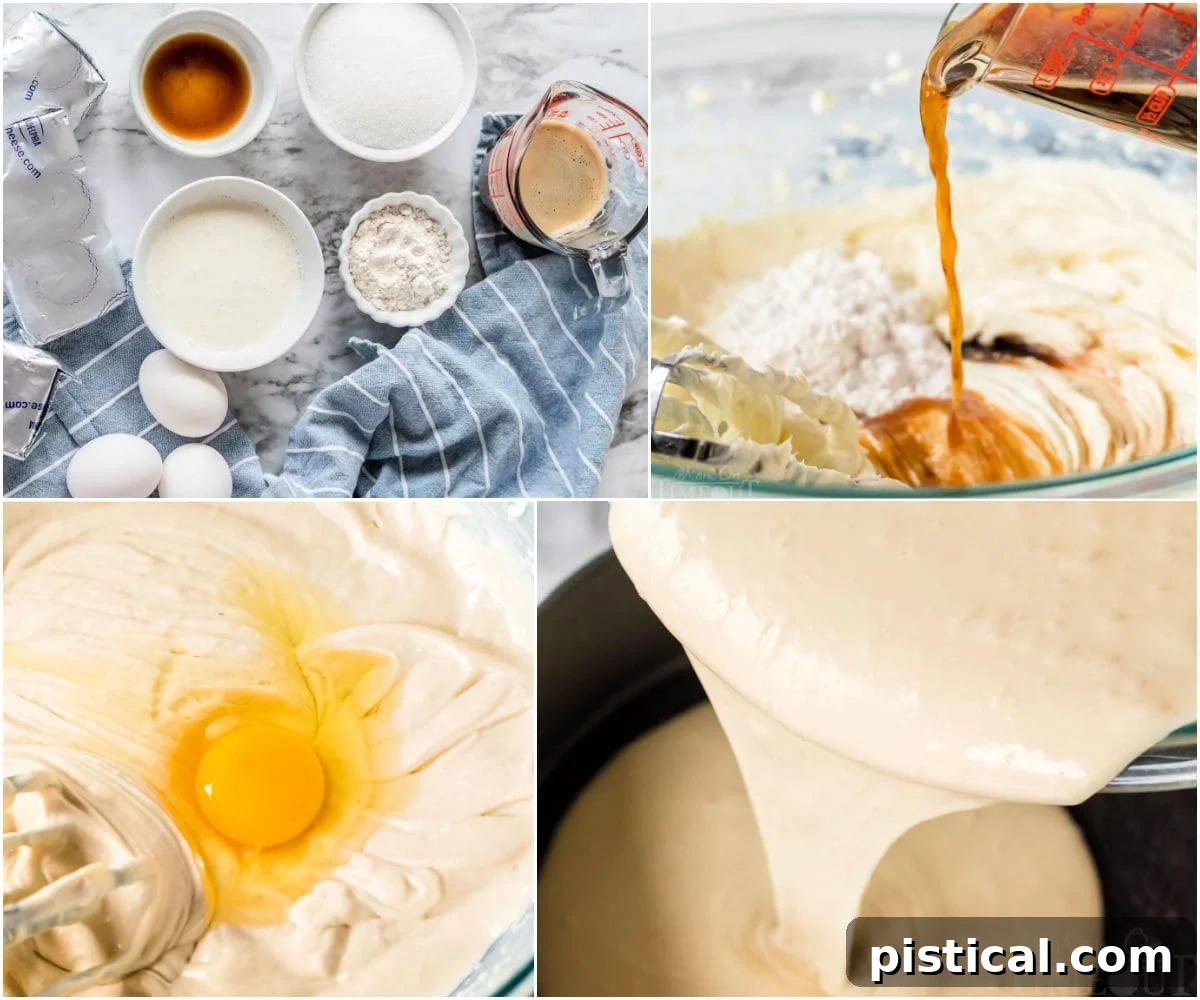
One of the many joys of crafting this delightful chocolate espresso cheesecake is that it doesn’t demand an array of obscure or specialized ingredients. You’ll find that most items are standard baking staples, readily available at any grocery store, complemented by a few key coffee-inspired favorites. To embark on your journey to homemade espresso cheesecake perfection, gather the following:
- OREO Cookies: These iconic chocolate sandwich cookies are foundational for our crust, offering a robust chocolate flavor and a satisfying crunchy texture that perfectly complements the creamy filling. Remember to use regular OREOs, not the double-stuffed variety, for the best crumb consistency.
- Butter: Essential for binding the OREO crumbs together, melted butter creates a cohesive and flavorful crust that holds its shape beautifully. It also adds a rich, buttery undertone.
- Salt: A small pinch of salt in the crust and filling is crucial. It acts as a flavor enhancer, balancing the sweetness of the cookies and cream cheese, and bringing out the depth of the chocolate and espresso.
- Cream Cheese: The heart and soul of any cheesecake! For the silkiest, most lump-free filling, it is absolutely vital to ensure your full-fat cream cheese is completely softened to room temperature before you begin mixing. This allows for smooth incorporation with other ingredients.
- Granulated Sugar: Providing the perfect level of sweetness, granulated sugar contributes to the cheesecake’s tender texture and helps stabilize the filling.
- All-Purpose Flour: Just a small amount of flour acts as a gentle binder and helps prevent the dreaded cheesecake crack, ensuring a beautifully smooth top surface. It’s a secret weapon for cheesecake success.
- Espresso (or Strong Coffee): This is where the magic happens! Freshly brewed espresso or a very strong cup of coffee is critical for imparting that deep, aromatic coffee flavor into the cheesecake. Ensure it’s cooled to room temperature before adding to the mixture to prevent cooking the eggs.
- Heavy Whipping Cream: A versatile ingredient, heavy whipping cream is used both in the cheesecake filling for extra richness and creamy texture, and as the base for our luxurious chocolate ganache topping.
- Large Eggs: Eggs are crucial for the structure, richness, and binding of the cheesecake. They emulsify the mixture and help set the cheesecake, giving it that characteristic velvety texture. Always use room temperature eggs for seamless blending.
- High-Quality Chocolate: For the most exquisite ganache topping, I highly recommend using a premium bittersweet or dark chocolate bar, finely chopped. While chocolate chips can work in a pinch, a good quality bar melts more smoothly and offers a superior flavor profile.
- Vanilla Extract: Use the finest quality pure vanilla extract you can find. It enhances all the other flavors, adding a warm, fragrant note that ties everything together beautifully.
- Powdered Sugar: This finely milled sugar is essential for achieving a smooth, lump-free consistency in the optional cream cheese frosting, adding delicate sweetness without grittiness.
How to Craft Your Exquisite Espresso Cheesecake
Creating this heavenly chocolate espresso cheesecake is a surprisingly straightforward process, despite its impressive appearance! Once you’ve gathered and prepped your ingredients, the oven takes over, doing the majority of the work to transform simple components into a culinary masterpiece.
For your convenience, a complete, printable recipe card with precise measurements and timings can be found at the very end of this post.
- **Prepare the Pan:** Begin by preheating your oven to 350°F (175°C). Lightly grease an 8-inch springform pan with non-stick spray, ensuring all surfaces are covered to prevent sticking later. Set the prepared pan aside.
- **Craft the OREO Crust:** In a food processor, add the entire OREO cookies (including the creamy filling) and pulse until they form fine, even crumbs. You’ll need about 2 cups of crumbs, which usually comes from roughly 20 cookies. Drizzle in the melted butter and add the pinch of salt. Pulse again until the mixture is well combined and resembles wet sand. Press this mixture firmly into the bottom of your prepared springform pan, using the bottom of a measuring cup or a flat-bottomed glass to create an even, compact layer. Extend the crust approximately 1 inch up the sides of the pan.
- **Bake the Crust:** Transfer the pan to the preheated oven and bake the OREO crust for 10 minutes. This step helps to set the crust and achieve a crispier texture. Once baked, remove from the oven and allow it to cool completely while you prepare the filling.
- **Cream the Cream Cheese:** In the bowl of a stand mixer fitted with the paddle attachment, or using a handheld electric mixer, beat the softened cream cheese on medium speed for at least 5 minutes. It’s crucial to achieve an incredibly smooth, lump-free consistency. Stop and scrape down the sides and bottom of the bowl frequently to ensure all the cream cheese is incorporated. This step is key for a silky cheesecake.
- **Incorporate Sugar, Flour, and Espresso:** Add the granulated sugar and flour to the cream cheese mixture and mix on low speed until just combined. Next, pour in the cooled espresso and mix again until fully incorporated. Remember to scrape down the sides and bottom of the bowl once more to ensure an even mix.
- **Add Heavy Cream and Vanilla:** Pour in the heavy whipping cream and vanilla extract. Beat the mixture for an additional 1 to 2 minutes on medium speed, until it is light and creamy. Scrape the bowl again to catch any unmixed ingredients.
- **Gently Mix in Eggs:** This is a delicate step. Add the room temperature eggs one at a time, mixing on the lowest speed until just combined after each addition. Be very careful not to overmix the batter once the eggs are added, as overmixing can incorporate too much air, leading to cracks in the finished cheesecake.
- **Fill and Tap:** Pour the prepared cheesecake filling into the cooled OREO crust in the springform pan. Gently tap the pan on your counter 10 to 15 times. This action helps to release any trapped air bubbles from the batter, contributing to a smoother, denser cheesecake.
- **Bake the Cheesecake (Two-Stage Process):** Place the cheesecake in the preheated 350°F (175°C) oven and bake for 15 minutes. Without opening the oven door, reduce the oven temperature to 200°F (95°C) and continue baking for another 55 to 60 minutes. The cheesecake is ready when the sides are set and slightly puffed, but the very center still has a slight jiggle when gently nudged.
- **Cool in the Oven:** Turn off the oven, but leave the cheesecake inside with the oven door closed for an additional 30 minutes. After 30 minutes, slightly crack open the oven door (using a wooden spoon to prop it open works well) and allow the cheesecake to cool for another 15 minutes. This slow cooling process is vital in preventing drastic temperature changes that can cause the cheesecake to crack.
- **Chill Thoroughly:** Remove the cheesecake from the oven and place it on a wire rack to cool completely to room temperature. This can take several hours. Once fully cooled, transfer the cheesecake to the refrigerator and chill for a minimum of 8 hours, or preferably overnight. Proper chilling is essential for the cheesecake to fully set, develop its rich flavor, and achieve its signature creamy texture.
- **Prepare the Ganache Topping:** Once the cheesecake is thoroughly chilled and set, it’s time to prepare the luxurious ganache. In a small saucepan or microwave-safe bowl, bring the heavy cream to a gentle boil (either on the stovetop or in the microwave). Carefully pour the hot cream over the finely chopped chocolate in a heatproof bowl. Let it sit undisturbed for 1 to 2 minutes to allow the chocolate to melt. Then, whisk gently until the mixture is completely smooth and glossy. Carefully pour the ganache over the top of the chilled cheesecake and gently tilt the pan to ensure an even coating.
Optional Cream Cheese Frosting: The Crowning Glory
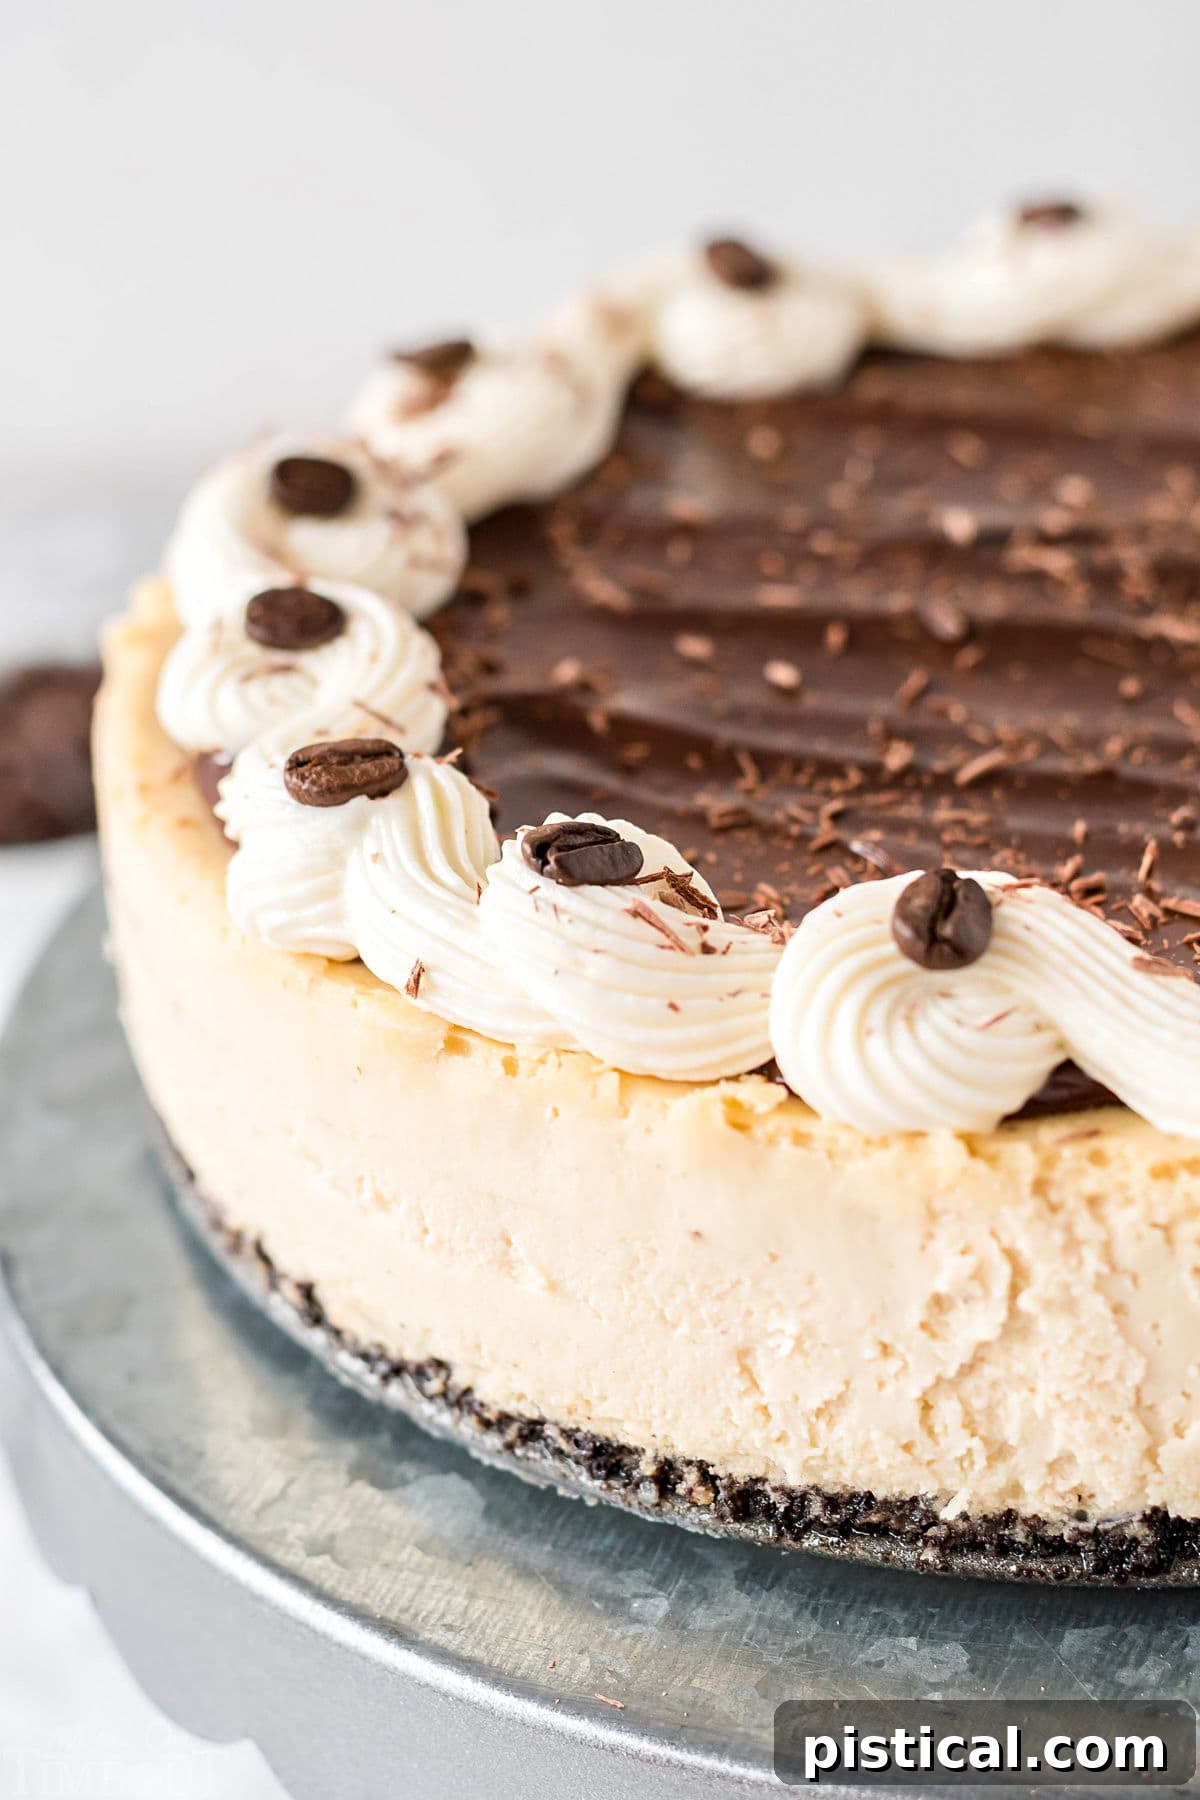
While the chocolate ganache provides a stunning finish, adding a delicate swirl of cream cheese frosting introduces an extra layer of tangy sweetness and visual elegance. This optional frosting truly makes the espresso cheesecake feel even more special and provides a beautiful contrast to the dark ganache. It’s a simple step that yields impressive results.
If you choose to elevate your cheesecake with this delightful cream cheese frosting:
- **Prepare the Frosting:** In a medium-sized bowl, combine the softened cream cheese and softened butter. Using a hand mixer or a stand mixer with the whisk attachment, beat these ingredients together until the mixture is light, fluffy, and completely smooth.
- **Add Flavor and Sweetness:** Next, incorporate the vanilla extract, mixing until it’s just combined. Gradually add the powdered sugar, starting on a low speed to prevent a sugary cloud, and continue mixing until all the sugar is fully incorporated and the frosting is smooth and creamy. Adjust powdered sugar to your desired sweetness and consistency.
- **Pipe Your Design:** Transfer the prepared frosting to a piping bag fitted with your favorite decorative tip (a Wilton 1M star tip works beautifully for elegant swirls). Pipe the frosting artfully around the outer edge of the cheesecake, or create any design you desire.
To truly take this espresso cheesecake to an unparalleled level of gourmet presentation and flavor, consider sprinkling a generous amount of delicate chocolate shavings over the top, along with a few whole espresso beans, just before you serve. The shavings add a touch of refined elegance, while the beans offer a fragrant aroma and a subtle crunch for those who dare.
Espresso Cheesecake: Frequently Asked Questions
To ensure your delicious chocolate espresso cheesecake stays fresh and flavorful, it’s best to cut any leftovers into individual slices. Place these pre-portioned slices in an airtight container. Stored properly in the refrigerator, your cheesecake will remain fresh and delightful for approximately 2 to 4 days.
Absolutely! Freezing this espresso cheesecake is an excellent way to prepare ahead or preserve leftovers. For optimal results, ensure the cheesecake is completely cooled and do not add any toppings (ganache, frosting, or garnishes) before freezing. It’s recommended to freeze in pre-portioned slices. Cut your chilled cheesecake, then individually wrap each slice tightly in parchment paper, followed by a layer of plastic wrap, and then aluminum foil. Place these securely wrapped slices in a freezer-safe Ziplock bag or container. They will maintain their quality in the freezer for up to 3 months. To enjoy, simply remove the desired number of slices from the freezer and thaw them overnight in the refrigerator. Once thawed, you can add your ganache and other preferred toppings before serving.
This particular recipe is designed to minimize the risk of cracks without a traditional water bath, thanks to the gradual temperature reduction during baking and slow cooling process in the oven. While a water bath can provide an extra layer of moisture and protection, it’s not strictly necessary for achieving a beautiful result with this recipe.
Cheesecake cracks are common and usually due to rapid temperature changes, overmixing the batter, or overbaking. Ensure all ingredients (especially cream cheese and eggs) are at room temperature for smooth mixing. Avoid overmixing once eggs are added, as this incorporates too much air. Follow the cooling instructions carefully, allowing the cheesecake to cool gradually in the oven to prevent sudden temperature drops that cause cracks.
While freshly brewed espresso or strong coffee is recommended for the best flavor depth, you can substitute with instant espresso powder or a very strong instant coffee. Dissolve 2-3 teaspoons of instant espresso powder (or instant coffee) in ¼ cup of hot water, then let it cool completely before adding it to the batter.
Discover More Decadent Cheesecake Recipes
If your love affair with cheesecake knows no bounds, then you’re in for a treat! Dive into this collection of other incredible desserts that feature the irresistible creamy goodness of cheesecake in various forms. From classic preparations to innovative twists, there’s a cheesecake delight for every craving:
- Chocolate Chip No Bake Cheesecake: Perfect for warmer days or when you need a quick, creamy dessert without turning on the oven.
- Cheesecake Brownies: The ultimate fusion of fudgy brownies and tangy cheesecake swirl – a match made in dessert heaven.
- Peanut Butter Cup Cheesecake Fudge: A rich, sweet, and unbelievably easy-to-make fudge bursting with peanut butter and chocolate flavors.
- Chocolate Chip Cookie Cheesecake Bars: A fun, shareable dessert combining soft chocolate chip cookies with a luscious cheesecake layer.
- No Bake Banana Cream Pudding Cheesecake: A delightful no-bake treat that brings together the classic comforts of banana cream pudding and cheesecake.
- Triple Threat Chocolate Cheesecake: For the ultimate chocolate lover, this cheesecake delivers an intense cocoa experience from crust to topping.
- Chocolate Marble Mini Cheesecakes: Adorably sized, these individual cheesecakes are perfect for parties and feature a beautiful marbled design.
- Cheesecake Chocolate Chip Muffins: A breakfast or snack delight that combines the softness of a muffin with a surprise cheesecake center.
Your Full Espresso Cheesecake Recipe
Print
Pin
Espresso Cheesecake
Ingredients
Crust
- 2 cups OREO cookie crumbs (from about 20 regular OREO cookies, not double stuffed)
- 6 tablespoons unsalted butter melted
- ¼ teaspoon fine sea salt
Filling
- 24 ounces full-fat cream cheese (3 standard 8-ounce packages, softened to room temperature)
- ¾ cup granulated sugar
- 3 tablespoons all-purpose flour
- ¼ cup freshly brewed espresso (or very strong coffee, cooled completely to room temperature)
- ½ cup heavy whipping cream
- 1 teaspoon pure vanilla extract
- 3 large eggs (at room temperature)
Ganache Topping
- ¼ cup heavy whipping cream
- 4 ounces bittersweet or dark chocolate (finely chopped from a high-quality bar for best results, or good quality chocolate chips)
Optional Cream Cheese Frosting & Garnish
- 4 ounces cream cheese (softened)
- 4 tablespoons unsalted butter (softened)
- ½ teaspoon pure vanilla extract
- ¾ to 1 cup powdered sugar (to taste)
- Chocolate shavings and whole espresso beans (for garnish, optional)
Instructions
-
Preheat oven to 350°F (175°C) and prepare an 8-inch springform pan by lightly coating it with non-stick spray. Set aside.
-
In a food processor, add approximately 20 OREO cookies (with filling) and pulse until you achieve 2 cups of fine crumbs. Add the melted butter and salt, then pulse again until the mixture is well combined. Press this mixture evenly into the bottom of the prepared springform pan, using the bottom of a measuring cup or glass to compact it. Extend the crust about 1 inch up the sides of the pan.2 cups OREO cookie crumbs, 6 tablespoons unsalted butter, ¼ teaspoon fine sea salt
-
Bake the crust for 10 minutes, then remove from the oven and allow it to cool completely on a wire rack.
-
In the bowl of a stand mixer (or using a hand mixer), beat the softened cream cheese on medium speed for at LEAST 5 minutes until it is perfectly smooth and airy. Remember to frequently scrape down the sides and bottom of the bowl to ensure no lumps remain.24 ounces full-fat cream cheese
-
Add the granulated sugar and all-purpose flour to the cream cheese mixture and mix on low speed until just combined. Next, pour in the cooled espresso and continue mixing until fully incorporated. Scrape the sides and bottom of the bowl again to ensure everything is well mixed.¾ cup granulated sugar, 3 tablespoons all-purpose flour, ¼ cup freshly brewed espresso
-
Now, add the heavy whipping cream and pure vanilla extract. Beat for an additional 1 to 2 minutes on medium speed until the mixture is thick and creamy. Don’t forget to scrape down the sides and bottom of the bowl one last time.½ cup heavy whipping cream, 1 teaspoon pure vanilla extract
-
Finally, add the room temperature eggs one at a time, mixing on the lowest speed only until each egg is just incorporated. It is very important not to overmix the batter at this stage to avoid introducing too much air, which can cause cracks.3 large eggs
-
Carefully transfer the smooth cheesecake filling into the springform pan containing the cooled OREO crust. Gently tap the pan on your kitchen counter 10 to 15 times to release any trapped air bubbles from the batter.
-
Bake the cheesecake at 350°F (175°C) for an initial 15 minutes. Then, without opening the oven door, reduce the heat to 200°F (95°C) and continue baking for another 55 to 60 minutes, or until the edges are set and slightly puffed, but the center still has a slight, delicate jiggle when the pan is gently moved.
-
Turn off the oven completely, but leave the cheesecake inside with the oven door closed for 30 minutes. After this time, slightly crack open the oven door (you can use a wooden spoon to prop it open) and allow the cheesecake to cool for an additional 15 minutes. This crucial slow-cooling process significantly helps in preventing cracks on the cheesecake’s surface.
-
Remove the cheesecake from the oven and place it on a wire rack to cool completely to room temperature. This can take several hours. Once fully cooled, transfer the cheesecake to the refrigerator and chill for a minimum of 8 hours, or ideally overnight, to allow it to set properly and flavors to fully develop.
Ganache Topping
-
Once your cheesecake is thoroughly chilled, prepare the luscious ganache topping. In a small saucepan or microwave-safe bowl, bring the heavy cream to a boil. Carefully pour the hot cream over the finely chopped chocolate in a separate heatproof bowl. Let it sit undisturbed for 1-2 minutes to allow the chocolate to melt. Then, whisk gently until the mixture is perfectly smooth and glossy. Carefully pour this decadent ganache over the top of the chilled cheesecake and gently spread it to create an even layer.¼ cup heavy whipping cream, 4 ounces bittersweet or dark chocolate
Optional Cream Cheese Frosting
-
If you wish to add a beautiful cream cheese frosting swirl, combine the softened cream cheese and softened butter in a medium bowl. Use a hand mixer to beat until the mixture is light and fluffy. Next, add the vanilla extract and mix until just combined. Gradually add the powdered sugar, mixing on low speed until it’s fully combined and the frosting is smooth. Transfer the frosting to a piping bag fitted with your favorite tip (like a Wilton 1M) and pipe an elegant design around the outside edge of the cheesecake.4 ounces cream cheese, 4 tablespoons unsalted butter, ½ teaspoon pure vanilla extract, ¾ to 1 cup powdered sugar
-
For an exquisite finish, sprinkle with chocolate shavings and/or whole espresso beans just before serving. Slice and enjoy your magnificent Espresso Cheesecake!Chocolate shavings and whole espresso beans
Notes
Storage Information & Make Ahead Tips
- Refrigerator Storage: Leftover espresso cheesecake should be meticulously stored in an airtight container to maintain its freshness and prevent it from absorbing other refrigerator odors. It will keep beautifully in the fridge for up to 5 days. For ease of serving and storage, consider pre-slicing the cheesecake.
- Freezing Instructions: Yes, you can absolutely freeze this cheesecake to enjoy later! For best results, freeze the cheesecake without the ganache and any other toppings. Once the cheesecake is completely cooled to room temperature, wrap it tightly first in plastic wrap, then in a layer of aluminum foil. For an extra layer of protection against freezer burn, transfer the wrapped cheesecake (or individual slices, which freeze wonderfully) to a freezer-safe, airtight container. It can be stored in the freezer for up to 2 months. When you’re ready to indulge, simply thaw the cheesecake in the refrigerator overnight. Add the ganache and any desired toppings just before serving.
- Make Ahead Advantage: This espresso cheesecake is an ideal make-ahead dessert! Preparing it a day or even two in advance allows the flavors to meld and deepen, resulting in an even more exquisite taste and a perfectly set, ultra-creamy texture. Simply prepare the cheesecake as directed, chill thoroughly, and then add your delicious ganache, frosting, and garnishes on the day you plan to serve it. This strategy takes the stress out of last-minute dessert preparation for special occasions.
Recommended Tools and Equipment (affiliate links): 8-inch Springform Pan | Set of Glass Mixing Bowls | Electric Mixer (Hand Mixer or Stand Mixer) | Piping Bag (Reusable Silicone or Disposable Pastry Bags) | Wilton 1M Star Piping Tip