
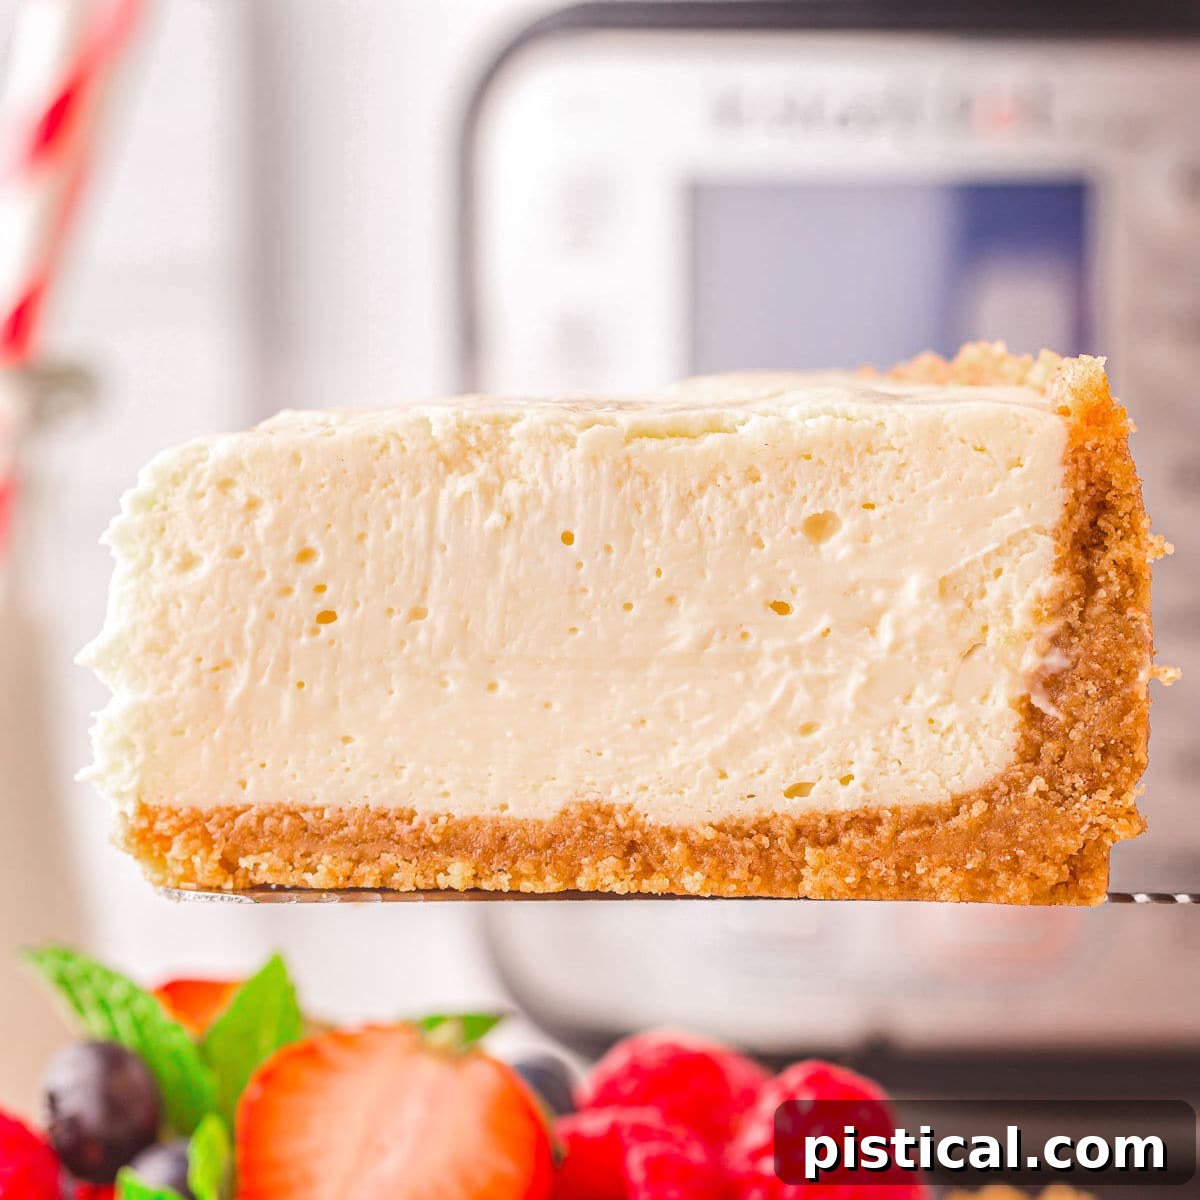
Instant Pot Cheesecake offers an unparalleled dessert experience, featuring a divinely rich and irresistibly creamy filling that truly defines decadence. Each spoonful melts in your mouth, a pure indulgence complemented perfectly by its sweet, crunchy graham cracker crust. This versatile dessert can be elegantly topped with a vibrant array of fresh berries, a cloud of homemade whipped cream, a luscious drizzle of hot fudge, or a smooth cascade of caramel sauce. It’s the quintessential treat, ideal for any celebration, intimate gathering, or simply to elevate an ordinary day into something extraordinary.
For those who adore the world of cheesecake, I highly recommend exploring my other delightful recipes: the charming Mini Cheesecakes, the bright and zesty Lemon Meringue Cheesecake, and the addictively scoopable Cherry Cheesecake Dip. Each offers a unique take on this beloved dessert, promising to satisfy every cheesecake craving.
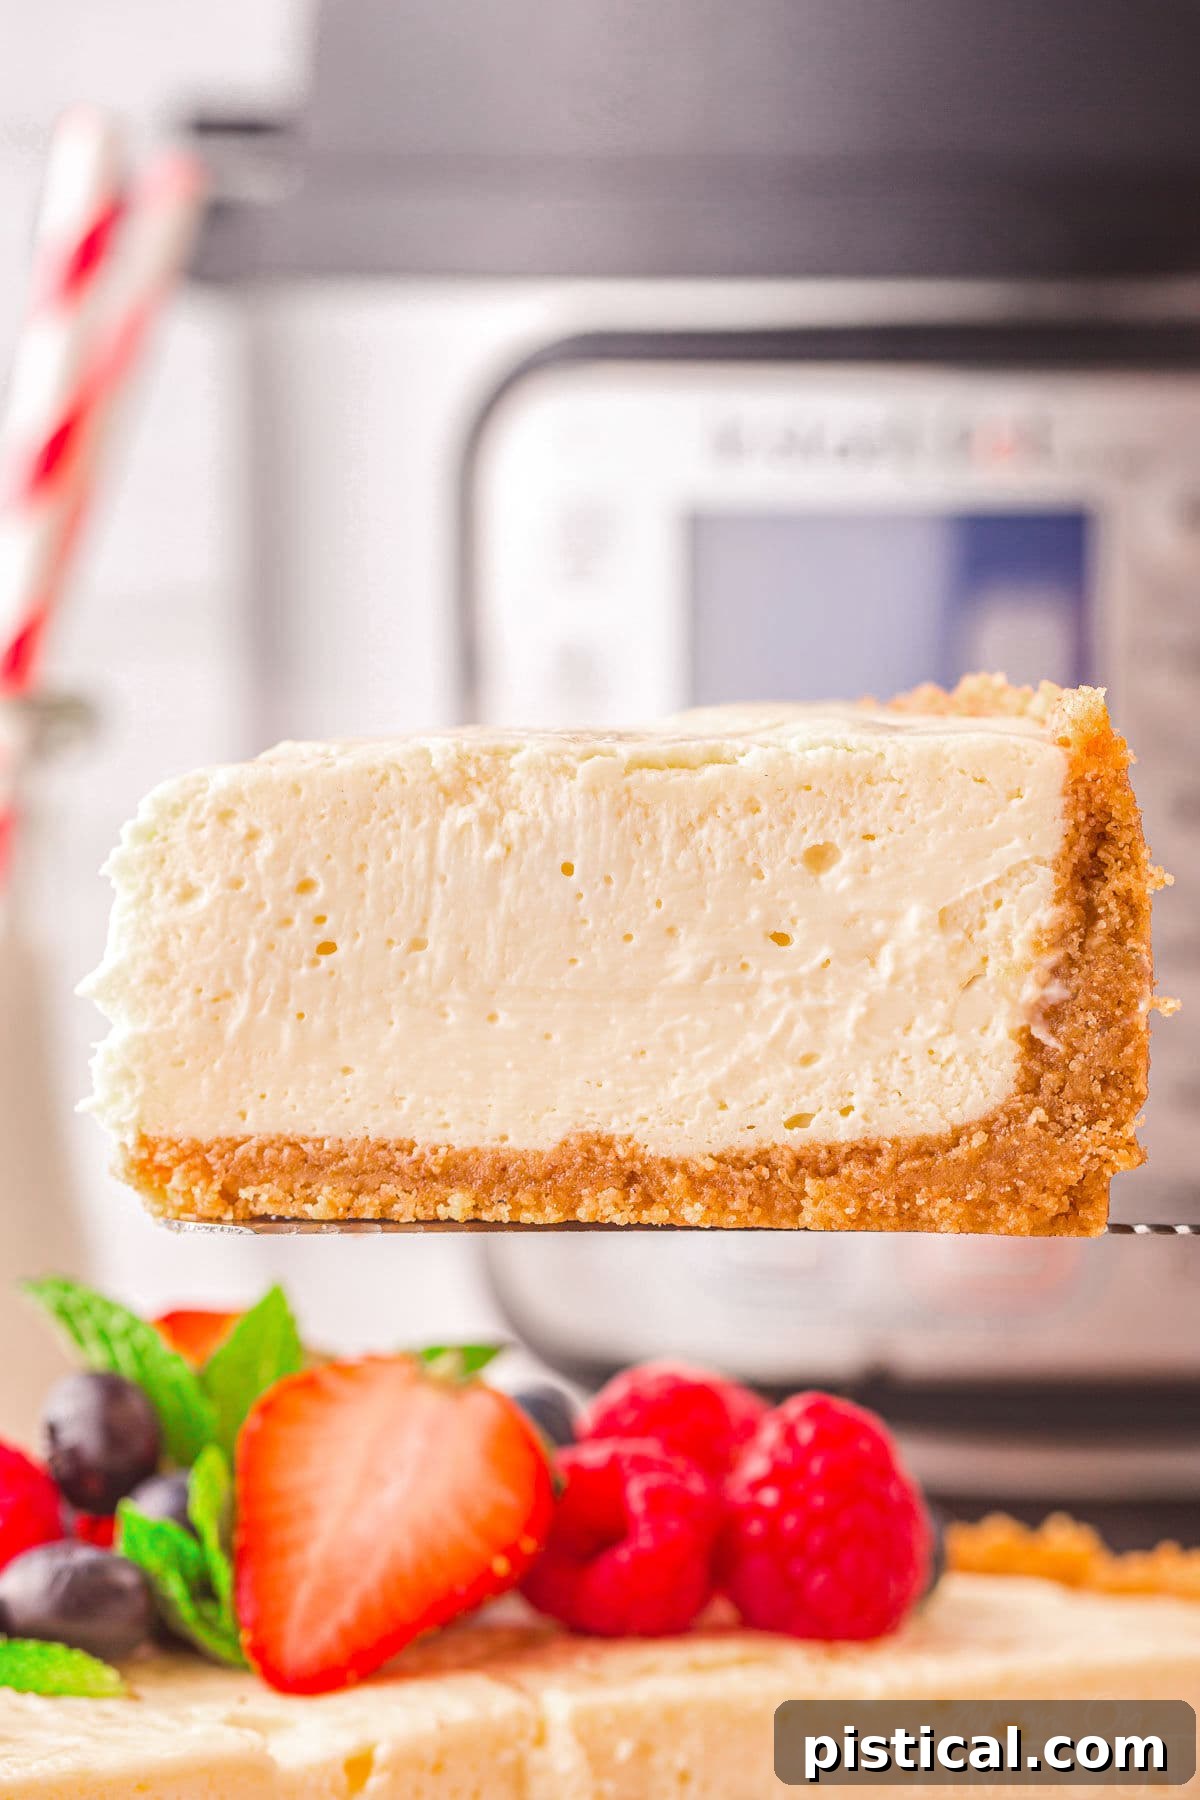
Effortless Perfection: Instant Pot Cheesecake Recipe
The Instant Pot has revolutionized home cooking, celebrated for its remarkable ability to transform traditionally complex dishes into surprisingly simple endeavors with consistently outstanding results. When applied to a classic like cheesecake, the outcome is nothing short of mind-blowing. Not only does this method consistently produce a cheesecake with an incredibly rich, smooth, and luxurious texture, but it also streamlines the entire process, making cheesecake creation far more accessible than traditional baking techniques. This Instant Pot cheesecake recipe takes the guesswork out of achieving that perfect creamy consistency every single time.
This particular cheesecake recipe delivers a truly rich and indulgent experience. Its texture is so exquisitely creamy it practically melts in your mouth, leaving behind a sublime, delicate flavor. The decadent filling rests upon a perfectly sweet graham cracker crust, providing a delightful textural contrast. As we focus on the classic version, this Instant Pot cheesecake serves as a versatile canvas, ready to be adorned with a myriad of exciting flavors, fresh fruits, decadent sauces, and more. It’s an adaptable recipe that encourages creativity, allowing you to tailor it to your personal preferences or the demands of any special occasion.
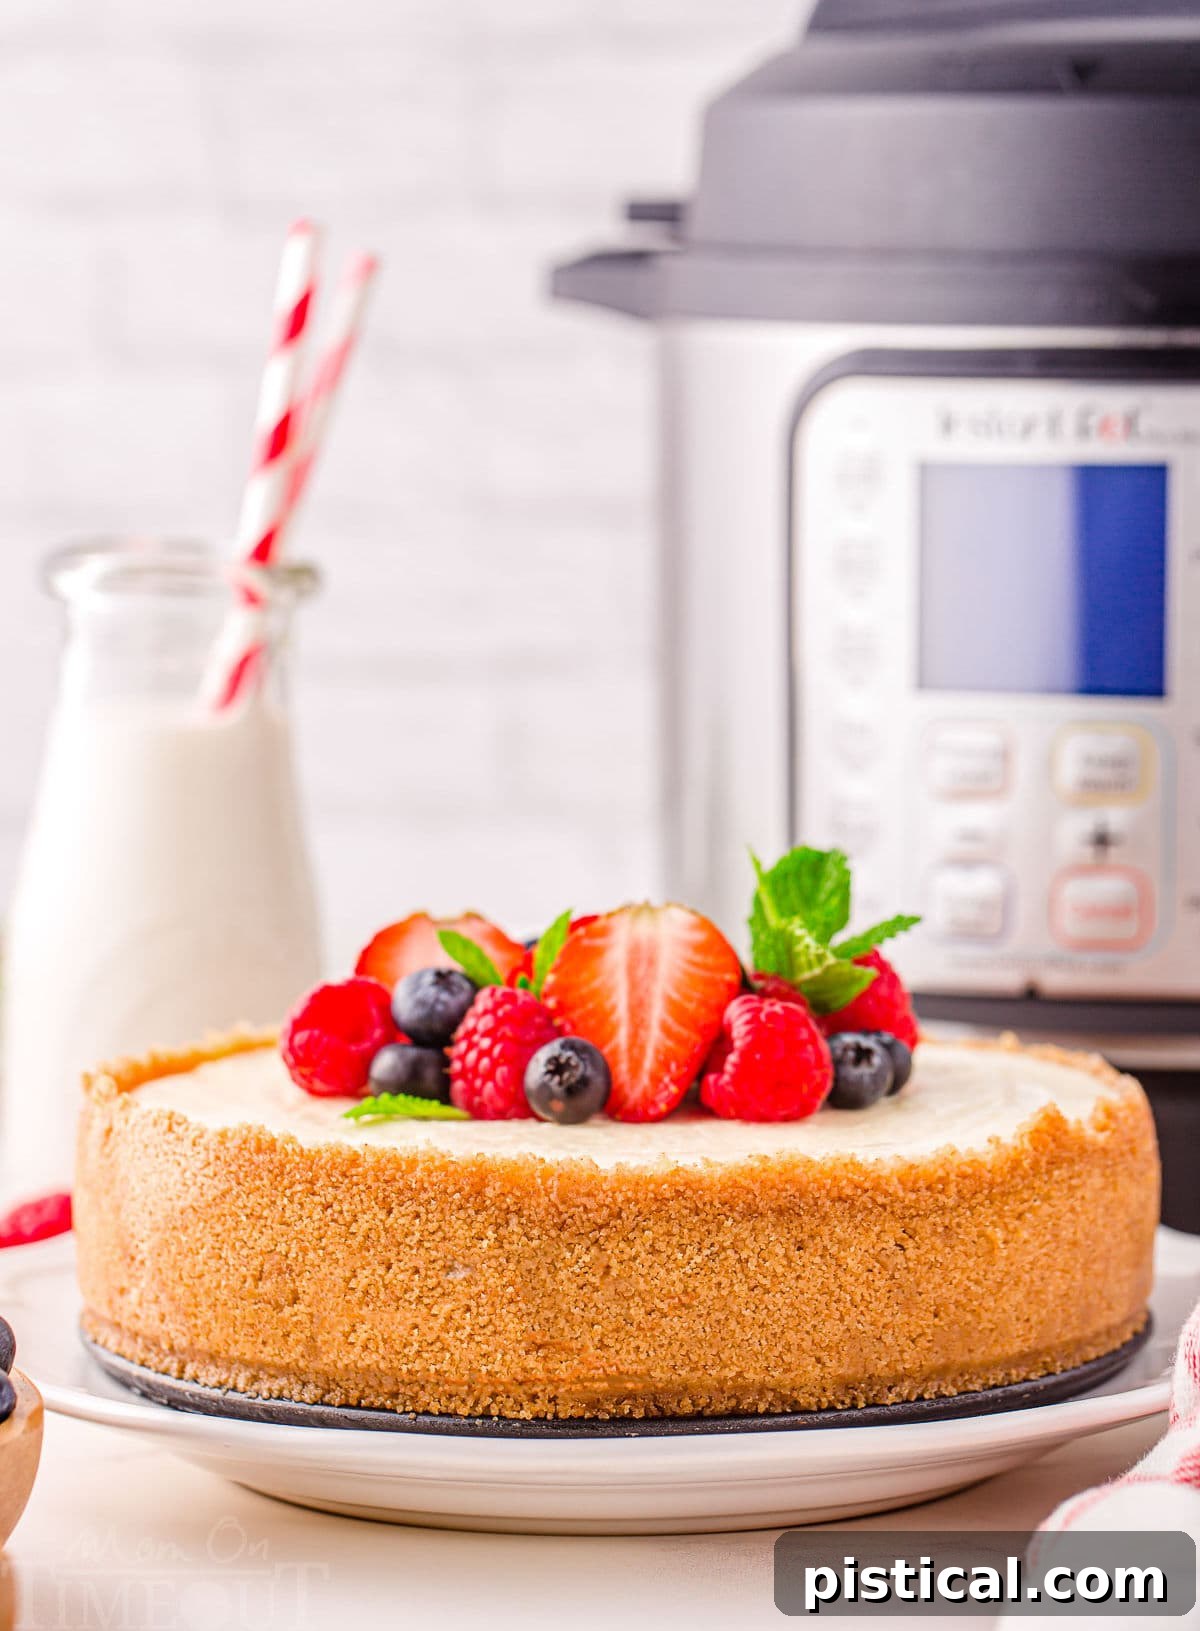
The Instant Pot naturally creates a built-in water bath, ensuring your cheesecake comes out incredibly creamy and crack-free with minimal effort!
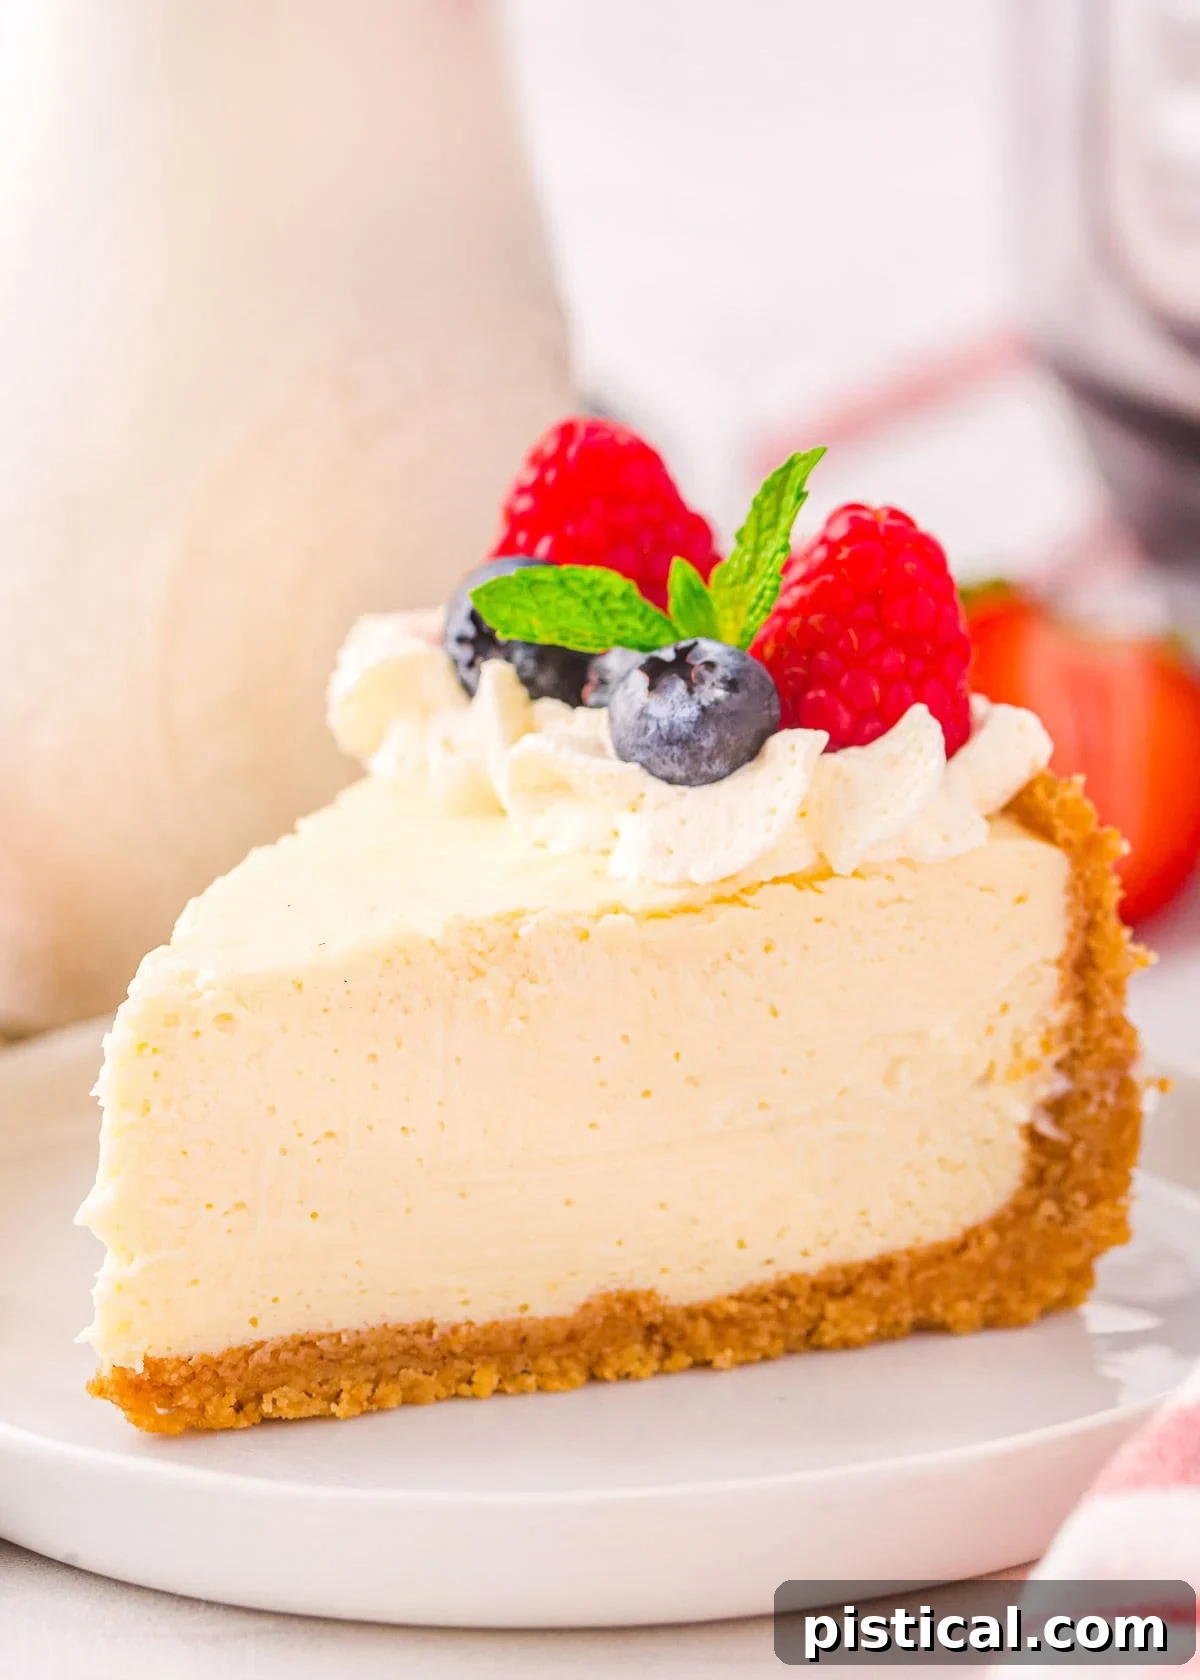
Why This Instant Pot Cheesecake Will Be Your New Favorite
Cheesecakes are universally irresistible, but this Instant Pot cheesecake stands in a league of its own. Prepare to fall head over heels for this remarkably easy and utterly delicious recipe. Here’s why it will become a staple in your dessert repertoire:
- Effortlessly Simple: The Instant Pot is a game-changer for cheesecake. It dramatically reduces both the time and effort typically required for this classic dessert. Forget the complexities of traditional water baths; the Instant Pot creates the perfect steamy environment automatically, ensuring a smooth, evenly cooked cheesecake with minimal fuss. This recipe truly simplifies the process without compromising on quality.
- Incredibly Versatile: A truly exceptional, classic cheesecake is always a winning choice. It pairs beautifully with a morning coffee, an evening cocktail, or a refreshing glass of lemonade. Whether it’s a casual daytime treat or a sophisticated after-dinner delight, cheesecake fits every occasion. The beauty of this classic base lies in its adaptability. You can effortlessly switch up the toppings to suit your mood, seasonal ingredients, or the theme of your event. Imagine it with a vibrant mix of fresh berries, a luxurious swirl of whipped cream, or a tempting drizzle of warm caramel.
- Pure Indulgence: There are few desserts that rival the sheer indulgence of a perfectly crafted cheesecake. Just one bite has the power to transport you to a state of pure bliss. Rich, sumptuously creamy, and delightfully decadent, this dessert embodies the very essence of a luxurious treat. It’s a sensory experience that promises satisfaction with every forkful.
- Perfectly Smooth Texture: The pressure cooking method in the Instant Pot creates an incredibly consistent, dense, and velvety smooth texture that is difficult to achieve with traditional oven baking. The moist environment prevents cracking and results in a custard-like creaminess that is simply divine.
- Foolproof Method: If you’ve ever been intimidated by making cheesecake, the Instant Pot is your answer. This method minimizes common pitfalls like overbaking or cracking, making it a reliable and stress-free way to create a show-stopping dessert.
Essential Ingredients for Your Instant Pot Cheesecake
This Instant Pot Cheesecake recipe features a melt-in-your-mouth creamy filling, beautifully balanced atop a delightful graham cracker crust. Whether you choose to garnish it with fresh, juicy strawberries and a generous dollop of fluffy whipped cream or opt for a rich drizzle of homemade hot fudge sauce, this cheesecake is guaranteed to satisfy even the most discerning sweet tooth. As always, the complete printable recipe with detailed instructions can be found in the recipe card at the conclusion of this post. Let’s explore the key components you’ll need to create this magnificent dessert:
For the Irresistible Crust:
- Graham Cracker Crumbs: You’ll need approximately 1 ½ cups of finely crushed graham cracker crumbs for the base. These crumbs are essential, providing a subtle hint of sweetness and a crucial contrasting texture to the exceptionally smooth cheesecake filling.
- Granulated Sugar: A small amount of sugar is incorporated to enhance the sweetness of the graham cracker crust. For a delightful variation, brown sugar can be substituted, which will impart a wonderful, subtle caramel flavor to your crust.
- Melted Butter: This is the vital binder that holds the graham cracker crumbs and sugar together, forming a firm, flavorful crust. Ensure it’s fully melted for even distribution.
For the Velvety Cheesecake Filling:
- Cream Cheese: The undeniable star of any cheesecake! For the absolute best results, select a high-quality, full-fat cream cheese. It’s imperative to allow ample time for the cream cheese to reach room temperature before mixing. This ensures a smooth, lump-free batter and prevents overmixing.
- Granulated Sugar: This sweetens the tangy cream cheese and sour cream, creating a perfectly balanced flavor profile for the cheesecake.
- Sour Cream: A crucial ingredient that adds immense richness and an extra layer of creaminess to the cheesecake. It also plays an important role in balancing out the sweetness, providing a subtle tang. Ensure it’s at room temperature for seamless incorporation.
- Vanilla Extract: A classic flavor enhancer, vanilla extract introduces warmth and significant depth to the overall flavor of the cheesecake, making it truly aromatic and inviting.
- Large Eggs: Eggs serve as the primary binding agent, holding all the cheesecake ingredients together. They are absolutely crucial for achieving the desired texture and firmness of the finished cheesecake. Always use room temperature eggs to ensure they emulsify properly with the other ingredients, leading to a smoother batter.
- All-Purpose Flour: I prefer to add a small quantity of all-purpose flour to my cheesecakes. This subtle addition significantly helps to reduce the possibility of cracks forming on the surface during baking and cooling, contributing to a perfect presentation.
- Heavy Cream: Just a touch of heavy cream elevates the decadence even further, contributing to an incredibly silky smooth and luxurious texture that makes this cheesecake truly exceptional.
Decadent Optional Toppings:
- Fresh Fruit: A vibrant and refreshing choice, perfect for adding natural sweetness and a pop of color. Consider luscious strawberries, tangy raspberries, or sweet blueberries.
- Homemade Whipped Cream: Light, airy, and a classic accompaniment that adds a delicate sweetness and creamy texture.
- Rich Hot Fudge: For the chocolate lovers, a warm, gooey hot fudge sauce provides an indulgent and irresistible layer.
- Smooth Caramel Sauce: A buttery, sweet, and slightly salty caramel sauce offers a sophisticated and utterly delicious topping.
- Sweet Strawberry Sauce: A vibrant and fruity sauce that enhances the cheesecake with its fresh, summery notes.
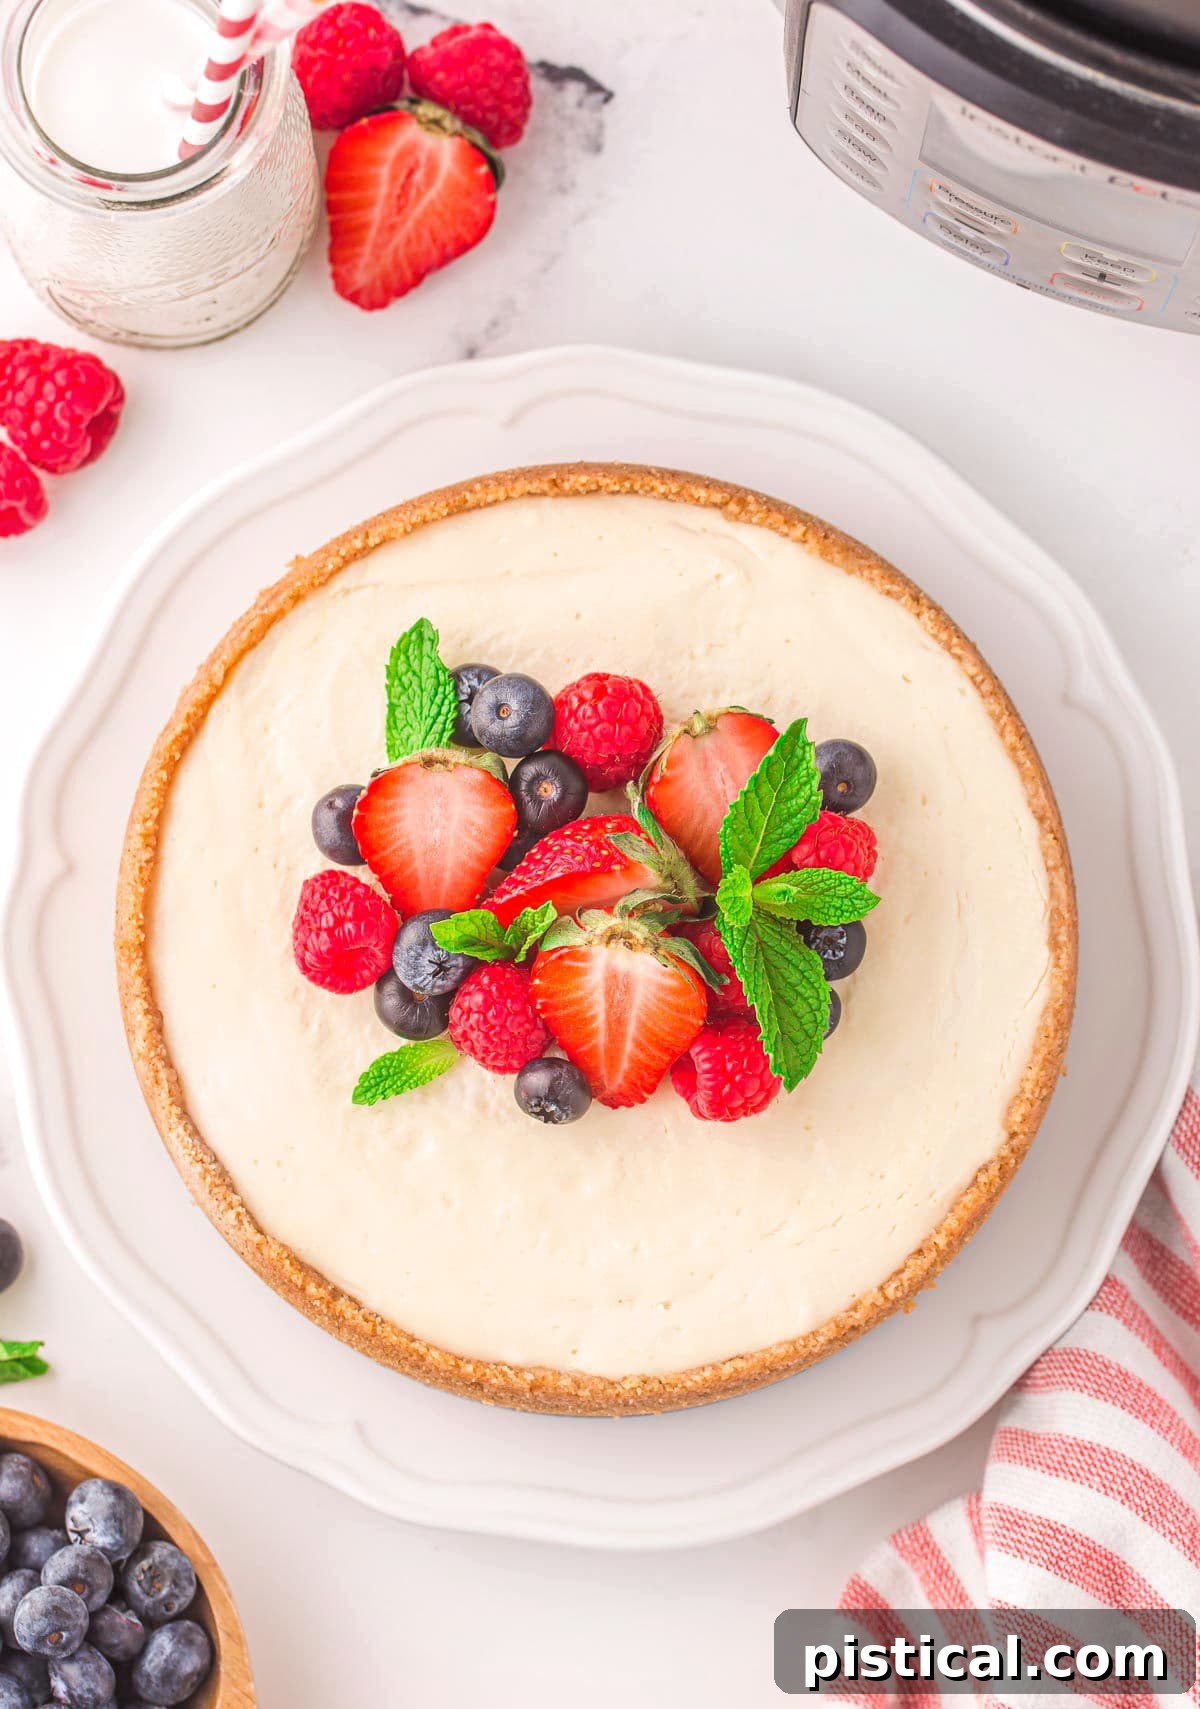
Step-by-Step Guide: How To Make a Cheesecake in the Instant Pot
Creating a perfectly creamy cheesecake in your Instant Pot is simpler than you might imagine. Here’s a comprehensive, easy-to-follow overview of the process. Remember, for the full printable recipe with all the precise measurements and complete instructions, refer to the recipe card at the very end of this article.
Preparation Phase: Crafting the Perfect Crust
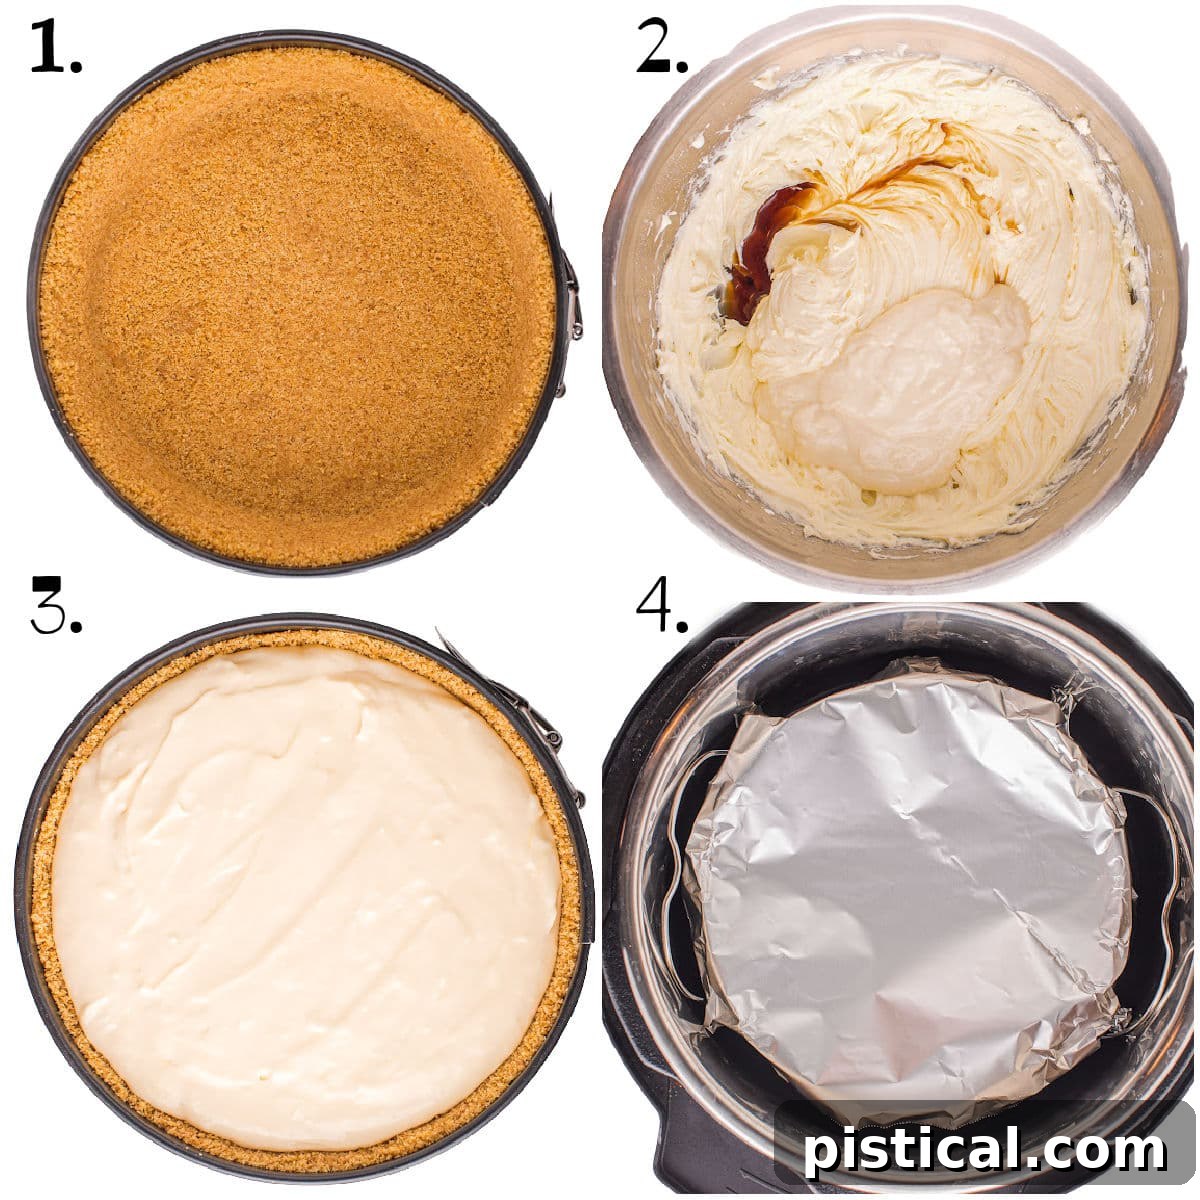
- Prepare Your Pan and Pot: Begin by lightly spraying a 7 or 8-inch springform pan with a nonstick baking spray. This crucial step ensures easy release later. Set the prepared pan aside. Next, pour exactly 1 cup of water into the bottom of your Instant Pot liner. Carefully place the Instant Pot trivet (the metal rack that usually comes with your Instant Pot) into the pot. This keeps your cheesecake elevated above the water, allowing it to steam perfectly.
- Mix and Press the Crust: In a medium-sized mixing bowl, combine the graham cracker crumbs, granulated sugar, and melted butter. Stir these ingredients thoroughly until the crumbs are uniformly moistened. This mixture should resemble wet sand. Transfer the crumb mixture into the prepared springform pan. Using the bottom of a glass or your fingers, firmly press the mixture evenly across the bottom of the pan and about one to two inches up the sides, forming a solid crust. This creates a sturdy foundation for your cheesecake. Cover the pan tightly with plastic wrap and place it in the freezer to chill while you prepare the cheesecake filling. This step helps the crust set, preventing it from becoming soggy during cooking.
Your Instant Pot should have come with a trivet. If you need a replacement or prefer an upgrade, I highly recommend investing in one with handles – it makes lifting the cheesecake in and out of the Instant Pot much easier. This is the trivet I use for maximum convenience.
Creating the Silky Cheesecake Filling:
- Cream the Base: In a large mixing bowl, or the bowl of your stand mixer fitted with the paddle attachment, beat together the softened cream cheese and granulated sugar. Mix at medium speed for about 2-3 minutes, until the mixture is beautifully smooth, light, and completely combined. Ensure there are no lumps of cream cheese remaining.
- Incorporate Wet Ingredients: Add the room temperature sour cream and vanilla extract to the cream cheese mixture. Continue beating on low speed, just until these ingredients are fully incorporated and the batter is smooth. It’s crucial not to overmix at this stage to avoid incorporating too much air, which can lead to cracks in your finished cheesecake.
- Add Eggs Gently: Drop in the large eggs one at a time. After each egg, mix on the lowest speed possible, or gently stir with a spoon, just until the egg yolk disappears into the batter. Again, avoid overmixing. Overbeating eggs can introduce too much air, which expands during cooking and contracts during cooling, often leading to unsightly cracks on the cheesecake’s surface.
- Fold in Dry and Creamy Elements: Gently stir in the all-purpose flour and heavy cream. Mix only until they are just combined and no streaks of flour are visible. Overmixing at this final stage can also negatively impact the cheesecake’s texture.
Assembling Your Masterpiece:
- Fill the Crust: Remove the chilled crust from the freezer and carefully unwrap the plastic wrap. Pour the prepared cheesecake filling evenly over the graham cracker crust in the springform pan. Gently tap the pan several times on the counter. This action helps to release any trapped air bubbles from the batter, which, if left unchecked, can cause imperfections on the cheesecake’s surface. Continue tapping gently until all visible bubbles have risen and popped. For any stubborn bubbles, use the tip of a knife to gently pop them.
- Moisture Control with Paper Towel: Carefully cover the top of the springform pan with a paper towel. Ensure that the paper towel is large enough to drape over the edges of the pan and can be wrapped loosely under it. The key is that the paper towel should not directly touch the cheesecake filling. This ingenious trick helps to absorb any excess moisture that may accumulate during the pressure cooking process, preventing a watery surface on your cheesecake.
- Secure with Aluminum Foil: Loosely wrap the entire springform pan, including the paper towel, with aluminum foil. The foil will serve the dual purpose of keeping the paper towel securely in place and further protecting the cheesecake from condensation during cooking.
- Create a Foil Sling (or use a Silicone One): If you don’t already own a silicone sling for your Instant Pot, you can easily create one from heavy-duty aluminum foil. Take two long strips of foil, about 18 inches each, and fold them lengthwise several times to create strong, thick straps. Cross these two strips to form an ‘X’ shape, then carefully place your prepared cheesecake in the center of the ‘X’. Use the foil sling to gently lower the cheesecake into the Instant Pot, resting it on the trivet. This sling will be invaluable for safely removing the hot cheesecake later.
Pressure Cooking and Chilling Your Cheesecake:
- Pressure Cook to Perfection: Secure the lid on your Instant Pot, ensuring the sealing vent is in the ‘Sealing’ position. Set your Instant Pot to pressure cook on HIGH for 24 minutes. Once the cooking cycle is complete, allow the Instant Pot to naturally release the steam for a full 10 minutes. This slow release is critical for the cheesecake’s texture and prevents cracking. After 10 minutes, carefully manually release any remaining pressure by turning the sealing vent to ‘Venting’.
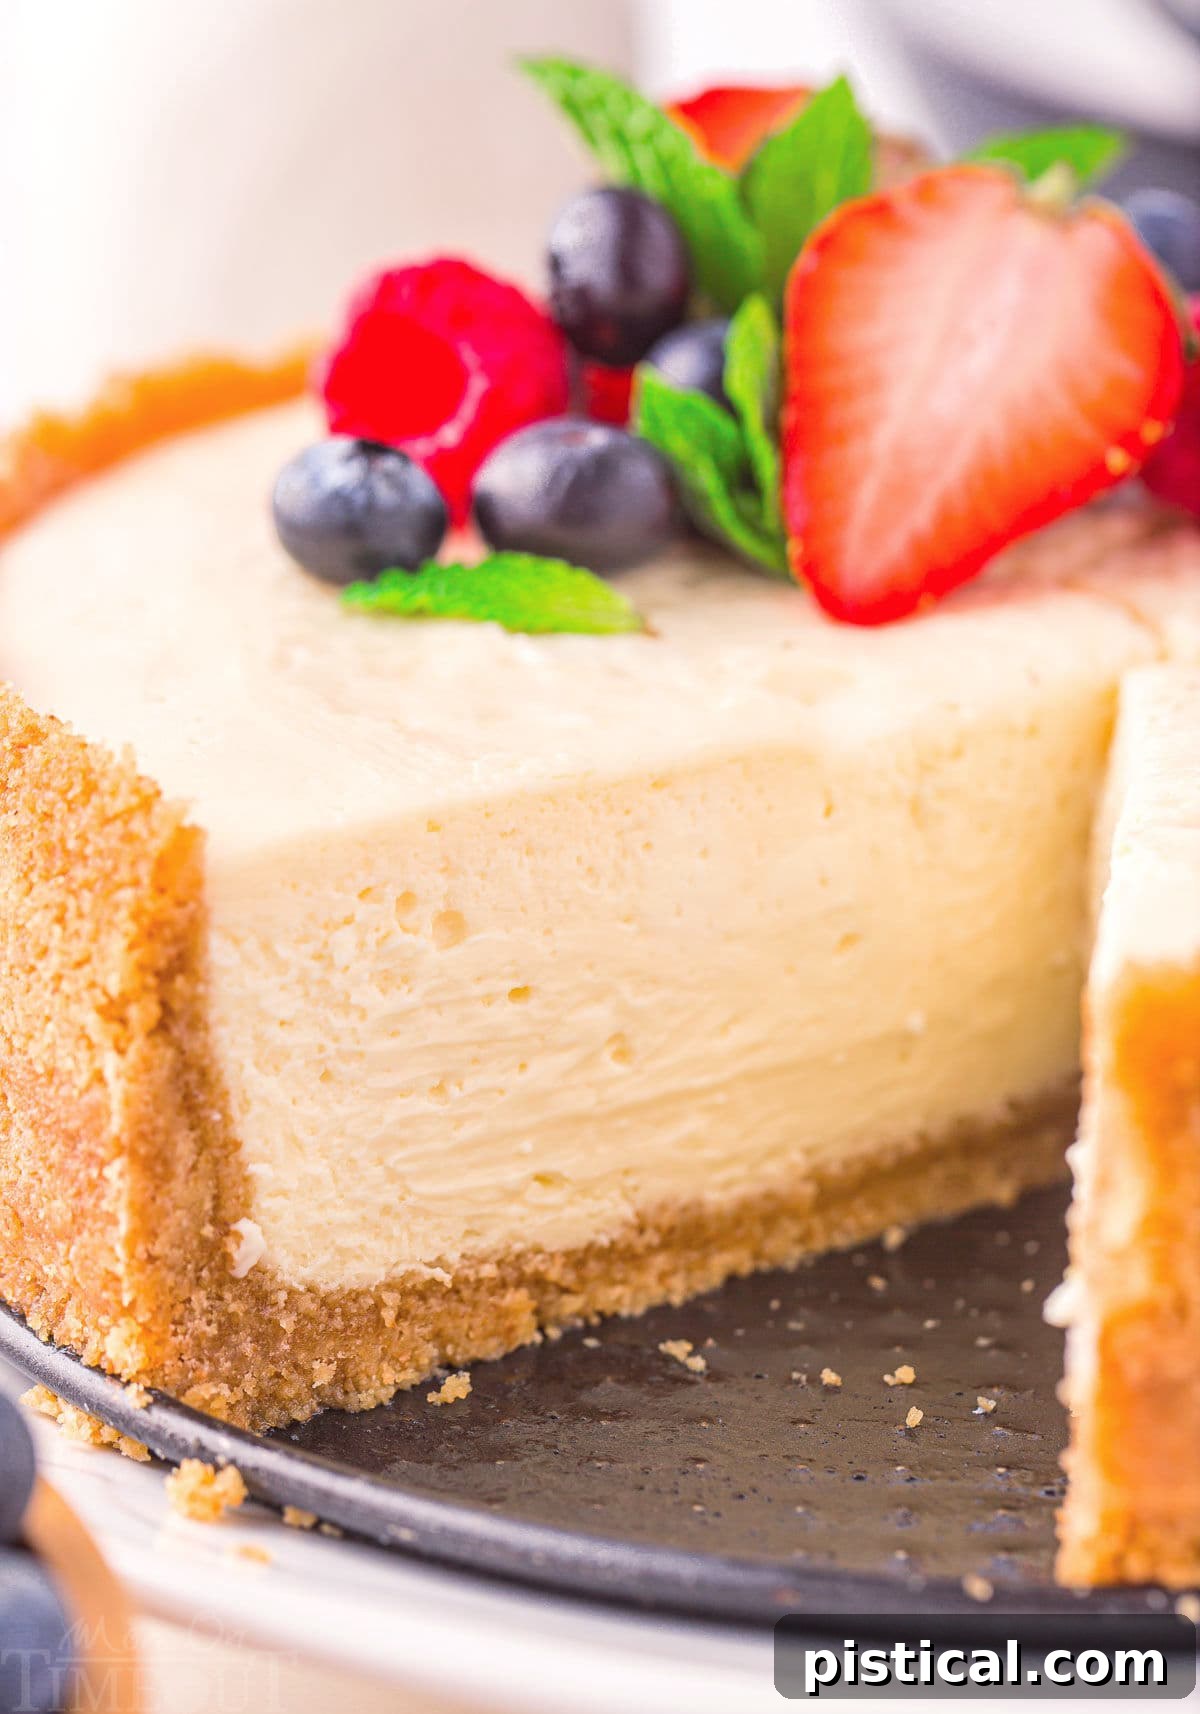
- Check for Doneness: Once the pressure is fully released, carefully open the lid. Using the foil sling, gently lift the cheesecake out of the Instant Pot. Remove the aluminum foil and the paper towel. At this point, the outer edges of the cheesecake should appear set, while the very center will still have a slight, delicate jiggle. For precise doneness, you can insert an instant-read thermometer into the center; a temperature between 140°F and 150°F indicates it’s perfectly cooked. If your cheesecake appears undercooked or too jiggly, return it to the Instant Pot for an additional 5 minutes of pressure cooking.
- Cool and Chill: Allow the cheesecake to cool completely to room temperature, which will take at least 2 hours. This gradual cooling is essential to prevent cracks and develop the desired creamy texture. Once cooled, gently run a thin knife around the inner edge of the springform pan to loosen the cheesecake. This helps prevent sticking. Cover the dessert tightly with plastic wrap and transfer it to the refrigerator. It needs to chill for a minimum of 6 hours, but ideally overnight, to fully set, firm up, and allow its flavors to meld and deepen.
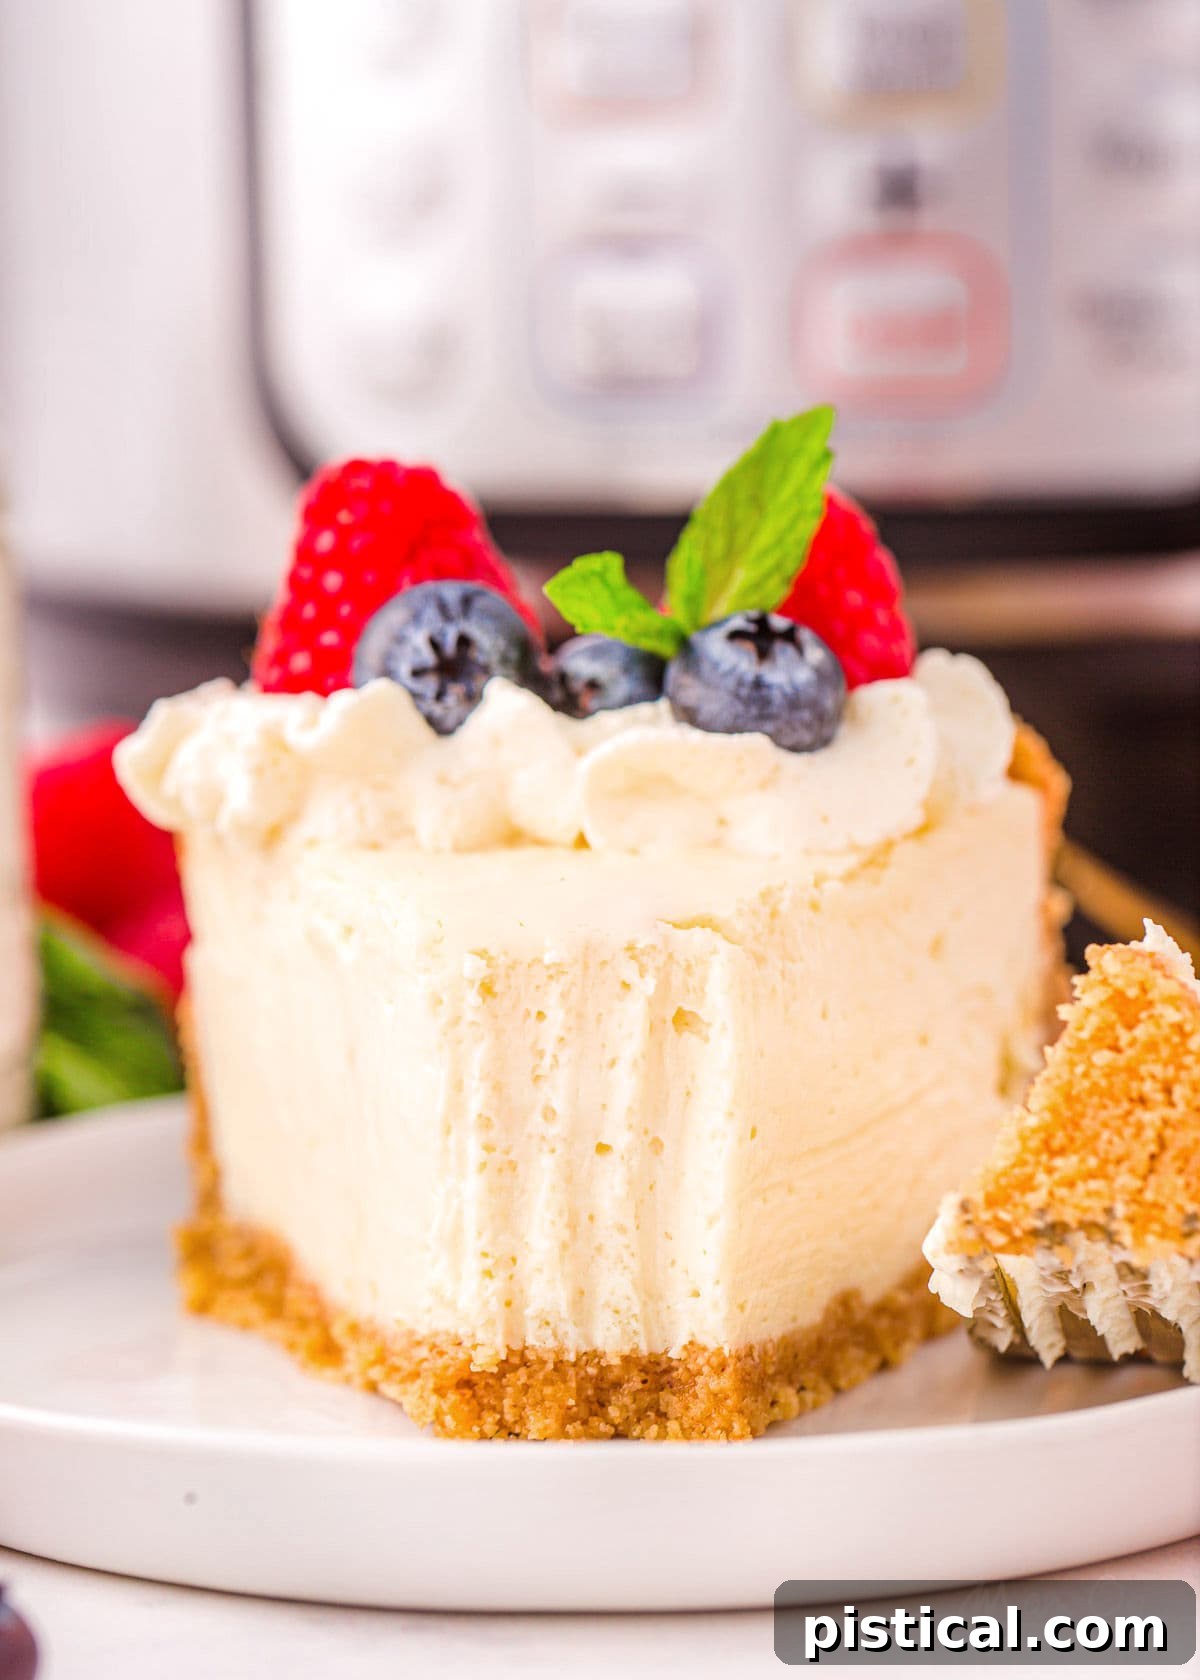
- Serve and Enjoy: Once thoroughly chilled, remove the cheesecake from the springform pan. Garnish it as desired with your chosen toppings – whether it’s fresh fruit, whipped cream, or a delicious sauce. Slice and serve your magnificent Instant Pot cheesecake to rave reviews!
Storage and Freezing Information
Proper storage is key to enjoying your delicious Instant Pot cheesecake for as long as possible:
You can store any leftover cheesecake slices or the entire cake in the refrigerator for up to 1 week. To maintain its freshness and prevent it from absorbing other food odors, make sure to wrap it tightly with plastic wrap or place it in an airtight container or a large ziploc bag.
This cheesecake also freezes exceptionally well, allowing you to enjoy it at a later date. To freeze, first wrap the cooled cheesecake tightly in plastic wrap, ensuring no air can get in. Follow this with a layer of aluminum foil for extra protection against freezer burn. Finally, place the securely wrapped cheesecake into an airtight, freezer-safe ziploc bag or container. It can be stored in the freezer for up to 2 months. When you’re ready to enjoy it, simply thaw the cheesecake overnight in the refrigerator before serving.
Frequently Asked Questions About Instant Pot Cheesecake
Absolutely! This cheesecake is an ideal dessert to prepare a day in advance. In fact, making it ahead of time is highly recommended, as it requires sufficient time in the refrigerator (at least 6 hours, but preferably overnight) to fully set, firm up, and allow all the rich flavors to deeply develop. This also makes entertaining much less stressful!
While graham crackers are a timeless and beloved choice for cheesecake crusts, offering a perfectly balanced sweetness and crunch, you are certainly not limited to them! This recipe is quite versatile when it comes to the crust. You can achieve fantastic results by substituting them with crushed Oreos for a chocolatey twist, or using finely ground Nilla Wafers for a buttery, vanilla-flavored base. Feel free to experiment with other cookies or biscuits that complement the cheesecake’s flavor profile.
With this specific Instant Pot recipe, the chances of your cheesecake cracking are significantly reduced, thanks to a couple of key factors: the strategic addition of a small amount of flour in the batter and the gentle, slow cooling process inherent to pressure cooking. Cracks in a cheesecake typically occur if it has been overcooked or if it cools too rapidly. To almost guarantee a smooth, crack-free surface, ensure you follow the cooking times precisely and allow the Instant Pot to naturally release pressure for the recommended duration, followed by gradual cooling to room temperature before chilling. Rushing the cooling process can stress the cheesecake, leading to cracks.
Yes, absolutely! This Instant Pot cheesecake freezes beautifully, allowing you to prepare it well in advance or save leftovers for a future treat. To freeze, first ensure the cheesecake is completely cooled and set. Wrap it tightly in plastic wrap, then follow with a layer of aluminum foil to protect it from freezer burn. Finally, place it in an airtight, freezer-safe ziploc bag or container. It can be safely stored in the freezer for up to 2 months. When you’re ready to serve, simply transfer the frozen cheesecake to the refrigerator and allow it to thaw overnight.
Creating a foil sling for your Instant Pot is incredibly simple and makes lifting hot dishes much easier! Just take two long pieces of heavy-duty aluminum foil, each about 18 inches long. Fold each piece lengthwise several times to create strong, thick straps. Then, cross these two folded strips to form an ‘X’ shape. Place your cheesecake (or any dish you need to lift) in the center of this ‘X’. The ends of the foil strips will serve as handles. You can also purchase a reusable silicone sling specifically designed for the Instant Pot if you plan on making many pressure cooker desserts, or simply use a trivet that already comes with handles for a similar effect.
Delicious Variations and Customization Ideas to Try
While this classic Instant Pot cheesecake recipe is undeniably delicious on its own, its inherent simplicity makes it a magnificent canvas for a wide array of creative variations. Feel free to personalize it with different toppings, delightful mix-ins, and alternative crust options. Here are some of our favorite ideas to inspire your next cheesecake creation:
- Exciting Topping Ideas:
- Fresh Fruits: Elevate the cheesecake with a medley of seasonal fresh fruits such as sweet cherries, juicy mixed berries (strawberries, raspberries, blueberries), or sliced bananas.
- Homemade Whipped Cream: A light and airy classic that adds a delicate sweetness and cloud-like texture.
- Decadent Caramel Sauce: A rich, buttery, and slightly salty caramel drizzle adds sophisticated sweetness.
- Sweet Strawberry Topping: A vibrant, fruity compote that brings a burst of fresh flavor.
- Rich Hot Fudge: For the ultimate chocolate indulgence, a warm, gooey hot fudge sauce is unbeatable.
- Lemon Curd: A tangy and bright lemon curd can cut through the richness beautifully, offering a refreshing contrast.
- Creative Mix-In Ideas for the Batter:
- Crushed Oreos: Fold in crushed Oreo cookies for a cookies-and-cream cheesecake experience.
- Citrus Zest: Add a teaspoon or two of lemon zest or orange zest to the batter for a brighter, more aromatic flavor profile.
- Sprinkles: For a fun, festive look, gently fold in colorful sprinkles just before pouring the batter into the crust.
- Chocolate Swirl: Swirl a small amount of melted hot fudge or chocolate ganache into the cheesecake batter just before cooking for beautiful marbled patterns and rich flavor.
- Espresso Powder: A pinch of espresso powder can deepen the chocolate flavor or add a subtle coffee note to the cheesecake.
- Alternative Crust Options:
- Oreo Cookie Crust: Swap out graham crackers for crushed Oreo cookies mixed with melted butter for a dark, chocolatey base.
- Nilla Wafer Crust: Use crushed Nilla Wafers for a buttery, vanilla-flavored crust that’s slightly softer than graham crackers.
- Ginger Snap Crust: For a spicier, more sophisticated flavor, try a crust made from crushed ginger snap cookies.
- Pretzel Crust: For a unique sweet and salty combination, a crushed pretzel crust can be surprisingly delicious.
Trish’s Top Tips for Instant Pot Cheesecake Success
Achieving a flawless Instant Pot cheesecake is simple when you follow a few expert tips. These insights from Trish will help ensure your cheesecake is perfectly creamy, crack-free, and utterly delicious every single time:
- Use only room temperature ingredients: This cannot be stressed enough, especially for cream cheese, eggs, and sour cream. Room temperature ingredients blend together smoothly and evenly, creating a consistent, lump-free batter. Cold ingredients will result in a lumpy batter and may cause you to overmix, incorporating too much air.
- Don’t rush the cooling and chilling stages: Patience is a virtue when it comes to cheesecake. After pressure cooking, allowing the Instant Pot to naturally release pressure, followed by slow cooling to room temperature, and then extended refrigeration, is crucial. This gradual process not only helps eliminate the dreaded cracks but also aids in developing that signature rich, dense, and incredibly creamy texture.
- Avoid overmixing your cheesecake batter: Mix just until the ingredients are combined and smooth. Overmixing incorporates too much air into the batter, which can cause the cheesecake to puff up excessively during cooking and then deflate and crack as it cools. Gentle mixing is key to maintaining a smooth, perfect texture.
- Let the Instant Pot naturally release steam for the full 10 minutes: This step is vital for proper cooking and preventing sudden temperature changes that can shock the cheesecake and lead to cracking. The slow decrease in pressure and temperature allows the cheesecake to set gently.
- For perfect consistency, check the internal temperature of the cheesecake: While visual cues like a slight jiggle are helpful, an instant-read thermometer provides the most accurate way to confirm doneness. You’re looking for an internal temperature between 140°F to 150°F in the center.
- Use a paper towel under the foil: This simple trick absorbs any condensation that might form inside the Instant Pot during cooking, keeping the surface of your cheesecake beautifully smooth and dry.
- Chill the crust thoroughly: Freezing the crust before adding the filling helps it set firmly, preventing it from crumbling or becoming soggy once the wet filling is added.
- Run a knife around the edge: Once cooled but before chilling, gently run a thin, sharp knife around the perimeter of the cheesecake. This helps to release it from the springform pan walls, minimizing the risk of cracks forming as it cools and shrinks slightly.
Discover More Decadent Cheesecake Recipes
If your love for cheesecake knows no bounds, you’re in for a treat! Explore these other incredible cheesecake recipes, each offering a unique flavor profile and guaranteed to delight:
- Triple Threat Chocolate Cheesecake: For the ultimate chocolate lover, this cheesecake is packed with rich cocoa flavor.
- Espresso Cheesecake: A sophisticated blend of creamy cheesecake with a bold coffee kick.
- Lemon Meringue Cheesecake: A delightful fusion of tangy lemon meringue pie and creamy cheesecake.
- Mini Cheesecakes: Perfect for individual servings or when you need a bite-sized indulgence.
- Oreo Cheesecake: A fan-favorite, featuring crushed Oreos in the crust and often in the filling for a cookies-and-cream dream.
Instant Pot Cheesecake Recipe Card
Instant Pot Cheesecake has a rich and decadent filling that is unbelievably creamy – pure indulgence in every bite. It pairs perfectly with the sweet and crunchy graham cracker crust and can be topped with your choice of fresh berries, whipped cream, hot fudge or even caramel sauce. The perfect choice for every occasion!
Equipment
- Instant Pot
- 7 or 8-inch Springform Pan
- Instant Pot Trivet (with handles recommended)
- Mixing Bowls
- Hand Mixer or Stand Mixer
Ingredients
Crust:
- 1 ½ cups graham cracker crumbs
- ⅓ cup granulated sugar
- 6 tablespoons unsalted butter, melted
Cheesecake:
- 24 ounces cream cheese, room temperature
- ¾ cup granulated sugar
- ⅔ cup sour cream, room temperature
- 2 teaspoons vanilla extract
- 2 large eggs, room temperature
- 1 tablespoon all purpose flour
- 2 tablespoon heavy cream
Optional Toppings:
- fresh berries
- whipped cream
- hot fudge
- caramel sauce
- strawberry sauce
Instructions
- Spray a 7 or 8 inch springform pan with nonstick baking spray and set aside. Add 1 cup of water to the bottom of your Instant Pot and then place the trivet in the pot.
- Prepare Graham Cracker Crust: Mix graham cracker crumbs, sugar, and butter in a small bowl. Press the crumb mixture into the bottom of the prepared springform pan and about an inch or two up the sides. Cover tightly with plastic wrap and place in the freezer while you prepare the cheesecake filling.
- Prepare Cheesecake Filling: In a large mixing bowl or the bowl of a stand mixer, beat together the cream cheese and sugar until smooth and combined, about 2 to 3 minutes on medium speed.
- Mix in the sour cream and vanilla extract and continue beating, just until smooth. Do not overmix.
- Add the eggs, one at a time, mixing on low speed or with a spoon just until incorporated. Do not overmix.
- Stir in flour and heavy cream just until combined.
- Remove the crust from the freezer and remove the plastic wrap.
- Pour the cheesecake filling into the crust. Gently tap the springform pan on the counter several times to bring any bubbles to the surface. Continue tapping gently until all of the bubbles have popped. If you have any stubborn bubbles, use the tip of a knife to pop them.
- Cover the top of the pan with a paper towel. Make sure the paper towel is long enough that it can be wrapped under the pan. Note, the paper towel should not be touching the cheesecake. (The paper towel will absorb any excess moisture.) Cover the cheesecake loosely with aluminum foil, using the foil to keep the paper towel in place.
- Create a foil sling for the Instant Pot by folding heavy duty foil into two strips about 18 inches long. Place the two strips crosswise (they should form an X) underneath the cheesecake and then use the sling to lower the cheesecake into the Instant Pot. (Slings are really useful with Instant Pots so consider purchasing a silicone sling.)
- Pressure Cook Cheesecake: Seal the Instant Pot and set to pressure cook for 24 minutes. Allow the Instant Pot to naturally release steam for 10 full minutes before releasing the rest of the pressure manually.
- Carefully lift the cheesecake from the Instant Pot using the foil sling and then carefully remove the foil and paper towel from the top of the cheesecake.
- Look for the outside edge to be set and the center to have a slight jiggle to it. You can use a thermometer in the middle of the cheesecake, you’re looking for 140°F-150°F. If the cheesecake is not fully cooked, return to the Instant Pot and pressure cook for an additional 5 minutes.
- Bring the cheesecake to room temperature, sitting out for at least 2 hours. Run a knife gently around the edge of the pan to release the cheesecake. Cover tightly with plastic wrap and refrigerate for at least 6 hours or overnight.
- Remove the cheesecake from the springform pan, garnish as desired and serve.
Notes
Equipment Needed:
- Instant Pot Springform Pan (7 to 8 inches)
- Instant Pot Trivet (with handles recommended)
Storage Information:
You can store leftover cheesecake in the refrigerator for up to 1 week. Make sure to wrap tightly with plastic wrap or place in an airtight, ziploc bag.
You can also freeze this cheesecake for up to 2 months. Wrap tightly in plastic wrap, followed by foil and then place in an airtight, freezer safe ziploc bag. Thaw overnight in the refrigerator before serving.
Nutrition
Calories: 493kcal | Carbohydrates: 36g | Protein: 7g | Fat: 36g | Saturated Fat: 21g | Polyunsaturated Fat: 2g | Monounsaturated Fat: 10g | Trans Fat: 0.3g | Cholesterol: 132mg | Sodium: 316mg | Potassium: 151mg | Fiber: 0.4g | Sugar: 28g | Vitamin A: 1311IU | Vitamin C: 0.2mg | Calcium: 101mg | Iron: 1mg