
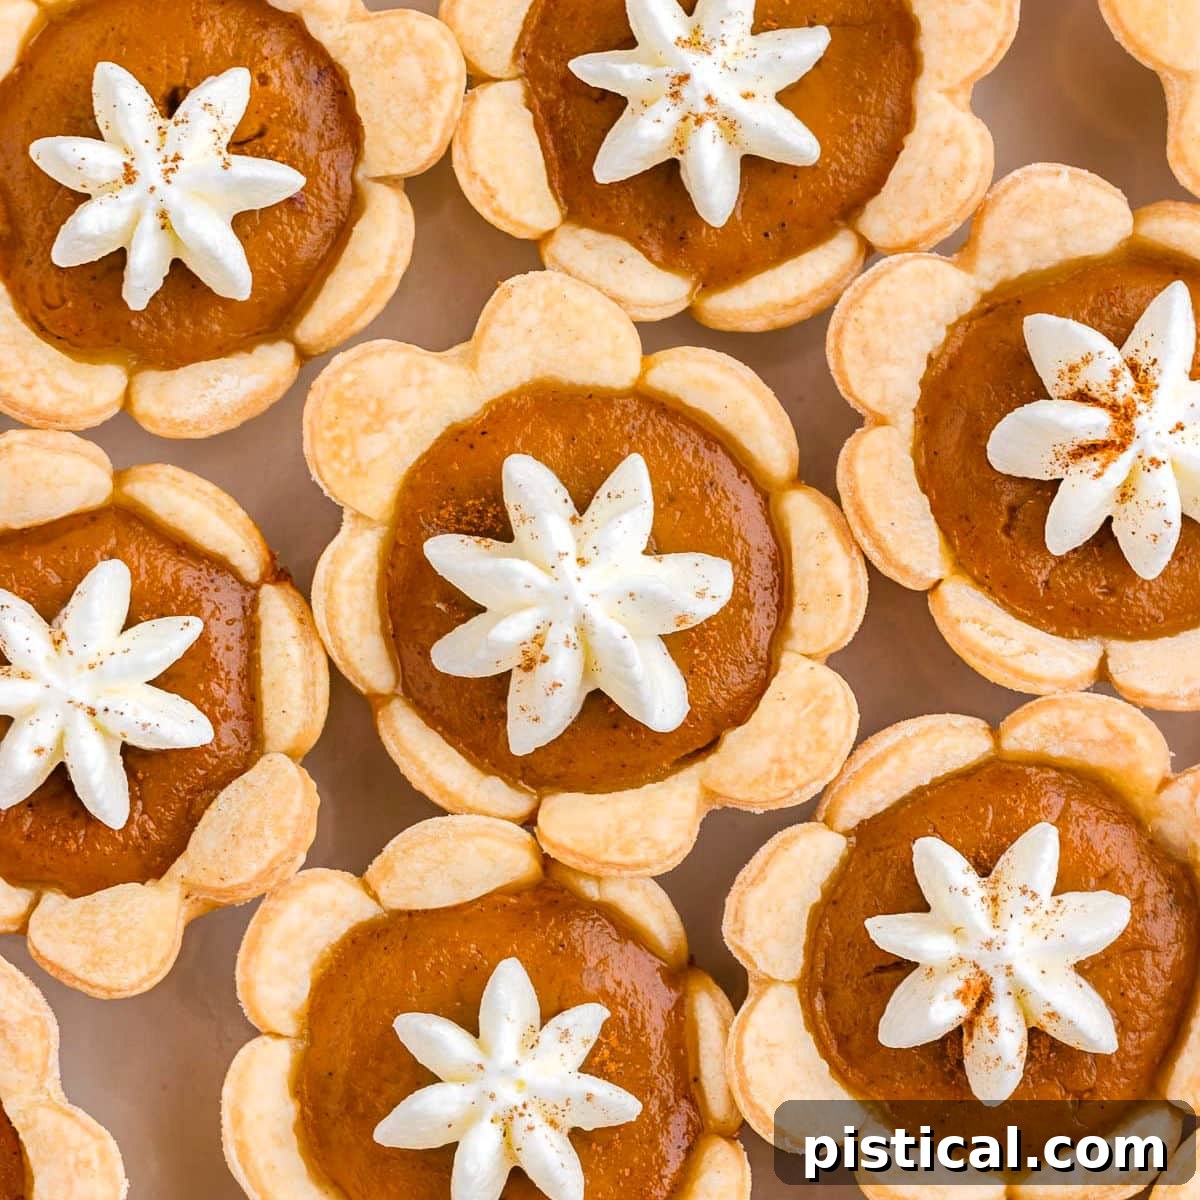
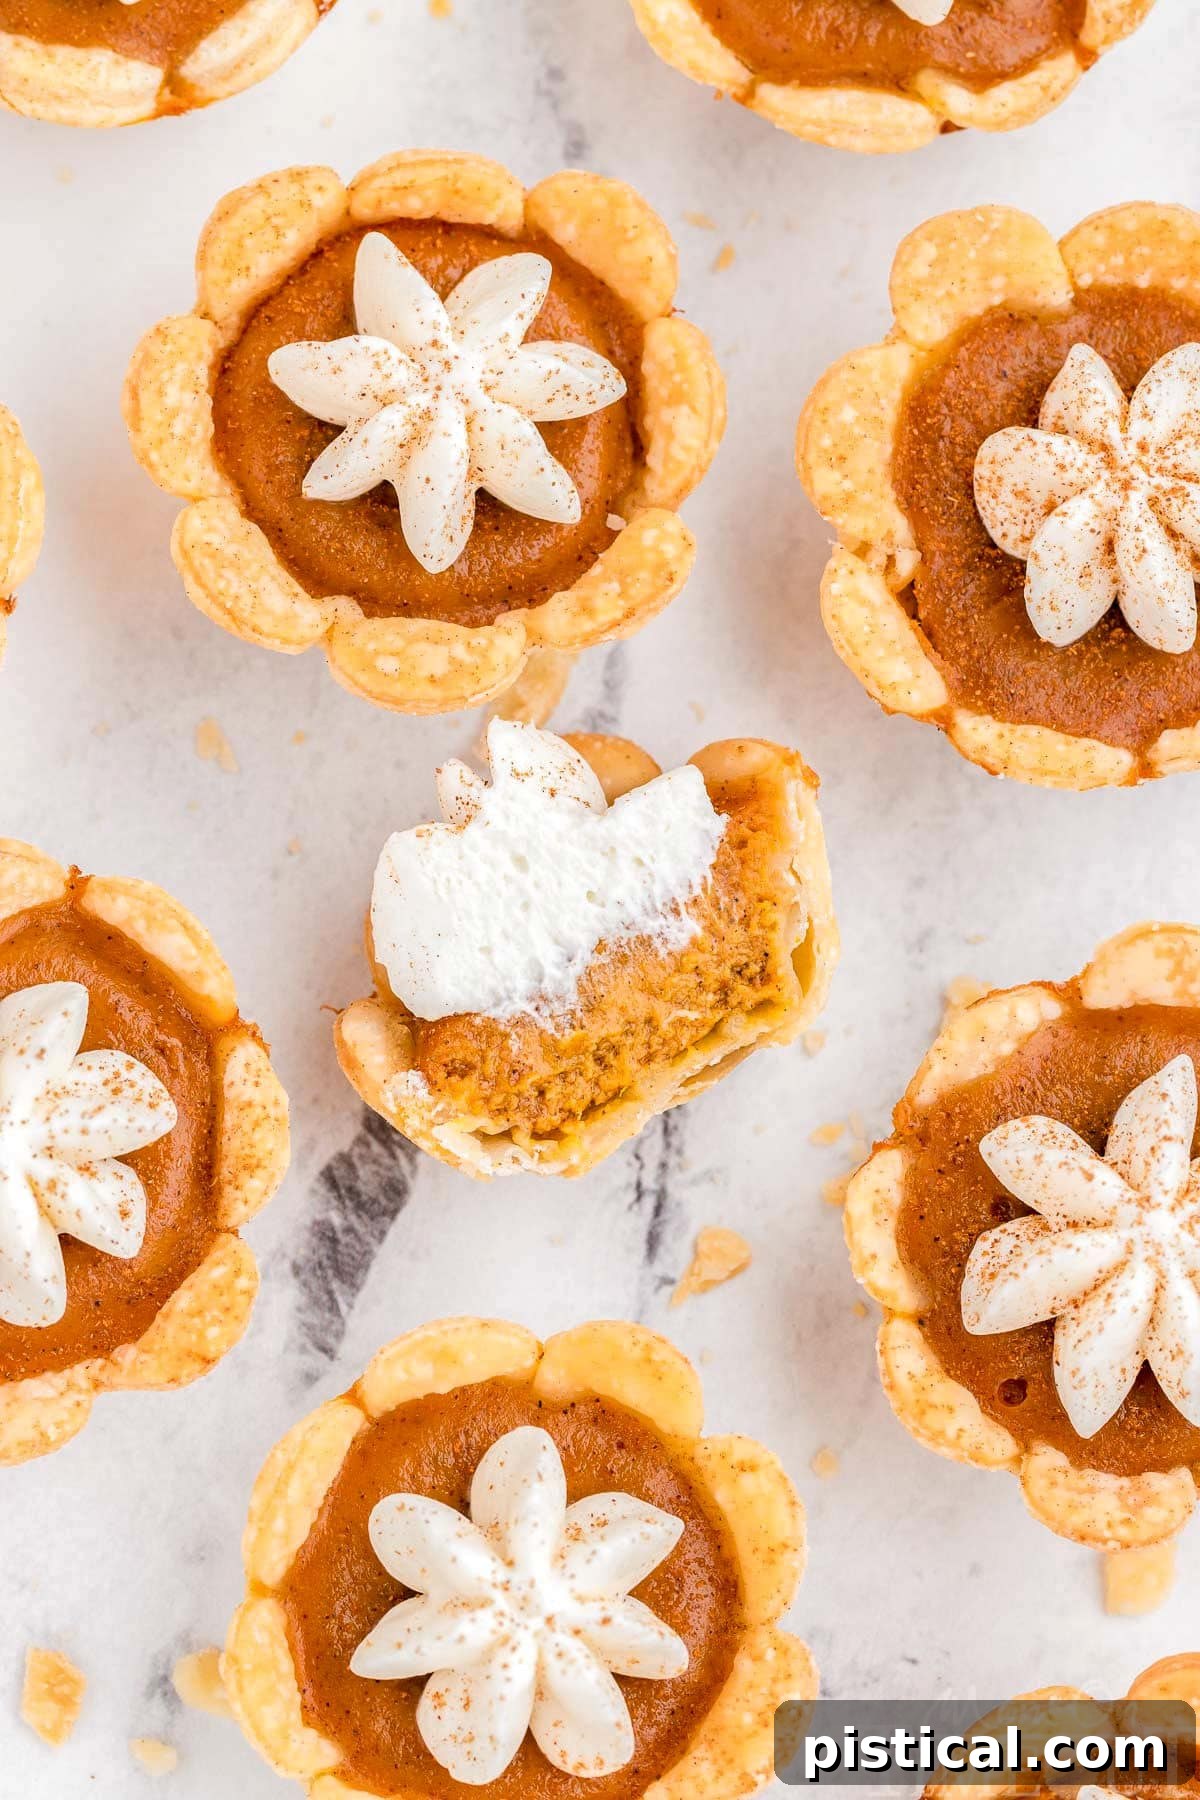
Welcome to the enchanting world of fall baking, where the comforting aroma of cinnamon and pumpkin fills the air, promising delightful treats. Among the myriad of seasonal confections, these Mini Pumpkin Pies stand out as a true culinary gem. They flawlessly encapsulate all the cherished, warm, and comforting flavors of a traditional pumpkin pie but in an irresistibly fun, convenient, and perfectly portioned bite-sized version. Imagine a buttery, exquisitely flaky crust cradling a rich, perfectly spiced pumpkin filling – that’s precisely what awaits you with every delicate bite. These charming mini pies are destined to become an instant sensation at holiday parties, cozy family gatherings, or even a casual dinner with close friends, offering a delightful twist on a classic favorite.
If your heart yearns for more pumpkin-inspired delights, you’re in for a treat! Be sure to explore these other fantastic recipes that celebrate the essence of autumn: Fluffy Pumpkin Cupcakes with Cream Cheese Frosting, chewy Pumpkin Oatmeal Cookies, and the utterly stunning yet surprisingly simple Praline Pumpkin Roll. Each offers a unique way to enjoy the beloved flavors of pumpkin season.
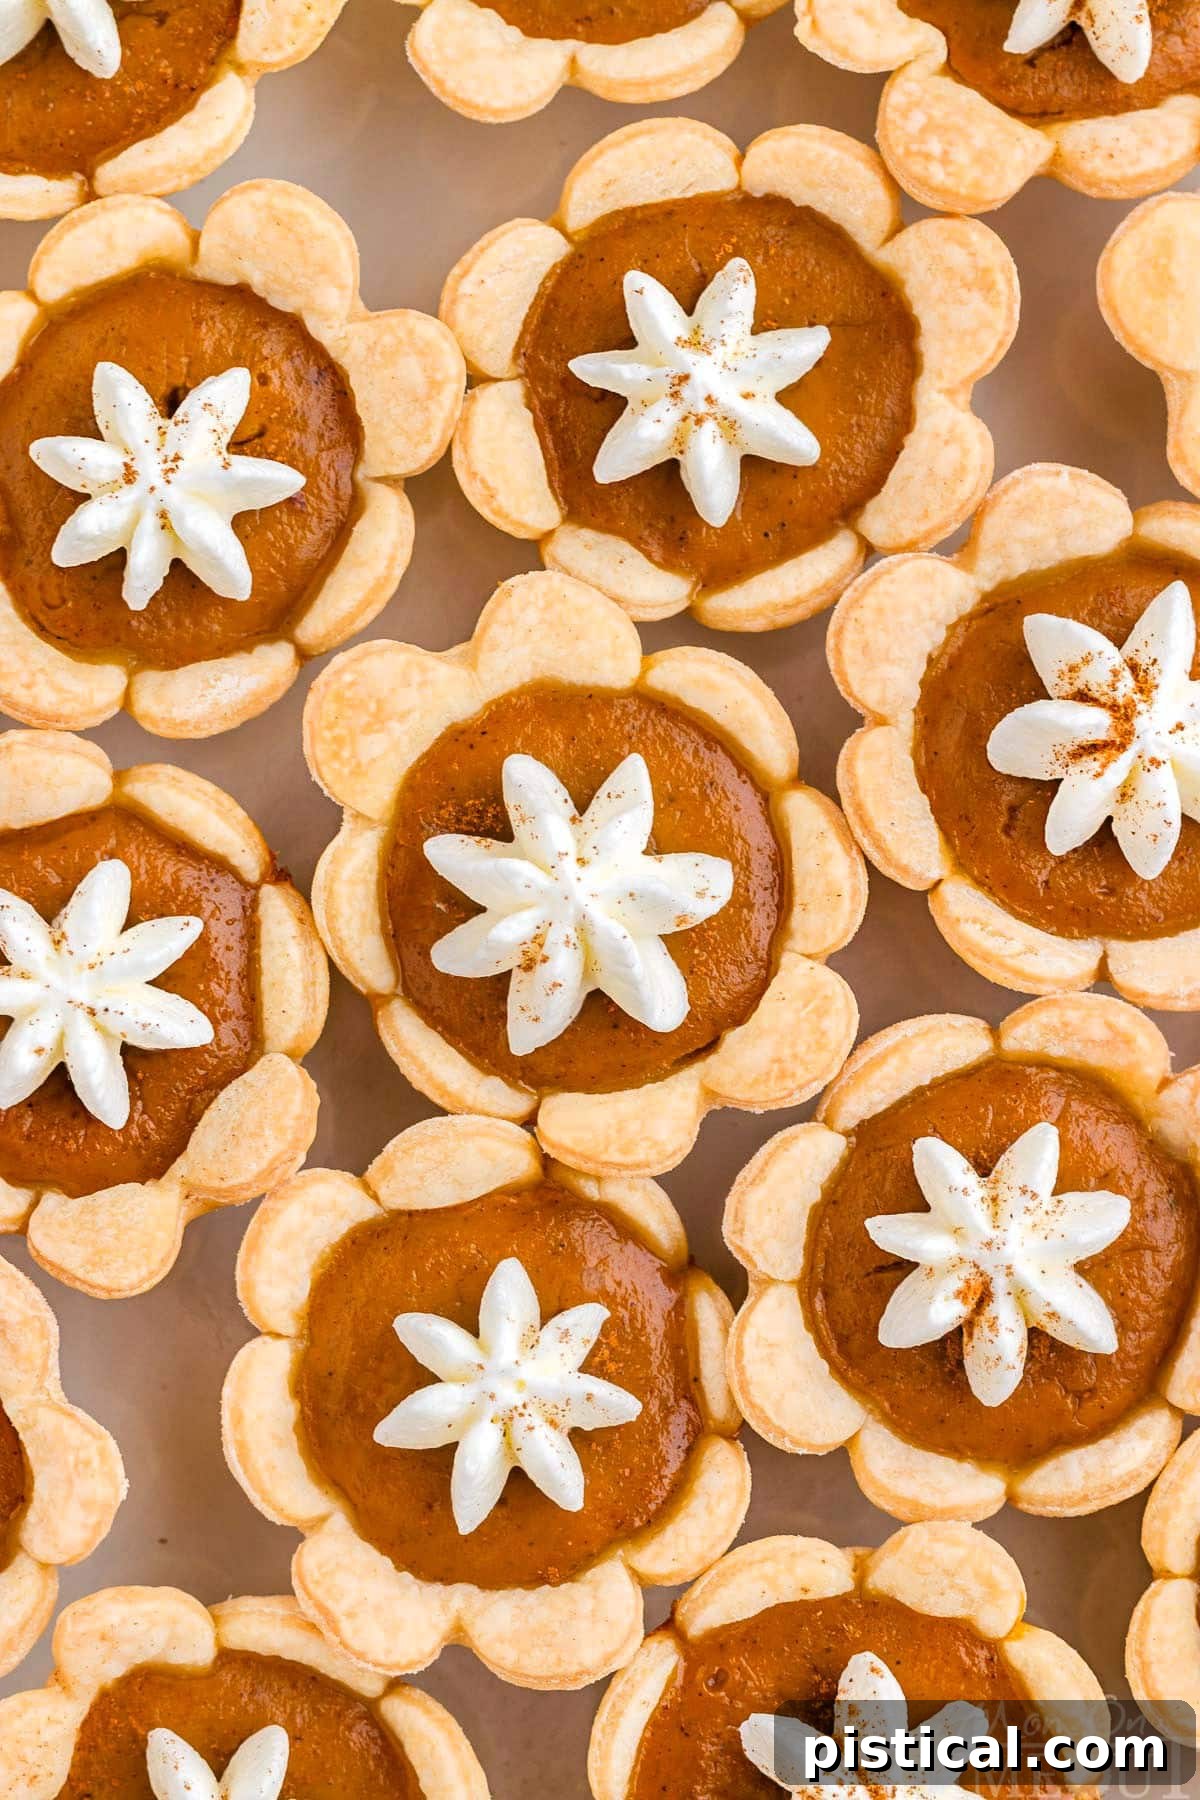
Effortless Elegance: The Ultimate Mini Pumpkin Pie Recipe
There’s an undeniable magic that accompanies the crisp, cool air of autumn, isn’t there? For me, it ignites an irrepressible desire to bake, transforming my kitchen into a sanctuary of warmth and fragrant spices. Nothing quite compares to the cozy ambiance of a home permeated by the sweet, earthy scent of pumpkin mingled with spicy cinnamon. And without a doubt, these mini pumpkin pies have climbed right to the very top of my must-bake list this year!
What I truly adore about these adorable treats is how they elegantly re-imagine everything we cherish about a classic pumpkin pie. They take that incredibly creamy, perfectly spiced pumpkin filling and pair it with a buttery, incredibly flaky crust, transforming them into individual, charming, bite-sized portions. The best part? They are incredibly straightforward to make. You absolutely do not need to be a seasoned pie-making expert or culinary wizard to whip up these delightful pumpkin bites for your next gathering. Their simplicity makes them accessible to even novice bakers, ensuring a stress-free baking experience and impressive results every time.
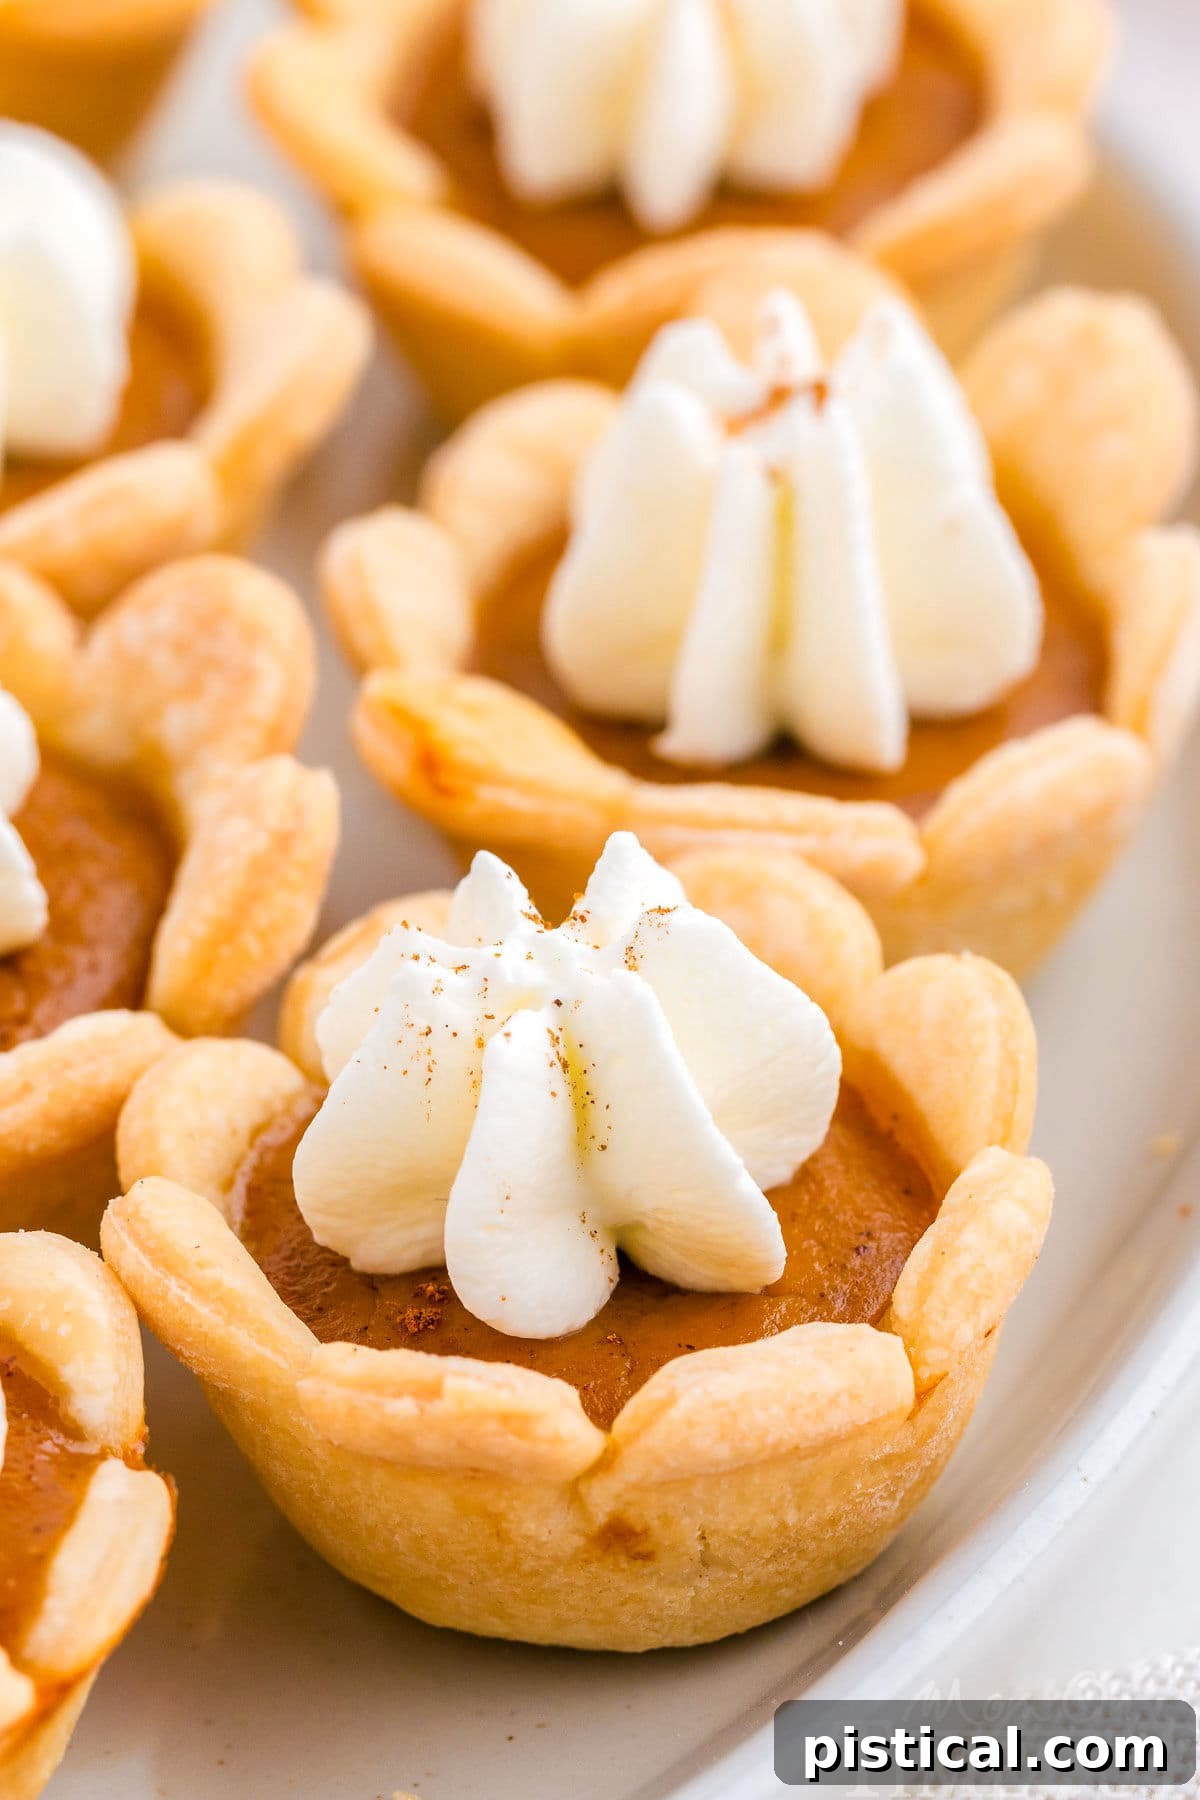
Mini Pumpkin Pies: A Versatile Holiday and Anytime Favorite
While this recipe thoughtfully suggests using convenient store-bought pie crusts to simplify your baking journey, feel absolutely free to indulge your ambitious side and craft your own homemade crust from scratch if you desire. The beauty of these mini pies lies in their adaptability, especially when it comes to toppings. If you’re feeling a touch adventurous, let your creativity soar! My personal favorite is a generous dollop of fluffy homemade whipped cream, offering a cloud-like contrast to the rich filling. However, don’t stop there! Imagine a decadent drizzle of silky caramel sauce or a delicate sprinkle of cinnamon sugar—each would add its own magical touch, elevating these already delicious treats to new heights of flavor.
No matter how you choose to adorn and savor them, I can confidently assure you that you’ll find yourself returning to this recipe time and time again throughout the festive holiday season and beyond. These little wonders are incredibly versatile, making them a staple in our household for a multitude of occasions. They are the perfect sweet accompaniment for spooky Halloween gatherings, cozy movie nights with loved ones, thrilling game days, the grand Thanksgiving feast, and, of course, the joyful celebrations of Christmas. Their irresistible charm and satisfying flavor make them a welcome addition to any table, creating lasting memories with every sweet bite.
A crucial tip for achieving pumpkin pie perfection: I understand how incredibly hard it will be to resist these delectable bites once they emerge from the oven, filling your home with their intoxicating aroma. But please, exercise a little patience and allow them to cool completely! This resting period is absolutely essential. Not only does it deepen their flavor, but it also gives the filling ample time to finish setting up, ensuring a perfectly creamy and stable texture. Trust me, you will savor these little delights so much more when they are perfectly cooled and set.
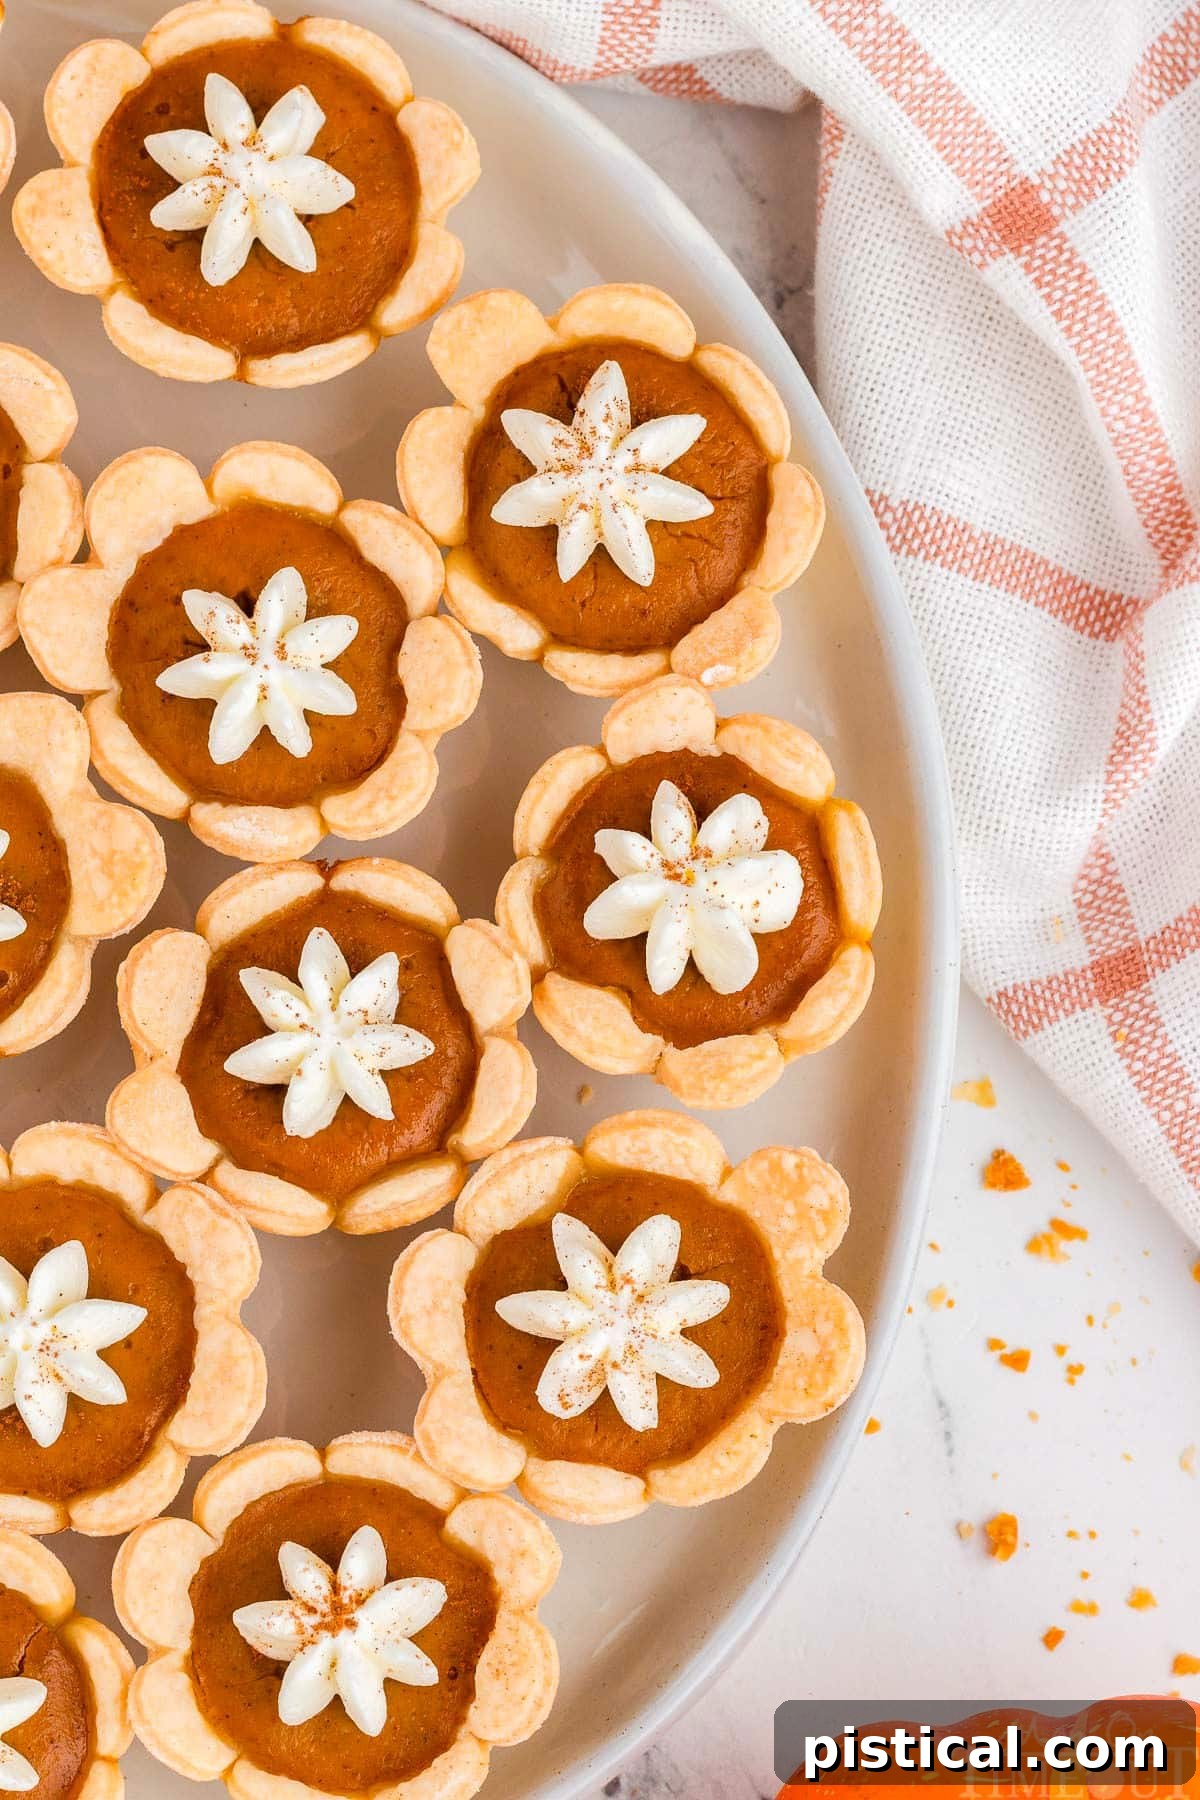
Why These Mini Pumpkin Pies Will Become Your Go-To Recipe
These mini pumpkin pies are more than just a dessert; they are a delightful solution for anyone looking to enjoy the classic flavors of fall without the fuss. Here’s why this recipe is bound to become a permanent fixture in your culinary repertoire:
- Super Easy and Beginner-Friendly: If the mere thought of baking a traditional full-sized pumpkin pie sends shivers down your spine, you are in for a wonderful surprise with these mini versions! This recipe is incredibly forgiving and designed for ease, requiring a mere 15 minutes of active prep work to bring these adorable treats together. Forget complex techniques; simple steps yield impressive results every time.
- Perfectly Portioned for Any Occasion: Say goodbye to the common dilemma of unevenly sliced pies and the stress of serving. These mini pies are expertly sized for individual servings, making them an ideal choice for any social gathering. Whether you’re hosting an elegant dinner party, contributing to a potluck, or simply enjoying a sweet treat at home, their individual portions ensure convenience and consistent enjoyment for everyone.
- Wonderfully Make-Ahead Friendly: Planning for a large event or simply love the convenience of prepping desserts in advance? These mini pumpkin pies are your perfect ally! They can be prepared a day or two ahead of time, allowing you to focus on other aspects of your event. Simply whip them up, store them safely in the refrigerator, and then bring them out when you’re ready to serve, making your entertaining effortless and enjoyable.
Step-by-Step Guide: How to Make Irresistible Mini Pumpkin Pies
Ready to embark on the delightful journey of creating these scrumptious mini pumpkin pies? Don’t fret—I’ve meticulously laid out simple, step-by-step instructions designed to guide you effortlessly from start to finish. While the list might appear extensive at first glance, I assure you these mini pies are incredibly easy to make, even for those new to baking. The process is straightforward, and the results are truly rewarding. For your ultimate convenience, you can always find the full printable recipe card, complete with precise measurements and detailed timings, at the very end of this comprehensive post.
- Prepare the Pan: Preheat your oven to 350ºF (175ºC). Generously spray a 24-cup non-stick mini muffin pan with non-stick cooking spray. If you are using a scalloped or “petaled” cookie cutter for your crusts, make sure to also spray the top surface of the muffin tin. This extra step helps prevent the delicate edges of your pie crusts from sticking.
- Temper Pie Crusts: Remove the refrigerated pie crust rounds from their packaging and let them sit on your kitchen counter for approximately 10-15 minutes. Allowing them to come closer to room temperature makes them significantly easier to unroll and work with without cracking.
- Create the Filling: In a large mixing bowl, combine the pumpkin puree (ensure it’s pure pumpkin, not pie filling!), evaporated milk, a large room temperature egg, granulated sugar, tightly packed light brown sugar, all your warming spices (pumpkin pie spice and ground cinnamon), vanilla extract, and a pinch of salt. Beat this mixture thoroughly for about 1 minute until all ingredients are smoothly and completely combined. Don’t forget to scrape down the sides of the bowl as needed to ensure everything is incorporated. Set this luscious filling aside.
- Cut Pie Crusts: Lightly flour a clean work surface. Carefully unroll the softened pie crusts until they are flat. Using a 3-inch round cookie cutter (or your chosen shape), cut out mini pie crust circles. Gently place each crust circle into the prepared mini muffin pan, pressing the middle of the dough down into the bottom of each tin. A small, round measuring spoon can be very helpful here to ensure the dough is snugly pressed into place.
- Maximize Dough Usage: Gather any remaining pie dough scraps. Gently re-roll them out to an approximate ⅛-inch thickness. Continue to cut out additional mini pie crusts until all the dough is used, ensuring you get the maximum yield from your refrigerated crust.
- Fill the Pies: Carefully spoon approximately 1 tablespoon of the prepared pumpkin mixture into each pie crust. Remember not to overfill, as the mixture will puff slightly during baking.
- Bake to Perfection: Transfer the mini muffin pan to your preheated oven. Bake for 20-22 minutes, or until the pie crusts achieve a beautiful golden brown hue. The pumpkin filling will puff up significantly during baking, then settle and level off as it cools, creating that classic pumpkin pie texture.
- Cool and Release: Once baked, remove the pies from the oven. Allow them to cool in the muffin tins for 5-10 minutes. This crucial cooling period helps the pies set and firm up, making them easier to handle. After this initial cooling, gently transfer the pies from the muffin tins to a wire cooling rack to cool completely. A thin butter knife can be carefully inserted between the pie and the tin to assist in lifting them out if needed.
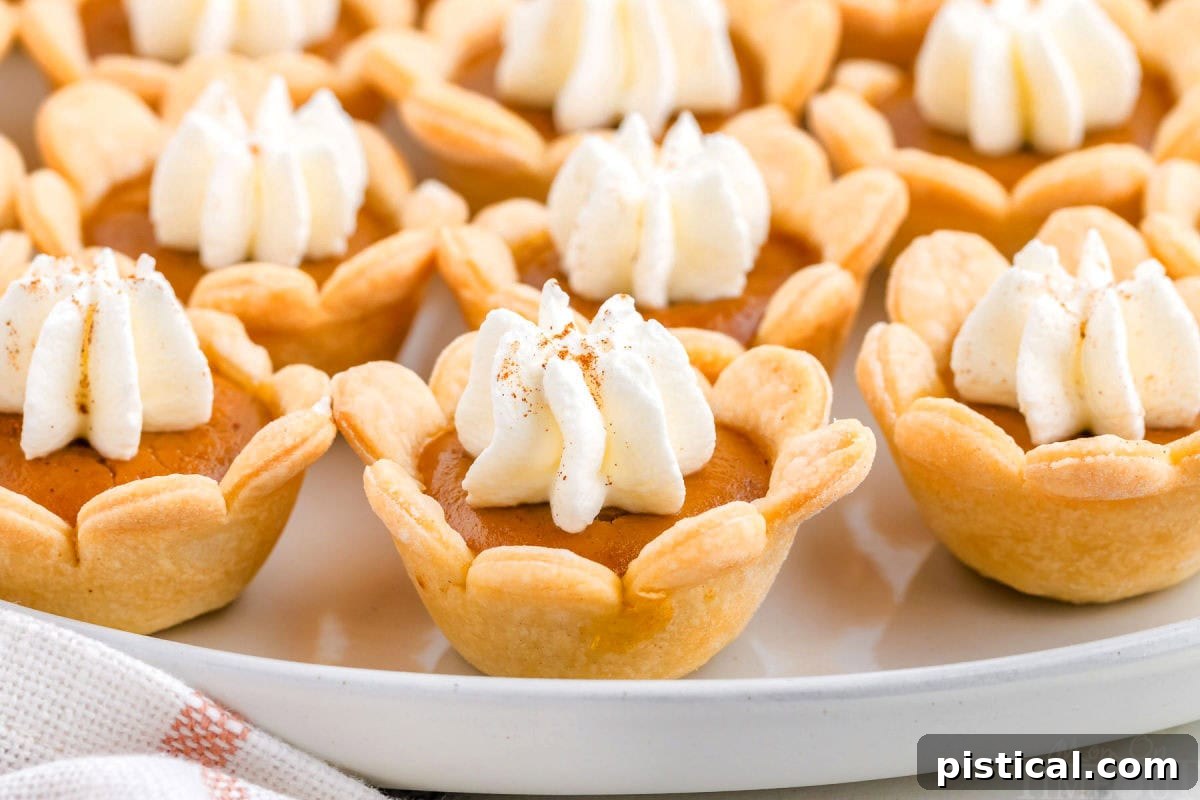
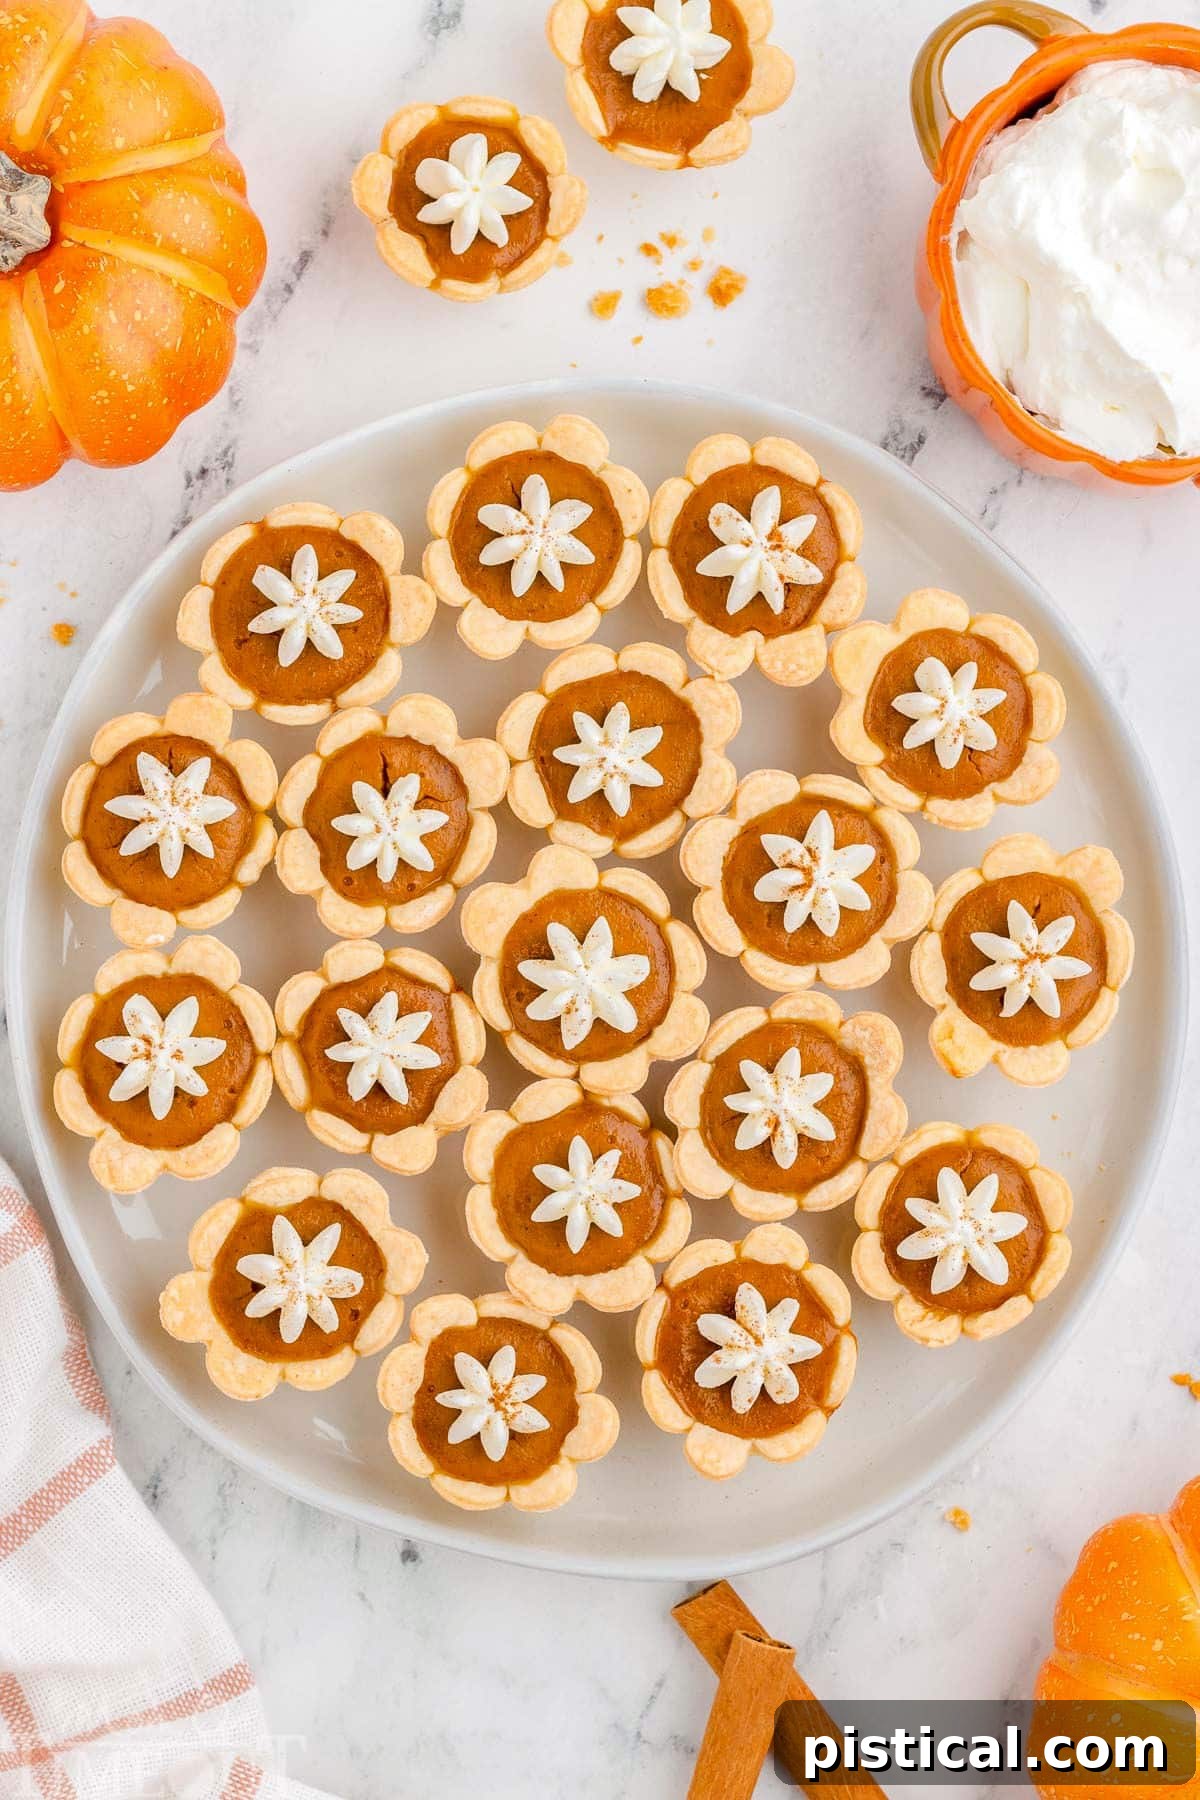
- Garnish and Serve: Once the mini pumpkin pies have cooled completely, they are ready for their finishing touch! Top each one with a generous swirl of homemade whipped cream and a delicate dash of cinnamon (or extra pumpkin pie spice) for an added layer of flavor and visual appeal. Serve and enjoy!
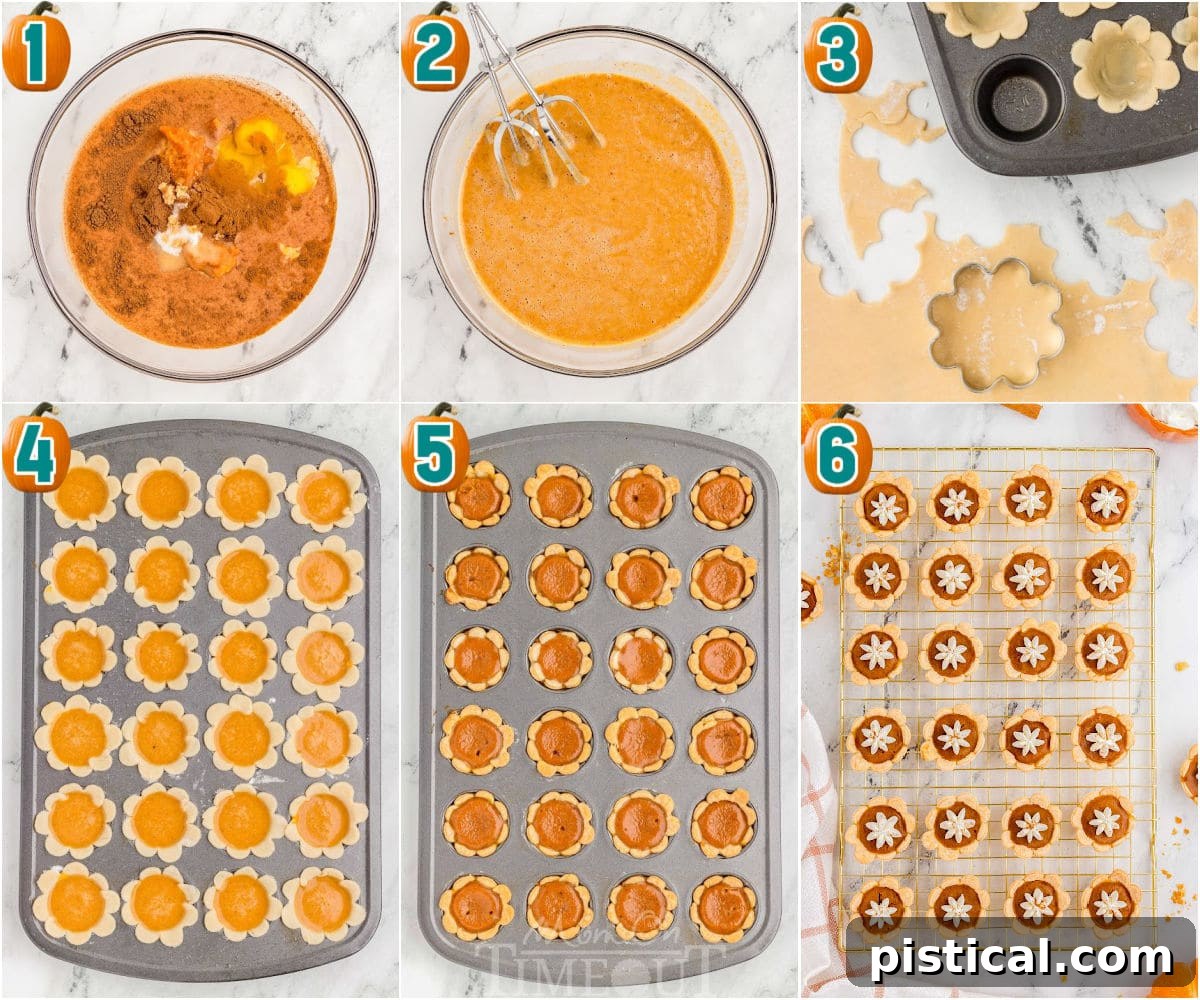
Pro Tip for Filling: When you’re spooning the pumpkin mixture into the mini pie crusts, remember to leave a little breathing room at the top. You only need about one tablespoon of filling for each pie. The filling will naturally puff up a bit as it bakes, and overfilling can unfortunately lead to spills over the edges, which nobody wants!
Storage and Make-Ahead Tips for Your Mini Pumpkin Pies
The convenience of these mini pumpkin pies extends to their storage, making them an excellent choice for meal prep or party planning. Knowing how to properly store them ensures their freshness and delicious taste for days to come.
Refrigerator: After your mini pies have completely cooled, transfer any leftovers to an airtight container. They will stay fresh and delightful in the refrigerator for up to 3 days. This makes them perfect for enjoying a sweet treat throughout the week.
Freezer: For a longer-term storage solution, these mini pies freeze beautifully! To freeze them, first arrange the cooled pies in a single layer on a baking sheet. Place the baking sheet in the freezer until the pies are solid. Once frozen solid, you can transfer them to a freezer-safe bag or an airtight container, ensuring they are well-protected from freezer burn. They can be stored in the freezer for up to 2 months. When you’re ready to enjoy them, simply thaw the frozen mini pies overnight in the refrigerator before serving. You can also gently warm them in a low oven for a few minutes for a freshly baked feel.
Exciting Variations to Elevate Your Mini Pumpkin Pies
While the classic mini pumpkin pie is undeniably delicious, this recipe is incredibly adaptable, inviting you to experiment and customize. Here are some creative variations to try, allowing you to tailor these delightful treats to your personal taste or specific occasion:
- Maple Syrup Sweetness: For a deeper, richer, and more complex caramel-like sweetness, consider replacing a portion or all of the brown sugar in the filling with pure maple syrup. This adds an authentic autumnal flavor dimension.
- Nutty Crunch Topping: Before baking, sprinkle a generous layer of finely chopped pecans (or walnuts) over the pumpkin filling. As they bake, the nuts will toast, adding a wonderful crunchy texture and a rich, nutty flavor contrast to the creamy filling.
- Alternative Cookie Crusts: Step away from the traditional pie crust! Create a unique base by using crushed ginger snap or Biscoff cookies mixed with melted butter for a flavorful, spiced cookie crust. Press this mixture into the muffin tins before adding the filling.
- Decadent Chocolate Drizzle: After the pies have baked and cooled, melt some high-quality dark or white chocolate. Drizzle it artfully over the tops of the pies for an elegant finish and a touch of indulgent sweetness.
- Crumble Streusel Topping: For an extra layer of texture and flavor, prepare a simple crumbly streusel topping. Combine flour, brown sugar, a hint of oats, a dash of cinnamon, and cold butter. Sprinkle this mixture generously over the pumpkin filling before baking.
- Salted Caramel Delight: Elevate the flavor profile by drizzling luscious salted caramel sauce over the baked and cooled pies. The sweet and salty combination is simply divine.
- Exotic Chai Spice Blend: Infuse your pumpkin filling with an aromatic twist by adding a chai spice blend. This typically includes a harmonious mix of cardamom, ginger, cinnamon, clove, and a whisper of black pepper, creating an unexpectedly sophisticated flavor.
- Enhanced Pumpkin Pie Spice: Instead of a simple dash of cinnamon, intensify the pumpkin flavor by dusting the cooled pies with a full-bodied pumpkin pie spice blend. This brings all those warm, familiar fall flavors to the forefront.
Frequently Asked Questions About Mini Pumpkin Pies
Here are answers to some common questions that often arise when baking these delightful mini pumpkin pies, ensuring you have all the information you need for a successful baking experience.
Can I substitute evaporated milk in the filling?
Yes, absolutely, you can! While evaporated milk provides a classic richness and specific texture to traditional pumpkin pie, several substitutes work well, though they may slightly alter the final flavor and texture. Heavy cream or half-and-half are excellent choices for maintaining a creamy consistency. For a non-dairy alternative, full-fat coconut milk can also be used, lending a subtle tropical note. Almond or oat milk are other viable options, but be aware that they might result in a slightly thinner filling and impart their own distinct flavor. Choose the substitute that best fits your dietary needs or flavor preferences!
Can I add additional spices or flavors to the filling?
This recipe is incredibly versatile and forgiving when it comes to customization! Feel completely free to personalize your pumpkin filling to suit your palate. Enhancing the spice profile with a pinch of nutmeg, a dash of allspice, or a hint of ground cardamom can add wonderful depth. For additional flavor complexities, consider incorporating a teaspoon of vanilla extract (if not already present), a drizzle of maple syrup for a touch of sweetness, or even a splash of bourbon for a sophisticated and interesting adult twist. Let your creativity guide you!
Is it possible to make these mini pumpkin pies ahead of time?
Not only is it possible, but these mini pumpkin pies are actually at their very best when made in advance! I highly recommend preparing them the night before you plan to serve them. This allows the pies ample time to fully set and chill thoroughly in the refrigerator (ensuring they are covered to maintain freshness). The resting period significantly enhances their flavor, allowing the spices to meld and deepen, resulting in a more harmonious and delicious taste. Just remember to add your desired toppings, such as whipped cream, right before serving to keep them looking fresh and appealing.
Can I use homemade pumpkin puree?
Certainly! Using homemade pumpkin puree can impart a wonderfully fresh and authentic flavor to your pies. For the best results, it’s advisable to use small, sweet pumpkins often referred to as “sugar baby pumpkins” or “pie pumpkins,” as their flesh is less watery and more flavorful. Do keep in mind, however, that homemade pumpkin puree tends to be thinner and can have more moisture content than commercially canned pumpkin puree (like Libby’s). If using homemade, you might need to slightly adjust the baking time or gently thicken your puree beforehand. This specific recipe was carefully tested and developed using Libby’s canned pumpkin puree for consistent results, so be mindful of potential texture differences with homemade versions.
Trish’s Top Tips for Mini Pumpkin Pie Perfection
Achieving perfectly baked mini pumpkin pies is simple when you know a few tricks of the trade. Here are some of my most valuable tips to ensure your pies turn out beautifully every single time:
- Cookie Cutter Alternatives: Don’t have a specific round cookie cutter on hand for your pie crusts? No problem! The rim of a standard drinking glass or even a small bowl can serve as an excellent substitute for cutting out perfectly shaped pie crust circles. Get creative with what you have in your kitchen!
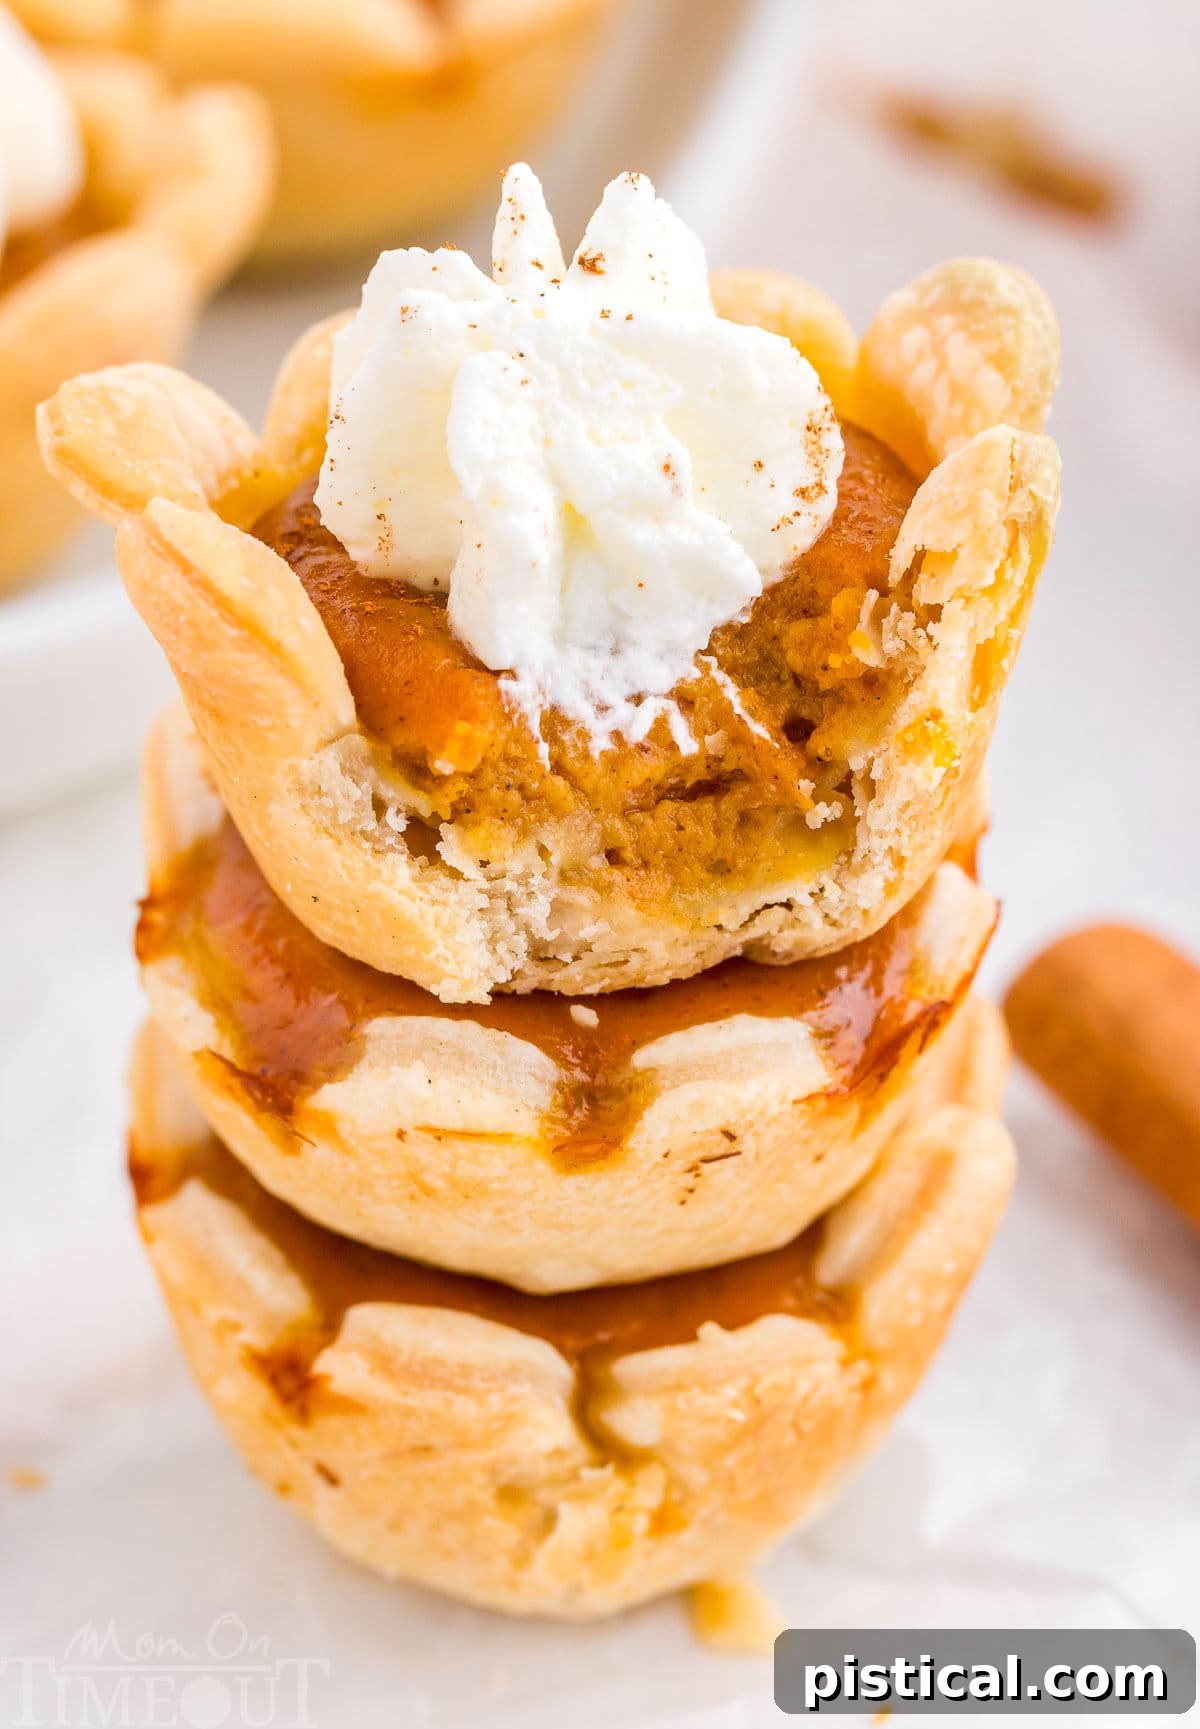
- Spotting Doneness: Knowing exactly when your mini pies are baked to perfection is key. The pies are done when the filling appears set and firm around the edges, but still exhibits a slight, delicate jiggle in the very center. Resist the urge to overbake! The filling will continue to firm up and set completely as the pies cool. Overbaking can lead to cracks in the beautiful pumpkin filling, compromising their visual appeal and smooth texture. Keep a watchful eye during the last few minutes of baking!
- Cookie Cutter Flexibility: If you’re having trouble finding a specific scalloped (flower-shaped) cookie cutter, there’s no need to stress. Any round, or even a square cookie cutter, will work perfectly fine for this recipe. The goal is to create charming individual portions, and the shape is secondary to the deliciousness inside!
Choosing the Right Cookie Cutter for Your Mini Pies
The size and shape of your cookie cutter play a small but fun role in the final look of your mini pumpkin pies. For this recipe, you’ll want to use a cookie cutter that is approximately 2.5 inches to 3 inches in diameter. The exact best size might vary slightly depending on the dimensions of your specific mini muffin pan. Remember that the pie crust will naturally shrink a bit during the baking process, so a slightly larger cutter can be beneficial.
You have a wide array of options to choose from! A plain round cutter will always yield classic, elegant mini pies. However, if you want to add a touch of whimsy, consider a scalloped or flower-shaped cutter. These decorative edges create a lovely presentation. Even a square cutter will work wonderfully, giving you adorably geometric mini pies! I personally have a scalloped square cutter that I use occasionally, and the resulting pies are always incredibly charming. Don’t feel obligated to buy something new; use whatever you already have in your kitchen, or click on any of the provided links to explore more options and find the perfect cutter for your needs. The specific cookie cutter I used for the pies featured in these photos is linked here for your convenience.
More Pumpkin Treats You’ll Adore This Season
If these mini pumpkin pies have ignited your passion for all things pumpkin, then you’re in luck! The versatility of pumpkin makes it a star ingredient in a wide range of desserts. Here are a few more delightful pumpkin recipes that are sure to tantalize your taste buds and become new fall favorites:
- Pumpkin Delight Dessert: A layered dessert featuring a cookie crust, creamy pumpkin filling, and a fluffy topping.
- Spiced Pumpkin Coffee Cake: The perfect treat for breakfast or brunch, bursting with pumpkin flavor and a sweet crumb topping.
- Better Than Anything Pumpkin Cake: A decadent, moist pumpkin cake soaked in a sweet sauce and topped with whipped cream.
- Moist Pumpkin Chocolate Chip Bread: A classic quick bread elevated with the delightful combination of pumpkin and chocolate chips.
- Creamy Pumpkin Lasagna Dessert: A no-bake layered dessert that combines pumpkin, cream cheese, and a nutty crust for an irresistible treat.
Mini Pumpkin Pies Recipe
These adorable Mini Pumpkin Pies capture all of the warm, comforting flavors of a traditional pumpkin pie but in a fun, convenient, bite-sized version. With a buttery, flaky crust and a rich, spiced pumpkin filling, these mini pies are sure to be a hit at holiday parties, family gatherings, or a cozy dinner with friends!
Recipe Details
- Course: Dessert
- Cuisine: American
- Keywords: mini pumpkin pie, mini pumpkin pie recipe, mini pumpkin pies
- Prep Time: 15 minutes
- Cook Time: 20-22 minutes
- Total Time: Approximately 35-37 minutes
- Servings: 28 mini pies
- Author: Trish – Mom On Timeout
Equipment
- Mini Muffin Pan (24-cup)
- 3-inch Round Cookie Cutter (or similar)
- Large Mixing Bowl
- Whisk or Electric Mixer
- Rolling Pin
- Wire Cooling Rack
Ingredients
For the Mini Pies:
- 14 ounces refrigerated pie crust (typically 1 box containing 2 pie rounds)
- 1 cup pumpkin puree (ensure it’s pure pumpkin, not pumpkin pie filling)
- ¾ cup evaporated milk
- 1 large egg (at room temperature)
- ¼ cup granulated sugar
- 2 tablespoons light brown sugar (tightly packed)
- ¾ teaspoon pumpkin pie spice
- ½ teaspoon ground cinnamon
- ¼ teaspoon vanilla extract
- ¼ teaspoon salt
For Topping (Optional):
- Homemade whipped cream or store-bought whipped topping
- A dash of ground cinnamon or pumpkin pie spice for dusting
Instructions
- Preheat oven to 350ºF (175ºC). Generously spray a non-stick 24-cup mini muffin pan with non-stick spray and set it aside. If you are using a cookie cutter with a scalloped or petaled edge, spray the top surface of the muffin tin as well to prevent sticking.
- Remove the refrigerated pie rounds from their packaging and let them sit on the counter to warm up for approximately 10-15 minutes. This makes them easier to roll out and prevents cracking.
- In a large mixing bowl, combine the pumpkin puree, evaporated milk, egg, granulated sugar, brown sugar, pumpkin pie spice, ground cinnamon, vanilla extract, and salt. Beat the mixture for approximately 1 minute until it is smooth and all ingredients are well combined. Scrape down the sides of the bowl as needed to ensure even mixing. Set aside.
- On a lightly floured surface, unroll one of the pie crusts until it is flat. Using a 3-inch round cookie cutter, cut out mini pie crust circles. Carefully place each cut-out circle into a cup of the prepared mini muffin pan, gently pressing the middle of the dough into the bottom of the tin. You can use a round measuring spoon to help press the dough down snugly into the muffin tin.
- Gather the remaining dough scraps. Gently re-roll them out to an approximate ⅛-inch thickness. Continue to cut out more mini pie crusts until you have used all the dough.
- Spoon approximately 1 tablespoon of the pumpkin mixture into each pie crust. Be careful not to overfill, as the filling will puff up slightly during baking.
- Bake at 350ºF (175ºC) for 20-22 minutes, or until the pie crust turns a beautiful golden brown. The pumpkin filling will puff up while baking and then settle and level off as it cools.
- Remove the pies from the oven and let them cool in the muffin tins for 5-10 minutes. This helps the pies set. After this initial cooling, transfer the pies from the muffin tins to a wire cooling rack to cool completely. A butter knife can be gently slid between the pie and the tin to assist in lifting them out if needed.
- Once the pumpkin pies have cooled completely, top them with a dollop of whipped cream and a festive dash of cinnamon or pumpkin pie spice. Serve and enjoy!
Notes
Each 14-ounce box of refrigerated pie crust typically contains two pie rounds, which together will yield approximately 28 mini pie rounds in total, with some re-rolling of scraps.
Storage Information
Refrigerator: Store any leftover mini pies in an airtight container in the refrigerator for up to 3 days to maintain their freshness.
Freezer: For extended storage, mini pies can be frozen. Arrange them in a single layer on a baking sheet and freeze until they are solid. Once frozen, transfer them to a freezer-safe bag or container and freeze for up to 2 months. Thaw them in the refrigerator overnight before serving.
Cookie Cutter Options
For this recipe, use a cookie cutter that is 2.5 to 3 inches in diameter. The optimal size may vary slightly depending on your specific mini muffin pan. Keep in mind that the pie crust will naturally shrink a bit as it bakes. You can use a plain round cutter, or any type of scalloped or flower-shaped cutter for a decorative touch. Even a square cutter will work and result in charming mini pies! I often use a scalloped square cutter, and the pies are always adorable. Feel free to use what you already have, or click on any of these links to explore more options. The exact cookie cutter I used for the photos in this post is linked here.
Nutrition Highlights (per serving)
- Calories: 90 kcal
- Carbohydrates: 11g
- Protein: 2g
- Fat: 4g
- Saturated Fat: 2g
- Polyunsaturated Fat: 0.5g
- Monounsaturated Fat: 2g
- Trans Fat: 0.001g
- Cholesterol: 8mg
- Sodium: 89mg
- Potassium: 56mg
- Fiber: 1g
- Sugar: 4g
- Vitamin A: 1387 IU
- Vitamin C: 1mg
- Calcium: 25mg
- Iron: 1mg