
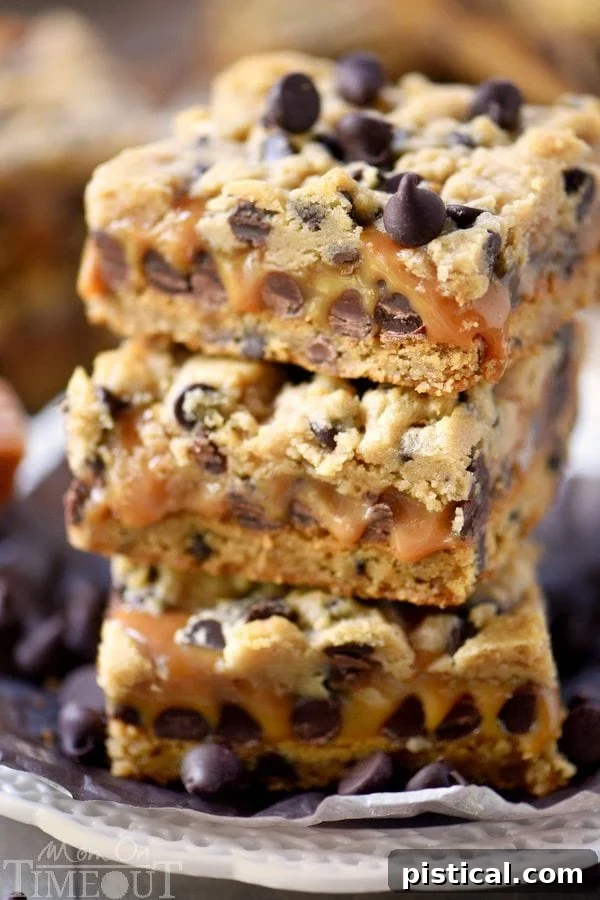
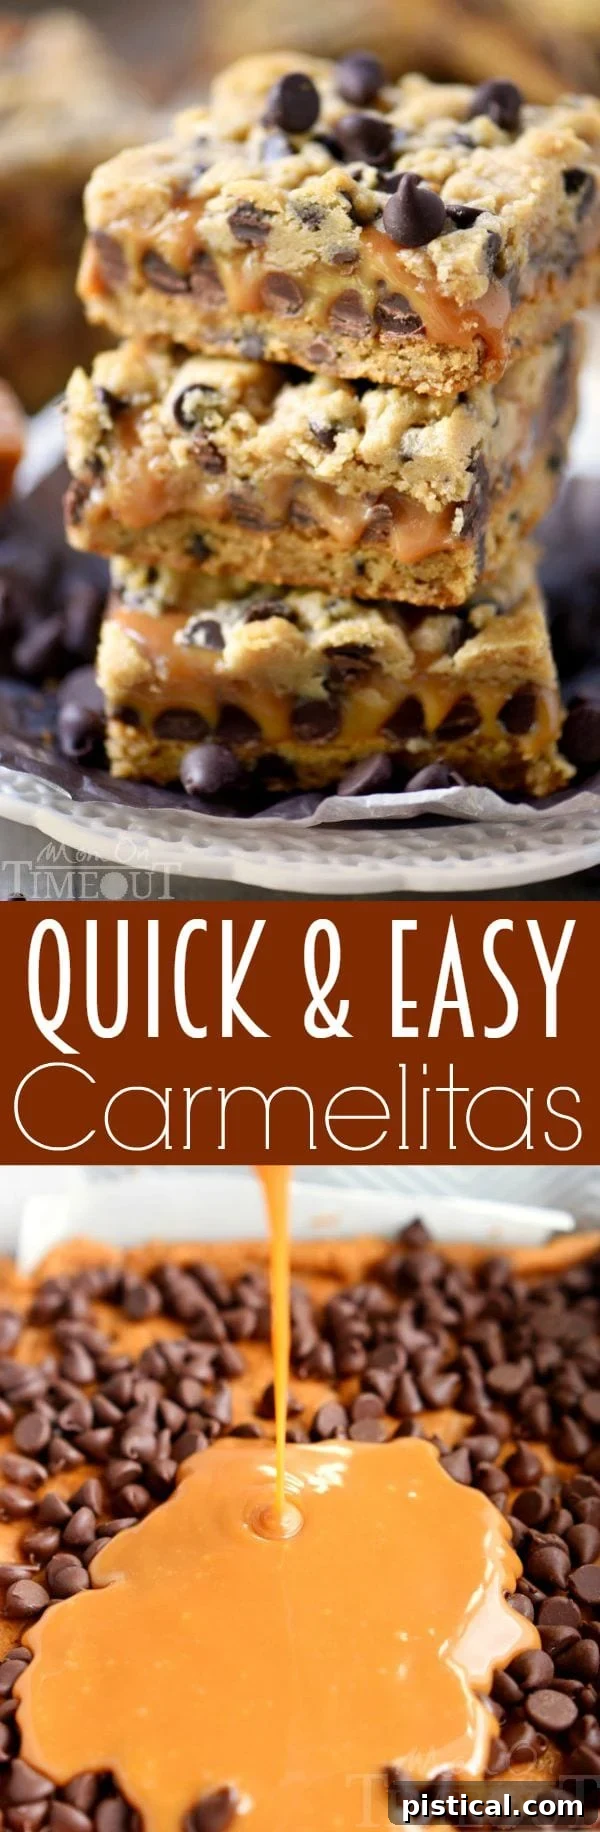
Discover the ultimate dessert shortcut with these **Quick and Easy Carmelitas**! Requiring only **four** simple ingredients, these bars deliver an undeniably decadent experience. Their irresistibly ooey-gooey caramel center nestled between layers of chocolate chip cookie dough makes them a truly impossible-to-resist treat. Whether you’re short on time or simply craving something spectacular, these Carmelitas are your answer. For more swift and delicious dessert inspirations, explore our Chocolate Chip Cookie Cheesecake Bars, the creamy Peanut Butter Icebox Cake, and the timeless classic, The Best Watergate Salad.
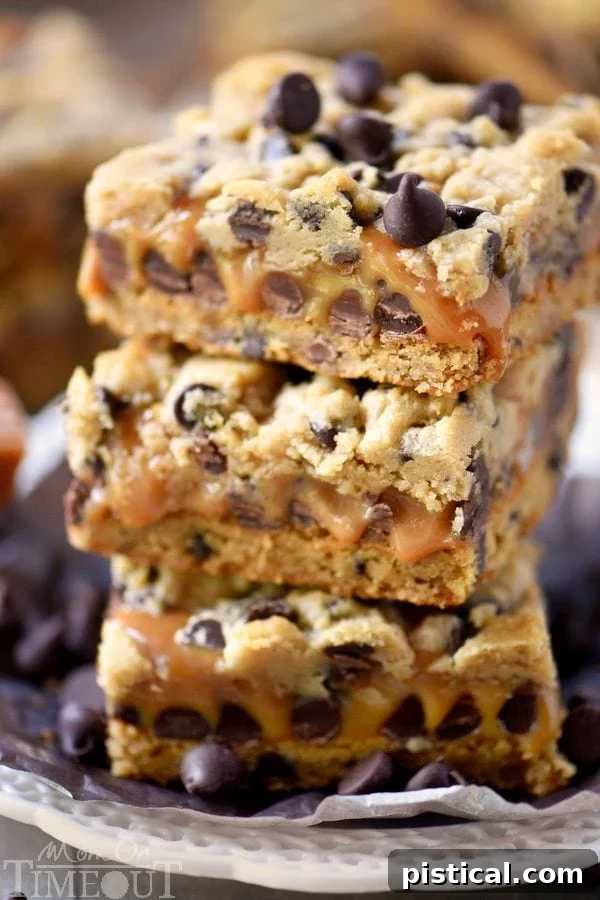
Quick and Easy Carmelitas: The Ultimate 4-Ingredient Caramel Dessert Bars
In our bustling lives, we all appreciate recipes that are both quick and easy to prepare, don’t we? While I absolutely adore the process of creating dishes entirely from scratch, a well-chosen shortcut can truly be a lifesaver, making our culinary adventures far more manageable without sacrificing taste or quality. Today, I’m thrilled to share a dessert that embodies this philosophy perfectly: our Quick and Easy Carmelitas. These delightful bars look and taste like they demanded hours of effort, yet they come together with remarkable ease, leaving everyone impressed and none the wiser about your secret weapon – refrigerated cookie dough!
Carmelitas are a classic dessert bar, known for their irresistible combination of buttery cookie crust, rich caramel, and melty chocolate chips. The beauty of this particular Carmelitas recipe lies in its simplicity, making it accessible for even the most novice bakers. We’re talking about a mere four ingredients to achieve a profoundly decadent treat that’s perfect for potlucks, parties, or simply satisfying that insistent sweet craving.
Homemade vs. Store-Bought: Customizing Your Carmelitas
One of the best aspects of these Easy Carmelitas is their incredible versatility. While our primary recipe leverages convenient store-bought ingredients for speed, it’s absolutely fantastic with homemade components too. The choice truly depends on your available time and desire to customize.
If you’re looking to elevate your Carmelitas with a touch of homemade goodness, you certainly can. For the cookie base, feel free to substitute the refrigerated dough with your favorite chocolate chip cookie dough recipe. Just remember, homemade dough often benefits from a good chill in the refrigerator for a couple of hours. This ensures it’s easier to handle and bakes up perfectly firm for the bar base. A well-chilled dough helps prevent spreading, giving you that ideal, sturdy foundation for your caramel layers.
Likewise, the caramel layer can be made from scratch. My personal homemade caramel sauce recipe is exceptionally delicious in this context. If you have the time, I highly recommend making it. You will not regret it! Homemade caramel offers a deeper, more complex flavor profile and tends to set slightly firmer, which can provide an even more satisfying chew to your bars. However, the store-bought caramels provide that signature gooeyness that many adore, and they melt down beautifully for a truly effortless filling. So, whether you opt for convenience or crave a homemade touch, these Carmelitas will deliver an unforgettable dessert experience.
The Four Simple Ingredients for Decadent Carmelitas
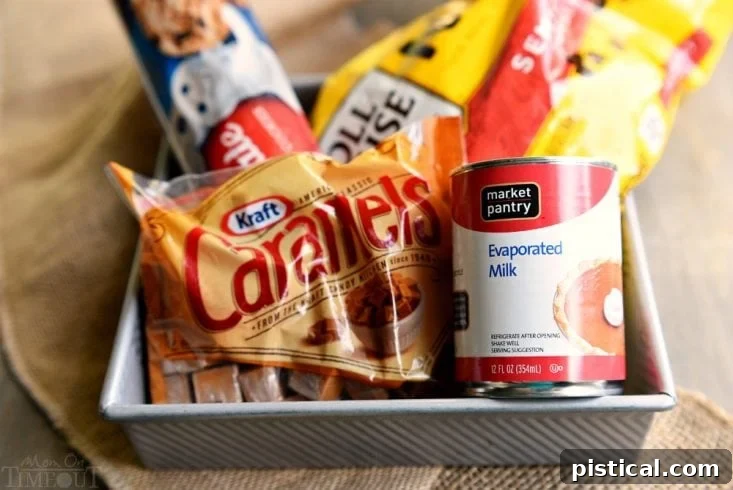
The magic of these Easy Carmelitas lies in their minimalist ingredient list. You only need FOUR staples to bring this dream dessert to life. This simplicity is what makes them so perfect for last-minute treats or when you want something impressive without the fuss:
- **Refrigerated Chocolate Chip Cookie Dough:** This is our star shortcut! It forms both the tender base and the delightful crumbly topping. Using pre-made dough saves significant time and effort, making the entire process incredibly straightforward. Look for a standard 30 oz roll or equivalent packages.
- **KRAFT Caramels:** These classic, individually wrapped caramels are perfect for achieving that signature ooey-gooey caramel layer. They melt smoothly and provide a rich, buttery flavor that’s essential for Carmelitas. You’ll need an 11 oz bag, typically found in the baking aisle.
- **Evaporated Milk:** A small amount of evaporated milk is crucial for thinning out the melted caramels, creating a smooth, pourable sauce that spreads evenly over the chocolate chips and bakes into a soft, chewy layer. Do not confuse it with sweetened condensed milk; evaporated milk is unsweetened.
- **Semi-Sweet Chocolate Chips:** The final touch of chocolate brings balance and an extra layer of indulgence. Semi-sweet chips are ideal as they offer a perfect contrast to the intense sweetness of the caramel, but milk chocolate or even dark chocolate chips could be used depending on your preference.
That’s it, folks! Just these four readily available ingredients stand between you and a pan of truly irresistible caramel chocolate chip bars. It genuinely doesn’t get any easier or more delicious.
Baking Your Easy Carmelitas: A Step-by-Step Guide
Now that we have our simple ingredients, let’s dive into the incredibly easy process of assembling these decadent Carmelitas. You’ll be amazed at how quickly these come together!
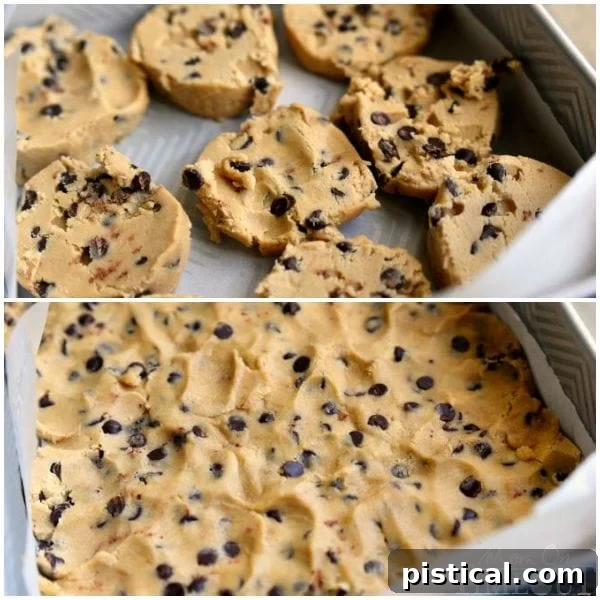
- **Step 1: Prepare the Cookie Base.** Begin by preheating your oven to 350°F (175°C). Take a little more than half of your refrigerated chocolate chip cookie dough and slice it into approximately 1/4-inch thick rounds. Arrange these rounds in a single layer at the bottom of a parchment-lined 9-inch square baking pan. Use your fingers or the bottom of a measuring cup to gently press the dough rounds together, forming a single, solid, and even layer. This creates the essential foundation for your bars, ensuring an even bake and a sturdy crust.
- **Step 2: Bake the Crust.** Pop the pan into your preheated oven and bake for 20 to 25 minutes, or until the cookie crust turns a beautiful golden brown around the edges. This initial bake ensures the base is perfectly cooked and slightly crisp. Once baked, remove the pan from the oven and let it cool slightly while you prepare the caramel.
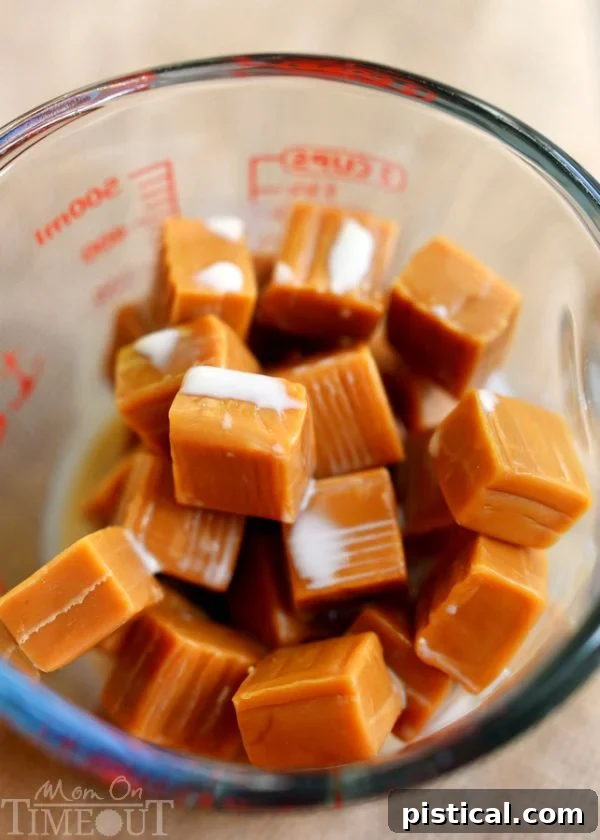
- **Step 3: Melt the Caramel.** In a microwave-safe glass measuring cup or bowl, combine your unwrapped Kraft caramels with the evaporated milk. Heat this mixture on high in the microwave for 1 minute. After the initial minute, stir the mixture thoroughly. Continue heating in 30-second intervals, stirring well after each, until the caramels are completely melted and the sauce is smooth and creamy. This microwave method is a true game-changer for speed and convenience!
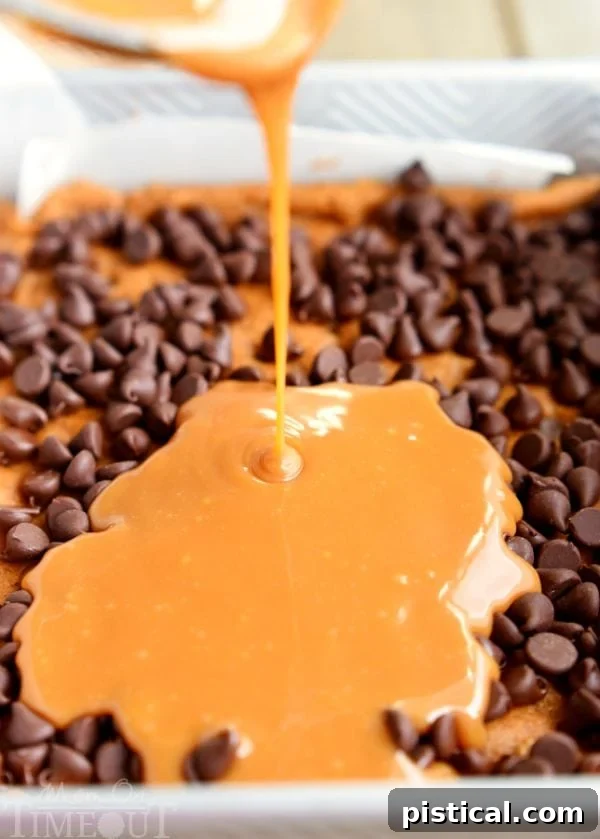
- **Step 4: Layer the Chocolate and Caramel.** Evenly sprinkle the semi-sweet chocolate chips over the slightly cooled chocolate chip cookie crust. Don’t be shy here; these chocolate chips will melt into gooey pockets of delight. Next, carefully pour the warm, smooth caramel sauce directly over the chocolate chips. Ensure the caramel spreads to cover the entire surface, creating an even layer of sticky sweetness.
- **Step 5: Add the Crumbly Topping.** Take the remaining chocolate chip cookie dough (which should be less than half of the original roll) and crumble it evenly over the top of the caramel layer. This doesn’t need to be perfect; uneven crumbs add a wonderful texture and rustic charm to the finished bars.
- **Step 6: Final Bake.** Return the pan of Carmelitas to the oven and bake for another 12-15 minutes, or until the crumbly topping is just beginning to turn golden brown. The goal here is to bake the top layer and allow the caramel and chocolate to fully melt and meld.
Chilling is Crucial for Perfect Carmelitas
Here’s the golden rule for perfect Carmelitas: they absolutely *must* be refrigerated. I know, the wait can be agonizing, especially when your kitchen is filled with that incredible aroma of warm caramel and chocolate! However, this step is non-negotiable for achieving the right texture and ensuring your bars hold their shape.
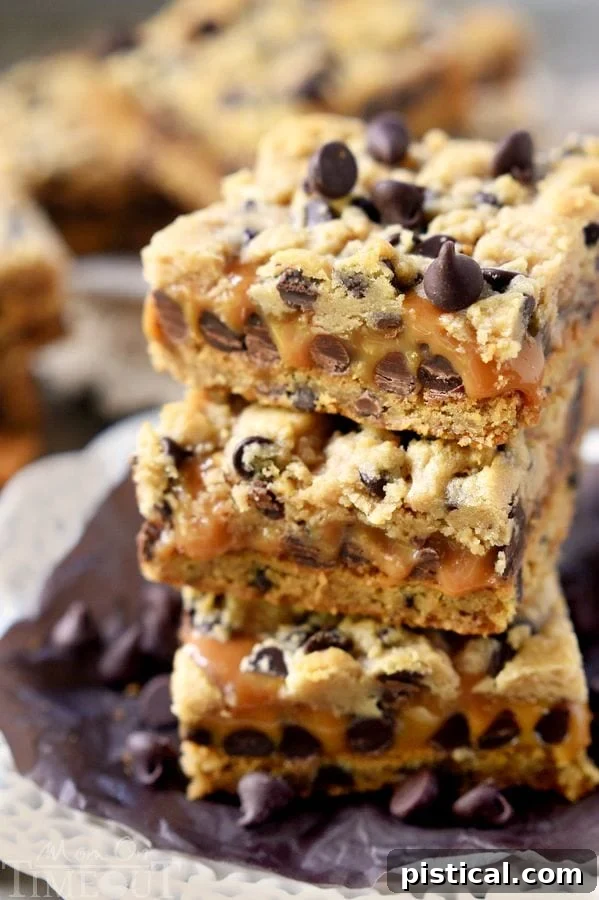
The caramel needs time to set up properly. If you try to cut into them too soon, you’ll end up with a wonderfully delicious, but admittedly messy, puddle of caramel. Think of it as a brief timeout for your dessert. Allowing the Carmelitas to cool completely at room temperature first, and then chilling them in the refrigerator for at least two hours (or even overnight for best results), gives the caramel a chance to firm up just enough. Even after hours in the fridge, you’ll notice that classic, glorious ooze when you make that first cut. That’s what makes a Carmelita a *Carmelita*! It’s that delicate balance between being firm enough to handle yet still gloriously gooey and rich.
There is truly nothing more amazing than the combination of perfectly oozing caramel, sweet, melted chocolate, and a tender cookie base. These rich, decadent bars are a symphony of textures and flavors. So, exercise a little patience – I promise, the reward of perfectly set, yet still delightfully gooey, Carmelitas is absolutely worth the wait. Come to mama, indeed!
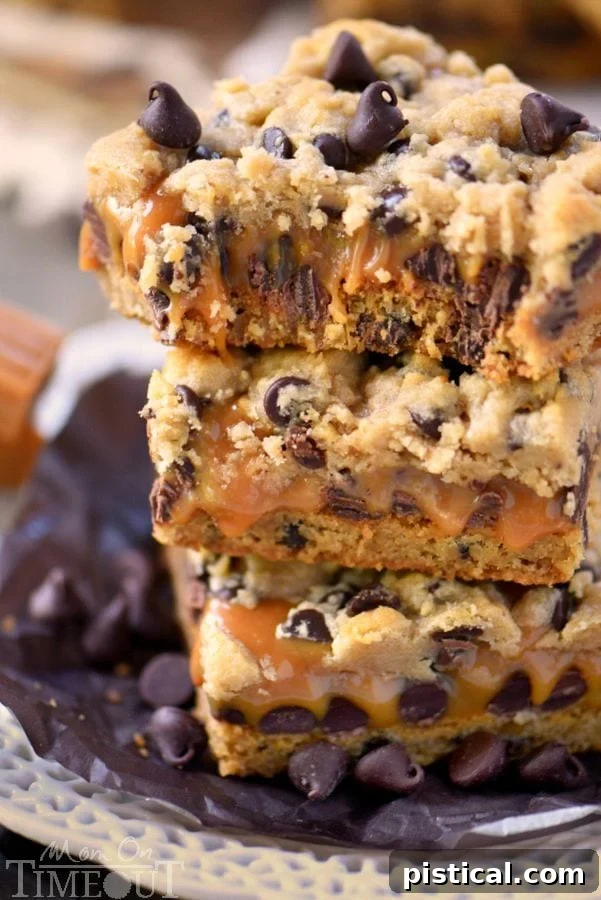
What’s truly amazing about this particular recipe, beyond its sheer deliciousness and ease, is how manageable these bars are. While the caramel is undeniably ooey and gooey – precisely what we want! – it doesn’t create a huge, drippy mess like some Carmelita recipes can. The balance is just perfect, making them a pleasure to cut, serve, and devour.
More Must-Make Desserts to Satisfy Your Sweet Tooth
If you’re a fan of incredible desserts, you won’t want to miss these other tried-and-true favorites from our collection:
- The Best Coconut Cream Pie: A classic, creamy, and utterly delightful pie that’s simply heavenly.
- Best Key Lime Pie: Tangy, sweet, and perfectly refreshing – a taste of the tropics in every bite.
- To Die For Carrot Cake: Rich, moist, and perfectly spiced, topped with luscious cream cheese frosting.
- The Best Watergate Salad: A light, fluffy, and vibrant dessert salad that’s always a crowd-pleaser.
- Cheesecake Brownies: The best of both worlds – fudgy brownies swirled with creamy cheesecake.
How To Make Carmelitas: The Full Recipe

Print Recipe
Pin Recipe
Rating: 5 from 3 votes
Quick and Easy Carmelitas
These Quick and Easy Carmelitas use only four ingredients! A truly decadent treat, the ooey, gooey caramel center of these amazing bars is impossible to resist! They’re the perfect last-minute treat for taking to parties and get-togethers.
Course: Dessert | Cuisine: American | Keyword: carmelitas
Prep Time: 5 minutes | Cook Time: 35 minutes | Total Time: 40 minutes
Servings: 16 servings
Author: Trish – Mom On Timeout
Ingredients
- 30 oz refrigerated chocolate chip cookie dough (1 roll)
- 11 oz KRAFT caramels (1 bag)
- 1/4 cup evaporated milk
- 1 cup semi-sweet chocolate chips
Instructions
- Preheat oven to 350F (175C). Slice a little more than half of the cookie dough into 1/4″ rounds and lay in a single layer on a parchment lined 9-inch square baking pan.
- Use your fingers to press into a single, solid, even layer.
- Bake for 20 to 25 minutes or just until golden brown. Remove from the oven and let cool slightly.
- Combine unwrapped caramels and evaporated milk in a microwave-safe container and heat on high for 1 minute. Stir and heat on high in 30 second intervals until caramel is completely melted.
- Sprinkle chocolate chips over the slightly cooled chocolate chip cookie crust.
- Drizzle caramel on top of the chocolate chips.
- Crumble the remaining cookie dough (should be less than half remaining) over the top of the caramel. It doesn’t have to be perfect or even.
- Return the carmelitas to the oven and bake for another 12-15 minutes or until just beginning to turn golden brown.
- Let cool to room temperature and then refrigerate for at least 2 hours.
- Sit out for 15 minutes before cutting and serving.
Video
Watch our video demonstration for Quick and Easy Carmelitas:
Click here to watch the Carmelitas recipe video.
Notes
Storage Notes:
- Room Temperature: Once they’ve cooled completely, store the bars in an airtight container at room temperature for up to 3 days.
- Refrigerator: Store in an airtight container and refrigerate them for up to a week.
- Freezer: Wrap the bars tightly in plastic wrap and store in a freezer-safe container for up to 3 months. Just let them sit at room temperature for about 15 minutes before serving for the best texture!
Nutrition
Calories: 377kcal | Carbohydrates: 54g | Protein: 4g | Fat: 17g | Saturated Fat: 6g | Cholesterol: 9mg | Sodium: 208mg | Potassium: 196mg | Fiber: 1g | Sugar: 37g | Vitamin A: 43IU | Vitamin C: 1mg | Calcium: 49mg | Iron: 2mg
Originally published August 8, 2015.
If you adore caramel as much as we do, then you absolutely must try these other incredible recipes! Indulge in our Caramel Apple Empanadas, delightful Caramel Apple Cupcakes, and the irresistible Snickerdoodle Caramel Cookie Bars!

For all caramel recipes, go HERE.
For all dessert recipes, go HERE.
Sign up to get emails when I post new recipes!
For even more great ideas, follow me on Facebook – Pinterest – Instagram – Twitter – Bloglovin’.