
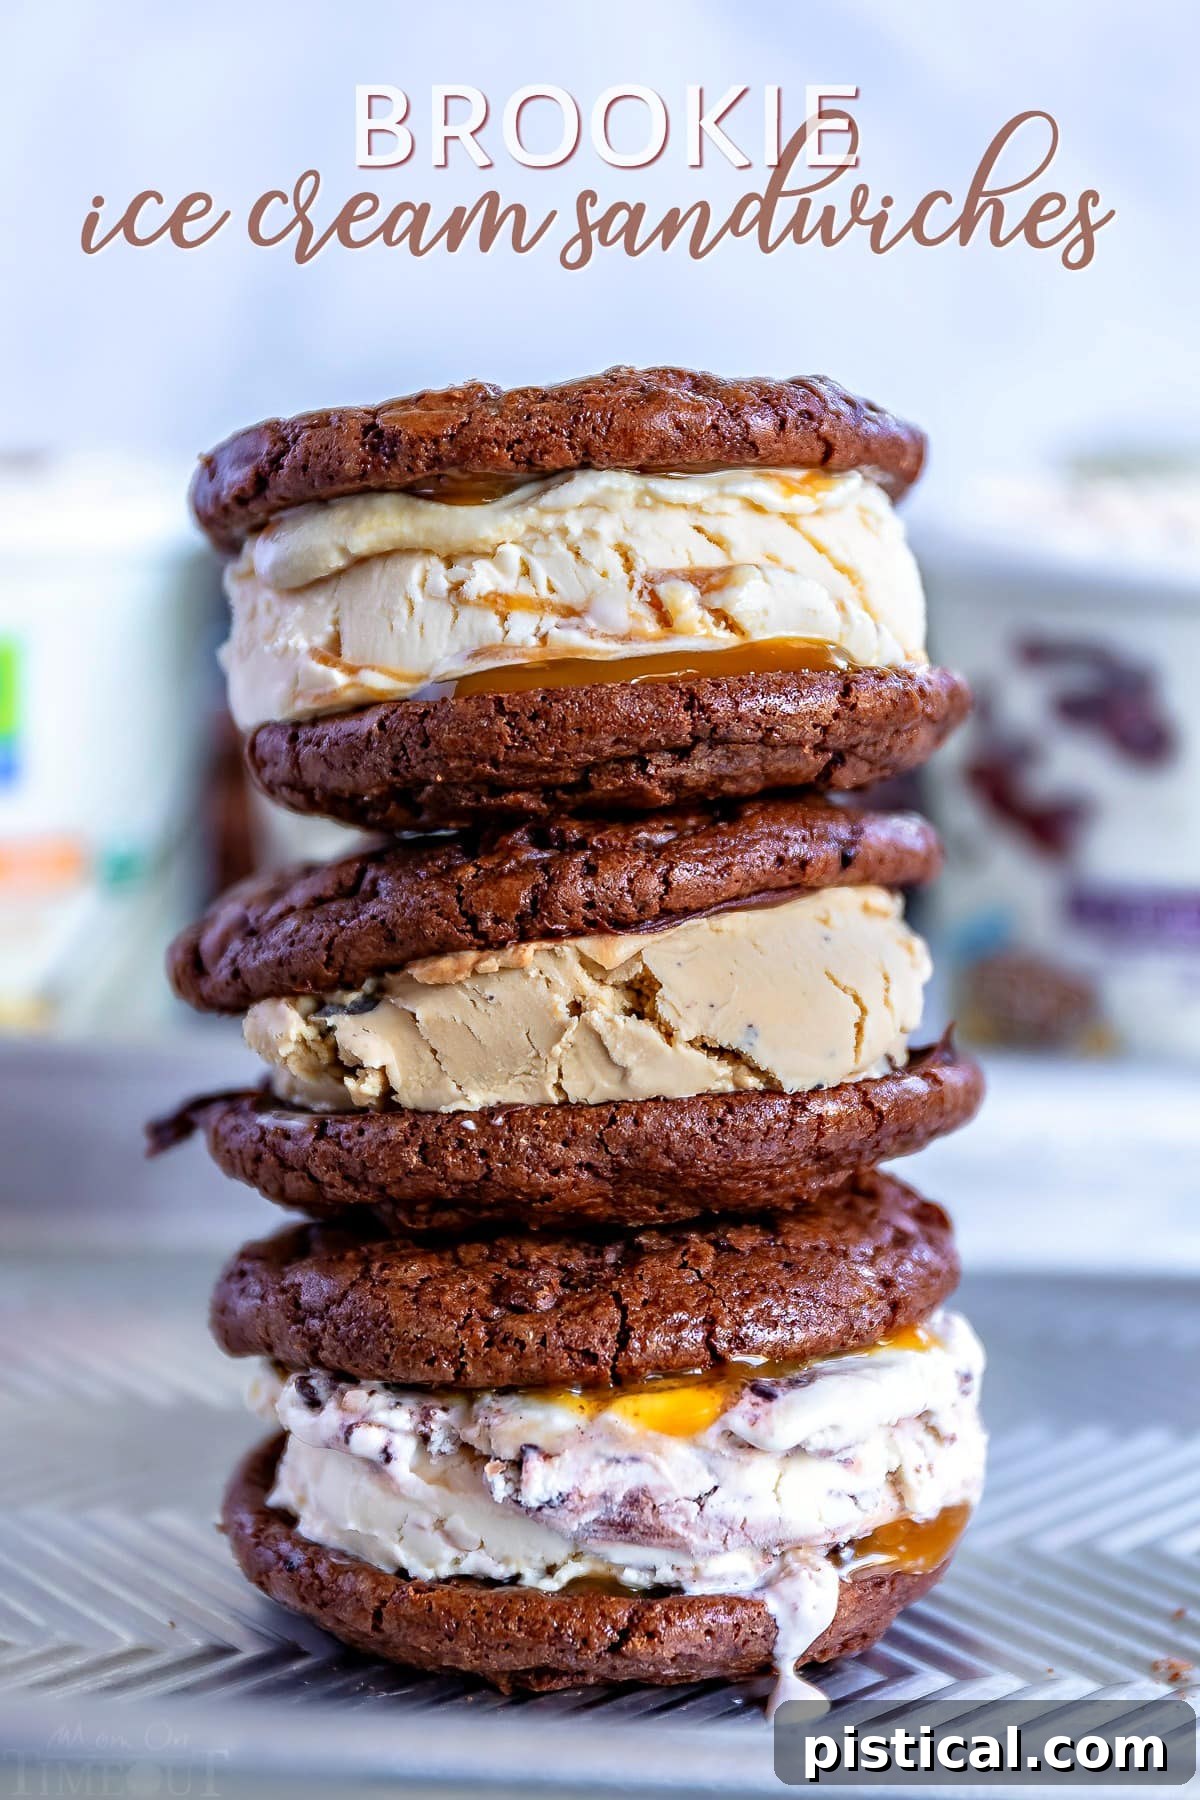
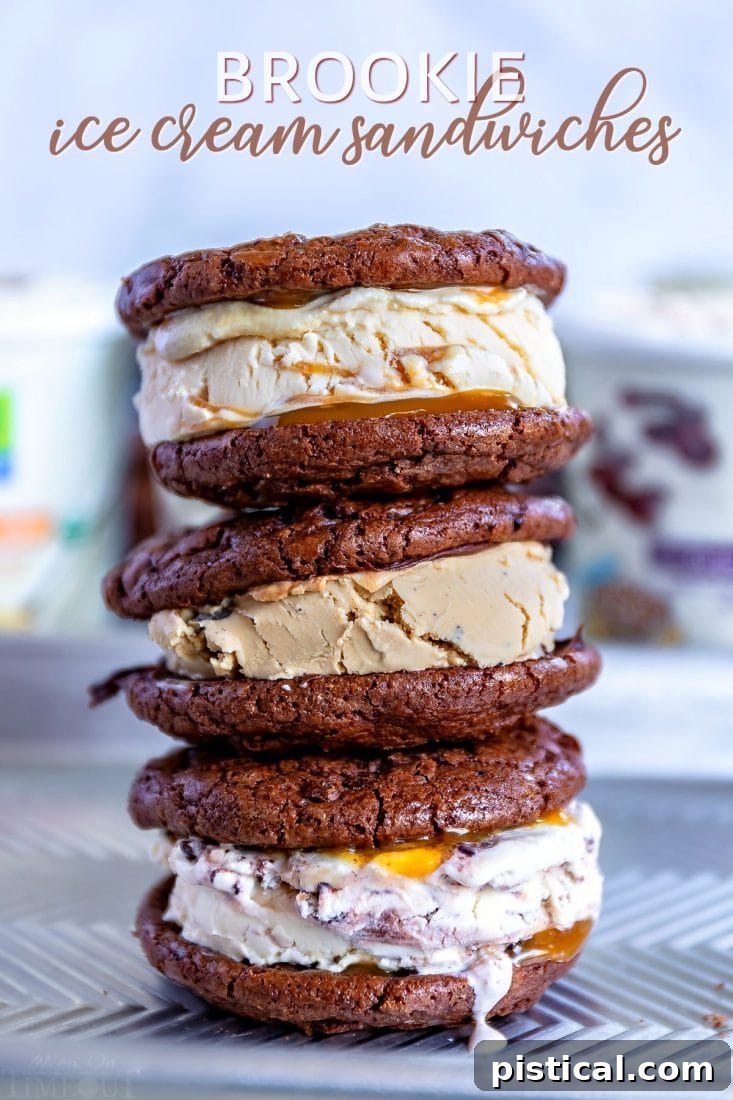
Embrace the ultimate summer indulgence with our sensational Ice Cream Sandwiches! Crafted to perfection, these delightful treats feature rich, chewy brownie cookies (brookies), luscious caramel, decadent fudge, and a selection of your favorite premium ice cream flavors. It’s an irresistible combination that promises pure bliss. Looking for more frosty delights? Don’t miss our Easy Ice Cream Cake for another refreshing option!
This article is a sponsored collaboration, written by me, in partnership with Albertsons Companies. All opinions and content expressed are solely my own.
Crafting the Perfect Homemade Ice Cream Sandwiches
The end of summer always seems to sneak up on us, doesn’t it? Just last week, I was chatting with another parent at swim practice, and she practically teared up realizing we only had three precious weeks of summer left. It’s truly astonishing how quickly this season flies by, leaving us scrambling to savor every last drop of sunshine and fun. Just when you settle into that glorious rhythm of balanced work and play, the school bells begin to chime.
Upon returning home, I immediately sat down to compile a comprehensive list of all the adventures and activities I wanted to share with my boys before the academic year commenced. Fitting what felt like “794 activities” into a mere 21 days seemed an ambitious task, but I was determined to give it my all. Our newly revised “summer’s end bucket list” became our guiding star, and we quickly set about making some sweet memories.
High on that list, for obvious reasons, were these delightful Ice Cream Sandwiches. I knew, without a doubt, that the boys would find more joy in making and devouring these than almost anything else we could conjure up. The sheer anticipation of combining their favorite flavors with freshly baked cookies was enough to spark excitement.
I initially brainstormed a multitude of ideas for the perfect cookie base. Classic chocolate chip cookies, always a crowd-pleaser, would undoubtedly be incredible. Then, my mind wandered to the decadent possibility of peanut butter cookies paired with a generous layer of hot fudge and creamy ice cream – a combination I’m already planning for next week. It’s clear that with homemade ice cream sandwiches, you truly can’t go wrong, no matter which cookie you choose. Every variation brings its own unique charm and deliciousness.
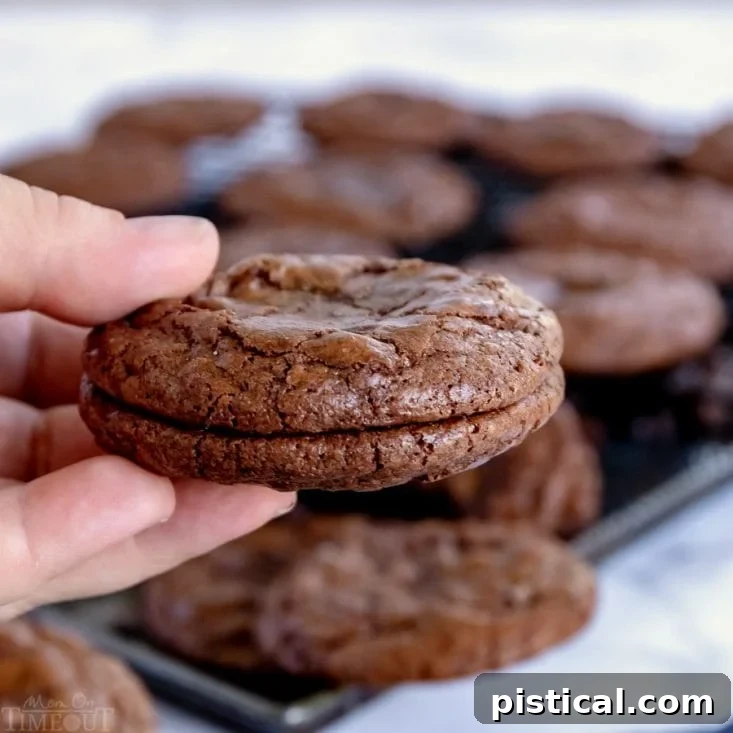
However, one idea stood out above the rest: Brookie Ice Cream Sandwiches. If you’re wondering, “What exactly is a brookie?” — you’re not alone! My husband had the same question. Simply put, a brookie is the delectable fusion of a brownie and a cookie. It’s the best of both worlds: the rich, fudgy intensity of a brownie combined with the delightful chewiness of a cookie.
I immediately recognized that brookies would be the ideal choice for our ice cream sandwiches. Their inherently soft and chewy texture ensures that even when frozen solid, they won’t become brittle or difficult to bite into, saving us from any potential trips to the dentist! Furthermore, the versatile flavor profile of a brookie complements virtually every ice cream flavor imaginable, making them a universal canvas for creative combinations.
Endless Ice Cream Sandwich Combinations to Explore
The beauty of homemade ice cream sandwiches lies in their endless customization. Imagine these exquisite pairings:
- Brookie & Salted Caramel Delight: Pair a soft brookie with creamy Salted Caramel Ice Cream, then drizzle with an extra touch of homemade Caramel Sauce for a truly indulgent experience.
- Mint Chocolate Chip Dream: Combine a rich Brownie Cookie with refreshing Mint Chocolate Chip Ice Cream, finished with a generous swirl of Hot Fudge Topping for a classic favorite.
- Moose Tracks Extravaganza: Sandwich a chewy Brookie with decadent Moose Tracks Ice Cream, and amplify the chocolatey goodness with more Hot Fudge Topping.
- Classic Vanilla with a Twist: For a simple yet sophisticated treat, use a Brownie Cookie with creamy Vanilla Ice Cream, elevated by a luxurious Salted Caramel Sauce.
- Mochaccino Morning: For coffee lovers, a Brookie with invigorating Mochaccino Ice Cream and a drizzle of rich Salted Caramel Sauce creates a gourmet dessert experience.
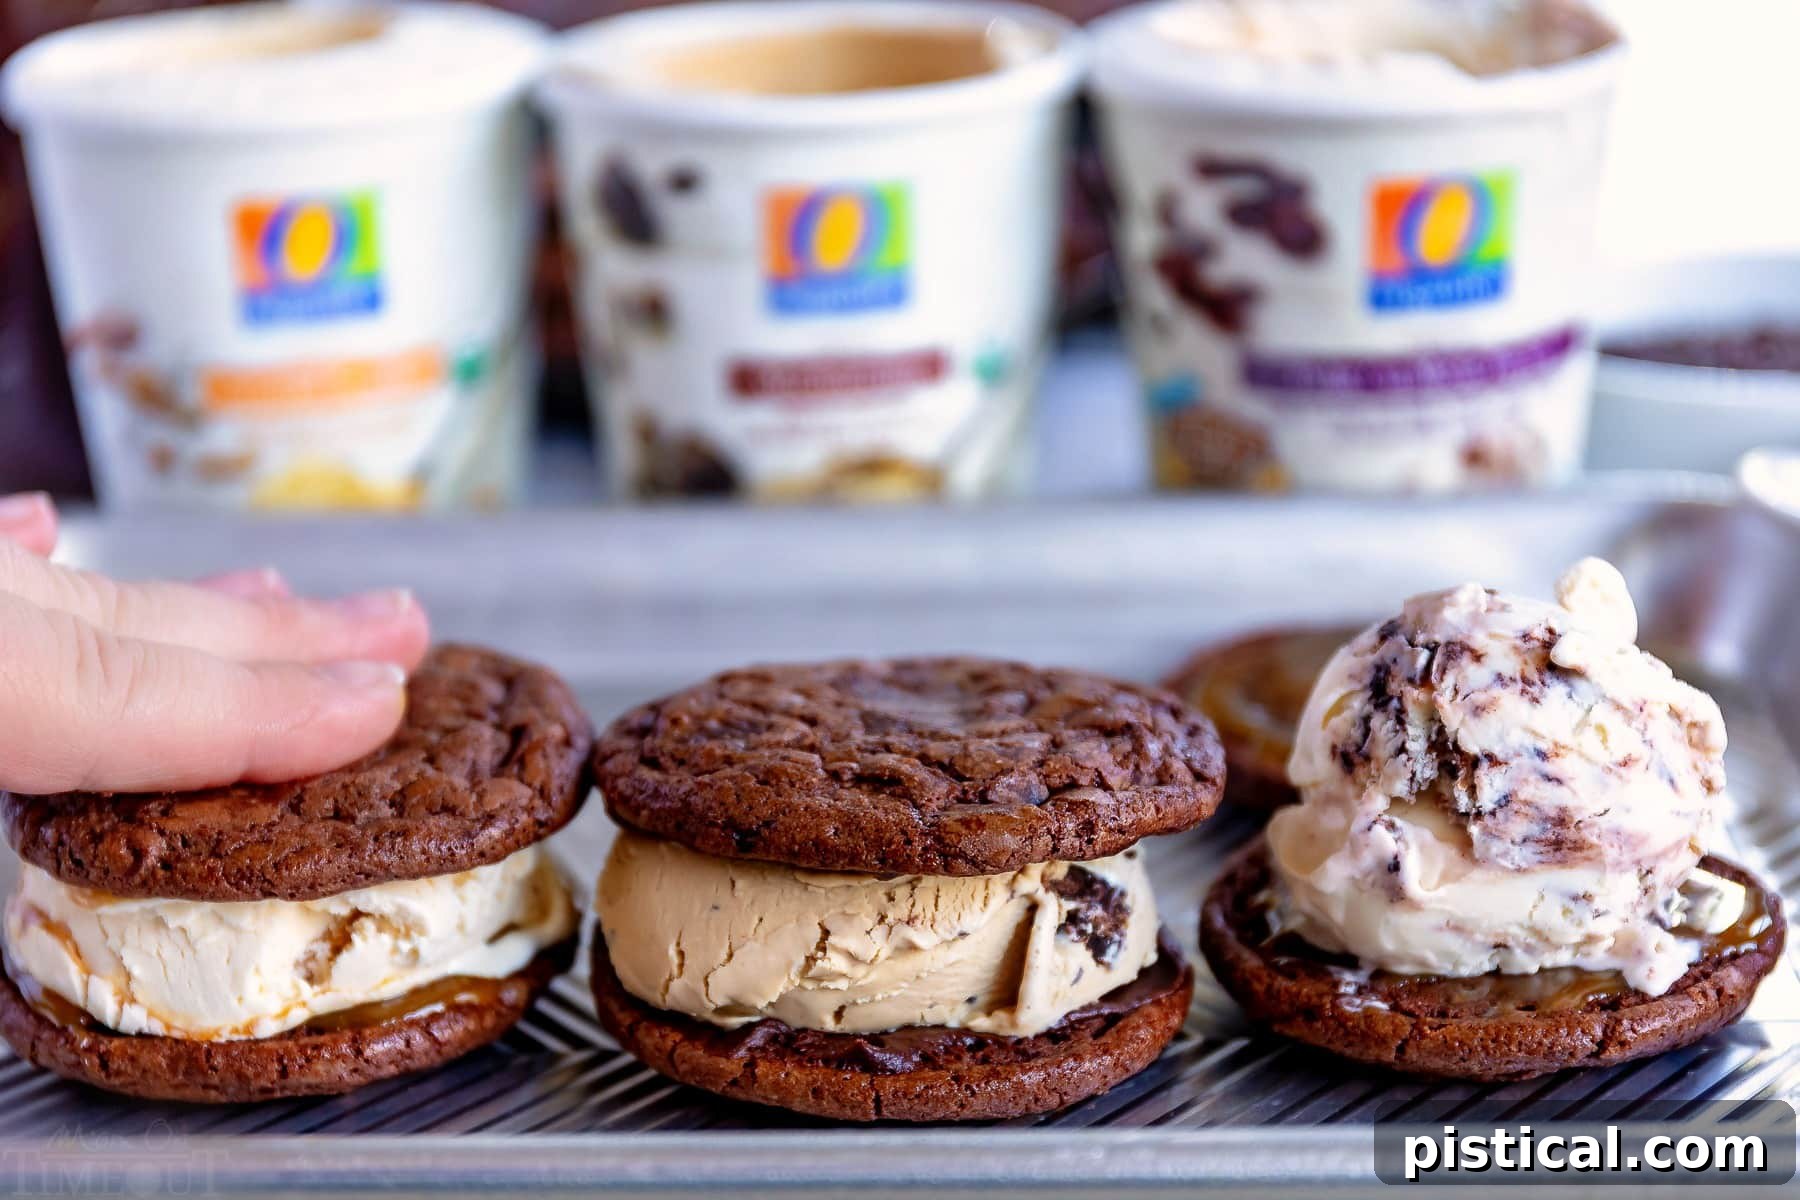
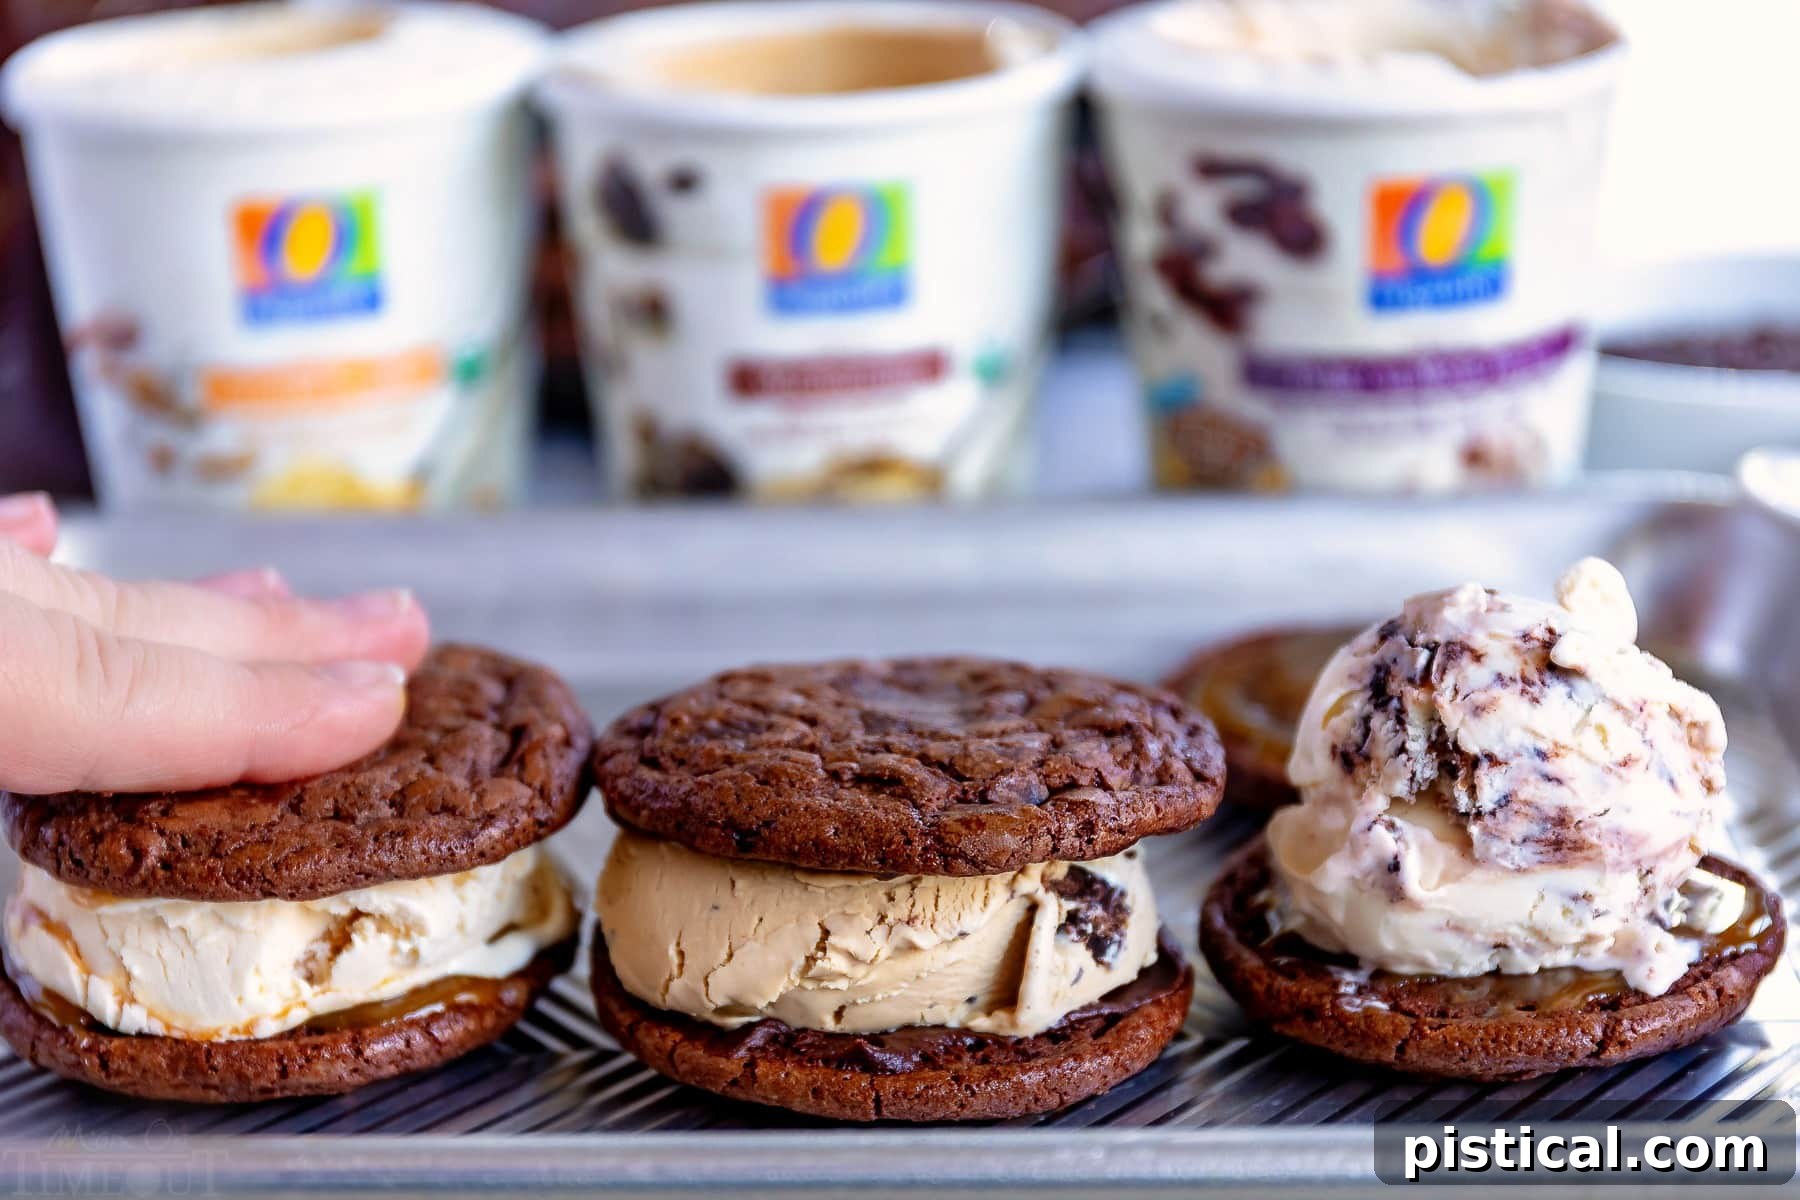
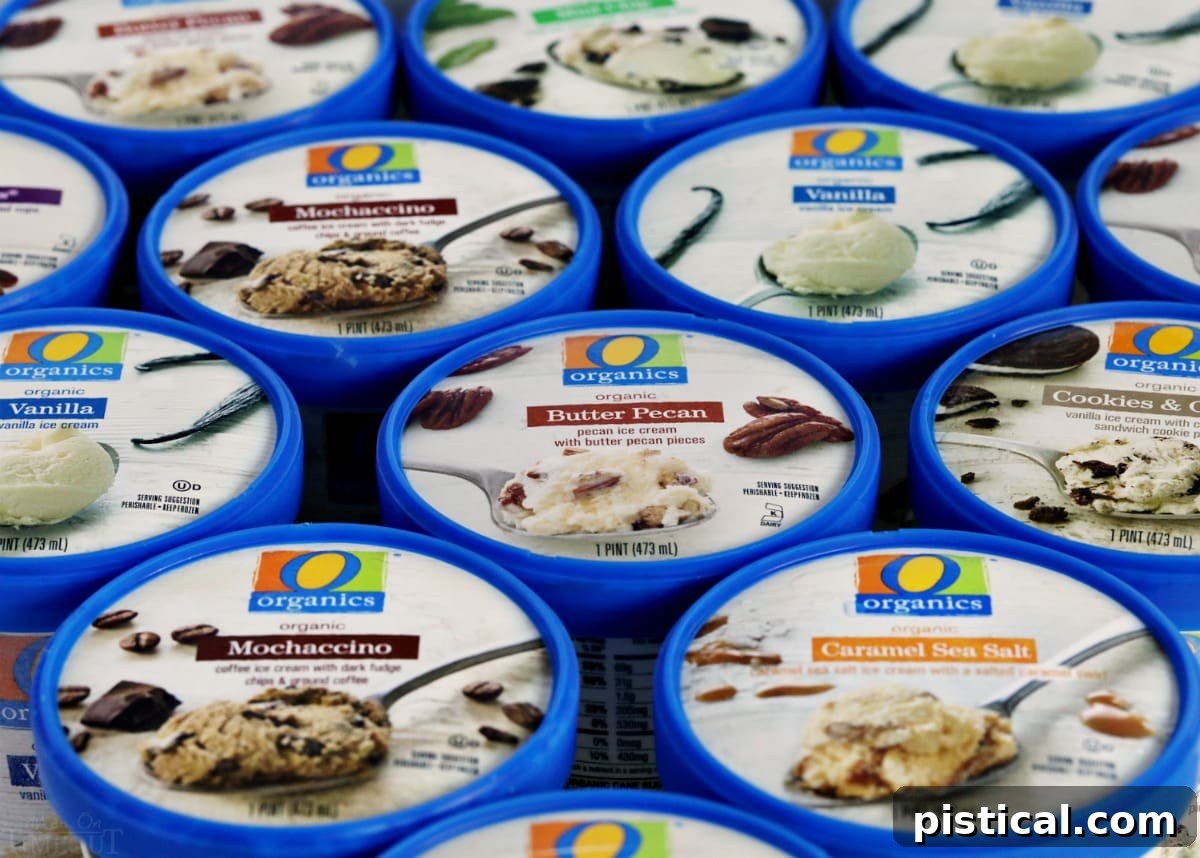
I’m sure you’re starting to envision the delicious possibilities! With these ideas swirling, I gathered the kids, and we eagerly headed to Safeway to stock up on a rainbow of O Organics® ice cream flavors. The anticipation of our ice cream sandwich construction project made the shopping trip even more exciting!
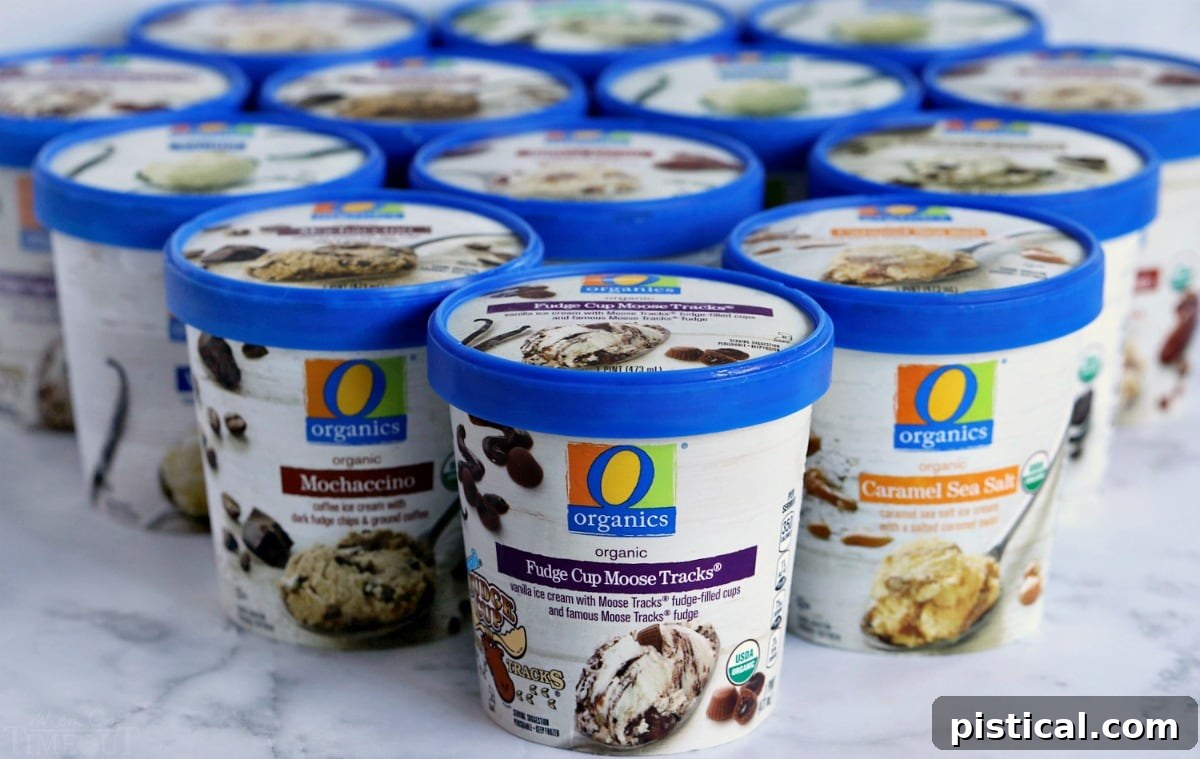
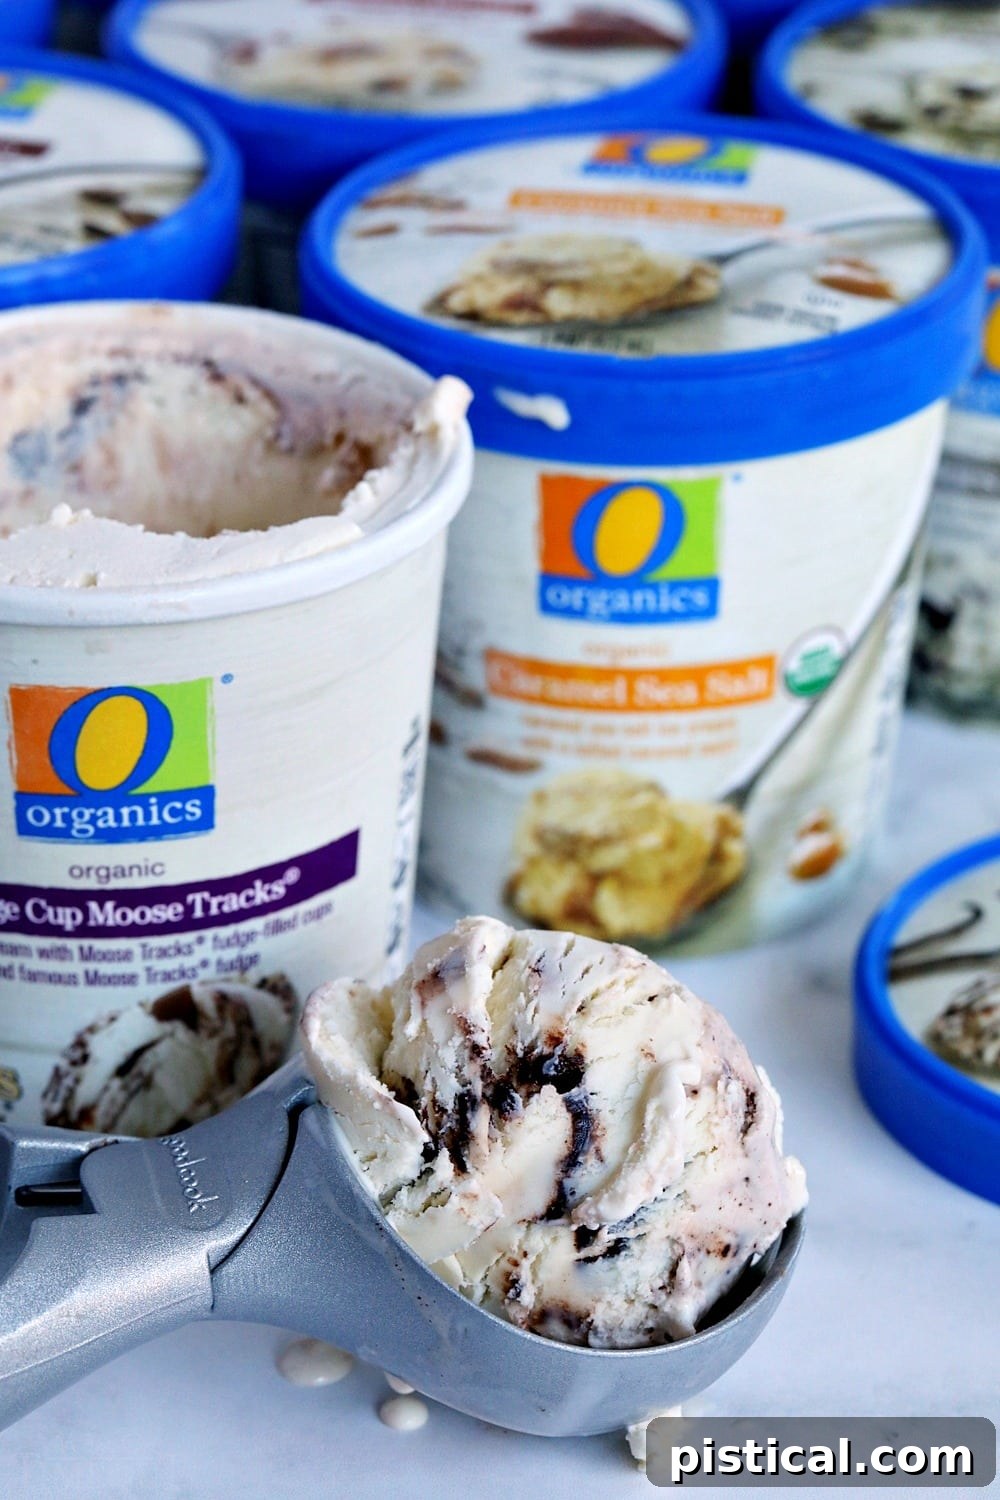
Those three magnificent flavors prominently displayed in the front – Fudge Cup Moose Tracks, Caramel Sea Salt, and Mochaccino – are truly life-changing. You absolutely must try them! My boys, ever loyal to their favorites, opted for Cookies and Cream and Mint Chip. But seriously, that Fudge Cup Moose Tracks? Oh my goodness, it’s absolutely divine!
O Organics ice cream products are an essential staple for any summer celebration. Renowned for their high-quality, premium ingredients and incredible flavors, they are USDA-certified organic, making them a fantastic choice for the whole family. You can find these exclusive and delicious treats at Safeway and other Albertsons Companies stores.
I found my O Organics® selections at my local Safeway, but remember, these exceptional products are available across the entire Albertsons Companies family of stores. This includes Albertsons, ACME Markets, Jewel-Osco, Vons, Pavilions, Randalls, Tom Thumb, Shaw’s, Star Market, United Supermarkets, and Carrs/Safeway, ensuring you can find them conveniently wherever you shop.
And for a limited time, you can save $1.00 on your purchase of participating O Organics and Open Nature ice cream products by using the Promo code: ICECREAM at checkout. (Offer details: Add 1 participating item to your cart and enter Promo Code: ICECREAM at checkout. Limit 1 code per transaction. Order must be delivered by 8/06/19.)
Mastering the Art of Ice Cream Sandwich Assembly: Four Essential Methods
When it comes to preparing the perfect ice cream layer for your sandwiches, there are several clever techniques you can employ. Let’s explore each method in detail, so you can choose the one that best suits your preferences and the type of ice cream you’re using.
- The Pint Slice Method: This is remarkably simple, especially when working with pint-sized ice cream containers. Carefully unroll the cardboard packaging from the ice cream pint. Once the ice cream cylinder is exposed, use a sharp knife to slice it into your desired width, typically about half an inch thick. Then, simply match these perfectly round ice cream slices with your chosen cookies or brookies, placing the slice between two cookies and gently pressing them together. This method creates uniform, aesthetically pleasing sandwiches with minimal fuss.
- The Frozen Sheet & Cutter Method: For those who prefer custom-sized ice cream discs or are using larger tubs of ice cream, this method is fantastic. Allow your ice cream to soften slightly, then spread it evenly, about half an inch thick, into a jelly roll pan or any shallow pan with raised sides. Ensure the surface is smooth. Place the pan back into the freezer until the ice cream is completely firm. Once solid, remove it and use a biscuit or circular cookie cutter that matches the diameter of your cookies to cut out perfect ice cream discs. This technique guarantees precise, consistent ice cream layers every time.
- The Classic Scoop & Smush Method: This is arguably the easiest and most versatile approach, working wonderfully regardless of your ice cream container size or preferred texture. Let your ice cream soften just slightly – enough to be workable but not fully melted. Then, using a sturdy ice cream scoop, place a generous scoop directly onto one cookie. Gently press the second cookie on top, allowing the ice cream to spread to the edges. Be careful not to press too hard, or the ice cream might squish out excessively. I personally swear by this particular ice cream scoop for its efficiency!
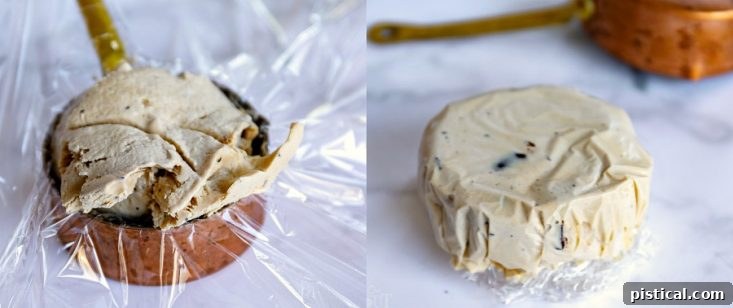
- The Perfectionist’s Measuring Cup Method: If you’re aiming for impeccably neat and uniform ice cream discs, this method is for you. Line a measuring cup (choose one with a diameter similar to your cookies) with plastic wrap, leaving plenty of overhang. Scoop your slightly softened ice cream into the plastic-lined cup, pressing it down firmly. Pull the excess plastic wrap over the top of the ice cream to cover it, then gently lift the plastic wrap to remove the perfectly formed ice cream disc from the measuring cup. Place these discs in the freezer until they are fully firm and you’re ready to assemble your sandwiches. This ensures beautifully round and consistent ice cream layers every single time.
Step-by-Step Ice Cream Sandwich Assembly Guide
With your chosen ice cream preparation method complete, you now possess all the essential knowledge to assemble truly incredible cookie ice cream sandwiches. Let’s get started on bringing these delectable treats to life!
- Match Your Cookies: Begin by pairing your cookies or brookies by size. While a good scooping and rolling technique will yield fairly uniform cookies, taking an extra minute to find the absolute “perfect match” for each sandwich will result in a more attractive and stable final product.
- Pre-freeze Your Cookie Bases: This crucial step provides a solid, firm foundation for building your sandwiches. Place your matched cookies or brookies on a baking sheet and pop them into the freezer for 10 to 15 minutes. This prevents breakage and makes handling much easier.
- Add Your Sauce (Optional but Recommended!): If you’re incorporating caramel sauce or hot fudge, spoon less than a teaspoon onto the flat side of one of the frozen cookies.
- Spread Gently: Carefully spread the sauce around, ensuring a thin, even layer. Scrape off any excess. Too much sauce will make the ice cream layer unstable and prone to slipping, creating a messy (though still delicious!) sandwich.
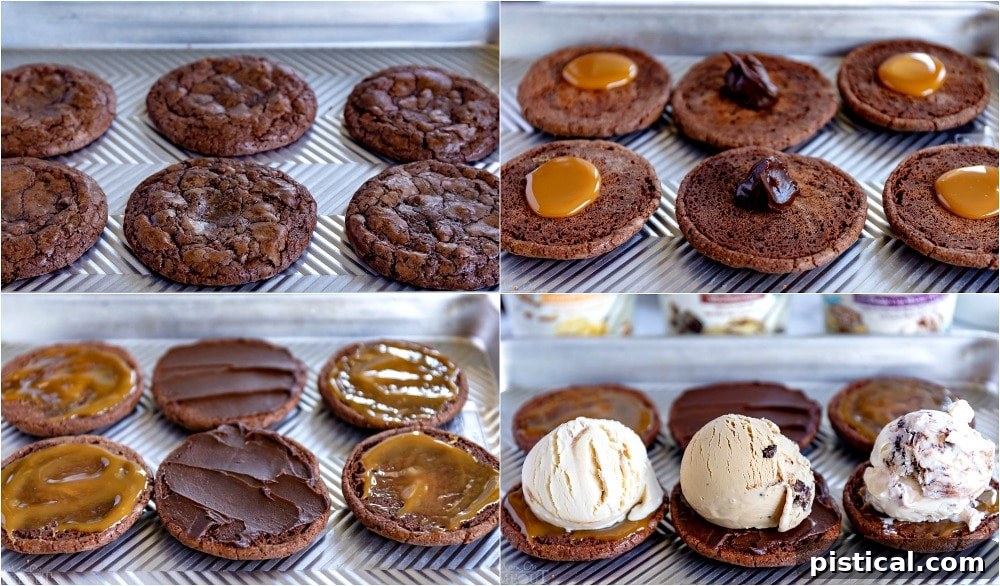
- Add the Ice Cream: Top one prepared cookie with a generous scoop of ice cream. If your ice cream is too hard, allow it to soften slightly at room temperature for a few minutes. Gently place the second cookie on top of the ice cream, pressing down evenly until the filling spreads nicely to the edges. Avoid forcing hard ice cream, as this could cause your cookie to break. An offset spatula or spoon can help evenly distribute the ice cream before placing the top cookie.
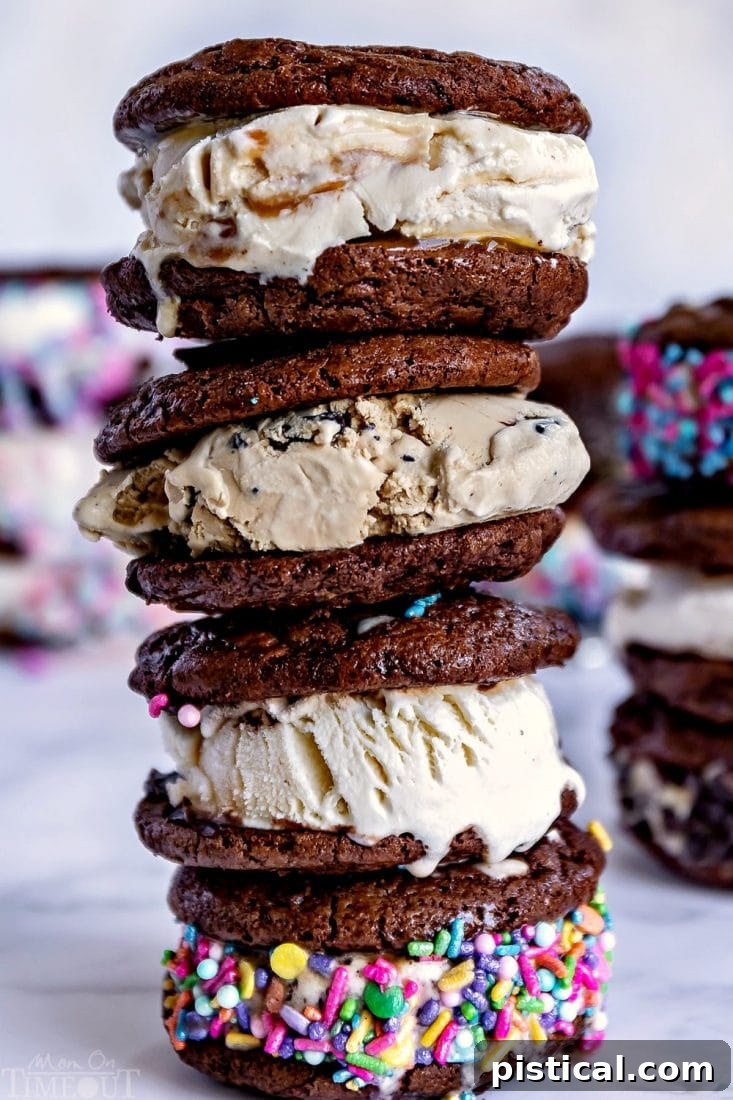
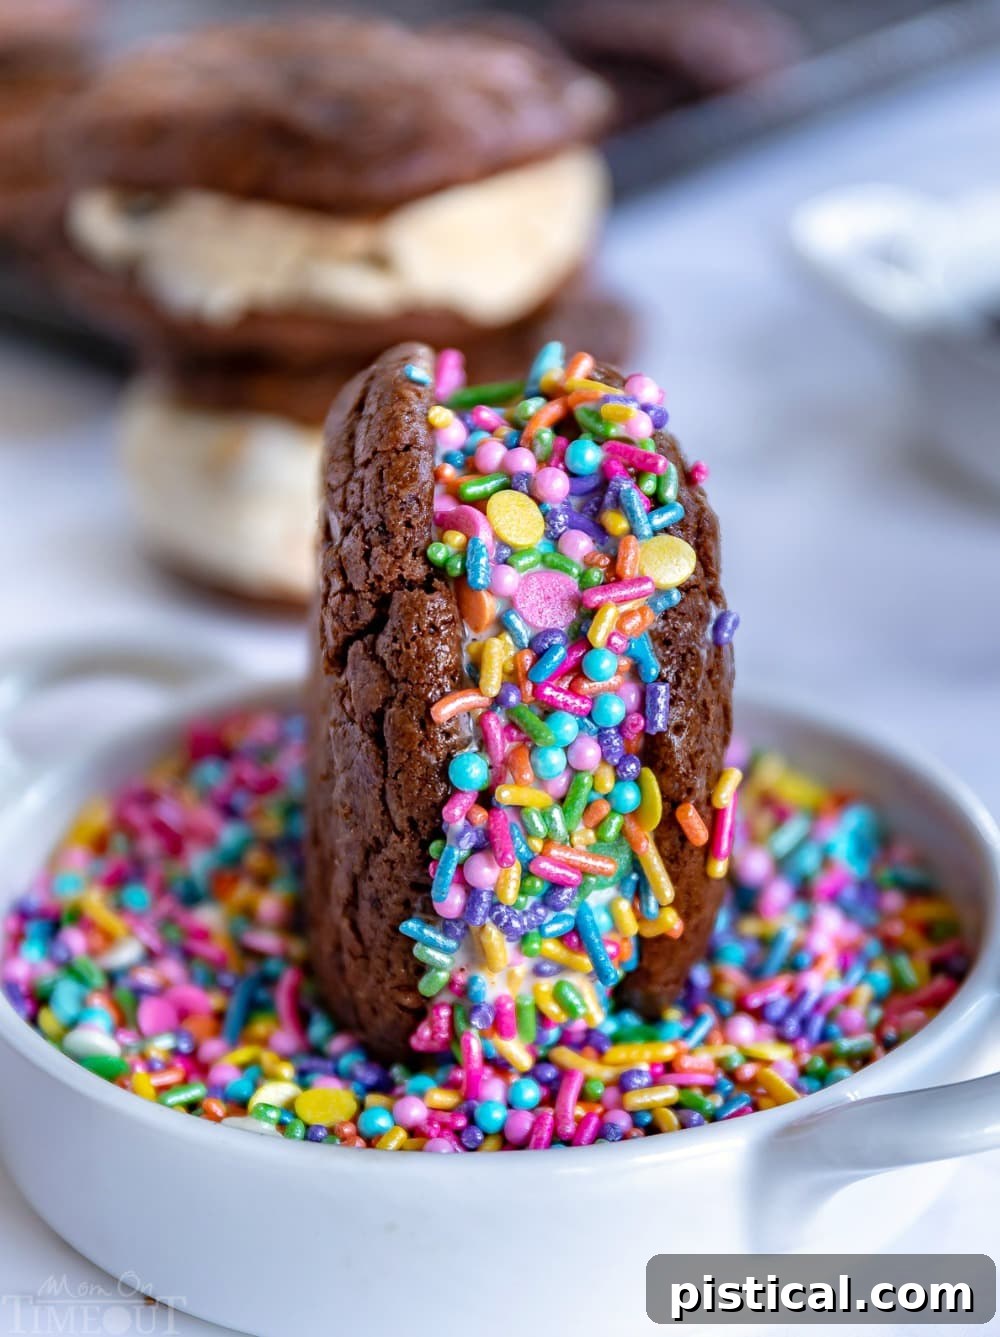
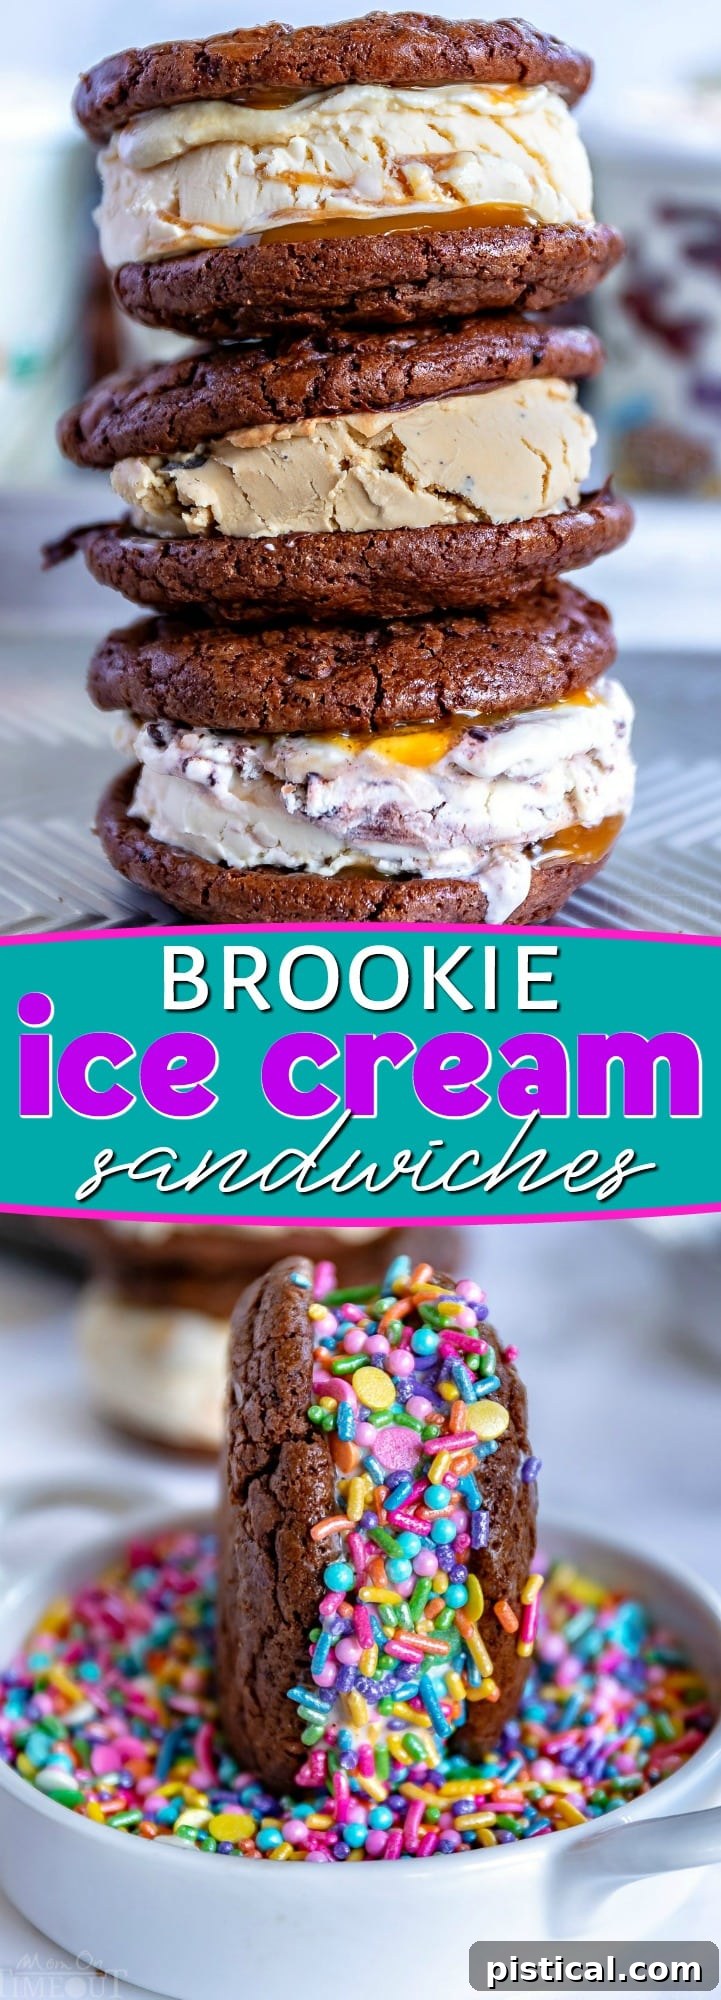
- Customize with Toppings: You can choose to stop here and enjoy your beautifully crafted sandwich, or take it a step further! For an extra festive touch, roll the edges in sprinkles, mini chocolate chips, or shredded coconut.
- Freeze or Enjoy: For immediate gratification, simply dive in! If you’re preparing them for later, pop the assembled sandwiches into the freezer for about 30 minutes to harden. Once firm, wrap each sandwich individually in plastic wrap and store them in a freezer-safe container. They’ll stay fresh and delicious for up to three weeks!
Pro Tips & Tricks for Perfect Ice Cream Sandwiches Every Time
To ensure your homemade ice cream sandwiches are nothing short of spectacular, keep these expert tips in mind:
- Prioritize Cookie Freezing: This cannot be stressed enough! Freezing your cookies or brookies for 10-15 minutes *before* adding the ice cream is an absolute game-changer. Chilled cookies are much firmer and less prone to breaking when you apply pressure during assembly, saving you from any potential baking heartbreak.
- Prepare Your Freezer Space: Before you even begin assembly, make sure you have a clear, dedicated space in your freezer and a freezer-safe container ready. This allows you to transfer each assembled ice cream sandwich immediately, minimizing melting and ensuring they firm up quickly. Of course, if you’re planning to eat them as you make them (which is always a fantastic idea!), this step can be less critical.
- Flash Freeze for Firmness: After assembling, give your ice cream sandwiches a good 30 minutes in the freezer for a “flash freeze.” This initial hardening ensures they are solid enough to be wrapped individually without sticking or losing shape, making them perfect for longer-term storage.
- Get Creative with Coatings: Keep a variety of fun toppings on hand to roll the edges of your ice cream sandwiches in. Think colorful sprinkles, crunchy jimmies, mini chocolate chips, or even shredded coconut. These not only add an extra layer of flavor and texture but also make your sandwiches visually appealing and extra special.
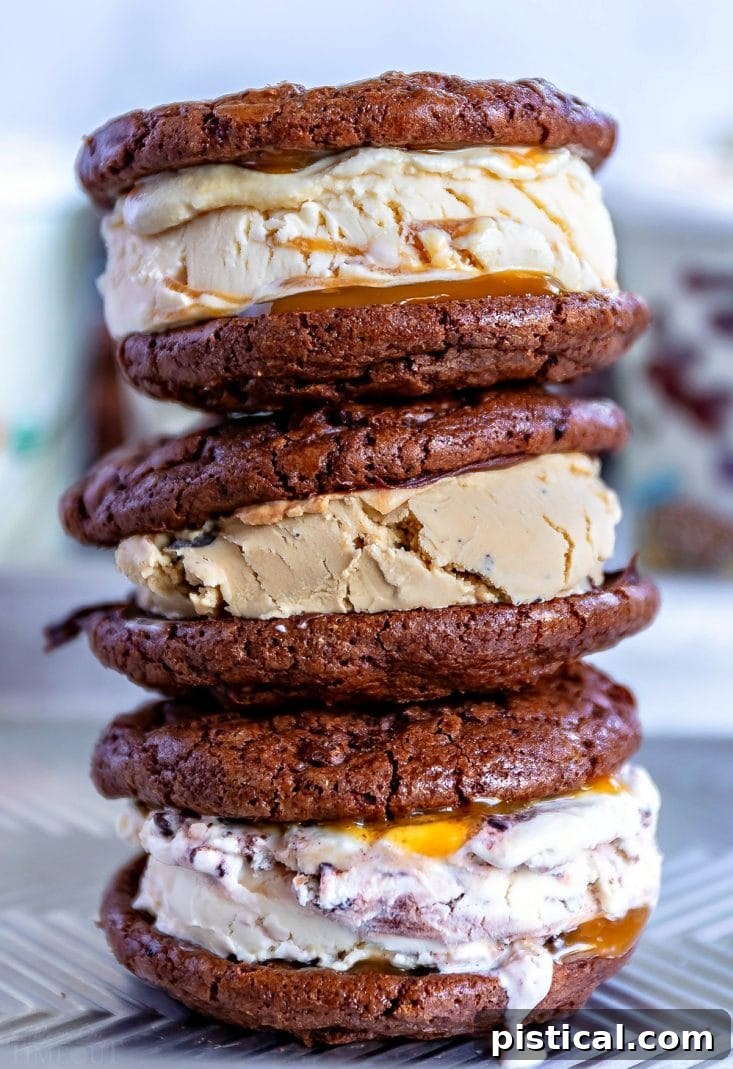
I am absolutely certain that you will adore the process of creating your very own personalized ice cream sandwiches. The joy of customizing each one to your exact preference is unmatched.
Now, for the toughest decision of all… which incredible flavor combination will you try first?
More Delightful Summer Treats to Try
If you’re still craving more ways to beat the summer heat or simply indulge in something sweet, here are some other fantastic recipes from my collection:
- Easy Ice Cream Cake: A refreshing and simple dessert that’s perfect for parties.
- No Bake S’mores Cheesecake Bars: All the flavors of a campfire s’more, reimagined in a cool, no-bake bar.
- Peanut Butter Icebox Cake: Layers of deliciousness that require no oven!
- Easy Homemade Strawberry Ice Cream Topping: Elevate any ice cream with this fresh and vibrant topping.
- No Bake Lemon Pie: A zesty, creamy, and effortlessly made dessert.
The BEST Homemade Ice Cream Sandwich Recipe

Print
Pin
The BEST Homemade Ice Cream Sandwich
Course
Dessert
Cuisine
American
Keyword
ice cream sandwich, homemade dessert, brookie, summer treat
Prep Time
15 minutes
Cook Time
12 minutes
Chill Time
2 hours
Servings
16
Calories
493
kcal
Author
Trish – Mom On Timeout
Ingredients
For the Brookie Cookies
- 10 oz semi-sweet chocolate chips
- 6 tbsp unsalted butter
- 1 tsp instant espresso powder
- 2 large eggs (at room temperature)
- ¾ cup granulated sugar
- 1 tbsp vanilla extract
- 6 tbsp all-purpose flour
- 2 tbsp corn starch
- 2 tbsp unsweetened cocoa powder
- ½ tsp salt
- 1/2 tsp baking powder
- 1/2 cup mini chocolate chips
For Ice Cream Sandwich Assembly
- 3 pints premium ice cream (your preferred flavors)
- 1/2 cup caramel sauce
- 1/2 cup hot fudge sauce
- Assorted toppings (e.g., sprinkles, mini chocolate chips, shredded coconut – optional)
Instructions
Preparing the Brookie Cookies
-
Line a baking sheet with parchment paper or a silicone baking mat and set it aside for later use.
-
In a microwave-safe bowl, combine the semi-sweet chocolate chips and unsalted butter. Heat on high for 30 seconds, then stir well. Continue heating for another 15 seconds, then stir again. Allow the mixture to sit for 1 to 2 minutes before stirring until it becomes completely smooth and glossy.
-
Stir in the instant espresso powder, which enhances the chocolate flavor. Let this rich chocolate mixture cool for 15 to 20 minutes; it should achieve a thick consistency.
-
In a separate large bowl, beat the eggs, granulated sugar, and vanilla extract together at medium-high speed for precisely 3 minutes, until light and fluffy.
-
Reduce the mixer speed to low. Gradually and slowly incorporate the cooled chocolate mixture, mixing just until all ingredients are well combined.
-
In a small bowl, sift together the all-purpose flour, corn starch, unsweetened cocoa powder, salt, and baking powder. Gently fold this dry flour mixture into the chocolate mixture until it’s just combined, being careful not to overmix.
-
Finally, stir in the mini chocolate chips for an extra burst of chocolatey goodness. Cover the dough and chill it in the refrigerator for at least 45 minutes to firm up.
-
Preheat your oven to 350°F (175°C).
-
Using a cookie scoop, portion the chilled cookie dough and gently roll it into smooth balls with your hands. This step is key to ensuring a uniform size and shape for all your brookie cookies.
-
Place the cookie dough balls onto the prepared baking sheet, spacing them a couple of inches apart. Bake for 12 to 14 minutes, until the edges are set and the centers still look slightly soft.
-
Allow the freshly baked cookies to cool on the baking sheet for 5 minutes before carefully transferring them to a wire cooling rack to cool completely.
-
Store the cooled brookies in an airtight container at room temperature for up to 5 days, or freeze them for longer storage.
Assembling Your Ice Cream Sandwiches
-
Match your cooled brookie cookies into pairs of similar size. Place these pairs on a baking sheet and freeze them for at least 10 minutes, or up to 30 minutes, to ensure they are firm.
-
Remove the frozen cookies from the freezer. Gently spread about one teaspoon of caramel sauce or hot fudge topping on the flat bottom side of one cookie from each pair.
-
Scoop your desired ice cream flavor and carefully place it on top of the sauced cookie. Take the second cookie and gently press it on top of the ice cream until the filling spreads evenly to the outer edge of the cookies, forming a perfect sandwich.
-
If you wish to add a decorative touch, roll the edges of the assembled ice cream sandwich in sprinkles, mini chocolate chips, shredded coconut, or any other preferred topping.
-
Enjoy your ice cream sandwiches immediately for a soft, delectable treat, or place them back in the freezer to firm up for about 30 minutes. For serving later, wrap each firm sandwich individually in plastic wrap and store in a freezer-safe container. They will remain delightful for up to 3 weeks.
Nutrition

For a wide array of delicious appetizer recipes, simply click HERE.
For an irresistible collection of dessert recipes, click HERE.
Sign up for my newsletter to receive email updates whenever I post exciting new recipes!
For even more culinary inspiration and daily updates, follow me on Facebook – Pinterest – Instagram – Twitter – Bloglovin’.