
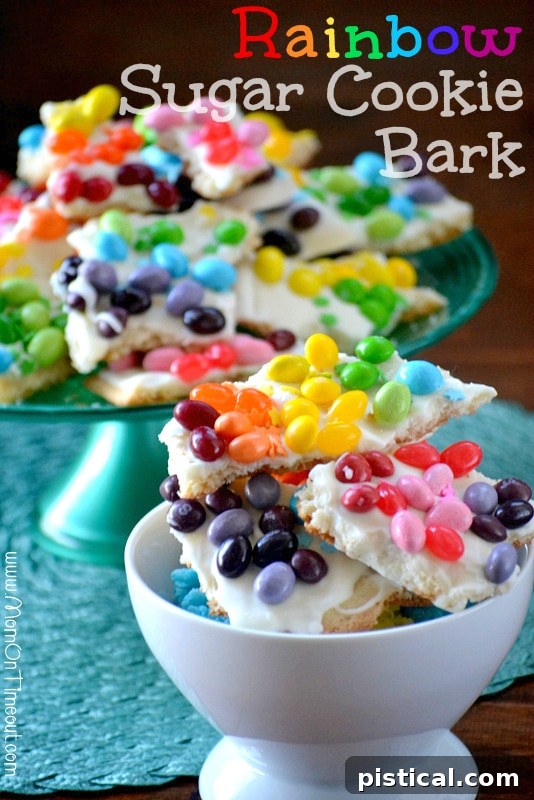
Rainbow Sugar Cookie Bark: Taste the Rainbow with This Easy, Fun Dessert!
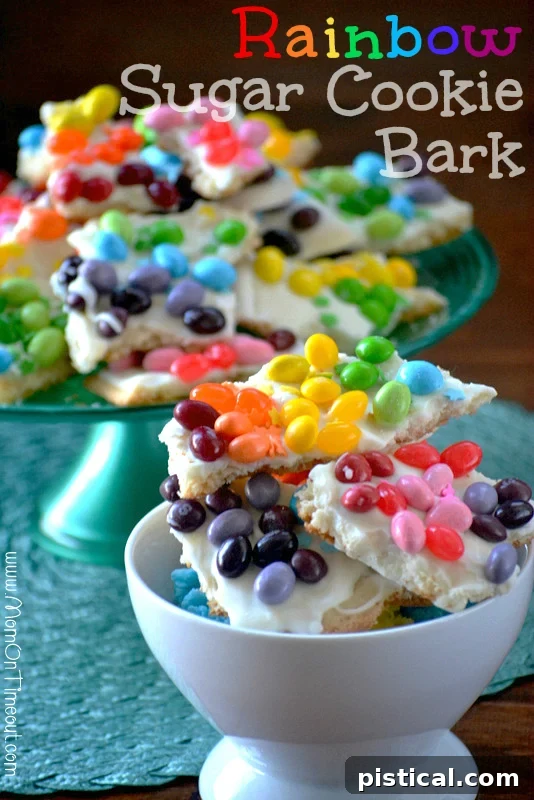
Get ready to unleash a burst of color and flavor with this incredible Rainbow Sugar Cookie Bark recipe! Made effortlessly with refrigerated sugar cookie dough and an assortment of vibrant candies, this dessert is a guaranteed crowd-pleaser and an absolute joy to create. Whether you’re planning a lively birthday party, a festive St. Patrick’s Day celebration, or simply looking for a fun activity to do with the kids, this rainbow bark brings smiles and a magical touch to any occasion. Forget complicated baking; this recipe focuses on simplicity without compromising on spectacular results.
The idea for this whimsical treat struck me one evening, a vision of playful rainbow bark that looked like it had broken off straight from a magical arc in the sky. I instantly knew it was a recipe I had to bring to life. There’s something inherently delightful about edible rainbows, especially when they’re paired with the sweet crunch of candy and the soft chewiness of a sugar cookie. This isn’t just a dessert; it’s an experience, a canvas for creativity, and a delicious journey into a world of bright colors and sugary delights.
Choosing Your Candies: A Spectrum of Sweet Possibilities
One of the best parts about making Rainbow Sugar Cookie Bark is the freedom to customize your candy selection. For this particular recipe, I opted for Skittles and Starburst Jelly Beans because they offer a fantastic array of vibrant colors and shades that truly pop, allowing for a realistic rainbow effect. Their distinct flavors also add an exciting dimension to the bark.
However, the possibilities are truly endless! Consider using:
- M&M’s: Classic chocolate candies in a rainbow of colors.
- Gummy Bears or Worms: For a chewy texture contrast.
- Rainbow Sprinkles: To add an extra layer of sparkle and texture.
- Fruity Hard Candies (crushed): For intense color and a different kind of crunch.
- Sour Candies: If you want to introduce a tangy element.
Don’t be afraid to mix and match! For an added touch of magic, I also picked up some star sprinkles from the dollar section at Target, which perfectly complemented the rainbow theme, making each piece look like a little piece of edible stardust.
Getting the Kids Involved: Fun for the Whole Family
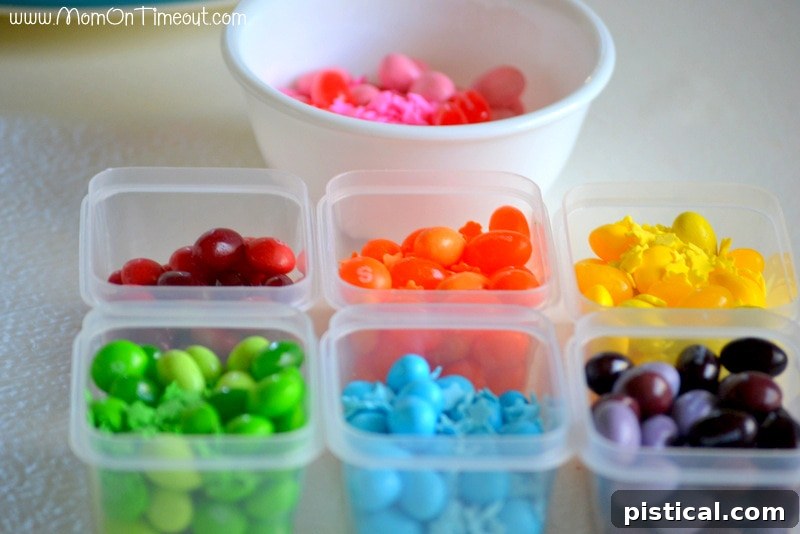
This recipe is an ideal project for involving little helpers in the kitchen. When my son Bryce was away, I enlisted Reece to help with the most crucial, and arguably most fun, step: sorting the candy! Seriously, this was Reece’s dream job. He meticulously separated each color into its own container, which not only made the assembly process much easier for me but also provided him with a delightful snack (and a valuable lesson in color organization!). It was a warm day, a glorious 70 degrees, so you might notice he wasn’t wearing a shirt – just pure, unadulterated candy-sorting focus!
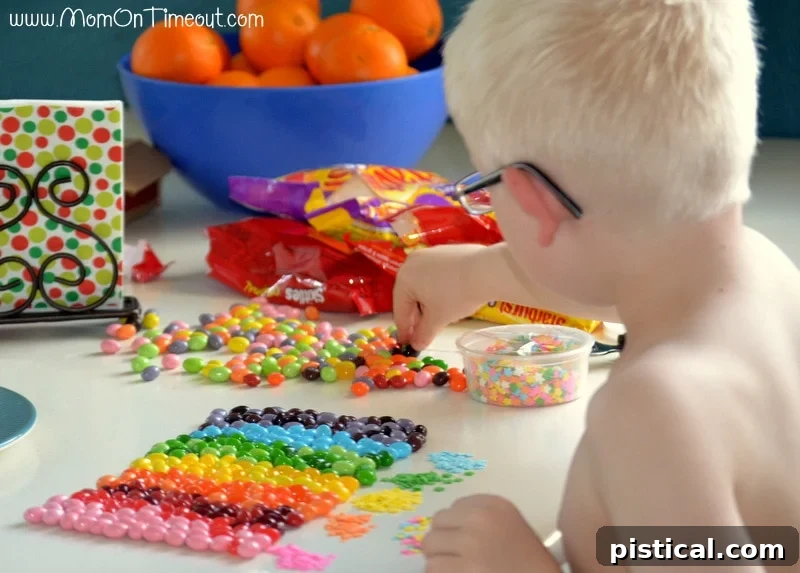
Once Reece had meticulously completed his task, I had an organized collection of colorful candies, ready to be transformed into our edible rainbow. This pre-sorting step is truly a game-changer for smooth and efficient decorating. It allows you to focus on creating beautiful, distinct stripes without fumbling for the right color.
The Foundation: A Giant Sugar Cookie Base
Initially, my plan was to simply use Vanilla CandiQuik directly for the bark, creating a traditional candy bark. However, I found inspiration from Dorothy’s Sugar Cookie Bark over at Crazy for Crust, where she used a sugar cookie pouch mix. That looked phenomenal! It sparked an idea: how much more amazing would this rainbow candy bark be if it rested on a giant, soft sugar cookie? My boys, I knew, would absolutely adore it.
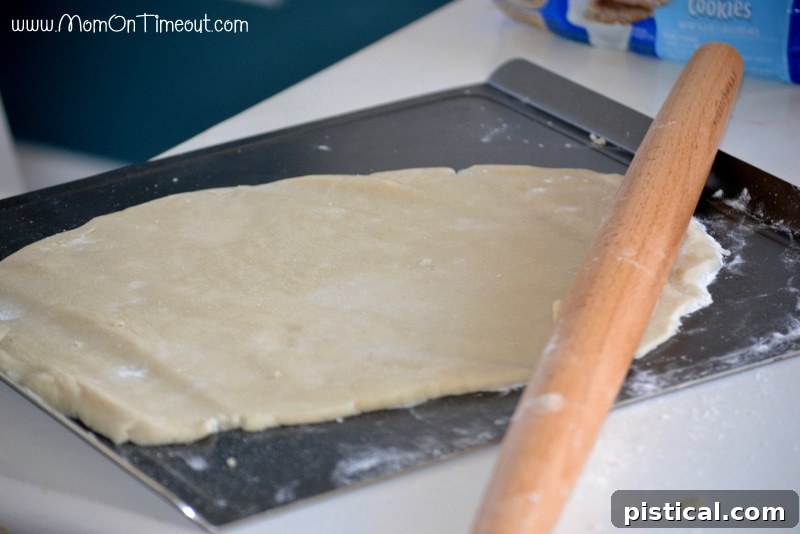
So, I decided to go a step further. I rolled out a package of refrigerated sugar cookie dough, baking it to a perfect, soft golden brown. The moment that enormous cookie emerged from the oven, Reece’s eyes lit up – it was clear this was a winning decision. Using refrigerated dough is a fantastic shortcut, saving you time and effort while still delivering that classic, comforting sugar cookie taste and texture that makes this bark truly stand out from simpler candy barks.
Assembling Your Edible Masterpiece
With the cookie base cooled and the candies sorted, it was time for the fun part: assembly! To ensure I wasn’t rushed, I heated the vanilla candy coating (CandiQuik) in two separate batches. This clever trick allowed me ample time to meticulously arrange the candies before the coating set. Working in smaller batches prevents the coating from hardening too quickly, giving you more control over your design.
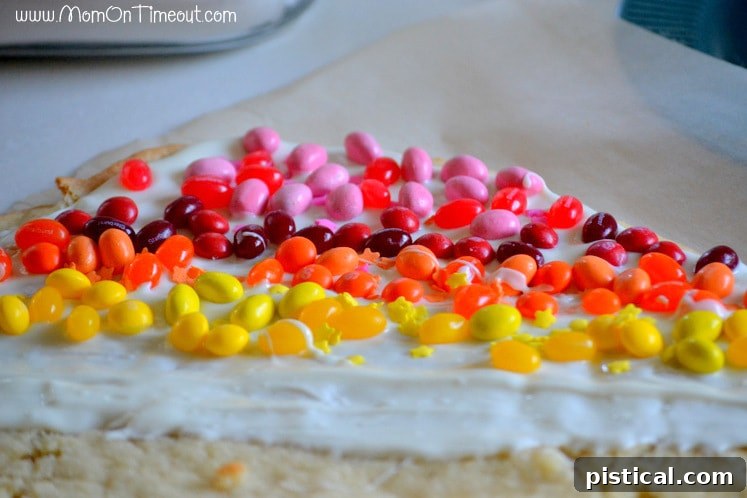
I spread the first half of the melted coating evenly over the cookie, then carefully began laying out the candies in rows, creating a beautiful rainbow spectrum. I worked on a couple of rows at a time, then melted the second batch of coating and continued the process, ensuring a smooth, seamless finish. This method made the entire process incredibly easy and enjoyable, allowing for precision in placing each colorful candy.
By the end, I had created two distinct “rainbows” across the large cookie. The finished, decorated cookie was truly spectacular, a vibrant mosaic of colors that promised a delightful treat. Reece’s excitement was palpable; he kept asking, “So we really get to eat this?” He seemed to think I’d finally lost my mind with such a fantastical creation!
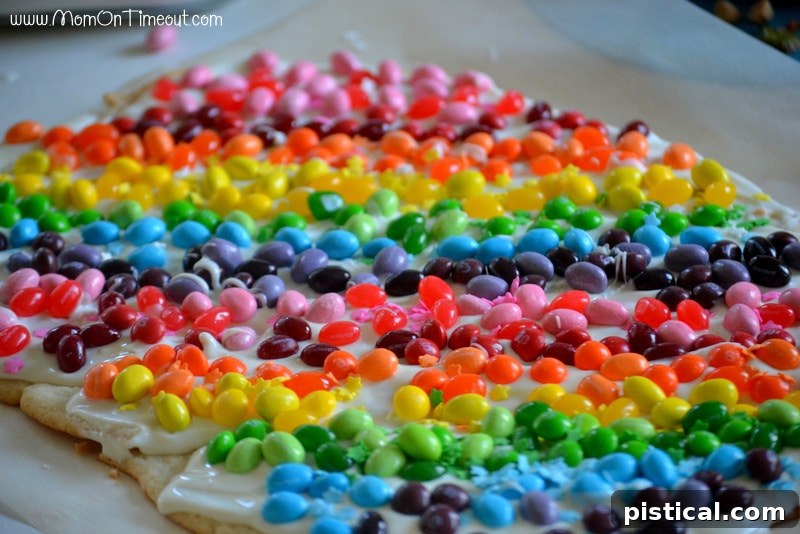
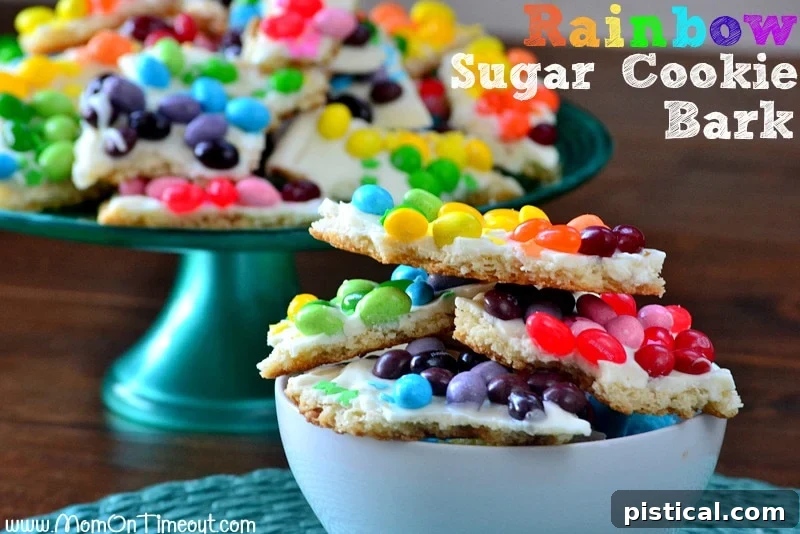
The final step is perhaps the most satisfying: letting the candy coating fully set and then breaking the bark into pieces. We aimed to get multiple colors onto each piece, ensuring that every bite truly felt like a little fragment of a rainbow. The snap of the bark and the visual appeal of the mixed colors make this dessert incredibly engaging and fun to eat.
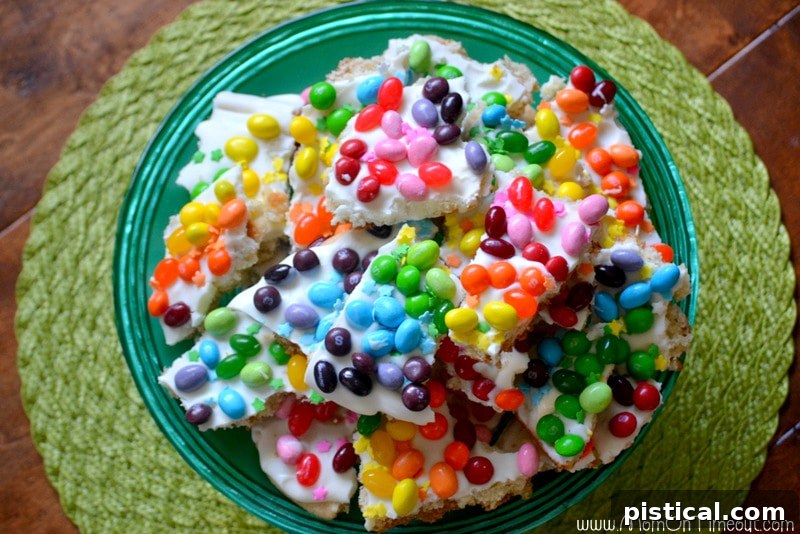
Isn’t it just gorgeous? This treat isn’t just delicious; it’s a feast for the eyes!
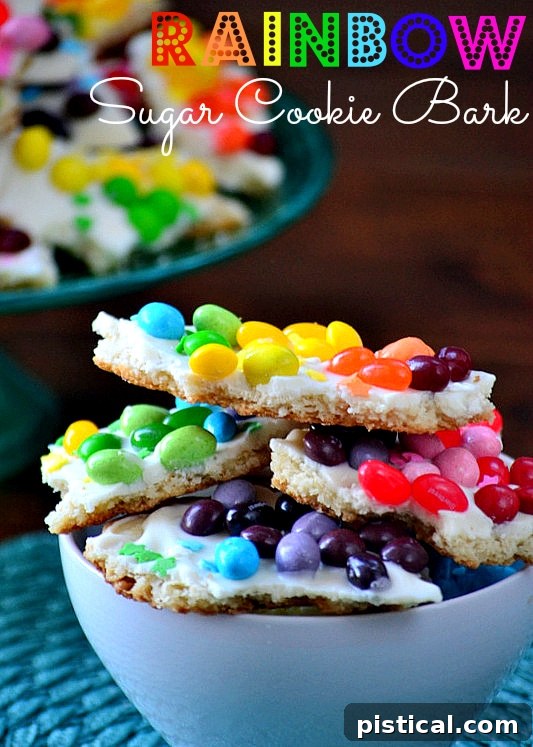
Rainbow Sugar Cookie Bark
Rainbow Sugar Cookie Bark is a delightful and easy-to-make dessert, crafted from convenient refrigerated sugar cookie dough and an array of colorful candies. Prepare to be enchanted by this vibrant, edible rainbow!
Ingredients
- 16.5 oz refrigerated sugar cookie dough
- 16 oz vanilla flavored candy coating (e.g., CandiQuik or white chocolate melting wafers)
- 2 cups jelly beans or other rainbow-colored candies (such as Skittles, Starburst Jelly Beans, or M&M’s)
- Optional: Star sprinkles or other decorative sprinkles
Instructions
- Prepare the Cookie: Preheat your oven according to the sugar cookie dough package directions. Line a large cookie sheet with parchment paper. Roll out the refrigerated sugar cookie dough to about 1/4 inch thickness directly onto the prepared cookie sheet. Flour your rolling pin and dough as needed to prevent sticking and ensure an even layer.
- Bake the Cookie Base: Bake the cookie dough for 12-15 minutes, or according to package directions, removing it from the oven just before the edges begin to turn golden brown. The cookie should still be soft in the center.
- Cool: Allow the baked sugar cookie to cool on the cookie sheet for at least 5-10 minutes. This prevents it from breaking when you apply the candy coating.
- Sort Candies: While the cookie cools, sort your chosen rainbow-colored candies by color into separate small bowls. This makes assembly much quicker and helps create distinct rainbow stripes.
- Melt First Batch of Coating: Divide the vanilla candy coating into two equal portions. Melt the first batch according to package directions (typically microwave or double boiler). Stir until smooth and completely melted.
- Apply and Decorate: Carefully spread the first half of the melted candy coating over the cooled sugar cookie using a knife or spoon, ensuring an even layer. Immediately begin to sprinkle or arrange your sorted candies in colorful rows across the coating, creating a rainbow pattern.
- Melt and Repeat: Melt the second batch of candy coating. Spread it over any remaining bare areas of the cookie, if necessary, and continue to sprinkle or arrange candies to complete your rainbow design. Add any optional sprinkles for extra sparkle.
- Set and Break: Allow the candy coating to set completely. This can be done at room temperature for about 1-2 hours, or in the refrigerator for 20-30 minutes for faster setting. Once firm, break the Rainbow Sugar Cookie Bark into irregular pieces. Try to ensure each piece has a variety of colors for maximum visual appeal.
- Serve and Enjoy: Serve immediately or store in an airtight container at room temperature for up to a week.
Nutrition
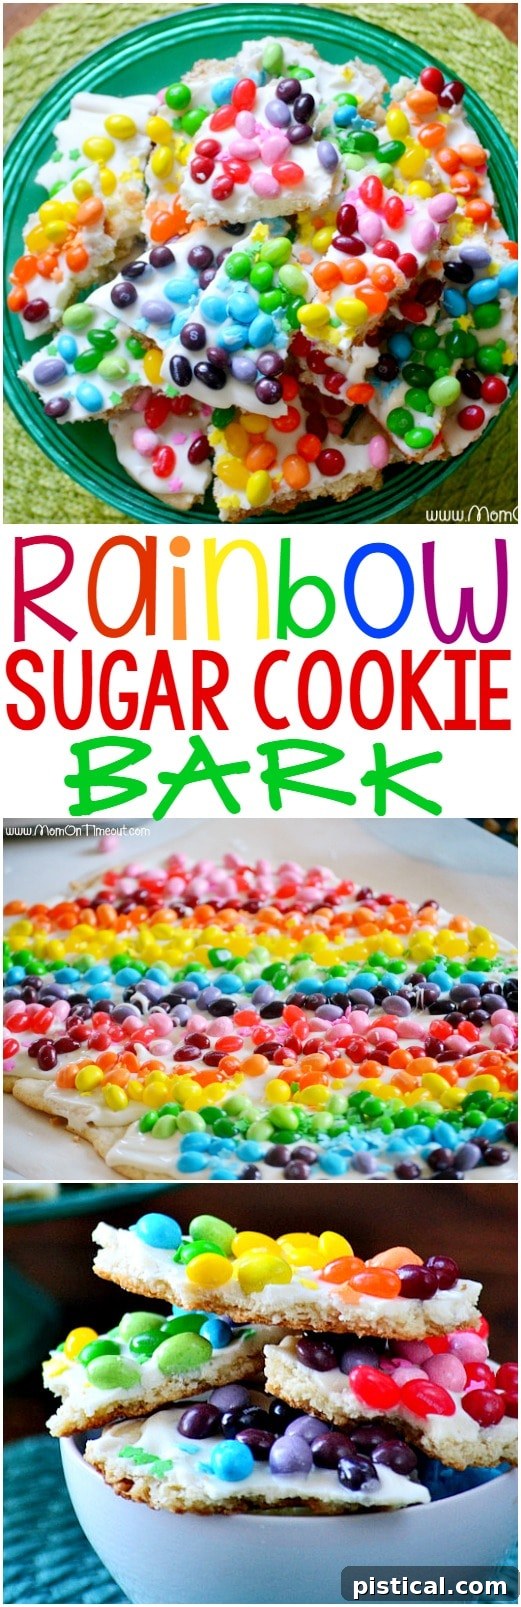
Tips for the Perfect Rainbow Sugar Cookie Bark
- Don’t Overbake the Cookie: A slightly underbaked cookie will result in a softer, chewier bark base, which contrasts beautifully with the candy coating and toppings.
- Work Quickly (but Methodically): While melting the candy coating in batches helps, once it’s spread, work efficiently to place your candies before it sets.
- Quality Candy Coating: Using a good quality vanilla candy coating (like CandiQuik or Ghirardelli white melting wafers) will give you the best smooth finish and flavor.
- Storage: Store your Rainbow Sugar Cookie Bark in an airtight container at room temperature for up to a week, or in the refrigerator for longer freshness.
- Gifting: This bark makes a fantastic homemade gift! Package pieces in clear cellophane bags tied with a colorful ribbon for a thoughtful and impressive present.
More Creative Treats from Friends
Looking for other delightful bark and cookie ideas? Check out these fantastic recipes:
- Sugar Cookie Bark by Crazy for Crust
- Chocolate Chip Oreo Truffle Bark by Inside BruCrew Life
- Ritz Rolo Bark by Something Swanky
- Monster Cookie Crisps by Shugary Sweets
And for more rainbow fun, explore these vibrant ideas!
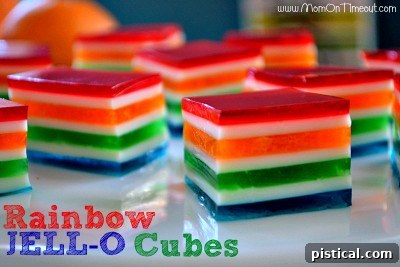
Rainbow JELL-O Cubes

Stained Glass Rainbows Craft

Potted Rainbow Craft

Taste the Rainbow Cupcakes

For all appetizer recipes, go HERE.
For all dessert recipes, go HERE.
Sign up to get emails when I post new recipes!
For even more great ideas, follow me on Facebook – Pinterest – Instagram – Twitter – Bloglovin’.
Have a delightful and colorful day!