
Stunning Stained Glass Fall Leaves: An Easy Kids’ Craft for Autumn
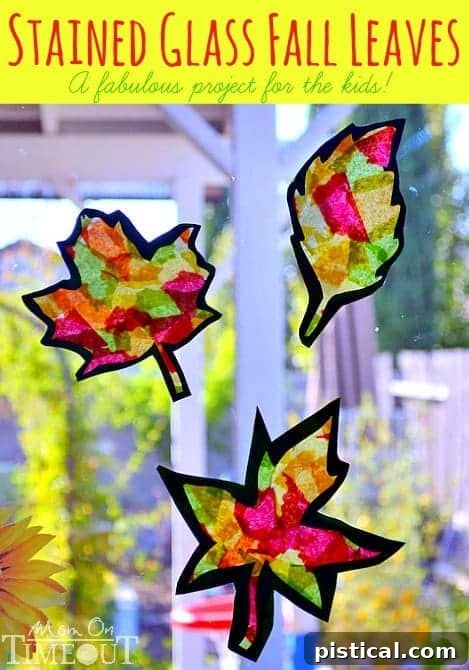
Welcome the vibrant hues of autumn into your home with this incredibly easy and absolutely stunning stained glass fall leaves craft. It’s the perfect Fall activity to engage your children and create beautiful, light-catching decor!
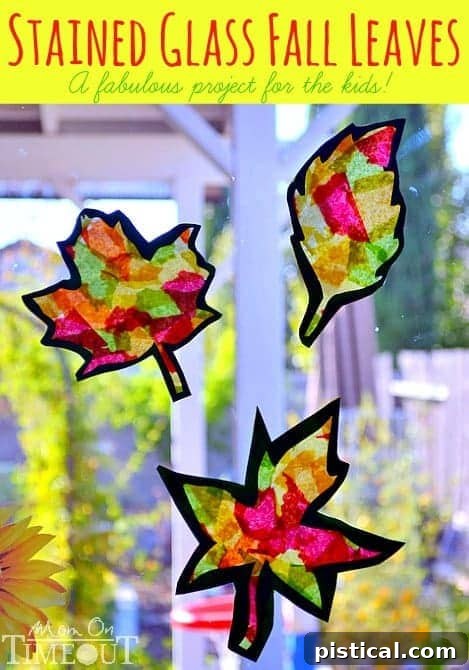
Fall is definitely in the air! Or at least, we’re eagerly wishing it were. There’s something truly magical about autumn – the crisp, refreshing air, the cozy sweaters, and most of all, the breathtaking transformation of nature into a spectacular display of reds, oranges, and golds. It’s my absolute favorite time of year, and what better way to celebrate this marvelous, colorful season than by bringing a piece of its beauty indoors with a fun, engaging craft?
This “Stained Glass Fall Leaves” project is a personal favorite because it’s wonderfully versatile and accessible for children of all ages. From the littlest hands tearing colorful tissue paper to older kids meticulously arranging their designs, everyone can contribute to creating these radiant autumn leaves. It’s more than just a craft; it’s an opportunity for family bonding, sparking creativity, and making lasting memories as you work together to transform simple materials into dazzling window art.
Why You’ll Adore This Autumn Leaf Craft
If you’re searching for the perfect fall activity to do with your kids, look no further. This stained glass leaf craft isn’t just visually appealing; it offers a multitude of benefits for young crafters and parents alike.
- Simplicity at its Best: You don’t need fancy tools or obscure materials. Most items are likely already in your craft bin or easily found at any local store. The steps are straightforward, making it ideal for busy parents and eager children.
- Engaging for All Ages: Toddlers can joyfully tear tissue paper (a fantastic fine motor skill exercise!), while preschoolers can practice glue spreading and color recognition. Older children can take charge of design, precise cutting, and even creating their own leaf templates. It’s a craft that truly grows with your child.
- Stunning Visual Impact: When these vibrant leaves catch the sunlight, they truly come alive, casting beautiful colored light into your room. They mimic the natural beauty of stained glass, but with a simple, kid-friendly technique. It’s an instant mood booster and a beautiful way to celebrate the season indoors.
- A Touch of Nature Indoors: Even if you can’t get out to collect real fall leaves, this craft allows you to bring the essence of autumn’s splendor right into your home, creating a festive and cozy atmosphere.
- Promotes Creativity & Fine Motor Skills: Tearing, gluing, arranging colors, and cutting all contribute to developing crucial motor skills and encouraging artistic expression. There’s no “wrong” way to create these leaves, fostering a sense of accomplishment and creative freedom.
Materials Needed: Crafting Your Autumn Masterpiece
Gathering your materials is the first exciting step in any craft project! For our Stained Glass Fall Leaves, you’ll find that most items are readily available, making this a budget-friendly and accessible activity for families. The key is vibrant tissue paper, which will give our “stained glass” its magical, translucent effect.
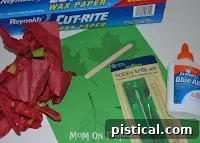
- White School Glue: Any standard white school glue will work perfectly. It dries clear, allowing the tissue paper colors to shine through.
- Tissue Paper (Fall Colors): This is where the magic happens! Stock up on reds, oranges, yellows, browns, and even some deep purples or greens. The more variety, the richer your stained glass effect will be.
- Waxed Paper: This non-stick surface is crucial for creating your “stained glass” sheet. It holds the glue and tissue paper without sticking permanently, allowing for easy handling.
- Popsicle Stick or Favorite Spreader: For spreading glue evenly and mess-free. A dedicated craft brush or even an old credit card can also work well.
- Fall Leaves Template #1:
Download Template #1 Here (or feel free to draw your own unique leaf shapes!) - Fall Leaves Template #2:
Download Template #2 Here - Craft Knife (Adult Use Only): Essential for carefully cutting out the leaf shapes from your paper templates. Please ensure an adult handles this tool for safety.
- Construction Paper (Green, Red, Yellow, or Orange): This will form the border of your stained glass leaves. Choose colors that complement your tissue paper and the autumn theme.
Directions: Crafting Your Stained Glass Fall Leaves
Let’s get started on this enchanting autumn craft! Follow these simple steps to create your own beautiful stained glass fall leaves. Remember, the key is to have fun and let creativity flow!
Step 1: Prepare Your Tissue Paper
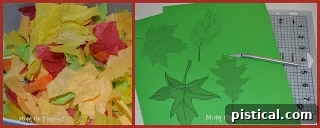
This is often the favorite part for little ones! Have your children help you tear the colorful tissue paper into small, irregular pieces. Encourage them to make pieces of various sizes – the smaller and more varied the pieces, the more intricate and “stained glass-like” your final design will appear. This activity is fantastic for developing fine motor skills and provides a wonderful opportunity for color exploration. While they are busy tearing, you can print out your chosen leaf templates and cut them out from the construction paper.
Step 2: Set Up Your Waxed Paper Canvas
Tear off a piece of waxed paper that is roughly double the width of your largest leaf template. For example, if your template is about 9 inches wide, aim for a piece of waxed paper approximately 18 inches long. This extra length will allow you to fold the paper over later. Lay it flat on a protected work surface.
Step 3: Begin Layering Tissue Paper
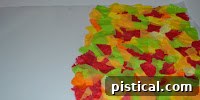
Apply a thin, even layer of white school glue to a small section on one half of your waxed paper. Immediately begin layering the torn tissue paper pieces on top of the glue, one at a time. It’s perfectly fine if the pieces overlap a little – this adds to the stained glass effect. The goal is to completely cover the glued area with a colorful mosaic of tissue paper. Encourage your kids to experiment with color combinations!
Step 4: Cover Half the Waxed Paper
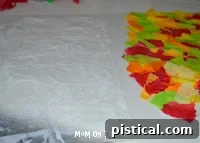
Continue working your way across the waxed paper, applying glue and layering tissue paper, until one entire half of the waxed paper sheet is covered with your vibrant tissue paper mosaic. Ensure there are no gaps where the waxed paper shows through, as this will affect the final look.
Step 5: Apply Glue to the Remaining Half
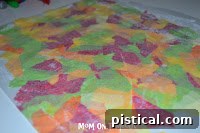
Now, spread a thin, even layer of glue on the remaining, empty half of the waxed paper. Try to make it as smooth as possible, ensuring consistent coverage. This glue layer will seal in all the tissue paper pieces when you fold the paper over.
Step 6: Fold, Smooth, and Dry
Carefully fold the unglued, empty half of the waxed paper over onto the half covered with tissue paper. Gently smooth the surface with your hands, pressing down lightly to ensure the glue fully contacts and adheres all the tissue paper pieces. Be careful not to press too hard, as this might displace the tissue paper. Once smoothed, set your beautiful creation aside to dry completely. This might take several hours, or even overnight, depending on how much glue was used and the humidity.
Step 7: Cut Out Your Leaves (Adult Supervision!)
Once your waxed paper “stained glass” sheet is completely dry, it’s time to bring your leaf templates into play. Place your construction paper leaf templates on top of the dried stained glass sheet. Carefully, with an adult supervising or performing this step, use a craft knife to cut out the leaf shapes. You can either cut around the outside of the template, creating a solid leaf shape, or cut out the inside of the template to create a leaf border.
Bringing Your Stained Glass Leaves to Life: Display Ideas
Now that your gorgeous Stained Glass Fall Leaves are complete, it’s time for the most exciting part – displaying them! There are a couple of wonderful ways to showcase your children’s artistry and fill your home with autumnal cheer. The key to truly appreciating these crafts is to place them where they can catch the sunlight, allowing the vibrant colors to glow and mimic true stained glass.
Option 1: Classic Window Display with a Frame
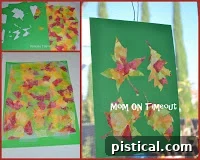
For a neat and framed look, simply tape your dried stained glass sheet directly behind the cut-out paper leaf template. This creates a striking contrast between the solid paper outline and the translucent, colorful interior. Once assembled, you can easily tape these framed leaves onto a window. The sunlight streaming through will illuminate the tissue paper, creating a beautiful, warm glow. This method is particularly effective for larger leaf shapes or if you prefer a more defined edge to your window decorations.
Option 2: Individual Stained Glass Leaf Shapes
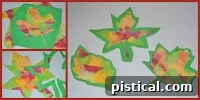
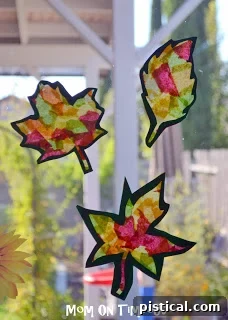
Alternatively, you can individually cut out the leaf shapes directly from your dried stained glass sheet. If you desire a border for these, you can cut thin strips of construction paper to glue around the edges. Then, these individual, glowing leaf shapes can be taped directly onto a window. For an extra touch, consider using suction cups with hooks to hang them, allowing them to gently sway and catch the light from different angles. This method is fantastic for creating a scattered, organic look, as if real leaves are clinging to your windows.
More Creative Display Ideas:
- Autumn Garland: String several finished leaves together with twine or ribbon to create a festive garland for your mantel, doorway, or along a staircase.
- Mobile Art: Attach leaves of varying sizes to a simple hanger (like a stick or a hoop) to create a beautiful hanging mobile that gently twirls in the breeze.
- Table Centerpiece: Arrange a collection of finished leaves on a table with a small LED candle for a glowing, autumn-themed centerpiece.
- Gift Embellishments: Use smaller stained glass leaves as unique and personal tags or decorations for fall-themed gifts.
No matter how you choose to display them, these Stained Glass Fall Leaves are sure to add a touch of handmade charm and vibrant color to your home throughout the autumn season.
Tips for Success and Creative Variations
To ensure your Stained Glass Fall Leaves turn out perfectly, here are a few tips and ideas to spark even more creativity:
- Don’t Over-Glue: While glue is essential, too much can make the drying process very long and might make the paper wrinkle excessively. Aim for a thin, even layer.
- Patience is a Virtue: Allow ample drying time. Rushing this step can lead to messy cuts and pieces falling off. Place your waxed paper on a flat surface in a well-ventilated area to dry.
- Experiment with Colors: Don’t limit yourself to just traditional fall colors. Introduce some unexpected shades like deep blues or purples for a unique and modern twist on the classic fall palette.
- Mix & Match Textures: While tissue paper is ideal for translucency, try incorporating small pieces of other translucent materials like cellophane for different effects.
- Glitter Glam: For an extra sparkle, sprinkle a tiny bit of fine glitter over the wet glue before adding tissue paper, or dust some on the dried leaves.
- Beyond Leaves: The technique can be used for other fall shapes too! Think pumpkins, acorns, apples, or even simple geometric shapes for a different kind of window art.
- Personalize Your Templates: Encourage older children to draw their own unique leaf shapes or even trace real leaves they’ve collected from outside. This adds a wonderful personal touch to their creations.
Embrace the Beauty of Autumn with Handmade Crafts!
This Stained Glass Fall Leaves craft is truly a celebration of the season – simple to make, delightful to display, and a fantastic way to spend quality time with your children. It transforms ordinary materials into extraordinary art, capturing the golden glow of autumn and bringing it into your home. So, gather your supplies, call your little helpers, and get ready to create some dazzling fall window decorations that will be admired by everyone. Happy crafting, and enjoy the magical beauty of fall!

Connect with me!
Linking up at some of these parties.