
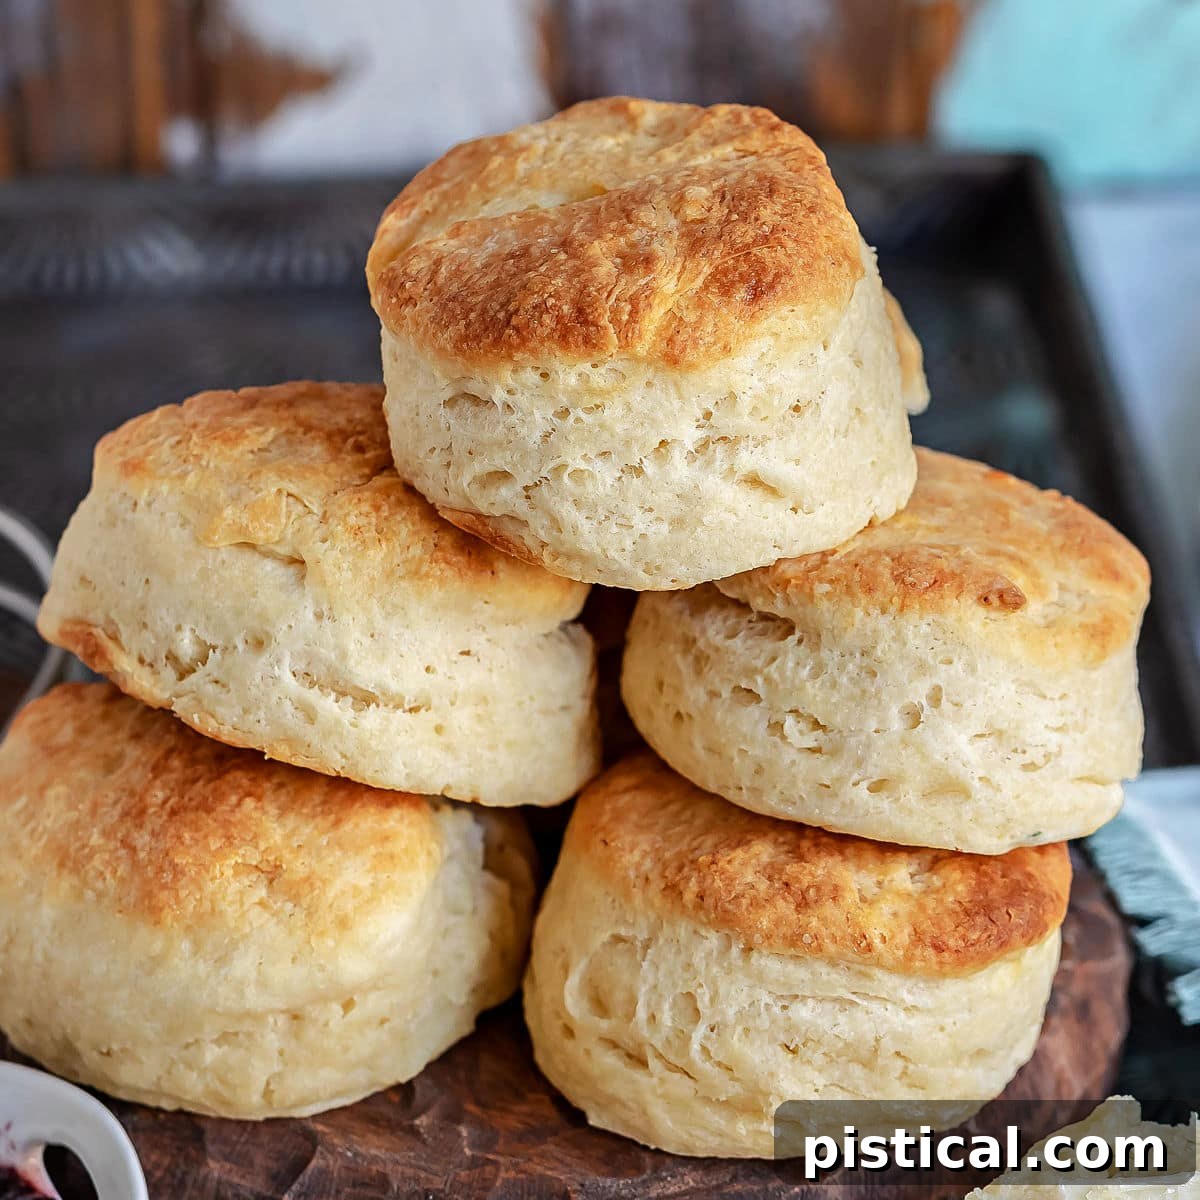
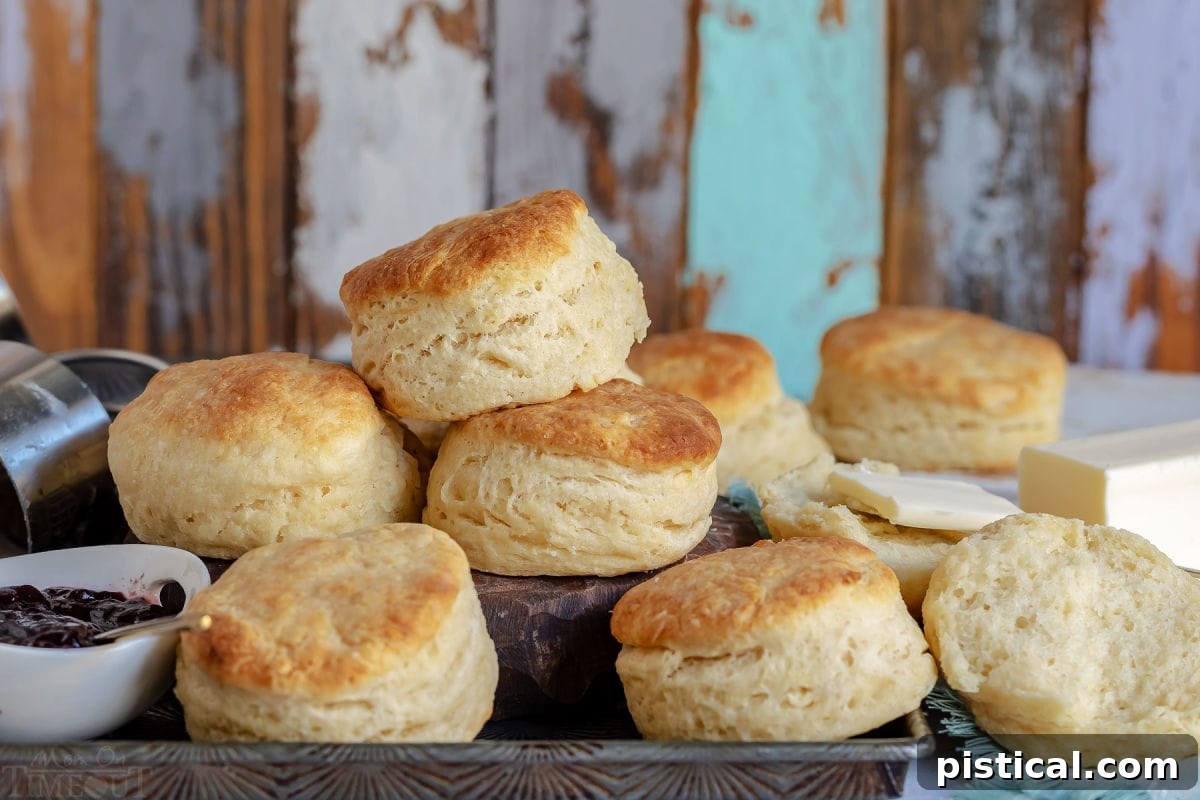
Prepare to discover the most divine and effortlessly delightful baked good that transcends the ordinary: Angel Biscuits. Lighter than a cloud, with a tender, fluffy interior that practically melts on your tongue, these biscuits redefine comfort food. They are the quintessential side dish, perfect for elevating any breakfast spread or complementing a hearty dinner. Imagine the perfect harmony between the flaky layers of a classic biscuit and the pillowy softness of a homemade dinner roll – that’s precisely what you get with these heavenly creations. This recipe simplifies that unique hybrid, making it accessible for bakers of all skill levels and guaranteeing a flawless batch every time.
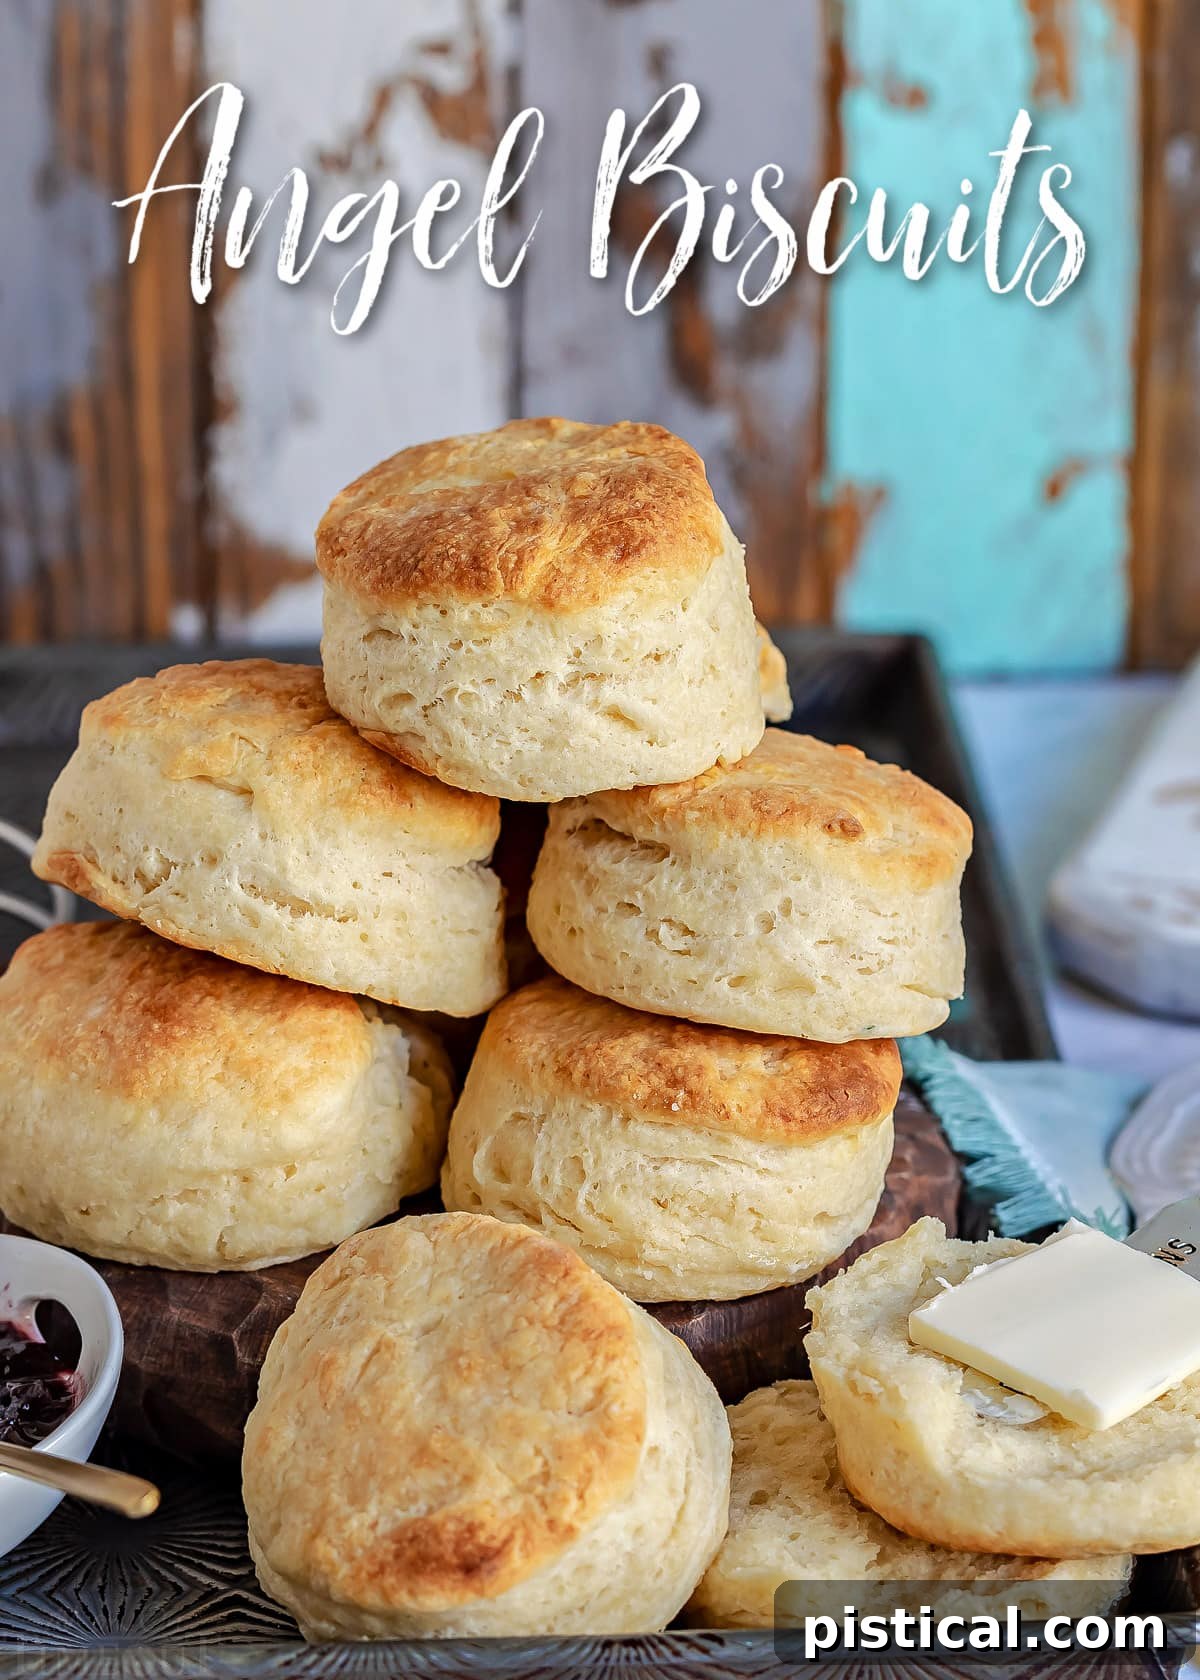
What Exactly Are Angel Biscuits? A Delectable Hybrid Explained
Angel biscuits are a culinary masterpiece, celebrated for their unique texture that sets them apart from traditional biscuits and yeast rolls. They represent the ultimate marriage of two beloved baked goods: the tender, flaky layers of a classic Southern biscuit and the airy, soft crumb of a yeast-leavened dinner roll. What gives these biscuits their signature “angelic” lightness and an unparalleled melt-in-your-mouth quality? The secret lies in their ingenious use of three distinct leavening agents: baking powder, baking soda, and active yeast.
This powerful trio works in concert to create an extraordinary rise. Baking powder and baking soda provide immediate lift upon contact with liquid and heat, contributing to the initial puffiness and tenderness. Meanwhile, yeast, a slower-acting leavener, ferments the dough, adding a subtle depth of flavor and that distinctive soft, airy texture typically found in bread. The result is a biscuit that is remarkably tall, incredibly soft, and boasts a delicate crumb that truly dissolves in your mouth, leaving you craving more. They’re a testament to how combining the best elements of different baking techniques can create something truly special and utterly irresistible. This specific angel biscuit recipe is renowned for its straightforward approach, making it an excellent choice for novice bakers while still delighting seasoned pros.
This angel biscuit recipe is remarkably foolproof, making it an ideal choice for bakers venturing into yeast baking or those simply seeking a consistently perfect biscuit. The strategic combination of three leavening ingredients guarantees an impressive, consistent rise and an unforgettable texture that will earn rave reviews every time.
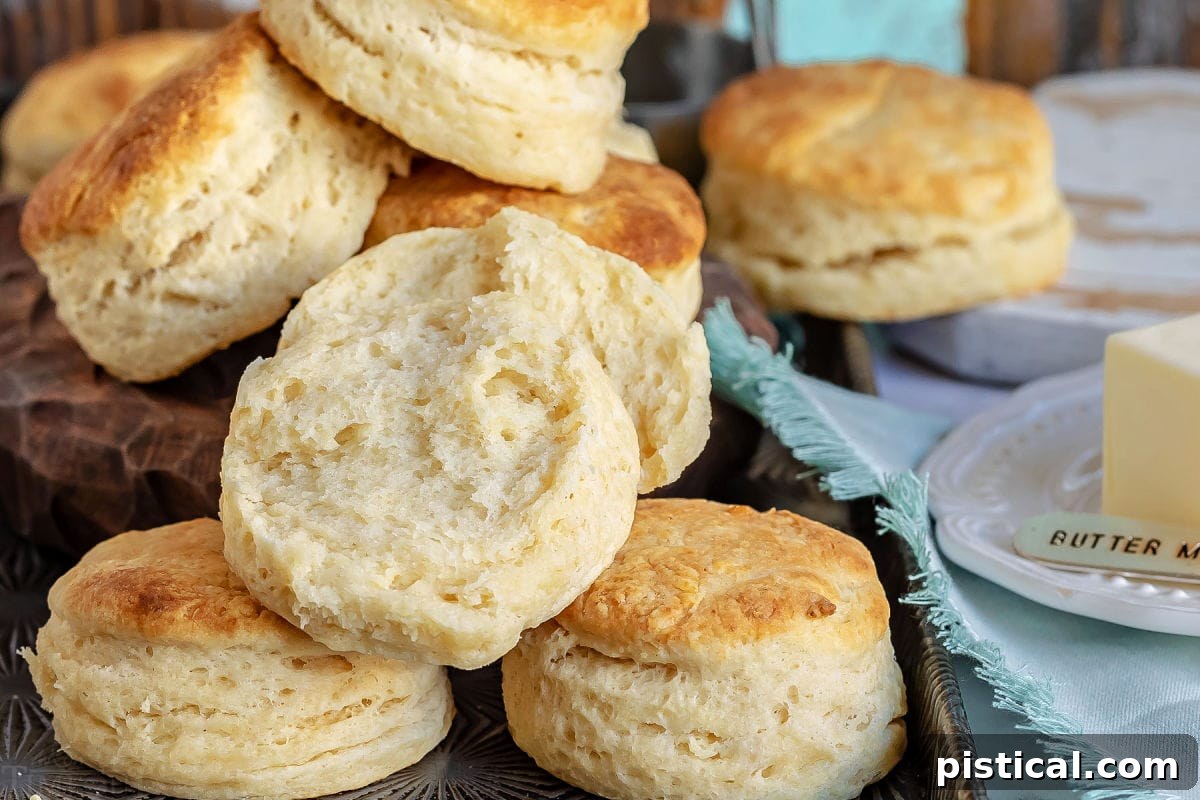
Why You’ll Fall in Love with This Angel Biscuit Recipe
Beyond their ethereal texture and delightful flavor, there are countless reasons why these Angel Biscuits will quickly become a cherished staple in your kitchen. They offer a unique blend of convenience, versatility, and sheer deliciousness that is hard to beat.
- Effortlessly Impressive: Despite their sophisticated taste and texture, these biscuits are surprisingly simple to make. The clever combination of leavening agents works its magic, taking much of the guesswork out of achieving that perfect, sky-high rise and tender crumb. Even if you’re new to baking with yeast, this recipe guides you to success.
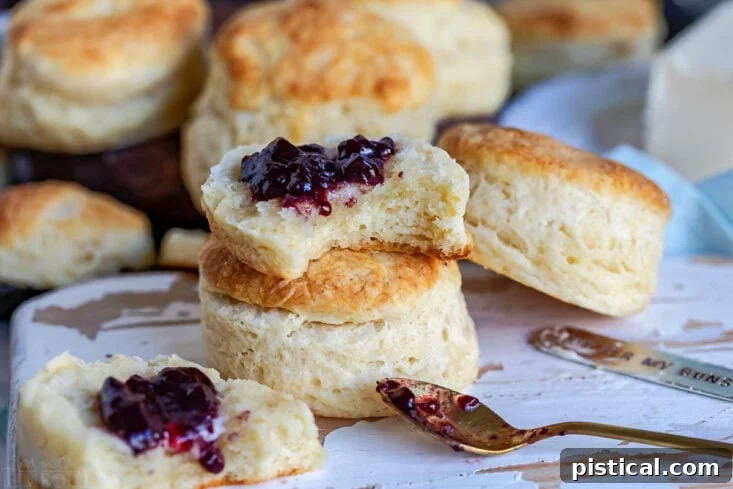
- Unbelievably Versatile: Whether served warm with a slather of butter and homemade jam for a cozy breakfast or alongside a savory main course, Angel Biscuits complement a wide array of dishes. Their subtle sweetness and rich, buttery flavor make them an incredibly flexible and welcome addition to any meal.
- Perfect for Any Occasion: From casual weeknight family dinners to elegant holiday feasts and festive brunches, Angel Biscuits elevate the meal without demanding hours in the kitchen. They are a universal crowd-pleaser that guests will undoubtedly rave about and ask for the recipe.
- Make-Ahead Friendly: Meal prep has never been easier! You can prepare the biscuit dough in advance, making fresh, warm biscuits always within reach, even on the busiest mornings or evenings. This flexibility is a game-changer for entertaining or simply enjoying homemade goodness without the rush.
- A Unique Baking Experience: For those who appreciate the distinct qualities of both traditional biscuits and soft dinner rolls, this recipe offers the absolute best of both worlds. It provides a novel and rewarding baking experience that results in a truly exceptional product unlike any other.
Perfect Pairings: What to Serve with Your Heavenly Angel Biscuits
The versatility of Angel Biscuits is truly one of their most appealing characteristics. Their delicate flavor and cloud-like texture make them suitable for almost any meal, from the first light of breakfast to the richness of dinner. Whether you’re seeking a sweet accompaniment or a savory side, these biscuits adapt beautifully. Here are some of our absolute favorite ways to enjoy these delectable Angel Biscuits:
For Breakfast & Brunch:
Start your day on a high note by pairing warm Angel Biscuits with classic breakfast staples. Their subtle sweetness perfectly complements:
- Sweet fruit preserves, homemade jams, or a generous drizzle of golden honey.
- Creamy butter, a dollop of clotted cream, or flavored compound butters (like cinnamon honey butter).
- Crispy Air Fryer Bacon or Perfectly Baked Bacon, offering a salty counterpoint.
- Fluffy scrambled eggs, a cheesy omelet, or a hearty Hashbrown Breakfast Casserole.
- Rich, creamy sausage gravy for a truly Southern comfort experience that’s hard to resist.
- Fresh fruit salads, adding a delightful bread component to a lighter meal.
For Dinner & Savory Meals:
Angel Biscuits truly shine as a light and airy accompaniment to robust main courses. Their soft texture is ideal for soaking up delicious gravies, sauces, and stews, making every bite a delight. Consider serving them alongside:
- A comforting, hearty bowl of Crockpot Chili or a lighter yet equally satisfying Turkey Chili.
- Classic Chicken Fried Steak with Cream Gravy, where the biscuits are perfect for sopping up every last bit.
- Slow-cooked pot roasts, flavorful stews, or any dish with a rich, savory sauce that begs for a soft bread.
- Crispy fried chicken, succulent barbecued ribs, or tender pulled pork for a complete comfort food meal.
- Warm, comforting soups and crisp salads, adding a satisfying and delightful bread component to your meal.
- Holiday dinners, where they can effortlessly stand in for traditional dinner rolls, offering a touch of something special.
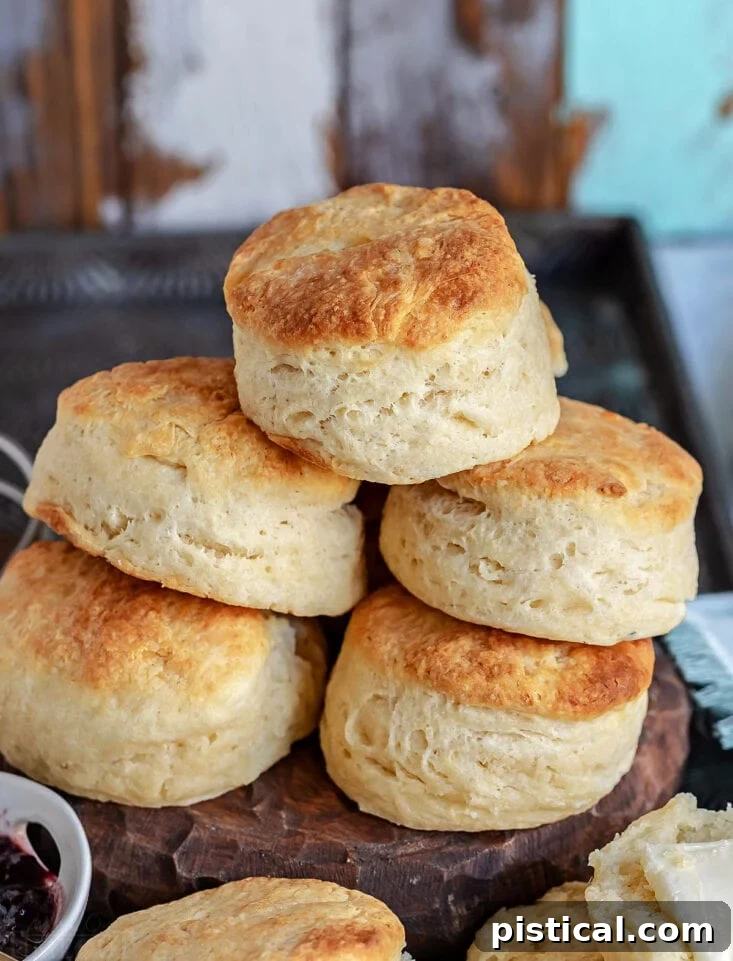
Essential Ingredients for Your Angel Biscuits: A Closer Look
Crafting these delicate Angel Biscuits requires a careful selection of common pantry staples, many of which you likely already have on hand. While the list might resemble a traditional biscuit recipe, the intelligent addition of yeast and a thoughtful blend of fats truly sets these apart, contributing to their signature light texture and rich flavor. You’ll find the complete, printable recipe card with precise measurements and instructions at the conclusion of this article. Let’s explore the crucial role each ingredient plays in creating these extraordinary biscuits:
- All-Purpose Flour: This is the foundational ingredient, providing the structure for our biscuits. For the most accurate measurement, always remember the “spoon and level” method: gently spoon the flour into your measuring cup until it overflows, then level it off with the back of a straight edge (like a knife). This prevents compacting the flour and adding too much, which can result in tough, dense biscuits.
- Granulated Sugar: Beyond providing a subtle hint of sweetness that enhances the overall flavor profile, sugar plays a crucial role in activating the yeast. It acts as food for the yeast, helping it to thrive and contribute effectively to the biscuit’s remarkable rise and tender texture.
- Baking Powder and Baking Soda: These two chemical leavening agents are critical collaborators with the yeast, working synergistically to create the impressive lift. Baking powder provides an immediate boost upon contact with liquid and heat. Baking soda, meanwhile, reacts with the acidity in the buttermilk, producing carbon dioxide bubbles that expand during baking, ensuring those signature lofty, airy layers and an incredibly tender crumb.
- Kosher Salt: Essential for balancing the flavors in the biscuits, salt enhances the overall taste of all the ingredients and prevents the biscuits from tasting bland. Sea salt is also an excellent alternative if preferred.
- Rapid Rise “Instant” Yeast: This is the secret ingredient that truly transforms a regular biscuit into an “angel” biscuit. Instant yeast doesn’t require proofing beforehand, making the process simpler and quicker compared to active dry yeast. Its inclusion provides a subtle yeasty flavor and contributes significantly to the tender, bread-like softness of the interior. You’ll typically need one standard packet, which is equivalent to 2 ¼ teaspoons.
- Unsalted Butter: Butter contributes significantly to the rich, classic flavor that we all love in biscuits. This recipe calls for cold butter, cut into small pieces, to be incorporated into the dough, which creates pockets of steam for flakiness. Additionally, a portion of melted butter is used to brush on top of the biscuits just before and after baking, giving them a beautiful golden crust and an extra layer of delicious moisture.
- Shortening: Often overlooked, shortening is a key player in achieving the incredibly tender texture and flaky layers that distinguish Angel Biscuits. Its higher melting point compared to butter means it stays solid longer in the oven, creating more steam and larger pockets for a light, delicate crumb. Chilling the shortening and cutting it into pieces makes it much easier to work into the flour mixture. Butter-flavored shortening can further enhance the buttery taste without sacrificing tenderness.
- Buttermilk: The acidity in buttermilk reacts powerfully with the baking soda, aiding significantly in the leavening process. More importantly, buttermilk contributes to a wonderfully tender crumb and imparts a subtle tangy flavor that rounds out the biscuit’s profile, making them even more irresistible.
Crafting Perfection: Step-by-Step Guide to Making Angel Biscuits
Creating these exquisite Angel Biscuits is a surprisingly straightforward process that yields truly spectacular results. With a few careful steps, you’ll achieve light, fluffy, and perfectly golden biscuits every time. Remember, the full, printable recipe card with all precise measurements and timings is conveniently located at the end of this post for your reference.
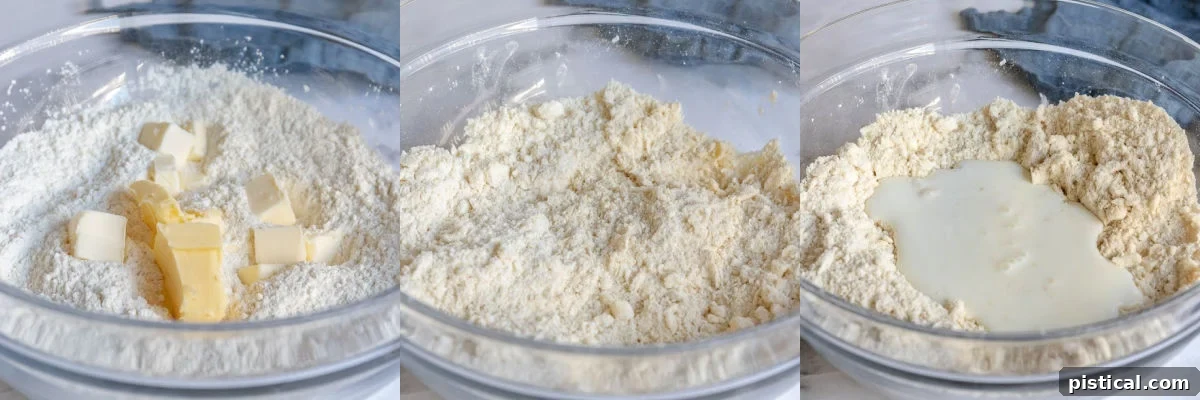
- Combine Dry Ingredients: In a large mixing bowl, thoroughly whisk together the all-purpose flour, granulated sugar, baking powder, kosher salt, baking soda, and instant yeast. This ensures all the leavening agents and flavorings are evenly distributed throughout the flour, which is crucial for a consistent rise and taste.
- Incorporate Fats: Add the cold, small pieces of unsalted butter and shortening to the dry mixture. Using a pastry cutter or your fingertips, swiftly work the fats into the flour until the mixture resembles coarse crumbs with some pea-sized pieces of butter still visible. The key here is to work quickly to prevent the butter from melting and to avoid overworking the dough, which helps prevent gluten development and ensures truly tender biscuits.
- Add Buttermilk: Pour in the buttermilk and stir gently with a sturdy spoon or your hands just until the ingredients are moistened and a shaggy dough forms. Again, be careful not to overmix; a few dry streaks are perfectly fine as further mixing will occur during the folding process.
- Fold and Shape the Dough: Lightly flour a clean work surface. Transfer the shaggy dough onto it and gently pat it out into a square or rectangle, about 1 inch thick. This step is crucial for creating multiple flaky layers. Fold the dough in half, then gently pat it out again to approximately 1 inch thick. Rotate the dough 90 degrees and repeat the folding and patting process. This technique, similar to laminating, helps build distinct, airy layers without extensive and tiresome rolling.
- Cut the Biscuits: Dip a 2 or 2 ¼ inch biscuit cutter into flour to prevent sticking. Press the cutter straight down into the dough (this is important – do not twist!) and lift it straight up to cut out each biscuit. Twisting the cutter seals the edges of the biscuits, which can inhibit them from rising to their fullest, most angelic potential. Gather any dough scraps, gently press them together (avoiding overworking them), and cut out any additional biscuits.
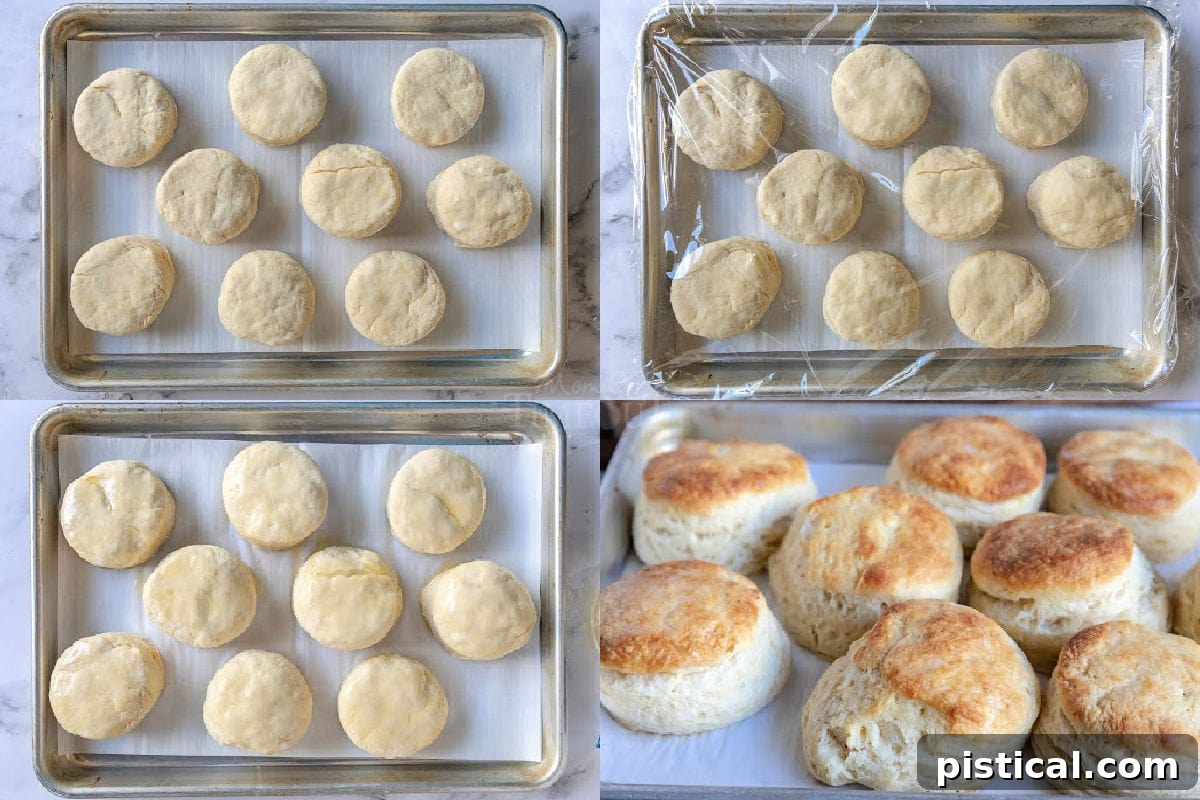
- Rest and Rise: Arrange the cut biscuits on a parchment-lined baking sheet or in a cast-iron skillet, ensuring they are slightly touching each other. This proximity helps them rise taller and creates softer, more tender sides. Cover the biscuits loosely with plastic wrap or a light kitchen towel and let them rest in a warm, draft-free place for 30 to 60 minutes. This resting period is vital, allowing the yeast to activate and the biscuits to puff up, achieving their signature airy texture before baking.
- Bake to Golden Perfection: While the biscuits are resting, preheat your oven to 425°F (220°C). Once ready, gently brush the tops of the rested biscuits with a generous amount of melted unsalted butter. Bake for 15 to 20 minutes, or until the tops are beautifully golden brown and the biscuits are thoroughly cooked through. Immediately upon removing them from the oven, brush them with additional melted butter for an extra touch of richness, shine, and moisture. Serve your heavenly Angel Biscuits warm and enjoy every melt-in-your-mouth bite!
Essential Tools for Baking the Best Angel Biscuits
While specific tools aren’t strictly necessary for every step, having the right equipment can significantly streamline the process and improve the outcome of your Angel Biscuits. These recommended tools will help you achieve baking perfection, making your experience more efficient and enjoyable:
- Baking Sheet: A sturdy baking sheet, such as a quarter sheet pan, works perfectly for baking a batch of biscuits. It ensures even heat distribution, leading to uniformly golden and cooked biscuits with consistent texture.
- Biscuit Cutter: Essential for achieving beautifully round, evenly sized biscuits. Using a sharp cutter helps the biscuits rise properly by cleanly severing the dough without crimping or sealing the edges, which is crucial for a good rise.
- Parchment Paper: A true kitchen hero, parchment paper lines your baking sheet, preventing sticking and making cleanup an absolute breeze. It ensures your delicate biscuits are easily removed from the pan in one perfect, intact piece.
- Pastry Cutter: This handy tool makes quick work of cutting cold butter and shortening into the flour mixture, ensuring you achieve the ideal crumbly texture without overworking the dough with your warm hands. If you don’t have one, two knives or forks can be used in a cross-cutting motion, or you can even use a box grater for the butter.
- Pastry Brush: Perfect for gently brushing melted butter onto the tops of your biscuits just before and immediately after baking. This step adds a crucial layer of moisture and flavor, and contributes significantly to that desirable golden-brown, glistening finish.
- Large Mixing Bowl: A spacious bowl is crucial for comfortably combining all your dry ingredients and then incorporating the fats and buttermilk without making a mess or feeling cramped.
- Whisk: To ensure your dry ingredients (flour, leaveners, salt, sugar) are thoroughly combined and free of any lumps before you begin to add the fats.
Frequently Asked Questions About Angel Biscuits
Absolutely! While instant yeast is convenient because it can be mixed directly with dry ingredients, active dry yeast works just as well with a slight modification to ensure proper activation. Active dry yeast needs to be “proofed” first to confirm it’s alive and active. Instead of whisking the granulated sugar directly with the flour mixture, combine it with ¼ cup of warm water (ideally between 100°F and 110°F – think warm bath water) in a small bowl and stir to dissolve the sugar. Then, sprinkle in the same amount of active dry yeast (2 ¼ teaspoons) and let it sit for about 5 minutes, until it becomes visibly foamy. This foamy appearance indicates the yeast is active and ready to use. This yeast mixture will then be added to your dry ingredients along with the buttermilk in step 3. To compensate for the added water from proofing, you will need to increase the all-purpose flour from 2 ½ cups to 2 ⅔ cups.
Yes, Angel Biscuits are wonderfully adaptable for making ahead, which is perfect for busy schedules, entertaining, or simply ensuring fresh biscuits are always within reach! You can prepare the biscuits through step 5 (cutting them out). At this point, place the unbaked biscuits on your prepared baking sheet or cast iron skillet, ensuring they are slightly spaced if not planning to touch. Cover them tightly with plastic wrap to prevent drying, and refrigerate for several hours or even overnight. When you’re ready to bake, simply proceed with the remaining steps as written (brushing with butter, baking), but allow a few extra minutes for the baking time since the dough will be cold.
To freeze the biscuits: For even longer storage, follow the recipe through step 6 (the resting and rising step). After the biscuits have rested and risen, instead of baking, place the baking sheet directly into the freezer to flash freeze the biscuits for about 30 minutes to an hour, or until firm. Once firm, transfer the frozen biscuits to a freezer-safe ziploc bag or airtight container. They can be stored in the freezer for up to 1-2 months. When you’re ready to bake, you can bake them directly from frozen – just add approximately 5-10 extra minutes to the baking time, or until they are beautifully golden brown and cooked through.
While I highly recommend the specific combination of butter and shortening for achieving the ultimate tender and flaky texture that truly defines Angel Biscuits, you can certainly use all butter if you prefer. Using solely butter will still yield delicious biscuits, though they might be slightly less tender and noticeably less flaky compared to those made with the recommended blend of fats. If you opt for an all-butter approach, simply substitute an equal amount of cold, unsalted butter for the shortening (¼ cup). Ensure the total amount of butter (the original 4 tablespoons plus the ¼ cup equivalent) is very cold and cut into small pieces before incorporating it into the flour mixture as directed in the recipe.
No problem at all! If you don’t have buttermilk on hand, you can easily make a homemade substitute that will work perfectly for this recipe. For every 1 cup of buttermilk required, simply pour 1 tablespoon of fresh lemon juice or white vinegar into a liquid measuring cup. Then, fill the rest of the cup with regular milk (any fat percentage, from skim to whole, will work) up to the 1-cup line. Stir it gently and let it sit undisturbed for about 5-10 minutes. During this time, the milk will curdle slightly and thicken, indicating it’s ready to use as a buttermilk substitute. While store-bought buttermilk offers the best flavor and texture, this quick homemade version is a perfectly acceptable and reliable alternative.
More Delicious Bread Recipes to Explore
If you’ve enjoyed making these heavenly Angel Biscuits and are looking to expand your baking repertoire, you’ll love exploring other delightful bread recipes that are perfect for any occasion. Expanding your baking skills is always a rewarding experience, and these recipes offer a range of flavors and textures to try:
- Simply Divine Cinnamon Swirl Bread – A comforting classic with a sweet, aromatic swirl.
- Easy and Flavorful Beer Bread – Quick to make with a unique, rich taste.
- Quick and Simple Drop Biscuits – For when you need delicious biscuits in a flash, no cutter required.
- Classic Homemade Cornbread – The perfect companion to chili and stews.
- Buttery Golden Crescent Rolls – A staple for holiday dinners and special meals.
The Ultimate Angel Biscuit Recipe Card

Print
Pin
Angel Biscuits
Course
bread, Side Dish
Cuisine
American
Keyword
angel biscuit recipe, angel biscuits
Prep Time
5 minutes
Cook Time
15 minutes
Servings
10
Calories
264
kcal
Author
Trish – Mom On Timeout
Ingredients
-
2 ½ cups
all purpose flour spooned and leveled -
3 tablespoons
granulated sugar -
1 teaspoon
baking powder -
1 teaspoon
kosher salt -
½ teaspoon
baking soda -
2 ¼ teaspoons
instant yeast 1 packet -
4 tablespoons
unsalted butter cut into small pieces -
¼ cup
shortening cold, cut into pieces, butter flavored preferred -
1 cup
buttermilk -
3 tablespoons
unsalted butter melted, for brushing on biscuits
Instructions
-
In a large bowl, whisk together flour, sugar, baking powder, salt, baking soda and yeast.
-
Cut in the butter and shortening using a pastry knife or work it in with your hands just until pea sized pieces of butter remain.
-
Add the buttermilk and stir just until combined.
-
Transfer the dough to a well floured surface and pat it out into a square that’s about 1 inch thick. Fold the square in half and pat it out again. Rotate the dough and fold in half again and pat out again until 1 inch thick.
-
Use a 2 or 2 ¼ inch biscuit cutter, dipped in flour, to cut out the biscuits. Don’t twist the biscuit cutter, just push down and pull up.
-
Place biscuits on a parchment lined baking sheet or cast iron skillet and cover with plastic wrap or a light towel. Let rest for 30 to 60 minutes.
-
Preheat oven to 425°F. Brush melted butter on the top of the biscuits and bake for 15 to 20 minutes or until golden brown and cooked through. Brush the hot biscuits with additional melted butter and serve immediately.
Video
Nutrition
Calories:
264
kcal
|
Carbohydrates:
30
g
|
Protein:
6
g
|
Fat:
14
g
|
Saturated Fat:
6
g
|
Trans Fat:
1
g
|
Cholesterol:
21
mg
|
Sodium:
293
mg
|
Potassium:
137
mg
|
Fiber:
3
g
|
Sugar:
4
g
|
Vitamin A:
245
IU
|
Vitamin C:
1
mg
|
Calcium:
27
mg
|
Iron:
2
mg