
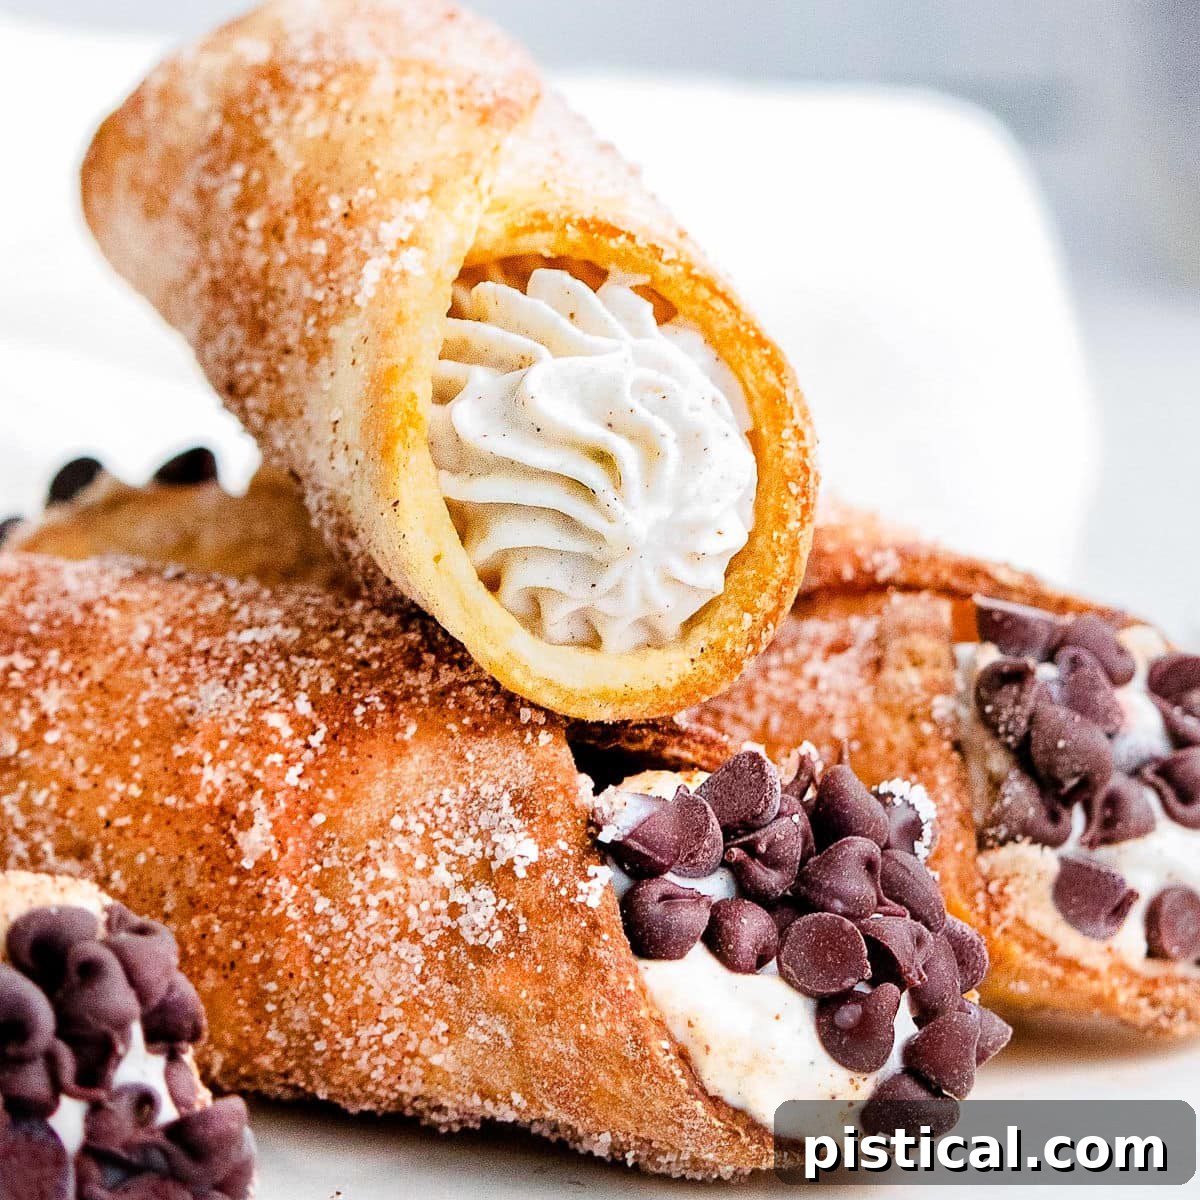
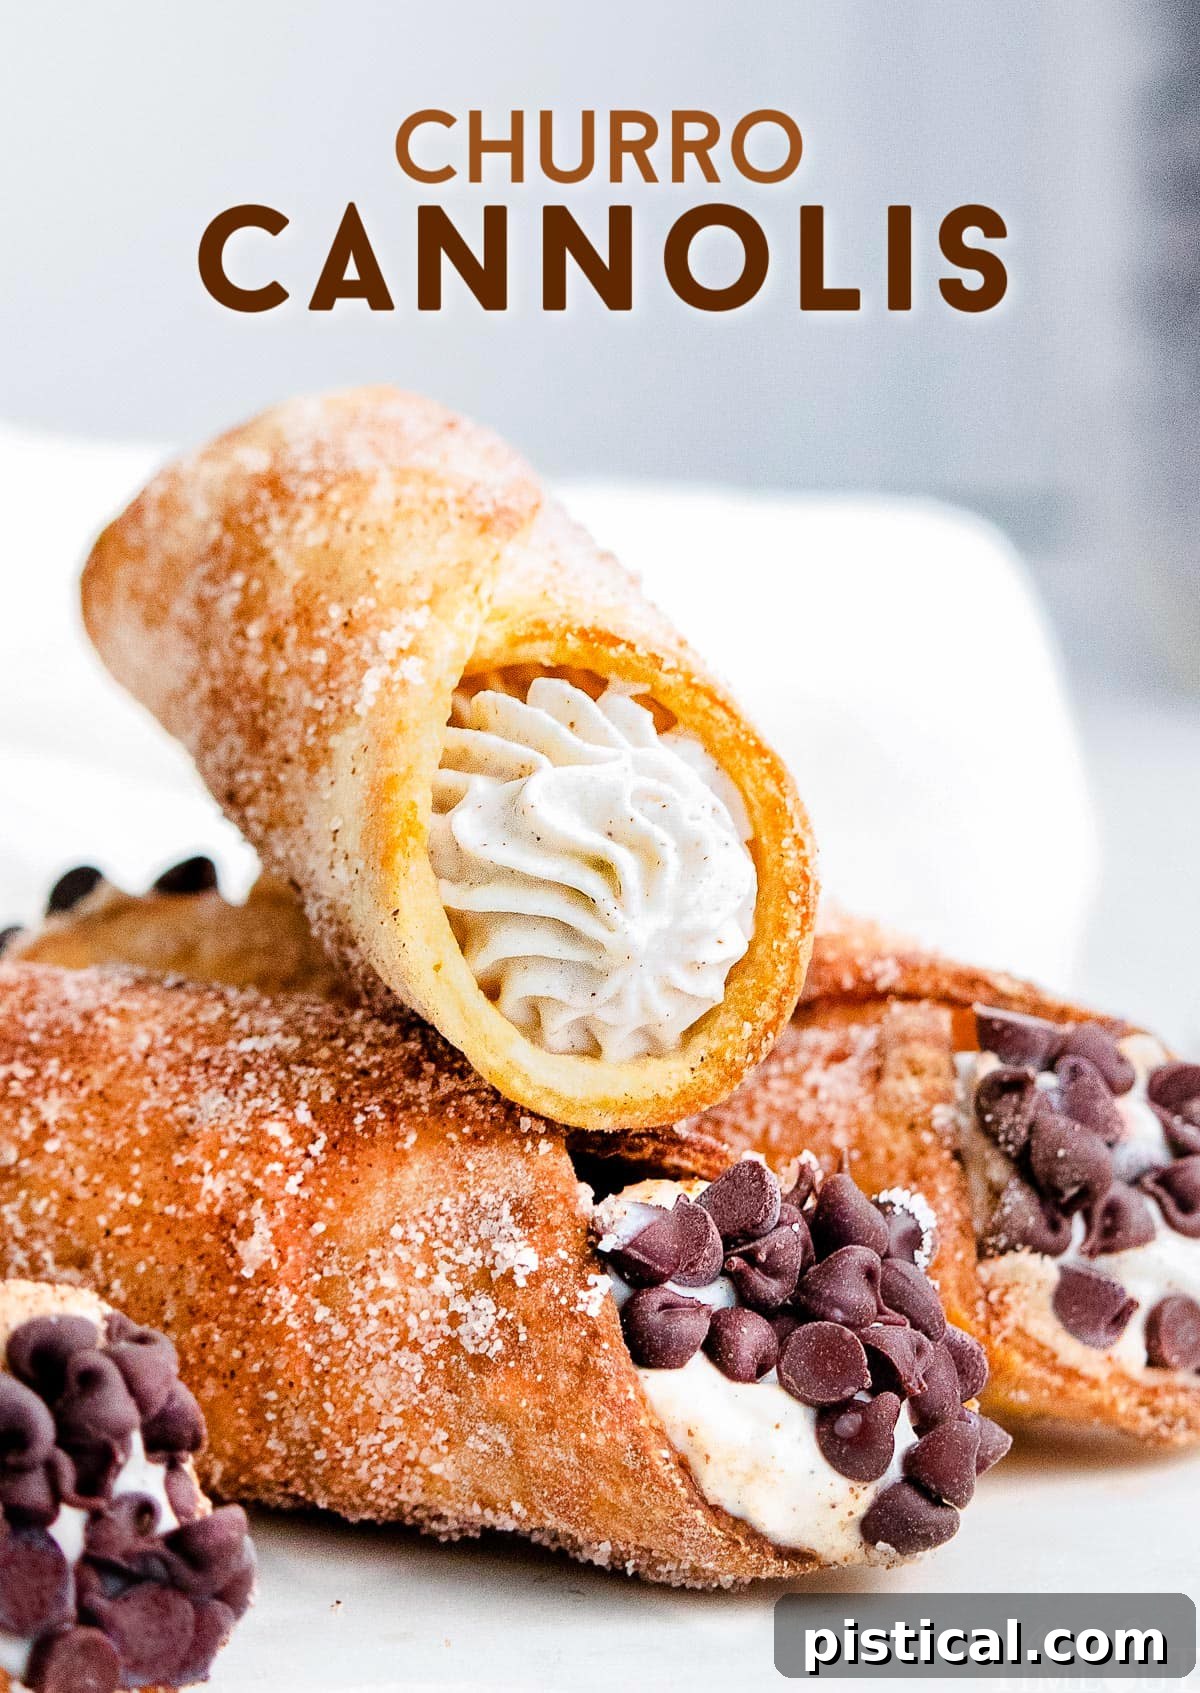
Delight in the rich tradition of Italian pastry right in your own kitchen with this incredible homemade cannoli recipe. Imagine crisp, golden shells, delicately coated in cinnamon sugar, filled to perfection with a sweet, creamy ricotta cannoli filling that simply melts in your mouth. This comprehensive guide will show you how to master this classic dessert, whether you prefer to deep fry for authentic crispiness, use an air fryer for a lighter touch, or bake for ultimate convenience. Forget the fancy Italian bakeries; your kitchen is about to become the new destination for the best cannolis!
Unveiling the Magic of Homemade Cannolis
For many years, I associated cannolis exclusively with special occasions, fancy Italian restaurants, or trips to my favorite Italian bakery. They always seemed like an intimidating, complex dessert, reserved only for seasoned pastry chefs. However, that perception completely changed once I ventured into making them at home. To my pleasant surprise, crafting these elegant pastries is far easier than I ever imagined. While it does require a bit of time and patience, the reward – a perfectly balanced, utterly delicious homemade cannoli – is absolutely worth every moment of effort. Get ready to impress your family and friends with this incredible Italian treat!
What Exactly Is a Cannoli?
A cannoli, plural cannolis (or more traditionally, cannoli), is a beloved Italian pastry originating from Sicily. At its heart, a cannoli features a crisp, tube-shaped shell, traditionally deep-fried, that encases a luscious, sweet, and creamy filling made primarily from ricotta cheese. The word “cannoli” itself derives from “canna,” meaning “little tube,” referring to the cane reeds originally used to form the shells.
The beauty of a cannoli lies in its two harmonious components: the golden-brown shell and the rich filling. The shell boasts a unique dough, often made with a hint of Marsala wine. This special ingredient is not just for flavor; it contributes significantly to the dough’s workability and, more importantly, ensures an incredibly flaky, bubbly, and crisp texture once cooked. While deep frying is the classic method for achieving this iconic crunch, modern techniques allow for equally delightful results using an air fryer or even baking in an oven. Below, you’ll find detailed instructions for all three methods, so you can choose the one that best suits your kitchen and preferences.
The Irresistible Heart: Cannoli Filling
The filling is undoubtedly what makes a cannoli so memorable. Known for its delicate texture and sweet flavor, traditional cannoli filling is centered around fresh ricotta cheese. Sometimes, mascarpone cheese is also incorporated to add an extra layer of richness and smoothness. The filling is typically sweetened with powdered sugar and often enhanced with a touch of vanilla extract, cinnamon, and mini chocolate chips, which provide delightful bursts of flavor and texture. The key to a perfect filling is ensuring the ricotta is well-drained, preventing a watery or grainy consistency. This sweet, creamy mixture is so delightful, it can even be enjoyed on its own as a dip, served alongside your favorite cookies or fresh fruit for a simpler dessert.
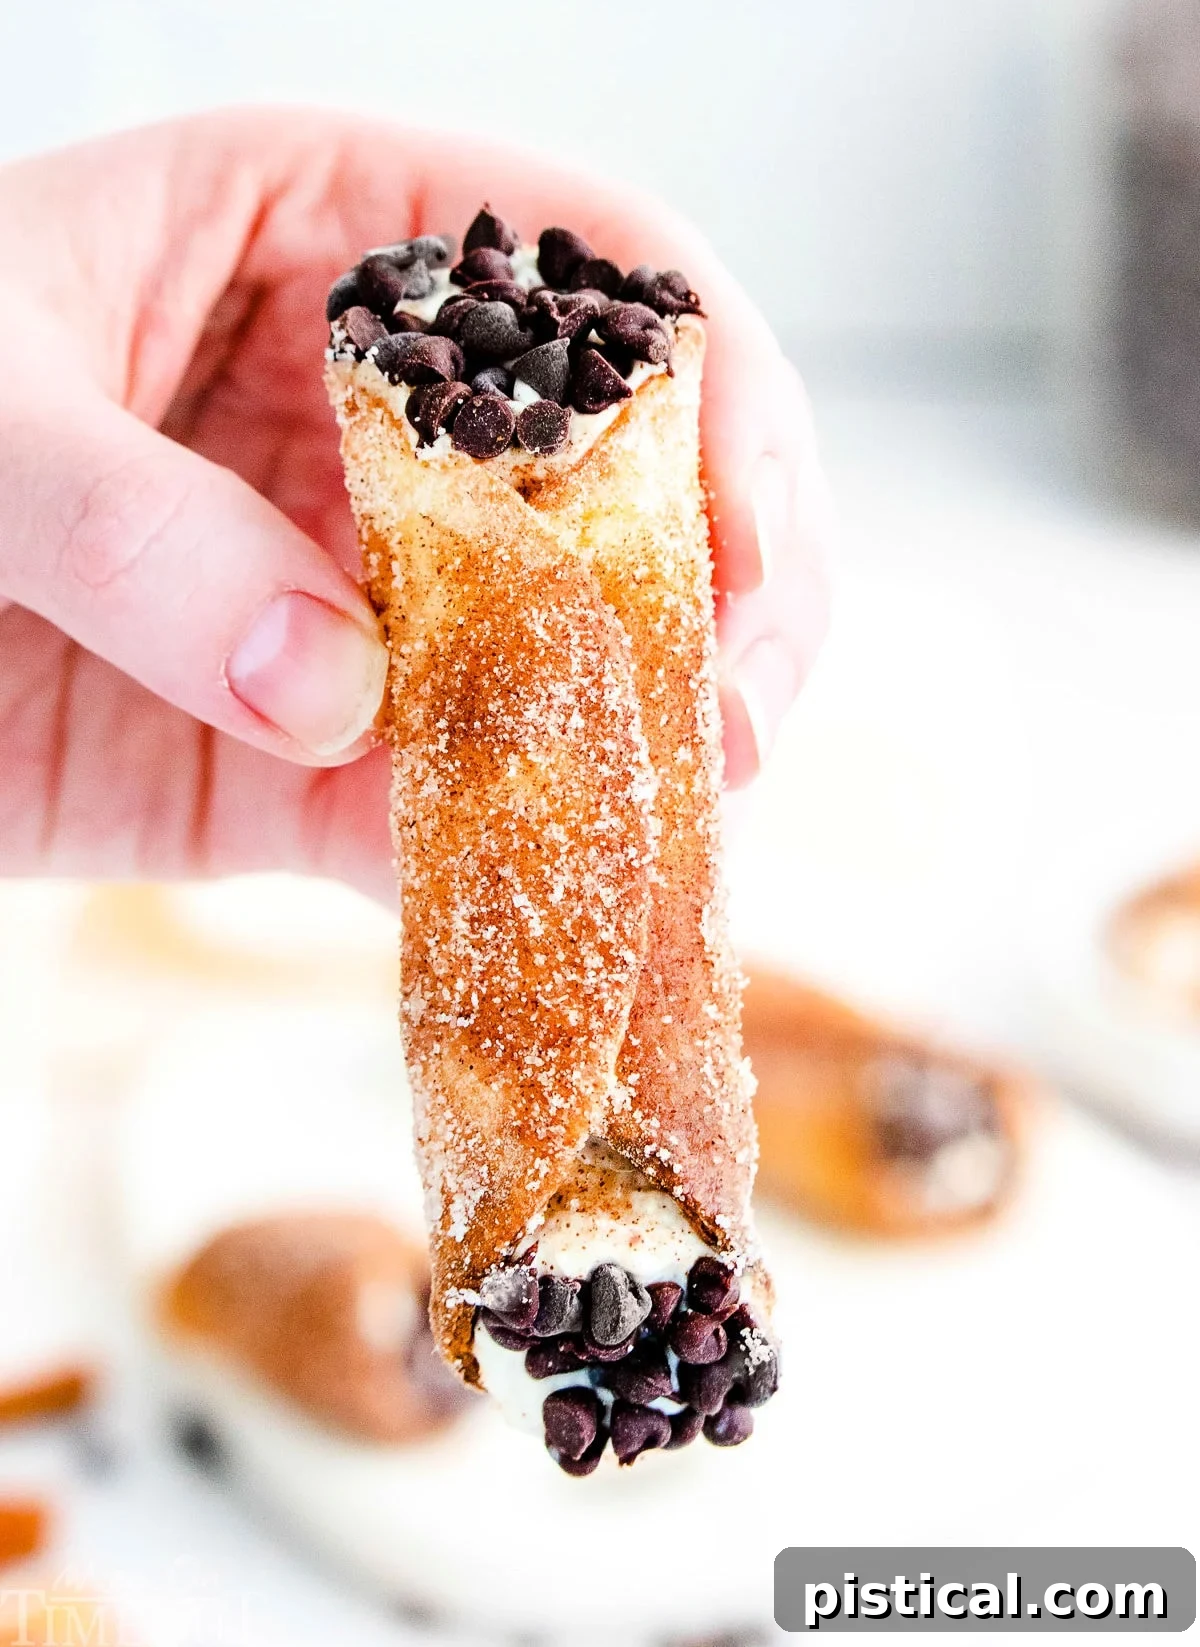
Clever Tip! Don’t have cannoli tubes (forms) on hand and prefer not to buy them? No problem! You can easily craft your own makeshift tubes using aluminum foil. Simply mold the foil into a cylindrical shape, ensuring it’s sturdy enough to maintain its form. Wrap your cannoli dough around these homemade forms, and they’ll work perfectly, helping you achieve those classic shell shapes without any special equipment.
Essential Cannoli Recipe Ingredients
Crafting exquisite homemade cannolis requires surprisingly few ingredients for both the shells and the filling. The optional churro-style cinnamon sugar coating adds an extra layer of deliciousness that you won’t want to miss. Below is a breakdown of what you’ll need. The full, printable recipe with exact measurements can be found in the recipe card at the bottom of this post.
Cannoli Shell Ingredients
- All-purpose flour: The fundamental building block for your cannoli shells, providing structure and texture.
- Granulated sugar: Adds a subtle sweetness to the shell dough, balancing the savory notes.
- Salted butter: Contributes richness and tenderness to the dough. If using unsalted butter, remember to add 1/4 teaspoon of salt to the recipe.
- Large egg: Used to bind the dough. The egg yolk is incorporated into the dough, while the egg white is saved for sealing the shells.
- Marsala wine: The traditional secret ingredient that imparts a distinctive flavor and helps achieve the characteristic flakiness of the cannoli shells. If Marsala wine is unavailable or you prefer an alcohol-free option, dry white wine or even white grape juice can be excellent substitutes.
Cannoli Filling Ingredients
- Heavy whipping cream: When whipped, it creates a light, airy, and incredibly smooth texture, making the filling wonderfully delicate.
- Ricotta cheese: The star of the cannoli filling, providing its signature creamy texture and mild, slightly sweet flavor. Be sure to strain it properly for the best results.
- Vanilla extract: Enhances the sweetness and provides a warm, aromatic balance to the filling.
- Ground cinnamon: A classic spice that adds a comforting warmth and depth of flavor to the ricotta mixture.
- Mini chocolate chips: Scattered throughout the filling, these add delightful pockets of chocolatey goodness, contrasting beautifully with the creamy texture.
Optional Churro Coating Ingredients
For an extra layer of flavor and a delightful textural contrast, consider adding this simple churro-inspired coating:
- Melted butter: Used to brush the shells, helping the cinnamon sugar adhere.
- Granulated sugar: Forms the sweet base of the coating.
- Ground cinnamon: Infuses the coating with a warm, spicy aroma and flavor, reminiscent of traditional churros.
Mastering the Art of Cannoli Making: Step-by-Step Guide
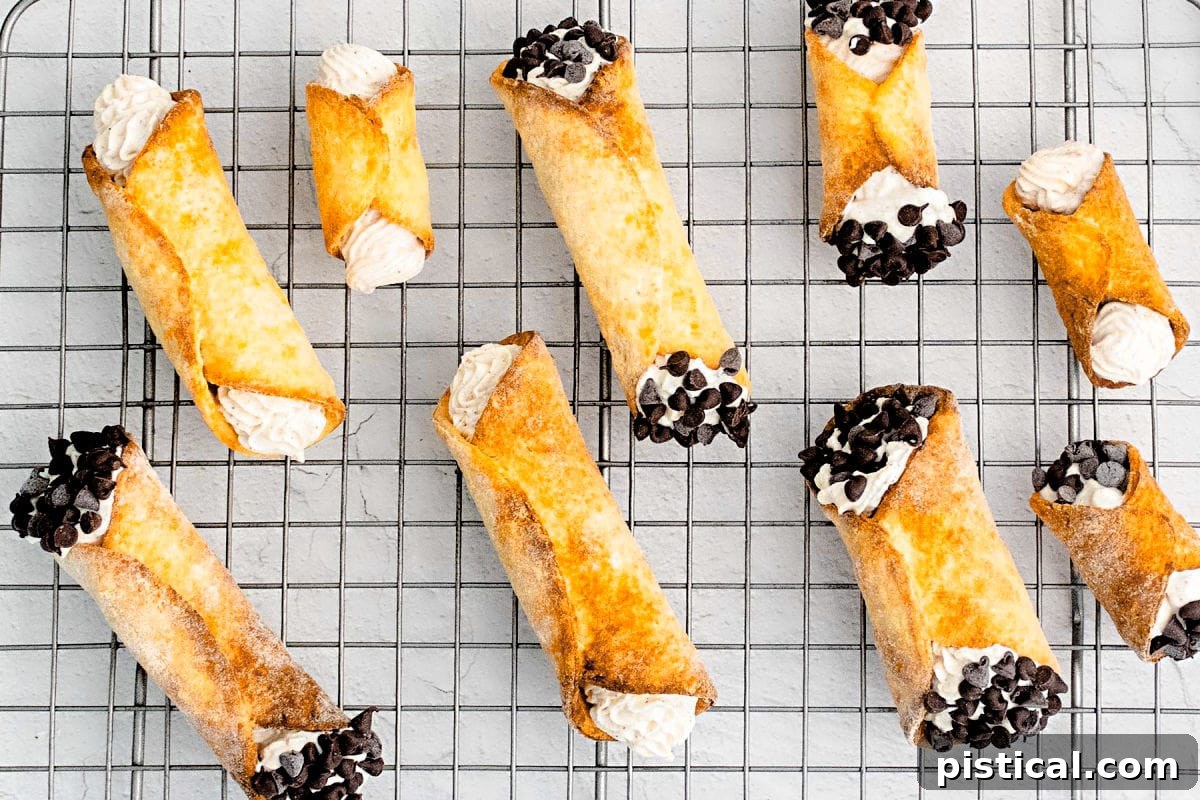
The journey to homemade cannolis begins with crafting the perfect shell. You have the flexibility to choose from three distinct cooking methods: the traditional deep-frying technique, the healthier air fryer option, or the straightforward baking method. Each method yields delicious results, allowing you to select what works best for your kitchen and dietary preferences. Detailed instructions for all three are provided below, along with a full printable recipe card at the end of this article.
Crafting the Cannoli Dough
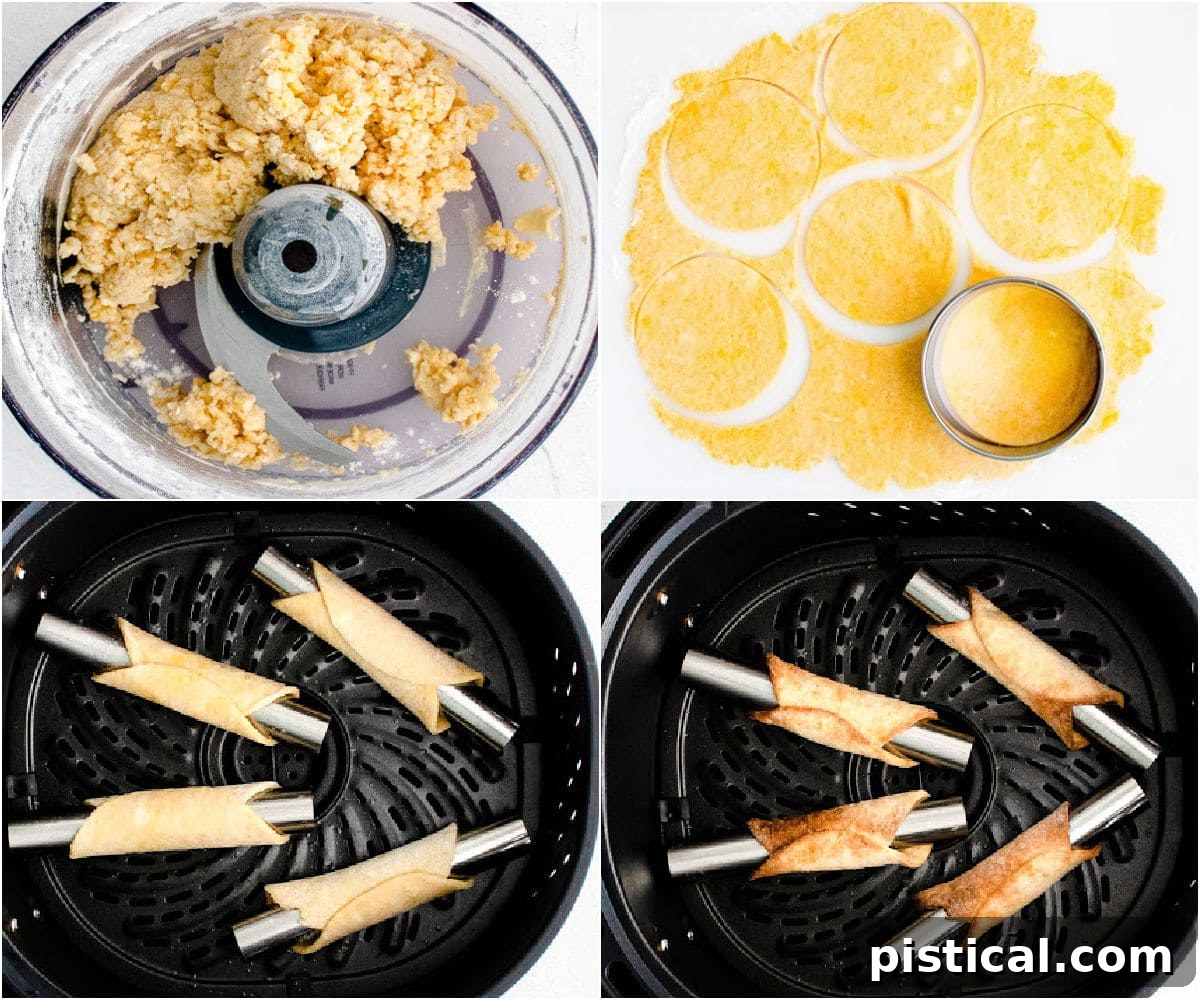
- Combine Dry Ingredients and Butter: In the bowl of a food processor, add the all-purpose flour, granulated sugar, and cubed salted butter. Pulse the ingredients together using short bursts until the mixture resembles coarse meal with small, pea-sized pieces of butter distributed throughout. This step ensures the butter is evenly incorporated without overworking it, which is crucial for a tender, flaky shell.
- Incorporate Wet Ingredients: Add the egg yolk and Marsala wine (or your chosen substitute) to the food processor. Continue to pulse until a cohesive ball of dough begins to form. Be careful not to overmix; stop as soon as the dough comes together.
- Chill the Dough: Remove the dough from the food processor and wrap it tightly in plastic wrap. Place it in the refrigerator to chill for a minimum of 30 minutes, or up to 4 hours. Chilling allows the gluten to relax, making the dough easier to roll and preventing it from shrinking during cooking.
- Roll and Cut Shells: Lightly flour a clean work surface and your rolling pin. Remove the chilled dough from the fridge and roll it out evenly until it’s very thin, about ⅛ to 1/16 inch thick. The thinner the dough, the crisper your shells will be. Use a 3-inch round cookie cutter to cut out circles. Gather any leftover dough, re-roll it, and cut out more circles until all dough is used. For smaller cannolis, a 2-inch cutter can be used.
- Prepare Egg White Wash: In a small bowl, lightly beat the remaining egg white until it’s slightly frothy and loose. This will serve as the “glue” to seal your cannoli shells. Set aside.
Air Fryer Cannoli Shell Instructions (A Lighter Alternative)
For a less oily but still wonderfully crisp cannoli shell, the air fryer is an excellent choice:
- Preheat Air Fryer: Preheat your air fryer to 400°F (200°C).
- Form and Seal Shells: Lightly spray your cannoli tubes with nonstick cooking spray. Take one dough circle and loosely wrap it around a tube. Brush one edge of the dough with the prepared egg white wash. Gently press the opposite edge of the dough over the egg-washed side, sealing the edges firmly together to create a secure tube. Repeat this process with the remaining dough circles and tubes.
- Air Fry Shells: Carefully place the prepared cannolis in the air fryer basket, ensuring they are not overcrowded to allow for even cooking. Cook for 5 to 7 minutes, or until the shells are firm, golden, and wonderfully crisp.
- Cool Completely: Remove the cannolis from the air fryer. Using tongs, carefully slide the hot shells off the molds. Transfer them to a wire rack and allow them to cool completely before attempting to fill them. Cooling is crucial for maintaining their crispness.
Deep Frying Instructions (The Traditional Method)
For authentic, bubbly, and deeply golden cannoli shells, deep frying is the classic way to go:
- Heat Oil: Pour about 2 inches of vegetable oil into a heavy-bottomed pot or Dutch oven. Heat the oil to 350°F (175°C). Use a candy or deep-fry thermometer to ensure the oil maintains a consistent temperature.
- Form and Seal Shells: Lightly spray your cannoli tubes with nonstick spray. Wrap a dough circle loosely around a tube. Brush one end of the dough with egg white and press the other end firmly on top, sealing it. Repeat for all shells, working in batches if necessary.
- Fry to Golden Perfection: Carefully lower the cannoli-wrapped tubes into the hot oil, using tongs. Fry for about 1 to 2 minutes, turning occasionally, until they achieve a beautiful golden-brown color and are crisp. Avoid overcrowding the pot, as this can lower the oil temperature and result in greasy shells. Maintain the oil temperature at 350°F (175°C).
- Drain and Cool: Remove the fried shells from the oil using tongs and place them on a plate lined with paper towels to absorb any excess oil. Once slightly cooled, carefully slide the shells off the metal tubes. If they stick, gently twist or use another pair of tongs to assist. Allow the empty shells to cool completely on a wire rack before filling. Ensure the metal tubes cool down before wrapping new dough around them.
Baking Instructions (For Simplicity and Less Fuss)
If you prefer a hands-off approach, baking provides a great alternative for crisp shells:
- Prepare Oven and Baking Sheet: Preheat your oven to 350°F (175°C). Line a large baking sheet with parchment paper to prevent sticking.
- Form and Seal Shells: Lightly spray cannoli tubes with nonstick spray. Wrap a dough circle loosely around each tube. Brush one end of the dough with egg white and press the other end over it, sealing it securely. Arrange the prepared cannolis on your lined baking sheet, leaving some space between each.
- Bake Until Golden: Bake for 15 to 17 minutes, or until the shells are golden brown and feel crisp to the touch. Baking times may vary depending on your oven, so keep an eye on them.
- Cool Completely: Remove the baking sheet from the oven. Carefully remove the cannoli shells from their molds and place them on a wire rack to cool completely. Just like with frying and air frying, ensure they are fully cooled before adding the filling.
Preparing the Creamy Cannoli Filling
- Strain the Ricotta: This is a critical step for a thick, non-watery filling. If your ricotta cheese is very wet, place it in a fine-mesh sieve lined with cheesecloth and let it drain for several hours, or even overnight, in the refrigerator. Alternatively, spread the ricotta on a few layers of paper towels, cover with more paper towels, and gently press to absorb excess moisture. The drier the ricotta, the better the filling texture will be.
- Whip Heavy Cream: In a large bowl, using a hand mixer or stand mixer with a whisk attachment, beat the heavy whipping cream on high speed until stiff peaks form. This usually takes about 3 to 4 minutes. Be careful not to over-whip it into butter.
- Fold in Remaining Ingredients: Gently fold the strained ricotta cheese into the whipped cream. Add the vanilla extract, ground cinnamon, and mini chocolate chips. Continue to fold until all ingredients are just combined and the mixture is smooth and uniform.
- Chill the Filling: Transfer the prepared cannoli filling into a piping bag fitted with a wide-opening tip (or simply snip off the end of the bag for a wider opening). Place the piping bag in the refrigerator to chill until you are ready to assemble and serve your cannolis. This helps the filling firm up slightly and makes piping easier.
Churro Coating and Assembly
This “churro coating” step is entirely optional but highly recommended for an extra layer of flavor and texture that makes these cannolis truly unique!
- Prepare Coating Mixture: Just before you plan to serve, melt the butter in one large bowl. In another separate large bowl, combine the granulated sugar and ground cinnamon, mixing well.
- Coat the Shells: Take each cooled cannoli shell, brush the entire outside with melted butter, and then immediately roll it in the cinnamon-sugar mixture until it’s evenly coated. The butter helps the sugar adhere beautifully.
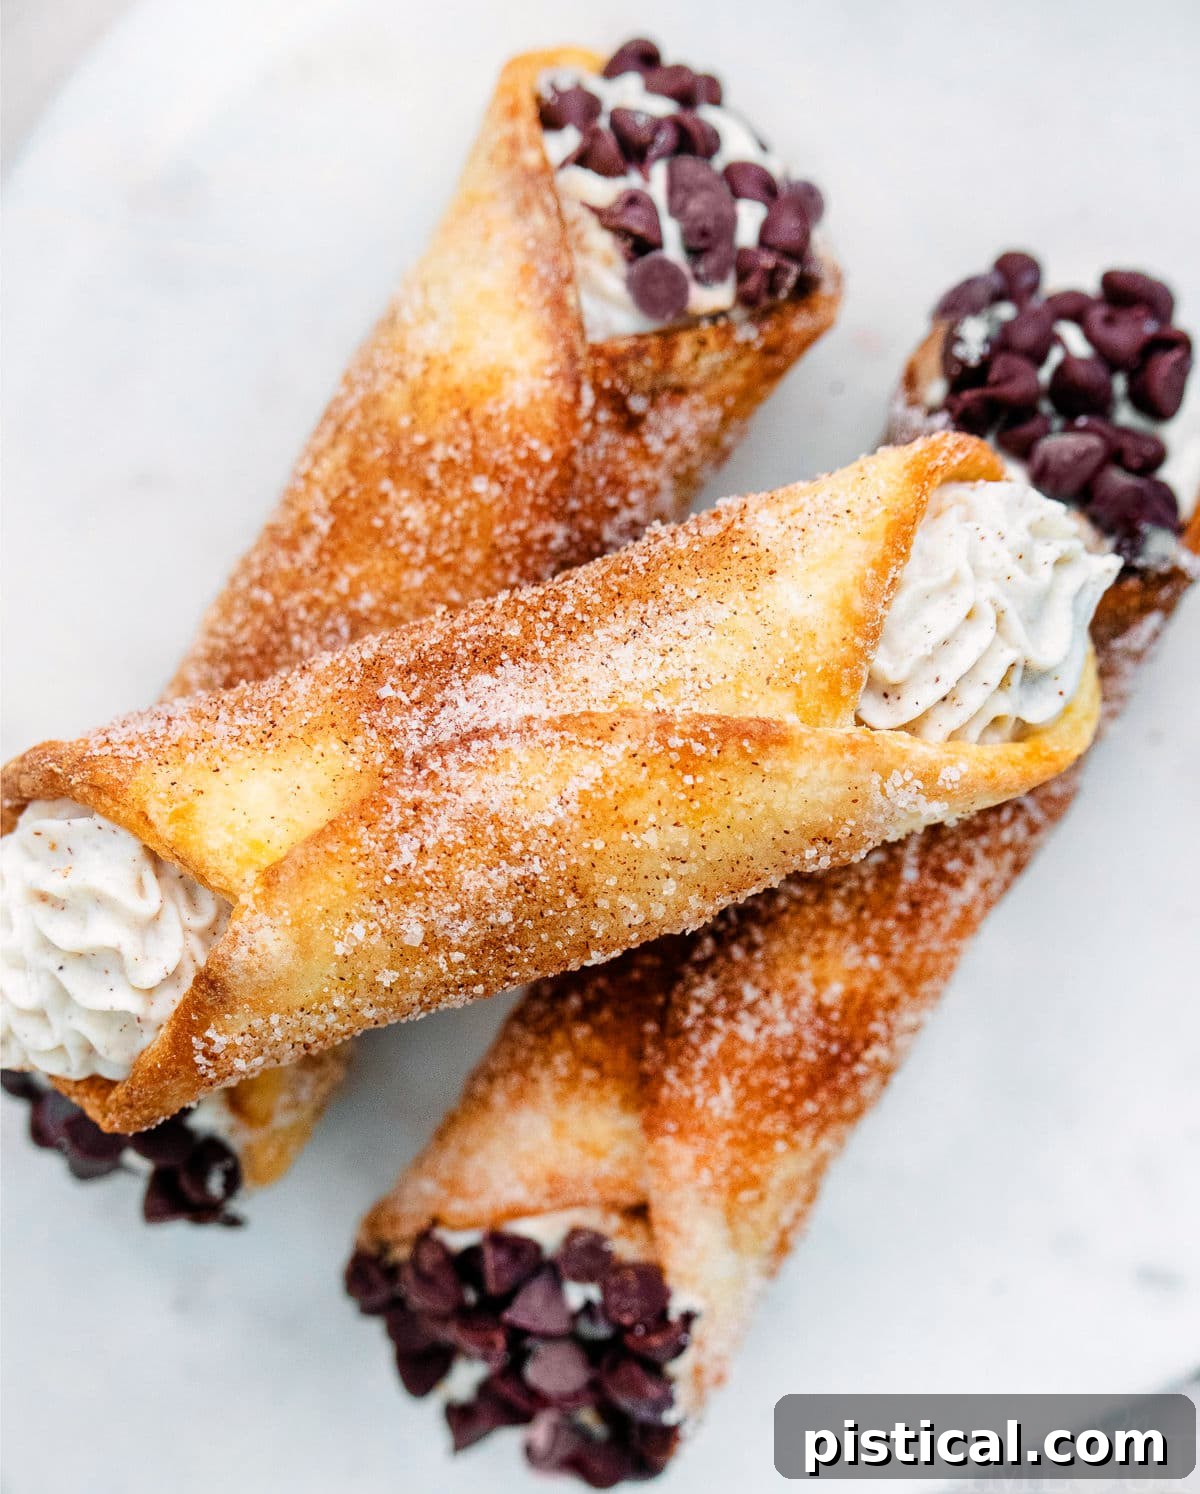
- Fill and Garnish: Retrieve your piping bag filled with the chilled cannoli cream. Using the piping bag, fill each cannoli shell from both ends, meeting in the middle. This ensures the cannoli is completely filled. For a final flourish, sprinkle the ends of the filled cannolis with finely chopped pistachios or additional mini chocolate chips.
- Serve Immediately: Cannolis are best enjoyed fresh, right after they have been filled, to ensure the shells remain wonderfully crisp.
Cannoli Recipe FAQs
While Marsala wine is traditional and adds a unique depth of flavor and flakiness, it is not strictly required. A dry white wine can be used as a substitute for a similar flavor profile. For an alcohol-free version, white grape juice works well, though the flavor will be slightly different.
Yes, you can prepare components of cannolis ahead of time to streamline your serving process. Cannoli shells can be cooked up to 1 week in advance. Store them in an airtight container at room temperature to maintain their crispness. The cannoli filling can also be prepared up to 4 days in advance and should be stored in an airtight container in the refrigerator. However, it is crucial to assemble and fill the cannolis just before serving to prevent the shells from becoming soggy from the moist ricotta filling. This ensures the best texture and taste experience.
The key to preventing soggy shells is to fill them just before serving. The moisture from the ricotta filling can quickly soften the crisp shell. If you need to prepare ahead, store shells and filling separately and combine them at the last minute. You can also coat the inside of the shells with a thin layer of melted chocolate (let it set) before filling, creating a barrier against moisture.
Absolutely! Using store-bought cannoli shells is a fantastic time-saving shortcut, especially if you’re pressed for time or new to making cannolis. Focus on preparing the homemade ricotta filling, which is where much of the fresh flavor lies, and then simply fill the pre-made shells. It’s a great way to enjoy this dessert with minimal effort.
Creative Variations to Try
Once you’ve mastered the basic cannoli recipe, feel free to experiment with these delicious variations to customize your Italian dessert:
- Chocolate-Dipped Shells: Before filling, dip the ends or the entire cannoli shell in melted dark, milk, or white chocolate. Let the chocolate set completely for an extra layer of flavor and a beautiful presentation.
- Citrus Zest Infusion: Add a bit of fresh orange or lemon zest to your cannoli filling. The bright citrus notes beautifully complement the creamy ricotta and cinnamon.
- Elegant Dusting: Once filled and arranged on a serving tray, dust your cannolis with a light sprinkling of cocoa powder or powdered sugar for an elegant finish.
- Different Toppings: Beyond pistachios and chocolate chips, consider other garnishes like candied fruit, mini M&M’s, grated dark chocolate, or a drizzle of caramel sauce.
- Flavorful Fillings: Experiment with adding a teaspoon of espresso powder, a splash of almond extract, or even a spoonful of fruit preserves (like cherry or fig) to a portion of your ricotta filling for unique taste sensations.
More Sweet Cinnamon Recipes to Explore
If you love the warm, inviting flavor of cinnamon as much as we do, you’ll adore these other delightful recipes:
- Brown Sugar Cinnamon Butter: Perfect for spreading on toast or pancakes.
- Maple Cinnamon Glazed Peanut Butter Cookies: A comforting cookie with a hint of maple and cinnamon.
- Cinnamon Bread: A warm and fragrant bread, ideal for breakfast or a sweet snack.
- The BEST Snickerdoodle Recipe: Classic soft and chewy cookies rolled in cinnamon sugar.
- Cranberry Almond Breakfast Cookies: A healthier, flavorful way to start your day with cinnamon.
Churro Cannolis (Classic Cannoli Recipe with a Sweet Twist)

Homemade Cannolis coated in cinnamon and sugar are filled with a sweet and creamy ricotta cannoli filling that hits all the right notes! This cannoli recipe can be deep fried, air fried or baked!
Course: Dessert
Cuisine: Italian
Keyword: cannoli filling, cannoli filling recipe, cannoli recipe, cannolis
Prep Time: 20 minutes
Cook Time: 15 minutes
Servings: 12
Author: Trish – Mom On Timeout
Ingredients
Cannoli Shells
- 1 cup all purpose flour
- 2 tablespoons granulated sugar
- 2 tablespoons salted butter
- 1 large egg (separated)
- ¼ cup marsala wine
Cannoli Filling
- ¼ cup heavy whipping cream
- 1 cup ricotta cheese (strained)
- 1 teaspoon vanilla extract
- ½ teaspoon ground cinnamon
- 3 tablespoons mini chocolate chips
Cinnamon Sugar Coating
- 4 tablespoons butter
- ¼ cup granulated sugar
- 1 teaspoon ground cinnamon
Garnish (Optional)
- Finely chopped pistachios
- Mini chocolate chips
Instructions
Cannoli Shells
- Add flour, sugar and butter to the bowl of a food processor. Pulse together until the mixture forms small pea-sized pieces.
- Pulse in the egg yolk and marsala wine just a ball of dough forms.
- Remove the dough from the food processor and tightly wrap with plastic wrap. Place in the fridge to chill for at least 30 minutes or up to 4 hours.
- Remove the dough from the fridge and roll out on a lightly floured surface until it is about ⅛ to 1/16” thick. (If sticky, flour your rolling pin as well as your surface.) Use a round cookie cutter to cut out 3 inch circles. Gather leftover dough and roll out again to get as many cannolis as you can. (Note: Cannolis can be made larger or smaller depending on your preference. Feel free to use a 2 inch cutter if you prefer.)
- In a small bowl, beat egg white until nice and loose. Set aside.
Air Fryer Instructions
- Preheat your air fryer to 400°F (200°C).
- Lightly spray a cannoli tube with nonstick spray and loosely wrap a dough circle around it. Brush one end of the dough with egg white and press the other end on top, sealing it together on one side. Repeat with remaining dough.
- Place the cannolis in the air fryer and cook them for 5 to 7 minutes until the shells are firm and crisp.
- Remove the cannolis from the molds and allow them to cool completely on a wire rack.
Frying Instructions
- Add enough vegetable oil to a large pot or dutch oven to fill the pot to about 2 inches deep. Heat oil to 350°F (175°C).
- Lightly spray a cannoli tube with nonstick spray and loosely wrap a dough circle around it. Brush one end of the dough with egg white and press the other end on top, sealing it together on one side. Repeat with remaining dough.
- Use tongs to pick up the cannoli tubes and place in the hot oil. Fry until golden brown, about 1 to 2 minutes. Use the tongs to carefully remove shells and place on paper towels to absorb excess oil. If the shell does not slide off easily, use another set of tongs to carefully pull shells off of the tubes. Do not add too many shells at a time to the oil as it will reduce the temperature. Keep the oil at 350°F (175°C). Let the tubes cool before wrapping dough on them again.
- Transfer shells to a rack to let cool completely before filling.
Baking Instructions
- Preheat oven to 350°F (175°C). Line a large baking sheet with parchment paper and set aside.
- Lightly spray a cannoli tube with nonstick spray and loosely wrap a dough circle around it. Brush one end of the dough with egg white and press the other end on top, sealing it together on one side. Repeat with remaining dough.
- Place on prepared baking sheet and bake for 15 to 17 minutes or until golden brown.
- Remove the cannolis from the molds and allow them to cool completely on a wire rack before filling.
Cannoli Filling
- Strain ricotta (allow time for this) if very wet or spread ricotta on paper towels to absorb excess moisture. I like to do a layer of paper towels on the bottom and another layer on top of the ricotta and gently press to release any extra moisture.
- Using a hand or stand mixer, whisk the heavy whipping cream on high speed until stiff peaks form, about 3 to 4 minutes.
- Fold in the strained ricotta, vanilla extract, cinnamon, and mini chocolate chips until incorporated.
- Transfer the mixture to a piping bag and set aside in the fridge until ready to use.
Coat & Assemble
- Just before serving, melt the butter in a large bowl. Combine the cinnamon and sugar in another large bowl. Brush the outside of the cannolis with melted butter and then roll in the cinnamon-sugar mixture.
- Use the piping bag with a tip to fill the cannolis. Sprinkle the ends of the cannolis with crushed pistachios or additional mini chocolate chips and serve immediately.
Nutrition Information
Calories: 198kcal | Carbohydrates: 18g | Protein: 4g | Fat: 12g | Saturated Fat: 7g | Trans Fat: 1g | Cholesterol: 47mg | Sodium: 78mg | Potassium: 49mg | Fiber: 1g | Sugar: 9g | Vitamin A: 368IU | Vitamin C: 1mg | Calcium: 58mg | Iron: 1mg