
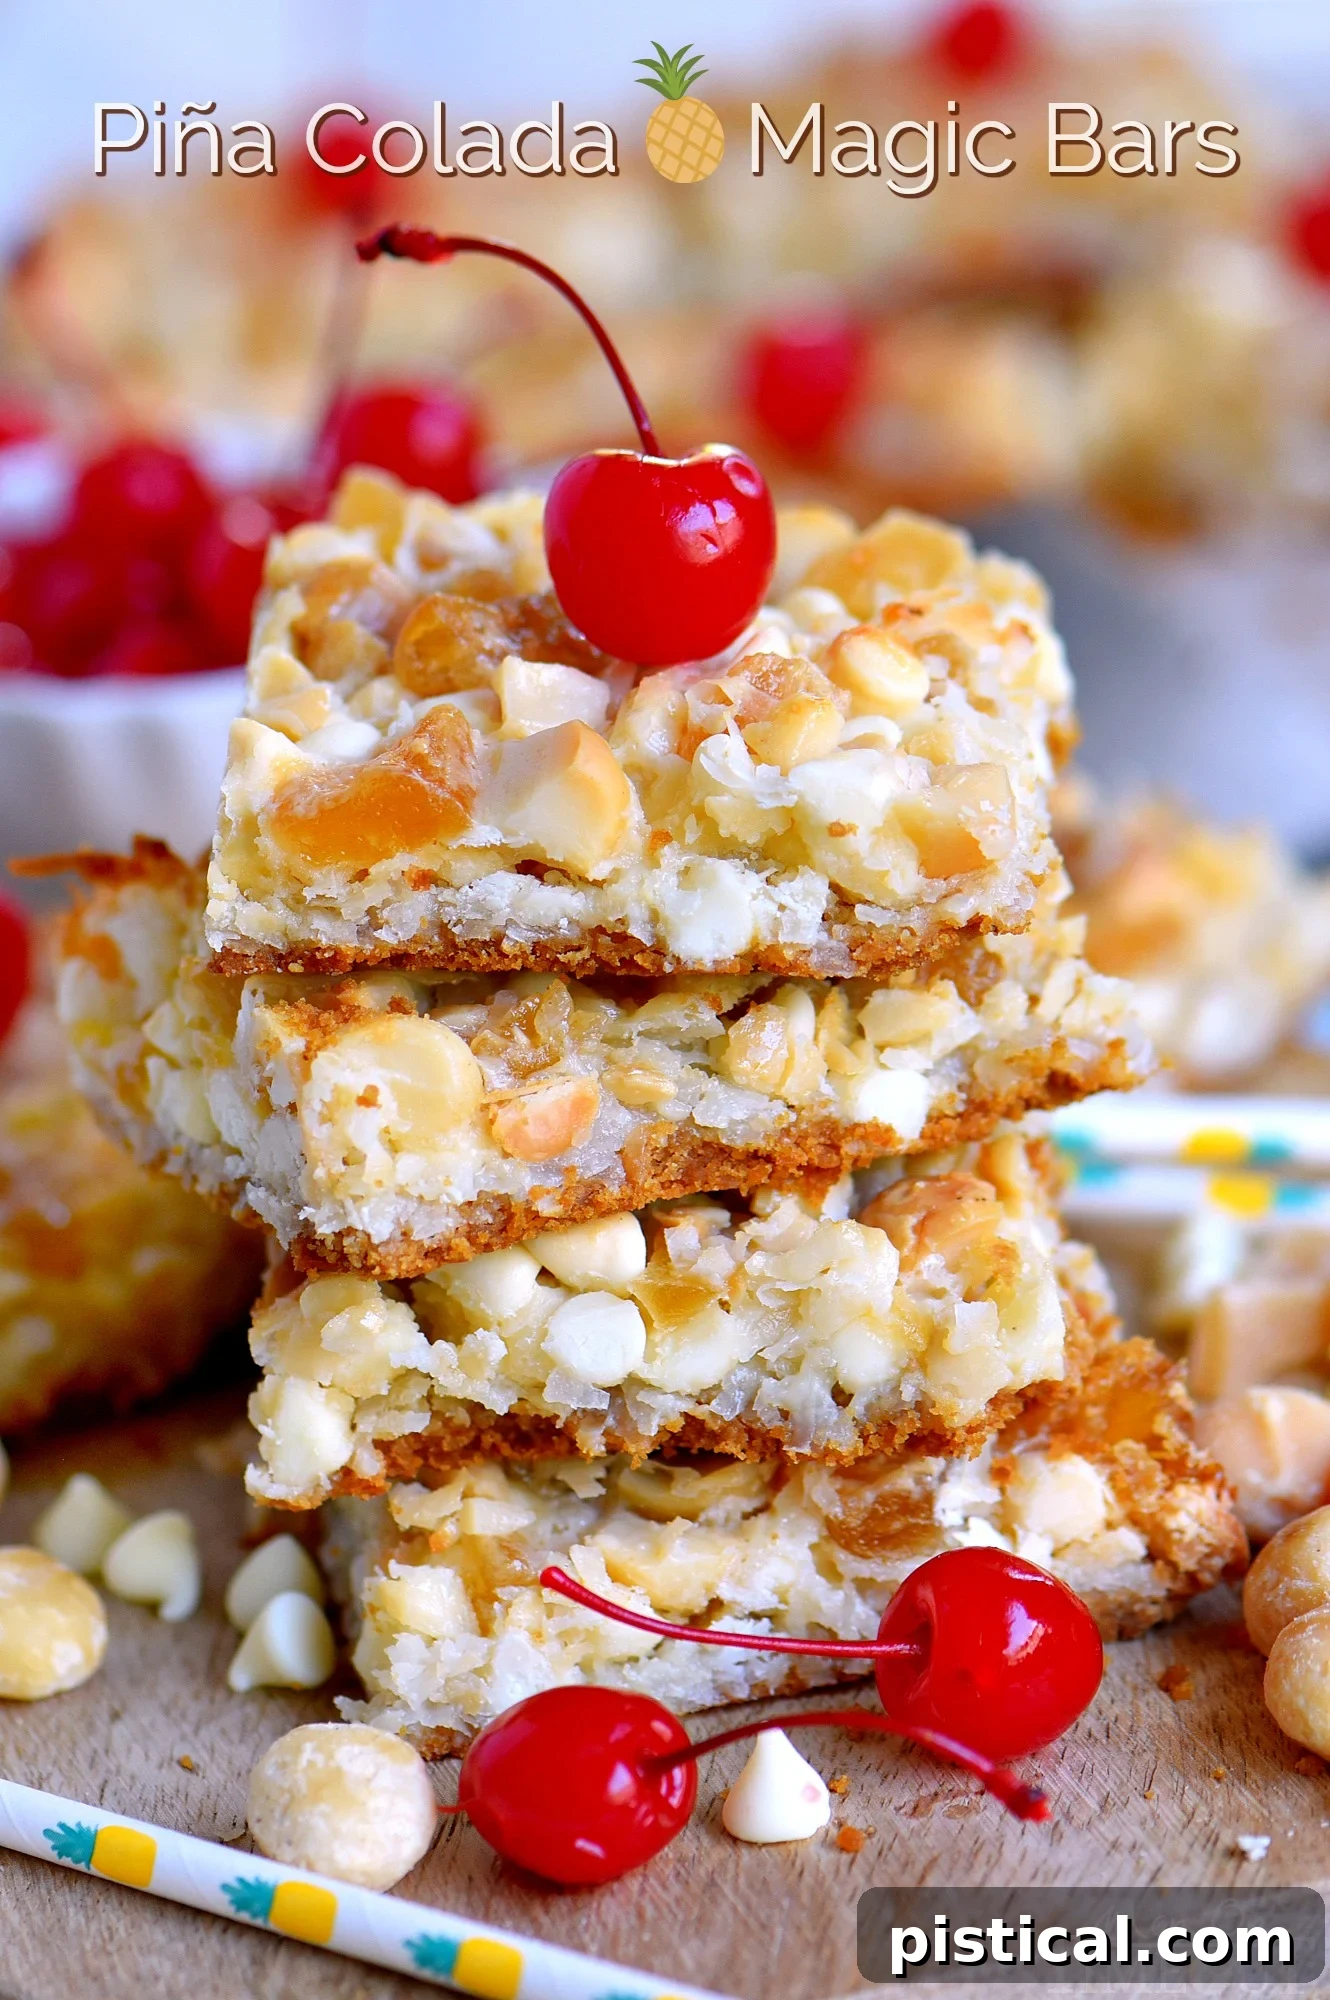
Embrace the spirit of the islands with these delightfully easy Piña Colada Magic Bars. This dessert ingeniously blends the iconic, sun-kissed flavors of a classic Piña Colada cocktail with the beloved simplicity of a 7-layer bar. The result is a soft, chewy, and utterly irresistible tropical treat that promises to transport your taste buds to a serene beach paradise with every single bite. Prepare to fall in love with a dessert that’s as enchanting to make as it is to devour!
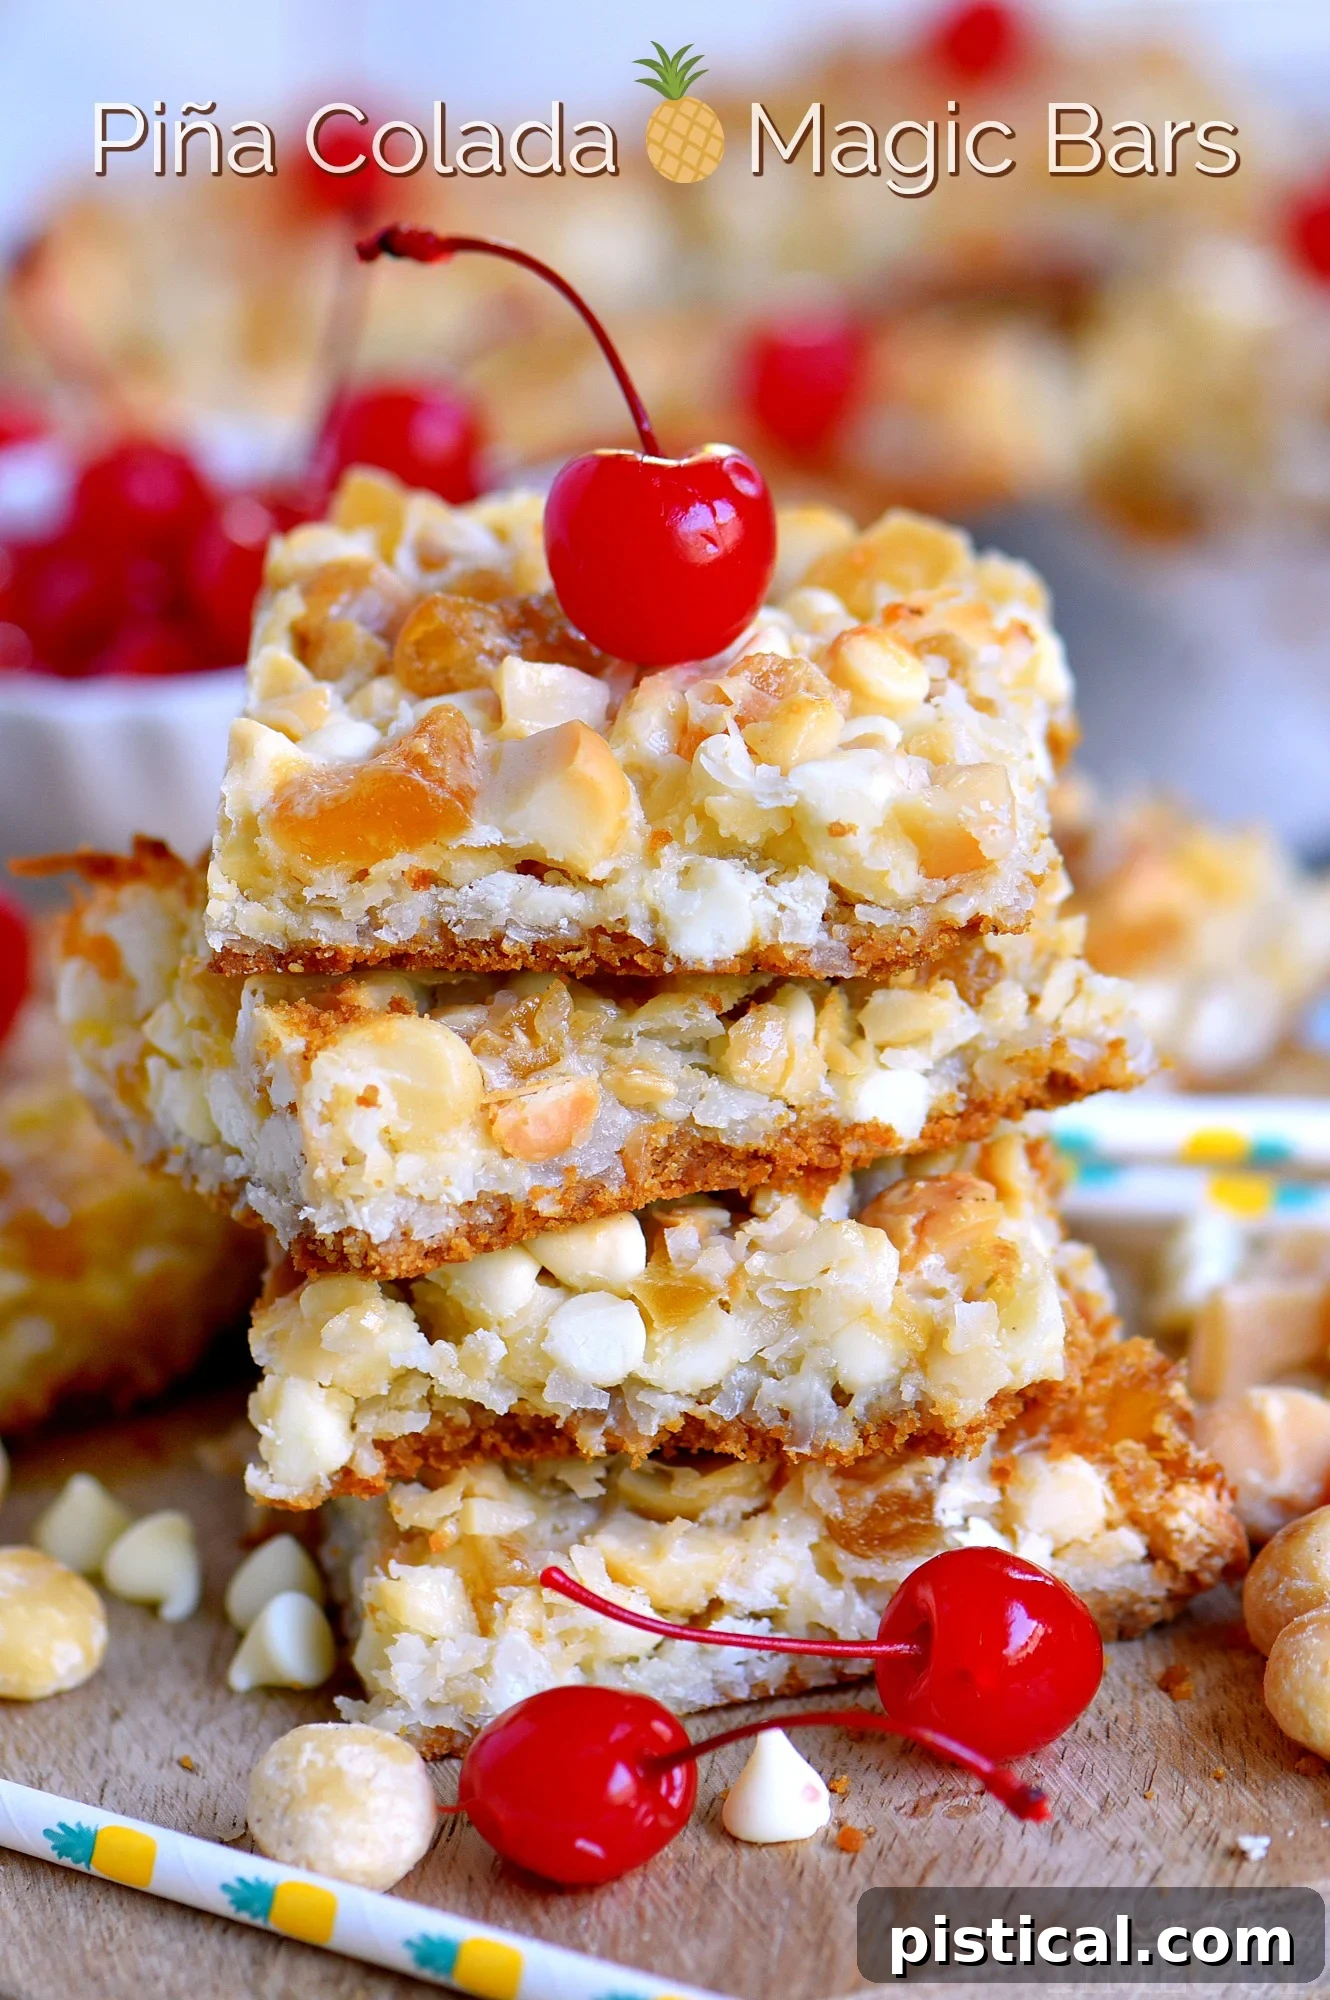
Piña Colada Magic Bars: Your Ultimate Tropical Dessert Escape
There’s something inherently magical about the Piña Colada. That quintessential blend of sweet, tangy pineapple and creamy, aromatic coconut has an unparalleled ability to whisk you away to an island getaway, even if you’re just enjoying it from your kitchen. Add a vibrant maraschino cherry on top, and you’ve captured pure vacation bliss. It’s this captivating flavor profile that inspired these extraordinary Piña Colada Magic Bars.
For those who’ve been with us on our culinary adventures, my enduring obsession with Piña Colada flavors is no secret. We’ve explored this amazing combination in countless forms, from light and airy fluff to comforting banana bread, decadent pies, and even rich fudge. If you’re a fellow enthusiast, you’ll find an entire collection of Piña Colada recipes here that will undoubtedly satisfy your tropical cravings.
Today, we’re transforming everyone’s beloved dessert bar – widely known as “Magic Bars” or “7 Layer Bars” – into a spectacular tropical indulgence. These bars are not just a treat; they’re an experience, promising a taste that will have you dreaming of your next sun-drenched destination and feeling the gentle ocean breeze, all from the comfort of your home kitchen.
What Makes These Piña Colada Magic Bars Truly Magical?
Magic Bars earn their name from their incredibly straightforward preparation and the seemingly magical transformation of simple ingredients into a rich, complex dessert. They typically feature a buttery graham cracker crust topped with layers of sweet and savory mix-ins, all held together by a decadent drizzle of sweetened condensed milk, then baked to golden perfection. Our Piña Colada rendition takes this classic concept and infuses it with vibrant, tropical notes that truly sing.
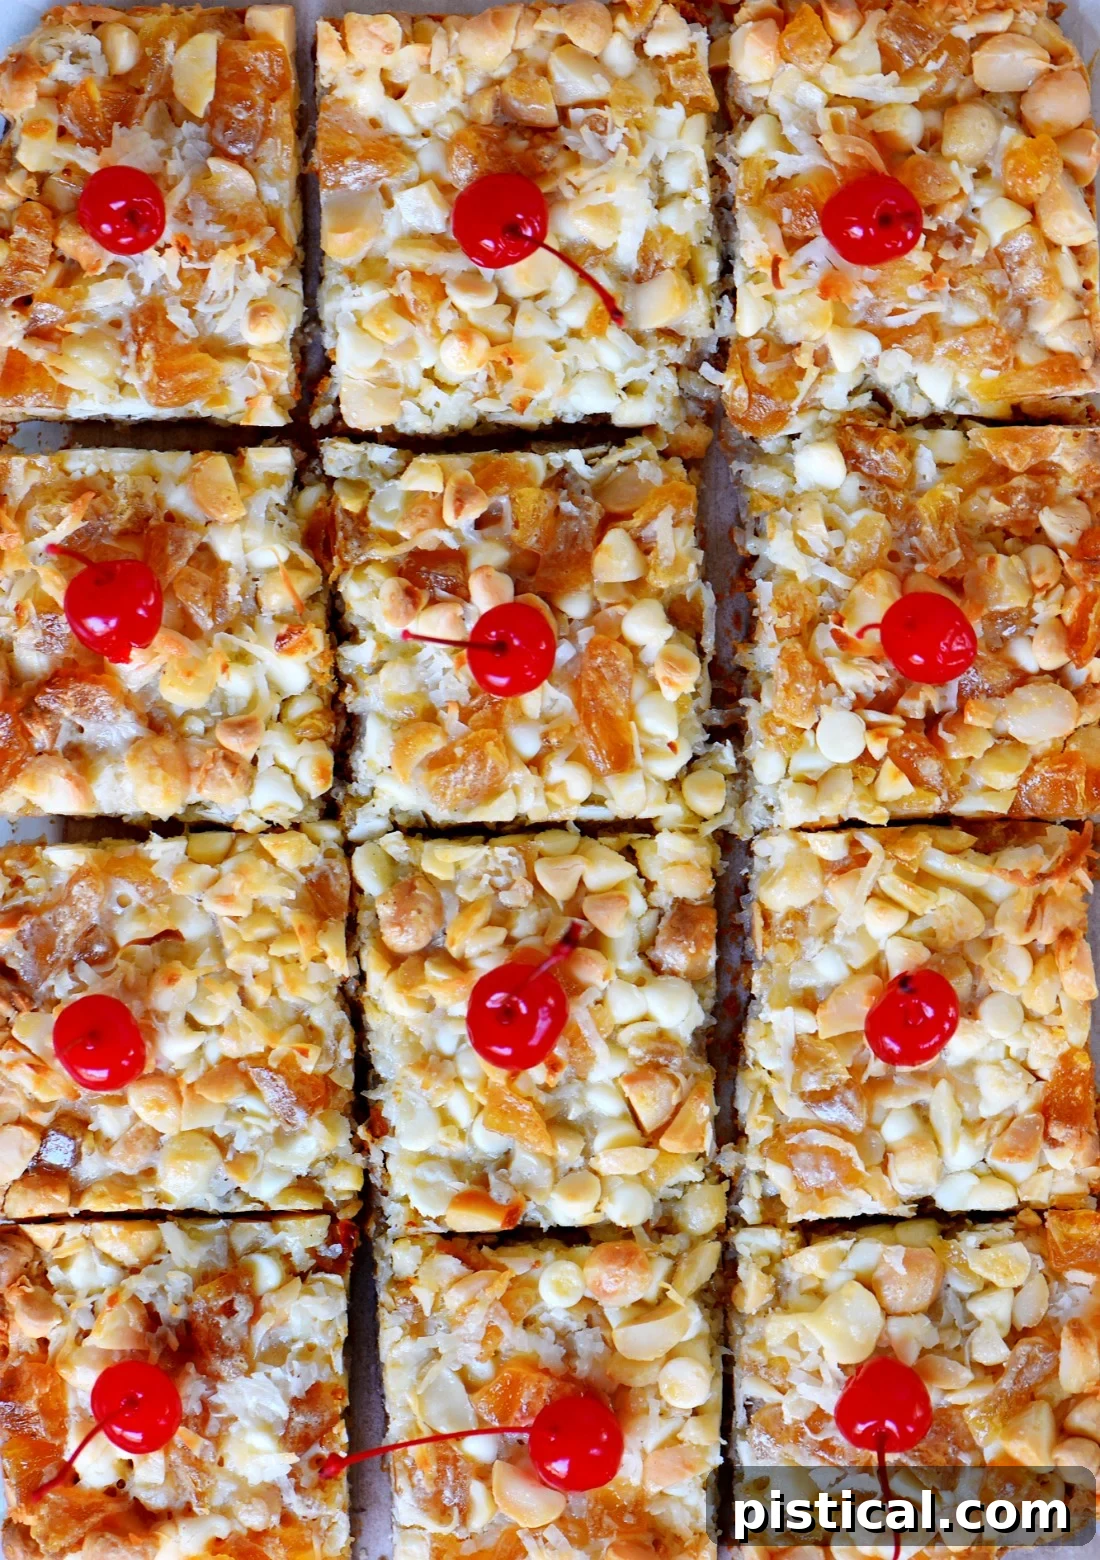
Imagine a sturdy yet tender graham cracker crust providing the perfect foundation. On top, a generous scattering of crunchy macadamia nuts, chewy dried pineapple, creamy white chocolate chips, and fragrant shredded coconut creates an explosion of textures and flavors. But the real “magic” happens when a luscious mixture of sweetened condensed milk, enhanced with a splash of rum (or rum extract for a family-friendly version), is poured over these layers. As it bakes, everything melts and melds together, creating that signature gooey, caramelized, and utterly addictive texture that defines a perfect magic bar.
The beauty of these bars lies not only in their deliciousness but also in their simplicity. They require minimal effort and time, making them an ideal choice for busy bakers, impromptu gatherings, or simply when a powerful craving for something sweet and tropical strikes. These aren’t just bars; they’re bite-sized pieces of paradise, ready to be enjoyed.
Crafting the Perfect Tropical Base: The Graham Cracker Crust
Every exceptional bar dessert begins with an outstanding crust, and these Piña Colada Magic Bars are no exception. Our foundation is a classic graham cracker crust, prized for its delightful crunch and subtle sweetness that perfectly complements the rich toppings. It’s truly a breeze to put together – a balmy, island breeze, you might say! The process involves nothing more than combining crushed graham cracker crumbs with melted butter. This simple mixture forms a cohesive base that, once baked, becomes a firm yet crumbly layer, providing the ideal contrast to the chewy, gooey layers above.
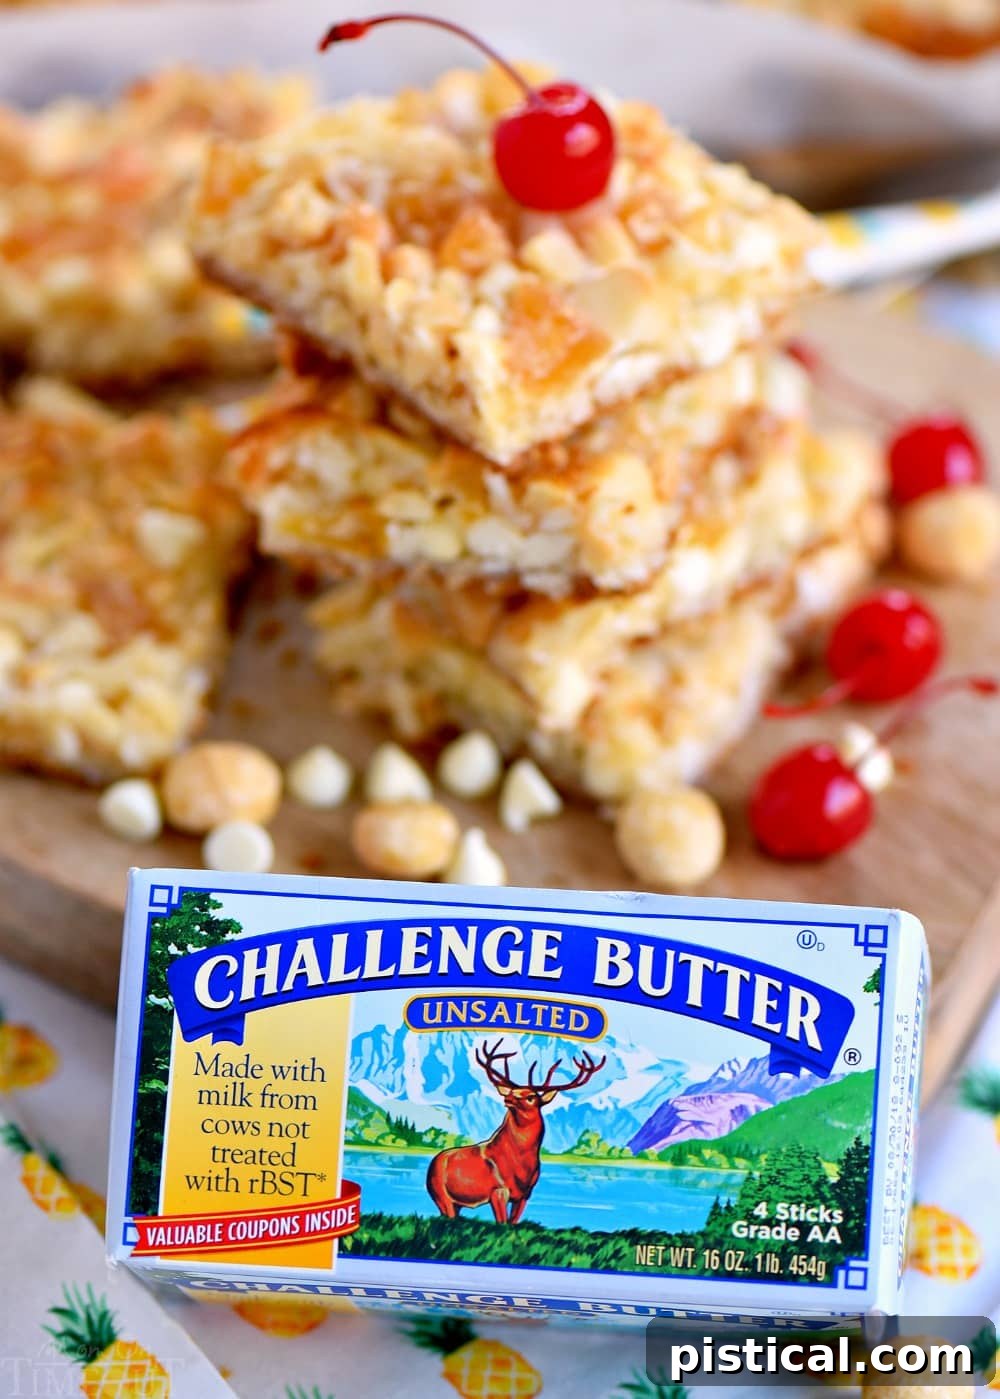
For this super easy graham cracker crust, I always reach for Challenge Butter. Using high-quality butter is essential here, as its flavor forms the backbone of the crust. Challenge Butter is a favorite in my kitchen because it’s crafted the old-fashioned way, from fresh milk and cream sourced from family-owned dairies. This dedication to tradition ensures a butter that’s rich in flavor and superior in texture. It travels from farm to fridge in just two days and is completely free from added hormones, artificial flavors, or fillers. Its natural deliciousness makes it the perfect choice for these Piña Colada Magic Bars, contributing to a crust that’s both flavorful and perfectly crisp.
A Symphony of Tropical Toppings: The Seven Layers of Flavor
Once your buttery graham cracker crust is ready, it’s time to layer on the tropical goodness! This is where the “magic” truly begins, as an array of vibrant ingredients transforms into a cohesive and irresistible treat. Each topping plays a crucial role in delivering that authentic Piña Colada experience, balancing sweetness, tang, crunch, and chew.
-
Sweetened Flaked Coconut: No Piña Colada dessert would be complete without coconut. The sweetened flaked variety adds an essential tropical flavor and a wonderful chewy texture that becomes lightly toasted and fragrant during baking.
-
White Chocolate Chips: These chips melt into creamy pockets of sweetness, providing a smooth contrast to the other textures and a rich, indulgent element that balances the fruity notes.
-
Dried Pineapple: Roughly chopped dried pineapple brings an intense, concentrated pineapple flavor and an additional layer of delightful chewiness. Its natural tanginess brightens the overall profile, ensuring that the pineapple flavor shines through.
-
Chopped Macadamia Nuts: For a delightful crunch and a touch of gourmet elegance, macadamia nuts are the perfect addition. Their buttery, subtle flavor harmonizes beautifully with coconut and pineapple, adding a sophisticated texture and depth to each bite. If you’re feeling extra indulgent, a quick toast of the macadamia nuts before adding them can deepen their flavor even further.
These layers are then generously drizzled with a mixture of sweetened condensed milk and rum, which acts as the magical binder, ensuring every ingredient is perfectly fused into a soft, gooey, and utterly delicious bar once baked. This careful combination of ingredients truly elevates these bars beyond a simple dessert, making them a memorable treat.
The Rum Revelation (or Alcohol-Free Bliss)
To truly capture the essence of a Piña Colada, a touch of rum is essential. The rum doesn’t just add a boozy kick; it introduces a nuanced depth of flavor, a warmth that enhances the tropical notes of pineapple and coconut, creating a more authentic cocktail-inspired experience. For this recipe, I used a good quality dark rum, which contributed a lovely richness. However, feel free to experiment with your favorite rum – a spiced rum could add an interesting complexity, or a coconut rum would double down on that delightful coconut flavor, making these bars even more intensely tropical. That’s definitely on my list to try next time – yum!
For those who prefer to keep their desserts alcohol-free, a simple and effective swap is to use rum extract. This powerful little ingredient delivers all the aromatic essence of rum without any of the alcohol, making these Piña Colada Magic Bars perfect for all ages and occasions. I’ve used rum extract in my Piña Colada Fluff recipe, and the results were absolutely amazing, proving it’s a fantastic alternative.
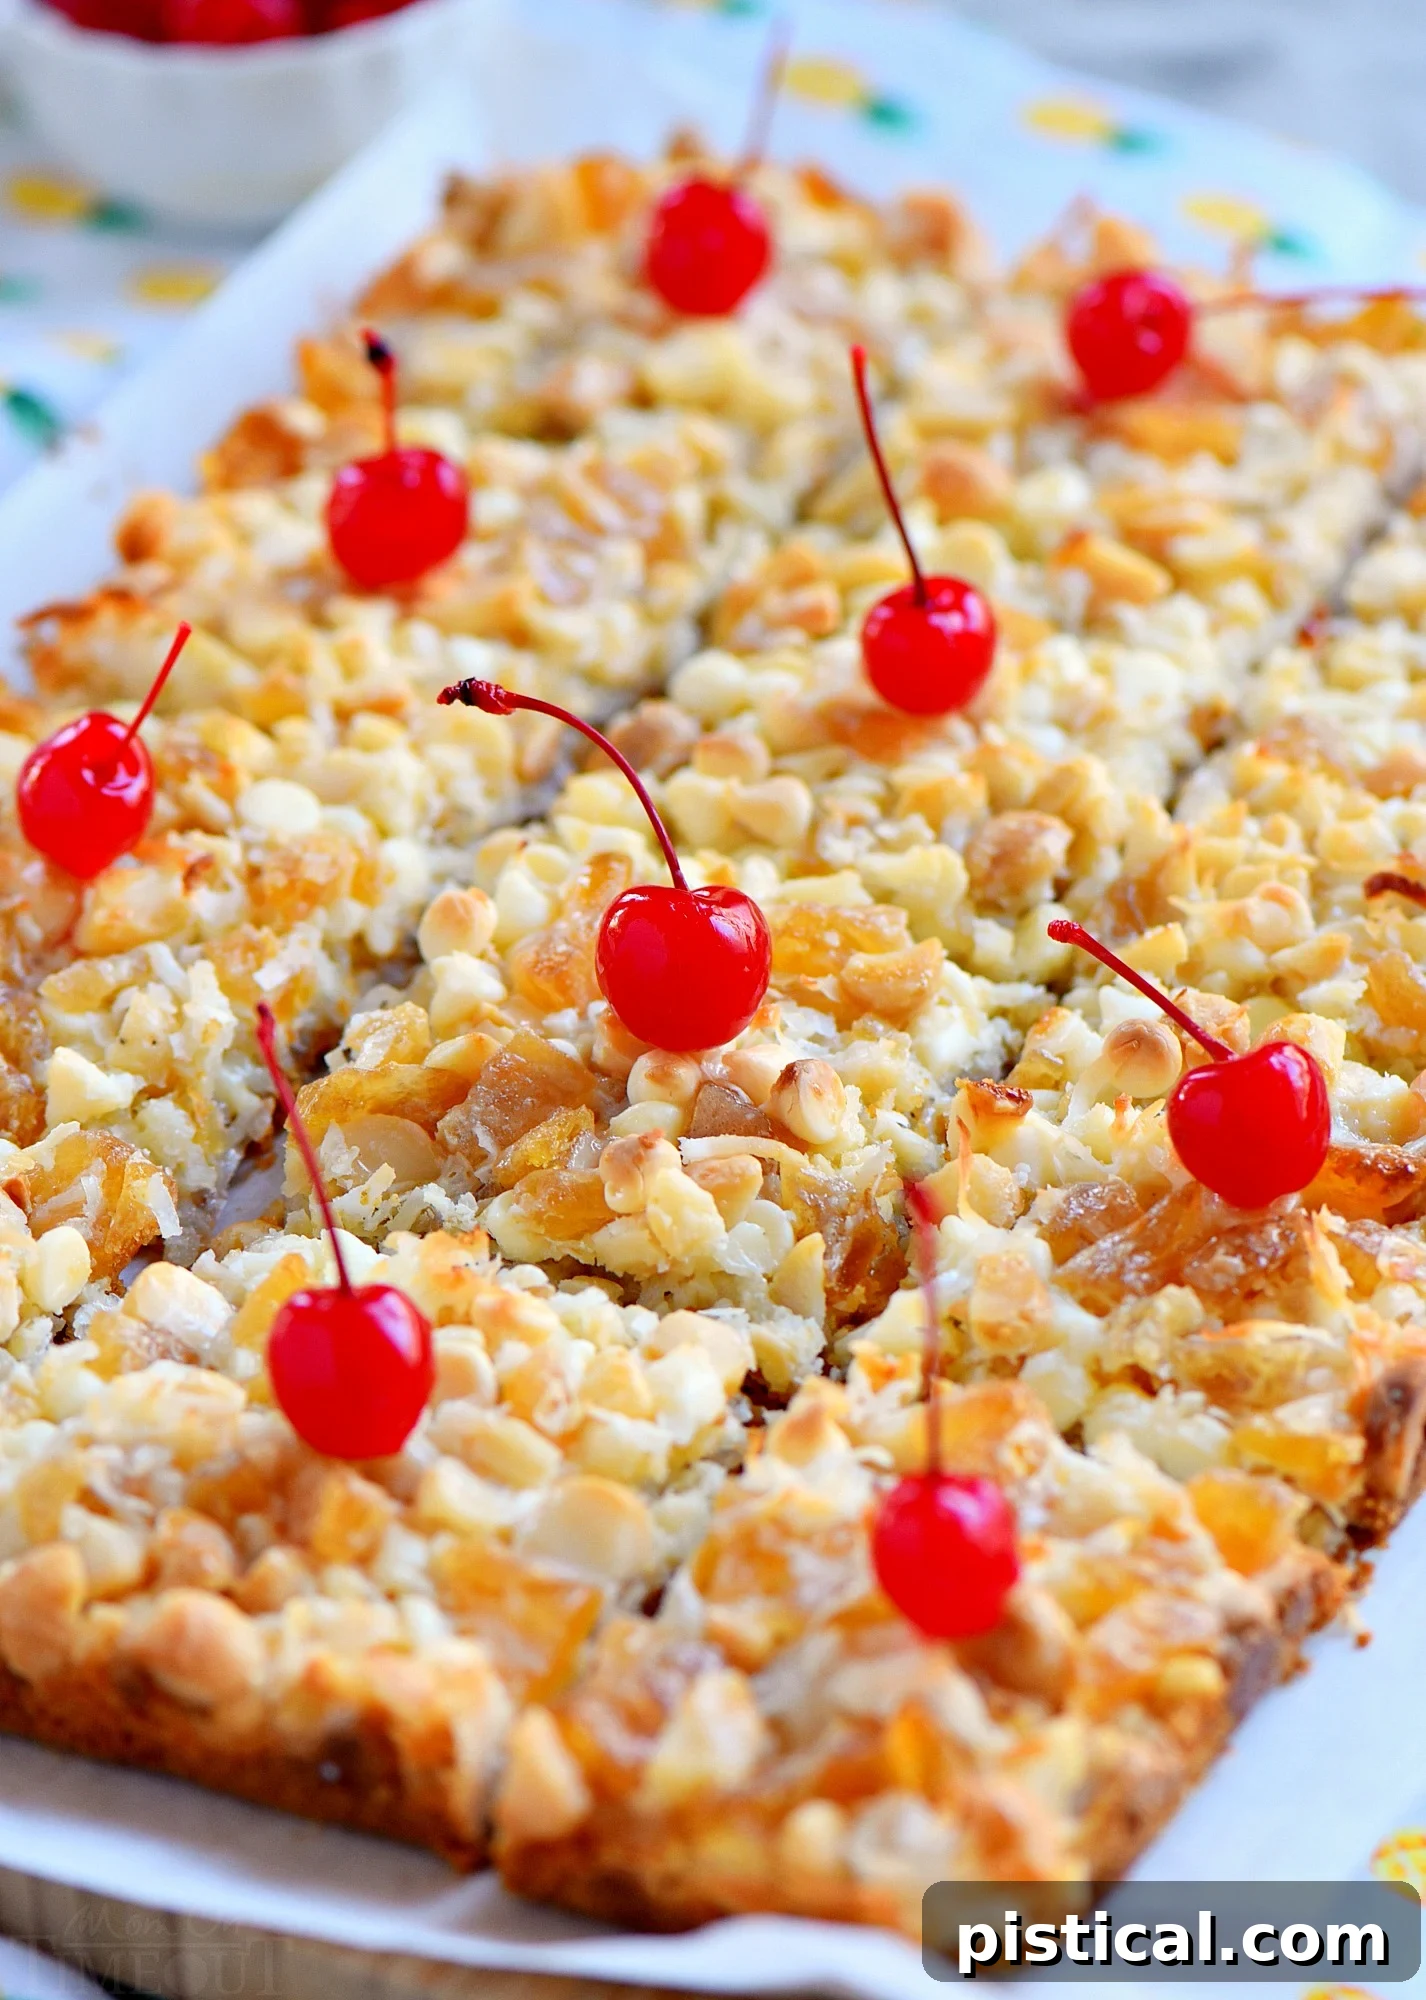
After baking, each bar is crowned with a vibrant maraschino cherry. This isn’t just for decoration; it’s a nod to the classic cocktail garnish and adds a final burst of sweet, juicy flavor and a pop of color. Just like my cocktails, I believe desserts should be fun, festive, and perfectly sweet, and that little red cherry accomplishes all three.
Step-by-Step Guide to Your Tropical Dessert
Creating these Piña Colada Magic Bars is an incredibly satisfying and straightforward process. With just a few simple steps, you’ll be on your way to enjoying a truly unique and delicious dessert. Here’s a detailed look at how to bring this tropical fantasy to life in your kitchen:
-
Prepare Your Oven: Begin by preheating your oven to 350°F (175°C). This ensures your oven is at the optimal temperature for even baking from the moment your bars go in.
-
Line Your Pan: Grease a 9×13-inch baking pan with baking spray, then line it with parchment paper, leaving an overhang on the longer sides. This parchment sling will make it incredibly easy to lift the entire batch of bars out of the pan once cooled, allowing for clean, effortless cutting.
-
Craft the Crust: In a medium bowl, combine the graham cracker crumbs with the melted butter. Stir thoroughly with a fork until the crumbs are evenly moistened and resemble wet sand. This ensures a consistent crust that holds together beautifully.
-
Press the Crust: Transfer the graham cracker mixture to the prepared baking pan. Using a spatula or the back of a spoon (or even your fingers!), press the mixture firmly and evenly into the bottom of the pan. A compact crust is key for a good base.
-
Prepare the Magical Drizzle: In a separate small bowl, whisk together the sweetened condensed milk and your choice of rum or rum extract until thoroughly combined. This mixture is what binds all the layers together and creates the signature gooey texture of magic bars.
-
Layer Your Toppings: Over the pressed graham cracker crust, sprinkle the sweetened flaked coconut evenly. Follow this with a layer of white chocolate chips, then the chopped dried pineapple, and finally, the macadamia nuts. Try to distribute each layer as evenly as possible to ensure every bar gets a good mix of flavors and textures.
-
Drizzle the Magic: Carefully and evenly drizzle the sweetened condensed milk and rum mixture over all the layered toppings. Try to cover as much surface area as possible, ensuring that the sweet liquid penetrates and coats everything.
-
Bake to Perfection: Place the pan in your preheated oven and bake for 23 to 27 minutes. Keep a close eye on the bars, especially starting around the 20-minute mark. You’ll know they’re perfectly baked when the edges are lightly golden brown and the center appears set and bubbly. Avoid overbaking, as this can lead to a dry crust and less gooey center.
-
Cool and Cut: Once baked, remove the pan from the oven and let the bars cool completely in the pan on a wire rack. This is a crucial step! Attempting to cut them while warm will result in a messy, crumbling disaster. Once completely cool (which may take several hours), use the parchment paper overhang to lift the entire block of bars out of the pan. Transfer them to a cutting board and slice into individual squares or rectangles. Garnish with maraschino cherries if desired, and serve!
The total time from start to finish is remarkably short for such an impressive dessert. You’ll spend less than 10 minutes on prep, and then about 23-27 minutes in the oven. Every second is undeniably worth it for these gosh-darned delicious bars!
Tips for Success & Customization
To ensure your Piña Colada Magic Bars turn out absolutely perfect every time, consider these helpful tips:
- Even Crust: Press the graham cracker mixture firmly and evenly into the pan. This prevents a crumbly crust and ensures a consistent base for your layers.
- Don’t Overbake: Keep a close watch on the bars during the last few minutes of baking. The edges should be lightly golden, and the center should be just set. Overbaking can make them dry and less gooey.
- Cool Completely: Patience is key! Allow the bars to cool entirely in the pan before attempting to lift or cut them. This allows the layers to set properly, ensuring clean slices. Chilling them in the refrigerator for an hour or two can also aid in cleaner cuts.
- Toasted Coconut (Optional): For an intensified coconut flavor and a slightly crisper texture, lightly toast the flaked coconut in a dry pan on the stovetop for a few minutes before adding it to the bars. Watch carefully to prevent burning!
- Nut Alternatives: While macadamia nuts offer a distinctly tropical and buttery crunch, feel free to substitute with other nuts like pecans, walnuts, or even almonds for a different flavor profile.
- Fruit Variations: If you’re feeling adventurous, consider adding other dried tropical fruits like mango or papaya along with or instead of some of the pineapple.
- Chocolate Choices: Dark chocolate chips could offer a richer contrast, while butterscotch chips would add a distinct caramel note.
- Garnish with Freshness: Beyond maraschino cherries, consider a sprinkle of fresh lime zest or a tiny slice of fresh pineapple for an extra vibrant touch when serving.
These glorious bars are destined to be a hit with everyone! They are soft, wonderfully chewy, and perfectly sweet, delivering that irresistible taste of the tropics. The best part? You don’t even have to leave your home to enjoy this slice of island paradise. Get ready to bake, share, and savor every moment!
More Tropical and Pineapple-Inspired Recipes to Explore
If these Piña Colada Magic Bars have sparked your love for tropical flavors, you’re in luck! We have a delightful array of other recipes that celebrate the irresistible combination of pineapple and coconut, perfect for any occasion:
- No Bake Pina Colada Cream Pie: A cool, creamy, and effortless dessert that requires no oven at all. Perfect for hot summer days!
- Pina Colada Banana Bread: A delightful twist on a classic comfort food, infusing banana bread with tropical notes.
- Pina Colada Fluff: A light, airy, and refreshing dessert salad that’s wonderfully vibrant and easy to prepare.
- Practically Perfect Pineapple Cake: A moist and flavorful cake bursting with the sweet, tangy taste of pineapple.
- To Die For Carrot Cake: While not strictly tropical, our beloved carrot cake often features pineapple for added moisture and sweetness, making it a delicious companion.
- Pina Colada Fudge: For an intensely sweet and creamy bite, this fudge captures all the Piña Colada essence in a rich, melt-in-your-mouth treat.
Recipe Card: Piña Colada Magic Bars
Print Recipe
Pin Recipe
Piña Colada Magic Bars
These easy Piña Colada Magic Bars marry the flavors of a Piña Colada with your favorite 7 layer bars. Soft and chewy with a taste of the tropics that everyone will love!
Ingredients
- 1 ½ cups graham cracker crumbs
- ½ cup butter melted
- 14 ounces sweetened condensed milk
- 2 tablespoons rum OR 1 tsp rum extract
- 2 cups sweetened flaked coconut
- 12 ounces white chocolate chips
- 6 ounces dried pineapple roughly chopped
- 1 cup chopped macadamia nuts
Instructions
- Preheat oven to 350°F (175°C).
- Spray a 9×13 pan with baking spray and line with parchment paper, leaving an overhang on the longer sides. Set aside.
- In a medium bowl, combine graham cracker crumbs and melted butter. Stir with a fork until combined and moist.
- Press the graham cracker mixture evenly into the bottom of the prepared pan using a spatula or your fingers.
- In a small bowl, combine sweetened condensed milk and rum (or rum extract). Gently whisk until thoroughly combined. Set aside.
- Sprinkle coconut evenly over the top of the crust, followed by the white chocolate chips, then the chopped dried pineapple, and finally the chopped macadamia nuts.
- Drizzle the sweetened condensed milk mixture evenly over all the toppings.
- Bake for 23 to 27 minutes. Start checking the bars at 20 minutes; they are done when the edges are lightly browned and the center is set.
- Allow to cool completely in the pan on a wire rack before lifting out with the parchment paper and cutting into squares. Garnish with maraschino cherries if desired.
Video

A video tutorial for making these delicious Piña Colada Magic Bars is available!
Nutrition
Carbohydrates: 32g |
Protein: 3g |
Fat: 17g |
Saturated Fat: 9g |
Polyunsaturated Fat: 1g |
Monounsaturated Fat: 6g |
Trans Fat: 1g |
Cholesterol: 19mg |
Sodium: 123mg |
Potassium: 158mg |
Fiber: 2g |
Sugar: 27g |
Vitamin A: 167IU |
Vitamin C: 2mg |
Calcium: 89mg |
Iron: 1mg
Disclosure: This post was created in collaboration with Challenge Butter. All opinions expressed are, as always, 100% my own. We extend our sincere gratitude to our readers for supporting the wonderful brands that help make Mom On Timeout possible!