
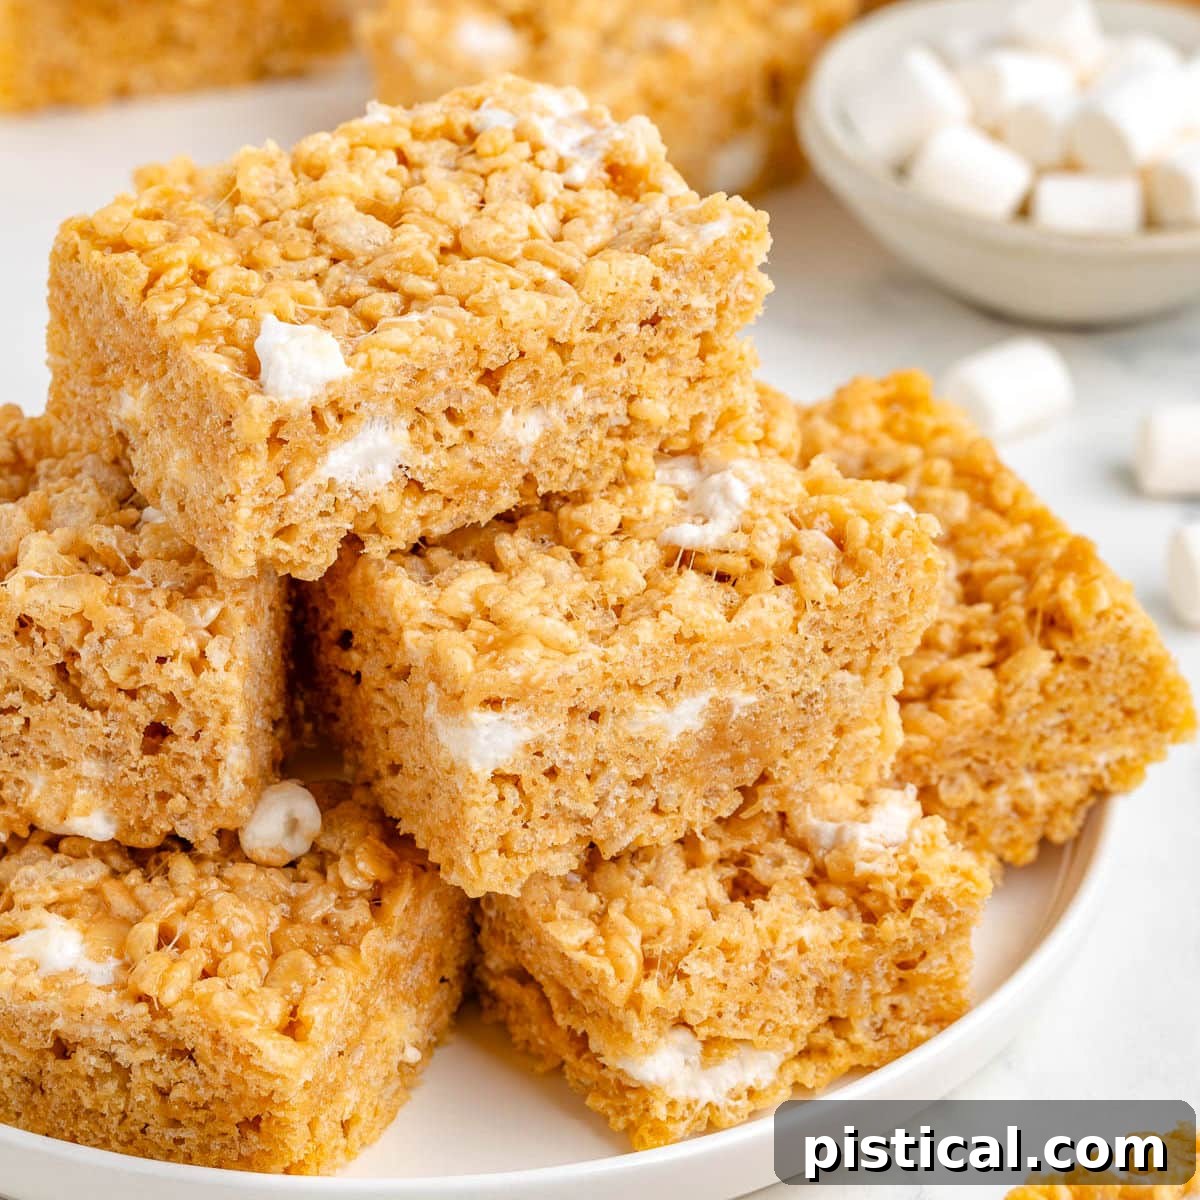
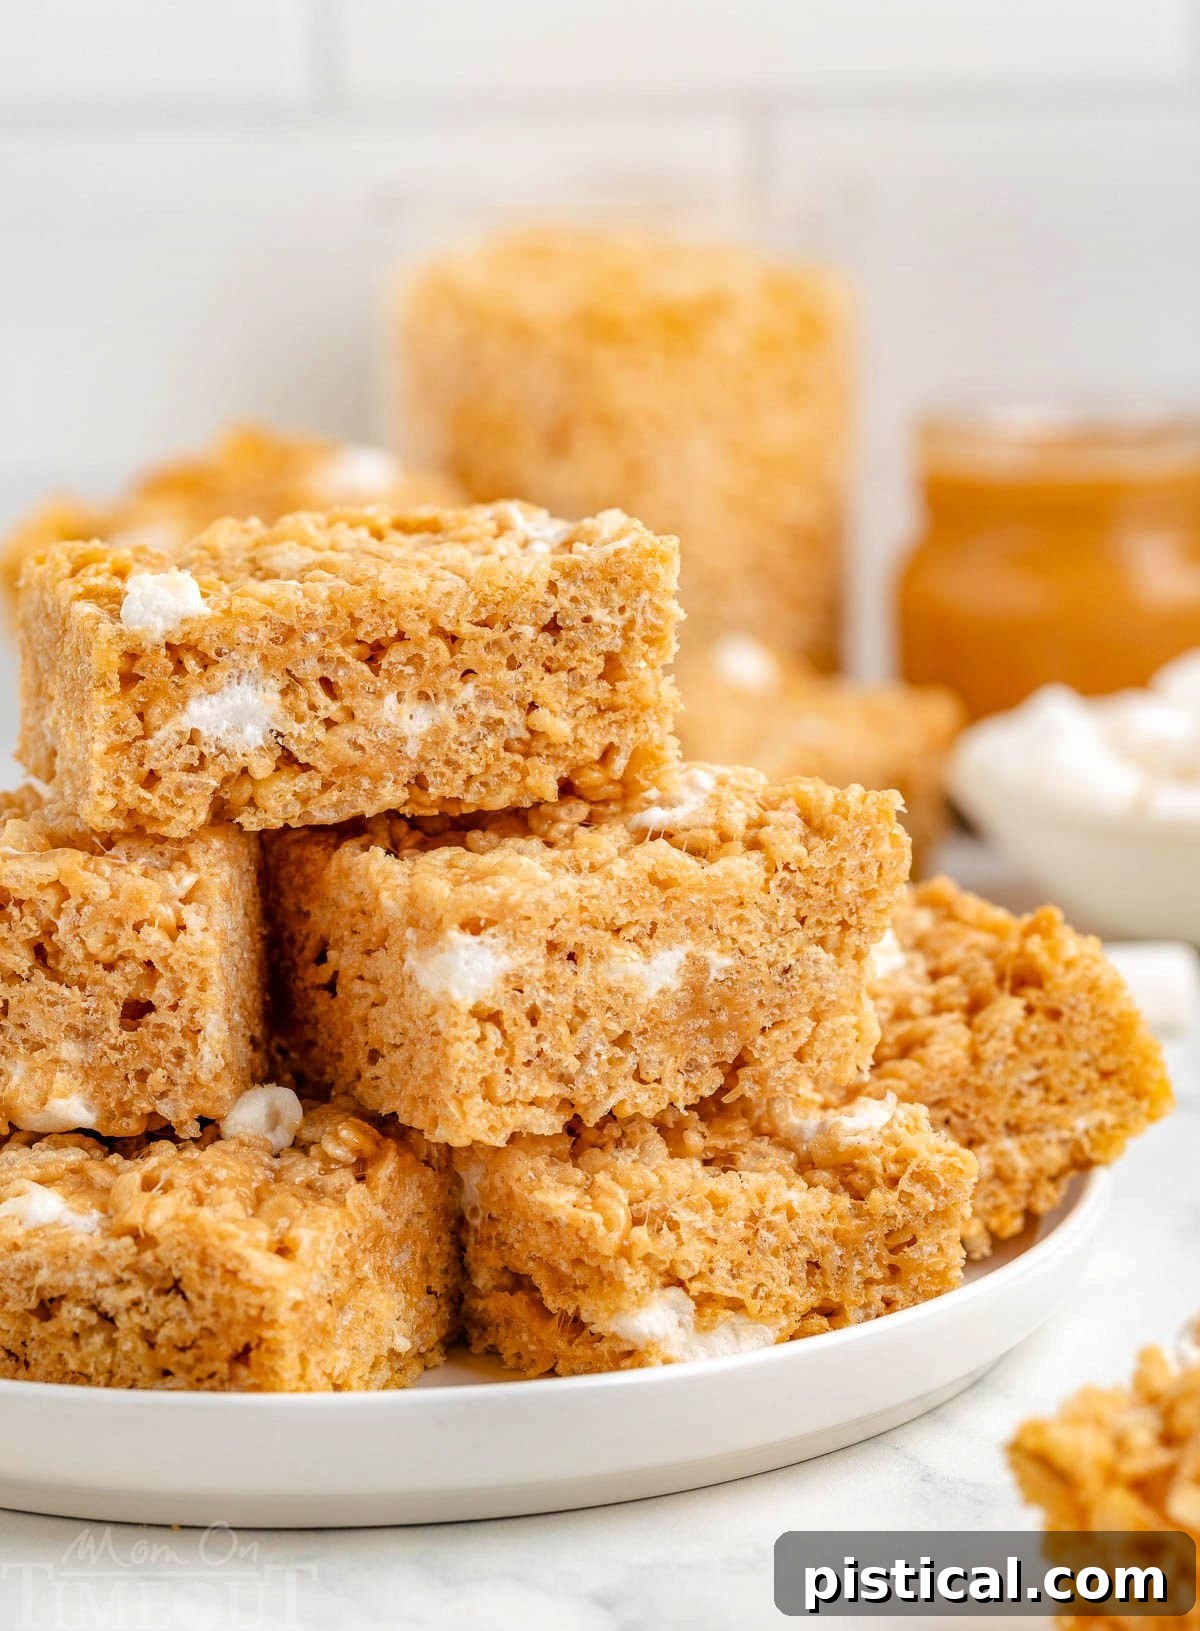
Delight in the irresistible charm of these homemade Peanut Butter Rice Krispie Treats – a timeless classic reimagined with a rich, creamy peanut butter twist. Each square promises a perfect blend of soft, chewy texture and an abundance of luscious peanut butter flavor that will leave you craving more. These delectable, no-bake treats are incredibly quick to prepare, making them an ideal choice for spontaneous cravings, after-school snacks, lively parties, or any occasion that calls for a simple yet profoundly satisfying dessert.
If you’re a devoted fan of the beloved Rice Krispie Treat, prepare to expand your horizons! Be sure to explore other delightful variations like our Lemon Rice Krispie Treats for a zesty twist, the fun and festive S’mores Rice Krispies Treats Pinwheels, and the vibrant Rainbow Rice Krispie Treats, each offering a unique flavor experience.
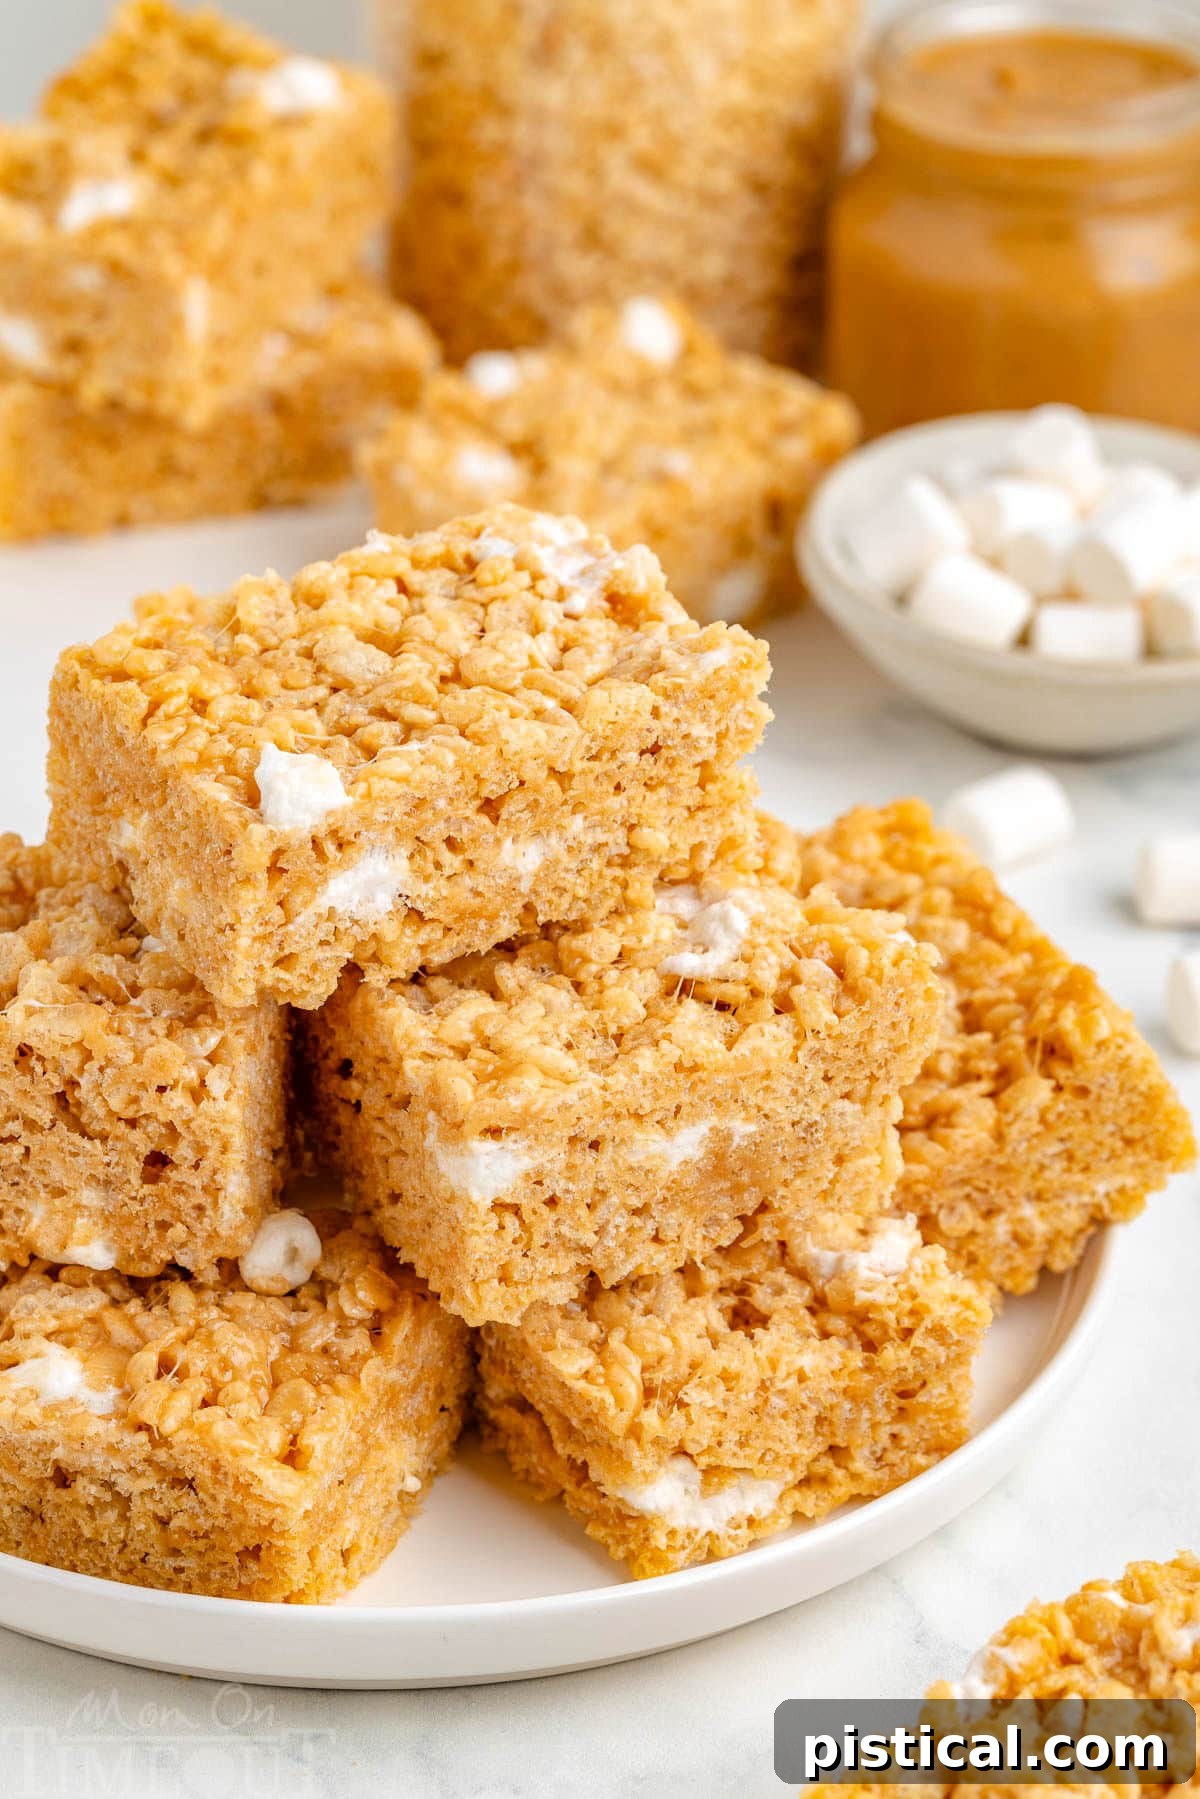
The Ultimate Peanut Butter Rice Krispie Treat Recipe
Elevate your snacking experience with this ultimate Peanut Butter Rice Krispie Treat recipe, which takes the traditional beloved classic to an entirely new dimension of deliciousness. By infusing creamy peanut butter and incorporating extra mini marshmallows, we achieve an unparalleled level of gooeyness, softness, and delightful texture in every bite. This isn’t just a snack; it’s a comforting, nostalgic treat crafted from readily available pantry staples. Its quick preparation time makes it an absolute winner for busy weeknights, last-minute bake sales, or simply anytime you desire a wonderfully satisfying and easy-to-make dessert.
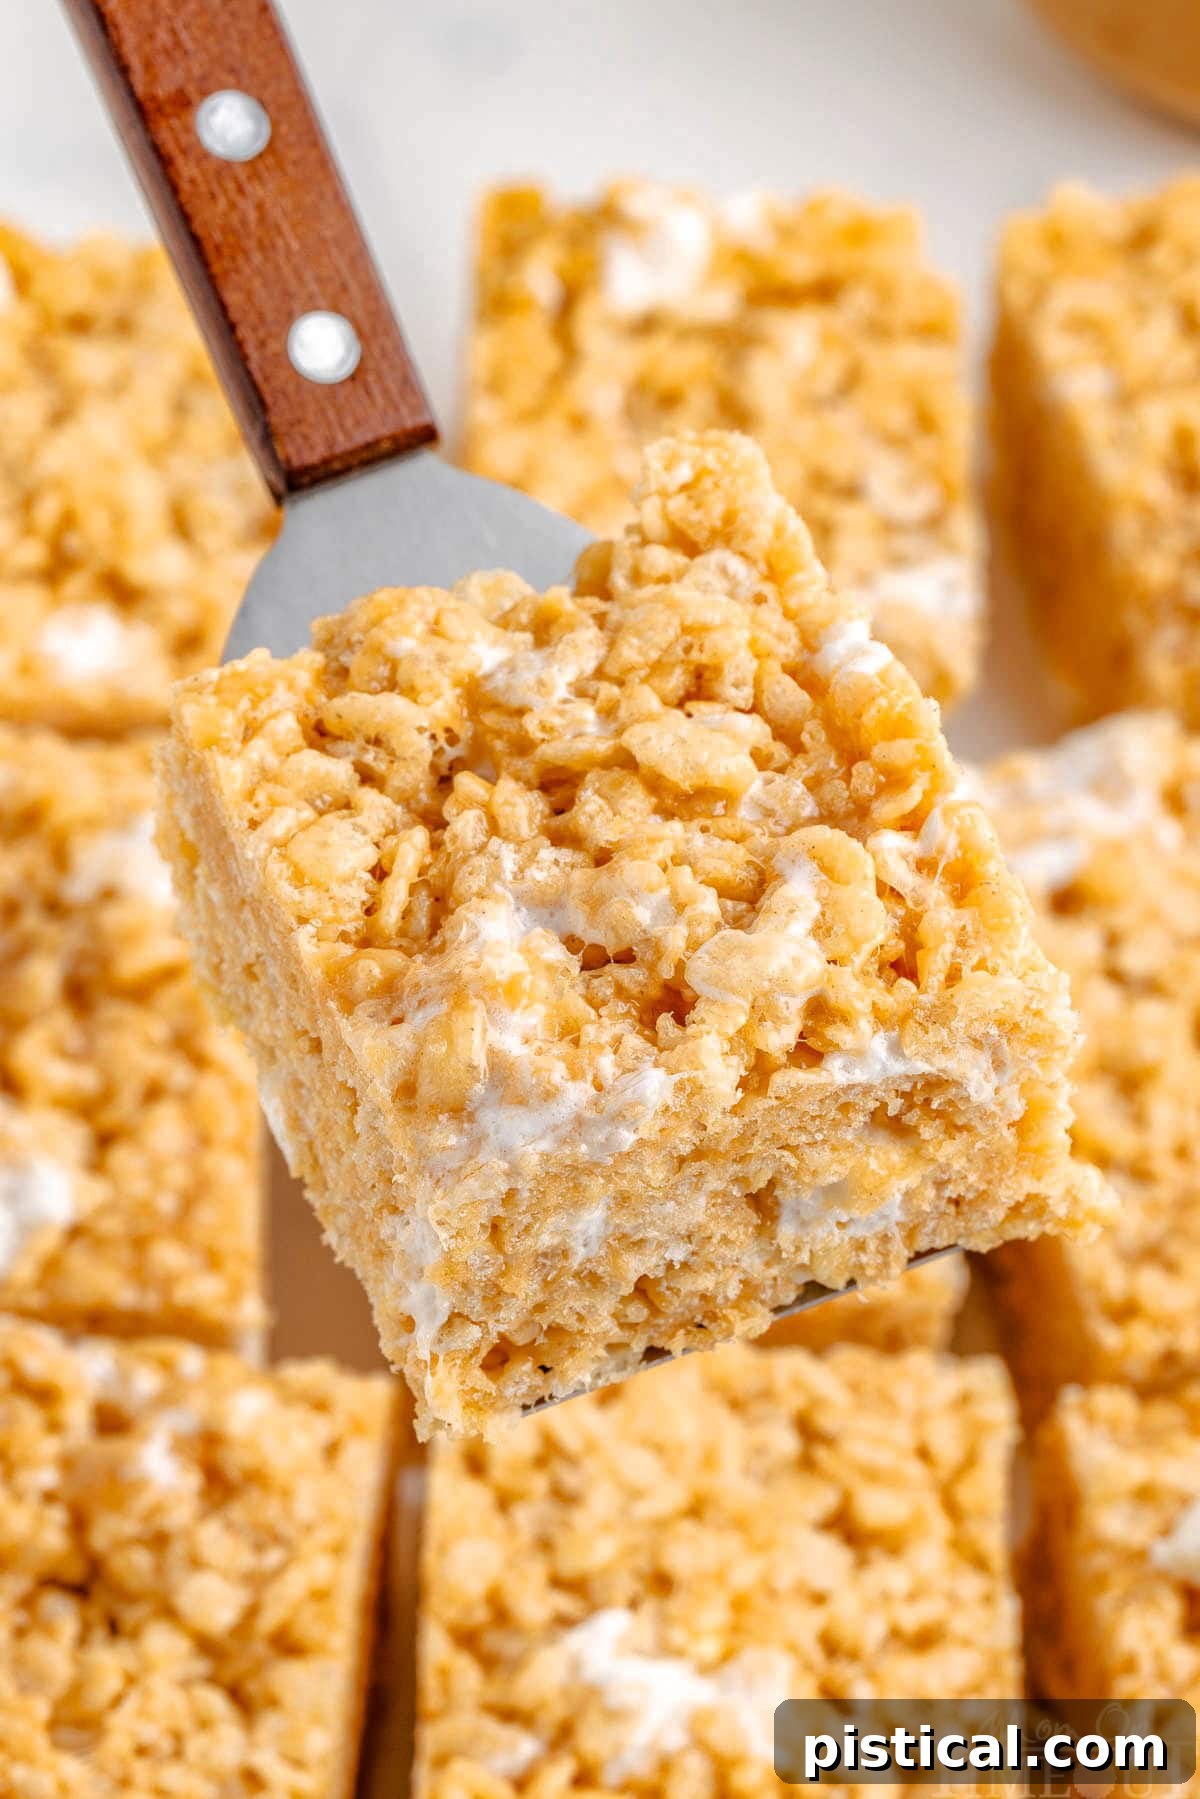
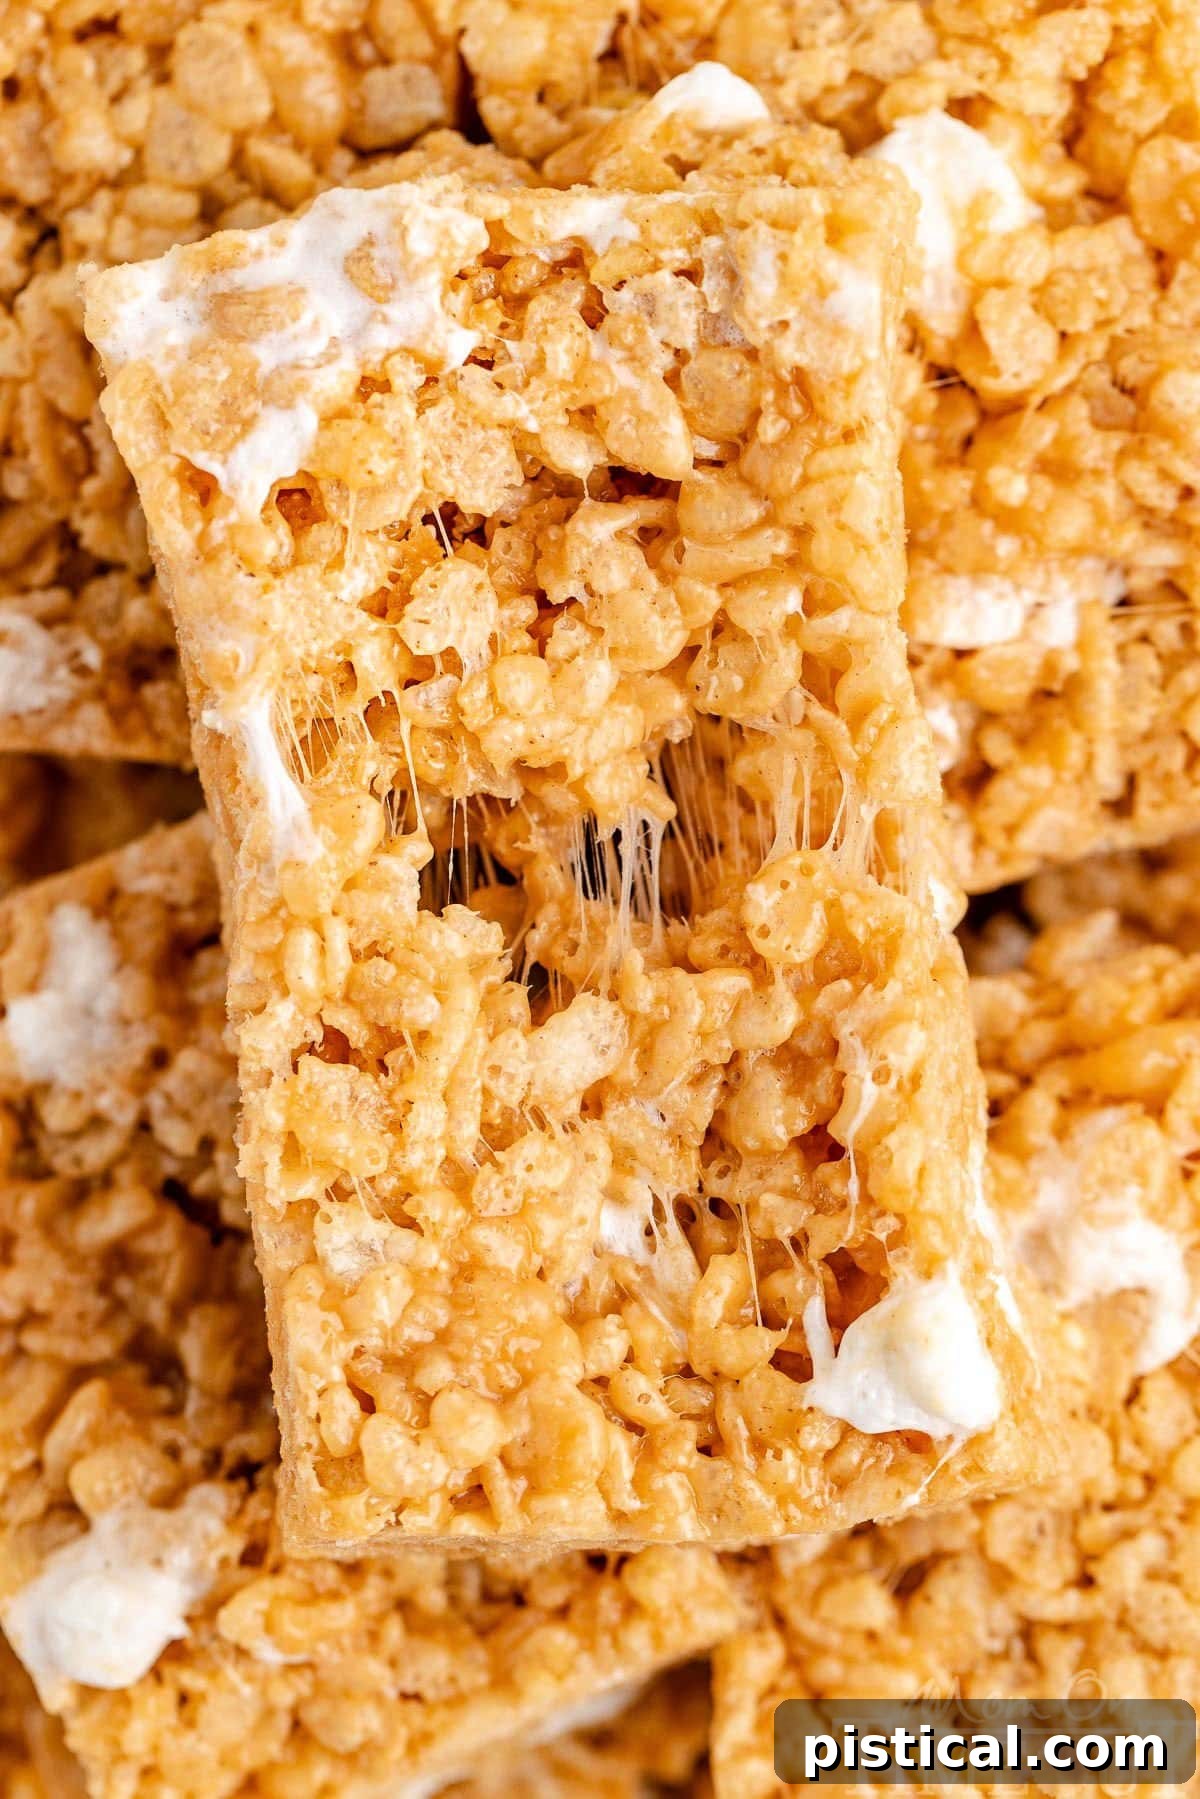
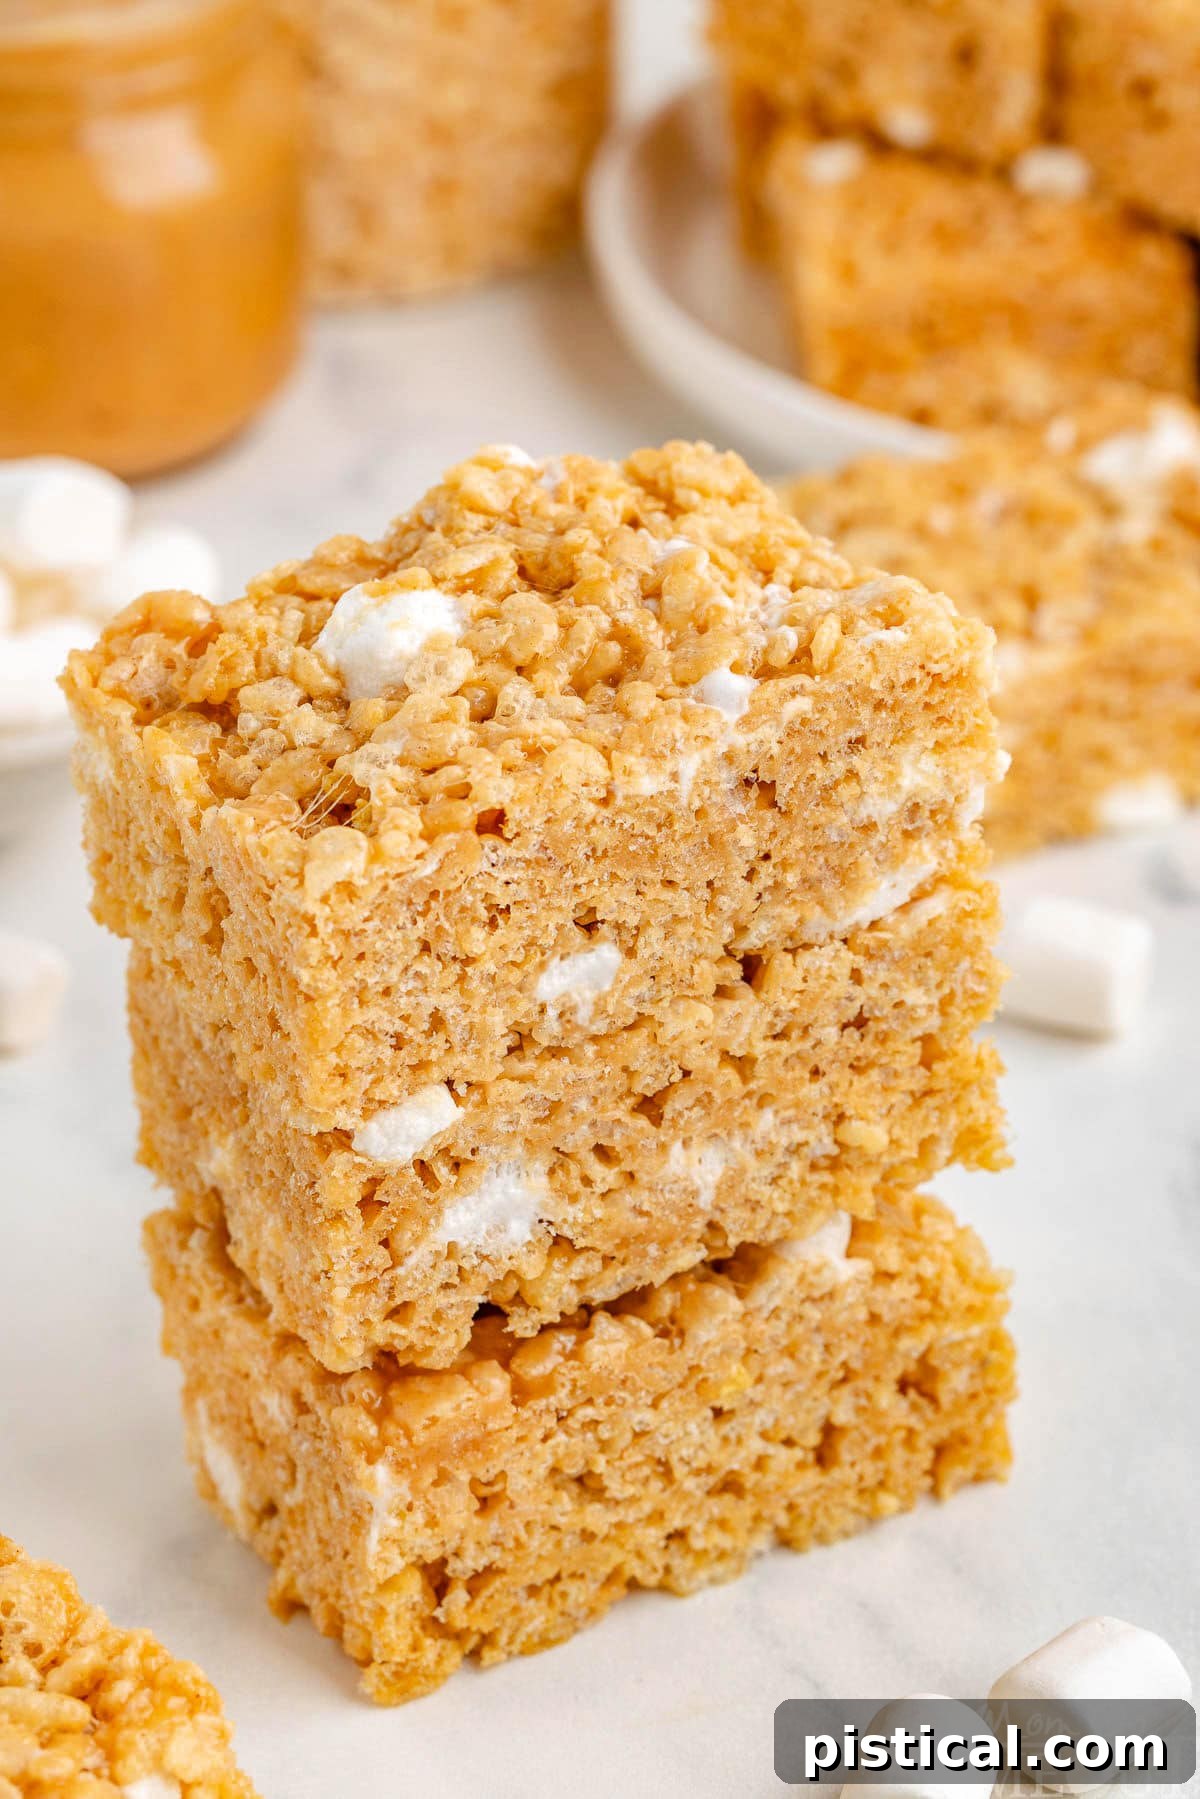
The magic happens when the rich, creamy peanut butter perfectly melds with warm, melted marshmallows and crisp rice cereal. This harmonious combination ensures that each treat is incredibly soft, delightfully chewy, and bursting with an intense, nutty flavor that peanut butter lovers will adore. A secret to their exceptional texture lies in folding in additional mini marshmallows right at the end. These un-melted gems provide pockets of extra gooey sweetness and contribute to a fluffy, melt-in-your-mouth consistency that keeps each square sensationally soft and full of flavor.
Whether you’re making them for a special occasion or simply to brighten an ordinary day, these peanut butter rice krispie treats are guaranteed to be a hit. Their simplicity belies their incredible flavor profile, making them a go-to recipe for both novice and experienced bakers alike. Get ready to create a dessert that will be remembered and requested time and time again!
Why You’ll Absolutely Adore This Recipe
This no-bake peanut butter Rice Krispie Treats recipe is more than just a dessert; it’s a journey back to cherished childhood memories, upgraded with a sophisticated, creamy, and crunchy twist. It’s a beautifully balanced blend of the classic and the extraordinary, ensuring a simple, sweet, and utterly satisfying experience with every piece. Here’s why these treats will quickly become a staple in your recipe collection:
- Effortlessly Quick & Easy: Life is busy, and sometimes you need a dessert that delivers maximum flavor with minimal fuss. This recipe is your answer! Requiring just one pot and absolutely no oven time, these peanut butter rice krispie treats are ready in mere minutes. They are the ultimate go-to solution when quick and easy treats are a must, perfect for impromptu gatherings or satisfying sudden sweet cravings.
- Simple, Wholesome Ingredients: You’ll appreciate the convenience of this recipe, as it relies on common pantry staples you likely already have on hand. With ingredients like crispy rice cereal, marshmallows, butter, and, of course, creamy peanut butter, it’s easier than ever to whip up a batch and satisfy those undeniable peanut butter cravings without a special trip to the grocery store.
- A Universal Family Favorite: Prepare for rave reviews! In all my years of baking, I have yet to encounter a child or even an adult who doesn’t fall head over heels for these delightful peanut butter treats. Their universally appealing flavor and comforting texture make them the perfect addition to any occasion – from casual family movie nights to festive holiday parties, they are guaranteed to bring smiles all around.
- Perfectly Portable: Whether you’re packing them for a school lunchbox, bringing them to a potluck, or donating them to a bake sale, these treats are incredibly easy to transport and share. They hold their shape well and are mess-free, making them an ideal on-the-go snack.
- Versatile & Customizable: While utterly delicious on their own, these treats serve as a fantastic canvas for creativity. Easily customize them with chocolate drizzles, sprinkles, or additional mix-ins to suit any theme or personal preference, adding another layer of fun to your baking adventure.
Gather Your Essential Ingredients
Crafting the perfect batch of Peanut Butter Rice Krispie Treats requires just a few key components, each playing a vital role in achieving that signature chewy texture and rich flavor. Simplicity is at the heart of this no-bake wonder!
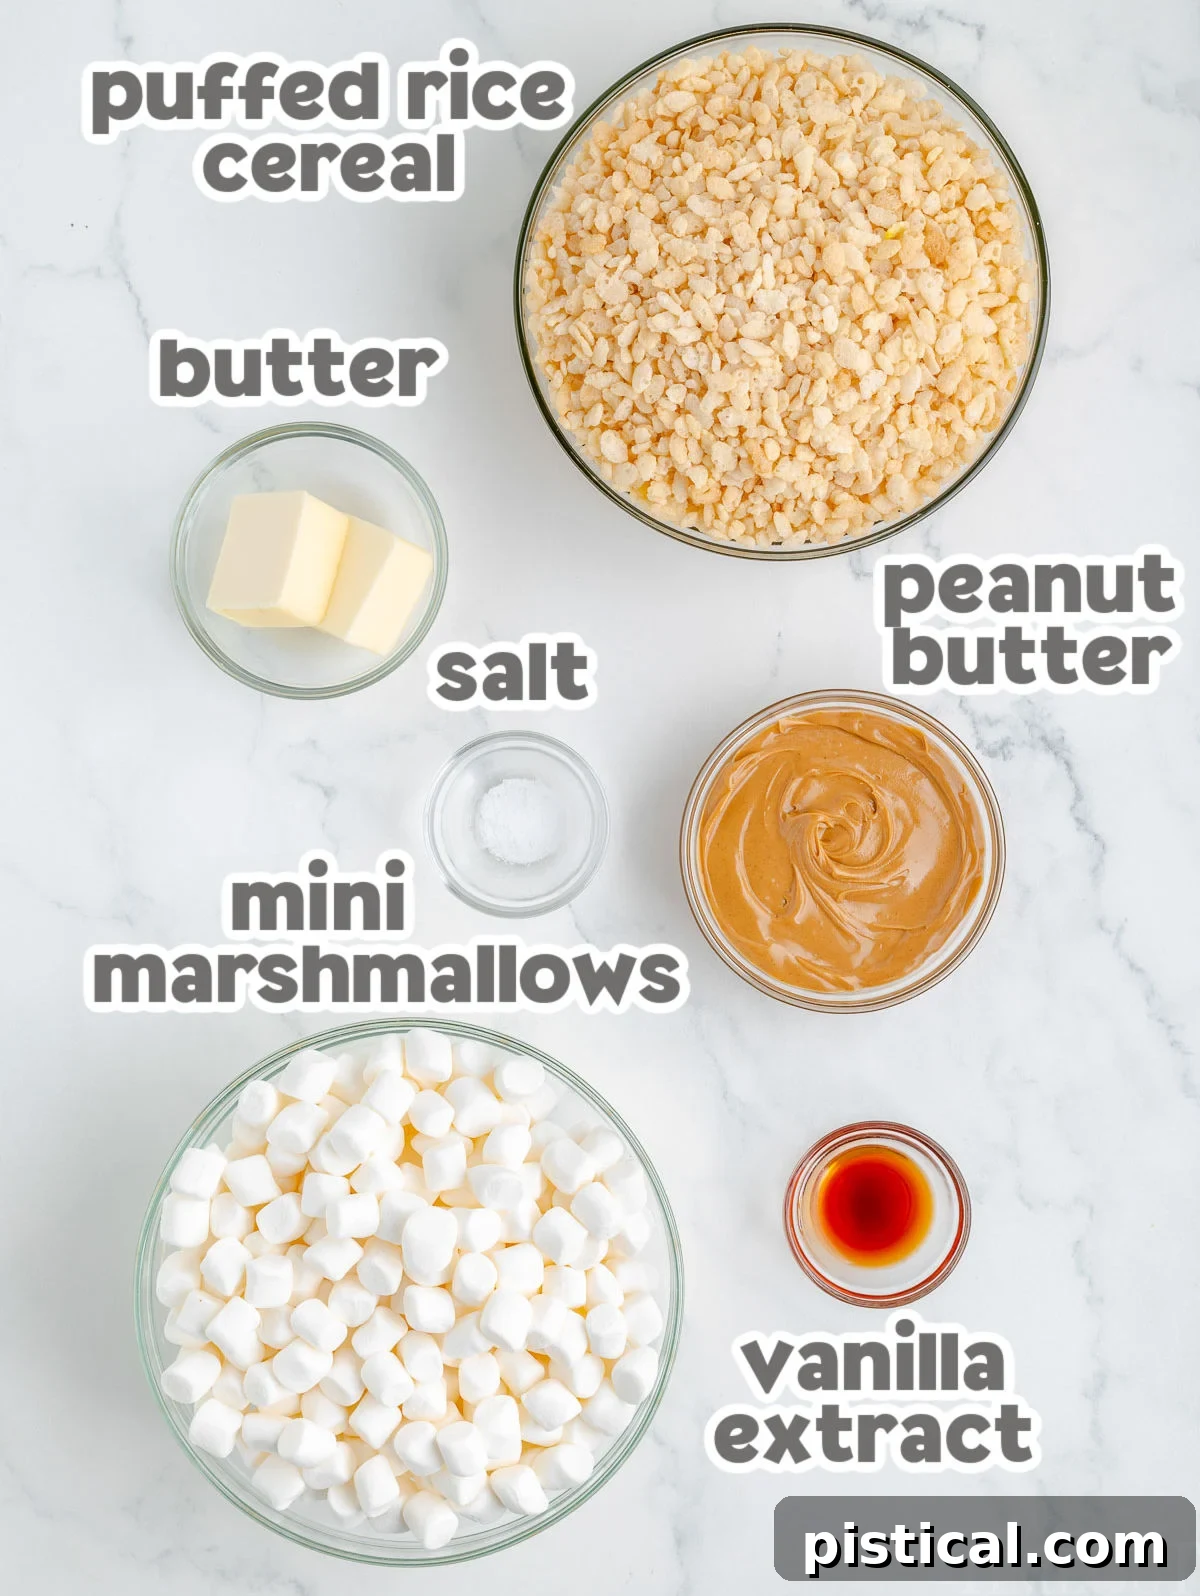
- Creamy Peanut Butter: This is the star of the show, providing that undeniable, rich peanut butter flavor and contributing significantly to the treats’ creamy, luscious texture. For the best results in this particular recipe, we highly recommend using a non-natural creamy peanut butter. Natural peanut butter tends to separate and can sometimes result in a greasier or less cohesive treat.
- Mini Marshmallows: Essential for both melting into the gooey binding agent and for folding in at the end to create those delightful pockets of soft, un-melted sweetness that make these treats extra special.
- Unsalted Butter: A crucial ingredient that adds richness, helps melt the marshmallows smoothly, and prevents sticking. Unsalted butter allows you to control the overall saltiness of the treats.
- Vanilla Extract: A touch of high-quality vanilla extract enhances the overall flavor profile, adding warm, sweet, and aromatic notes that complement the peanut butter beautifully. Don’t skimp on the good stuff – it truly makes a difference!
- Fine Sea Salt: A pinch of salt is vital for balancing the sweetness and truly bringing out the deep, nutty flavors of the peanut butter. It’s a small addition with a big impact.
- Rice Krispies Cereal: The foundation of these classic treats, providing the iconic light, crispy, and airy texture that we all know and love. Ensure your cereal is fresh for maximum crunch.
Mastering the Art of Peanut Butter Rice Krispie Treats
These Peanut Butter Rice Krispie Treats are the epitome of an ultimate no-bake dessert: wonderfully chewy, luxuriously gooey, and absolutely packed with robust peanut butter flavor! Crafted from just a handful of everyday pantry staples, they come together in mere minutes, promising a sweet and simple snack that everyone in the family will adore. The process is straightforward, ensuring delicious results every time.
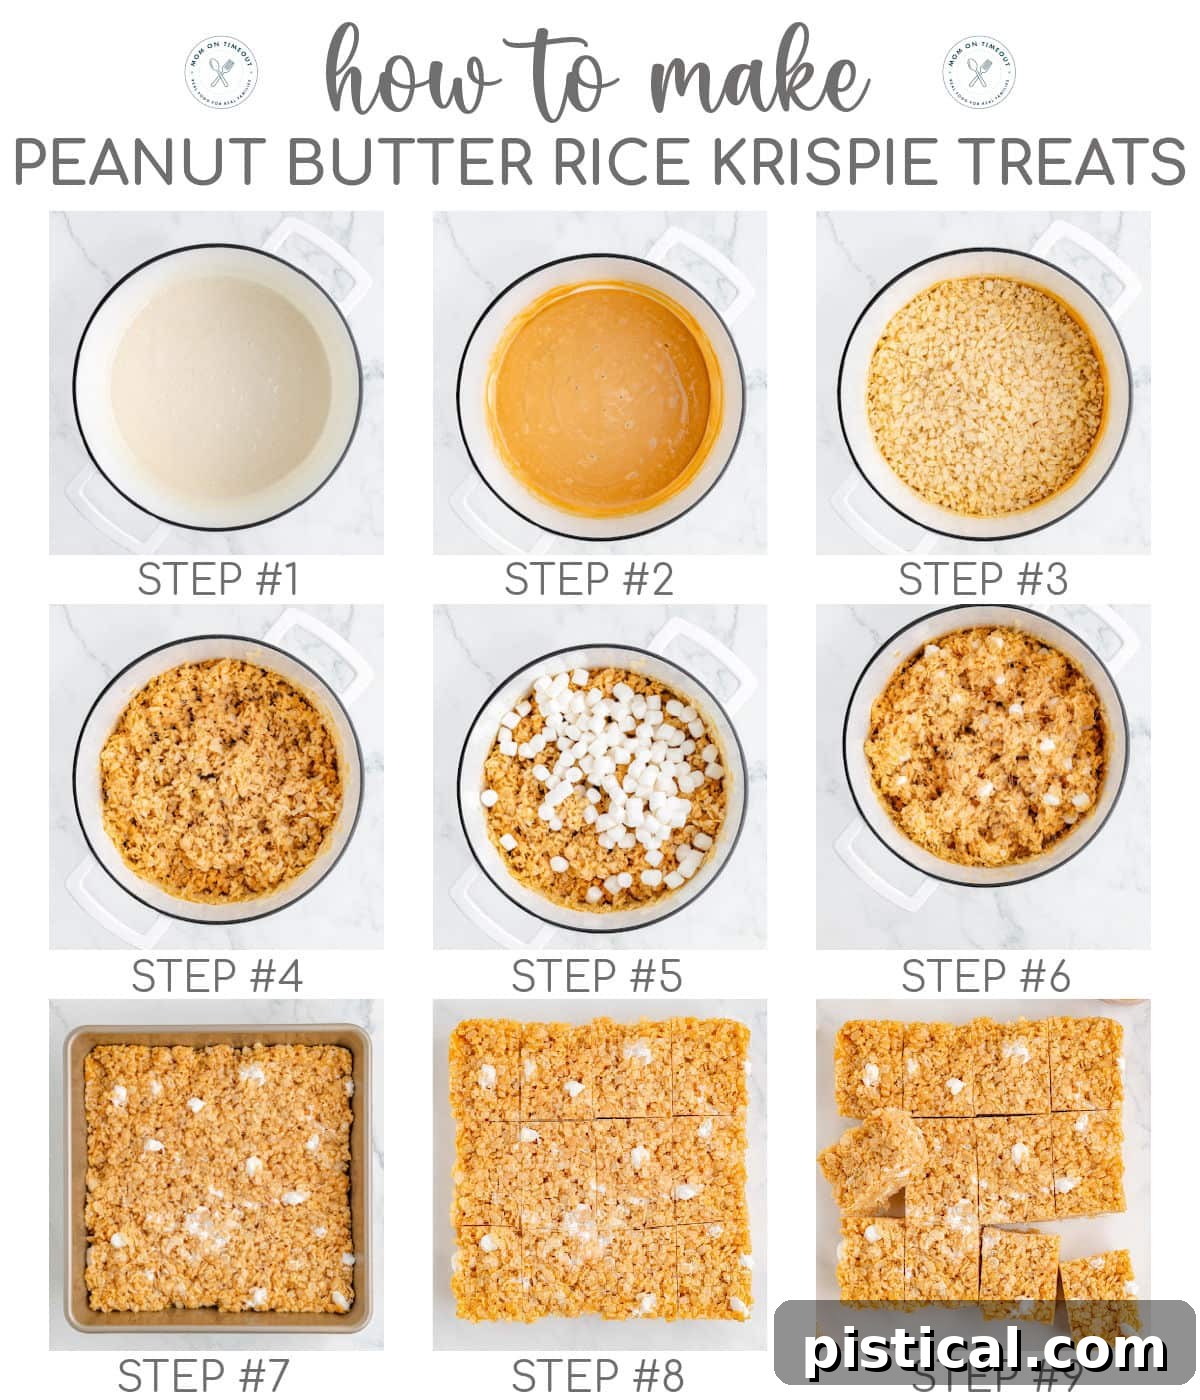
Let’s quickly walk through the steps to create this delightful confection. For your convenience, you can always find the complete printable recipe with precise measurements in the dedicated recipe card located at the end of this post.
- Prepare Your Pan: Begin by lightly greasing a 9-inch square baking dish with butter or a non-stick cooking spray. This crucial step ensures your treats won’t stick and can be easily removed and sliced later. Set the prepared pan aside.
- Melt the Base: In a large, sturdy pot set over medium heat, combine the unsalted butter and 10 ounces of mini marshmallows. Stir continuously and gently with a silicone spatula until the mixture is completely melted and beautifully smooth. It’s important not to overheat, as this can make your treats too hard.
- Infuse Flavor: Once the marshmallow mixture is smooth, remove the pot from the heat. Promptly stir in the creamy peanut butter, vanilla extract, and fine sea salt until all ingredients are thoroughly combined and the mixture is homogenous. The heat from the marshmallows will help the peanut butter incorporate seamlessly.
- Add the Cereal: Return the pot to the stove (off heat) and gently fold in the Rice Krispies cereal. Continue folding until every single piece of cereal is evenly coated with the rich, peanut buttery marshmallow mixture. Work quickly but carefully to avoid crushing the cereal.
- Introduce Extra Gooeyness: For an extra special, soft, and gooey finish, gently fold in the remaining 2 cups of mini marshmallows. These will remain mostly whole, creating delightful pockets of chewy marshmallow throughout your treats.
- Transfer to Pan: Working swiftly, transfer the entire mixture into your previously greased 9-inch baking dish.
- Press Gently: Use a buttered spatula, a piece of parchment paper, or even lightly buttered hands to gently press the mixture evenly into the pan. Remember, the key is to press lightly! Over-compacting the mixture can result in dense, hard treats instead of the desired soft and chewy texture.
- Cool and Set: Allow the treats to cool completely at room temperature for at least one hour, or until they are fully set. Resist the urge to rush this step by placing them in the refrigerator, as this can also lead to harder treats.
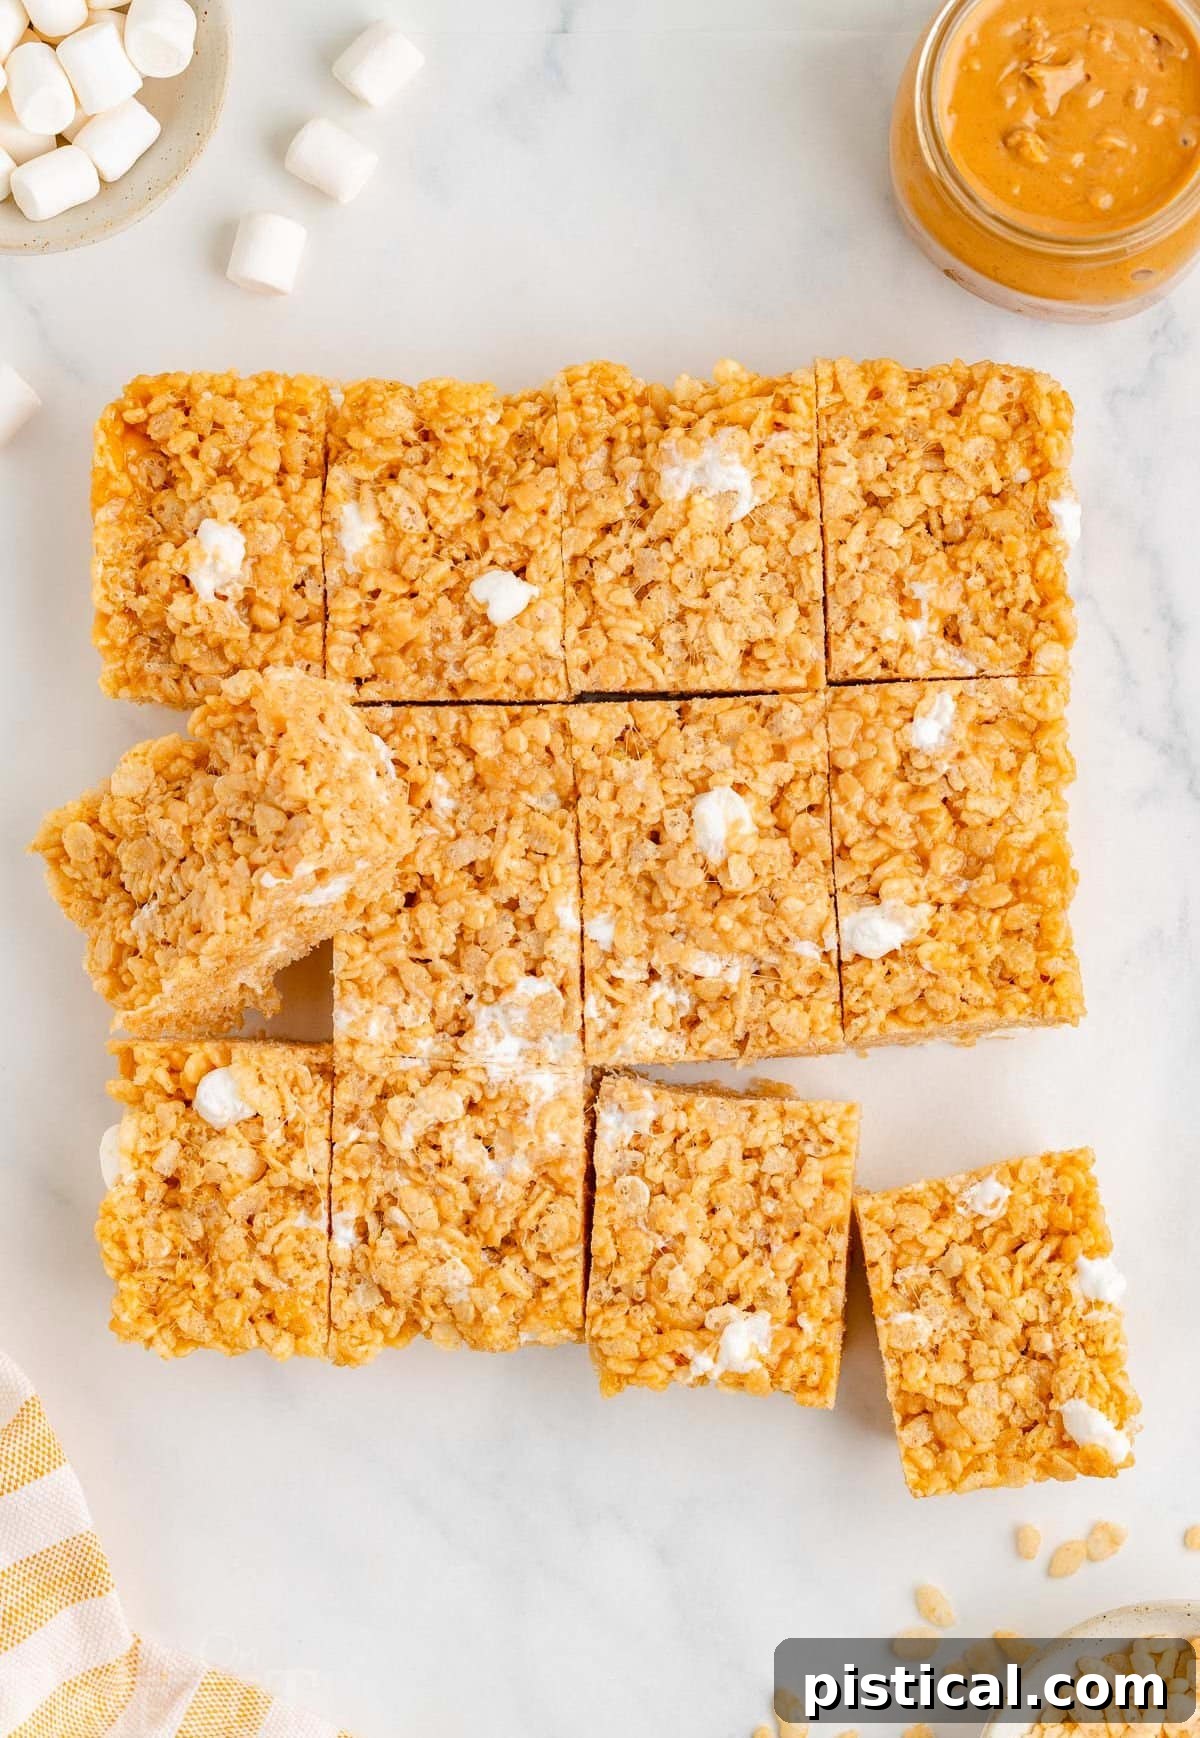
- Slice and Serve: Once perfectly cooled and firm, use a sharp knife to slice the treats into squares. Now, they are ready to be enjoyed!
Essential Storage Information
Proper storage is key to maintaining the delightful freshness and chewy texture of your Peanut Butter Rice Krispie Treats. Follow these simple guidelines to enjoy your homemade treats for days to come, or even weeks if you plan to freeze them!
- Room Temperature: To keep your treats at their softest and chewiest, store them in an airtight container at room temperature. They will remain wonderfully fresh for approximately 3 to 4 days. For best results and to prevent any sticking, it’s a good idea to place a piece of parchment paper or wax paper between layers if you’re stacking them in the container. Avoid refrigerating, as this can make them hard and less enjoyable.
- Freezer: For longer-term storage, these treats freeze beautifully. Simply wrap individual squares tightly in plastic wrap, then place them in a resealable freezer bag or an airtight freezer-safe container. They can be frozen for up to 6 weeks without losing their quality. When you’re ready to indulge, just let the treats thaw at room temperature for about 15 to 20 minutes before serving. This quick thawing process ensures they return to their perfect soft and chewy state.
Exciting Variations to Experiment With
While these Rice Krispie Treats with peanut butter are undeniably delicious on their own, their simple base makes them an excellent canvas for creative customizations. Feel free to unleash your inner pastry chef and try some of these fun and flavorful variations:
- Decadent Chocolate Dip: For a truly bakery-worthy finish, once the treats have completely cooled and set, dip one half or the entire treat in melted chocolate (milk, dark, or white chocolate works beautifully). While the chocolate is still wet, sprinkle with your favorite candies, mini chocolate chips, chopped nuts, or even a dash of sea salt for a gourmet touch. Allow the chocolate to set on parchment paper before serving.
- Crunchy & Sweet Mix-ins: Add an extra layer of texture and flavor by mixing in your favorite chopped nuts (like peanuts or cashews), colorful sprinkles, mini M&M’s, or even crushed pretzels for a salty-sweet crunch, right after you’ve folded in the cereal and before pressing into the pan. Be mindful not to overmix, which can crush delicate additions.
- Festive Cookie Cutter Shapes: Make your treats extra special for holidays or parties by using cookie cutters! Once the mixture has been pressed into the pan and is slightly cooled but still pliable, use your favorite festive cookie cutters to cut out fun shapes. This is a fantastic way to customize them for specific events like Halloween, Christmas, or birthdays. Re-press any scraps to minimize waste.
- Swirled with Jam: For a classic PB&J twist, gently swirl a few tablespoons of your favorite berry jam or jelly into the mixture just before pressing it into the pan. This adds a fruity tang that perfectly complements the peanut butter.
- White Chocolate Drizzle: Instead of a full dip, a simple drizzle of melted white chocolate over the cooled treats adds an elegant touch and another layer of sweetness.
Frequently Asked Questions (FAQs)
Can I use crunchy peanut butter instead of creamy?
Absolutely! If you’re a fan of extra texture and a delightful crunch in your treats, using crunchy peanut butter is an excellent option. It will incorporate small pieces of roasted peanuts throughout each treat, adding a satisfying textural contrast to the soft and chewy base. Just ensure it’s a non-natural crunchy peanut butter for the best consistency, similar to the recommendation for creamy peanut butter.
Can I use regular marshmallows instead of mini marshmallows?
Yes, you can certainly use regular-sized marshmallows for the melting phase of the recipe. Approximately 40 regular marshmallows, which typically weigh around 10 ounces, can be substituted for the mini marshmallows that are initially melted with the butter. However, for the extra 2 cups that are folded in at the end to create those delightful gooey pockets and maintain a soft texture, mini marshmallows are highly recommended. Their smaller size allows them to distribute more evenly and remain slightly unmelted, contributing to the ultimate chewy experience.
How do I keep my treats from becoming too hard or dense?
There are two primary factors to keep in mind to ensure your Peanut Butter Rice Krispie Treats remain perfectly soft and chewy:
- Gentle Pressing: Avoid pressing the mixture too firmly into the pan. Over-compacting the cereal and marshmallow mixture can squeeze out air pockets, leading to dense and hard treats. Instead, use a light, even pressure with a buttered spatula or a piece of parchment paper to gently spread and level the mixture.
- Avoid Overheating: Be careful not to overheat the butter and marshmallow mixture. Cooking it for too long or at too high a temperature can cause the marshmallows to become too stiff once cooled, resulting in firmer treats. Melt them slowly over medium heat, stirring frequently, until just smooth. Remove from heat as soon as they are fully melted.
What can I do if my mixture is too sticky to press into the pan?
It’s common for the peanut butter rice krispie treat mixture to be quite sticky, especially given the addition of peanut butter which naturally increases adhesiveness. Here are a few effective strategies to handle a sticky situation:
- Grease Your Hands or Spatula: Lightly grease your hands or the spatula you’re using with butter or a non-stick cooking spray. This creates a barrier that prevents the mixture from clinging.
- Use Parchment Paper: A foolproof method is to place a piece of parchment paper directly on top of the mixture in the pan. Then, use your hands or a flat bottom of another pan to press down evenly. The parchment paper will prevent any sticking and allow for smooth, even distribution.
- Work Quickly: Marshmallow mixtures tend to become stickier as they cool. Work quickly once the mixture is in the pan to press it down before it sets too much.
Can I use a different size pan for these treats?
Yes, you can certainly use a different size pan, but do keep in mind that altering the pan size will directly affect the thickness and overall texture of your Peanut Butter Rice Krispie Treats.
- An 8×8-inch pan will result in noticeably thicker treats. Because the mixture will be more compact in a smaller area, you might need to press it down a bit more firmly to ensure an even thickness. These thicker treats offer a more substantial bite and an intensely gooey experience.
- A 9×13-inch pan, on the other hand, will produce thinner treats. This can be preferable if you’re looking to yield more servings from a single batch or if you simply prefer a daintier, thinner layer of treat. The cooling time might also be slightly shorter for thinner treats.
Regardless of the pan size, remember to always grease it thoroughly to prevent sticking.
Can I double the recipe for a larger batch?
Absolutely! Doubling the Peanut Butter Rice Krispie Treats recipe is a fantastic idea, especially when you’re feeding a crowd or preparing for a big event like a school function or a large party. When doubling the recipe, you’ll want to use a larger pan, such as a 9×13-inch pan, or alternatively, two 9×9-inch pans to accommodate the increased volume of the mixture. Just ensure that you distribute the doubled mixture evenly and press it gently into your chosen pan(s) to maintain that perfect soft and chewy texture. All other steps and tips apply, just on a grander scale!
Expert Tips for Perfect Peanut Butter Rice Krispie Treats (Trish’s Tips)
Achieving the perfect batch of soft, chewy, and flavorful Peanut Butter Rice Krispie Treats is simple when you know a few key tricks. Follow these expert tips from Trish to ensure your treats are always a resounding success:
- Be Prepared and Work Efficiently: These treats are notorious for setting up quickly, which is great for impatient snackers but requires a bit of speed from the maker. Ensure you have all your ingredients measured out and ready to go (mise en place) before you even begin melting the butter. Work quickly and efficiently once the wet ingredients are combined with the cereal to prevent the mixture from hardening prematurely, making it difficult to spread into the pan.
- Press Gently for Softness: This is perhaps the most crucial tip for avoiding dense, hard treats. When transferring the mixture to your prepared pan, resist the urge to press down too firmly. Instead, use a light, gentle touch. A buttered spatula or, even better, a piece of parchment paper placed over the top of the mixture and then pressed down with your hands, will help you spread it evenly without over-compressing it. This method preserves the airy, chewy texture that makes these treats so delightful.
- Always Use Fresh Marshmallows: The quality of your marshmallows significantly impacts the final texture of your treats. Older marshmallows tend to dry out, making them less pliable and more difficult to melt smoothly. This can result in a grainy or stiff base, affecting the overall chewiness of your treats. For the best results – meaning a perfectly smooth, gooey, and soft consistency – always opt for fresh, soft marshmallows.
- Don’t Overcook the Marshmallows: Just like pressing too firmly, overcooking the marshmallow and butter mixture can lead to rock-hard treats. Melt them over medium-low heat, stirring constantly, and remove from the heat as soon as they are fully smooth. There’s no need for them to boil or caramelize.
- Control the Salt: While the recipe calls for a specific amount of salt, feel free to adjust to your taste. A little extra salt can enhance the peanut butter flavor, especially if you prefer a more pronounced salty-sweet contrast. However, too much can overpower the delicate balance.
More Peanut Butter Delights to Explore
If you’re a true peanut butter enthusiast, these treats are just the beginning! Dive deeper into the world of rich, nutty flavors with these other fantastic peanut butter-inspired recipes that are sure to satisfy any craving:
- Decadent Peanut Butter Cheesecake: A creamy, indulgent dessert for serious peanut butter lovers.
- Homemade Nutter Butter Cookies: Recreate this iconic sandwich cookie from scratch for an elevated experience.
- Classic Peanut Butter Sandwich Cookies: A delightful combination of chewy cookies and creamy filling.
- Irresistible Fluffernutter Pie: A dreamy, no-bake pie blending peanut butter and marshmallow fluff.
- Refreshing Peanut Butter Icebox Cake: Layers of cookies and creamy peanut butter goodness, perfect for a cool treat.
Peanut Butter Rice Krispies Treats
These Peanut Butter Rice Krispie Treats are soft, chewy, and packed with rich, peanut butter flavor! These irresistible treats come together fast and deliver big on flavor – a quick and easy no-bake treat that is always a hit!
- Course: Dessert, Snack
- Cuisine: American
- Keyword: peanut butter rice krispie treat recipe, peanut butter rice krispie treats, peanut butter rice krispie treats recipe
- Prep Time: 5 minutes
- Cook Time: 5 minutes
- Cooling Time: 1 hour
- Servings: 16
- Calories: 190 kcal
Author: Trish – Mom On Timeout
Ingredients
- 4 tablespoons unsalted butter
- 10 ounces mini marshmallows
- ½ cup creamy peanut butter (not natural peanut butter)
- 1 teaspoon vanilla extract
- ½ teaspoon fine sea salt
- 6 cups Rice Krispies cereal
- 2 cups mini marshmallows (optional, extra to mix in for added gooeyness)
Instructions
- Grease a 9-inch square baking dish with butter or non-stick spray and set aside.
- In a large pot over medium heat, melt the butter and 10 ounces of mini marshmallows, stirring until completely melted and smooth.
- Stir in the peanut butter, vanilla extract, and salt until fully combined.
- Remove the pot from the heat and gently fold in the Rice Krispies cereal until well coated with the marshmallow mixture.
- Gently fold in the extra 2 cups of mini marshmallows until evenly distributed.
- Quickly transfer the mixture into the prepared baking dish. Use a spatula or wax paper to gently press the mixture evenly into the pan. Avoid pressing too firmly to keep the treats light and chewy.
- Let the treats cool at room temperature for about an hour or until set. Once cooled, cut into squares and serve.
Notes
Storage Information
- Room Temperature: Store the treats in an airtight container at room temperature for 3 to 4 days. Place a piece of parchment or wax paper between the layers to prevent them from sticking.
- Freezer: Wrap individual squares in plastic wrap and place them in a resealable freezer bag. They can be frozen for up to 6 weeks. When ready to enjoy them, let the treats thaw at room temperature for about 15 to 20 minutes.
Can I use regular marshmallows instead of mini marshmallows?
Yes, you can use regular-sized marshmallows. Use about 40 regular marshmallows (approximately 10 ounces) instead of the mini marshmallows for melting. The extra 2 cups mixed in should be mini marshmallows for the best texture.
Can I use a different size pan?
Yes, you can use a different size pan, but the thickness and texture of the treats will vary depending on the pan size. An 8-inch square pan will produce thicker treats since the mixture will be more compact. A 9×13-inch pan will create thinner treats, which may be preferable for more servings.
Tools and Equipment: 9 Inch Square Pan | Silicone Spatula | Dutch Oven – 8 qt or large pot
Please see post above for more information, step-by-step process photos, recipe tips and frequently asked questions.
Nutrition
Calories: 190 kcal | Carbohydrates: 30g | Protein: 3g | Fat: 7g | Saturated Fat: 3g | Polyunsaturated Fat: 1g | Monounsaturated Fat: 3g | Trans Fat: 0.1g | Cholesterol: 8mg | Sodium: 182mg | Potassium: 61mg | Fiber: 0.5g | Sugar: 16g | Vitamin A: 786IU | Vitamin C: 7mg | Calcium: 6mg | Iron: 3mg