
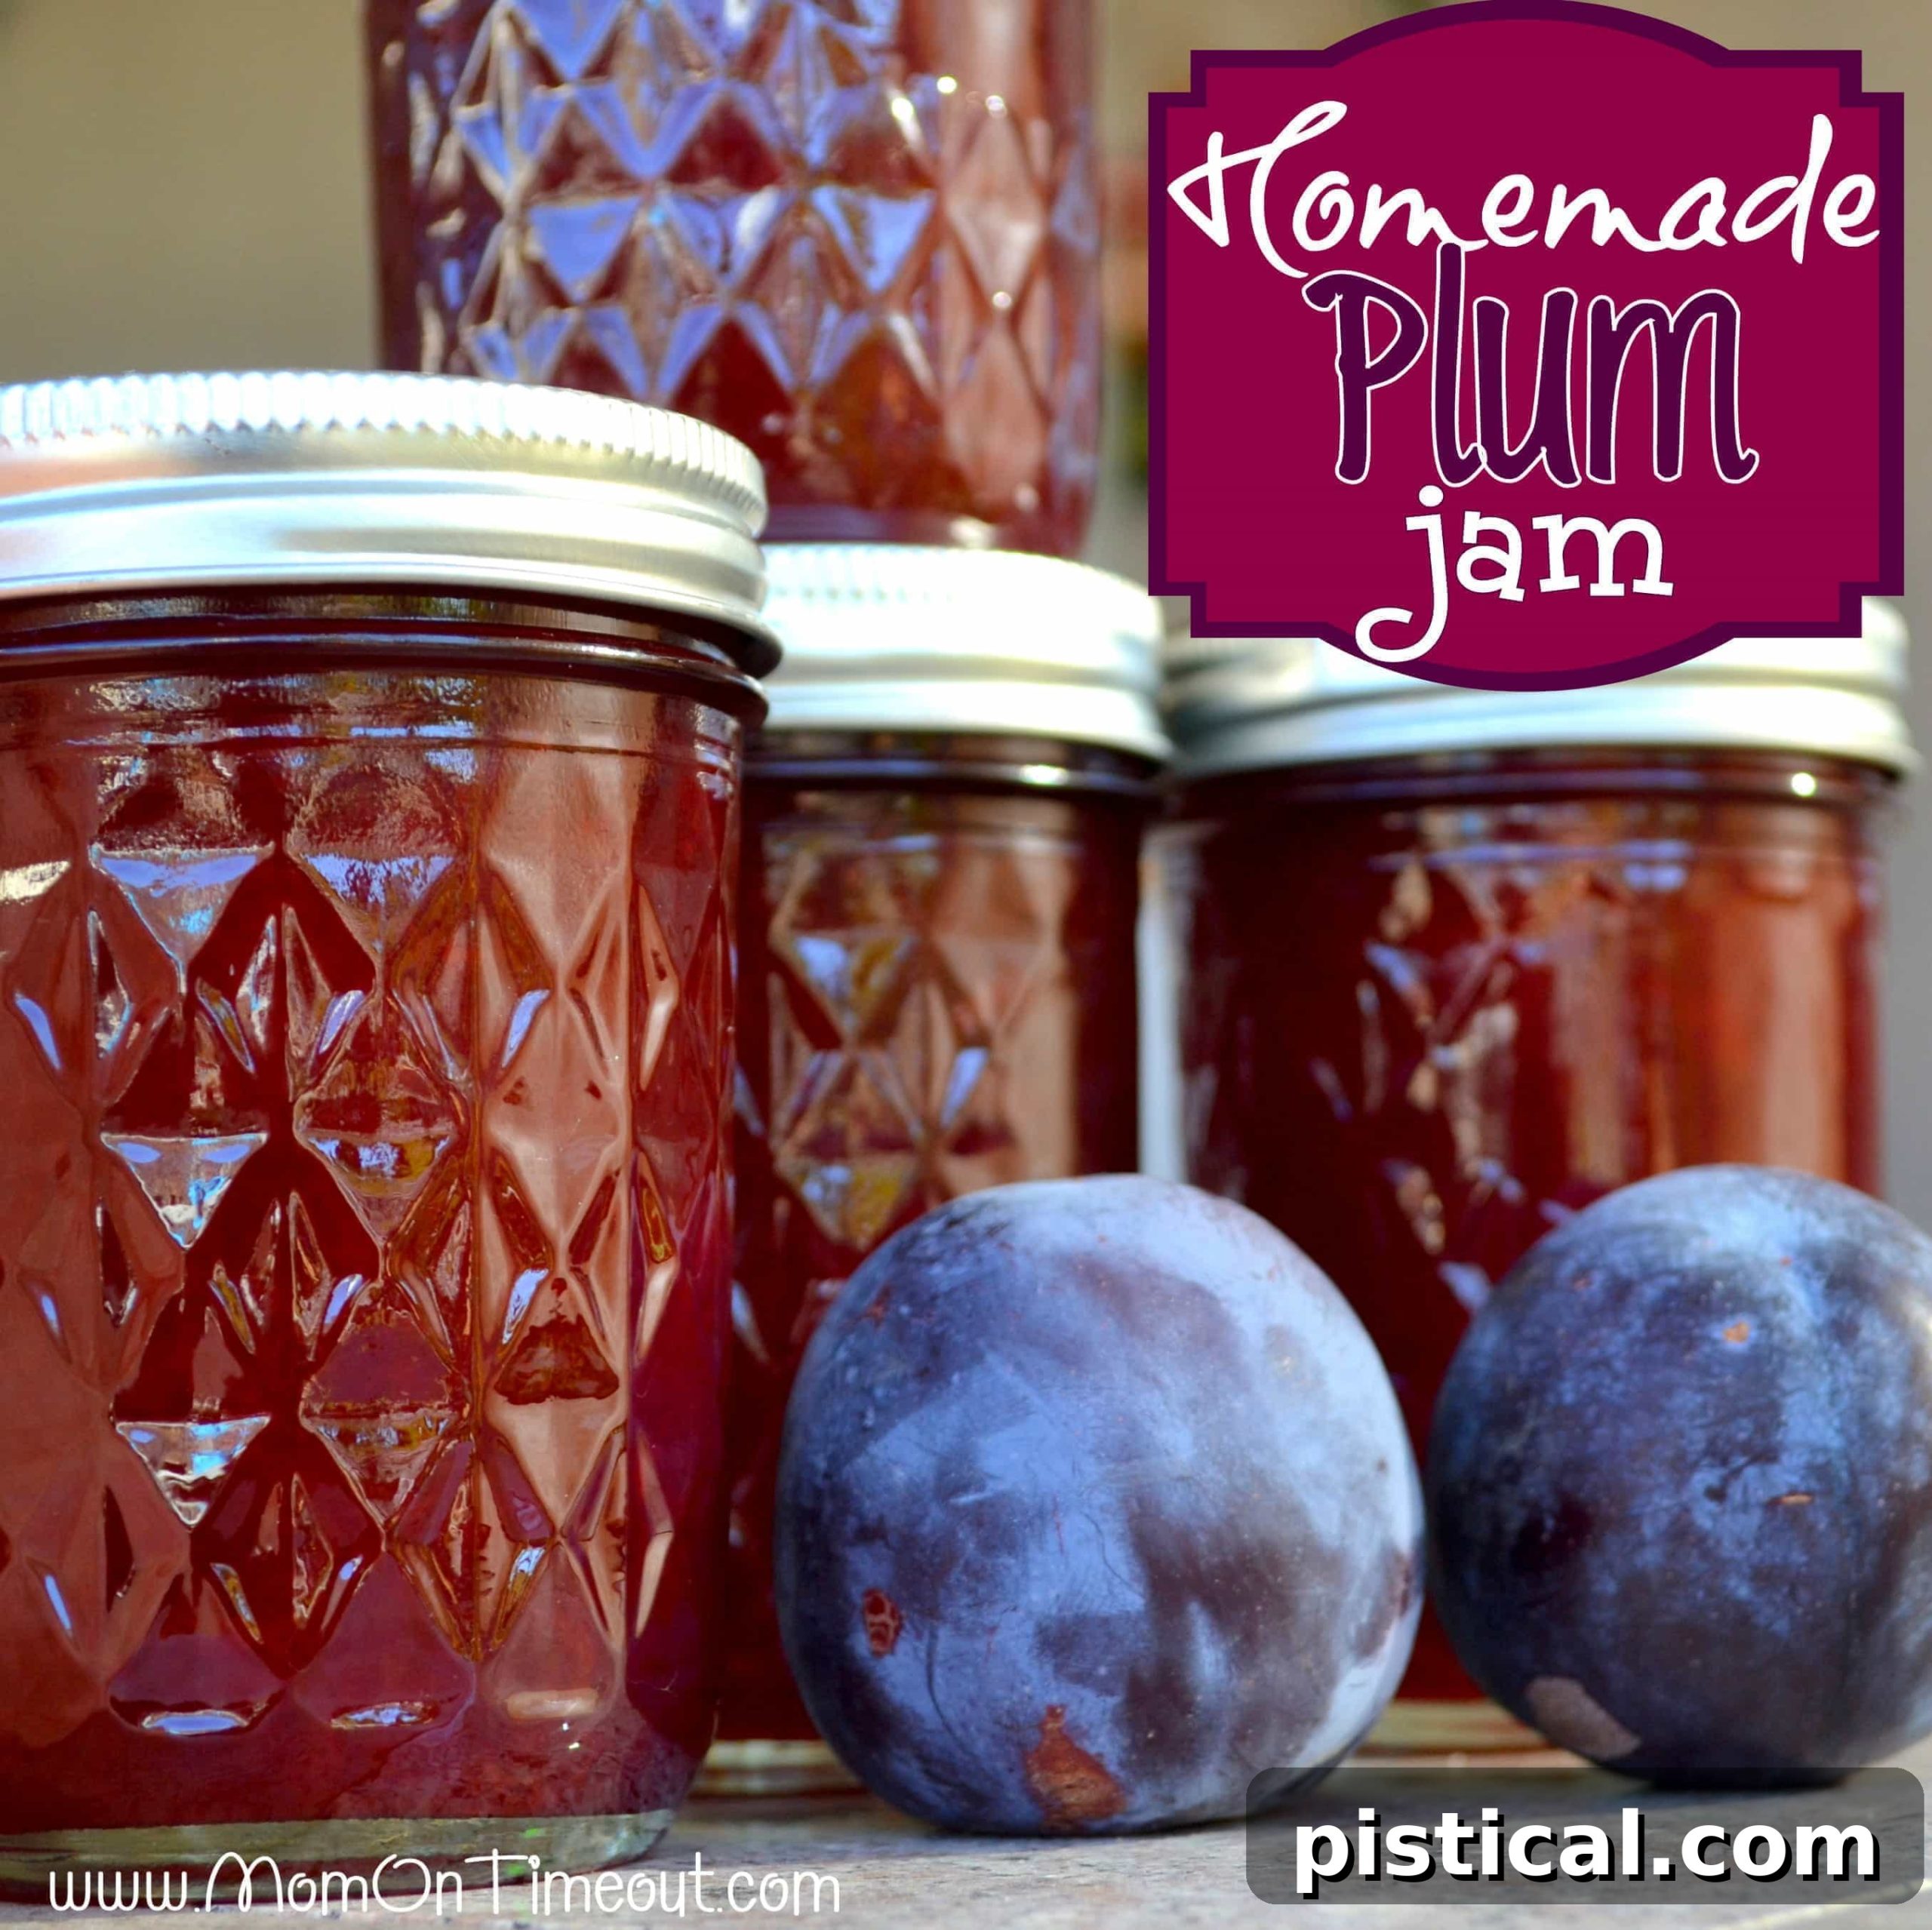
The Ultimate Guide to Making Homemade Plum Jam: Sweet Perfection from Scratch
There’s a unique satisfaction that comes with creating something delicious from scratch, especially when it’s a jar of vibrant, homemade jam. After venturing into the world of Homemade Pasta Sauce, I finally gathered the courage to tackle jam making, and to my delight, it turned out to be an incredibly simple and rewarding experience!
For years, I’ve been spoiled by my sister’s incredible jam and jelly creations. She’s a true artisan, crafting unique flavor combinations like Cherry Almond, Apricot Plum, and Blackberry Raspberry. Her pantry, filled with cases of her homemade preserves, was always a source of awe and inspiration. Thanks to her generosity, I rarely bought jam from the store. Now, I understand the magic behind those delicious jars and I’m thrilled to share my journey into making my very own homemade plum jam.
Why Homemade Plum Jam is Simply the Best
Beyond the simple joy of creating, homemade jam offers a host of benefits that store-bought varieties just can’t match. The most immediate difference is the unparalleled freshness and flavor. When you make jam at home, you control every ingredient, ensuring only the ripest fruit and the highest quality sugar go into your spread. This means no artificial preservatives, no high-fructose corn syrup, and a taste that truly captures the essence of fresh plums.
Furthermore, there’s a profound sense of accomplishment in filling your pantry with jars of homemade goodness. It’s a connection to traditional methods of food preservation, a skill passed down through generations, and a wonderful way to savor the bounty of the harvest long after the season ends. Homemade jam also makes for thoughtful, personalized gifts, perfect for sharing the warmth of your kitchen with loved ones.
The Science of Jam Making: Pectin, Sugar, and Acid Explained
The magic of jam relies on a delicate balance of three key ingredients: fruit, sugar, and pectin, along with a touch of acid. Understanding their roles is crucial for achieving that perfect, spreadable consistency.
- Pectin: This is a natural polysaccharide found in fruits, particularly in the cell walls. When heated with sugar and acid, pectin forms a gel, giving jam its characteristic texture. Plums naturally contain a moderate amount of pectin, but for a consistent set, especially with very ripe fruit, commercial pectin is often used. There are different types of commercial pectin, including liquid and powdered forms, as well as varieties designed for low-sugar recipes. It’s always essential to read the instructions on your specific pectin package, as recommendations can vary.
- Sugar: More than just a sweetener, sugar plays a vital role in preserving the fruit, inhibiting the growth of spoilage microorganisms, and contributing to the jam’s texture and shine. It interacts with pectin to form the gel.
- Acid (Lemon Juice): Acid is critical for activating the pectin and helping the jam set properly. It also brightens the fruit’s flavor and helps prevent sugar crystallization. Bottled lemon juice is often preferred over fresh for canning recipes because its acidity level is consistent, which is important for safety and a reliable set.
One invaluable tip I learned from my sister, and also found on my Ball Pectin packaging, is to add a small amount of butter to the cooking fruit mixture. This simple trick helps to reduce the amount of foam that forms on top of the jam, resulting in a clearer, more appealing finished product. It’s a small step that makes a big difference in the final presentation.
Sourcing Your Sweet Plums: From Backyard to Market
Not everyone is fortunate enough to have a backyard overflowing with ripe plums, as I did during this jam-making adventure! But that doesn’t mean you can’t enjoy the bounty of this delicious fruit. Keep an eye out for abundant plum harvests at your local farmer’s market. Often, towards the end of the season, farmers offer great markdowns on large quantities of fruit, which are perfect for canning.
Terrific sales at your favorite grocery store can also be a fantastic opportunity to stock up. When selecting plums for jam, look for fruit that is ripe but still firm, without too many soft spots or blemishes. Different plum varieties, such as Santa Rosa, Italian Prunes, or even Damsons, will yield unique flavor profiles, so don’t hesitate to experiment!
Essential Equipment for a Smooth Jam-Making Experience
Having the right tools on hand can make the jam-making process significantly smoother and safer. Here’s what you’ll need:
- Large, Heavy-Bottomed Pot: Crucial for even heat distribution and preventing scorching, especially when boiling sugary mixtures. Choose one with high sides to contain splatters during the rolling boil.
- Canning Jars, Lids, and Bands: Use only jars specifically designed for canning (e.g., Mason jars). New lids are essential for a proper seal; bands can be reused. Ensure they are clean and free of chips or cracks.
- Water Bath Canner: A large pot with a rack that holds jars and allows them to be completely submerged in boiling water.
- Jar Lifter: For safely moving hot jars in and out of the canner. This prevents burns and ensures proper handling.
- Canning Funnel: Helps to neatly ladle hot jam into jars, minimizing mess and ensuring jar rims remain clean for a good seal.
- Headspace Tool: A simple tool to measure the exact amount of space at the top of the jar, crucial for proper sealing and food safety.
- Paring Knife and Cutting Board: For preparing the fruit.
- Measuring Cups and Spoons: Accurate measurements are key in jam making.
- Timer: For precise boiling times during the gelling stage.
- Tongs or Magnetic Lid Lifter: To handle hot lids.
- Clean Cloths: For wiping jar rims.
Safety is paramount when working with hot fruit and boiling water. Always handle hot jars and jam with care to prevent burns.
Homemade Plum Jam: The Recipe
This recipe yields approximately 24 jars of delicious homemade plum jam, with a prep time of about 2 hours, a cook time of 30 minutes, and a cooling period of 1 day.
Ingredients:
- 12 cups of prepared {chopped} plums
- 12 cups of granulated sugar
- 9 tablespoons of bottled lemon juice
- 13 1/2 tablespoons pectin (ensure to follow your pectin package’s specific instructions as amounts can vary)
- 1/4 teaspoon butter
Instructions:
-
Rinse and Clean the Fruit: Begin by thoroughly rinsing your plums under cold running water. It’s important to start with impeccably clean fruit because, in this fantastic recipe, we won’t be removing the skins! This not only saves you a step (hallelujah!) but also contributes to the jam’s nutritional value and vibrant color. The plum skins mostly dissolve during the cooking process and become virtually unnoticeable in the final product, adding depth of flavor and valuable vitamins.
-
Prepare the Plums: Using a sharp paring knife, carefully remove the “cheeks” of the plums by cutting around the pit. Then, trim off any remaining fruit from the top and bottom of the pit. As you work, inspect each piece of fruit and pare away any bruises, soft spots, or other blemishes to ensure the highest quality jam. Cut the fruit into small, uniform pieces. This step is crucial as smaller pieces will cook down more quickly and evenly, contributing to a smoother jam texture. Stir the chopped fruit frequently to ensure consistent prep.
-
Cook the Fruit with Lemon Juice: Transfer all of your prepared plum pieces into a large, heavy-bottomed pot. This type of pot is essential to prevent scorching, especially when dealing with sugary mixtures. Add the measured bottled lemon juice to the pot. The general guideline is 3 teaspoons of bottled lemon juice for every 1 1/3 cups of prepared fruit. Begin cooking the fruit over medium-high heat, stirring frequently. Allow the fruit to cook down for approximately 10-15 minutes, or until the plums have softened and released their juices. This initial cooking helps to break down the fruit before the pectin is added, ensuring a smooth consistency.
-
Add Pectin and Butter: Once the fruit has softened, add the pectin and the 1/4 teaspoon of butter to the pot. Stir continuously to fully incorporate the pectin and prevent it from clumping. Increase the heat to bring the mixture to a full, rolling boil. This is a boil that cannot be stirred down, meaning it continues to bubble vigorously even when you stir it. Maintaining a constant stir is important at this stage to prevent sticking and ensure even cooking.
-
Introduce the Sugar: With the mixture at a full rolling boil, carefully add the granulated sugar. Stir vigorously and constantly until all the sugar has completely dissolved. Continue stirring and bring the mixture back to a full, rolling boil that cannot be stirred down.
-
Boil Hard for Precisely One Minute: Once the jam mixture reaches a full, rolling boil again, start your timer. Boil the jam hard for **EXACTLY ONE MINUTE**, stirring constantly throughout this period. The precise timing here is crucial for activating the pectin and achieving the proper set. After one minute, immediately remove the pot from the heat.
-
Skim the Foam: You might notice a layer of foam on the surface of your freshly cooked jam. Use a large spoon to gently skim off this foam. While foam is harmless, removing it will result in a clearer, more aesthetically pleasing jam. I observed that any small pieces of plum skin that hadn’t fully dissolved tended to gather with the foam, making them easy to remove at this stage, further enhancing the jam’s texture.
-
Prepare Canning Equipment: While your jam is cooking, it’s essential to prepare your water bath canner, jars, and lids. All components must be sanitized to ensure safe food preservation. A common method is to wash jars and lids in hot, soapy water, then rinse thoroughly. Place the jars in the water bath canner, fill it with water to cover the jars by at least an inch, and bring it to a simmer (not a rolling boil) to keep the jars hot. Place lids in a separate small saucepan with water and bring to a simmer. Many people also run jars through a dishwasher on a hot cycle, which is perfectly acceptable for sanitizing.
-
Ladle Hot Jam into Jars: Carefully remove one hot jar from the canner (or dishwasher) using a jar lifter. Place it on a heat-resistant surface. Position a canning funnel securely on the rim of the jar. Ladle the hot jam into the hot jar, leaving 1/4 inch of headspace (the space between the surface of the jam and the rim of the jar). This headspace is critical for creating a proper vacuum seal. After filling, carefully wipe the rim of the jar with a clean, damp cloth to remove any jam residue. Place a hot lid on the jar, followed by a band, and finger-tighten it (tight enough to be secure, but not overly tight). Handle all jars with extreme care as they will be HOT.
-
Process Jars in Water Bath: Using your jar lifter, carefully place the filled, lidded jars back onto the rack in the water bath canner. Ensure the jars are covered by at least 1-2 inches of water. Place the lid on the canner and bring the water to a full, rolling boil. Once boiling, process the jars for 10 minutes (adjust for altitude if necessary). After 10 minutes, turn off the heat and let the jars stand in the hot water for an additional 5 minutes before carefully removing them.
-
Cool and Check Seals: Carefully remove the jars from the canner using the jar lifter and place them on a towel-lined counter or a wire rack, ensuring there’s space between each jar for air circulation. Let the jars cool undisturbed for 24 hours. After 24 hours, check the seals by pressing down on the center of each lid. A properly sealed lid will be concave and will not flex or pop when pressed. If a lid does not seal, refrigerate that jar of jam and consume it within a few weeks. Loosen the bands (or remove them entirely) before storing the sealed jars in a cool, dark place. This prevents moisture from getting trapped and potentially corroding the bands. Congratulations, you’ve just made homemade plum jam!
Troubleshooting Common Jam Making Issues
- Jam Not Setting: If your jam is too runny, it might be due to insufficient pectin, not enough acid, or not boiling hard enough for the full minute. You can try re-cooking it with a bit more pectin, but be careful not to overcook, which can break down pectin.
- Jam Too Stiff: If your jam sets too firmly, you might have used too much pectin for the fruit’s natural pectin level. Note this for your next batch and consider reducing the pectin slightly.
- Excessive Foaming: While butter helps, some plums can be very foamy. Skimming the foam is primarily for appearance; it doesn’t affect safety or taste.
- Jars Not Sealing: This can happen if jar rims weren’t perfectly clean, lids were faulty, or processing time was incorrect. Always check seals after cooling and refrigerate any unsealed jars.
Enjoying Your Homemade Plum Jam
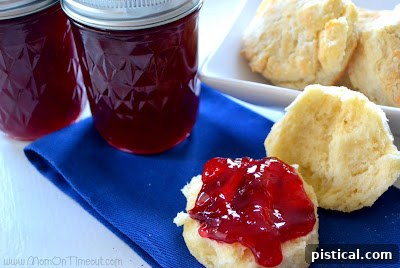
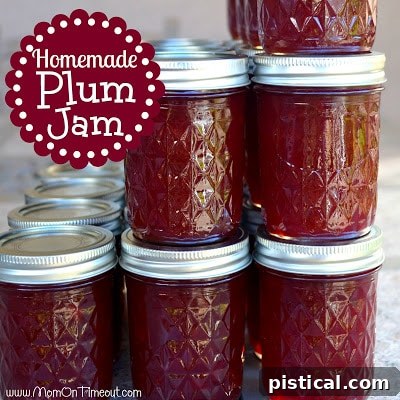
The best part about making your own jam is, of course, enjoying it! We’ve already savored our homemade plum jam on countless PB&J sandwiches, spread it generously on Perfect Biscuits this morning (yum!), and even stirred it into our morning yogurt. It’s also fantastic as a glaze for pork or chicken, a topping for ice cream, or simply spread on warm toast. Don’t forget, beautifully jarred jam makes a wonderful gift for friends and family.
Properly sealed jars can be stored in a cool, dark place for up to a year. Once a jar is opened, refrigerate it and consume within a few weeks for the best quality. I’m truly getting into the art of home canning, and I’d love to hear from you! Do any of you can, and what amazing preserves or items do you enjoy making? Share your tips and favorite recipes in the comments below!
Homemade Plum Jam Recipe Card
This easy homemade plum jam recipe is super simple and fun to make!
Course: Side
Cuisine: American
Keyword: homemade plum jam
Prep Time: 2 hours
Cook Time: 30 minutes
Let Jars Cool: 1 day
Total Time: 1 day 2 hours 30 minutes
Servings: 24 jars
Calories: 454kcal
Author: Trish – Mom On Timeout
Ingredients
- 12 cups plums, prepared (chopped)
- 12 cups granulated sugar
- 9 tbsp lemon juice
- 13 1/2 tbsp pectin
- 1/4 tsp butter
Instructions
- Rinse the fruit. You want to start with really clean fruit because in this recipe we won’t be removing the skins -hallelujah! The skins mostly kind of dissolve during the cooking process and are unnoticeable in the final product. One less step for us and more vitamins and nutritional value in the jam!
- Prep the fruit. Using a paring knife, remove the cheeks of the plum and then cut off the top and bottom. Make sure to pare away any bruises or other blemishes on the fruit. Cut the fruit into small pieces so they will cook down faster. Stir frequently.
- Cook the fruit. Throw all of the fruit into a heavy-bottomed pot and start cooking. Add in the lemon juice now. For every 1 1/3 cups of prepared fruit, you need to add 3 tsp of bottled lemon juice. I let my fruit cook down for 10-15 minutes before adding in the pectin. Stir frequently.
- Add in the pectin and butter. Bring to a full rolling boil that cannot be stirred down over high heat. Stir constantly.
- Add the sugar. Stir to dissolve and return the mixture to a full rolling boil.
- Boil hard for EXACTLY ONE MINUTE stirring constantly and then remove from heat.
- Skim foam. I didn’t have a lot of foam but I noticed that what skins hadn’t dissolved were hanging out with the foam and they got tossed too.
- Prepare the waterbath canner, jars and lids. This should be done while the jam is being made. I boiled all components to make sure they were sanitized completely. I know many people run them through the dishwasher and that’s fine too.
- Ladle the hot jam into the hot jars using a funnel. Trust me. Funnels keep the mess to a minimum and keep you from getting burned. Handle all jars with care because they are HOT. Leave 1/4 inch headspace and wipe the rims of the jars. Place the lids on the jars and finger tighten the bands.
- Next it’s time to place the jars in the canner. The jars need to be covered by at least 1-2 inches of water. Place the lid on the canner and bring water to a boil. Process the jars for 10 minutes and then turn off the heat. Let jars stand for 5 minutes before removing.
- Let the jars cool for 24 hours. Check the lids for a proper seal by pressing on the center. The lid should not flex at all. Loosen the band to prevent any moisture from being trapped and store. You’ve just jammed!
Nutrition
Calories: 454kcal | Carbohydrates: 117g | Protein: 1g | Fat: 1g | Saturated Fat: 1g | Cholesterol: 1mg | Sodium: 18mg | Potassium: 137mg | Fiber: 2g | Sugar: 108g | Vitamin A: 285IU | Vitamin C: 10mg | Calcium: 7mg | Iron: 1mg