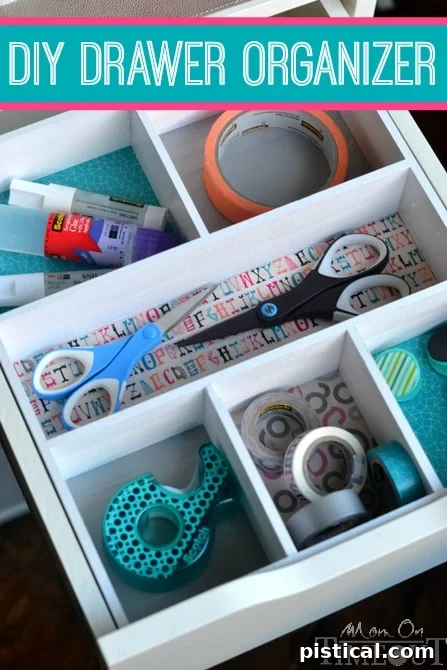
Transform Your Cluttered Drawers: A Colorful DIY Organizer Project
Tired of messy drawers? Discover how to build a custom, colorful DIY drawer organizer that brings both order and personality to your space!
This insightful guide is proudly sponsored by Scotch Brand. All creative ideas and opinions are, as always, 100% my own!
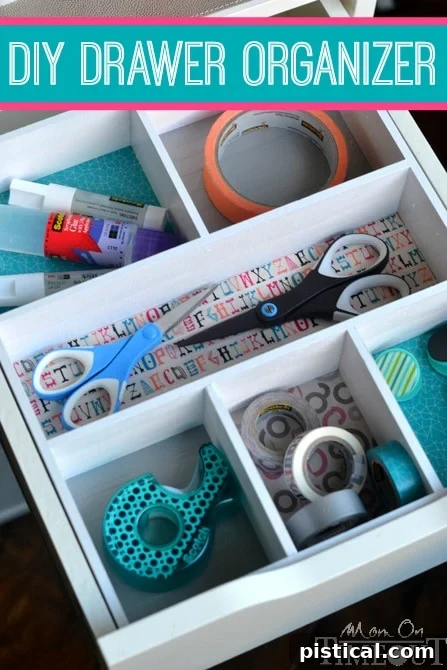
Say Goodbye to Drawer Chaos with a Custom DIY Solution
Do you ever open a drawer, only to be met with a frustrating jumble of items? A few weeks ago, I found myself facing this exact dilemma. My desk cabinet, designed to hold an assortment of essential supplies, had devolved into a chaotic abyss. The drawers, while generously sized, were simply too long and deep, allowing everything to slide around and become hopelessly disorganized. Standard store-bought organizers proved useless; none fit the unique dimensions of my drawers, leaving me feeling increasingly overwhelmed by the clutter.
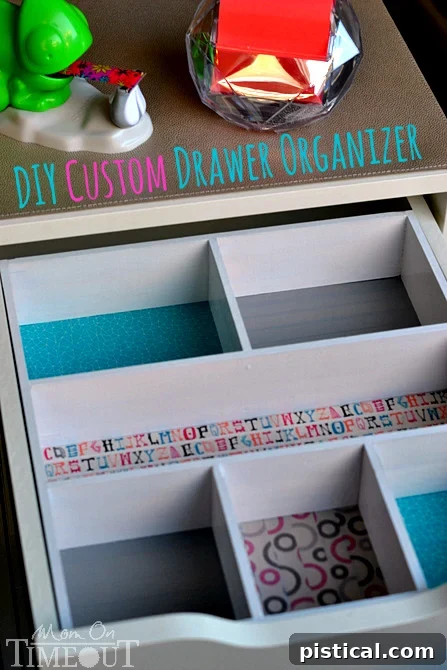
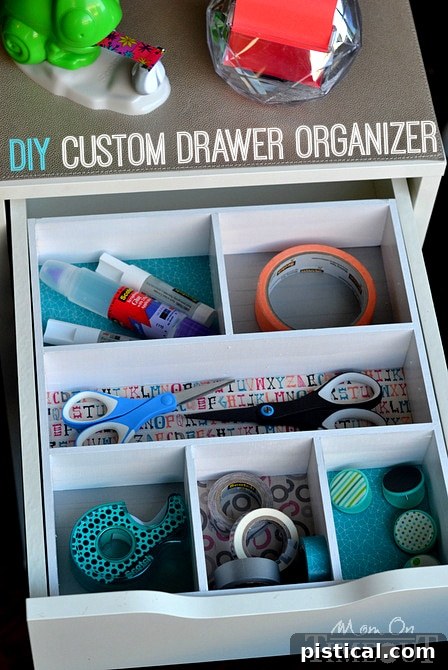
That’s when I decided it was time for a custom solution. Instead of settling for ill-fitting trays or continuing to tolerate the mess, I resolved to build my own DIY drawer organizer. Little did I know, this project would not only solve my storage woes but also become a surprisingly easy and incredibly rewarding endeavor! The best part? I didn’t just want functional organization; I craved something visually appealing, something that would spark joy every time I opened the drawer. Thanks to the versatility of Scotch Expressions Washi Tape, I was able to infuse each compartment with a vibrant pop of color and unique personality. The result is an organizer that I absolutely adore!
It’s amazing how a little bit of order and aesthetic charm can transform a workspace. Now, every time I pull open that drawer, I can’t help but smile at the fun prints and perfectly arranged items. It almost makes me want to tackle my to-do list… almost! If you’re ready to reclaim your drawers from the clutches of disarray and inject some creative flair into your home organization, then this DIY project is for you. Let’s dive in and create an organizer that’s as beautiful as it is functional.
Gather Your Supplies: What You’ll Need for Your Custom Organizer
Before embarking on any DIY project, having all your materials ready is key to a smooth and enjoyable process. Here’s a comprehensive list of what you’ll need to create your personalized drawer organizer:
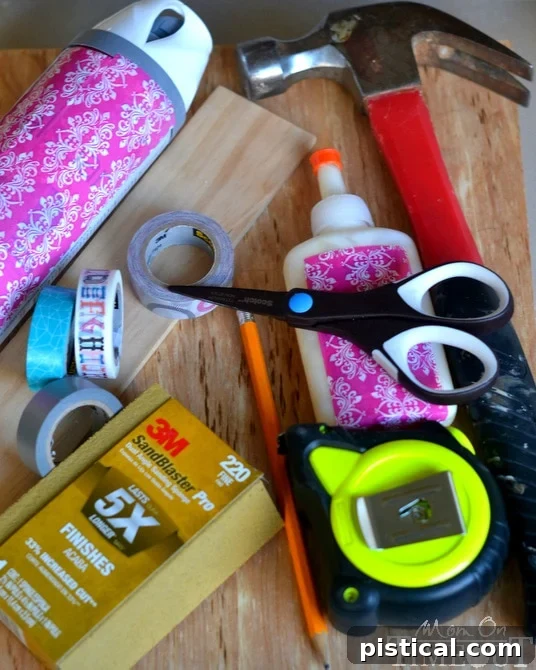
- Assorted Scotch Expressions Washi Tape: This is where the fun begins! Choose a variety of colors and patterns that speak to your style. I personally loved using Striped Circles, Illustrated Alpha, Cracked, and Silver designs for a dynamic look.
- 6″ Scotch Precision Scissors: A good pair of sharp scissors is essential for clean cuts, especially when working with tape and other delicate materials.
- Measuring Tape: Accuracy is paramount for a perfectly fitting organizer. A reliable measuring tape will ensure your cuts are precise.
- White Spray Paint (Primer + Paint Formula Recommended): For a durable and smooth finish on your wooden dividers. The primer+paint formula saves a step and offers excellent coverage.
- Hammer: For securely fastening the brads.
- 3/4″ Brads: These small nails are ideal for joining the lattice pieces and attaching them to the plywood base.
- Pencil: For marking measurements and tracing your design onto the plywood.
- 3M SandBlaster Pro Sanding Sponge: Essential for smoothing out any rough edges on your wood, ensuring a professional and splinter-free finish.
- Wood Glue (Optional but Recommended): For added strength and stability when assembling the wooden dividers. It creates a stronger bond than brads alone.
- 8’x.25″x2.25″ Lattice (I used pine): This thin, versatile wood is perfect for creating the compartment dividers. Pine is lightweight and easy to work with.
- .25″ Plywood, cut to drawer size: This will form the sturdy base of your organizer. Having it cut to the exact dimensions of your drawer is crucial.
With these items in hand, you’re fully equipped to embark on your drawer organization journey!
Step-by-Step Guide: Building Your DIY Drawer Organizer
Creating your custom drawer organizer is a rewarding process that doesn’t require advanced carpentry skills. Follow these detailed steps to bring order and beauty to your drawers:
Step 1: Precise Measurement and Thoughtful Design
The foundation of a perfect organizer lies in accurate measurements. Begin by carefully measuring the interior dimensions of your desk drawer. Pay close attention to any internal features like protruding screws, hinges, or unusual angles, as these will affect the final fit. It’s wise to give yourself at least 1/8″ of wiggle room for the organizer to slide in and out smoothly without snagging. Once you have your precise measurements, grab a piece of paper and sketch out your ideal drawer organizer design. Consider what items you’ll store and how many compartments you’ll need. This visual plan will guide your cuts and assembly, helping you visualize the layout and ensure everything fits efficiently.
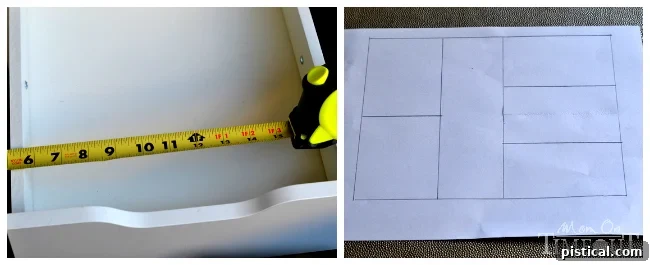
Step 2: Cutting the Plywood Base and Lattice Dividers
Using the dimensions you’ve meticulously recorded, cut the .25″ plywood to serve as the bottom of your organizer. This base will provide stability and a surface for your Washi tape designs. Next, transfer your sketched design onto the lattice wood. Carefully cut the different sized pieces of lattice according to your plan. To simplify the process and reduce cutting time, I found it helpful to group pieces of the same length. For example, Boards 1 and 2 were cut to the same length; Boards 3, 4, 5, and 6 shared another common length; and Boards 7, 8, and 9 were all identical in size. This strategy streamlines the cutting process. Once all pieces are cut, do a preliminary dry layout of your design within the actual drawer to ensure everything fits snugly before assembly.
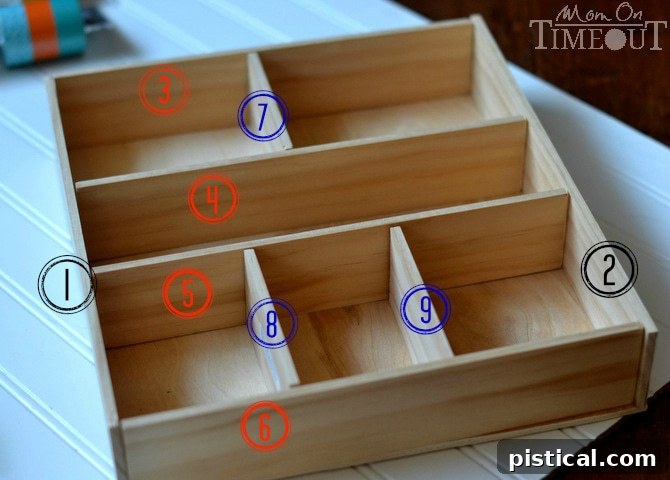
Step 3: Smoothing Edges with Sanding
For a professional look and to prevent any splinters, it’s crucial to sand all the edges of your freshly cut lattice boards. Use a 3M SandBlaster Pro Sanding Sponge for this step. Sand lightly but thoroughly until all edges are smooth to the touch. This attention to detail will not only make your organizer look better but also be safer and more pleasant to handle.
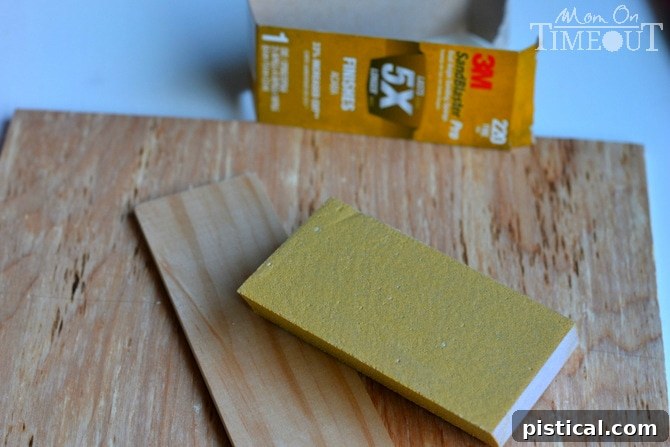
Step 4: Assembling the Divider Framework
Now it’s time to bring your design to life. Begin by nailing (or gluing, if you prefer a stronger bond) the lattice divider pieces together to form the rectangular framework of your compartments. You can use 3/4″ brads for this. Once the main framework is assembled, carefully lay it on top of your plywood base. This step allows you to ensure that all the dividers line up perfectly with the edges of your plywood base and that your overall structure matches your initial sketch. This is an alignment check before the next crucial step.
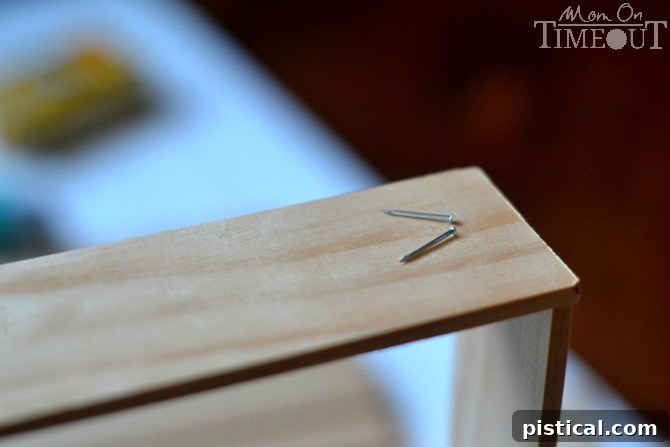
Step 5: Tracing Compartment Guidelines
With the assembled dividers temporarily positioned on top of the plywood base, use a pencil to carefully trace the interior dimensions of each compartment onto the plywood. These pencil lines will serve as your precise guides for placing the Scotch Expressions Washi Tapes in a later step. This ensures that your tape designs perfectly align with the finished compartments, creating a neat and polished look.
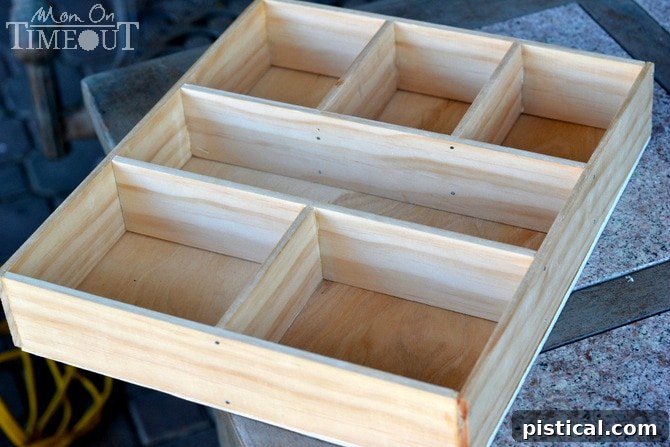
Step 6: Spray Painting the Dividers
Take your assembled wooden dividers (removed from the plywood base for this step) to a well-ventilated area and spray paint them. Apply as many coats as needed to achieve your desired coverage and a uniform color. I highly recommend using a primer + paint spray paint, as it offers superior coverage and adhesion, saving you time and effort. Allow ample drying time between coats and before proceeding to the next step, ensuring a smooth and durable finish.
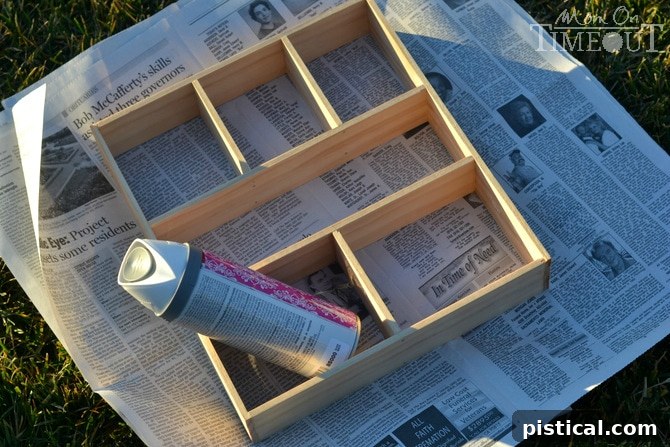
Step 7: Applying Decorative Washi Tape
Now for the most exciting and creative part! Select your favorite Scotch Expressions Washi Tapes. Using your Scotch Precision Scissors, cut pieces of tape that are long enough to cover each compartment area that you previously marked with a pencil. Carefully apply the Washi tape within these pencil guidelines on the plywood base. This step allows you to infuse your organizer with unique patterns, textures, and a burst of color, truly personalizing your storage solution. Don’t be afraid to mix and match patterns for an eclectic and fun aesthetic!
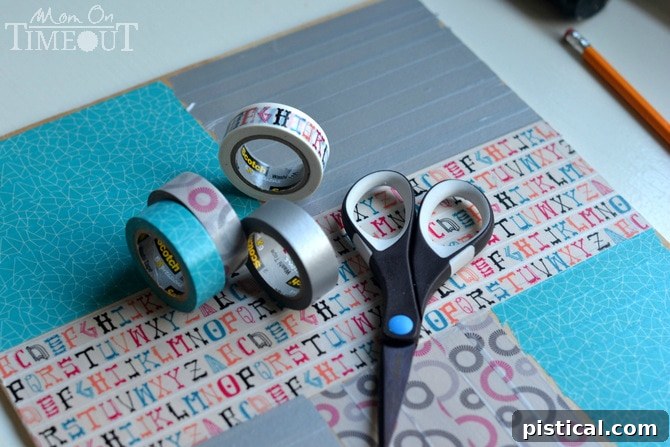
Step 8: Final Assembly and Secure Attachment
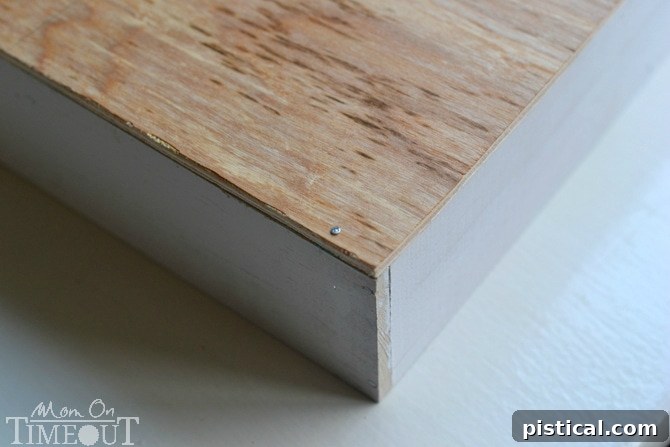
Once your painted dividers are completely dry and your Washi tape designs are securely in place on the plywood base, it’s time for the final assembly. Carefully position the dried dividers directly on top of the taped plywood base, ensuring they align perfectly with your Washi tape designs and the traced lines. Using the 3/4″ brads and your hammer, nail the plywood backing onto the dividers, effectively securing all the compartments together. For an extra strong bond, you could also apply wood glue before nailing. If you desire the back of the organizer (the underside of the plywood) to match the painted dividers, you can spray paint it now. However, since the back won’t be visible once placed in the drawer, I opted not to paint mine, saving time and paint.
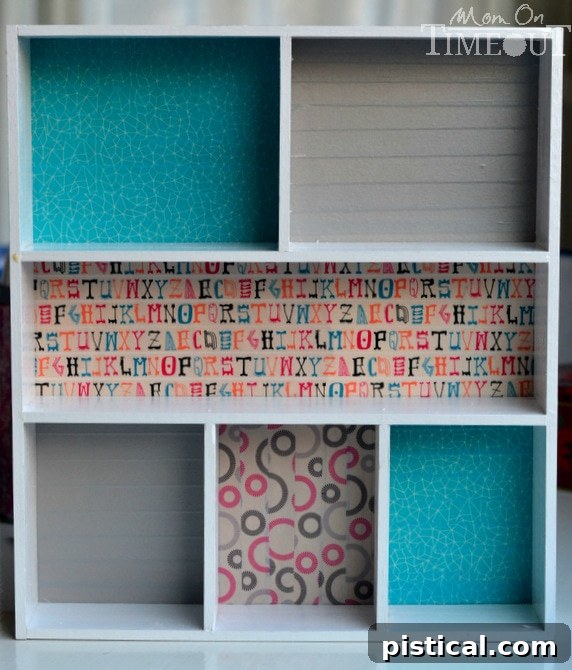
Step 9: Install and Enjoy Your Organized Space!
Your custom DIY drawer organizer is now complete! Carefully place it into your desk drawer. Marvel at how perfectly it fits – a testament to your careful measurements and craftsmanship. Now comes the truly satisfying part: filling it with your favorite office supplies, craft items, or whatever previously created chaos in your drawer. Experience the joy of easily finding what you need and admiring your beautifully organized, personalized space!
A Simple DIY Project with Big Impact
This custom drawer organizer project was so remarkably quick and easy to complete that my husband has already put in a request for me to tackle our bathroom drawers next! It just goes to show how a little bit of creative effort can make a huge difference in the functionality and aesthetics of your home. It’s truly rewarding to create something that not only solves a practical problem but also adds a touch of your unique style.
What about you? Which drawers in your home are crying out for a bit of organization and a splash of color? Whether it’s the dreaded junk drawer, a craft supply cabinet, or kitchen utensils, a custom DIY organizer might be exactly what you need to transform your space. Give it a try – you’ll be amazed at the difference!