
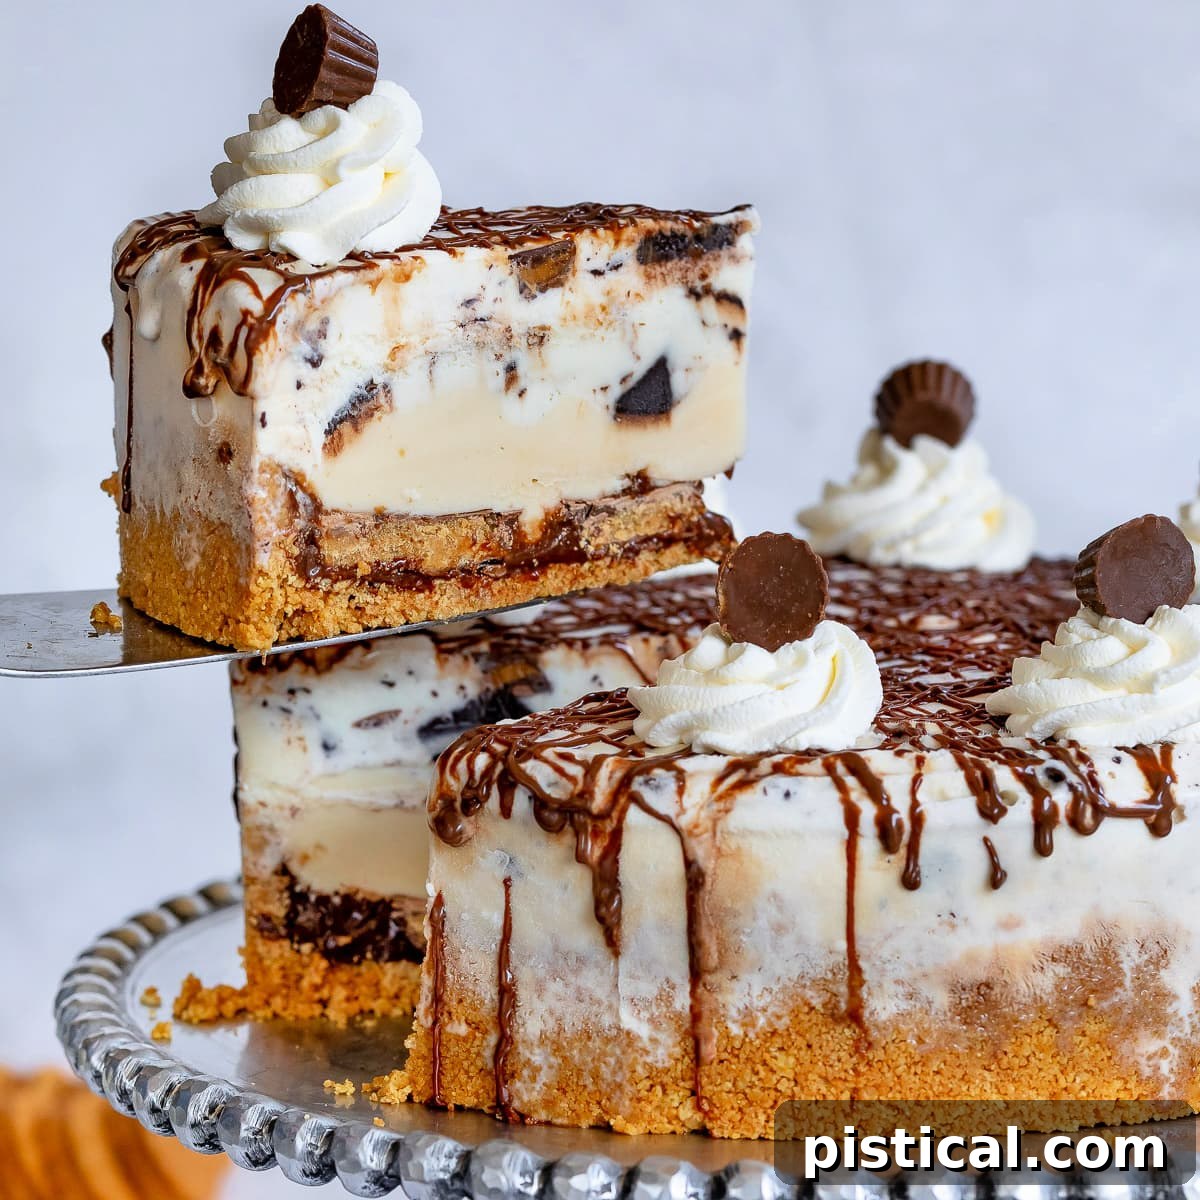
Decadent Chocolate Peanut Butter Ice Cream Cake: Your Ultimate Summer Dessert
Sponsored post by Crystal Creamery. All opinions are my own.
Prepare yourself for the ultimate summer indulgence: this outrageous Chocolate Peanut Butter Ice Cream Cake! Imagine layers of creamy ice cream nestled on a crunchy peanut butter crust, generously piled high with warm hot fudge, chunks of Reese’s Peanut Butter Cups, and fluffy whipped cream. It’s a dessert that not only cools you down on the hottest days but also satisfies every chocolate and peanut butter craving imaginable. If you’re searching for an easy, no-bake dessert that will be the star of any gathering, look no further. This impressive ice cream cake is remarkably simple to assemble and promises a memorable experience for everyone.
Looking for more sensational frozen treats? Don’t miss this delightful Brookie Ice Cream Sandwich or another fantastic Easy Ice Cream Cake recipe for diverse options to keep cool and indulge.
Embracing Summer with the Perfect Ice Cream Cake
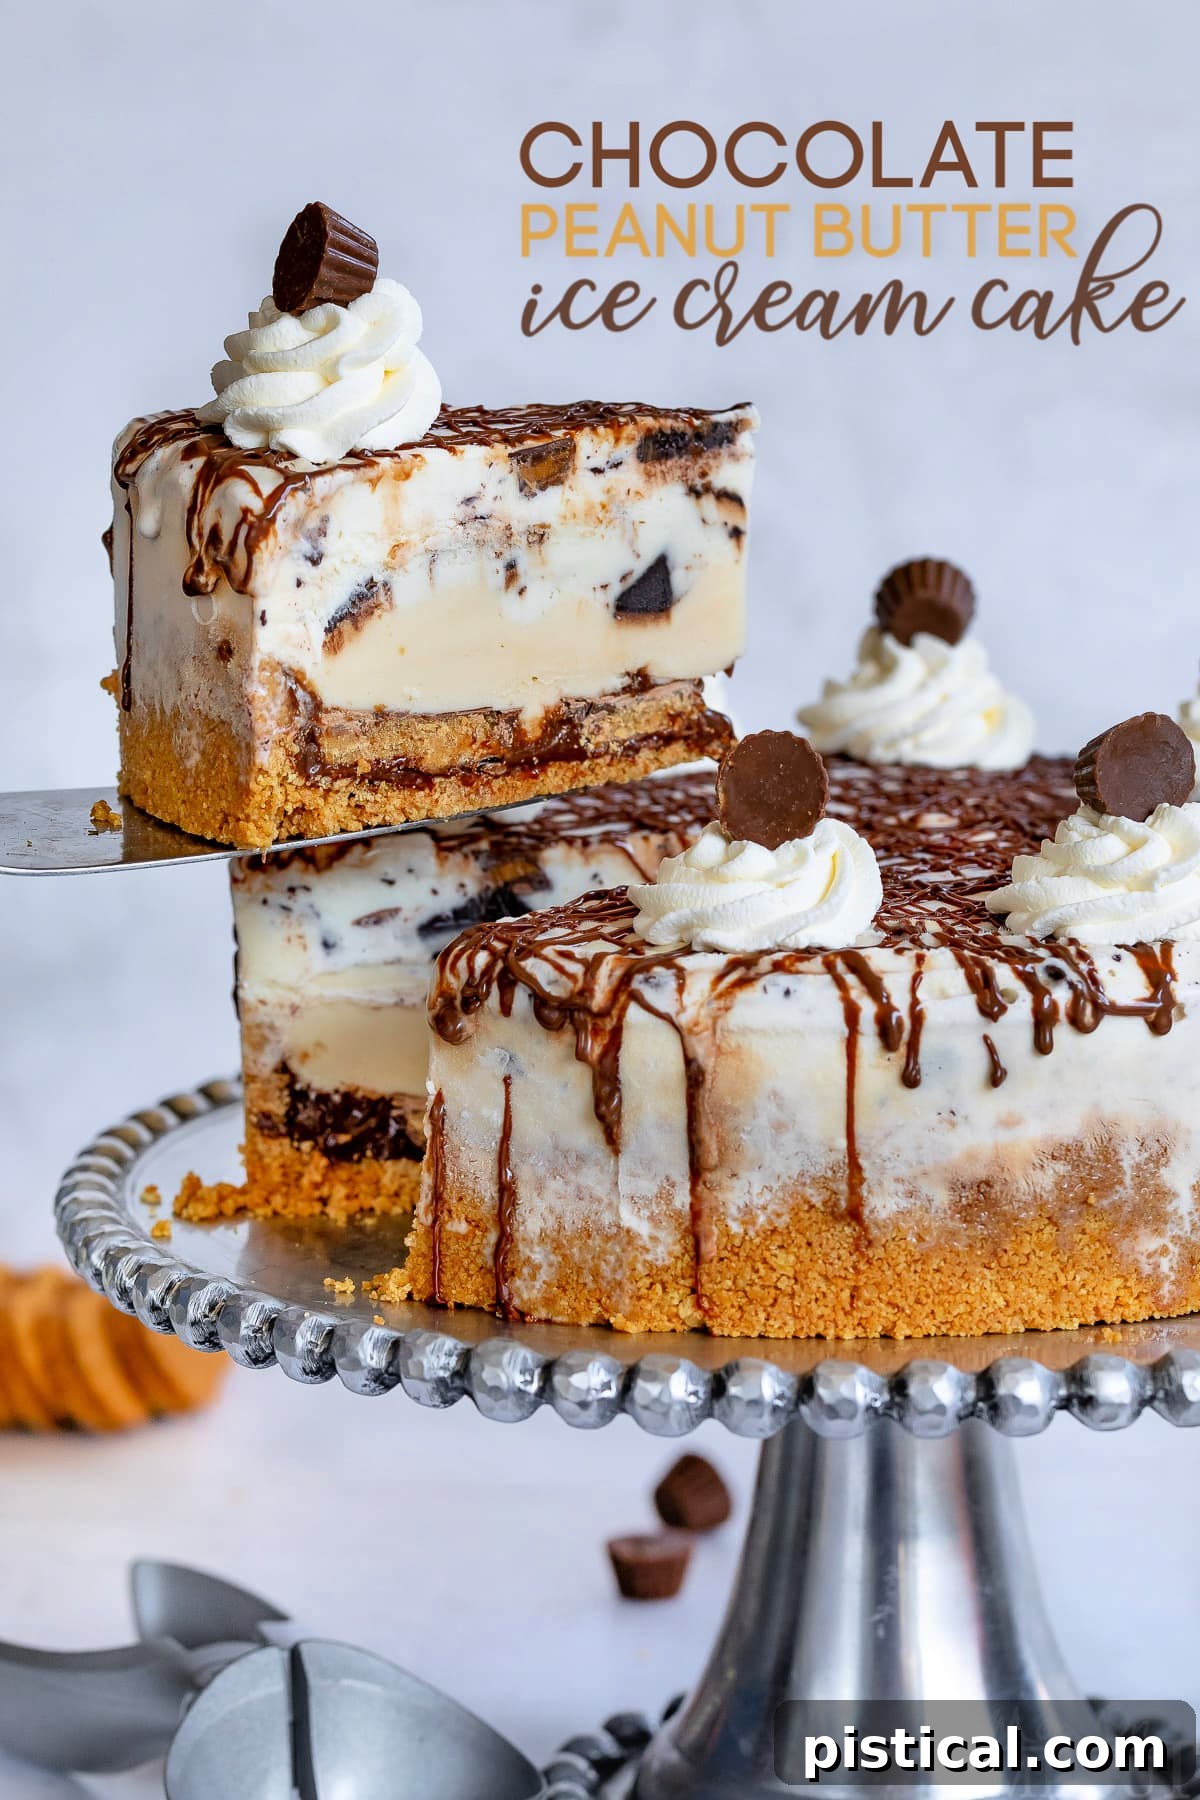
Summer has officially arrived, and in our home, that means one thing: ice cream, every single day! Living in a warm climate like Sacramento, we deeply appreciate how a scoop of rich, cold ice cream can truly soothe the soul on a hot summer afternoon. While a simple cone is always a delight, sometimes a special occasion calls for something extraordinary. That’s where this incredible Chocolate Peanut Butter Ice Cream Cake steps in.
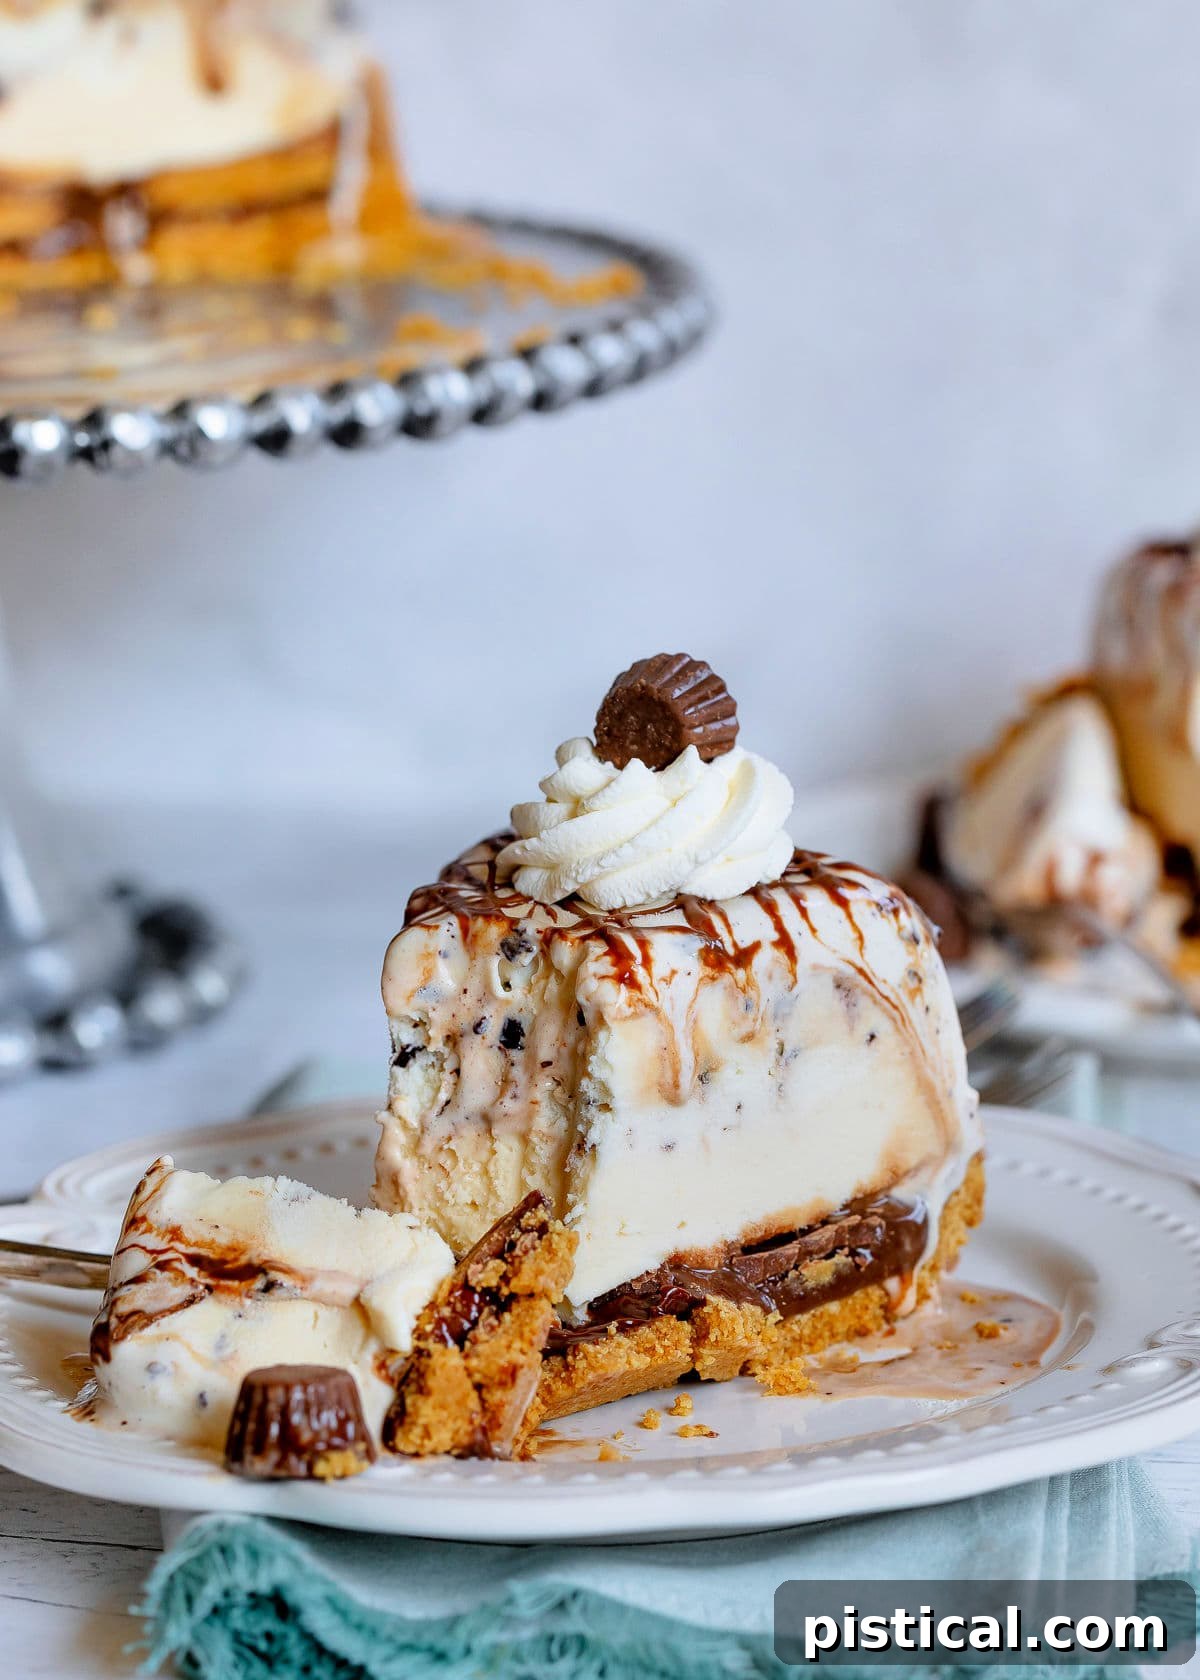
This isn’t just any ice cream cake; it’s a masterpiece of flavor and texture, designed for pure enjoyment. Each component plays a crucial role in creating a symphony of sweetness. It all begins with a robust peanut butter crust, crafted from crushed Nutter Butter cookies, providing a satisfying crunch and a rich, nutty base. This delectable foundation is then generously blanketed with a luscious layer of hot fudge topping, followed by a scattering of full-sized Reese’s Peanut Butter Cups, introducing those iconic chocolate and peanut butter bursts.
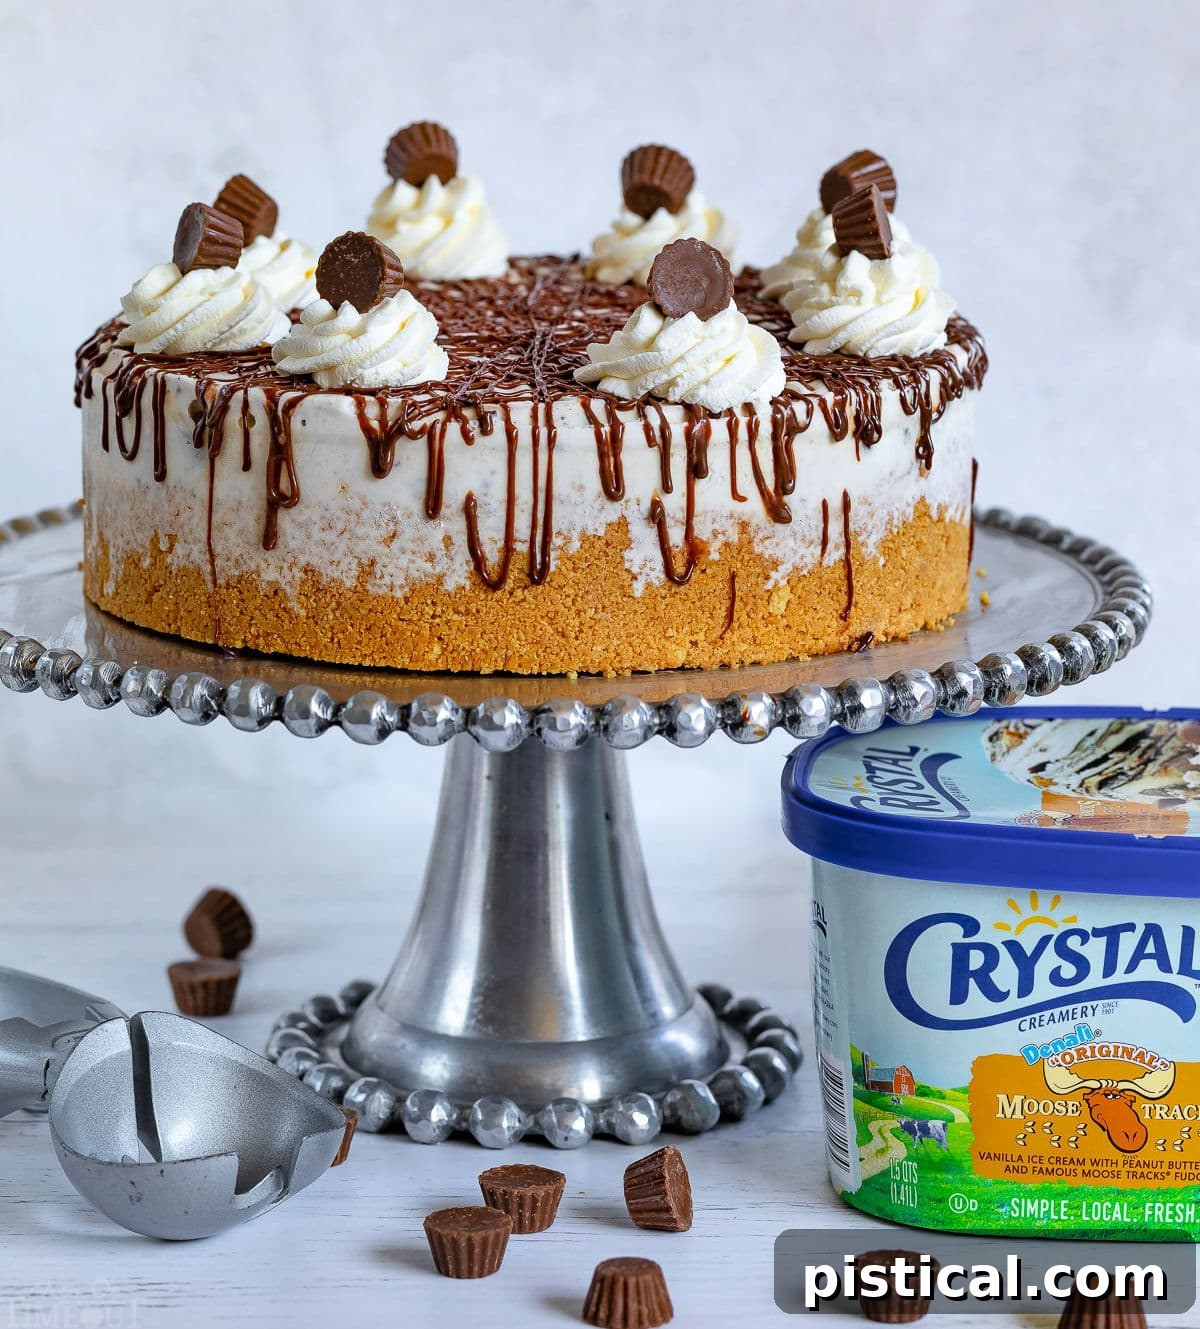
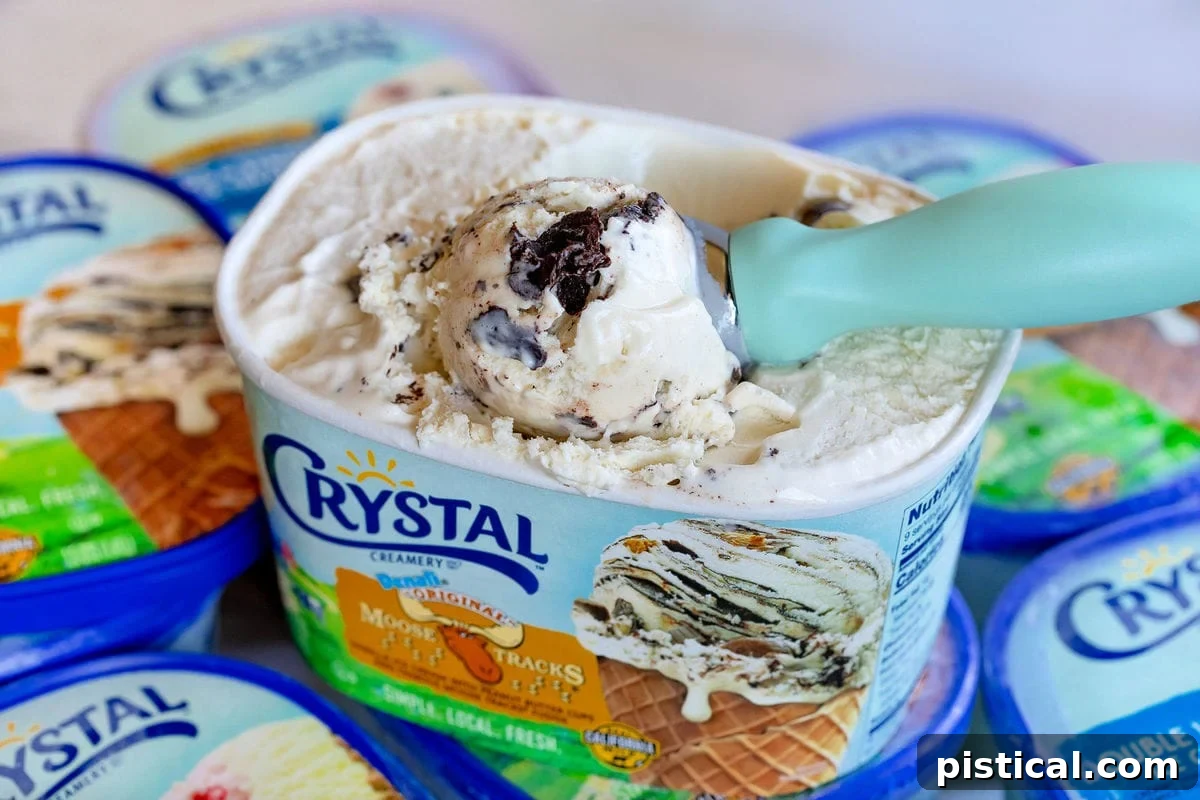
The layers continue with two distinct yet complementary ice cream flavors. For this recipe, I chose the classic creaminess of vanilla and the delightful mix of Moose Tracks, which perfectly enhances the overall chocolate-peanut butter theme. The grand finale involves a delicate drizzle of more hot fudge, whimsical clouds of freshly whipped cream, and a final flourish of Reese’s mini peanut butter cups. It’s a creation so tempting, you’ll find it impossible to resist.
The Crystal Creamery Difference: Quality You Can Taste
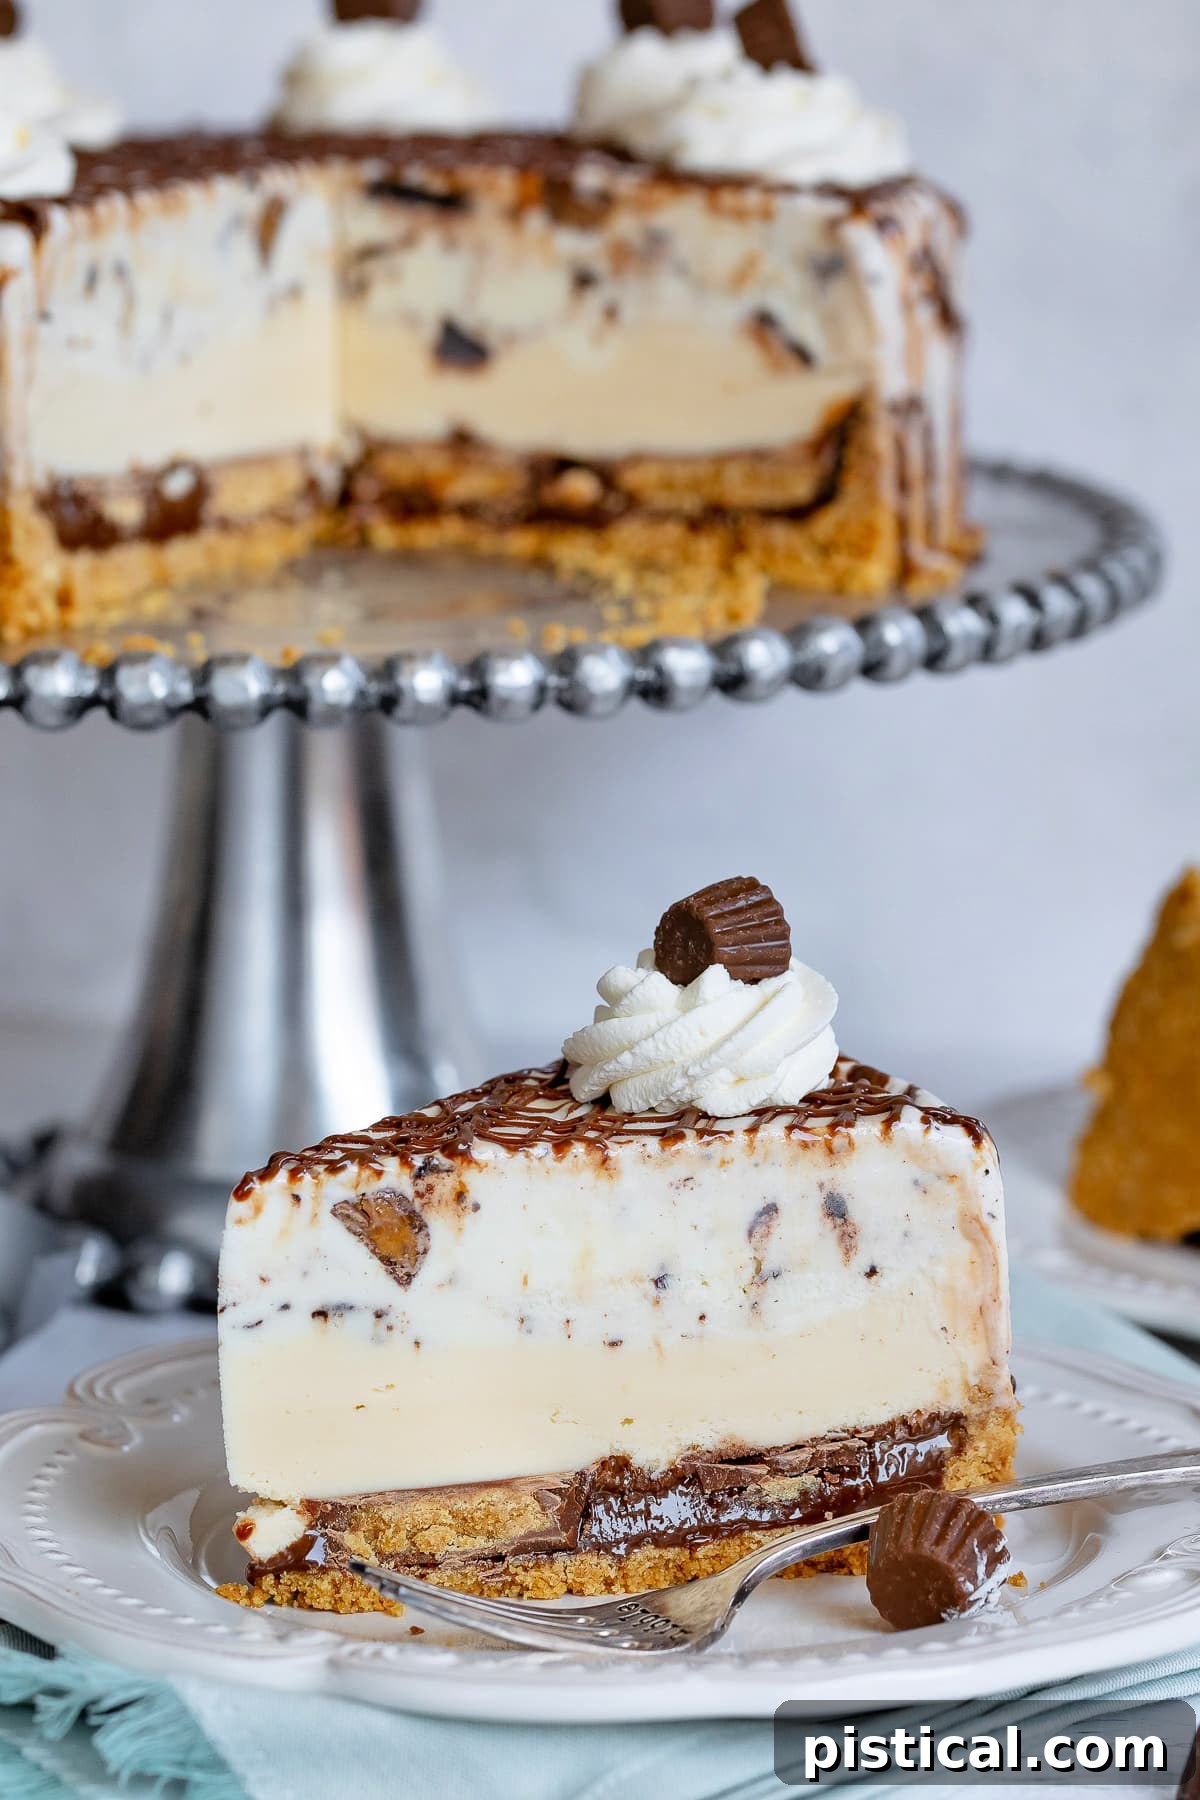
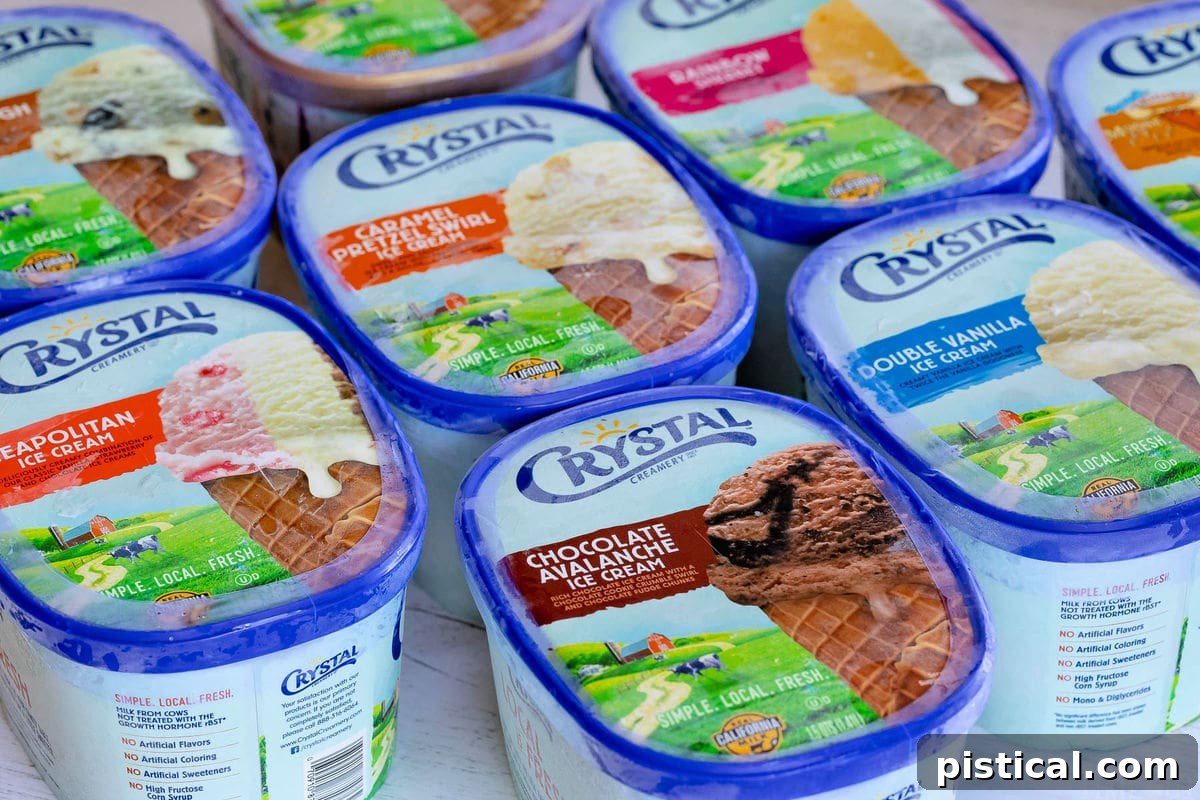
My family and I have been devoted fans of Crystal products for years. So, when I discovered they had revitalized their ice cream line, I wasted no time stocking up at the local store. We had a delightful time sampling the new offerings, and to our absolute pleasure, even our long-standing favorites tasted better than ever before! Their commitment to quality shines through in every spoonful, making it the perfect foundation for a truly exceptional dessert like this homemade ice cream cake.
For those unfamiliar with Crystal, they are a beloved California dairy deeply rooted in their community. As a California native, their products have been a staple throughout my life. Crystal is dedicated to providing cleaner, simpler ingredients, understanding that not all milk is created equal. Their milk is sourced fresh daily from local, family-run farms and reaches store shelves within 24 hours, ensuring unparalleled freshness and taste. This commitment to fresh, local ingredients translates directly into the superior flavor of their ice cream, which elevates this Chocolate Peanut Butter Ice Cream Cake from good to absolutely phenomenal.
Amazing Ingredients for Amazing Flavor
Crystal’s revamped ice cream is crafted with 100% California milk from cows not treated with rbst hormones. What’s more, their ice cream consciously avoids:
- High fructose corn syrup
- Artificial flavors or colors
- Artificial sweeteners
- Mono & di-glycerides
This dedication to simpler, wholesome ingredients that everyone can enjoy at an affordable price is something I wholeheartedly support. It’s the kind of quality I want for my family, whether we’re savoring a simple scoop or building a magnificent ice cream cake. The rich, natural taste of Crystal’s ice cream truly makes a difference in the final product.
Customizing Your Ice Cream Cake: Layers & Variations
A common question arises: Does ice cream cake have cake in it? The answer is entirely up to you! An ice cream cake can be composed solely of ice cream layers and various toppings, or it can incorporate a traditional cake layer for an added textural dimension. This particular recipe for our Chocolate Peanut Butter Ice Cream Cake focuses on a “cake-less” approach, emphasizing the delightful interplay of frozen textures. However, if you wish to add a conventional cake layer, it’s easily done:
- Bake your preferred cake (e.g., chocolate or vanilla) in a 9-inch round cake pan.
- You can substitute this baked cake layer for one of the ice cream layers in the recipe.
- Alternatively, use half the amount of ice cream specified for each layer and place the baked cake layer between the two reduced ice cream layers for a more balanced approach.
Deconstructing the Layers of Perfection
Our featured Chocolate Peanut Butter Ice Cream Cake boasts a total of six indulgent layers, each contributing uniquely to the overall experience:
- The Peanut Butter Crust: Similar to a classic Oreo or Nilla wafer crust, this is a simple yet incredibly satisfying mixture of crushed peanut butter cookies (like Nutter Butters) and melted butter. It provides a firm, flavorful base that complements the creamy layers above. Yes, technically, with a crust, it leans slightly more towards a frozen pie, but the indulgent layers truly define it as a cake!
- Hot Fudge Topping: A generous layer of rich, gooey hot fudge spread over the crust. You can use a high-quality store-bought topping or easily prepare your own homemade hot fudge for an extra special touch. Its chocolatey depth is essential.
- Peanut Butter Cups: Whole Reese’s Peanut Butter Cups are strategically placed over the hot fudge. These add incredible bursts of chocolate and peanut butter flavor and a delightful chewy texture that makes every bite exciting. Feel free to chop up miniature Reese’s if you prefer smaller pieces.
- First Ice Cream Layer (Vanilla): We use Crystal’s Double Vanilla ice cream for this layer. Its smooth, rich vanilla flavor acts as a perfect, cooling counterpoint to the intense chocolate and peanut butter elements.
- Second Ice Cream Layer (Moose Tracks): Following the vanilla is a layer of Crystal’s Moose Tracks ice cream. This beloved flavor, with its fudge swirls and peanut butter cups, amplifies the chocolate-peanut butter theme, creating an even more dynamic and decadent profile.
- Garnish with Hot Fudge Drizzles, Whipped Cream, and Reese’s Minis: The final touch. A delicate drizzle of hot fudge, artistic swirls of fresh whipped cream, and a sprinkle of mini Reese’s cups elevate the cake visually and add a final flourish of flavor and texture. While fresh whipped cream is ideal for piping, a frozen whipped topping can also be spread evenly for ease.
Effortless Elegance: The Easy, No-Bake Ice Cream Cake
One of the best features of this easy ice cream cake is its simplicity. It’s truly one of the easiest desserts you’ll whip up all summer. Forget complicated baking steps or hours spent in the kitchen; this recipe is primarily about assembling high-quality ingredients with a little patience for freezing. This no-bake wonder is perfect for those busy summer days when you want to impress without the stress, allowing you more time to enjoy the sunshine and company.
Mastering the Homemade Ice Cream Cake: A Preparation Guide
Creating a stunning homemade ice cream cake requires a bit of foresight, as each layer needs ample time to freeze completely. Rushing this process will lead to a melty, messy disaster rather than a perfectly structured dessert. Planning ahead ensures the best possible results. Here’s a detailed timeline to guide you:
Day 1: Building Your Masterpiece
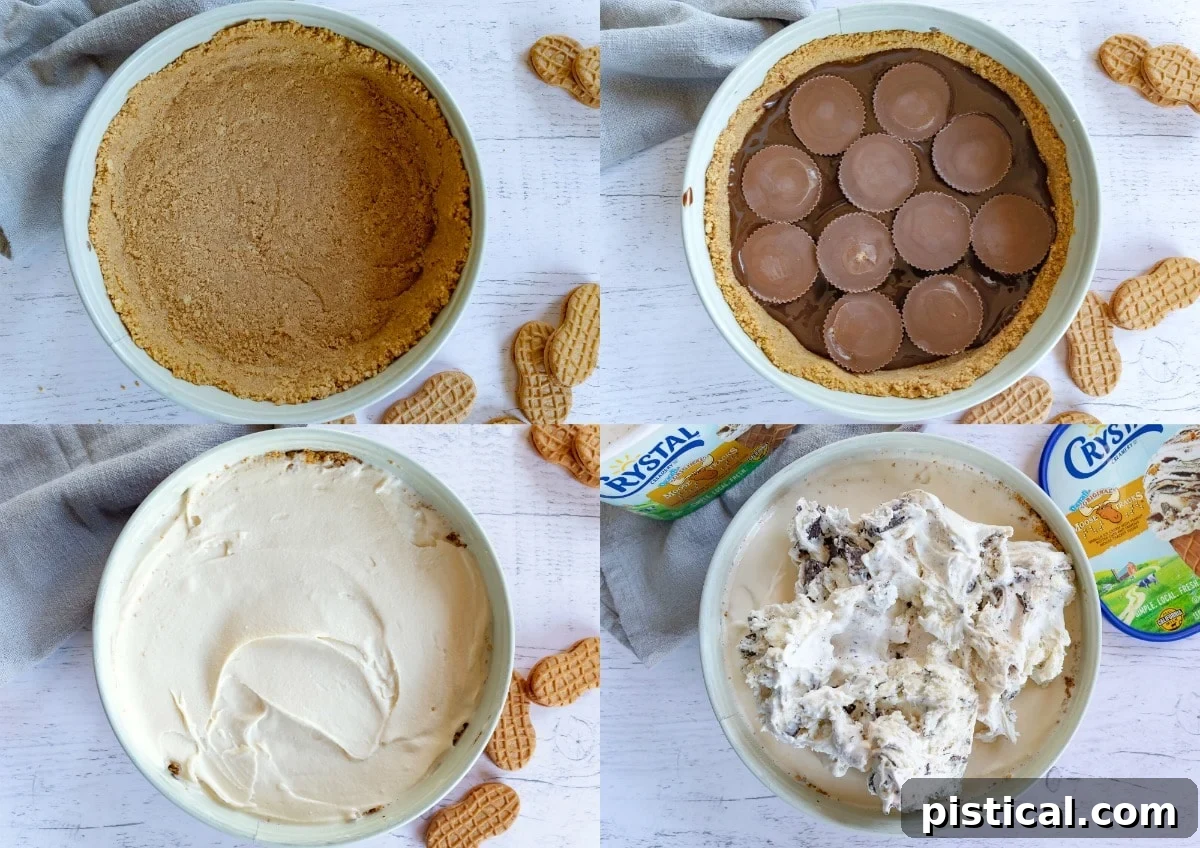
- Prepare the Peanut Butter Crust: Crush your Nutter Butter cookies thoroughly in a food processor, then blend with melted butter. Press this mixture firmly into the bottom and about an inch up the sides of a 9-inch springform pan. Transfer to the freezer for 30 minutes to firm up.
- Add Hot Fudge and Reese’s: Spread a generous layer of room-temperature or slightly warmed hot fudge topping over the chilled crust. Evenly arrange the full-sized Reese’s Peanut Butter Cups on top. Return the pan to the freezer for 1 hour.
- First Ice Cream Layer: Allow your vanilla ice cream to soften slightly at room temperature (about 10-15 minutes, depending on its hardness). Spread this softened ice cream smoothly over the hot fudge and Reese’s layer. Cover tightly with plastic wrap and freeze for at least 3 hours, or until it’s quite firm.
- Second Ice Cream Layer: Repeat the softening process for your Moose Tracks ice cream. Carefully spread it over the now-firm vanilla layer, smoothing the top. Cover the entire cake securely with plastic wrap and freeze for a minimum of 6 hours, or ideally, overnight, to ensure it’s perfectly solid.
Day 2: The Grand Reveal (Serving Day!)
- Final Touches: Approximately 15 minutes before you plan to serve, remove the ice cream cake from the freezer. If necessary, let it sit for a few moments to easily release it from the springform pan.
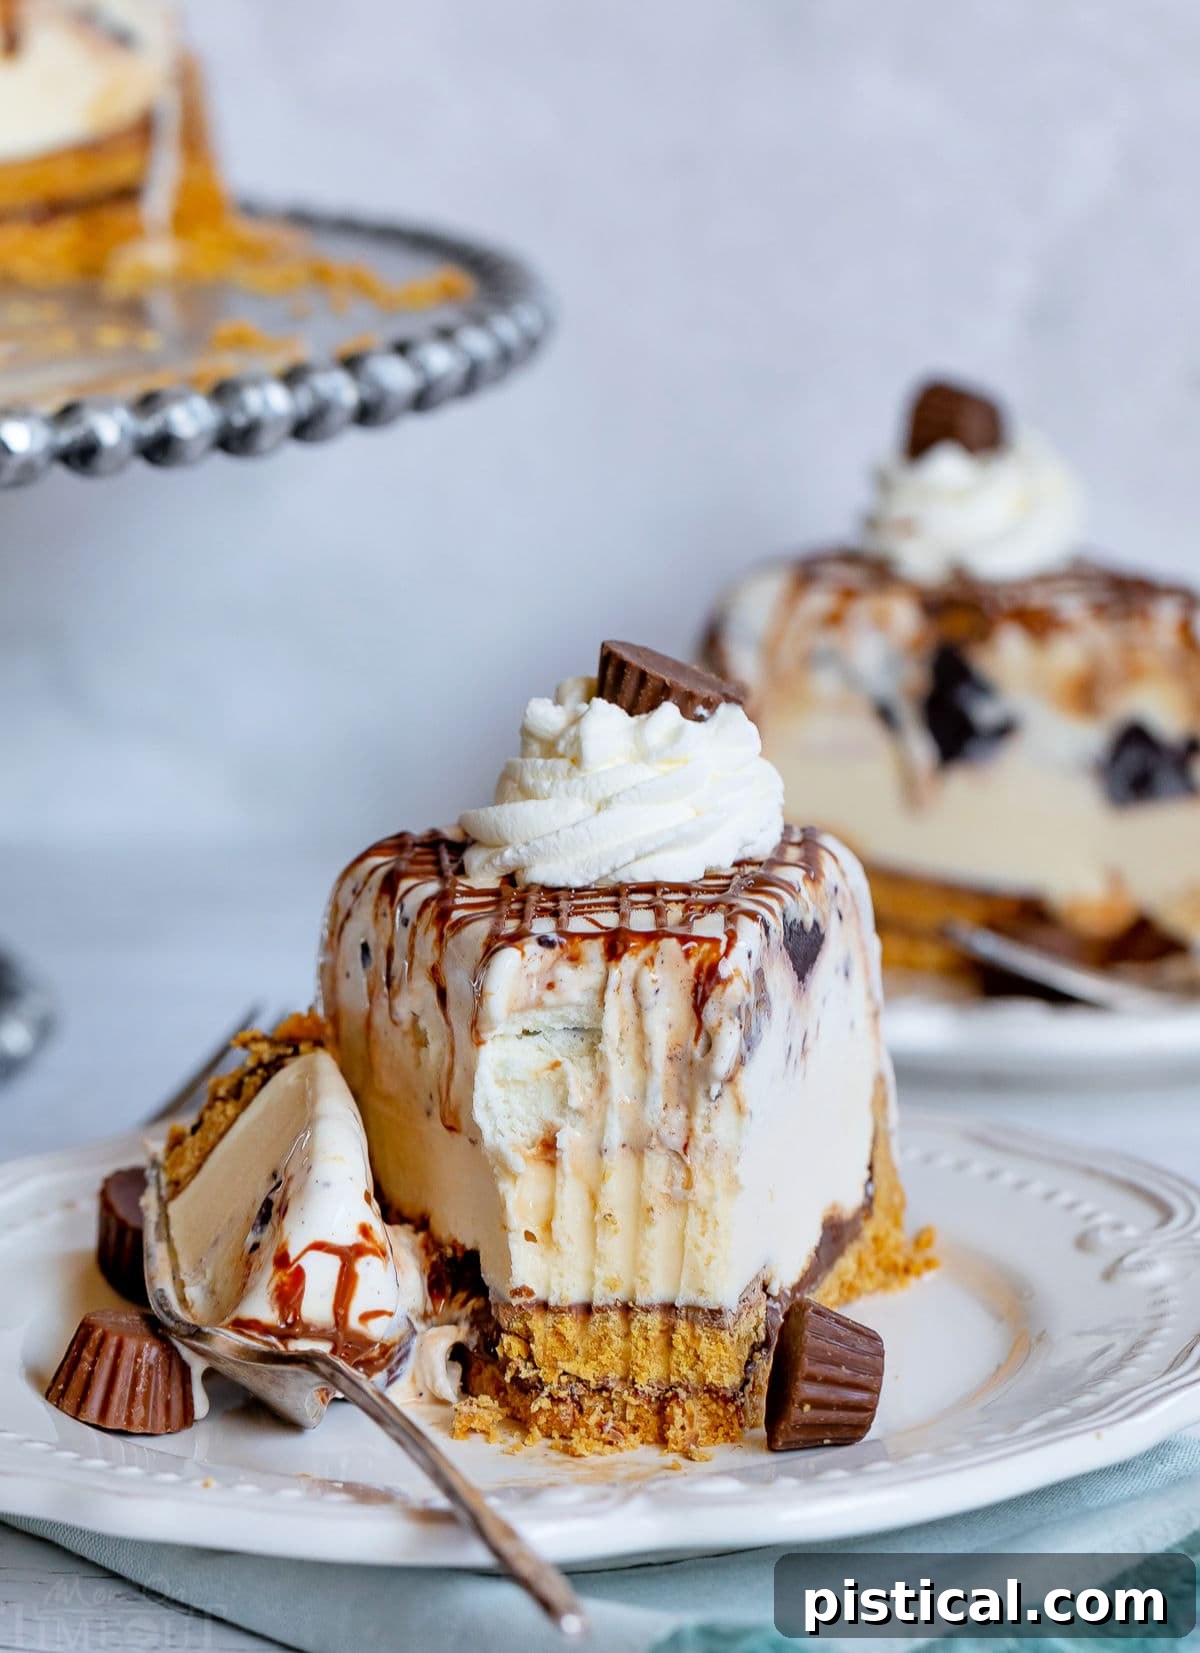
- Decorate: Drizzle additional room-temperature hot fudge topping artistically over the top of the cake. Prepare your fresh whipped cream (or use thawed whipped topping if preferred). Using a piping bag with your desired tip, create beautiful swirls or dollops of whipped cream. Crown each whipped cream swirl with a mini Reese’s Peanut Butter Cup.
- Serve Immediately: Slice and serve your magnificent Chocolate Peanut Butter Ice Cream Cake without delay to enjoy its optimal frozen texture and flavor!
Frequently Asked Questions (FAQs) About Ice Cream Cake
Here are answers to some common questions you might have about making and serving this delicious dessert:
Q: Can I use different flavors of ice cream?
A: Absolutely! This recipe is incredibly versatile. It provides a method that can be adapted to virtually any combination of ice cream flavors you desire. Feel free to experiment with chocolate, mint chip, cookie dough, or any other flavors that tantalize your taste buds and complement the peanut butter crust and chocolate fudge.
Q: Do I have to make homemade whipped cream?
A: No, homemade whipped cream is lovely, but not mandatory. You can certainly use a good quality frozen whipped topping if you prefer. While it may not hold intricate piped designs as well as fresh whipped cream, it freezes beautifully. You could even remove the cake from the springform pan, frost the entire cake with the whipped topping, and return it to the freezer until just before serving.
Q: How long before serving should I remove the cake from the freezer?
A: About 15 minutes is ideal. This allows the cake to soften just enough for easy slicing without becoming a melted mess. If you’re decorating the cake at this stage, remember that those few minutes for piping and topping count, so don’t take it out too far in advance.
Q: Does this cake travel well?
A: Unfortunately, ice cream cakes are notoriously difficult to transport while maintaining their perfectly frozen state. It’s quite challenging to keep them solid for any significant journey. For the best experience, I highly recommend making and serving this decadent dessert at the same location.
Q: Can I prepare this cake in advance?
A: Yes, absolutely! Ice cream cakes are perfect make-ahead desserts. You can assemble the entire cake (without the final whipped cream and mini Reese’s toppings) up to a week in advance, keeping it tightly covered in the freezer. Add the fresh garnishes just before serving.
More Must-Try Summer Desserts
- Key Lime Pie Fruit Dip
- Chocolate Chip No Bake Cheesecake
- Dark Chocolate Magic Shell
- Peanut Butter Icebox Cake
- To Die For Carrot Cake
Chocolate Peanut Butter Ice Cream Cake Recipe
Print Recipe | Pin Recipe
Chocolate Peanut Butter Ice Cream Cake
This outrageous Chocolate Peanut Butter Ice Cream Cake is the perfect dessert for summer! Layers of ice cream sit on a peanut butter crust and is piled high with hot fudge, Reese’s and whipped cream – amazing!
Course: Dessert
Cuisine: American
Keyword: ice cream cake
Prep Time: 30 minutes
Freezing Time: 10 hours
Servings: 16
Calories: 609kcal
Author: Trish – Mom On Timeout
Ingredients
Peanut Butter Crust
- 24 Nutter Butter Cookies (or similar)
- 1/3 cup unsalted butter, melted
First Layer
- 10 ounces hot fudge topping (room temperature or warmed slightly if needed)
- 12 Reese’s peanut butter cups (full size)
- 1 1/2 quarts vanilla ice cream
- 1 1/2 quarts Moose Tracks Ice Cream
Topping
- 1 cup heavy whipping cream
- 1/4 cup powdered sugar
- 1/4 teaspoon vanilla extract
- 2 ounces hot fudge topping (room temperature, for drizzle)
- 8 Reese’s minis
Instructions
- Add the Nutter Butter Cookies to your food processor until they are crushed to a fine crumb, then add in the butter and mix well.
- Press into the bottom of a springform pan and up the sides about an inch. Place in freezer for 30 minutes.
- Pour a layer of hot fudge topping on top of the crust and spread with a spoon. Top with peanut butter cups. Freeze for 1 hour.
- Spread softened vanilla ice cream on top of peanut butter cups. Cover and freeze for AT LEAST 3 hours.
- Spread softened Moose Tracks ice cream on top of vanilla ice cream. Smooth top, cover and freeze for AT LEAST 6 hours or overnight.
Prepare Whipped Cream
- Add heavy whipping cream to the bowl of a stand mixer or large bowl and beat on medium high speed for a minute or two until soft peaks form.
- Add powdered sugar and vanilla extract and continue beating until stiff peaks form.
- Transfer to a piping bag with your desired tip and pipe swirls on top of cake.
Decorate Cake
- Remove ice cream cake from freezer and remove from springform pan. The cake may need to sit for a few minutes before it will easily release.
- Drizzle room temperature hot fudge sauce over the top of the cake and pipe whipped cream swirls. Top each whipped cream swirl with a Reese’s mini.
- Serve immediately.
Notes
Tools Needed
- 9″ Springform Pan
Nutrition
Calories: 609kcal | Carbohydrates: 66g | Protein: 9g | Fat: 35g | Saturated Fat: 20g | Cholesterol: 110mg | Sodium: 280mg | Potassium: 468mg | Fiber: 2g | Sugar: 54g | Vitamin A: 1091IU | Vitamin C: 1mg | Calcium: 258mg | Iron: 1mg