
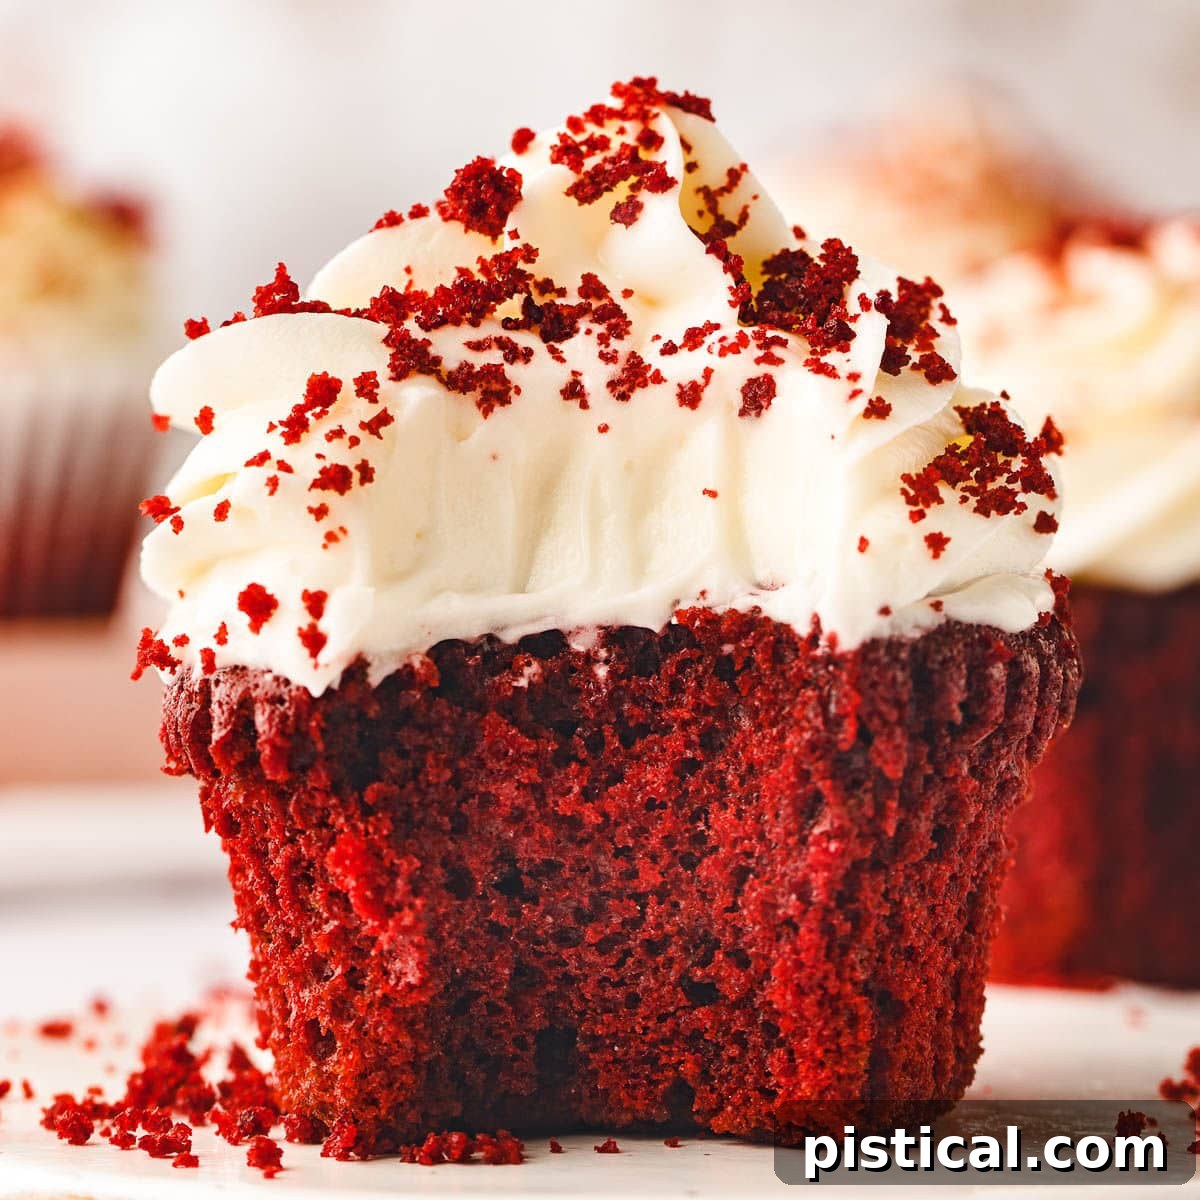
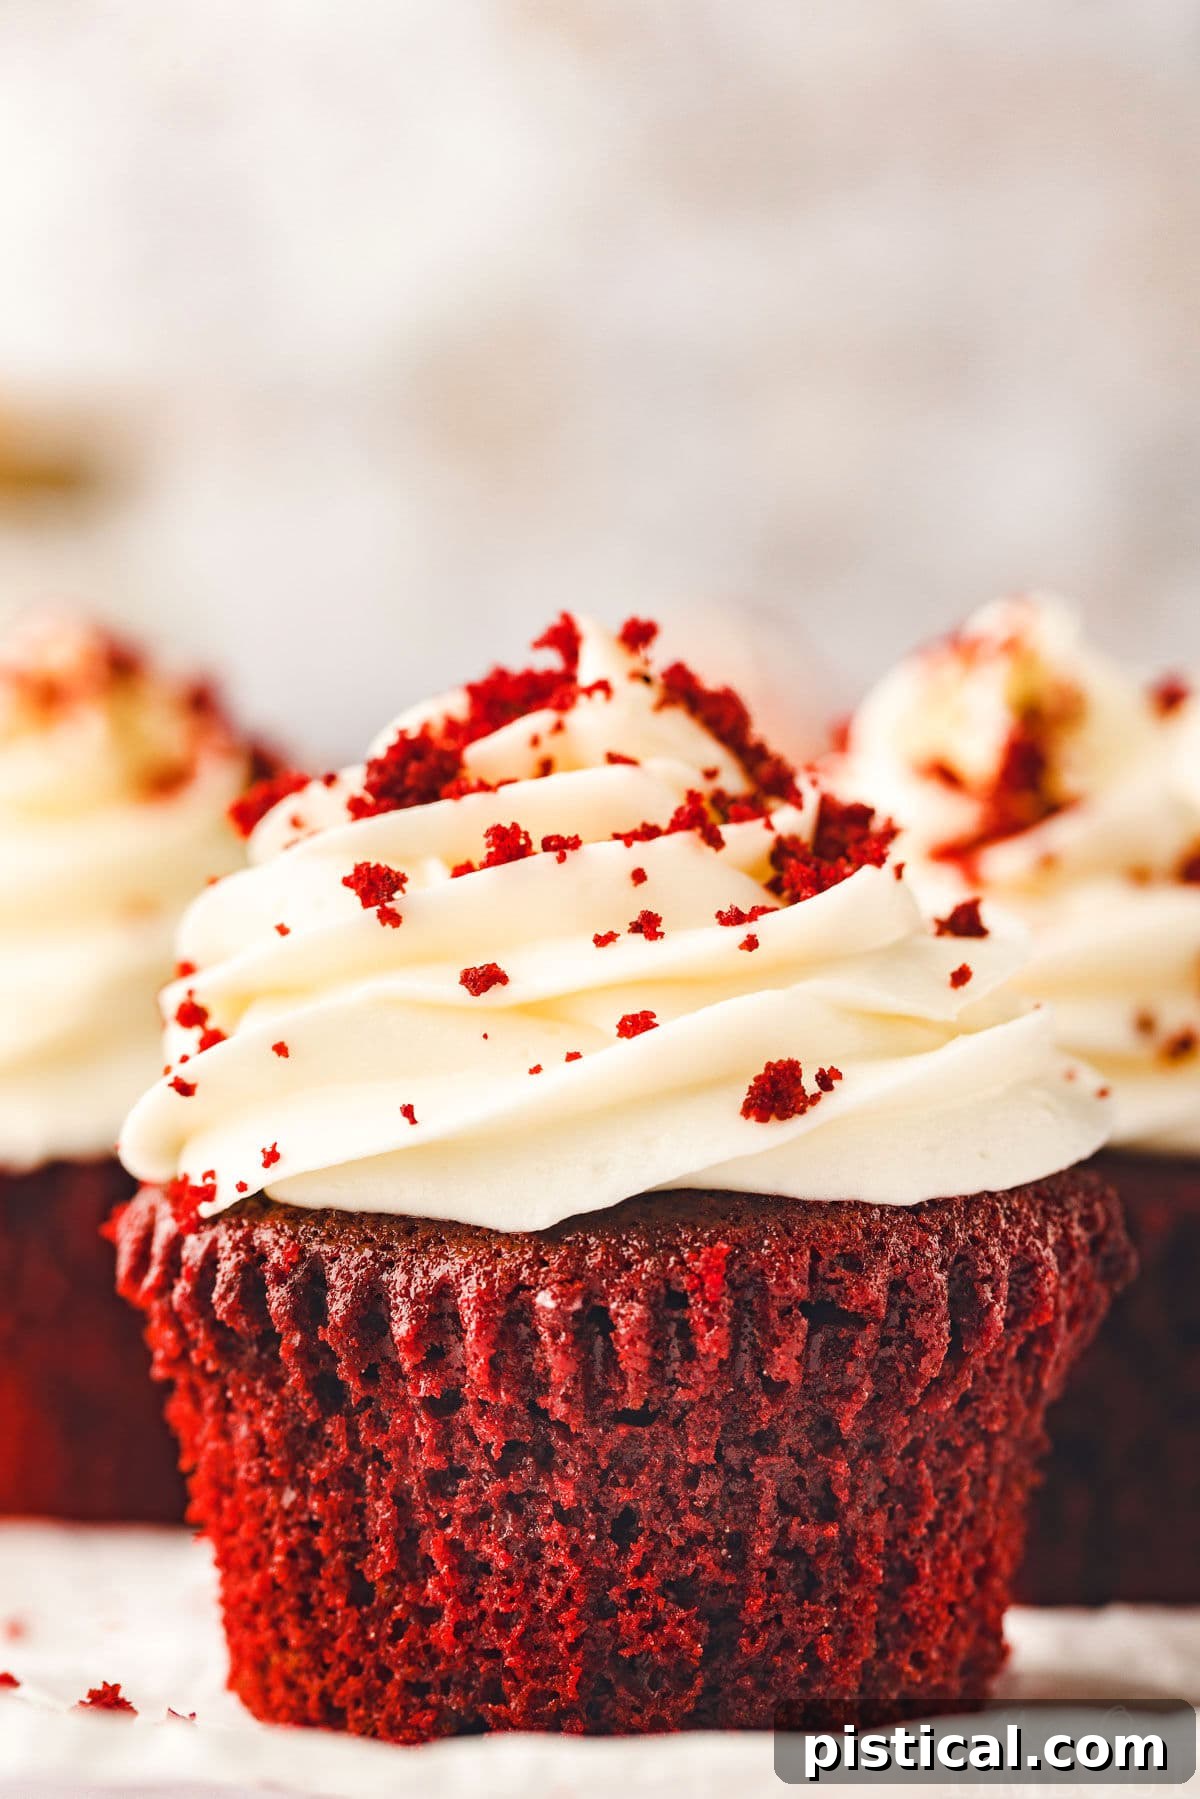
Indulge in the irresistible charm of **Red Velvet Cupcakes**, exquisitely moist and tender with a characteristic velvety texture. Crowned with a rich, tangy, and wonderfully fluffy cream cheese frosting, these cupcakes are not just a treat but a statement, perfect for elevating any special occasion. Their impressive appearance and unforgettable flavor make them a cherished favorite among family and friends.
If your heart beats for red velvet, you'll also adore these other delectable recipes: Classic Red Velvet Cake and Red Velvet White Chocolate Crinkle Cookies!
The Ultimate Red Velvet Cupcake Recipe: A Celebration in Every Bite
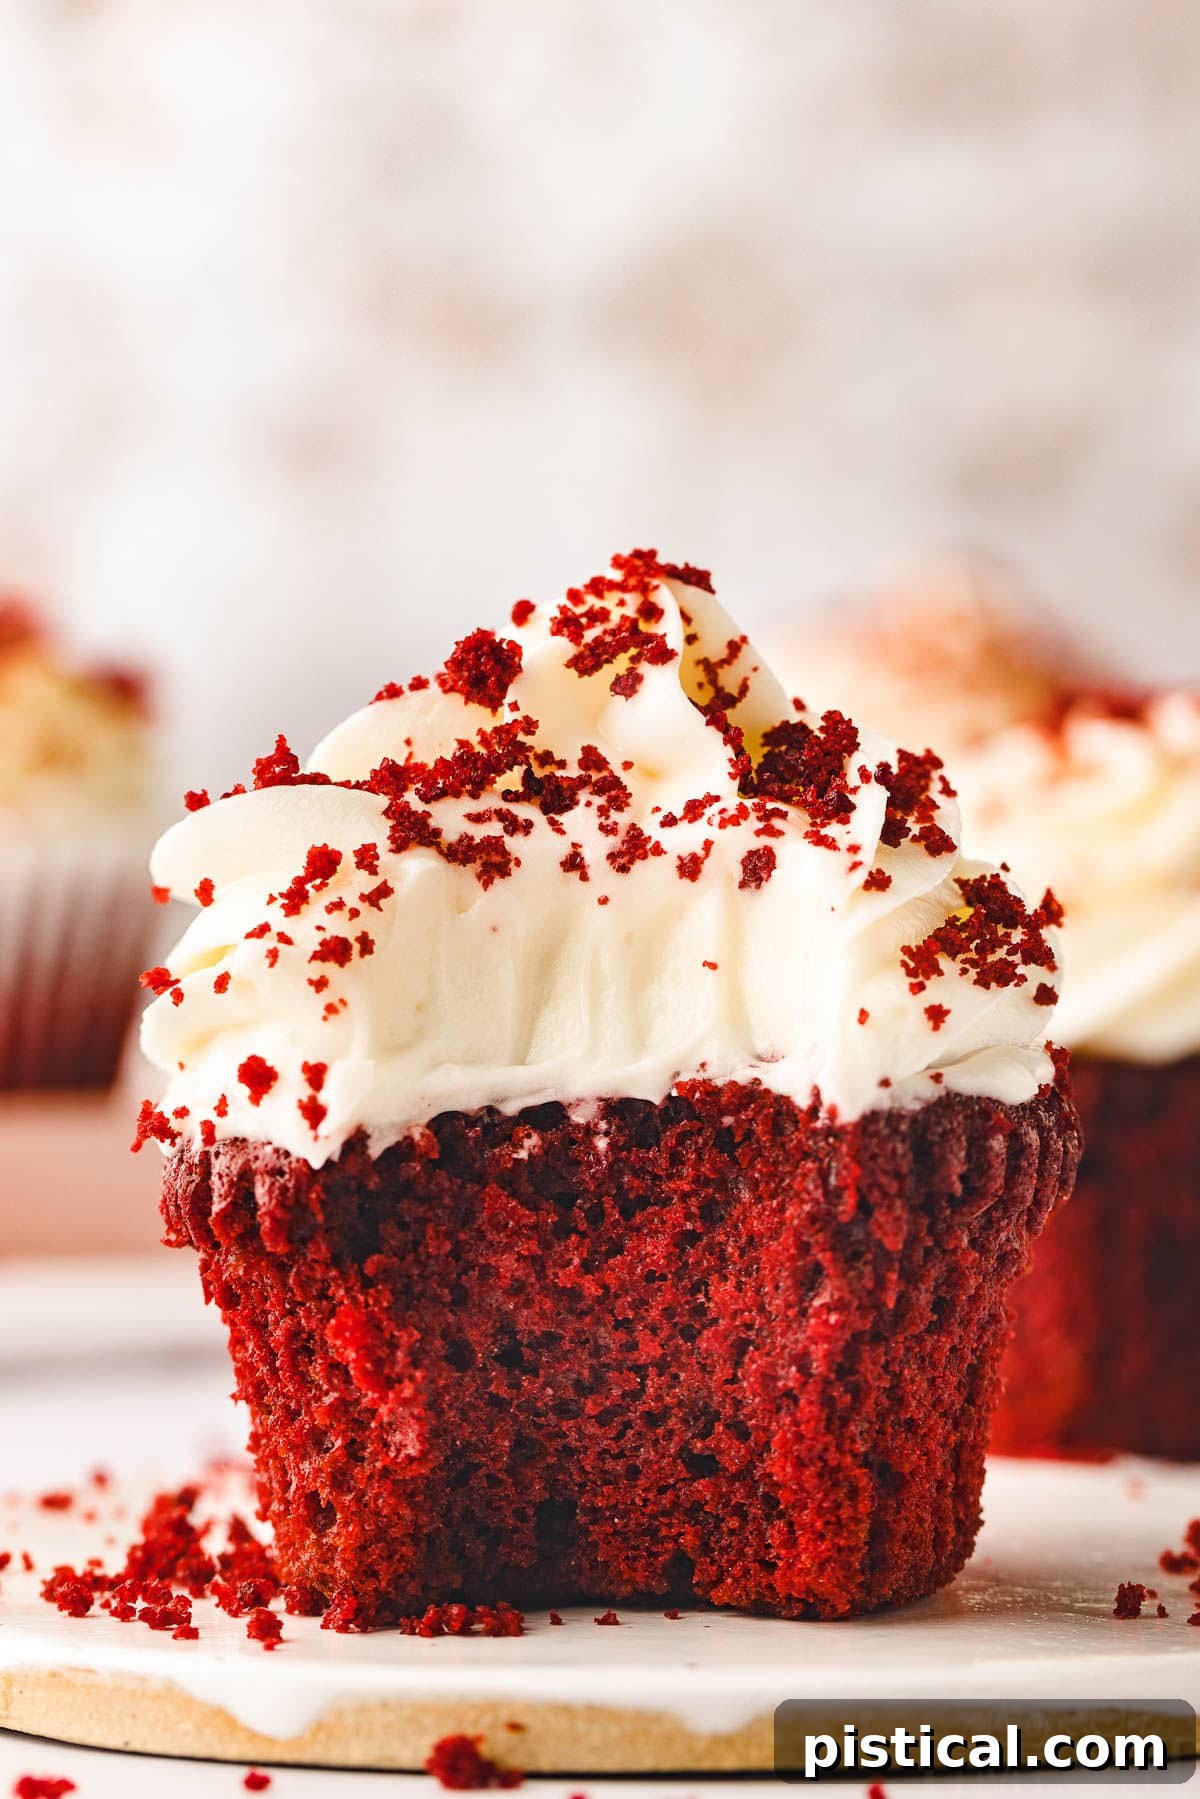
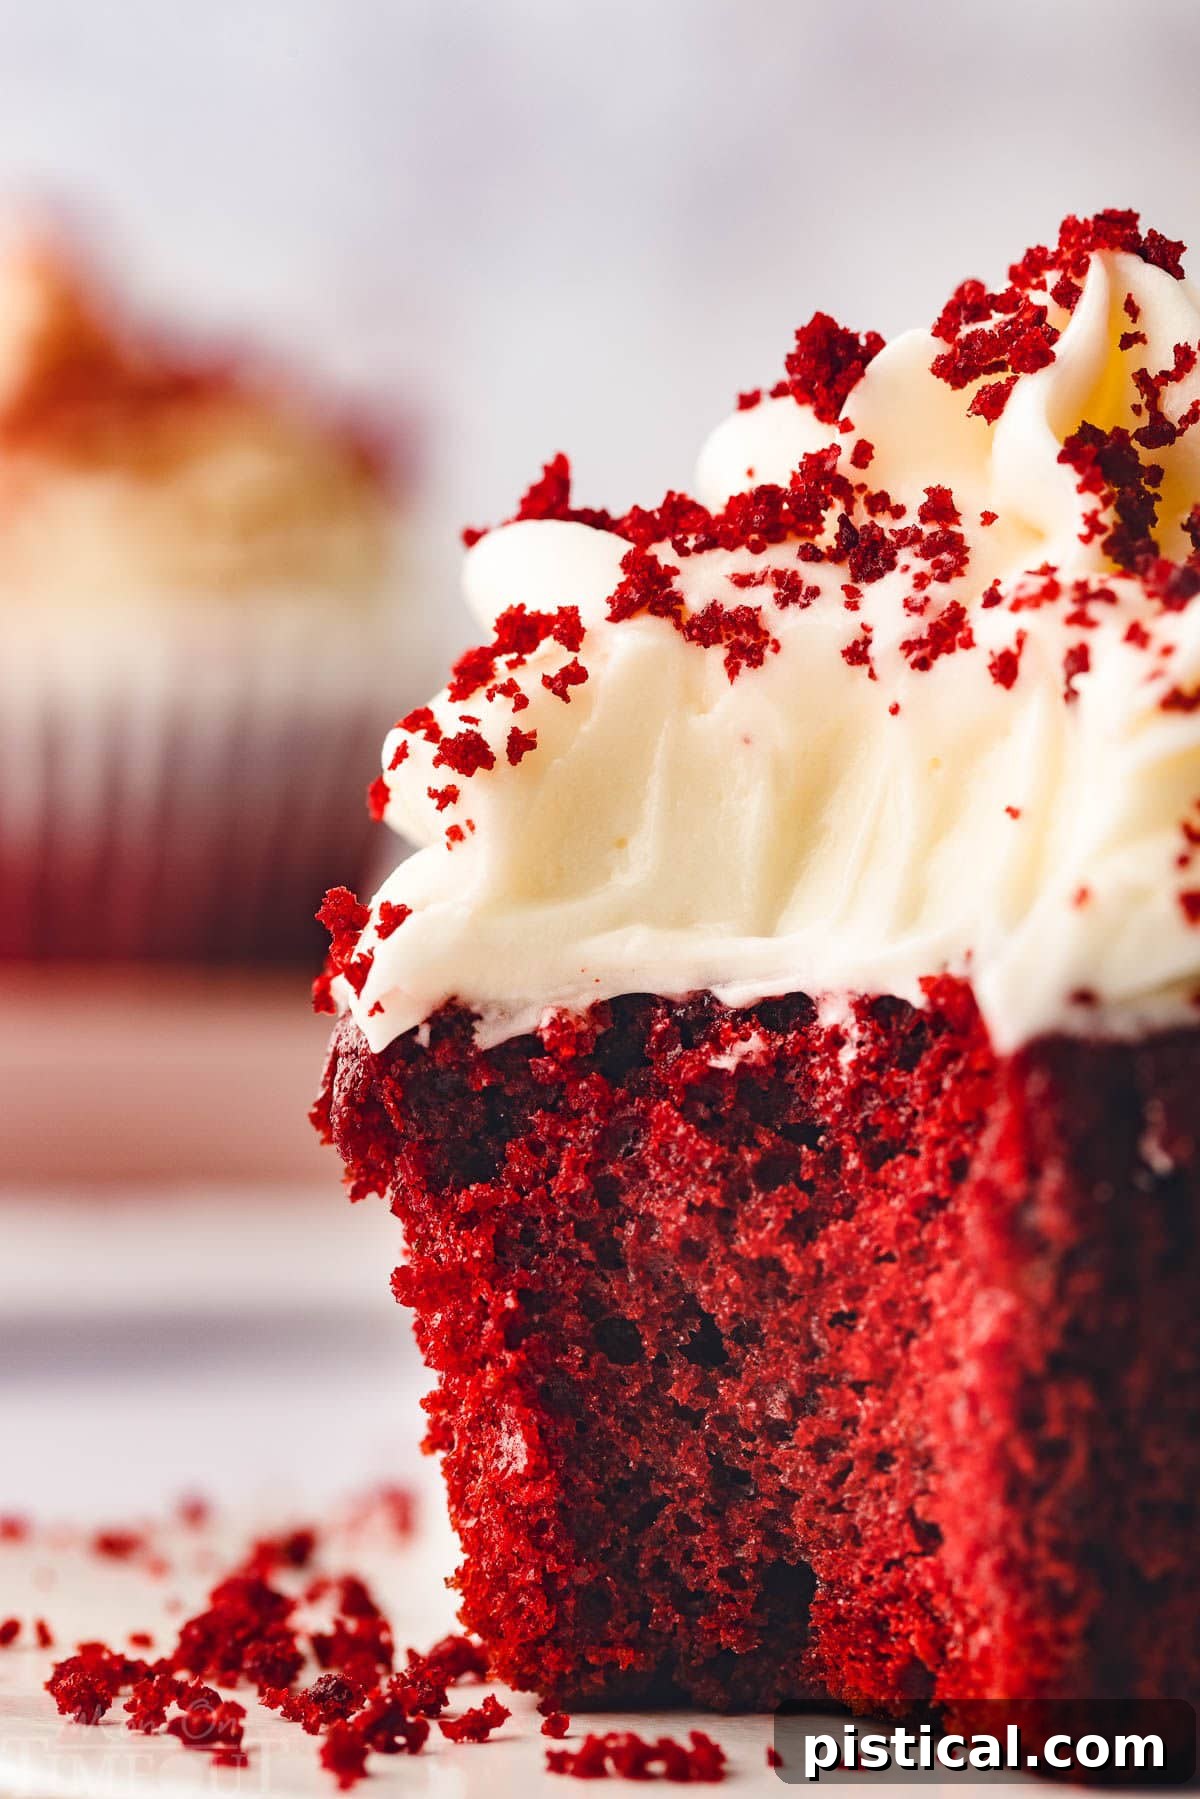
There's something inherently magical about these Red Velvet Cupcakes. Their striking, vibrant red hue, beautifully contrasted by the pristine white of the cream cheese frosting, makes them an immediate showstopper at any gathering. Beyond their visual appeal, these cupcakes offer a perfect symphony of flavors and textures: a moist, incredibly rich red velvet base harmonizing with a luxuriously smooth, subtly tangy cream cheese frosting. Whether it's a birthday, an anniversary, or simply a desire for something extraordinary, this recipe promises moist, fluffy cupcakes with unparalleled flavor and a truly delightful texture.
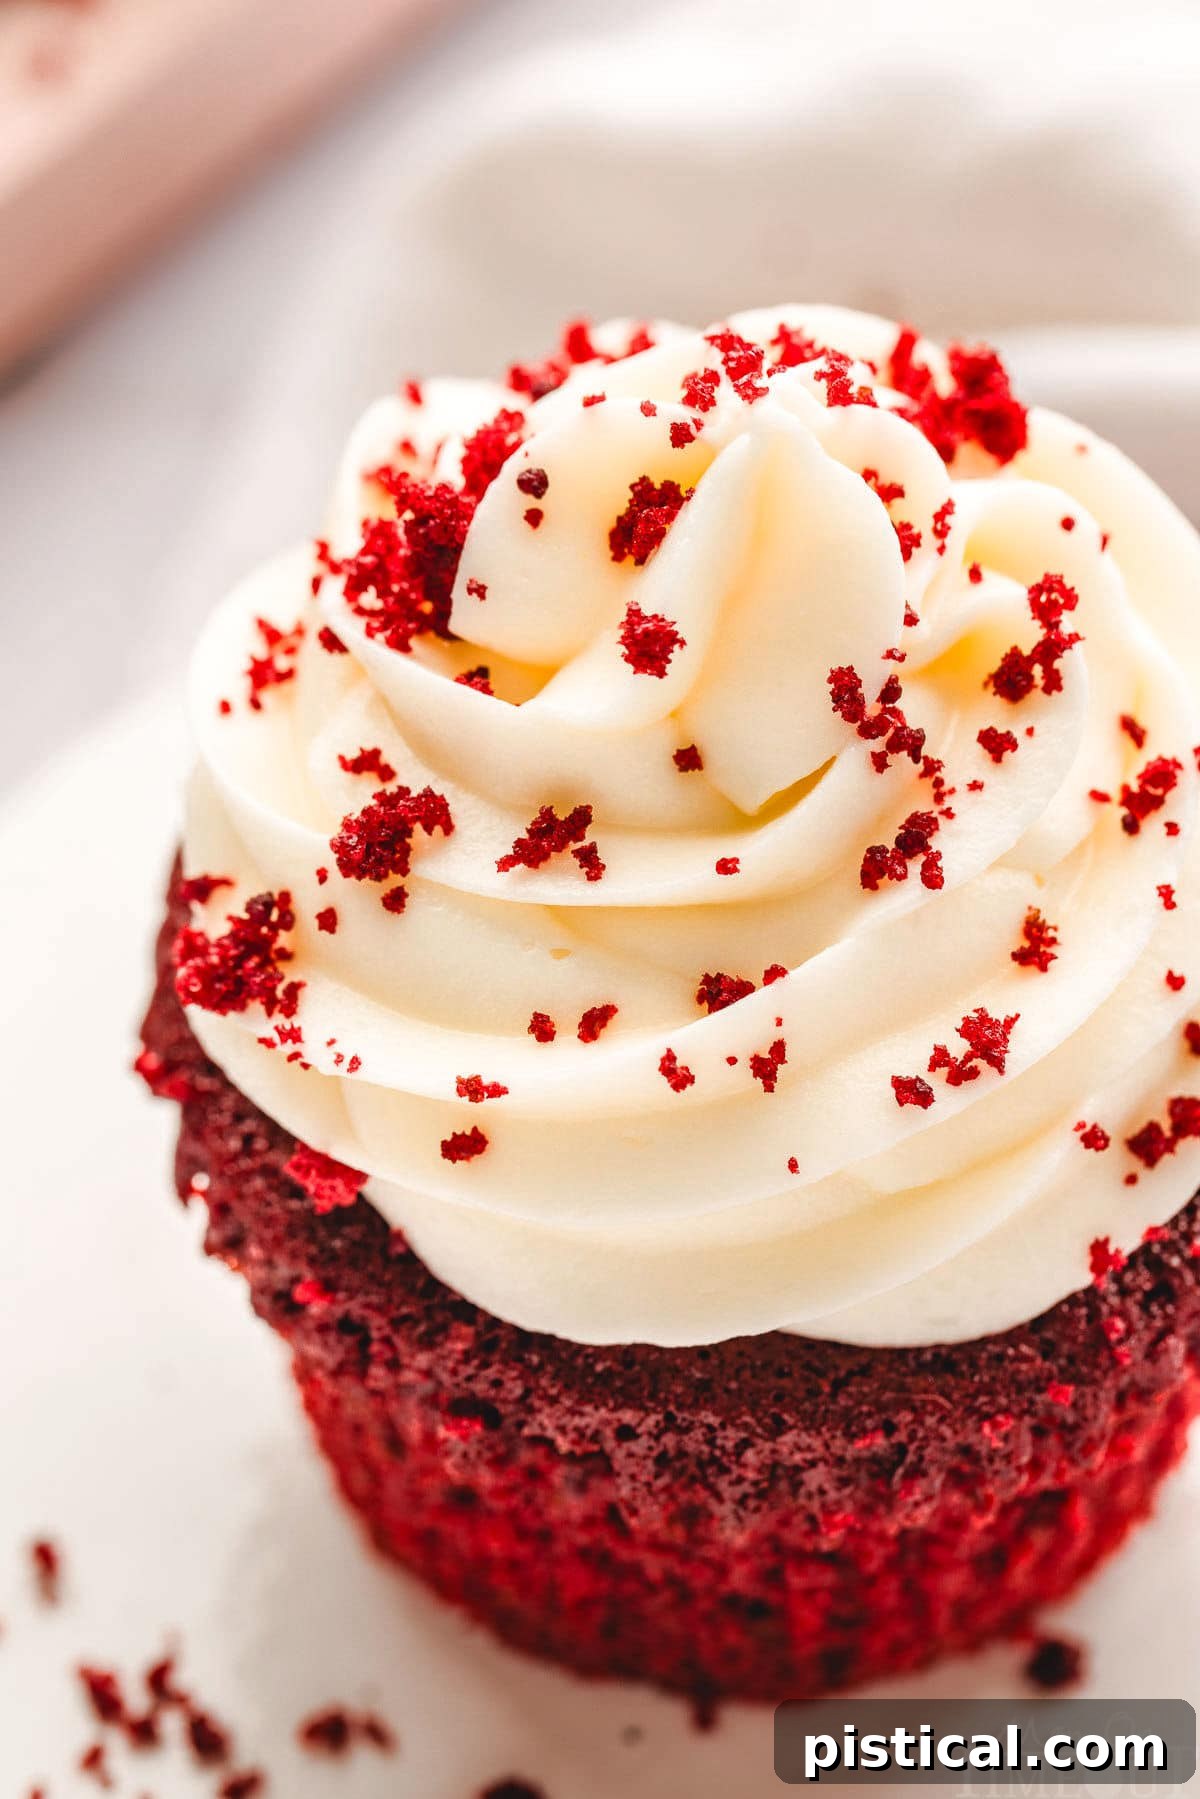
This exceptional red velvet cupcake recipe delves deep into a complex chocolate flavor, offering a delightful tanginess and a rich profile balanced by a subtle vanilla undertone. The crumb is meticulously crafted to be dense yet remarkably light and moist, dissolving tenderly in your mouth. Each of these delicious cupcakes is elegantly finished with the signature swirl of smooth, tangy cream cheese frosting, often adorned with a sprinkle of contrasting red velvet crumbs, making them utterly irresistible.
Unpacking the Distinct Flavor of Red Velvet Cupcakes
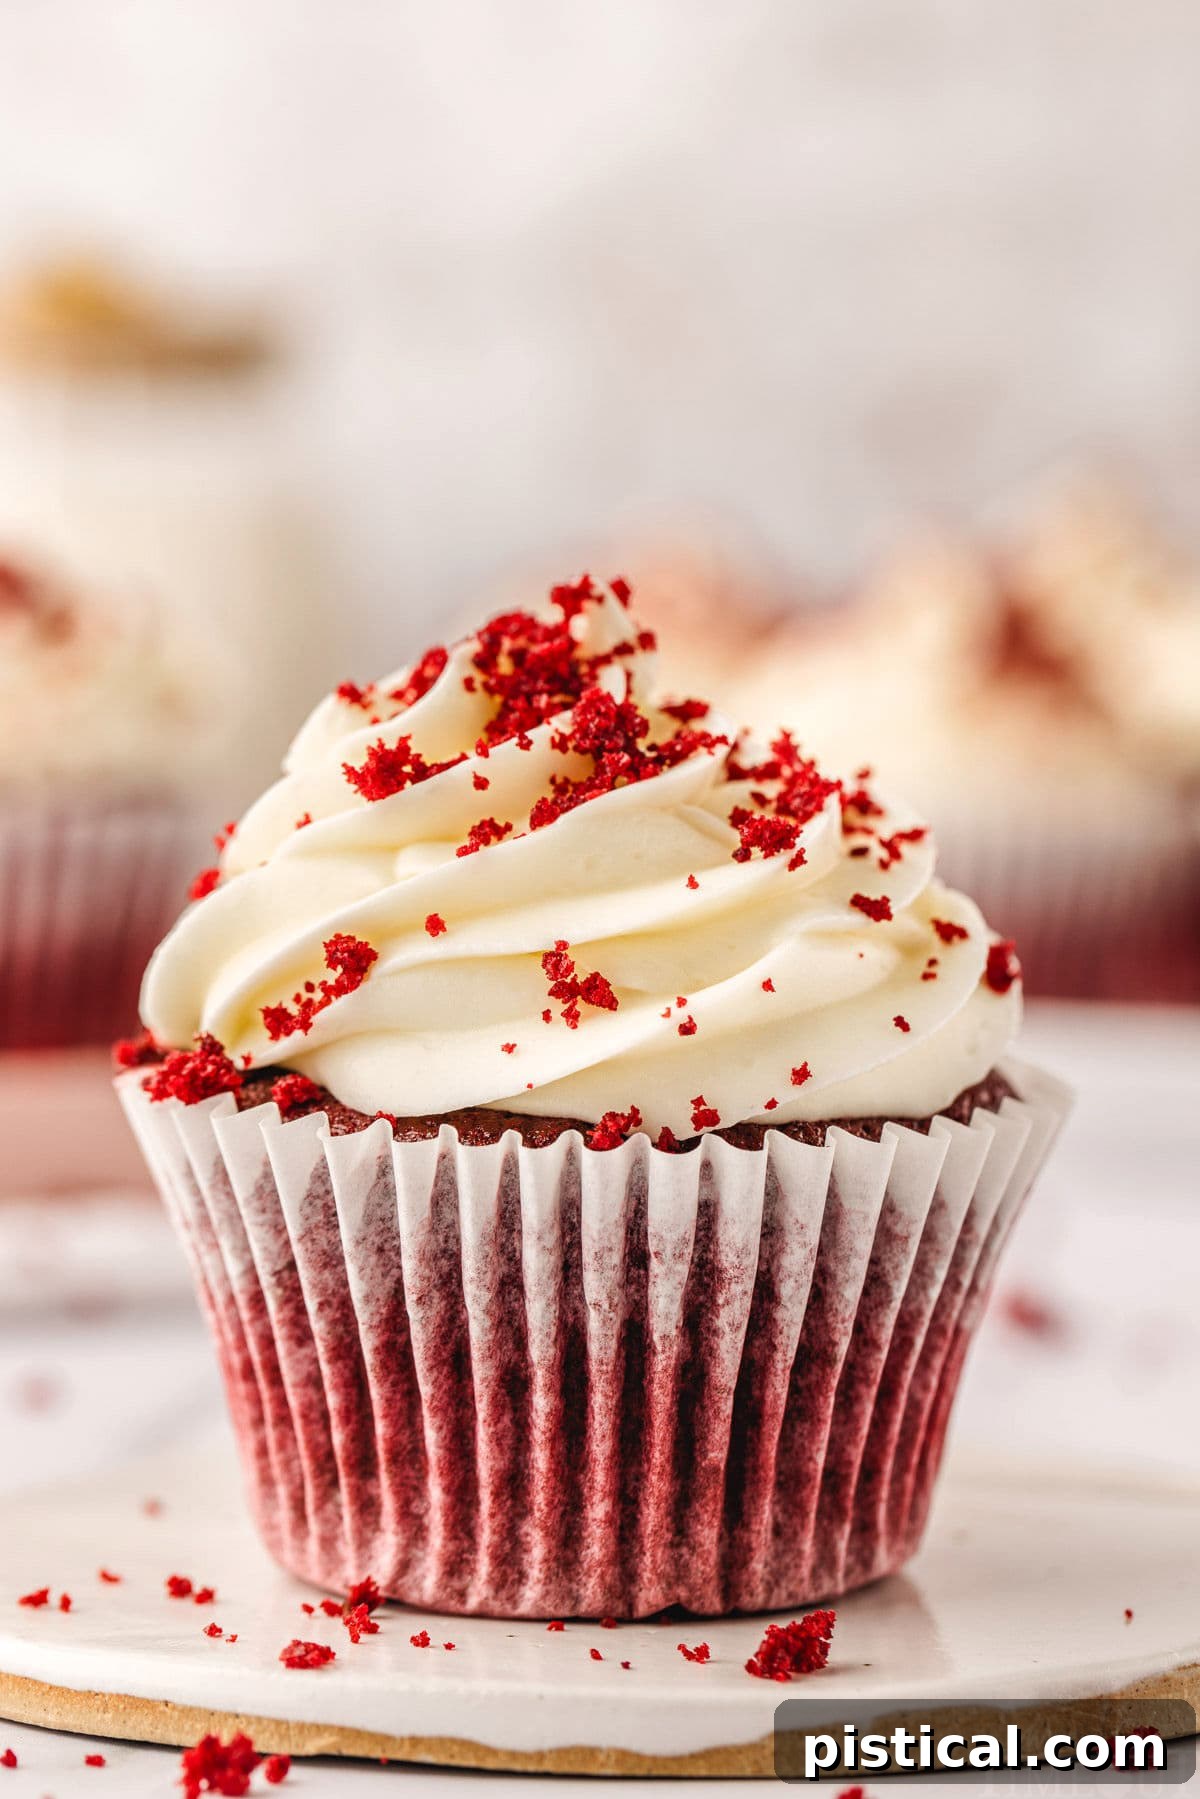
Red Velvet Cupcakes stand apart from other chocolate cakes due to their unique flavor and texture profile, traditionally achieved through a precise combination of cocoa powder, buttermilk, and vinegar. These ingredients don't just add flavor; they contribute to the cupcake's distinctive tender, slightly acidic crumb. While historically the captivating bright red color was often enhanced with natural beet root, modern recipes more commonly achieve this iconic vibrancy with red food coloring, making the striking visual a hallmark of red velvet.
Rich and sweet, Red Velvet Cupcakes offer a nuanced taste that distinguishes them from a typical chocolate cake. The cocoa provides a subtle chocolate depth, rather than an intense chocolate punch, which is beautifully complemented by the tang from the buttermilk and vinegar. This unique base is traditionally paired with a creamy, tangy cream cheese frosting, which provides a delightful contrast and balances the sweetness. While cream cheese frosting is the classic choice, some variations also feature an ermine frosting for a different, yet equally delightful, experience.
Their iconic bright red color makes Red Velvet Cupcakes incredibly popular for festive holidays like Christmas and Valentine's Day. However, their sophisticated flavor and elegant appearance also make them an excellent and versatile choice for a wide array of celebrations, including birthdays, weddings, bridal showers, or any special occasion where a touch of culinary artistry is appreciated.
Why You'll Fall in Love with These Red Velvet Cupcakes
This classic red velvet cupcake recipe brings together the deep, subtle cocoa notes with the creamy, tangy delight of cream cheese frosting, achieving a perfect, irresistible balance that will captivate your taste buds. Ideal for grand celebrations, intimate special occasions, or simply a decadent sweet treat to share with loved ones, these cupcakes are guaranteed to be a resounding success. Here’s why they’ll become your new favorite:
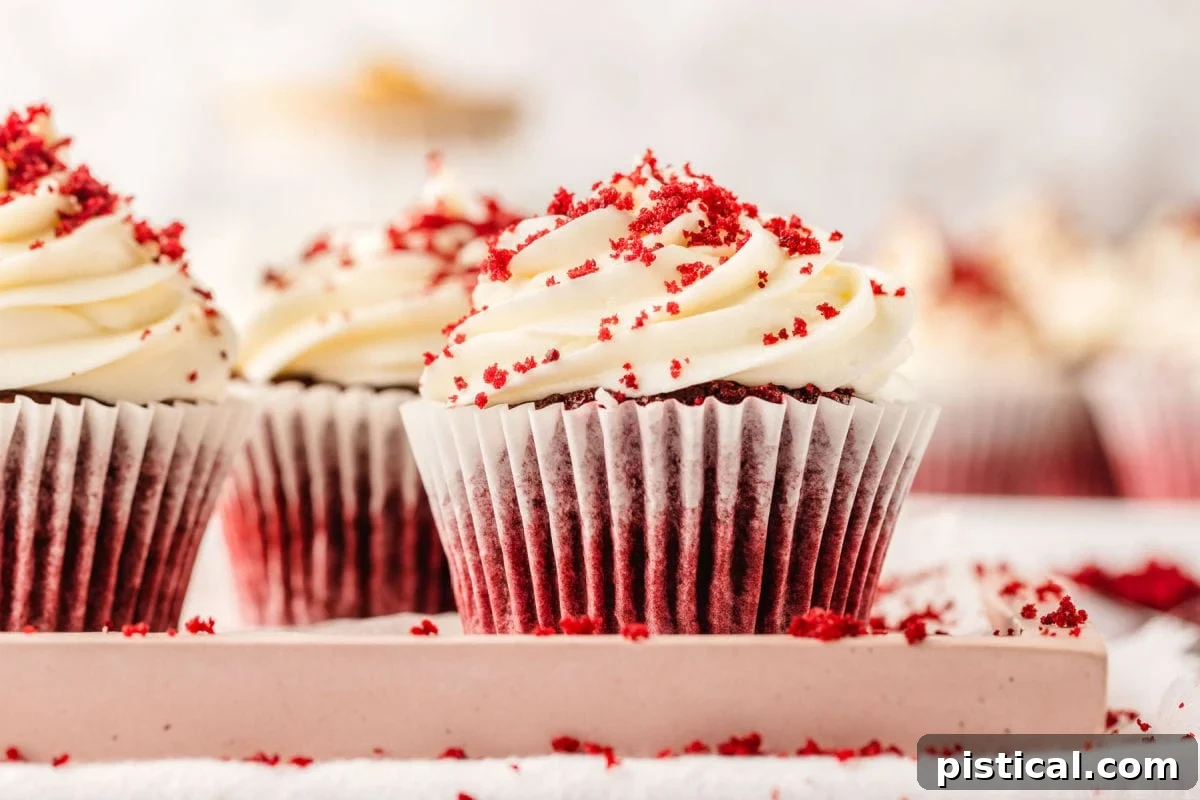
- Visually Appealing. The stunning contrast between the deep, luxurious red of the cupcake and the creamy, pristine white of the cream cheese frosting is simply unparalleled. This striking visual appeal ensures an impressive presentation, making these cupcakes a centerpiece for any event, from holiday parties to elegant dinner gatherings. They’re designed to impress before the first bite is even taken.
- Fantastic Flavor. Red velvet offers a truly unique flavor profile that sets these cupcakes apart. It’s not just a chocolate cake; it’s a sophisticated blend where subtle cocoa and vanilla undertones beautifully complement the bright tanginess of the cream cheese frosting. This complex yet universally appealing taste makes them a sophisticated choice that delights palates of all ages, from children to connoisseurs.
- Versatility. These cupcakes are incredibly adaptable for any occasion! While their vivid red color naturally makes them a popular choice for festive holidays and romantic celebrations like Valentine’s Day, they are equally perfect for birthdays, baby showers, or as an elegant dessert for a casual get-together. Their universal appeal ensures they are always a welcomed and celebrated addition to any dessert table.
Mastering the Art of Making Red Velvet Cupcakes
Creating these delightful homemade Red Velvet Cupcakes is a rewarding experience. Below is a concise overview of the baking process. For a detailed, step-by-step guide with precise measurements and comprehensive information, please refer to the full printable recipe card at the conclusion of this article.
Red Velvet Cupcakes: Step-by-Step Baking
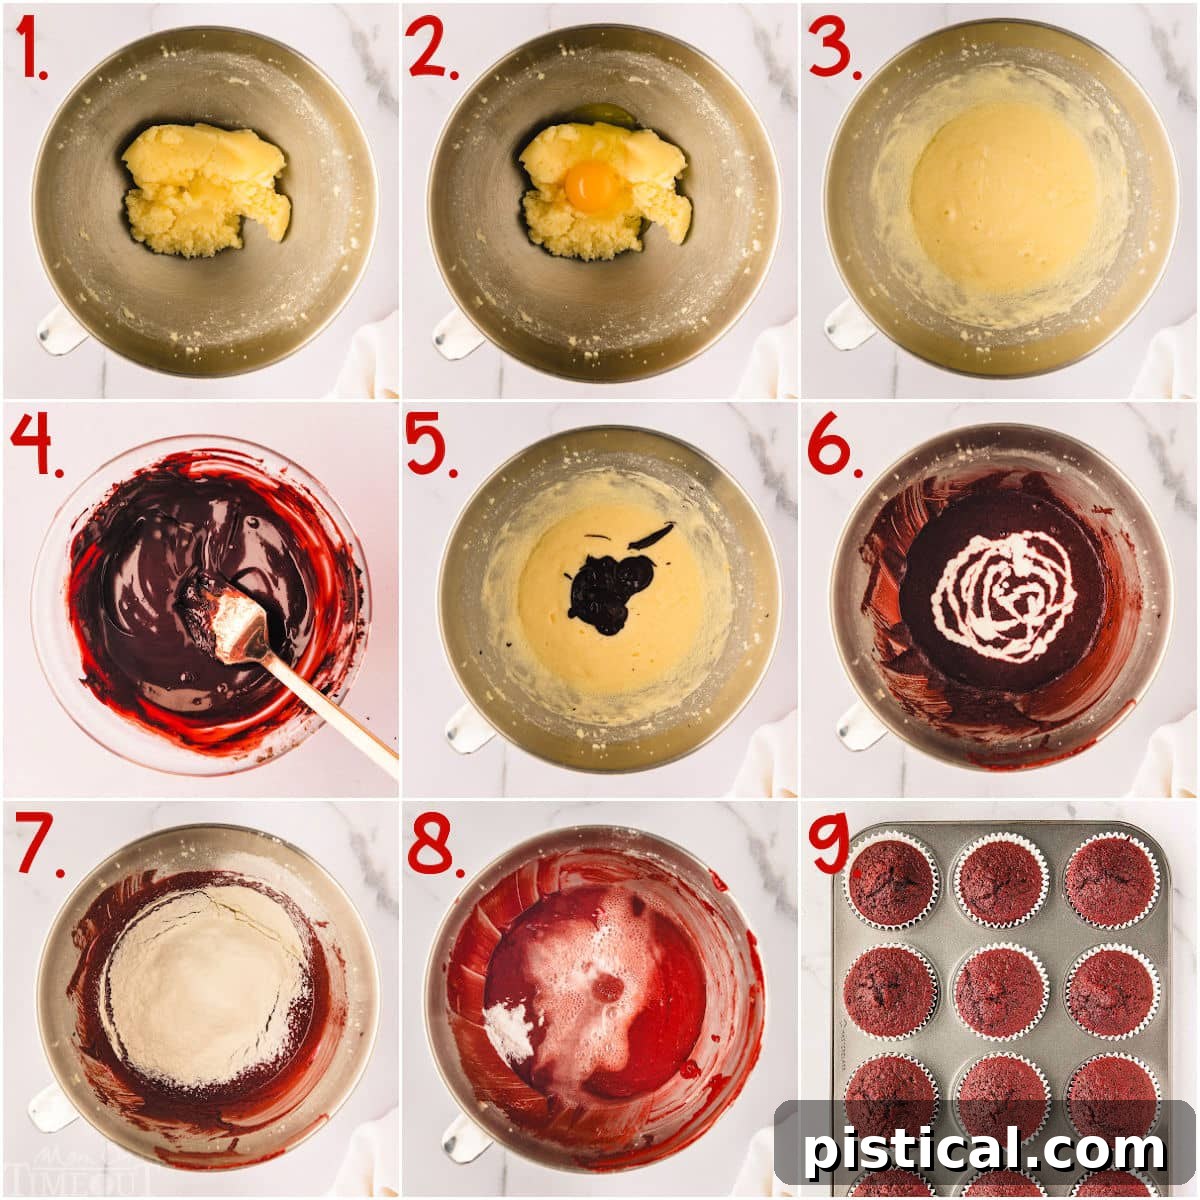
- Prepare Your Pan: Begin by preheating your oven to 350°F (175°C). Line a standard 12-cup muffin pan with paper cupcake liners, ensuring they are ready for the batter.
- Cream Butter and Sugar: In the bowl of a stand mixer fitted with the paddle attachment, combine the softened unsalted butter and granulated sugar. Beat them together on medium speed for approximately 3 minutes, until the mixture becomes light, pale, and fluffy. This step is crucial for incorporating air and creating a tender crumb.
- Incorporate Eggs: Add the large room temperature eggs one at a time, beating well after each addition until fully incorporated. Remember to scrape down the sides and bottom of the bowl periodically to ensure all ingredients are evenly mixed.
- Craft the Cocoa Mixture: In a separate small bowl, whisk together the unsweetened cocoa powder, water, vibrant red gel food coloring, and vanilla extract until you achieve a smooth, consistent paste.
- Combine Mixtures: Gently add the prepared cocoa mixture into the beaten butter, eggs, and sugar mixture.
- Beat for Uniform Color: Continue to beat the batter until all the ingredients are thoroughly incorporated and the entire mixture boasts a uniform, rich red color.
- Alternate Wet and Dry: With the mixer on its lowest speed, gradually add one-third of the buttermilk, followed by one-third of the all-purpose flour. Repeat this process two more times, alternating between buttermilk and flour, until both are fully integrated into the batter. Avoid overmixing to maintain a tender texture.
- Add Leavening Agents: Finally, sprinkle in the salt, baking soda, and white vinegar into the cake batter. Beat just until these ingredients are combined. The vinegar reacts with the baking soda and buttermilk to create an airy, light cupcake and helps to lock in that vibrant red color.
- Fill and Bake: Evenly fill each cupcake liner about three-quarters full with batter. Bake for approximately 20 minutes, or until the tops spring back gently when lightly touched, and a toothpick inserted into the center comes out clean.
- Cooling and Trimming: Allow the cupcakes to cool in the pan for a few minutes before transferring them to a wire rack to cool completely. For a professional look and for creating decorative crumbs, trim any slight dome off the tops with a sharp serrated knife, then blitz the trimmed portions into fine crumbs.
Crafting the Perfect Cream Cheese Frosting
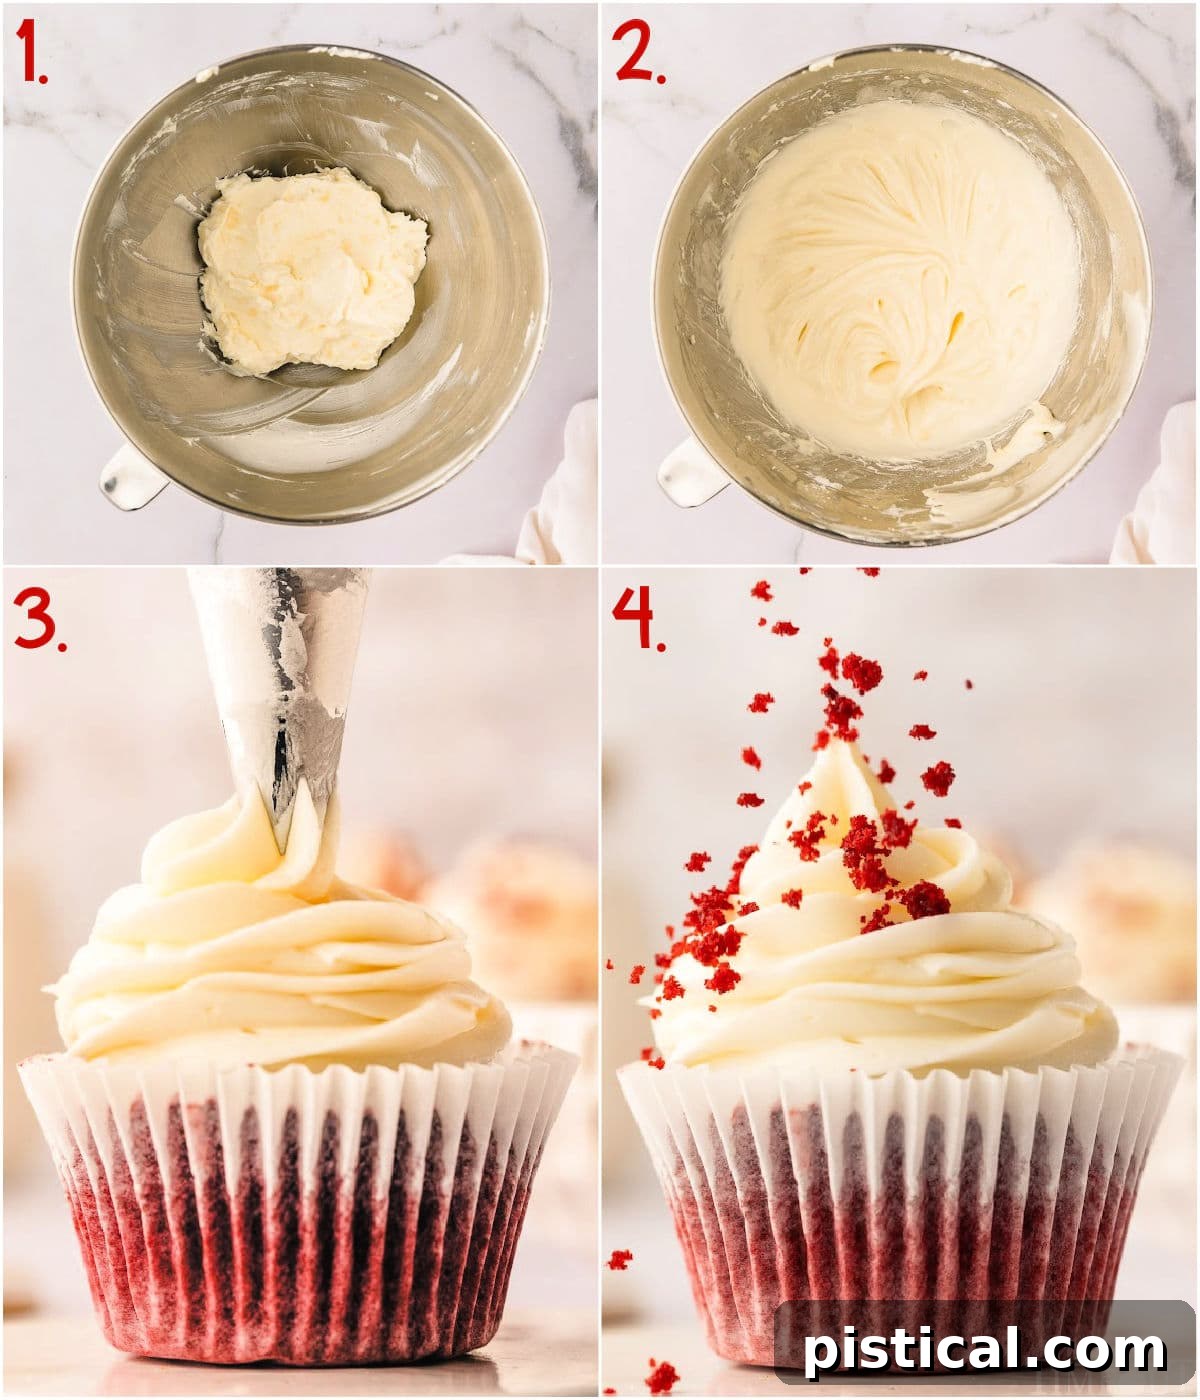
- Cream Cheese and Butter Base: In the bowl of a stand mixer fitted with the paddle attachment, combine the room temperature full-fat cream cheese and unsalted butter. Beat on medium speed for about 2 minutes until the mixture is beautifully creamy and smooth. Remember to scrape down the bottom and sides of the bowl as needed to ensure even consistency.
- Whisk in Dry Ingredients: Switch to the whisk attachment for a lighter, airier frosting. Gradually add the sifted powdered sugar, vanilla extract, and a pinch of salt to the mixing bowl. Start on a slow speed to prevent a cloud of sugar, then increase to medium and beat for another 2 minutes, until the frosting is light, smooth, and fluffy.
- Adjust Consistency: At this point, evaluate the frosting's consistency. While cream cheese frosting is naturally softer than traditional buttercream, it should be firm enough to hold its shape when piped. If it's too thin, add more powdered sugar, a tablespoon at a time. If it's too thick, a teaspoon of milk or heavy cream can thin it out.
- Prepare for Piping: Transfer the prepared cream cheese frosting into a piping bag. For elegant swirls, use a star nozzle (a Wilton 1M is a popular choice for its classic star shape).
- Frost and Garnish: Pipe beautiful swirls of frosting onto the top of each cooled cupcake. For an extra touch of authenticity and visual appeal, decorate with a sprinkle of the reserved red velvet cake crumbs.
- Serve and Enjoy: Present your exquisitely frosted Red Velvet Cupcakes and savor the delightful combination of flavors and textures.
Essential Storage Information for Your Red Velvet Cupcakes
Proper storage is key to maintaining the freshness and deliciousness of your Red Velvet Cupcakes. Here’s how to keep them perfect for longer:
Make Ahead Options: Both the cupcakes and the frosting can be prepared in advance. The baked cupcakes, unfrosted, can be stored in an airtight container in the refrigerator for up to 5 days, or frozen for up to 1 month. The cream cheese frosting can also be made up to 5 days ahead of time and kept in an airtight container in the refrigerator. Ensure both components are brought to room temperature before assembling and serving for the best texture and flavor.
Cupcake Storage: Once frosted, Red Velvet Cupcakes are best stored in an airtight container in the refrigerator for up to 5 days. The cool environment helps to preserve the cream cheese frosting and prevents the cupcakes from drying out. To maintain their moisture, you can also individually wrap each cupcake in plastic wrap before placing them in the container.
Frosting Storage: Unused cream cheese frosting can be stored in an airtight container in the refrigerator for up to 5 days. Before using, allow it to come to room temperature and give it a quick whip with a hand mixer or stand mixer to restore its fluffy consistency. This is crucial for smooth application.
Freezing Instructions: To freeze baked, unfrosted cupcakes, ensure they are completely cooled. Wrap each cupcake tightly in plastic wrap, then place them in a freezer-safe bag or container. They can be frozen for up to 1 month. Thaw them at room temperature or in the refrigerator before frosting and serving. For frosted cupcakes, freeze them on a baking sheet until the frosting is firm, then wrap individually in plastic wrap and store in a freezer-safe container. Thaw in the refrigerator.
Exciting Variations to Elevate Your Red Velvet Experience
- Alternate Frostings: While cream cheese frosting is classic, feel free to experiment. Consider frosting these cupcakes with a rich Ermine frosting for a less sweet, velvety texture, or a decadent chocolate buttercream to enhance the subtle cocoa notes of the cake.
- "Green Velvet" Twist: For a festive and unexpected twist, swap out the red food coloring for green. These "green velvet" cupcakes are a fun and unique way to celebrate occasions like Christmas or St. Patrick's Day, offering the same beloved flavor profile with a playful color change.
Trish’s Expert Tips for Red Velvet Perfection
Achieving bakery-quality Red Velvet Cupcakes is easier with these insightful tips:
For the Cupcakes:
- Room Temperature Ingredients: Always ensure all your ingredients, especially butter, eggs, and buttermilk, are at room temperature. This promotes smoother batter, better emulsion, and a more uniform color and texture in your final cupcakes.
- Avoid Overmixing: Overmixing the batter can develop the gluten in the flour too much, leading to dense, heavy, and tough cupcakes. Mix only until the ingredients are just combined for a light and tender crumb.
- Homemade Buttermilk Hack: If you find yourself without buttermilk, don't fret! You can easily make your own by adding 1 tablespoon of lemon juice or white vinegar to a measuring cup, then filling it with enough whole milk to reach ¾ cup. Let it sit for 5-10 minutes until it slightly curdles. This DIY version works perfectly.
- Vinegar's Dual Role: Beyond its role in leavening, the white vinegar in the batter plays a crucial part in keeping the red color bright and preventing it from fading during baking. It also contributes to the signature tangy flavor.
- Gel Food Coloring for Best Results: For the most vibrant and true red color, I highly recommend using gel food coloring over liquid varieties. Gel coloring is more concentrated, requiring less to achieve a brilliant hue, and won't thin out your batter like liquid coloring can. Start with a small amount and gradually add more until your desired shade is achieved.
- Complete Cooling: It is absolutely essential that your cupcakes cool completely on a wire rack before you even think about frosting them. Attempting to frost warm cupcakes will result in melted, messy frosting and a less appealing presentation.
For the Frosting:
- Room Temperature Full-Fat Ingredients: For the best cream cheese frosting, use full-fat block-style cream cheese and unsalted butter, both at room temperature. This ensures a smooth, lump-free, and perfectly creamy consistency. Avoid using whipped or low-fat cream cheese from a tub.
- Even Filling: Use an ice cream scoop or a consistent measuring spoon to fill your cupcake liners evenly. This ensures all cupcakes bake uniformly and are roughly the same size, resulting in a more professional and appealing batch.
- Adjusting Consistency: If your frosting turns out too thin for piping, gradually add more sifted powdered sugar, a couple of tablespoons at a time, until it reaches the desired thickness. Conversely, if it's too thick, thin it out with a tablespoon of milk or heavy cream until it’s perfectly spreadable or pipeable.
- Vanilla Bean Paste vs. Extract: While good quality vanilla extract works wonderfully, I personally adore using vanilla bean paste in cream cheese frosting. It adds beautiful specks of vanilla bean and a more intense, rich vanilla flavor that truly elevates the frosting.
- Piping for a Professional Look: For that iconic bakery-style finish, invest in a piping bag and a star tip (like a Wilton 1M or 2D). This allows you to create elegant swirls and decorative patterns. As a final flourish, garnish your frosted cupcakes with a sprinkle of red velvet cake crumbs or festive sprinkles for an extra touch of charm.
Understanding and Making Homemade Buttermilk
Buttermilk is more than just an ingredient in red velvet cupcakes; it's a foundational component that contributes significantly to their signature tangy flavor and incredibly moist, melt-in-your-mouth texture. The acidity in buttermilk reacts with the baking soda in the batter, producing carbon dioxide gas. This chemical reaction is what gives the cupcakes their lift, making them light, fluffy, and tender, rather than dense.
If you find yourself without store-bought buttermilk, fear not – it’s incredibly simple to make your own at home. Just combine 1 tablespoon of white vinegar or lemon juice with enough whole milk to reach ¾ cup total liquid. Stir gently and let the mixture sit for 5-10 minutes. During this time, the milk will visibly curdle slightly, signaling that it has transformed into a perfect substitute for buttermilk, ready to be used in your recipe.
For the best results when making homemade buttermilk, consider these tips:
- Always use whole milk. Its higher fat content will yield a richer, more flavorful, and more effective buttermilk substitute, contributing to a truly moist cupcake.
- While white vinegar and lemon juice are the most common acids, you can also use other acidic ingredients if necessary, such as plain yogurt, sour cream, or even kefir, for a similar effect. Adjust quantities slightly to match the desired tang.
- If you need a larger quantity of homemade buttermilk, simply scale up the recipe (e.g., 2 tablespoons of acid for 1½ cups of milk). This homemade buttermilk can be stored in the refrigerator for up to 24 hours, though it’s best used fresh.
Frequently Asked Questions About Red Velvet Cupcakes
Can I use bottled lemon juice instead of white vinegar for the buttermilk substitute?
Yes, bottled lemon juice can certainly work as an acidic alternative to white vinegar when making homemade buttermilk or directly in the batter. Both lemon juice and vinegar contain acids that react with baking soda, aiding in leavening and tenderizing the cake. However, white vinegar is traditionally preferred for red velvet cupcakes as it provides a clean tang without imparting a distinct citrus flavor, which lemon juice might subtly add. For the most authentic red velvet flavor profile, stick to white vinegar if possible.
Is liquid food coloring an acceptable substitute for gel food coloring in this recipe?
While you can use liquid food coloring, gel food coloring is highly recommended for red velvet cupcakes. Gel coloring is much more concentrated, meaning you need less of it to achieve a vibrant, deep red hue. Liquid food coloring requires a larger quantity to reach the same intensity, which can add excess liquid to your batter, potentially altering the texture and making the cupcakes less fluffy or more prone to drying out. For the best color and texture, opt for gel.
I’m not a fan of cream cheese frosting. What other frosting options pair well with red velvet?
If cream cheese frosting isn't to your taste, don't worry, there are several delicious alternatives that complement red velvet beautifully. A classic and historical choice is Ermine frosting, also known as boiled milk frosting or flour frosting, which offers a unique, velvety texture and a less sweet profile. Alternatively, a traditional vanilla buttercream or a rich chocolate buttercream can also be fantastic choices. A chocolate frosting, in particular, will enhance the subtle cocoa flavor within the red velvet cake, creating a more decadent dessert experience.
Is buttermilk absolutely essential for this recipe, or can I skip it?
Buttermilk is indeed a critical component for achieving the authentic flavor and tender texture of red velvet cupcakes. Its acidity reacts with the baking soda to create a light, moist crumb, and it contributes to the signature subtle tang. While skipping it entirely would drastically alter the recipe, you can easily make your own homemade substitute if you don't have it on hand. Simply combine 1 tablespoon of lemon juice or white vinegar with enough whole milk to equal ¾ cup, and let it sit for 5 minutes before using. This homemade version is a perfect stand-in and ensures you don't miss out on the key characteristics of a true red velvet cupcake.
Discover More Amazing Cupcake Recipes
If you've enjoyed mastering these Red Velvet Cupcakes, you'll love exploring these other fantastic cupcake creations from our collection. Expand your baking repertoire and find your next favorite:
- Decadent Chocolate Cupcake Recipe
- Fresh Strawberry Shortcake Cupcakes
- Tangy Lemon Meringue Cupcakes
- Whimsical Cotton Candy Cupcakes
- Delightful Cherry Almond Cupcakes
Print Recipe
Pin Recipe
Rating: 5 from 5 votes
Red Velvet Cupcakes
Scrumptious Red Velvet Cupcakes topped with a creamy, tangy, fluffy cream cheese frosting are the perfect addition to any special occasion! Moist and tender with a velvety texture and rich flavor, these cupcakes are impressive, delicious and always a favorite with family and friends!
Course: Dessert
Cuisine: American
Keyword: red velvet cupcake, red velvet cupcake recipe, red velvet cupcakes
Prep Time: 20 minutes
Cook Time: 20 minutes
Servings: 12
Calories: 473 kcal
Author: Trish – Mom On Timeout
Ingredients
Red Velvet Cupcakes
- ⅓ cup unsalted butter, room temperature
- 1 cup granulated sugar
- 2 large eggs, room temperature
- 1½ tablespoons unsweetened cocoa powder
- 3 teaspoons water
- 1 teaspoon red gel food coloring
- 2 teaspoons vanilla extract
- ¾ cup buttermilk
- 1¾ cups all purpose flour
- ½ teaspoon salt
- ½ teaspoon baking soda
- 2 teaspoons white vinegar
For the cream cheese frosting
- 8 ounces cream cheese, full fat, block style, room temperature
- 6 tablespoons unsalted butter, room temperature
- 4 cups powdered sugar, sifted
- 1 teaspoon vanilla extract
- pinch salt
Instructions
Red Velvet Cupcakes
- Preheat the oven to 350°F. Line a muffin pan with 12 cupcakes liners.
- In the mixing bowl of a stand mixer with the paddle attachment fitted add the butter and sugar. Beat until light and fluffy, about 3 minutes.
Ingredients for this step: ⅓ cup unsalted butter, 1 cup granulated sugar
- Add the eggs one at a time and beat until fully incorporated. You will need to scrape down the bowl a couple of times.
Ingredients for this step: 2 large eggs
- In a small bowl whisk together cocoa powder, water, red food coloring and vanilla extract until smooth.
Ingredients for this step: 1½ tablespoons unsweetened cocoa powder, 3 teaspoons water, 1 teaspoon red gel food coloring, 2 teaspoons vanilla extract
- Add the cocoa mixture to the beaten butter, eggs and sugar.
- Beat until all the ingredients are fully incorporated. The contents of the bowl should be uniform in color.
- Turn the mixer to its lowest speed and add ⅓ of the buttermilk followed by ⅓ of the flour. Repeat these steps until all the buttermilk and flour have been used up.
Ingredients for this step: ¾ cup buttermilk, 1¾ cups all purpose flour
- Next, add the salt, baking soda and white vinegar to the cake batter and beat to combine. Do not over mix.
Ingredients for this step: ½ teaspoon salt, ½ teaspoon baking soda, 2 teaspoons white vinegar
- Fill the cupcake liners ¾ full. Bake the cupcakes for 20 minutes, or until the tops spring back when touched with your finger and a toothpick inserted in the center comes out clean.
- Leave the cupcakes to cool for a few minutes in the pan before transferring them to a wire rack to completely cool.
- The cupcakes will have risen slightly over the edges of the liner. Trim the tops with a sharp serrated knife and blitz into crumbs for decorating later.
Cream Cheese Frosting
- In the bowl of a stand mixer fitted with the paddle attachment add the cream cheese and butter. Beat on medium speed for 2 minutes until creamy, scraping down the bottom and sides of the bowl as needed.
Ingredients for this step: 8 ounces cream cheese, 6 tablespoons unsalted butter
- Swap the paddle attachment for the whisk attachment.
- Add the sifted powdered sugar, vanilla extract and salt to the mixing bowl. Beat slowly until the powdered sugar has been incorporated. Increase the speed to medium and beat for 2 minutes. The cream cheese frosting should look light and smooth.
Ingredients for this step: 4 cups powdered sugar, 1 teaspoon vanilla extract, pinch salt
- At this stage assess if you need to add any extra powdered sugar. Cream cheese frosting is not as thick as buttercream but you need it thick enough that it holds up when piped.
- Transfer the cream cheese frosting to a piping bag fitted with a star nozzle (we used a Wilton 1M).
- Pipe swirls on top of each cupcake and decorate with a few crumbs.
- Serve and enjoy!
Nutrition
Calories: 473kcal | Carbohydrates: 73g | Protein: 5g | Fat: 19g | Saturated Fat: 11g | Polyunsaturated Fat: 1g | Monounsaturated Fat: 5g | Trans Fat: 0.4g | Cholesterol: 80mg | Sodium: 233mg | Potassium: 92mg | Fiber: 1g | Sugar: 57g | Vitamin A: 656IU | Calcium: 48mg | Iron: 1mg