
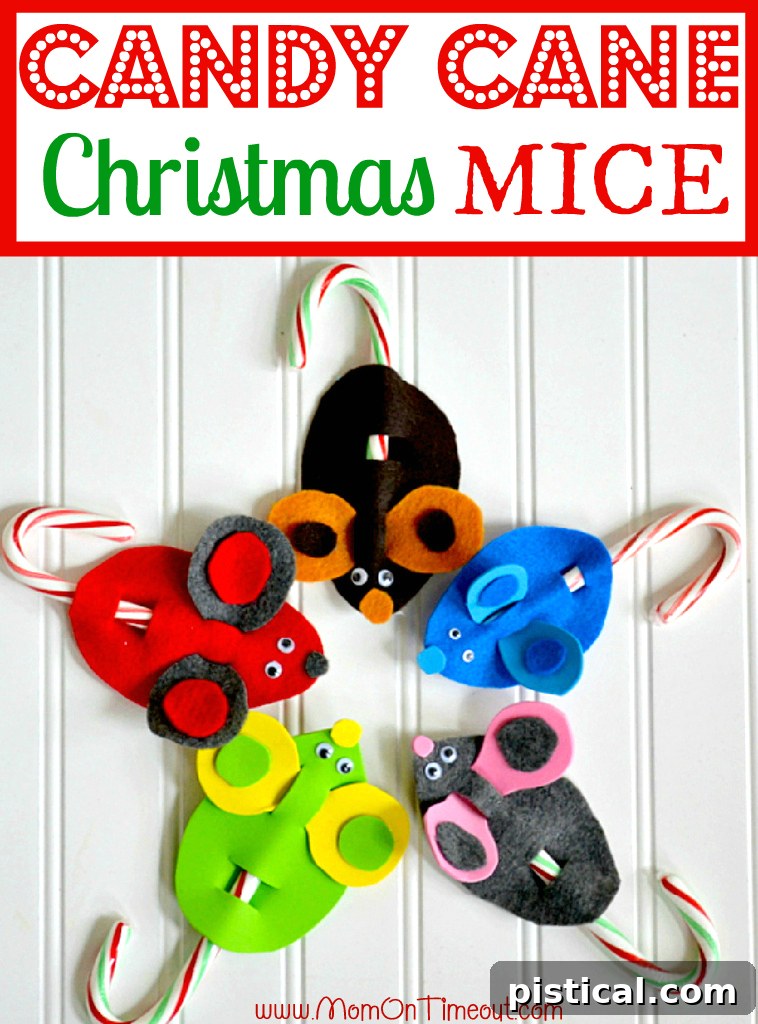
Craft Joyful Memories: DIY Candy Cane Christmas Mice Ornaments
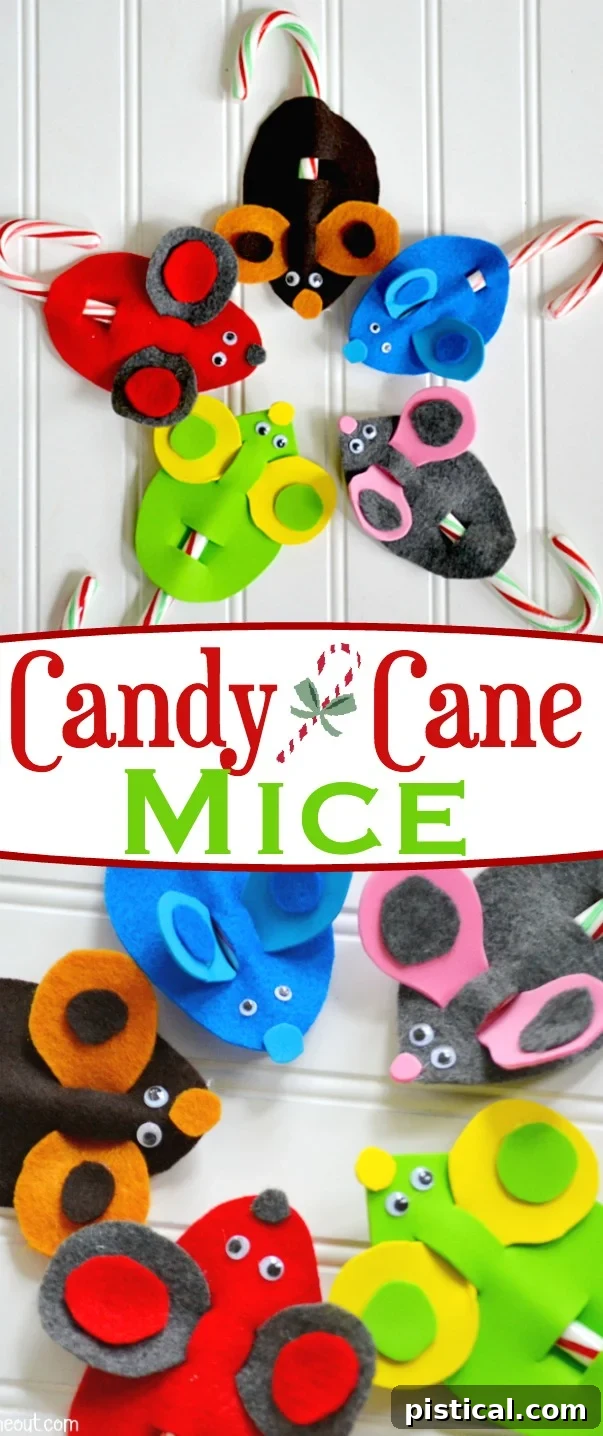
Get ready to sprinkle some extra holiday magic into your home with these utterly adorable and surprisingly simple Candy Cane Christmas Mice! This enchanting craft is destined to become a cherished family tradition, bringing smiles and laughter to your festive season. Designed to be super fun and wonderfully kid-friendly, it requires only a handful of easy-to-find craft supplies. It’s the perfect opportunity to let your children’s imaginations soar, fostering creativity and a love for homemade decorations. Prepare for a truly Merry Christmas filled with crafting joy!
Want to stay connected and never miss out on new recipes and craft ideas? Sign up for our newsletter to get fresh content delivered straight to your inbox! You can also follow us on Facebook and Instagram for daily inspiration and behind-the-scenes fun!
PIN THIS FESTIVE CRAFT FOR LATER!
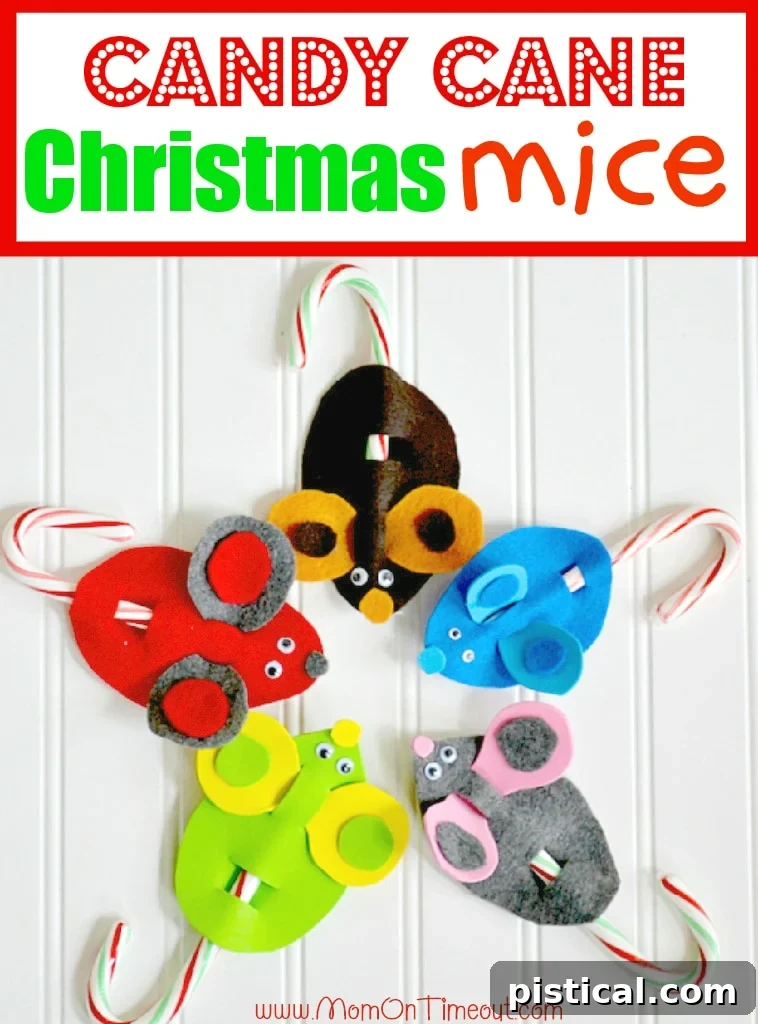
Why Candy Cane Mice Are Your Next Must-Do Holiday Craft
The holiday season is a magical time for family bonding, and in our household, some of the most treasured memories are made while baking festive treats, decking the halls with decorations, and engaging in creative craft projects. Crafting ornaments, in particular, holds a special place in our hearts. My boys each have a small Christmas tree in their rooms, dedicated solely to the handmade treasures they create throughout the season. Year after year, as we unbox their ornament collections, the handmade pieces instantly spark memories. There’s an undeniable joy and pride as they identify the ornaments “they made,” meticulously placing them back onto their personal trees. This heartwarming tradition isn’t just about crafting; it’s about building lasting memories, celebrating individual creativity, and feeling a deep sense of accomplishment. These Candy Cane Christmas Mice perfectly embody that spirit.
Recently, we’ve been on an exciting ornament-making spree, and the idea for these delightful Candy Cane Mice sprang to mind. After a rather enthusiastic (and slightly over-the-top!) trip to the candy cane aisle at Target, we found ourselves with an abundance of these classic striped treats, just begging to be transformed into something whimsical. These little mice are not only charming and unique, but they also offer a fantastic way to use up those extra candy canes. They’re a wonderful addition to any Christmas tree, make thoughtful homemade gifts, or can even serve as adorable party favors. The beauty of this project lies in its simplicity and the boundless room for personalization, ensuring that each mouse carries its own unique charm and character.
Gather Your Crafting Supplies
One of the best things about this holiday craft is that it requires very few materials, most of which you might already have on hand or can easily pick up at any craft store. Here’s what you’ll need to create your adorable Candy Cane Christmas Mice:
- Felt or Foam Sheets: Choose a variety of festive colors like red, green, white, gray, or even sparkly options. Felt offers a soft, classic look, while foam provides a slightly sturdier, more vibrant finish.
- Googly Eyes or Black Felt: Googly eyes add a playful, whimsical touch, perfect for children. If you prefer a more refined look, small circles cut from black felt can also work beautifully for the eyes.
- Candy Canes: The star of the show! Standard-sized candy canes work best as the body and tail for your mice.
- Hot Glue Gun (with adult supervision) or Craft Glue: Hot glue provides a quick and secure bond, ideal for impatient little crafters. For younger children, craft glue is a safer, though slightly slower-drying, alternative.
Step-by-Step Guide to Crafting Your Candy Cane Mice
Step 1: Crafting the Mouse Body and Ears
Begin by cutting out the shapes for your mice. For the body, envision an egg shape with a slightly pointed top – though don’t worry too much about perfection, as the top will mostly be covered. Next, cut an elongated number ‘8’ shape for the inner and outer ears, and two small circles for the inner ears. The beauty of handmade crafts is their individuality; don’t strive for perfect uniformity! Embrace the charm of unique creations – some mice can be a bit chubbier, others slender, with various ear sizes. This encourages creativity and ensures each mouse has its own personality.

Step 2: Preparing the Body for the Candy Cane
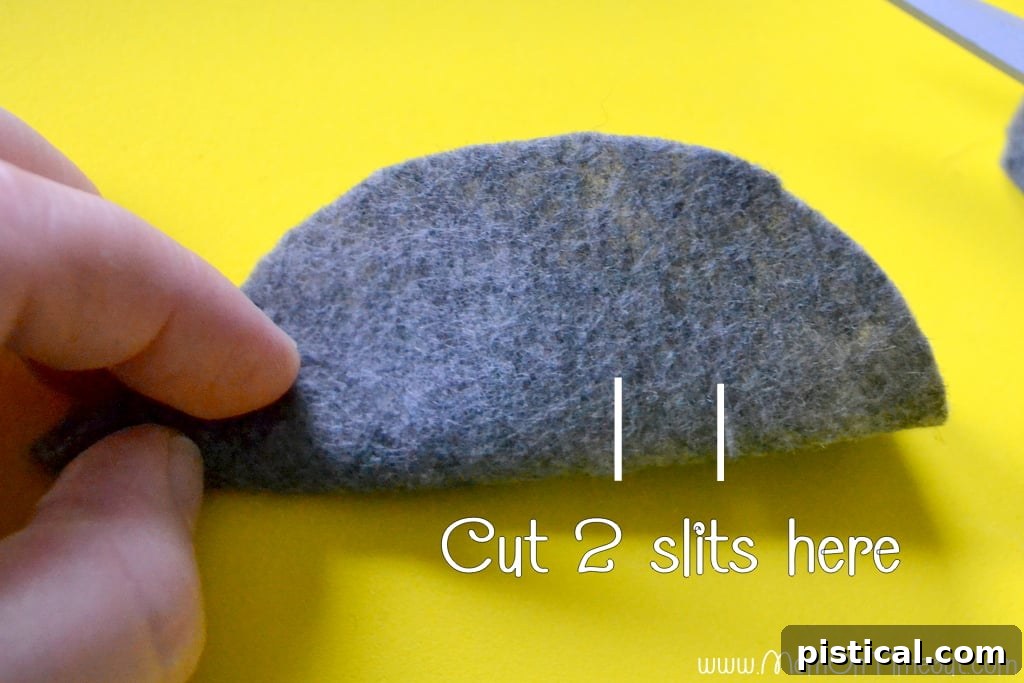
Take your body shape and fold it precisely in half lengthwise. Using scissors, carefully cut two small slits about two-thirds of the way down from the pointed top. These slits are crucial, as they will serve as the entry and exit points for the candy cane. Ensure the slits are just large enough for a candy cane to comfortably slide through without tearing the felt or foam. This step forms the core structure where your candy cane mouse will take shape.
Step 3: Creating Slits for the Ears
Now, focus on the “nose” section of your mouse body. Fold the pointed top (nose) back towards the first set of slits you just made. Here, you will cut two more slits, positioned symmetrically. These new slits are specifically designed for the ears to slide through. Again, make them just wide enough to accommodate the ear pieces without much struggle, ensuring a snug fit that will help hold the ears upright and in place.
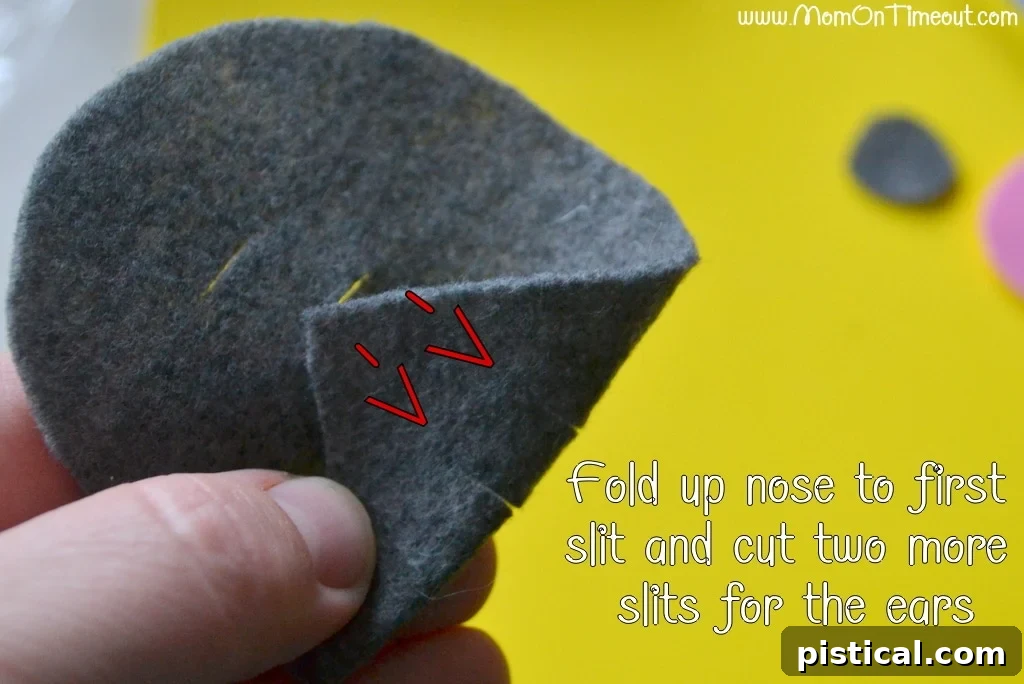
Step 4: Visualizing the Slit Placement
To help visualize, examine your prepared body piece. You should clearly see four slits in total. The pair of slits closer to the folded “nose” will be for the ears, creating the adorable head of your mouse. The second pair, further down, is where the candy cane will pass through, forming the body and the iconic curved tail. The image provided illustrates this perfectly, with a green popsicle stick indicating the ear placement and a yellow one showing the candy cane’s path, helping you ensure correct positioning before assembly.
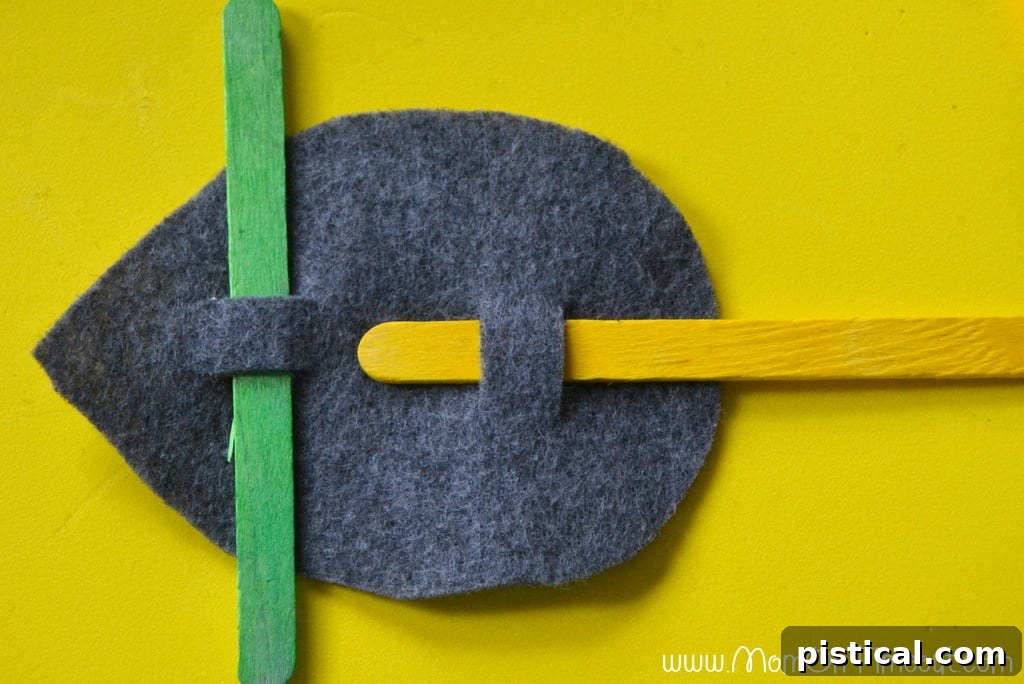
Step 5: Assembling the Ears and Candy Cane Body
It’s time to bring your mouse to life! First, take your inner ear circles and glue them onto the larger ‘8’ shaped outer ear pieces. This adds dimension and character. Once dry, slide the assembled ears through the designated slits near the nose. Next, gently thread your candy cane through the other pair of slits. The curved end of the candy cane should emerge from the back, forming the mouse’s adorable tail, while the straight end extends forward, creating the body. Take your time with this step to avoid tearing your felt or foam.
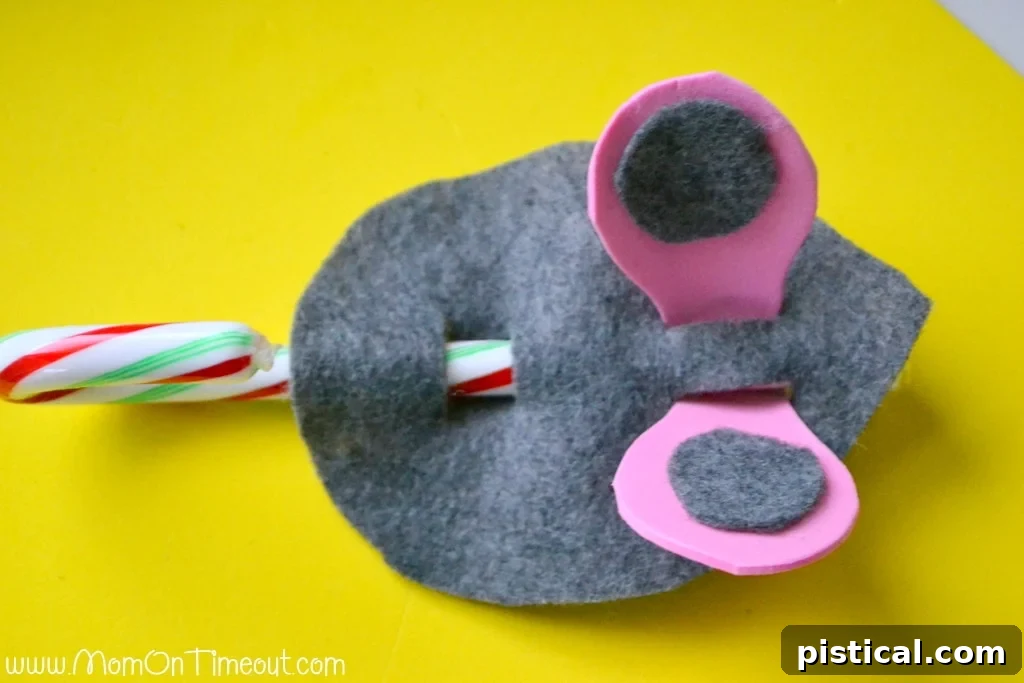
Step 6: Securing the Candy Cane Tail
For a robust and secure mouse that can withstand playful handling and hanging, here’s a clever trick. The candy cane should not only go through the back slits but also pass through the small opening or “hole” created by the base of the ears where they meet the body. This additional point of contact acts as a clever anchor, keeping the candy cane firmly in place, ensuring the tail is nice and secure, and preventing it from slipping out. The image showcasing the underside of the mouse clearly demonstrates this interlocking mechanism.
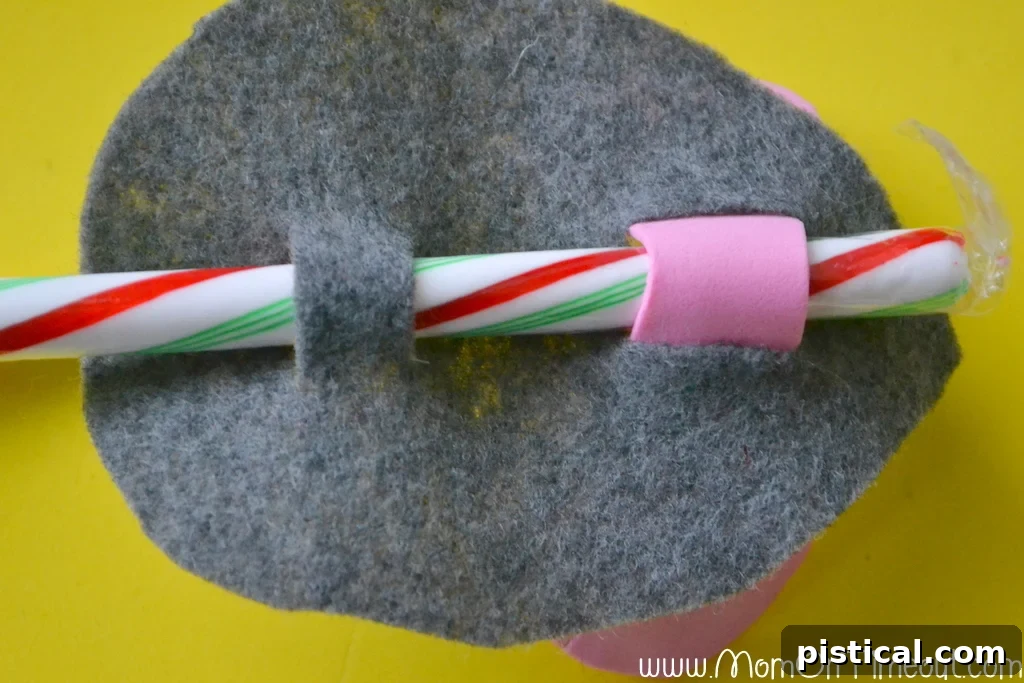
Step 7: Adding Personality with Eyes and Noses
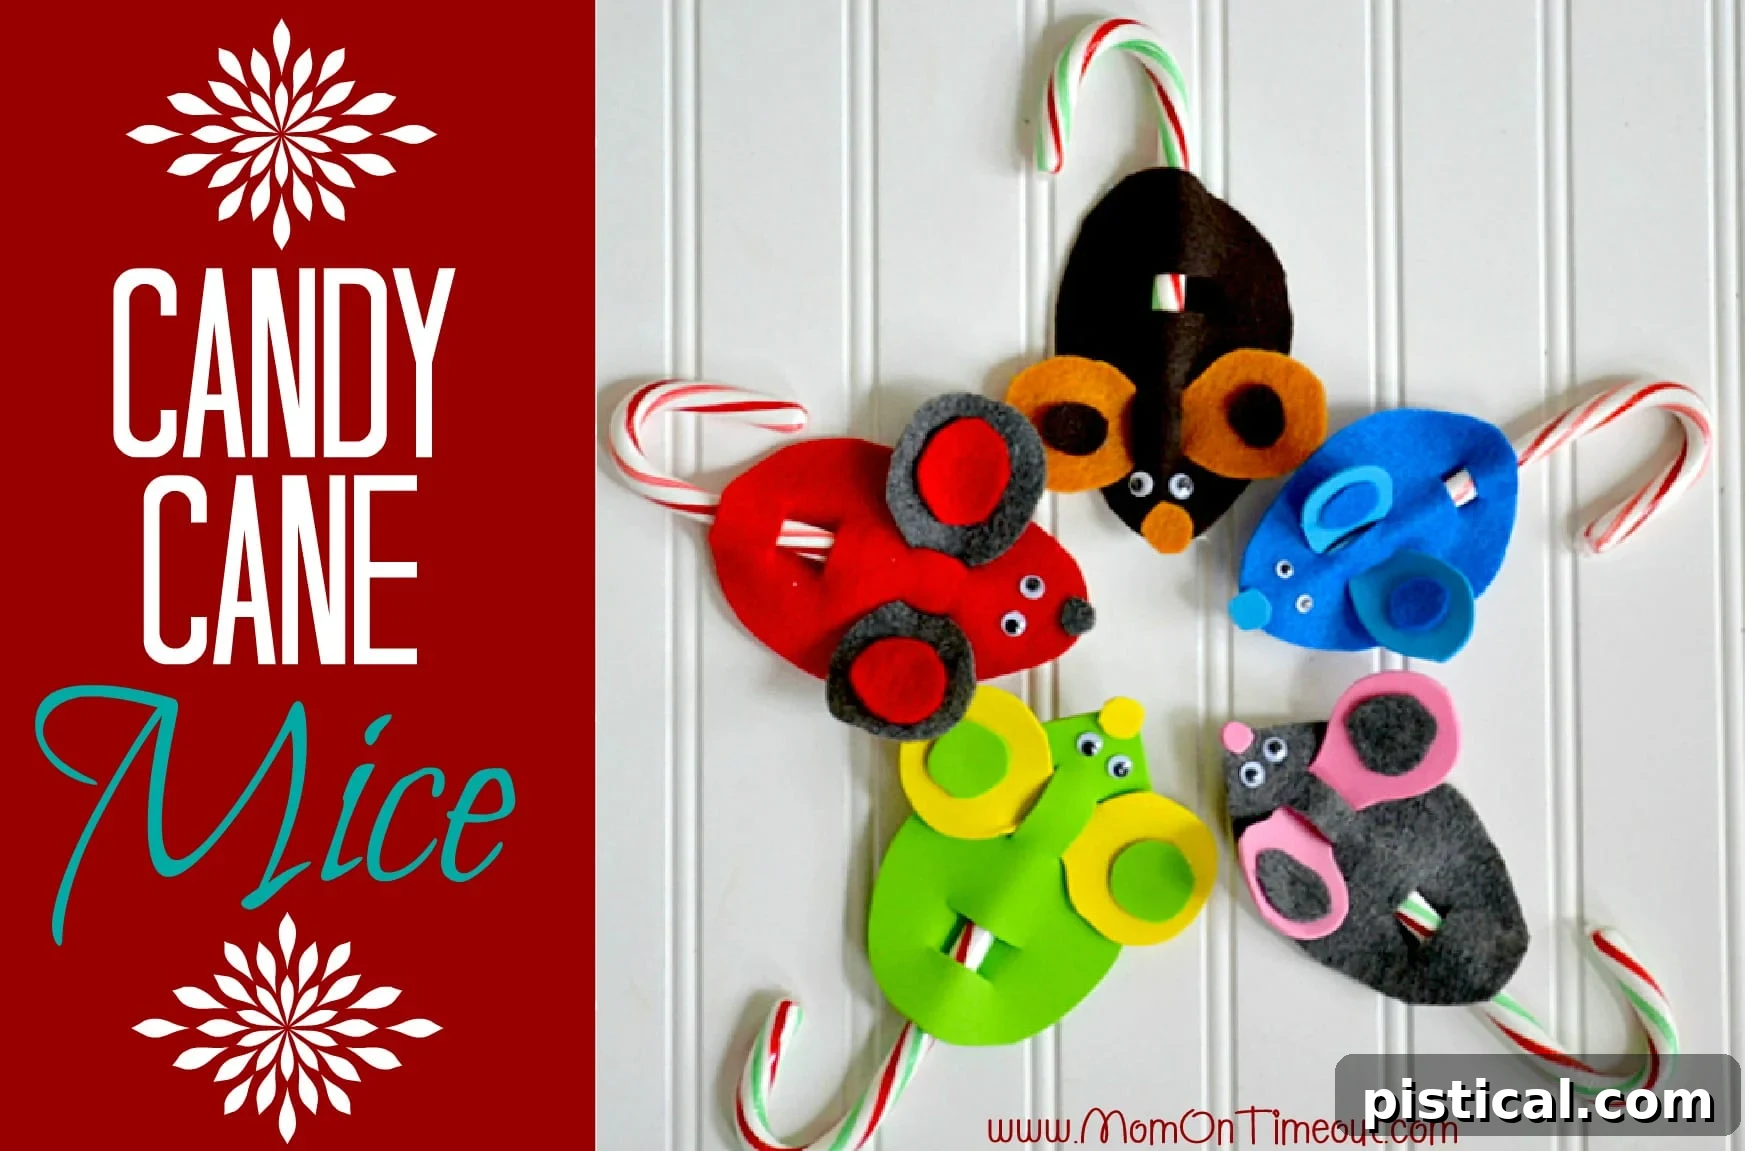
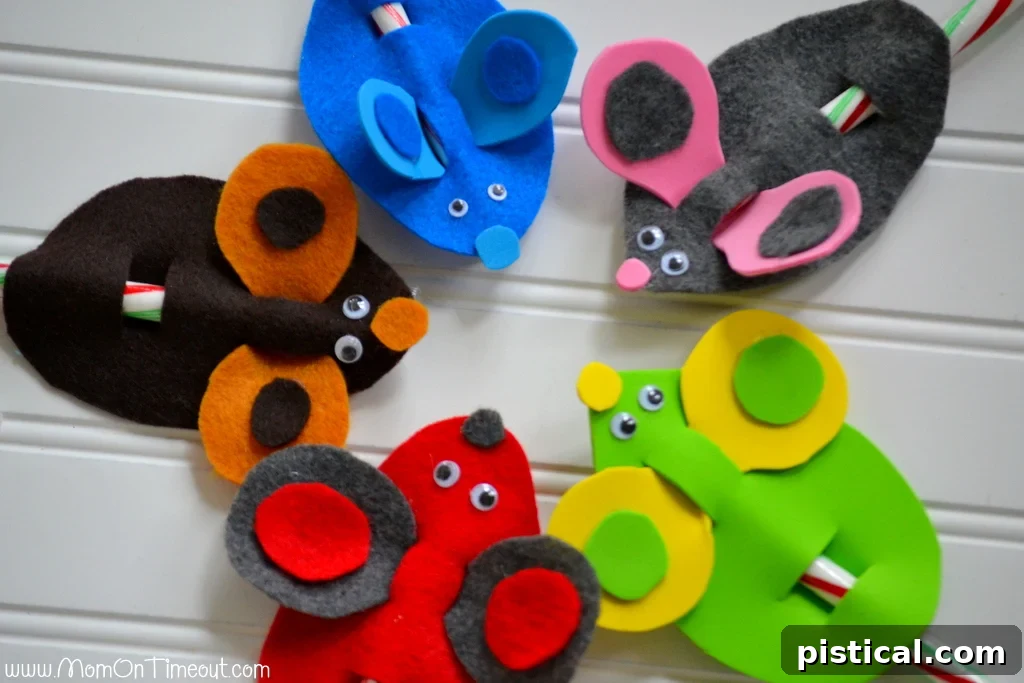
With the structure complete, it’s time for the fun part: giving your mice their unique personalities! We crafted a cheerful bunch in various colors using both felt and foam, showcasing how wonderfully diverse they can be. Now, carefully glue on the googly eyes for a classic, playful look, or attach small black felt circles if you’re opting for a simpler aesthetic. For the nose, tiny pom-poms make fantastic, three-dimensional snouts, or you can simply cut out another small piece of felt or foam in a contrasting color and glue it into place. This is where your creativity truly shines, making each mouse distinctively yours!
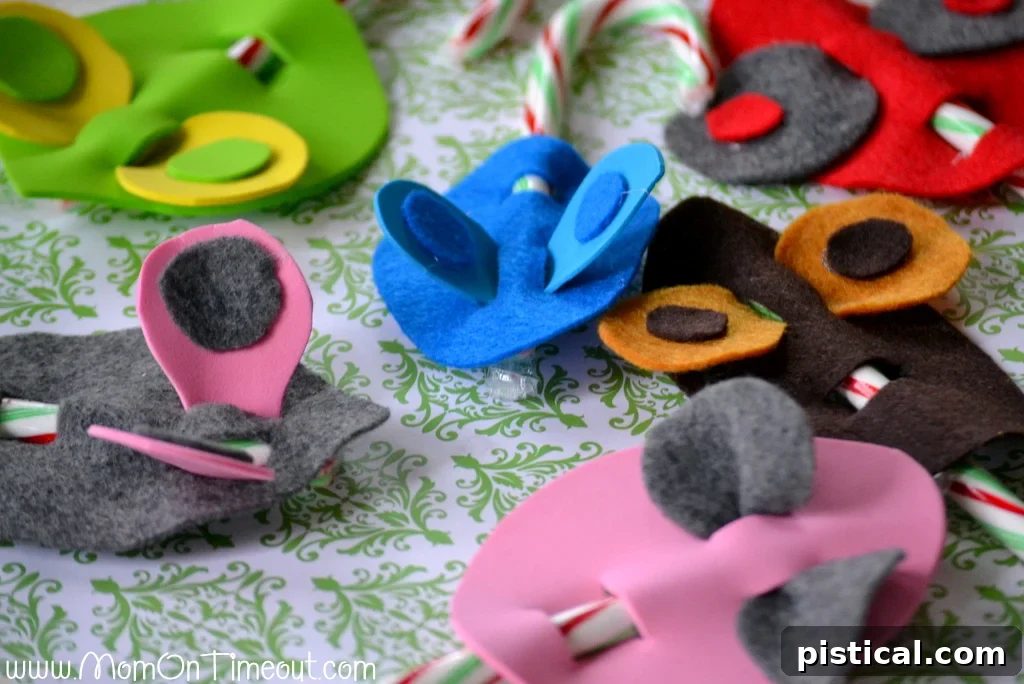
The Joy of Completion: Personalized Ornaments and Family Fun
And just like that, your charming Candy Cane Christmas Mice are complete!
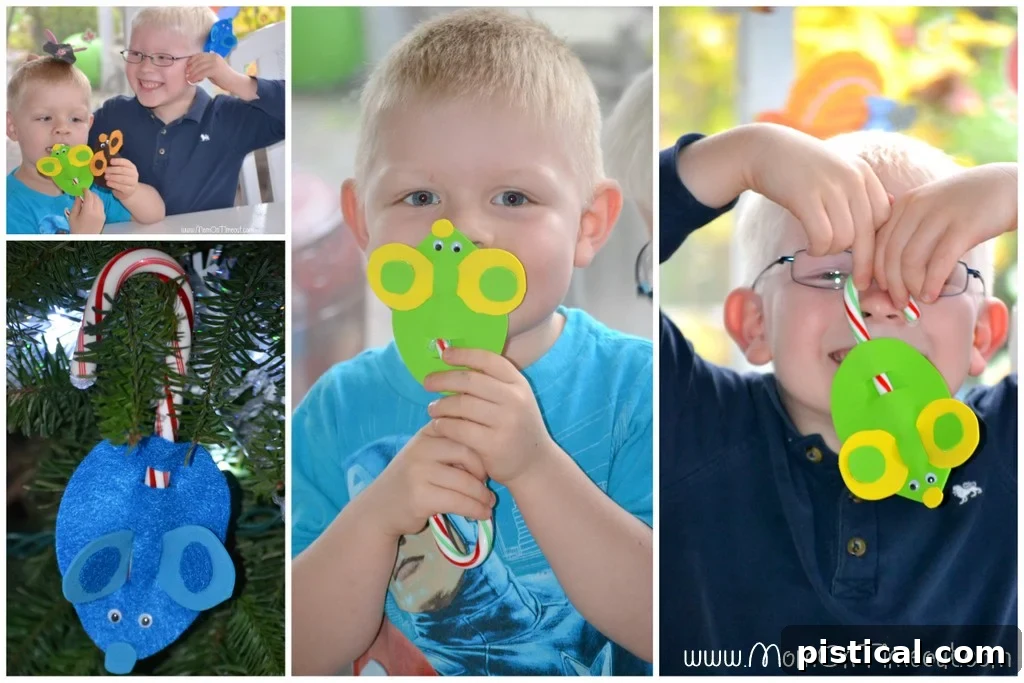
Watching the boys’ faces light up as they played with their newly crafted mice, carefully choosing the perfect spot on their tree for each one, was truly priceless. These aren’t just ornaments; they’re tiny tokens of a shared experience, a tangible representation of creativity and family time. Each mouse on their tree tells a story, a memory of a festive afternoon spent crafting together. This simple project yields such wonderful results and fosters an invaluable sense of accomplishment in children. It’s a reminder that the most cherished holiday decorations are often the ones made with love.
Get Creative: Variations and Customizations
The beauty of the Candy Cane Christmas Mice lies in their adaptability! Don’t feel confined to just a few colors; experiment with a rainbow of felt or foam. Think beyond traditional red and green – imagine vibrant blues, cheerful yellows, or elegant metallics. For extra sparkle, consider adding glitter glue, small sequins, or tiny bells to your mice. You could even use different types of candy canes, such as those with unique flavors or patterns, to add another layer of visual interest. Encourage your children to draw tiny whiskers with a fine-tip marker or glue on miniature buttons for an extra touch of charm. These subtle variations make each mouse truly one-of-a-kind and reflect the individual personality of the crafter. This craft isn’t just about following instructions; it’s about inspiring imagination and personal expression, making it a truly rewarding activity for all ages.
Have you embarked on any ornament-making adventures this year? We’d love to hear about your favorite holiday crafts and the new traditions you’re creating! Share your ideas in the comments below!
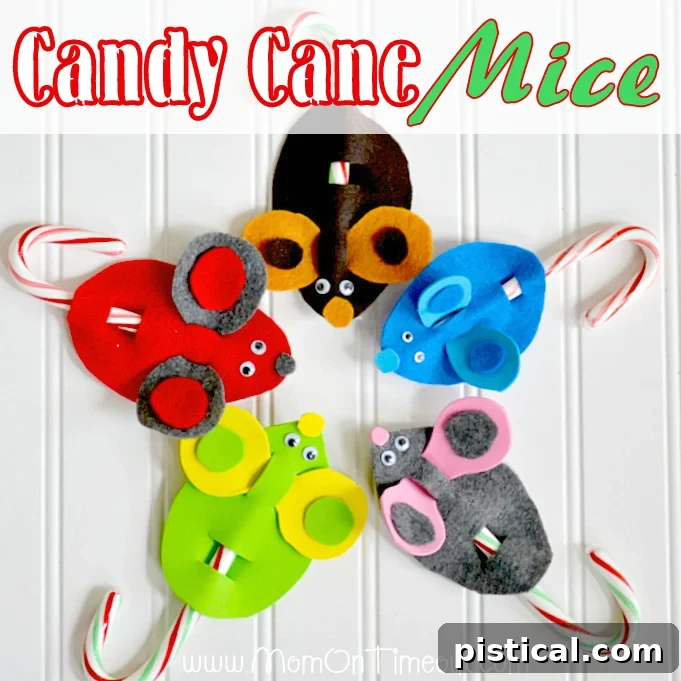
SAVE THIS FUN CANDY CANE MICE CRAFT ON PINTEREST!
Explore More Festive Christmas Crafts and Recipes:
If you loved making these charming Candy Cane Mice, you’ll definitely want to check out some of our other fantastic holiday projects! From more candy cane creativity to delicious festive treats, we have plenty of ideas to keep your family busy and happy throughout the season. Discover new ways to decorate, bake, and create lasting memories with these inspired ideas:
Candy Cane Christmas Trees
Candy Cane Wreath
Homemade Gumdrops
Jingles Christmas Tree & Cookie Sleds

Looking for more culinary delights? Explore all our amazing fudge recipes HERE, or delve into our extensive collection of dessert recipes HERE.
Don’t forget to sign up for our email list to receive notifications when new recipes and crafts are posted!
For even more inspiring ideas and daily updates, connect with us on Facebook, Pinterest, Instagram, Twitter, and Bloglovin’.