
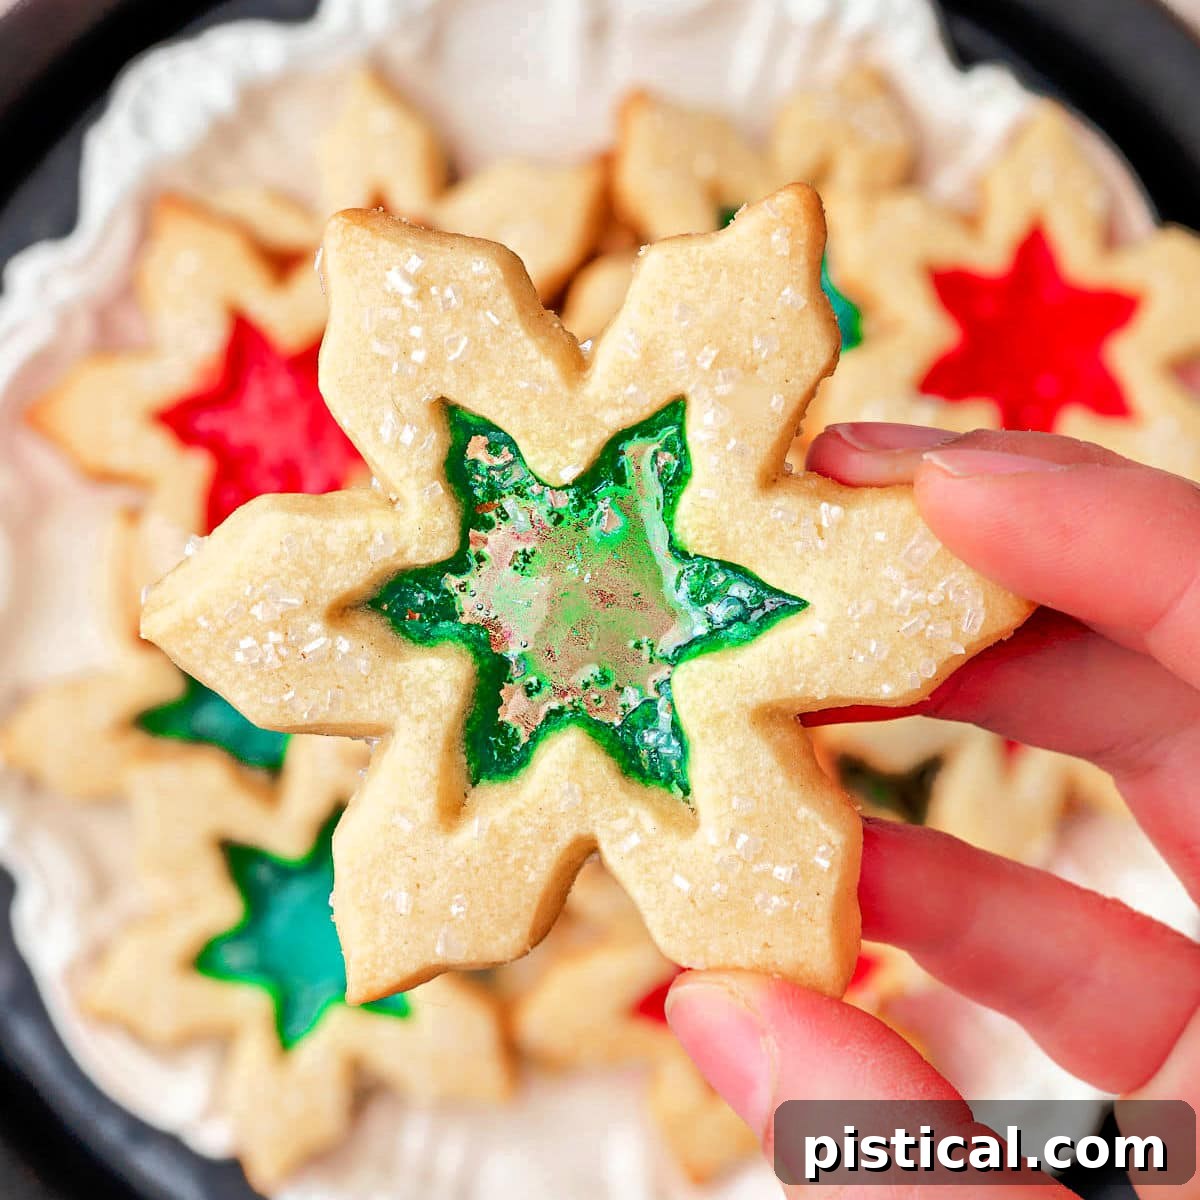
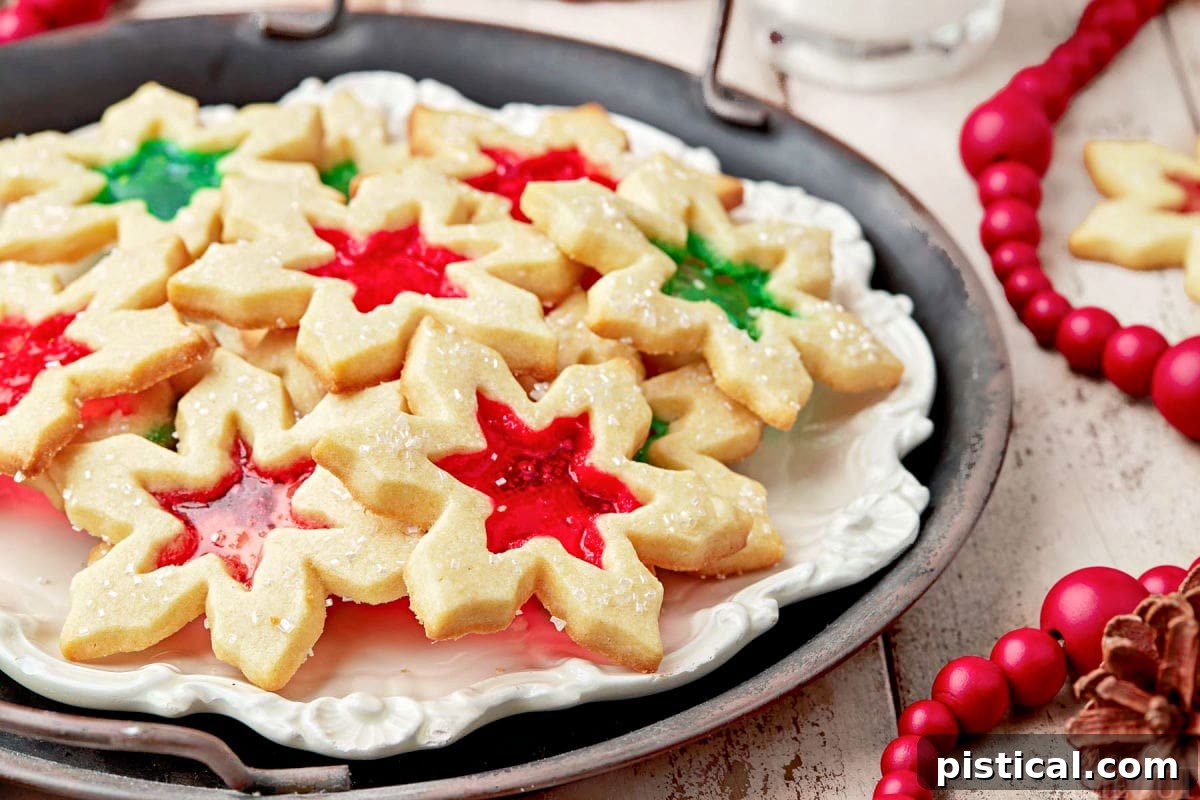
Stained Glass Cookies are a dazzling treat that effortlessly combines the heartwarming charm of a classic sugar cookie with an enchanting, vibrant center. Imagine a buttery, melt-in-your-mouth sugar cookie, elevated by a sparkling, fruity, hard candy filling that catches the light like miniature stained-glass windows. These cookies aren’t just delicious; they are a feast for the eyes, guaranteed to be the centerpiece of any dessert table.
Perfectly suited for holiday gatherings, festive cookie exchanges, or simply a delightful late-night snack for Santa and his helpers, these cookies captivate both young and old. Their unique beauty and delightful taste make them an instant favorite, sparking joy and conversation with every bite. If you’re looking to create unforgettable memories and impress your guests with a truly special confection, Stained Glass Cookies are your answer.
Are you preparing a plate of goodies for Santa this Christmas Eve? While these stained glass wonders are a top contender, explore other timeless Christmas cookie recipes to round out your festive spread: Whipped Shortbread Cookies offer a delicate, melt-in-your-mouth experience, Grinch Cookies bring a playful touch of green to your table, and these delicious Peppermint Snowball Cookies add a cool, minty finish. Each recipe promises to bring warmth and cheer to your holiday celebrations.
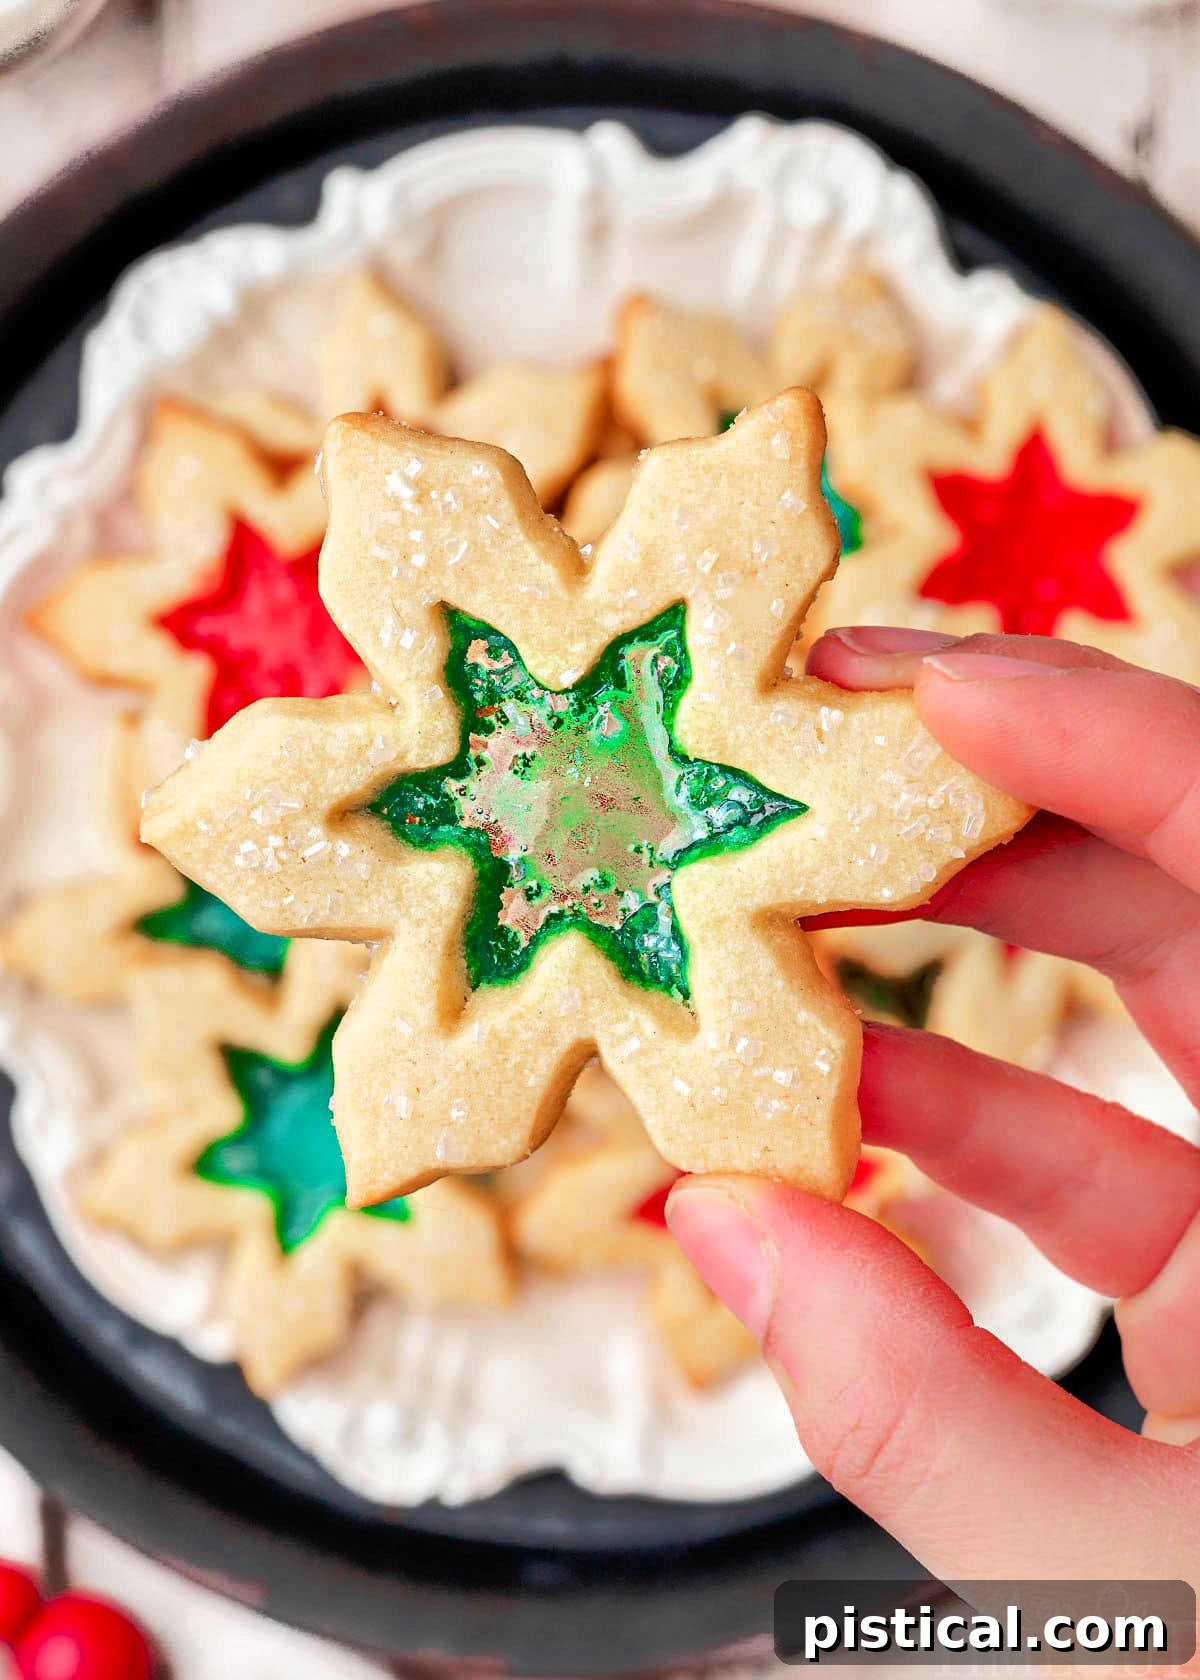
Stained Glass Cookies: A Festive Masterpiece
These Stained Glass Cookies are a show-stopping addition to any dessert table, yet they are surprisingly simple to create. Starting with a classic sugar cookie base—tender enough to be delightful but firm enough to hold its shape—these festive treats get an incredible upgrade. The magic happens when melted hard candies fill their cut-out centers, transforming into vibrant, translucent “glass” as they cool. This stunning, stained-glass effect is sure to captivate and impress even the most discerning of guests, adding a touch of elegance and whimsy to your culinary creations.
While inherently perfect for the holiday season, these “church window” cookies are remarkably versatile. Their design can be easily adapted for various events and celebrations throughout the year. Imagine heart-shaped cookies with red centers for Valentine’s Day, vibrant yellow stars for a summer picnic, or spooky orange and black designs for Halloween. This adaptability makes them a fantastic alternative to traditional cookies, allowing you to infuse creativity and seasonal flair into your baking year-round.
Unleash your creativity and experiment with different shapes and colors to match any occasion! For the holiday season, consider delightful Christmas lights with multi-colored candies, charming snowmen with serene blue centers, elegant stars with glowing yellow, or festive Christmas trees featuring lush green centers. Each variation offers a unique way to celebrate and decorate with these charming cookies!
Why You’ll Adore This Stained Glass Cookie Recipe
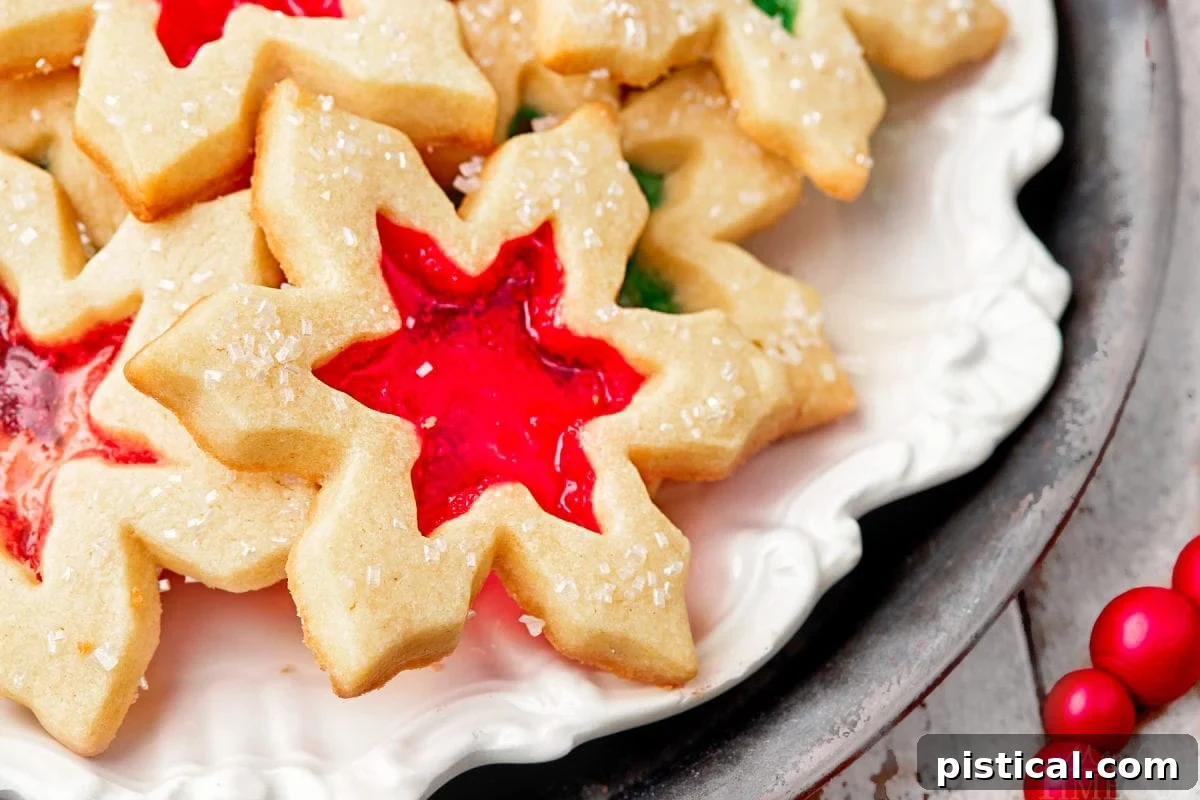
- Visually Stunning: These cookies are true works of edible art. The melted candy centers create a dazzling, translucent effect that looks incredibly intricate and professional, yet the process is wonderfully straightforward. They will undoubtedly be the star of your treat table, garnering compliments and admiration.
- Remarkably Versatile: Don’t feel confined to holiday themes! This innovative technique can be applied to countless shapes and colors, making these cookies perfect for any season or celebration. From spooky Halloween designs to cheerful spring motifs, the possibilities are endless, ensuring the fun of baking never stops.
- Easy to Master: Despite their sophisticated appearance, these cookies are surprisingly simple to make. The steps are easy to follow, making this an ideal baking project for both seasoned bakers and beginners looking to try something new and exciting.
- Delightfully Delicious: Beyond their beauty, these cookies offer a delightful sensory experience. The rich, buttery flavor of the sugar cookie perfectly complements the sweet, fruity crunch of the candy center, creating a unique texture and taste sensation that everyone will love.
- Perfect for Family Fun: Involve the kids in the baking process! Crushing candies and cutting out shapes are enjoyable activities that make for wonderful family memories, especially during the festive season. It’s a fantastic way to bond over baking and create something beautiful together.
More Must-Bake Christmas Cookies to Enhance Your Festive Spread
Planning an epic holiday baking session? These cookies are not only incredibly fun to make but also irresistibly delicious, promising to bring warmth and cheer to your festive table!
- Peppermint Shortbread Cookies: A refreshing twist on a classic, these shortbreads offer a cool minty kick.
- Peanut Butter Blossoms: The iconic peanut butter cookie topped with a chocolate kiss, a timeless favorite.
- Peppermint Snowball Cookies: Delicate, crumbly cookies dusted with powdered sugar and infused with festive peppermint.
- Cookie Empanadas: A unique and delightful cookie with a sweet filling, perfect for a special treat.
- Chewy Ginger Molasses Cookies: Rich, spicy, and wonderfully soft, these capture the essence of holiday flavors.
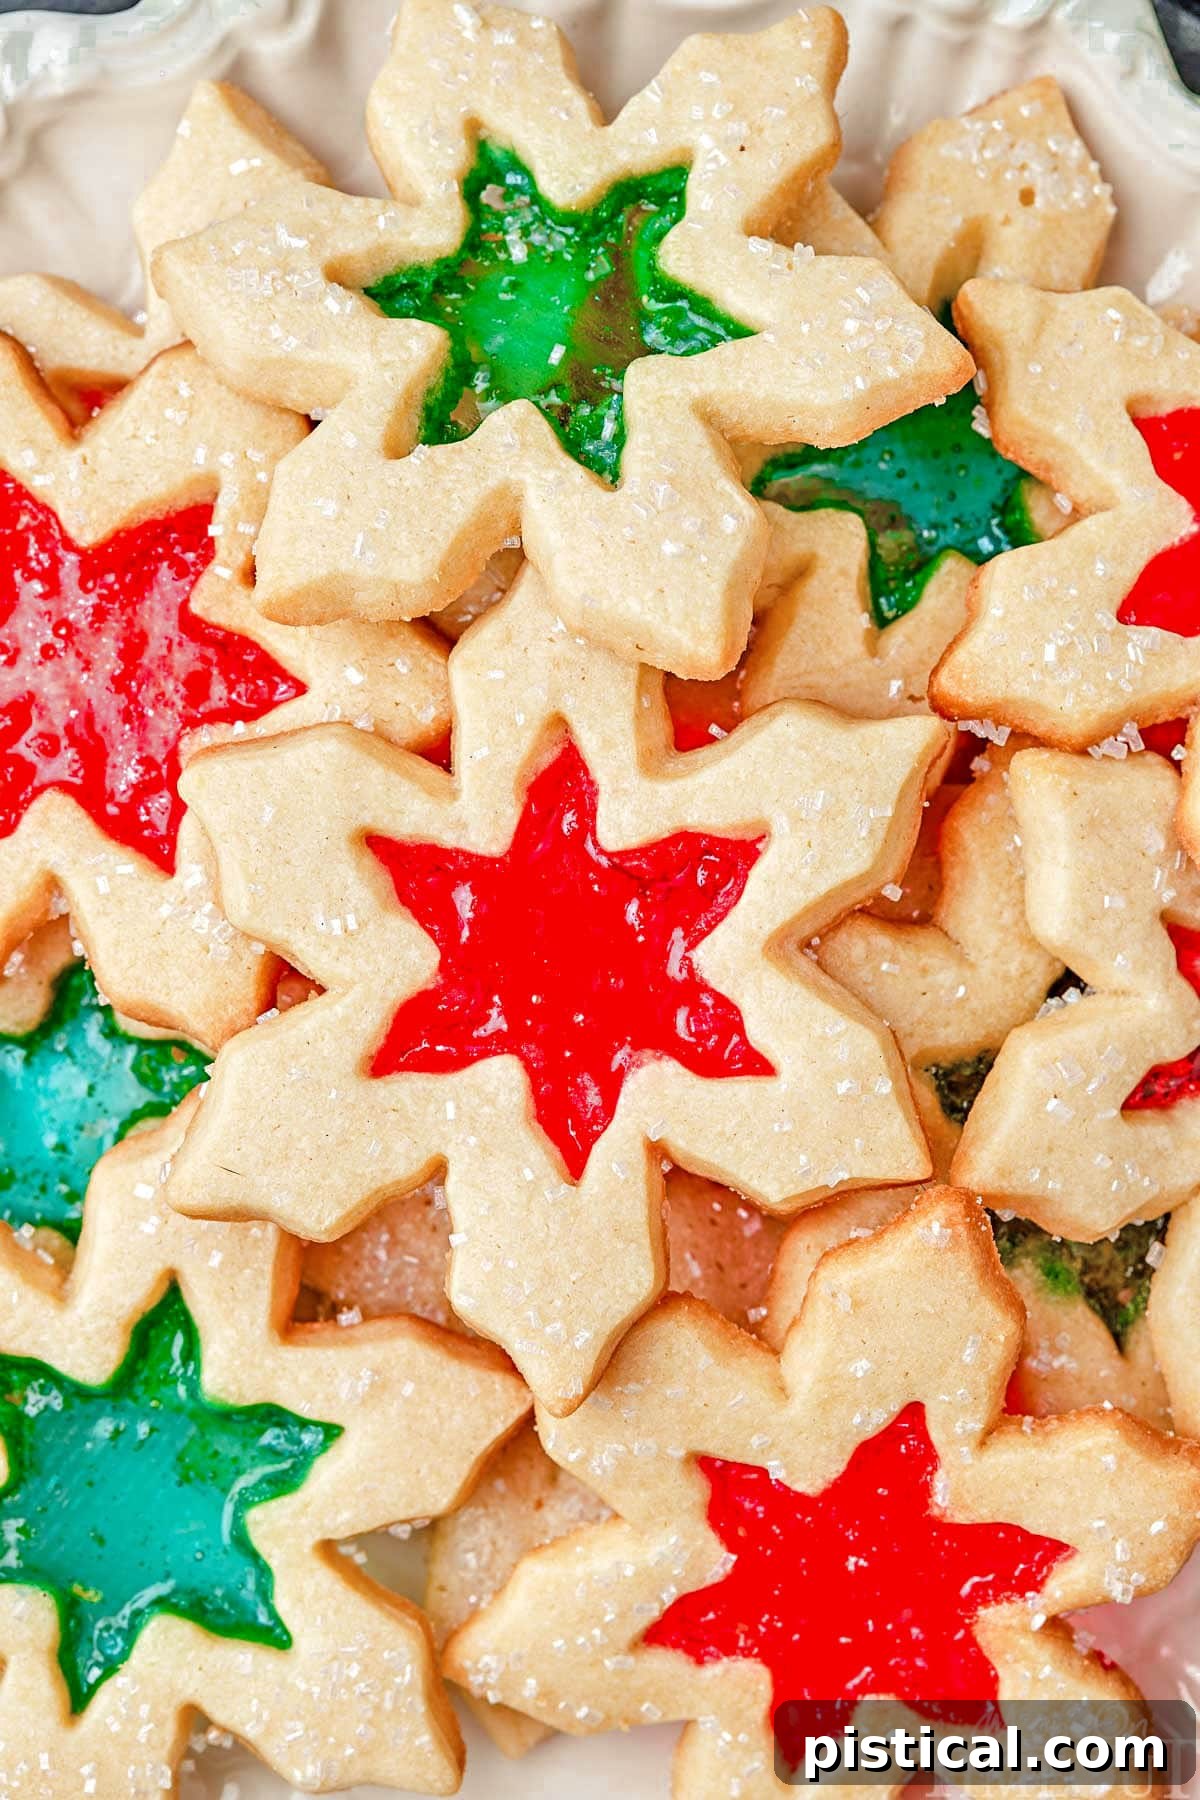
Essential Ingredients for Your Stained Glass Cookie Recipe
Creating these stunning stained glass cookies is not only fun but also requires just a few basic ingredients that come together to form pure magic! As always, you’ll find the complete printable recipe, along with detailed instructions, in the recipe card conveniently located at the end of this post. Let’s take a closer look at what you’ll need to gather:
For the Perfectly Buttery Sugar Cookies:
- Unsalted Butter: Ensure your butter is at room temperature. This is crucial for achieving a smooth, creamy mixture with the sugar, which in turn leads to a tender, well-textured cookie.
- Granulated Sugar: The essential sweetener for any classic sugar cookie! It provides the delightful sweetness and helps create that crisp edge.
- Vanilla and Almond Extract: These extracts infuse the cookies with a warm, complex, and incredibly delicious flavor profile. I particularly adore adding almond extract; it lends a sophisticated depth that will have everyone asking for your secret ingredient! Give it a try—you might just get hooked!
- Kosher Salt: A small dash of salt is vital to balance the sweetness and enhance all the other flavors in the cookie dough. Don’t skip it!
- Egg: You’ll need one large egg, also at room temperature. The egg acts as a binder, adding richness and helping to create that perfect cookie structure.
- All-Purpose Flour: This forms the structural backbone of your cookies. It’s important not to overmix the flour to keep your cookies tender.
- Baking Powder: The primary leavening agent in this recipe, baking powder helps your cookies achieve a slight lift and a soft, uniform texture.
For the Dazzling Stained Glass Effect:
- Jolly Rancher Hard Candies: Approximately 15 to 20 candies should be sufficient, separated by color. These vibrant candies melt beautifully and cool into a glossy, glass-like center, offering a burst of fruity flavor and stunning visual appeal. Feel free to choose your favorite colors!
- Sanding Sugar: (Optional) For an extra touch of sparkle and festive flair! Sprinkling this on your cookies as they cool will give them a glittering finish that enhances their magical appearance.
Step-by-Step Guide: How to Craft Your Own Stained Glass Cookies
Follow these simple steps to create a batch of stunning Stained Glass Cookies that are as delightful to look at as they are to eat!
Phase 1: Prepare the Irresistible Sugar Cookie Dough
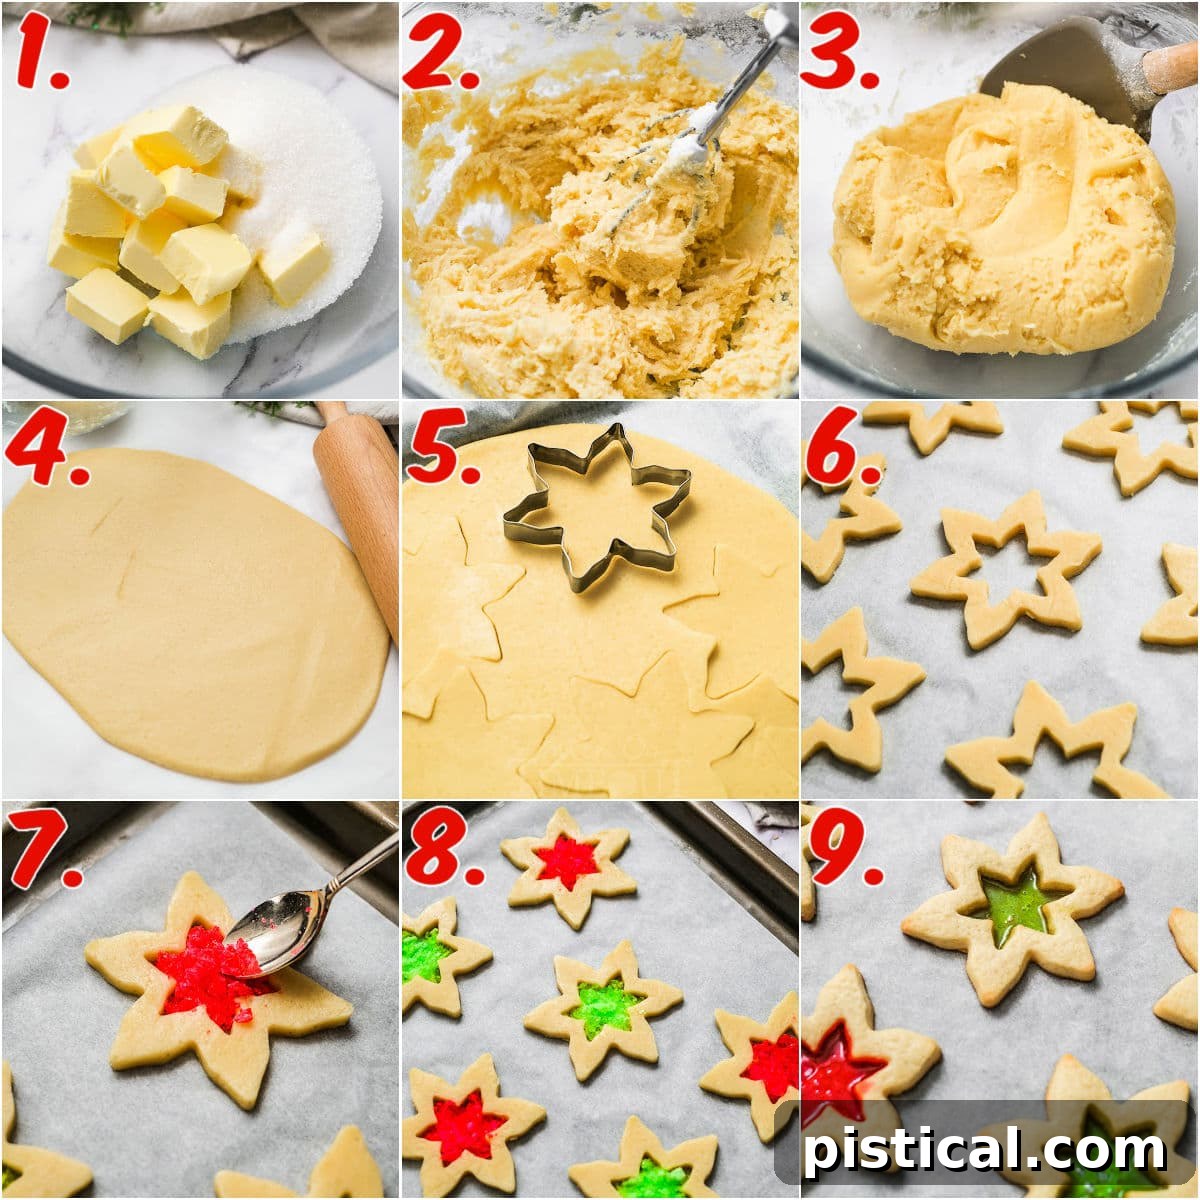
- Cream Together Butter and Sugar: In a large mixing bowl, using an electric mixer, beat the room temperature unsalted butter and granulated sugar together. Continue beating for about 3 minutes until the mixture becomes wonderfully light and fluffy. This aeration is key to a tender cookie.
- Incorporate Extracts and Salt: Add the vanilla extract, almond extract (if using), and kosher salt. Mix thoroughly until all ingredients are well combined, ensuring the flavors are evenly distributed.
- Add the Egg: Beat in the large, room temperature egg until it’s fully incorporated into the mixture. The dough should be smooth and cohesive.
- Gently Mix in Flour and Baking Powder: Gradually sift in the all-purpose flour, adding it about ½ cup at a time, along with the baking powder. Mix on low speed until the flour is just incorporated. Be careful not to overmix, as this can lead to tough cookies. Once combined, gently form the dough into a large ball, then divide it into two equal halves.
- Roll Out the Dough: Lightly flour your workstation or, for easier handling, line it with a piece of parchment paper. Take one half of the dough and roll it out evenly to a thickness of ¼ inch. Repeat this process with the second ball of dough. Rolling between parchment paper can prevent sticking and ensures uniform thickness.
- Chill the Dough: Carefully transfer the rolled-out dough, still on its parchment paper, onto baking sheets. Cover them tightly with plastic wrap to prevent drying. Refrigerate the dough for at least 2 hours. For best results and easier handling, you can even chill the dough overnight. This firming process is crucial for preventing spread during baking and achieving crisp, defined edges.
Phase 2: Cut Out Your Intricate Shapes
- Prepare for Baking: Once your dough is sufficiently chilled, remove it from the refrigerator. Preheat your oven to 350 degrees Fahrenheit (175°C). Line several baking sheets with silicone mats or fresh parchment paper and set them aside; this prevents sticking and ensures even baking.
- Select Your Cookie Cutters: Choose two cookie cutters of the same shape, but with slightly different sizes. For instance, a larger snowflake cutter and a smaller snowflake cutter. I personally love snowflake designs for their festive appeal, but feel free to select any shape that inspires you or suits your event. The largest cutter should be approximately 2-3 inches in size to provide enough space for the candy center.
- Cut Out Cookie Shapes: Use the larger cookie cutter to cut out the initial, outer shape from your chilled dough. Then, take the smaller cookie cutter and carefully cut out the center of each cookie, creating a window. Gently remove the small dough centers (these can be re-rolled with scraps or baked as mini cookies). Place the hollowed-out cookie shapes onto your prepared baking sheets, ensuring you leave about 2 inches of space between each cookie. This generous spacing allows for slight expansion during baking without them merging together.
- Repeat and Re-Roll: Continue these cutting steps until you have used all of your dough. If your dough starts to become soft, sticky, or difficult to handle at any point, gather the scraps, form them into a ball, and re-chill them in the freezer for about 5 to 10 minutes until the dough firms up again. This ensures clean cuts and prevents your cookies from losing their shape.
Phase 3: Add the Colorful Candy Center
- Prepare the Hard Candies: Begin by sorting your Jolly Ranchers or other hard candies by color. For a classic holiday look, I recommend red and green, but feel free to use your personal favorites! Unwrap each candy and place each color into its own separate Ziploc bag. Using a rolling pin or a sturdy kitchen object, gently but firmly beat the candies until they are crushed into small, granular pieces. You want them fine enough to melt smoothly, but not powdered.
- Fill the Cookie Centers: Carefully spoon a small amount of the crushed candy into the center cutout of each cookie. It’s crucial not to overfill; you want just enough candy to create a thin layer that will spread evenly when melted, preventing it from bubbling over the edges. A teaspoon is usually the right amount, but adjust based on the size of your cookie cutouts.
Phase 4: Bake and Savor Your Creations
- Bake to Perfection: Place your baking sheets in the preheated oven and bake the cookies for approximately 12 to 15 minutes. The baking is complete when the hard candies have completely melted and become smooth and glossy, and the edges of the sugar cookies show just a hint of golden color. Keep a close eye on them to prevent over-browning.
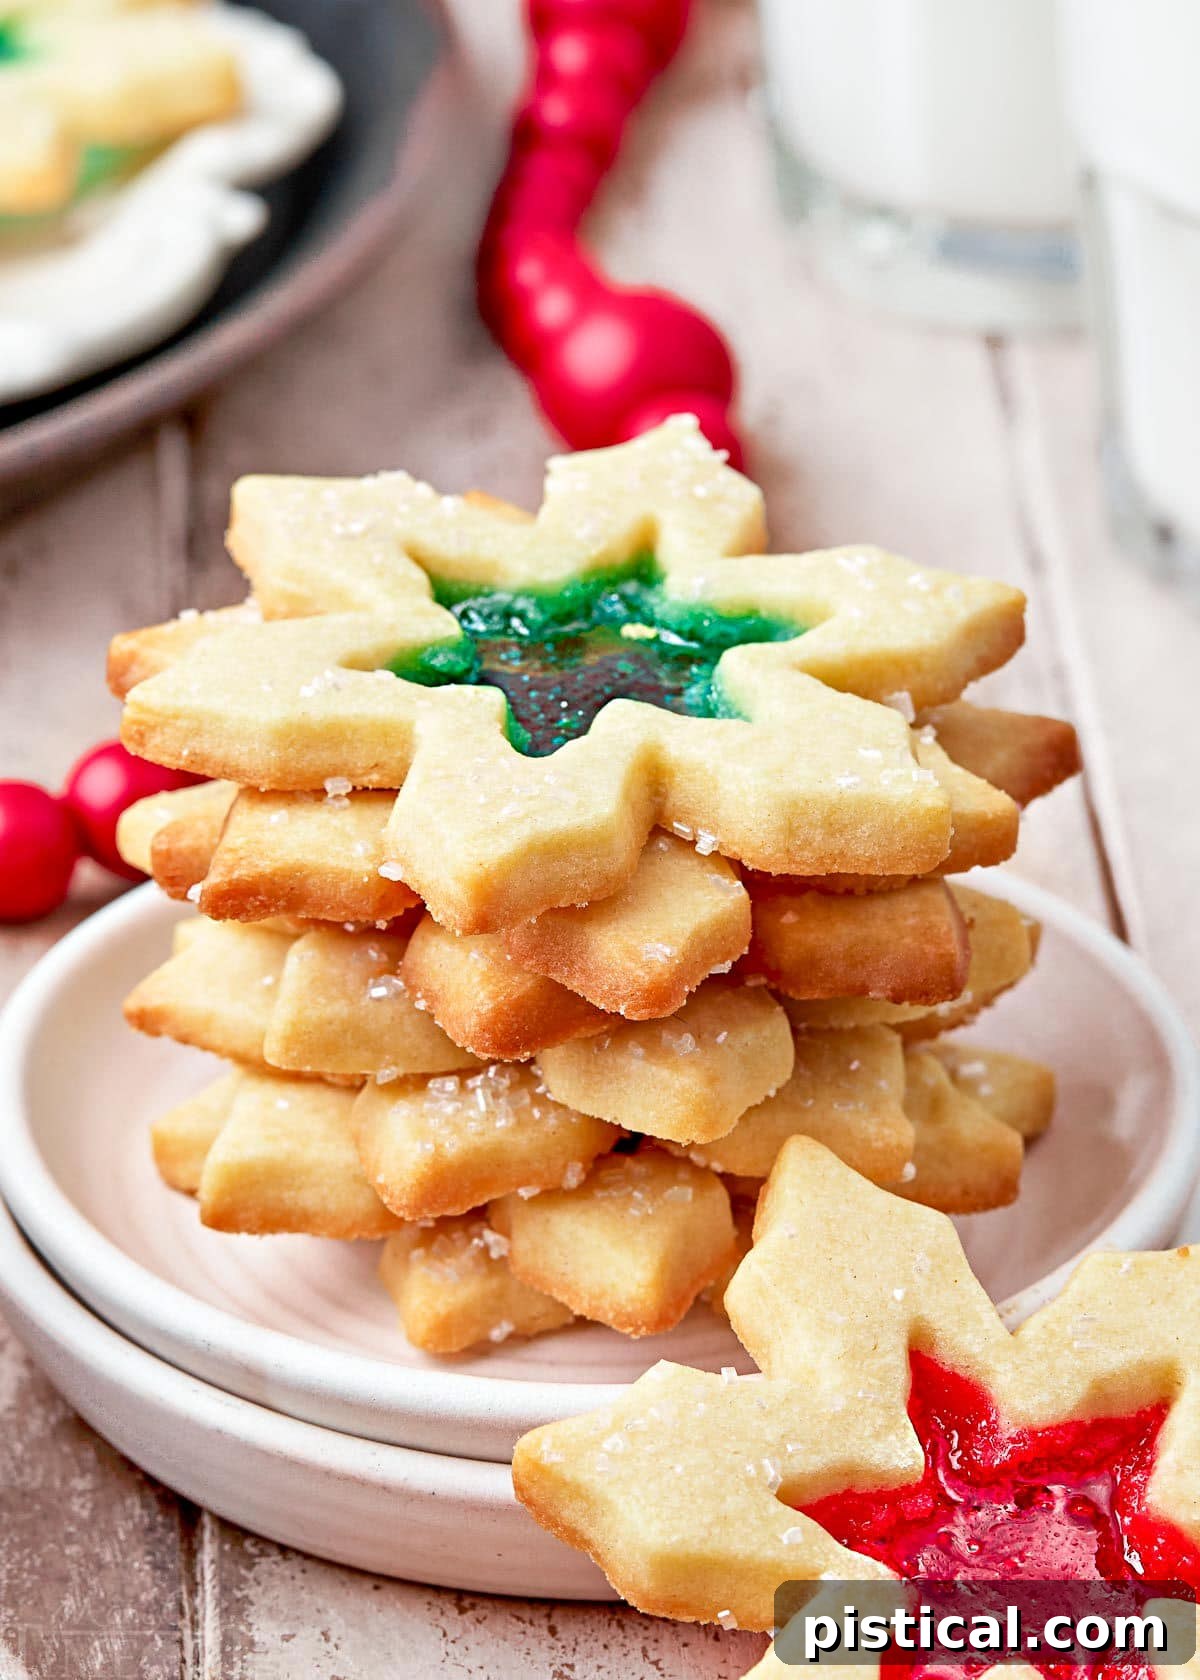
- Cool and Decorate: Once baked, carefully remove the cookies from the oven. Allow them to cool undisturbed on the baking sheets for about 10 minutes. This crucial cooling period allows the melted candy to set properly and solidify into its beautiful “stained glass” form. While they are still warm, but setting, you can optionally sprinkle them with sanding sugar or additional festive sprinkles for an extra touch of sparkle.
- Final Cooling and Serving: After the initial cooling period on the baking sheet, gently transfer the cookies to a wire rack to cool completely. Once fully cooled, the candy centers will be firm and glassy. Serve these gorgeous Stained Glass Cookies and enjoy the admiring glances and delicious flavors!
Storage and Freezing Information for Stained Glass Cookies
To keep your beautiful stained glass cookies fresh and delicious, proper storage is key.
Store any leftover cooled stained glass cookies in an airtight container at room temperature. They will remain wonderfully fresh and flavorful for 3 to 5 days. If you wish to extend their longevity, you can transfer the airtight container to your refrigerator, where they will stay good for up to a week. Ensure they are completely cool before storing to prevent condensation.
To Freeze Baked Cookies: These cookies freeze exceptionally well! Once your cookies have completely cooled and the candy centers are firm, place them in a single layer on a baking sheet and flash freeze for about 30 minutes to prevent them from sticking together. Then, transfer the frozen cookies to a freezer-safe airtight container or a heavy-duty freezer bag, ensuring they are well-protected from freezer burn. They can be stored for up to a month. When you’re ready to enjoy them, simply thaw the cookies to room temperature on a wire rack for about an hour or two. You’ll find they taste just as fresh as the day they were baked!
To Freeze Cookie Dough in Advance: For ultimate convenience, you can prepare the cookie dough ahead of time. After mixing all the ingredients as directed in the recipe, form the dough into a disc or log. Wrap it tightly in plastic wrap, then place it in an airtight, freezer-safe Ziploc bag or container. Freeze the unbaked dough for up to 1 month. When you’re ready to bake, transfer the frozen dough to the refrigerator and allow it to thaw overnight. Once thawed, proceed with the recipe as directed, rolling out and cutting the shapes. This is a fantastic way to get a head start on your holiday baking or to have dough ready for an impromptu treat!
Stained Glass Cookie FAQs: Your Questions Answered
Absolutely! The holiday season can be a whirlwind of activities, and often a last-minute treat is needed. Don’t worry, this sugar cookie dough is perfect for making in advance. Simply combine all the ingredients as specified in the recipe, then shape the unbaked dough into a disc or log. Wrap it tightly in plastic wrap and store it in a freezer-safe container or bag. You can freeze the dough for up to a month. When you’re ready to bake, just thaw the dough to room temperature in the refrigerator overnight, then roll, cut, and bake as instructed. This foresight will save you precious time!
Of course! The beauty of these cookies lies in their adaptability. For the winter holidays, consider using festive shapes like Christmas lights, charming snowmen with serene blue candy centers, elegant stars, or classic Christmas trees filled with vibrant green candies. Beyond the holidays, let your imagination run wild! Try heart shapes with rich red centers for Valentine’s Day, cheerful eggs for Easter, lucky shamrocks for St. Patrick’s Day, or spooky pumpkins with yellow centers for Halloween. Feel free to get incredibly creative with both the cookie cutter shapes and the colors of your hard candies to match any theme or season!
While Jolly Ranchers are highly recommended due to their vibrant colors and consistent melting properties, most fruity, hard candies will work well. Just ensure they are free of any creamy centers or chewy components, as these won’t melt into a clear, glass-like finish. Experiment with different brands to find your favorite!
There are a few reasons this might happen. Ensure your candies are crushed into small, uniform pieces; larger chunks may not melt evenly. Also, avoid overfilling the centers, as too much candy can lead to bubbling or an opaque finish. Lastly, ensure your oven temperature is accurate; sometimes a slightly lower temperature can cause candy to set unevenly. If it looks bubbly, let it cool completely; sometimes the clarity improves as it sets.
Chilling your dough sufficiently is the most critical step. Ensure the dough is thoroughly chilled (at least 2 hours, or overnight) before rolling and cutting. If your kitchen is warm, or if the dough becomes too soft while you’re working, place the cut cookies on the baking sheet into the refrigerator or freezer for 10-15 minutes before baking. Cold dough holds its shape much better in the oven.
Trish’s Expert Tips and Clever Tricks for Perfect Stained Glass Cookies
- If your cookies are spreading more than desired during baking, it’s a clear sign that your dough has become too warm. To remedy this, simply chill your cut cookie shapes on the baking sheets in the refrigerator for an extra 10 to 15 minutes before placing them in the oven. This helps the butter firm up, preventing excessive spread.
- It’s crucial to avoid overfilling the candy centers of your cookies. Adding too much crushed candy can cause it to bubble up excessively or even spill over the edges during baking, ruining the clean “stained glass” effect. A single teaspoon is often the perfect amount for most cookie sizes.
- Embrace the versatility of this recipe! You can use this very same technique for holidays and celebrations throughout the entire year. The trick is to simply change the cookie cutter shape and perhaps the colors of your hard candies. Imagine charming hearts with ruby-red centers for Valentine’s Day, or playful jack-o’-lanterns with glowing yellow candy cutouts for the eyes and mouth at Halloween. The possibilities are endless!
- While Jolly Ranchers are suggested for their vibrant colors and consistent melting, any hard, fruity candies will work beautifully in this recipe. Just make sure they don’t have creamy fillings or chewy textures that won’t melt clear.
- The addition of sanding sugar is truly just there to impart an extra sparkle and festive shimmer to your cookies. If you don’t have any on hand, don’t fret; your cookies will still be absolutely stunning. Alternatively, if you wish to add a different dimension of decoration, regular sprinkles can be a fun substitute, applied while the cookies are still warm.
- Remember that chilled dough is always the easiest to work with. If you find your dough becoming sticky, soft, or difficult to manage while you’re rolling or cutting, simply place it back in the refrigerator for 5 to 10 minutes, or until it regains its firm, workable consistency.
- A fantastic tip for effortlessly rolling out dough without any sticking is to roll it between two pieces of parchment paper. This method not only prevents the dough from adhering to your work surface or rolling pin but also ensures an even thickness and makes for easy transfer to baking sheets.
More Festive Christmas Cookie Ideas You’ll Love to Bake
Expand your holiday baking repertoire with these irresistibly festive Christmas cookie recipes. Each one promises to add a special touch to your celebrations!
- Grinch Cookies: Fun, vibrant, and perfectly whimsical for the holidays.
- Chocolate Crinkle Cookies: Rich, fudgy, and beautiful with their powdered sugar crackles.
- Kolaczki (Polish Cookies): Delicate, flaky pastries with a sweet fruit or nut filling, a true European classic.
- Peppermint Snowball Cookies: Melt-in-your-mouth cookies with a refreshing peppermint kick and a snowy powdered sugar coating.
- Coconut Macaroons: Chewy on the inside, crispy on the outside, and delightfully coconutty.
- Almond Joy Cookies: Inspired by the popular candy bar, these are a quick and easy coconut-almond-chocolate treat.
- Cranberry Orange Shortbread Cookies: A zesty and festive shortbread with the perfect balance of sweet and tart.
- Coconut Macaroon Blossoms: A creative spin on macaroons, often topped with a chocolate kiss.
Stained Glass Cookies Recipe Card
Stained Glass Cookies
Ingredients
For the Sugar Cookies
- 16 tablespoons unsalted butter room temperature
- ¾ cup granulated sugar 150 grams
- 1 teaspoon vanilla extract
- 1 teaspoon almond extract or more vanilla extract
- ¼ teaspoon kosher salt
- 1 large egg room temperature
- 2 ¼ cups all-purpose flour 300 grams
- ½ teaspoon baking powder
For the Stained Glass
- 20 Jolly Rancher hard candies separated by color
- sanding sugar
Instructions
- In a large mixing bowl with an electric hand mixer or a stand mixer fitted with the paddle attachment, beat together the butter and sugar until light and fluffy, about 3 minutes.
- Beat in the vanilla extract, almond extract and kosher salt.
- Add in the egg and mix until combined.
- Slowly add in the flour in about ½ cup at a time until incorporated – do not overmix. Form dough into a ball and divide in half.
- Line the countertop or work surface with a sheet of parchment paper. Place half of the dough onto the parchment and roll out to ¼ inch thick. Repeat with the remaining half of the dough.
- Place parchment and dough onto large baking sheets and cover with plastic wrap. Refrigerate for at least 2 hours (or overnight).
- Preheat the oven to 350°F. Line two large baking sheets with parchment paper or a silicone baking mat. Set aside.
- Grab two cookie cutters that are the same shape but slightly different sizes with the largest being about 2 to 3 inches in size.
- Use the large cookie cutter to carefully cut out a cookie from the dough. Now use the smaller cutter to cut out the center. Remove the center and place on the prepared baking sheet, leaving about an inch or two in between the cookies.
- Repeat until you run out of dough, re-rolling the dough when necessary. If the dough softens and gets sticky or the cutout shapes become difficult to handle, gather the remaining dough, form into a ball and roll out flat. Cover with plastic wrap and freeze for 5 to 10 minutes or until the dough is firm enough to handle.
- Sort the jolly ranchers by color. Unwrap and place each color in a separate ziploc bag. Gently beat with a rolling pin until the candies are finely crushed.
- Spoon a small amount into the center of each cookie, do not overfill. Just enough to fill the space, about a teaspoon but it will depend on the size of your cookies.
- Bake for 12 to 15 minutes, or until the jolly ranchers have completely melted and the edges of the cookies have just a hint of color.
- Remove cookies from the oven and cool on the baking sheet for about 10 minutes.
- Gently transfer the cookies to a wire rack and allow to cool completely before serving.