
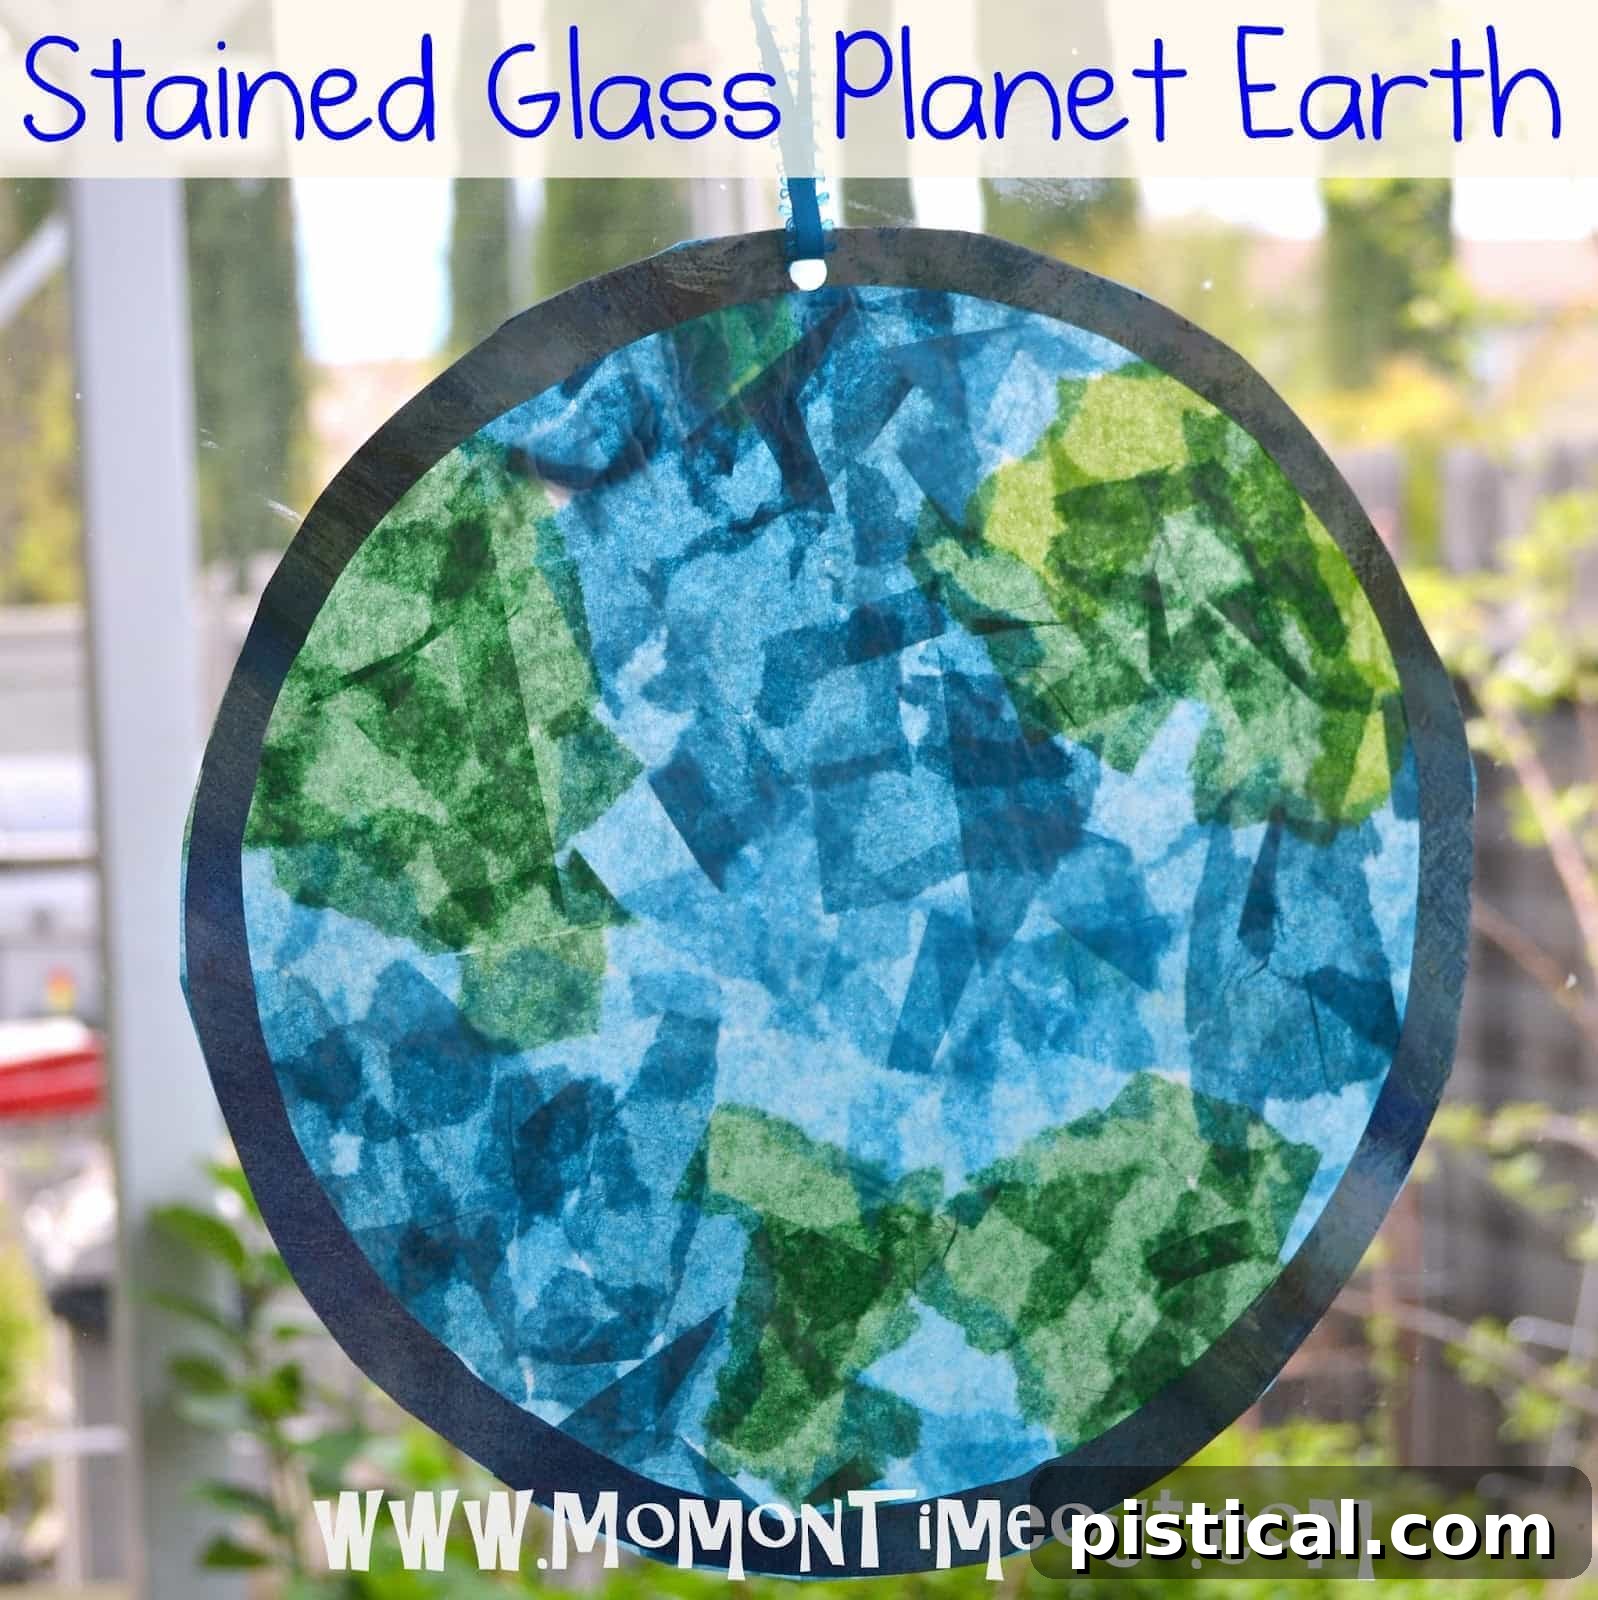
Vibrant & Eco-Friendly: Crafting a Stained Glass Earth for Earth Day!
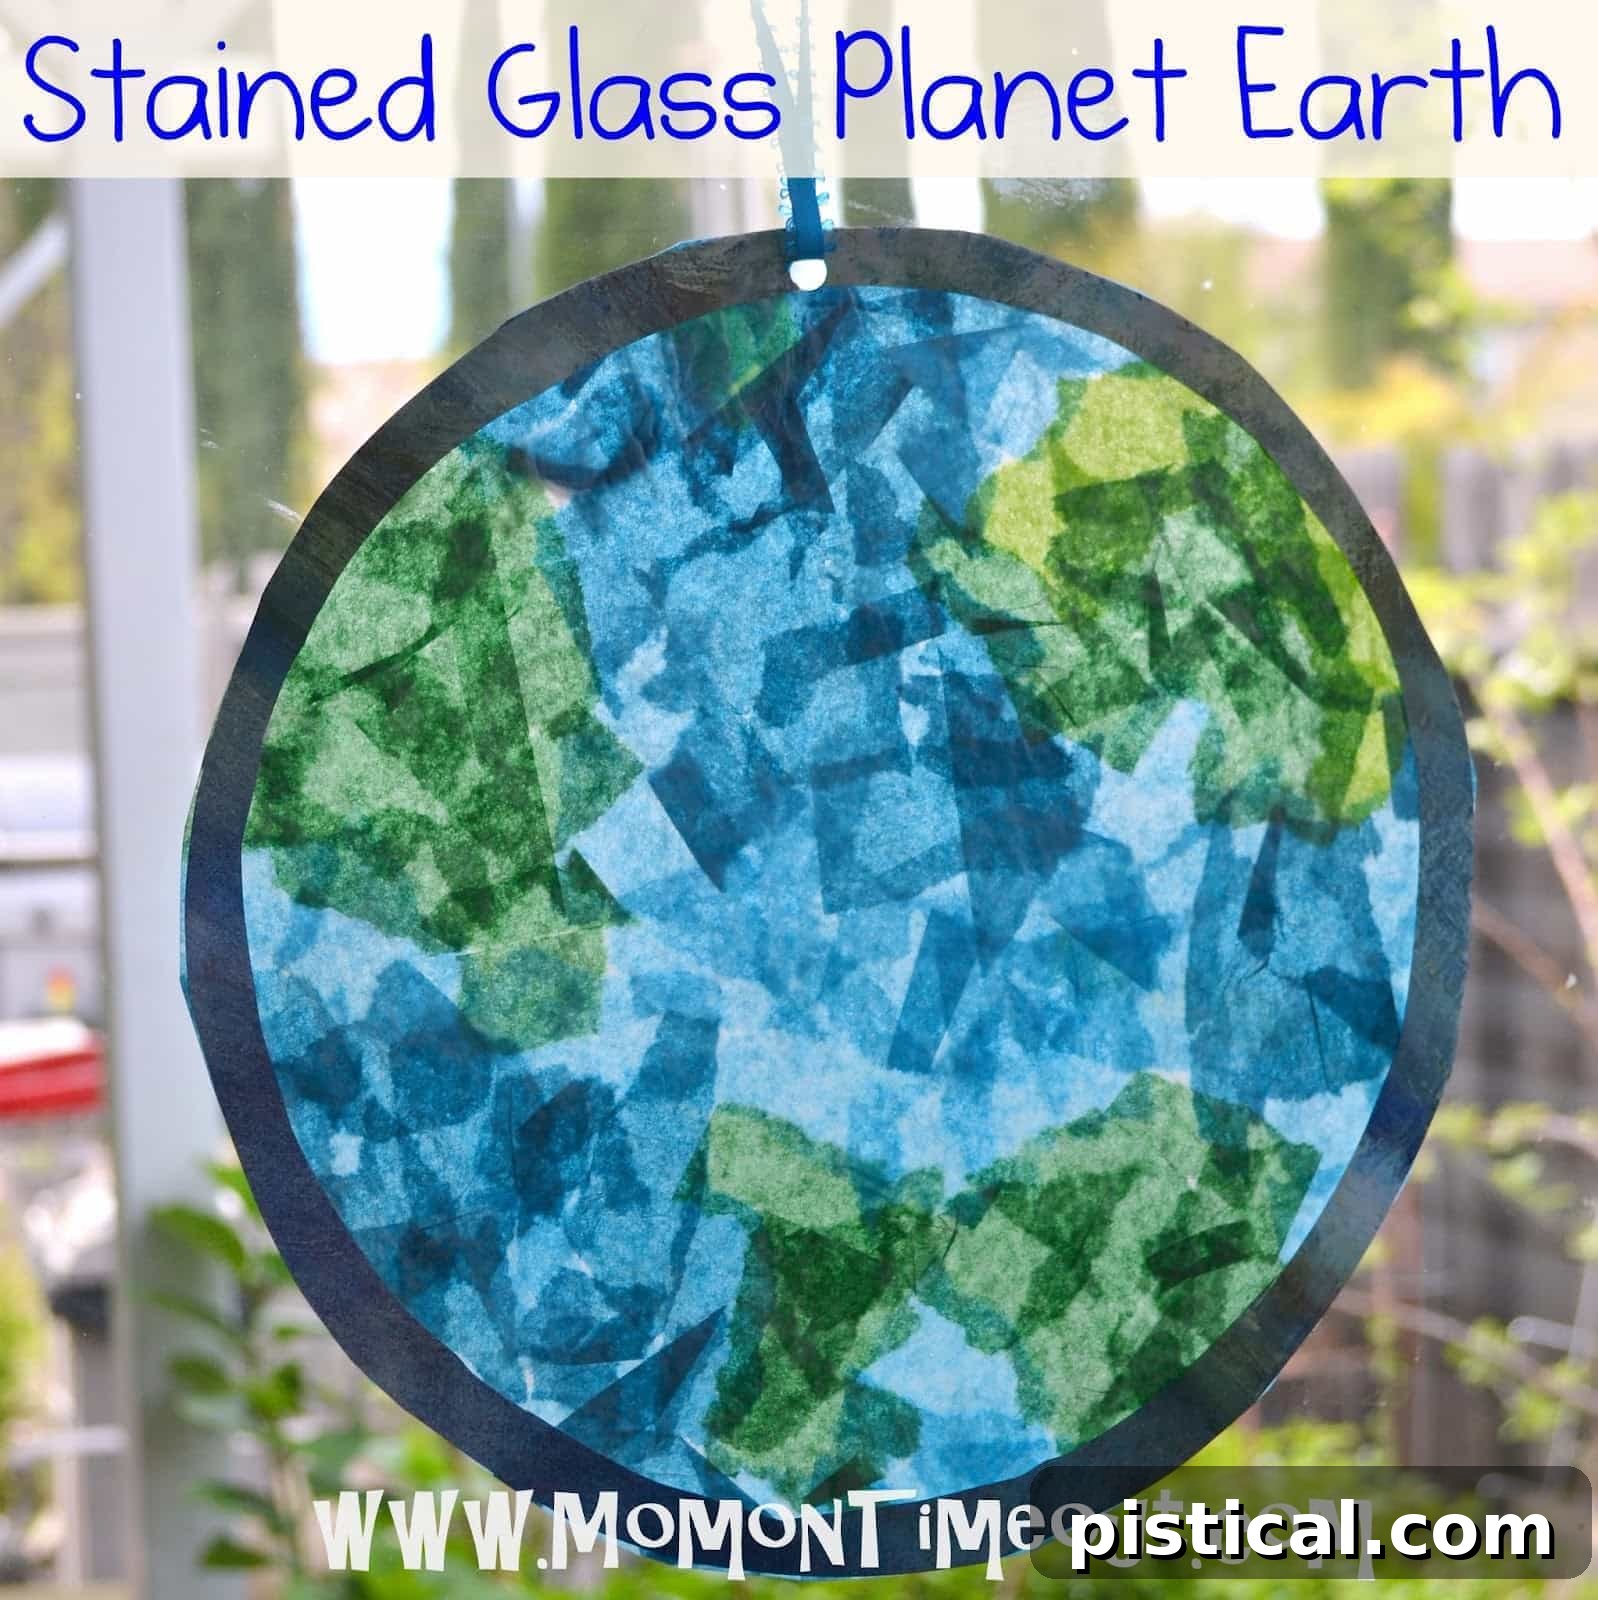
Earth Day is a special occasion, a global reminder of the incredible planet we call home and our shared responsibility to protect it. There are countless meaningful ways to observe this day, from participating in community clean-ups to learning more about environmental conservation. For families, engaging children in hands-on activities is a fantastic method to instill a sense of appreciation and curiosity for our world. Today, we’re thrilled to share a delightful and visually stunning Stained Glass Earth craft – a perfect Earth Day activity for kids that combines creativity with an important message. This project is not only fun but also a wonderful opportunity to discuss the unique beauty of our planet.
Why Choose This Stained Glass Earth Craft?
This beautiful DIY Earth Day craft stands out for several reasons, making it an ideal project for parents, educators, and children alike. First, it’s incredibly accessible, requiring only a few common household materials. This means you likely already have most of what you need, making it a spontaneous and budget-friendly option for your Earth Day celebrations.
Secondly, the process itself offers numerous developmental benefits for children. Tearing tissue paper, for instance, is excellent for developing fine motor skills and hand-eye coordination. Arranging the pieces encourages creativity, spatial awareness, and a basic understanding of shapes and colors. As kids work on creating their miniature Earth, they naturally engage with the concept of continents and oceans, sparking conversations about geography and the environment. You can guide them to place green pieces for landmasses and blue for water, or let their imaginations run wild with abstract interpretations of our planet. The beauty of this kids’ Earth Day craft lies in its flexibility – there’s no right or wrong way to represent our diverse world.
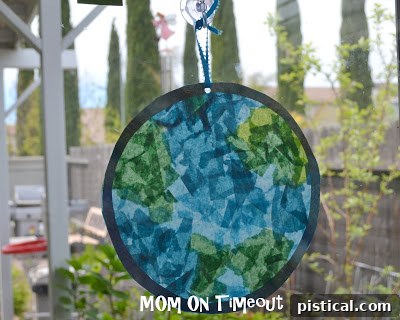
Moreover, the finished product is truly mesmerizing. When illuminated by natural light, the vibrant tissue paper mimics the look of stained glass, creating a dazzling display that can brighten any window or room. This allows children to take immense pride in their creation, transforming a simple craft into a cherished piece of art that serves as a constant reminder of Earth’s beauty. It’s a wonderful alternative to typical paper crafts, offering a unique sensory experience with the translucent tissue paper and the subtle sheen of wax paper.
The best part? This craft encourages resourcefulness. We often save materials like tissue paper from gift bags, and this project provides a perfect opportunity to give them a second life, subtly reinforcing the principles of recycling and mindful consumption – key messages for Earth Day.
Materials You’ll Need for Your Stained Glass Earth
Gathering your supplies for this enchanting project is simple. Here’s what you’ll need to create your very own stained glass masterpiece:
- Green and Blue Tissue Paper: Having a variety of shades in both colors will add depth and realism to your Earth. Consider light and dark greens for forests and deserts, and different blues for oceans and seas. Recycled tissue paper from gift bags is perfect for this project!
- Wax Paper: This forms the base of your stained glass effect. Its translucent quality is essential for allowing light to shine through your design.
- Craft Glue: A standard white school glue or clear craft glue works wonderfully. Look for non-toxic options, especially when crafting with young children.
- Paper for the Frame: Any sturdy paper like cardstock or construction paper will do. White, black, or even brown paper can create a nice contrast.
- Scissors: For cutting the wax paper and the paper frame.
- Circular Templates: Bowls or plates of varying sizes (one slightly larger than the other) will help you create a perfectly round Earth and its frame.
- Optional: A hole punch and string for hanging, or tape for window display.
Step-by-Step Guide: Creating Your Stained Glass Earth
Step 1: Prepare Your Tissue Paper Pieces
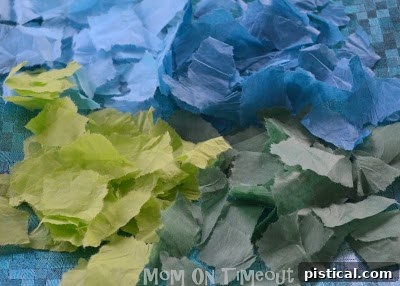
Begin by having the children tear the green and blue tissue paper into small, irregular pieces. Encourage them to make the pieces as small as possible, as this will allow for more intricate details and a smoother stained glass appearance. Tearing, rather than cutting, adds to the organic feel of the craft and helps develop fine motor skills. We used a couple of shades of green and blue to give our Earth more visual interest, mimicking the diverse ecosystems and depths of our planet’s oceans. This is also a fantastic opportunity to discuss the concept of recycling; if you have saved tissue paper from previous gifts, now is the perfect time to give it a new purpose!
Step 2: Set Up Your Wax Paper Base
Tear off a piece of wax paper that is roughly double the desired width of your finished Earth craft. For example, if you want your finished Earth to be 7 inches wide, you’ll need a piece of wax paper about 14 inches wide. Fold this piece of wax paper in half. Now, open it up and lay it flat. On one half of the wax paper, spread a thin, even layer of craft glue. You don’t need an excessive amount of glue; just enough to make the surface tacky and allow the tissue paper to adhere smoothly. A thin layer prevents bubbles and ensures a clean finish.
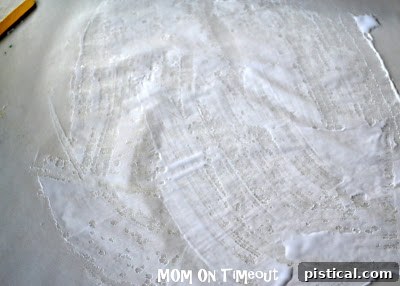
Step 3: Create Your Earth Design
Before starting, it can be helpful to show the children an image of Earth from space. This provides a visual reference for the arrangement of continents (green) and oceans (blue). Now, let them begin placing the torn tissue paper pieces onto the glue-covered half of the wax paper. Encourage them to overlap the pieces slightly to create a rich, layered effect. The goal isn’t to create a perfectly anatomically correct map, but rather an artistic representation of our planet. This fosters creativity and allows for individual expression. Guide them to use predominantly blue for the “oceans” and green for the “landmasses,” but emphasize that unique shapes and abstract patterns are perfectly fine and even encouraged! This step is where the magic of the “stained glass” effect truly begins to take shape.
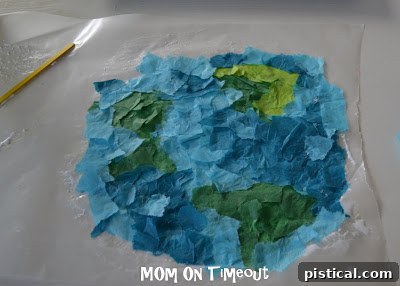
Step 4: Seal Your Stained Glass Earth
Once your child is happy with their tissue paper arrangement, apply another thin layer of glue to the remaining empty half of the wax paper. Carefully fold this glue-covered half over the tissue paper design. Press down gently but firmly, smoothing out any air bubbles or wrinkles with your hands. This step seals the tissue paper between two layers of wax paper and glue, creating the durable, translucent “stained glass” effect. Allow the project to dry completely. Drying time may vary depending on the amount of glue used, but typically a few hours to overnight should suffice. Ensure it’s laid flat to dry to prevent warping.
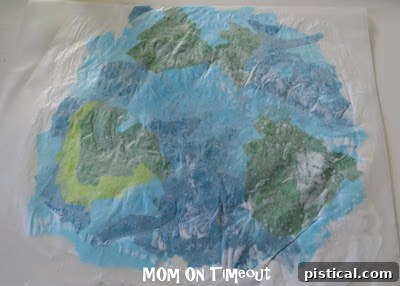
Step 5: Create the Earth’s Frame
While your stained glass masterpiece is drying, you can prepare the frame. Take a piece of cardstock or construction paper. Using a bowl, plate, or any circular object as a template, trace and cut out a perfect circle. This will be the outer edge of your Earth. To create the frame itself, use a slightly smaller circular object (like a smaller bowl or a lid) to trace a concentric circle inside the first one. Cut out the inner circle, leaving you with a thin, circular paper frame. This frame will give your Earth a polished, finished look, much like a globe or an illustration. The thickness of your frame can be adjusted based on the size of your craft and your aesthetic preference.
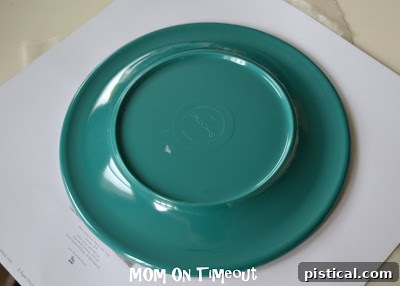
Step 6: Assemble the Frame
Once your wax paper and tissue paper creation is completely dry, apply a thin line of glue around the outer edge of your prepared paper frame. Carefully place the frame onto your stained glass Earth, centering it neatly. Gently press down to ensure the frame adheres firmly to the wax paper. The frame helps define the circular shape of the Earth and adds a professional touch to your handmade artwork.
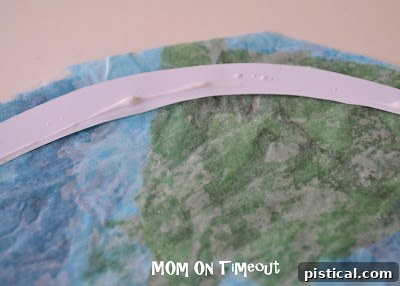
Step 7: Trim and Perfect
With the frame securely in place, use your scissors to carefully trim any excess wax paper from around the outside edge of the frame. This step ensures a clean, neat finish for your Stained Glass Earth. Take your time during this step to achieve a smooth, perfect circle, although a slightly imperfect edge adds to the charm of a handmade project!
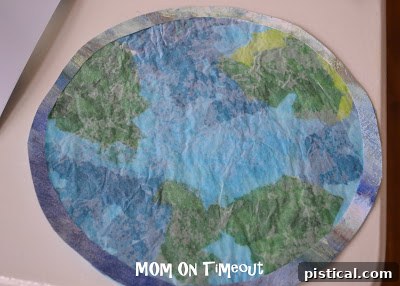
Step 8: Display Your Beautiful Earth!
Your stunning Stained Glass Earth is now complete! To display it, you have a couple of options. You can punch a small hole at the top of the frame and thread a piece of string or ribbon through it to hang it. Alternatively, simply use a piece of tape to adhere it directly to a window or glass door. The magic truly happens when sunlight streams through the tissue paper, illuminating the vibrant blues and greens and creating a beautiful “stained glass” effect that will mesmerize children and adults alike. It’s a gorgeous way to remind everyone of the beauty of our planet and the importance of Earth Day.
Educational Benefits and Discussion Points for Earth Day
Beyond the joy of crafting, this Stained Glass Earth project offers a fantastic springboard for educational discussions about our planet. As your children are creating, talk about:
- Geography: Point out different continents and oceans on a globe or map. Discuss what makes each unique.
- Ecology: Talk about the importance of green spaces (forests, parks) and clean water (oceans, rivers). Why are they important for life on Earth?
- Environmental Stewardship: Introduce simple concepts like recycling, reducing waste, and conserving energy. How can we all contribute to protecting our planet?
- Colors of Earth: Discuss why Earth looks blue from space (water) and green/brown (land).
This craft provides a tangible, visual representation of Earth that can help young minds grasp abstract concepts related to our environment. It’s a powerful tool for teaching Earth Day activities for the family and fostering a lifelong love and respect for nature.
More Earth-Friendly Fun & Stained Glass Inspiration!
Looking for more engaging activities to celebrate Earth Day or simply enjoy the beauty of stained glass crafts? Here are some additional ideas and related projects to keep the creativity flowing:
20 Fun Earth Facts for Earth Day
Stained Glass Rainbows Craft
Stained Glass Cross Craft
Simple Earth Day Activities for the Family
Final Thoughts on Your Earth Day Crafting Journey
This Stained Glass Earth craft is more than just an art project; it’s an educational tool, a moment for connection, and a beautiful symbol of our commitment to Earth. By engaging in simple, creative activities like this, we can foster a deeper appreciation for our planet in the next generation. So gather your supplies, invite your little crafters, and embark on a colorful journey to create a stunning piece of art that celebrates Earth Day in a truly unique way. Let the light shine through your handmade Earth, reminding everyone of the vibrant beauty we must protect. Happy Earth Day and happy crafting!

Connect with us and share your creations!
We’re always linking up and finding inspiration at amazing places like
our favorite link parties,
Home Stories A2Z,
Savvy Southern Style,
Serenity Now, and
My Repurposed Life.