

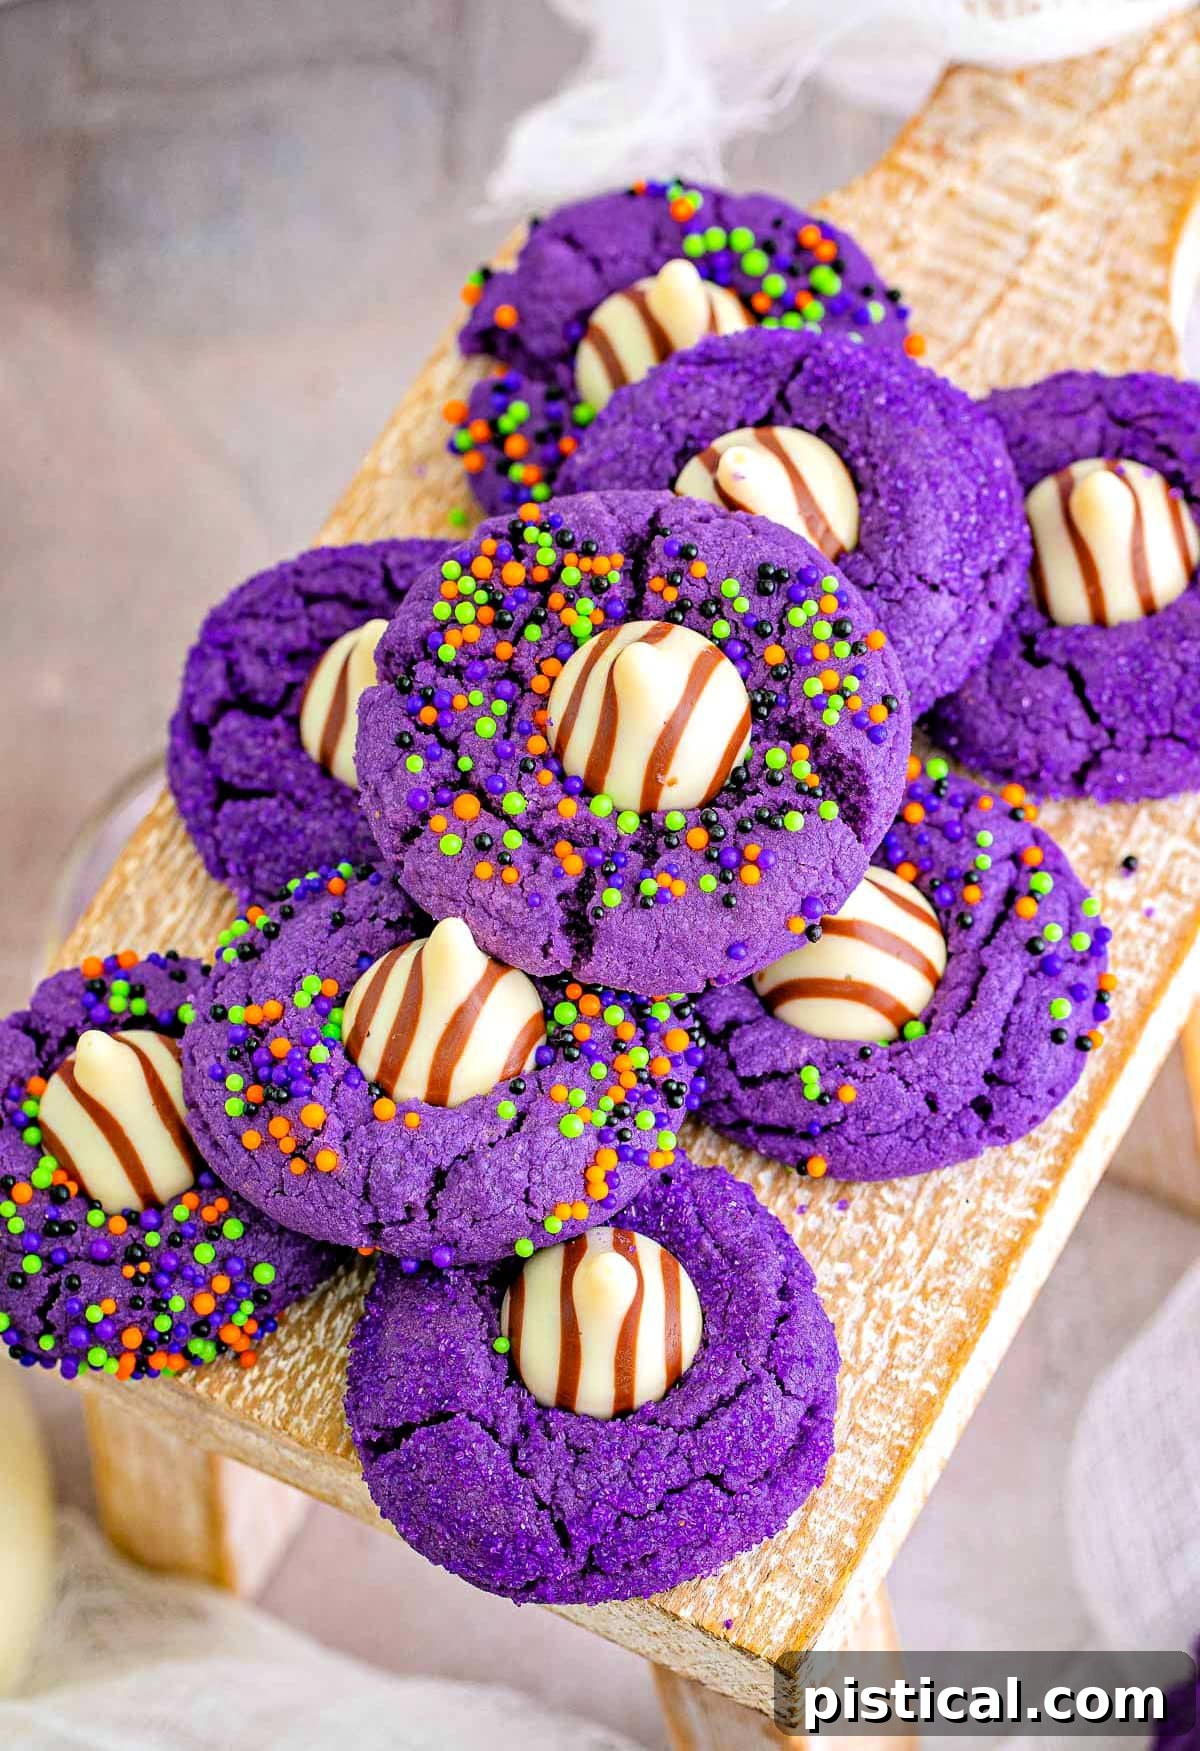
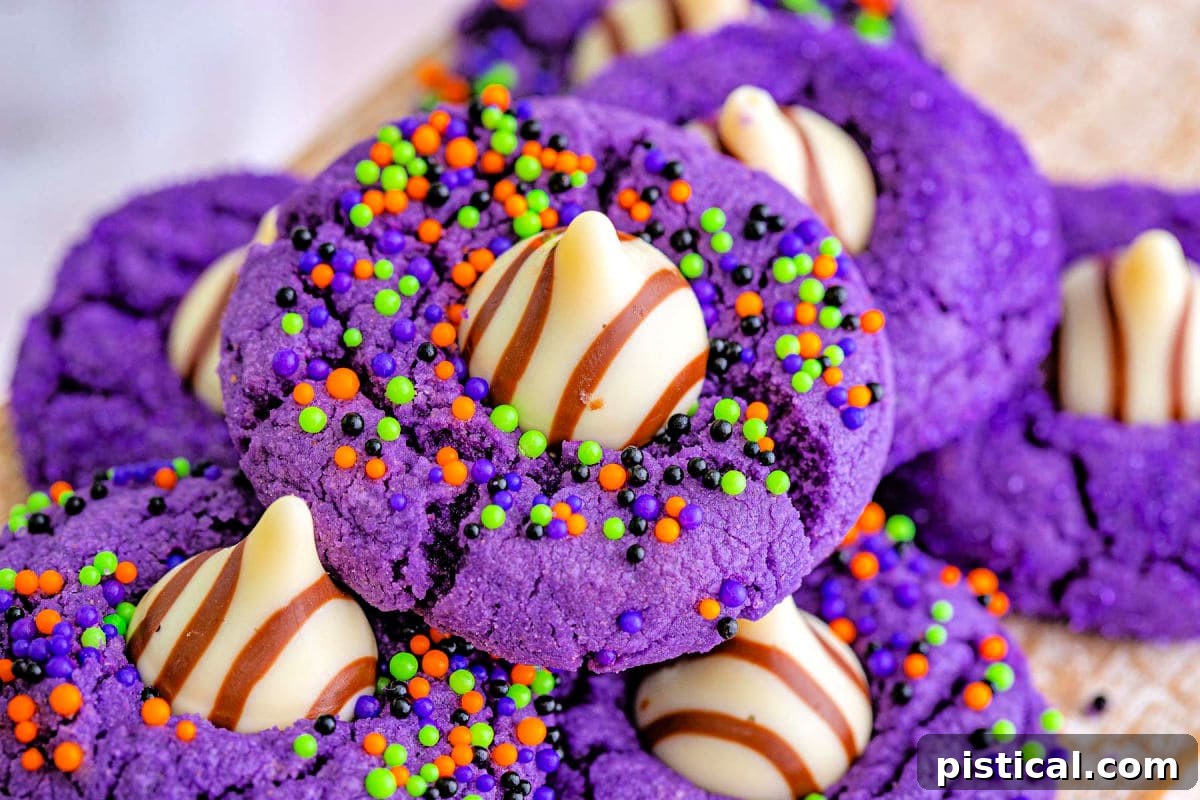
Get ready to enchant your taste buds and add a truly magical touch to your Halloween celebrations with these incredibly fun and utterly delicious Witch Hat Halloween Cookies! This recipe takes the classic, comforting goodness of Peanut Butter Blossoms and transforms them into a whimsical, spooky delight perfect for any ghoulish gathering. Imagine soft, chewy peanut butter cookies, vibrantly colored, rolled in sparkling sugar or festive sprinkles, and then topped with a sweet Hershey’s Kiss or Hug to create the perfect witch’s hat silhouette. They are not just a treat for the palate but also a feast for the eyes, making them an instant hit at parties, school events, or simply as a delightful homemade snack for your family during the spooky season.
As the leaves turn and the air grows crisp, the spirit of Halloween brings with it an irresistible urge to create charmingly spooky edibles. These Witch Hat Halloween Cookies perfectly embody that festive spirit, offering a simple yet spectacular way to celebrate. Whether you’re an experienced baker or just starting your culinary adventures, this recipe is designed to be straightforward and immensely rewarding. With their vibrant colors, delightful textures, and unmistakable Halloween charm, these cookies are destined to become a beloved tradition in your household, bringing smiles and a touch of spooky sweetness to everyone who tries them.
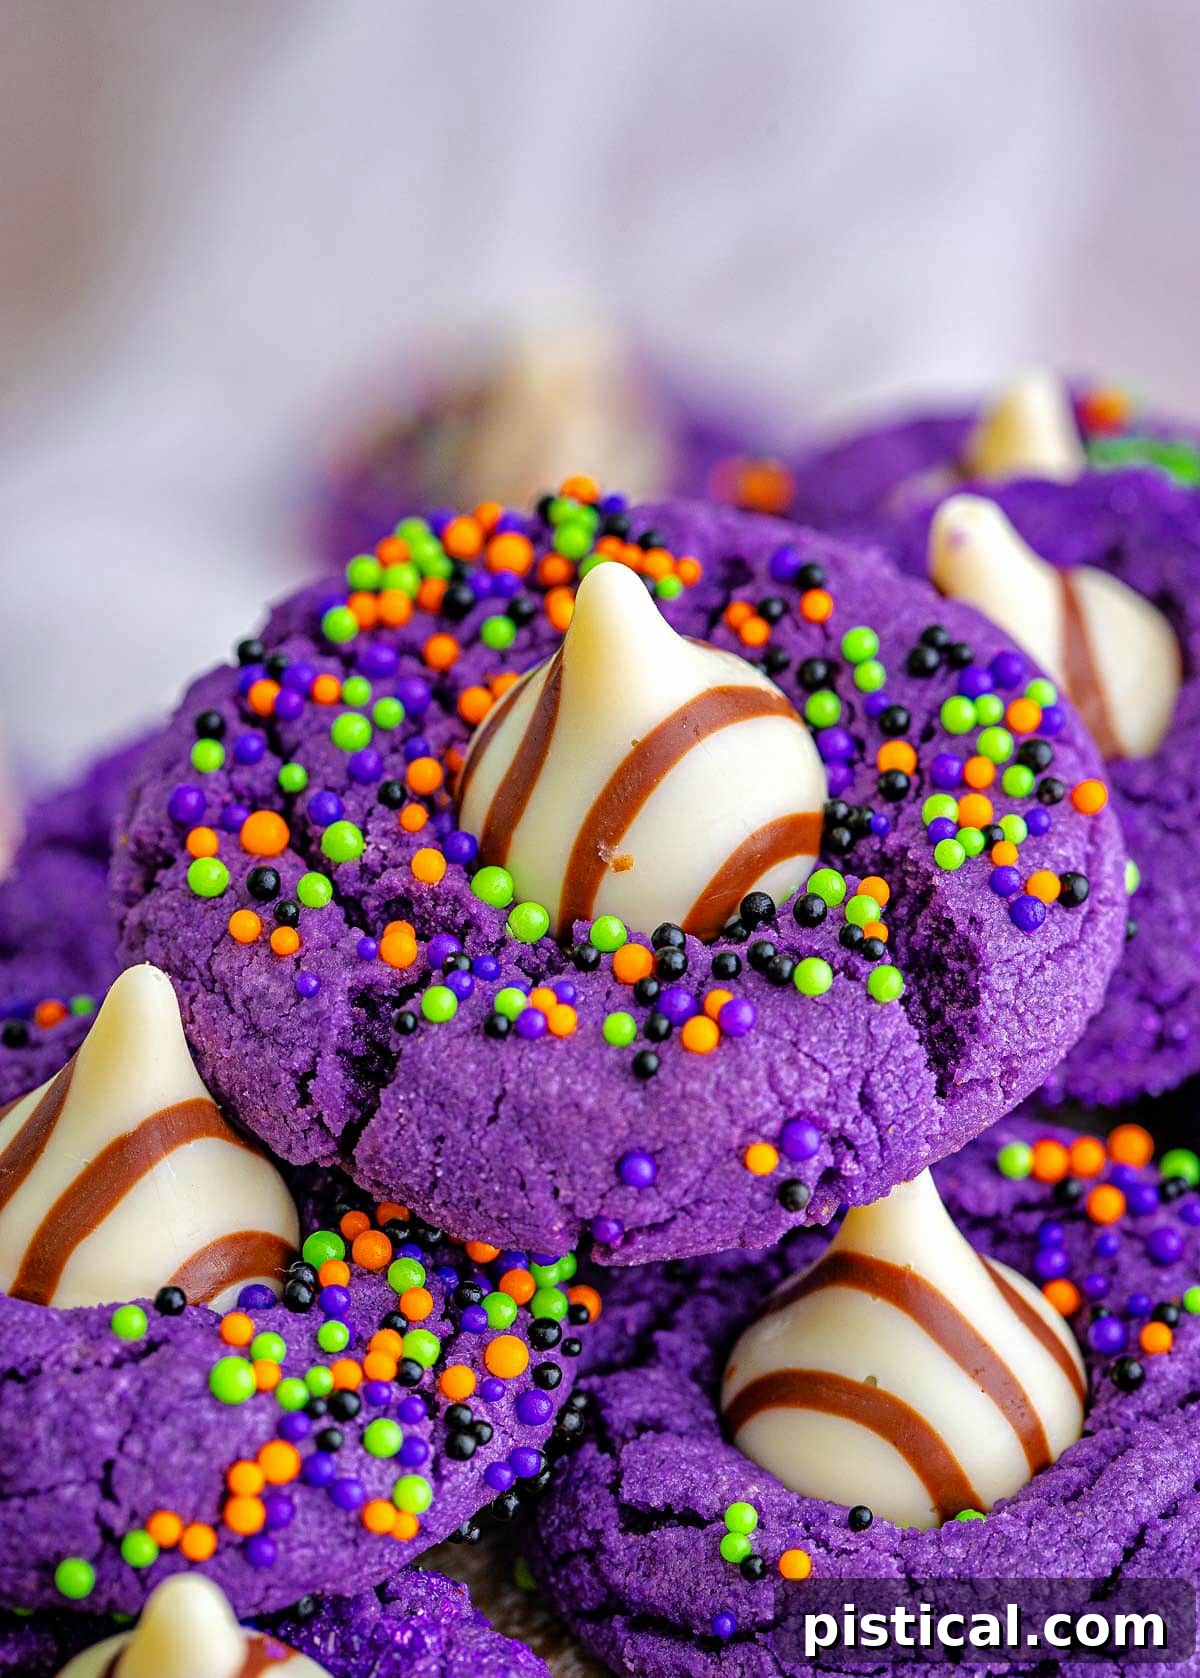
What happens when you infuse the comforting flavor of my beloved Peanut Butter Blossoms with a vibrant purple hue and a generous dusting of fun Halloween sprinkles? You get nothing short of the most adorable and appetizing Halloween cookies imaginable! These Witch Hat Halloween Cookies are an absolute joy to make and share, guaranteed to inject a festive flair into any celebration this Halloween season. While I adore the classic purple for its magical, witchy vibe, feel free to let your creativity soar! These cookies can be just as enchanting in eerie green, pumpkin orange, or even a mix of vibrant Halloween shades, allowing you to customize them perfectly for your theme. It’s truly your choice to make them as uniquely spooky or delightful as you wish.
Baking Up Halloween Fun for the Whole Family
One of my favorite aspects of holiday baking is the opportunity to involve my kids, and Halloween is certainly no exception. These Witch Hat Halloween Cookies are perfectly designed for family participation, making them an ideal project to get your little goblins and ghouls excited in the kitchen. The steps are incredibly simple and intuitive, requiring hardly any time at all from start to finish. This makes them a fantastic way to bond with your children, create lasting holiday memories, and even teach them basic baking skills in a fun, engaging environment.
Imagine the delight on their faces as they help mix ingredients, roll the colorful dough into perfect spheres, or press the iconic Hershey’s Kisses into the warm cookies. These hands-on activities are not just about making cookies; they’re about fostering a love for cooking, encouraging creativity, and building confidence in the kitchen. From choosing their favorite sprinkles to watching the dough transform with a splash of food coloring, every step is an adventure. It’s a wonderful way to celebrate the season together, creating delicious treats that everyone can be proud of, and most importantly, enjoy eating!
Essential Ingredients for Your Magical Witch Hat Cookies
Creating these enchanting Witch Hat Halloween Cookies requires a blend of everyday pantry staples and a few special items to achieve that signature spooky flair. While most of the base ingredients are likely already in your kitchen, you’ll probably want to pick up some vibrant gel food coloring, sparkling sanding sugar or festive Halloween sprinkles, and, of course, a generous supply of Hershey’s Hugs or Kisses to crown your witch hats. Below is a detailed look at what you’ll need, along with some tips to ensure your cookies turn out perfectly. The full, printable recipe with exact measurements is available at the end of this post!
- All-Purpose Flour: The foundational structure of our cookies. For accurate measurement, always spoon the flour into your measuring cup and then level it off with a straight edge. This prevents over-packing, which can lead to dense, dry cookies.
- Cornstarch: This is one of my favorite secret ingredients! Adding cornstarch to cookie dough results in incredibly soft, tender, and wonderfully chewy cookies, a texture reminiscent of my popular Chewy Chocolate Chip Cookies. It helps maintain a soft interior even after cooling.
- Baking Soda and Baking Powder: These are our leavening agents. Baking soda reacts with the acidic components (like peanut butter) to help the cookies spread and become tender, while baking powder provides an extra lift, ensuring a light and airy texture. Using both creates the perfect balance.
- Salt: A crucial flavor enhancer. Just a touch of salt brings out the sweetness of the sugar and the rich flavor of the peanut butter, preventing the cookies from tasting flat.
- Unsalted Butter: Always use unsalted butter for baking to control the salt content in your recipe. Ensure it’s at room temperature – soft enough to leave an impression when pressed, but not melted or greasy. Room temperature butter creams beautifully with sugar, creating an airy base.
- Creamy Peanut Butter: The star of this recipe! For the best texture and consistent results, I highly recommend using creamy peanut butter. While natural peanut butter can be used (see FAQs for specific tips), traditional creamy varieties like Jif or Skippy provide a more stable and predictable dough.
- Granulated Sugar: Provides essential sweetness and helps with the tender texture of the cookies. It also creams with the butter to incorporate air, contributing to the cookie’s rise.
- Egg: Acts as a binder, holding the ingredients together, and adds moisture and richness to the dough. A room temperature egg emulsifies better with the butter and sugar mixture, resulting in a smoother, more uniform dough.
- Vanilla Extract: A must-have for exceptional cookie flavor! High-quality vanilla extract complements the peanut butter beautifully, adding depth and warmth to the overall taste profile.
- Purple or Violet Gel Food Coloring: This is what gives our cookies their iconic witchy hue. Gel food coloring is highly concentrated, meaning you’ll achieve vibrant colors without significantly altering the dough consistency. Since peanut butter is brown, you’ll want to use a very saturated color to get a strong purple. You can, of course, choose green, orange, or any other festive color!
- Purple Sanding Sugar or Halloween Sprinkles: These are for rolling the cookie dough balls before baking, adding a delightful sparkle and crunch, mimicking the textured surface of a witch’s hat. Small sprinkles or sanding sugar work best for adhesion.
- Hershey’s Kisses or Hugs: The final touch to form the witch hat’s peak! I recommend having these unwrapped and ready to go before your cookies come out of the oven. You’ll need to press them quickly into the warm cookies for the best adhesion and the perfect shape.
Having all your ingredients measured and ready before you start baking (mise en place) will make the entire process smoother and more enjoyable, especially when baking with eager little helpers!

Step-by-Step Guide: Conjuring Up Witch Hat Cookies
Crafting these adorable Witch Hat Halloween Cookies is a straightforward and enjoyable process. Below, I’ve outlined the key steps to guide you from ingredients to irresistible treats. For precise measurements and comprehensive instructions, be sure to refer to the full, printable recipe card located at the very end of this post. Let’s walk through how to bring these magical cookies to life!
- Prepare Your Dry Ingredients: In a medium-sized bowl, begin by whisking together your all-purpose flour, cornstarch, baking soda, baking powder, and salt. Whisking ensures these ingredients are evenly distributed, which is crucial for uniform leavening and flavor in every cookie. Set this bowl aside.
- Cream Butter and Sugar: In a separate, larger mixing bowl, using either a stand mixer fitted with the paddle attachment or a hand mixer, cream together the softened unsalted butter and granulated sugar. Beat on medium speed for about 2 minutes, until the mixture is light, fluffy, and pale in color. Remember to scrape down the sides of the bowl periodically to ensure everything is thoroughly combined.
- Add Wet Ingredients (Part 1): Introduce the room temperature egg and vanilla extract to the creamed butter and sugar mixture. Mix on low speed until they are just incorporated. Avoid overmixing at this stage.
- Incorporate Peanut Butter: Next, add the creamy peanut butter to the wet mixture. Continue mixing on low speed until it’s fully combined and smooth. Again, a quick scrape of the bowl sides will help.
- Combine Wet and Dry: Gradually add your prepared dry ingredients to the wet mixture. Mix on the lowest speed possible, just until no streaks of dry flour remain. It’s vital not to overmix the dough once the flour is added, as this can develop the gluten too much, leading to tough cookies.
- Color the Dough: Now for the fun part! Add your purple (or chosen color) gel food coloring to the dough. Start with a few drops and mix thoroughly to see the color develop before adding more. Gel food coloring is potent, so a little goes a long way to achieve that vibrant, spooky shade. Ensure the color is evenly distributed throughout the dough.
- Chill the Dough: Cover the bowl of colored cookie dough with plastic wrap and chill it in the refrigerator for at least 2 hours, or even overnight. Chilling is a crucial step as it allows the flavors to meld, prevents excessive spreading during baking, and makes the dough much easier to handle. If chilling overnight, you might need to let it sit at room temperature for about 15-20 minutes to soften slightly before scooping.
- Preheat and Prepare: When you’re ready to bake, preheat your oven to 350°F (175°C). Line two large baking sheets (half sheets work perfectly) with silicone baking mats or parchment paper. This prevents sticking and ensures even baking.
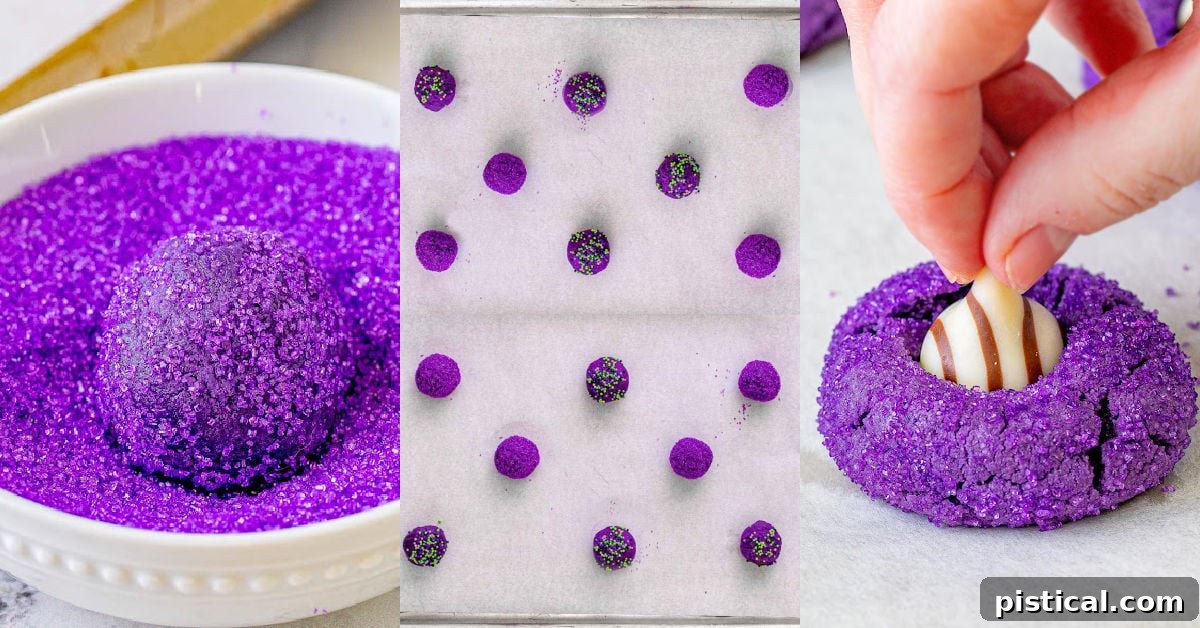
- Prepare the Coating: Pour your colorful sanding sugar or Halloween sprinkles into a small, shallow bowl. This will be used to coat the cookie dough balls.
- Scoop and Roll: Using a small cookie scoop (about 1 tablespoon capacity) or a spoon, portion out the chilled cookie dough. Roll each portion into a smooth ball between the palms of your hands. Then, roll each dough ball generously in the sanding sugar or sprinkles, ensuring it’s fully coated. Place the coated cookie balls onto the prepared baking sheets, spacing them about 2 inches apart to allow for spreading.
- Bake to Perfection: Bake the cookies for 8 to 10 minutes. You’ll know they’re done when they appear slightly puffed up and show small cracks on the surface. It’s important that these cookies do not brown around the edges; they should remain pale for that perfect chewy texture.
- Add the “Hats”: Immediately upon removing the cookies from the oven, gently but firmly press a Hershey’s Hug or Kiss into the center of each warm cookie. The residual heat will soften the chocolate slightly, allowing it to adhere and meld beautifully with the cookie, forming the witch’s hat shape.
- Set the Chocolate: To prevent the chocolate from melting further and to help it set quickly, place the baking sheets directly into the freezer for about 10 minutes. This quick chill helps the chocolate firm up, maintaining the iconic witch hat shape.
- Cool Completely: After chilling, remove the cookies from the freezer and transfer them to a wire cooling rack to cool completely. This final cooling step ensures the cookies are fully set and perfectly chewy before serving. Repeat the process with any remaining cookie dough.
Trish’s Top Tips and Tricks for Perfect Halloween Cookies
Achieving cookie perfection often comes down to a few key insights and techniques. Here are some of my go-to tips to ensure your Witch Hat Halloween Cookies are nothing short of spectacular:
Sprinkle vs. Sanding Sugar: When it comes to coating your cookies, I highly recommend opting for sanding sugar over most types of sprinkles. Small, fine sprinkles can be quite tricky to get to adhere well to the dough, and sometimes they melt or lose their vibrancy during baking. Sanding sugar, with its slightly larger crystals, sticks much more easily and creates a beautiful, shimmering crust that holds up wonderfully in the oven. The purple sanding sugar I used for these cookies is readily available online and in most craft or baking supply stores. If you do use sprinkles, look for nonpareils or very small, sturdy shapes.
Don’t Overmix the Dough: Once you add the dry ingredients to the wet, mix only until just combined. Overmixing develops the gluten in the flour, which can lead to tough, dry cookies instead of the soft, chewy texture we’re aiming for. A few visible streaks of flour are better than an overmixed dough.
Room Temperature Ingredients are Key: Ensure your butter and egg are at room temperature. This allows them to cream together more effectively with the sugar, creating a smooth, emulsified mixture that traps air. This trapped air is what gives cookies their light texture and helps them spread beautifully.
Chilling is Not Optional: The chilling step in this recipe is crucial. It solidifies the fats in the butter, preventing the cookies from spreading too much in the oven, and allows the flavors to deepen. It also makes the dough much easier to handle and roll. Don’t skip it!
Unwrap Kisses Ahead of Time: There’s nothing worse than burnt cookies because you’re fumbling with chocolate wrappers. Have all your Hershey’s Hugs or Kisses unwrapped and ready to press into the cookies as soon as they come out of the oven. This ensures the chocolate melts just enough to adhere without becoming a puddle.
Use Quality Baking Sheets and Mats: Investing in good quality, light-colored baking sheets and silicone baking mats (or parchment paper) can make a huge difference. They promote even baking and prevent the bottoms of your cookies from browning too quickly or burning. Darker sheets can cause overbaking.
By following these simple tips, you’ll be well on your way to baking a batch of Witch Hat Halloween Cookies that are as perfect in taste as they are in appearance!
Frequently Asked Questions About Witch Hat Cookies
Here are answers to some common questions you might have about making and storing these delightful Witch Hat Halloween Cookies, ensuring your baking experience is as smooth as possible.
Storage Information
How should I store the cookies after baking?
These festive Halloween cookies are fantastic for making a few days in advance. Once they have cooled completely (ensure the chocolate kisses or hugs are firm and solid), store them in an airtight container at room temperature. They will maintain their delicious texture and flavor for up to 4 days. Beyond this period, you might notice a slight decline in their soft and chewy texture, though they’ll still be perfectly edible. For optimal freshness, keep them away from direct sunlight or heat sources.
Can you freeze these cookies?
Absolutely! These cookies are great candidates for freezing, either baked or as dough, allowing you to prepare ahead for your Halloween festivities.
To freeze baked cookies: First, make sure your cookies have cooled entirely and that the Hershey’s Kisses or Hugs are completely set and hard. Arrange the cooled cookies in a single layer on a baking sheet and flash freeze for about 30 minutes to an hour until firm. This prevents them from sticking together. Once firm, transfer the cookies to a freezer-safe, airtight container, separating layers with parchment or wax paper to protect them. Baked cookies can be frozen for up to 2 months. Thaw at room temperature for a few hours before serving.
To freeze cookie dough: Prepare the cookie dough as directed in the recipe, but do not roll the balls in sugar or sprinkles yet. Scoop the cookie dough into balls and place them on a parchment-lined baking sheet. Flash freeze for approximately 30 to 60 minutes until the dough balls are solid. Once frozen, transfer the individual cookie dough balls into a freezer-safe bag or container. Cookie dough can be frozen for up to 3 months. When you’re ready to bake, you have two options: thaw the dough balls overnight in the refrigerator and then proceed with rolling in sugar and baking as usual, or bake them directly from frozen. If baking from frozen, simply add an extra minute or two to the cooking time, keeping an eye on them for doneness.
Can this recipe be doubled?
Yes, this recipe is quite flexible! It can easily be doubled if you need a larger batch for a big party or halved if you’re just making a small treat for your family. Just be sure to adjust all ingredient quantities proportionally when scaling the recipe.
Can I use natural peanut butter in this recipe?
This is a great question with a nuanced answer! To ensure the most consistent results, especially if you’re new to baking, I would generally recommend sticking with regular, creamy peanut butter (like Jif or Peter Pan). These brands have a more stable fat content and emulsification, which contributes to the predictable texture of the cookies. However, in all fairness, I often make these cookies exclusively with Skippy Naturals (the creamy variety, of course) and find that it actually enhances the peanut butter flavor even more than regular creamy peanut butter. The key is to use a “natural” peanut butter that is well-stirred and not too oily or separated. Brands like Jif or Skippy Naturals tend to work well because they are less prone to separation than some other natural brands. Avoid using any natural peanut butter that is very runny or requires extensive stirring, as this can throw off the fat-to-dry ingredient ratio in the dough. So, while I suggest regular peanut butter for safety, if you prefer, you can certainly try Skippy Naturals creamy, as I’ve had excellent results with it!
More Spooktacular Halloween Treats
If you’ve enjoyed making these delightful Witch Hat Halloween Cookies and are hungry for more fun and festive treats to make your Halloween celebration extra special, you’re in luck! The spooky season is the perfect excuse to get creative in the kitchen, and there are countless ways to whip up enchanting edibles. From creepy crawly delights to magically sweet confections, we’ve got a selection of favorites that are sure to be a hit with everyone, whether you’re hosting a party or simply looking for some delicious ways to celebrate at home. Dive into these other fantastic Halloween recipes and keep the festive baking spirit alive!
- Spiral Slice and Bake Halloween Cookies
- Black Widow Brownie Bites
- Halloween Popcorn Balls
- Candy Corn Popcorn Munch
- Candy Corn Fudge
- Easy Pumpkin Patties
- Pumpkin Brownies
How To Make Halloween Cookies

Print
Pin
Witch Hat Halloween Cookies
Ingredients
- 1 ½ cups all purpose flour
- 2 teaspoons cornstarch
- ¼ teaspoon baking powder
- ½ teaspoon baking soda
- ¼ teaspoon salt
- ½ cup unsalted butter softened
- 1 cup granulated sugar
- 1 egg room temperature
- 1 teaspoon vanilla extract
- ¾ cup creamy peanut butter
- purple gel food coloring
- 30 Hugs or chocolate kisses carefully unwrapped
Sugar Coating
- Halloween sprinkles or purple sanding sugar
Instructions
-
In a medium bowl, whisk together the flour, baking powder, baking soda, cornstarch and salt together until well combined. Set aside.1 ½ cups all purpose flour, 2 teaspoons cornstarch, ¼ teaspoon baking powder, ½ teaspoon baking soda, ¼ teaspoon salt
-
Using a hand mixer or stand mixer, cream the softened unsalted butter and granulated sugar together until the mixture is light, fluffy, and creamy, which usually takes about 2 minutes. Remember to scrape down the sides of the bowl as needed to ensure even mixing.½ cup unsalted butter, 1 cup granulated sugar
-
Add the room temperature egg and vanilla extract to the creamed mixture and mix until they are just combined, being careful not to overmix.1 egg, 1 teaspoon vanilla extract
-
Next, add the creamy peanut butter to the mixture. Mix until it is fully incorporated and the dough is smooth, scraping down the sides of the bowl as necessary to ensure no unmixed portions remain.¾ cup creamy peanut butter
-
Gradually add the dry ingredients to the wet ingredients. Mix on low speed just until the dry ingredients are fully combined and no streaks of flour are visible. Be careful not to overmix the dough.
-
Now, add your violet or purple gel food coloring to the dough. Start with a few drops and mix until the color is evenly incorporated. Add more coloring a few drops at a time until you achieve the desired vibrant purple hue. Remember to thoroughly mix after each addition before deciding if more color is needed.purple gel food coloring
-
Cover the dough with plastic wrap and chill it in the refrigerator for a minimum of 2 hours, or ideally, overnight. If you’re chilling it overnight, you might need to let the dough sit at room temperature for about 15 minutes before scooping to make it more pliable. This chilling step is essential for the best cookie texture and to prevent excessive spreading.
-
Once the dough is chilled, preheat your oven to 350°F (175°C). Line two large baking sheets (half sheets are recommended) with silicone baking mats or parchment paper to prevent sticking and promote even baking. Set them aside.
-
Pour your chosen colored sanding sugar or Halloween sprinkles into a small, shallow bowl. This will be used for coating the cookie dough balls.Halloween sprinkles or purple sanding sugar
-
Use a small cookie scoop (approximately 1 tablespoon capacity) or a spoon to scoop out portions of the cookie dough. Roll each portion into a smooth ball between the palms of your hands. Then, roll the entire cookie dough ball generously in the sanding sugar or sprinkles until it is completely coated. Place the coated balls onto the prepared baking sheet, ensuring they are spaced about 2 inches apart to allow for proper spreading during baking. Repeat this process with the remaining cookie dough.
-
Bake for 8 to 10 minutes. The cookies are ready when they have puffed up slightly and developed small cracks on their surface. It’s important that the cookies do not brown at all, especially around the edges, to maintain their soft and chewy texture. Once baked, remove the cookies from the oven and allow them to cool on the baking sheet for 5 minutes before proceeding.
-
While the cookies are still warm and soft, gently but firmly press a Hershey’s Hug or a chocolate Kiss into the center of each cookie. The warmth of the cookie will slightly melt the chocolate, allowing it to adhere perfectly and create the distinct witch hat shape.30 Hugs or chocolate kisses
-
To prevent the chocolate from melting further and to ensure it sets quickly, place the baking sheet directly into the freezer for approximately 10 minutes. This helps the chocolate firm up and maintains the integrity of the witch hat shape. After chilling, remove the cookies from the freezer and carefully transfer them to a wire cooling rack to cool completely. Continue this process with any remaining cookie dough and enjoy your spooky treats!
Notes
Tools Needed
- Sheet Pans: I use a half sheet pan for baking.
- Silicone Baking Mat
- Small Cookie Scoop