
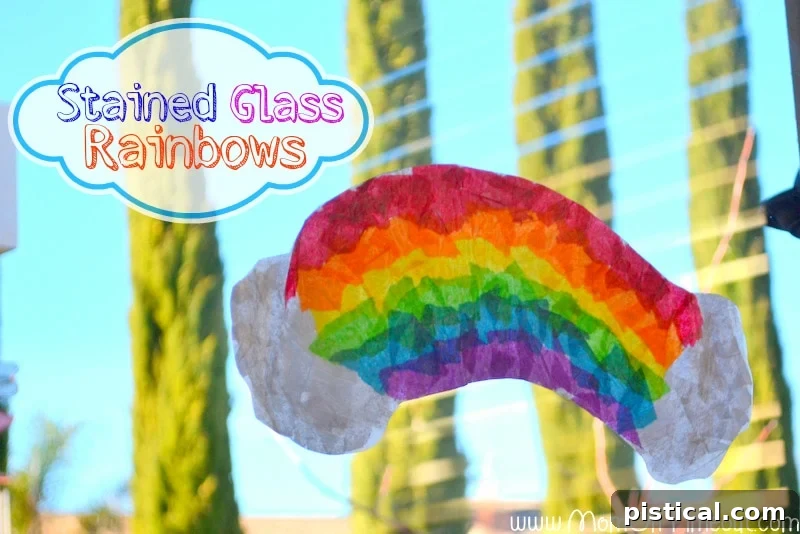
Stained Glass Rainbows: The Ultimate Easy Craft for Kids This Spring!
Get ready to unleash a burst of color and creativity with our captivating Stained Glass Rainbows craft! Perfect for welcoming the vibrant hues of Spring and adding a festive touch to St. Patrick’s Day celebrations, this project is designed for pure joy and simplicity. Discover how to create dazzling window art that captures the light, using materials you likely already have on hand. It’s an ideal activity to engage young minds and create lasting memories!
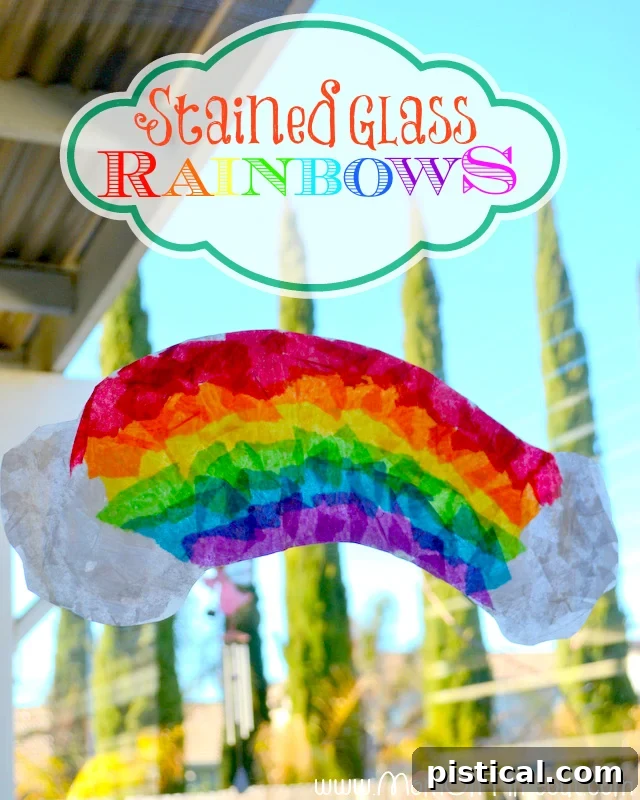
The arrival of St. Patrick’s Day signals the official kickoff of spring in many ways – a time for green, luck, and, of course, rainbows! As the holiday quickly approached, my boys were buzzing with excitement, eagerly reminding me that we hadn’t embarked on any craft adventures yet. A gasp escaped me! We absolutely couldn’t let St. Patrick’s Day pass without some festive creativity. I asked them for ideas, and their responses were unanimous: “Rainbows!” or “Gold coins!” Knowing their love for vibrant colors and hands-on projects, I immediately thought of this wonderfully simple and engaging Stained Glass Rainbow craft. It’s an activity that promises not only artistic fun but also a beautiful, sparkling result perfect for brightening any window.
Why Choose Stained Glass Rainbows for Your Next Kids’ Craft?
There’s something magical about stained glass art, and replicating that effect with simple craft supplies is incredibly rewarding, especially for children. This particular craft holds a special place in my heart because it requires no fancy or expensive materials. You literally just need colored tissue paper, white school glue, and waxed paper. As a self-proclaimed tissue paper “hoarder” (because you just never know when you’ll need that exact shade of cerulean!), I always have an abundance of colors waiting for their moment to shine in a project just like this. This accessibility makes it a spontaneous activity you can pull out on a rainy day or when you need a quick, engaging project.
Beyond the convenience, this Stained Glass Rainbow craft offers numerous developmental benefits for children. Tearing tissue paper is excellent for fine motor skills and hand-eye coordination. Arranging the colors encourages creativity and color recognition. The entire process, from tearing to gluing to smoothing, provides a wonderful sensory experience. Plus, the sheer joy of seeing their finished rainbow masterpiece adorning a window, catching the sunlight, is truly priceless and boosts their self-esteem.
Gather Your Simple Supplies: Everything You Need for a Rainbow Masterpiece
One of the best aspects of this craft is its reliance on basic household items. Before you begin, gather these essential supplies:
- Colored Tissue Paper: An assortment of colors, especially those found in a rainbow (red, orange, yellow, green, blue, indigo, violet). Don’t worry if you don’t have every single shade; any bright, varied selection will work beautifully. Leftover tissue paper from gifts is perfect for this!
- White School Glue: Standard liquid white school glue, such as Elmer’s, works perfectly. It dries clear, which is crucial for achieving that “stained glass” effect.
- Waxed Paper: This is the foundation of your rainbow. A roll of waxed paper from your kitchen is ideal. Its non-stick quality allows the glue to dry clear and keeps the layers together.
- Scissors: For cutting the waxed paper and trimming your finished rainbow.
- Paintbrush (optional): While fingers work just fine, a paintbrush can help spread the glue evenly.
- Newspaper or Craft Mat: To protect your work surface from glue.
Step-by-Step Directions: Creating Your Dazzling Stained Glass Rainbow
Let’s dive into the fun! Follow these easy steps to bring your Stained Glass Rainbows to life:
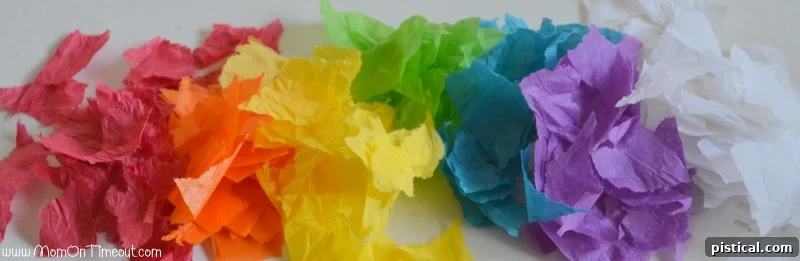
Step 1: Prepare Your Tissue Paper Pieces
The first step is all about getting those vibrant colors ready. Take your colored tissue paper and tear it into small, manageable pieces. There’s no need for perfection here; irregular shapes and sizes add to the charm and unique texture of your “stained glass.” Tearing is a fantastic exercise for little fingers, helping to develop fine motor skills without them even realizing it! Encourage kids to experiment with different sizes, from tiny snippets to larger strips. The variety will make their finished rainbow even more interesting.
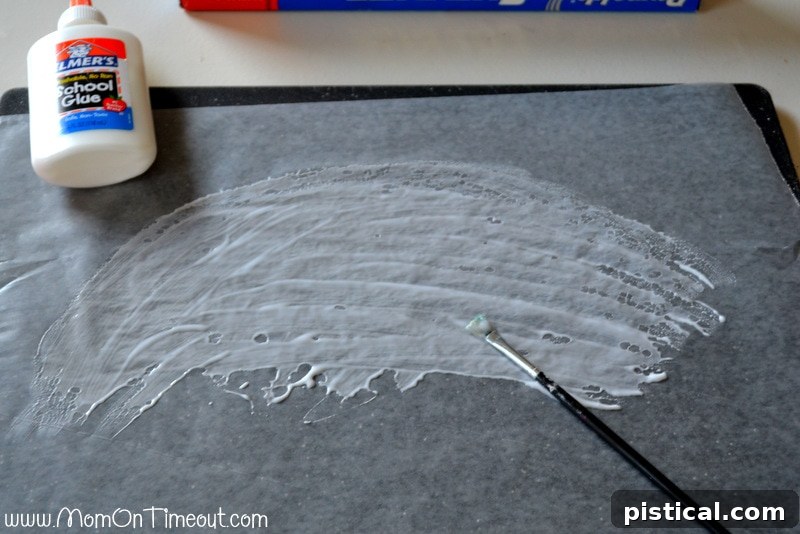
Step 2: Lay the Foundation with Waxed Paper and Glue
Unroll a piece of waxed paper from your roll. The size will depend on how large you want your rainbow to be. For a typical rainbow, a piece about 12-18 inches long works well. Place it on your protected work surface. Now, it’s time for the glue! Generously paint a layer of white school glue directly onto the waxed paper. You want enough glue to create a sticky surface for the tissue paper, but not so much that it’s pooling. I find that a thin, even coat works beautifully. Elmer’s School Glue is my go-to, as it dries completely clear, allowing the colors to truly pop.
Step 3: Build Your Rainbow of Colors
This is where the magic truly begins! Start placing your torn tissue paper pieces directly onto the wet glue, arranging them to form a rainbow. Traditionally, rainbows follow the order of Red, Orange, Yellow, Green, Blue, Indigo, and Violet (ROYGBIV). However, the beauty of this craft lies in artistic freedom! Just like my son Bryce, who proudly declared his rainbow “bu-te-ful” even when he didn’t follow the “rules” and chose his own color order, encourage your child to express themselves. Overlap the pieces slightly to create a more solid and vibrant appearance, ensuring all the glue is covered. The joy of creating something uniquely theirs is far more important than adhering to a strict pattern.
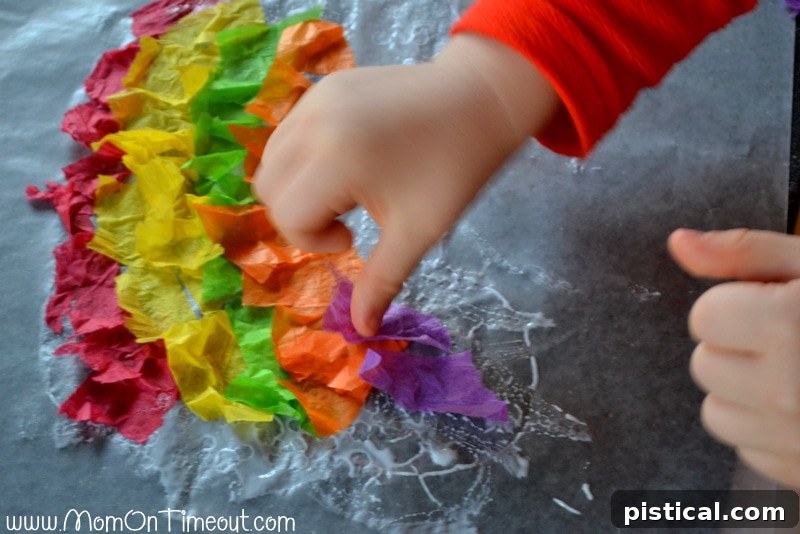
Step 4: Add Whimsical Clouds (Optional)
Once your rainbow is complete and you’re happy with the vibrant arc of colors, you can add some fluffy white clouds! Simply tear or cut pieces of white tissue paper into cloud-like shapes and place them at the ends of your rainbow, directly onto the glue. This step adds an extra touch of charm and realism to your Stained Glass Rainbow, making it truly picture-perfect.
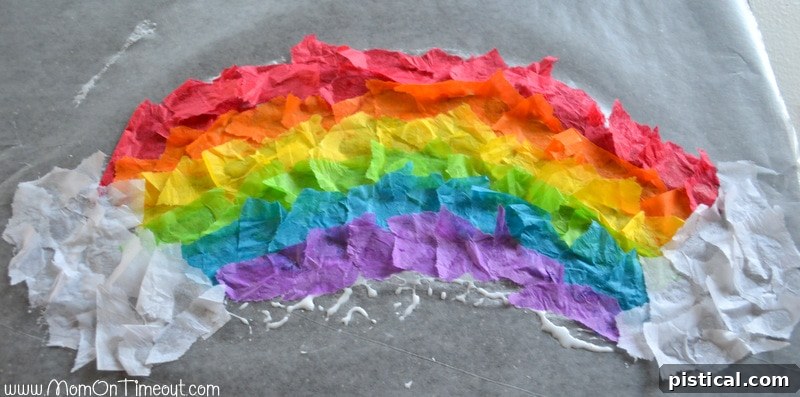
Step 5: Seal Your Masterpiece
To give your rainbow that classic “stained glass” feel and to protect the delicate tissue paper, you’ll add another layer of waxed paper. Tear off a second piece of waxed paper, roughly the same size as your first. Paint another generous layer of white glue onto one side of this second piece. Carefully place it on top of your completed tissue paper rainbow, glue-side down. Gently smooth the surface with your hands, pressing out any air bubbles and ensuring that the entire rainbow is covered and sealed with glue. This step laminates the tissue paper, giving it durability and enhancing the translucent effect.
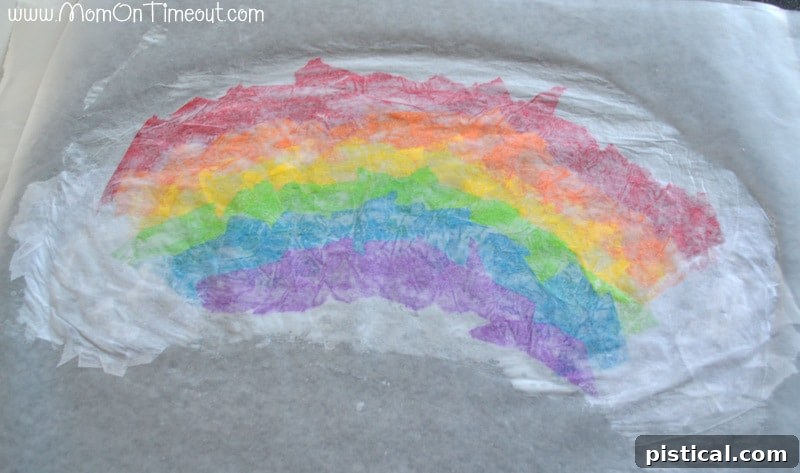
Step 6: Dry, Cut, and Display!
The final, and perhaps most patient, step! Allow your Stained Glass Rainbow to dry completely. This might take several hours, or even overnight, depending on how much glue you used and the humidity. Once dry, the glue will become transparent, allowing the tissue paper colors to truly glow. Carefully cut around the shape of your rainbow. You can follow the natural arc, or even cut it into a rectangular panel. To hang your vibrant creation, I recommend using double-sided tape, clear packing tape, or even a small suction cup hook if you want it to dangle. Place it on a window where it will catch the sunlight, and prepare to be amazed as your handmade “stained glass” masterpiece illuminates the room with dazzling colors! It truly looks stunning when the sun streams through.
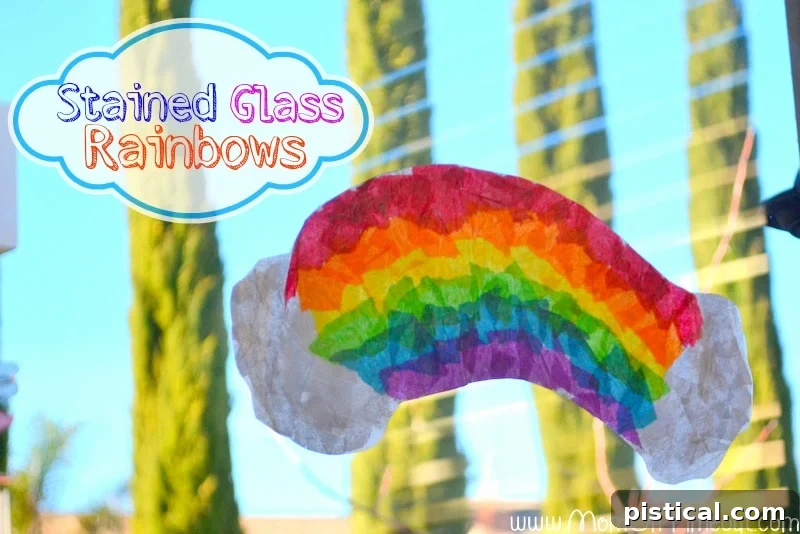
Tips for a Super Successful Stained Glass Rainbow Craft
- Embrace the Mess: Crafting with kids can be messy, and that’s part of the fun! Lay down plenty of newspaper or an old plastic tablecloth to make cleanup a breeze.
- Supervise Little Hands: While this craft is simple, younger children will benefit from supervision, especially with glue application and handling the delicate tissue paper.
- Vary Tissue Paper Colors: Don’t feel limited to strict rainbow colors. Experiment with pastels for spring, or deeper jewel tones for a different effect.
- Consider Other Shapes: Instead of a rainbow, you could make other stained glass shapes! Think clovers for St. Patrick’s Day, eggs for Easter, or even just abstract designs. You can cut the initial waxed paper into a specific shape before adding the tissue.
- Add Glitter (Optional): For an extra touch of sparkle, sprinkle a tiny bit of iridescent glitter onto the wet glue before adding the second layer of waxed paper.
- Patience is Key: Allow ample drying time. Rushing the drying process can lead to cloudy glue or a less vibrant finished product.
- Display Creatively: Beyond windows, these can be hung on mirrors, laminated and used as placemats, or even cut into smaller shapes to adorn greeting cards.
More Fun Crafts We Enjoy!
If your family loves crafting as much as mine does, especially for holidays and seasons, you’re in luck! Here are some other delightful and easy craft ideas perfect for St. Patrick’s Day, Spring, and beyond:
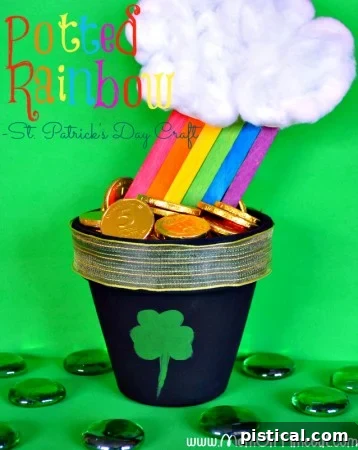
Potted Rainbow: Bring the magic of a rainbow right into your home with this charming potted rainbow craft, complete with a little pot of gold!

Leprechaun Hats: Get into the St. Patrick’s Day spirit by crafting your very own leprechaun hats – perfect for festive dress-up or party decorations.

St. Patrick’s Day Printables: For quick and easy fun, these printables offer a variety of St. Patrick’s Day themed activities, games, and decorations.
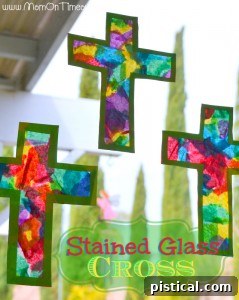
Stained Glass Cross: Extend the stained glass crafting fun to Easter with this beautiful and meaningful stained glass cross project.
Crafting together is more than just making pretty things; it’s about spending quality time, fostering creativity, and making beautiful memories. These Stained Glass Rainbows are a fantastic way to welcome spring and celebrate St. Patrick’s Day with a splash of color and a whole lot of fun. I hope you and your little ones enjoy creating these luminous decorations as much as we do!

Connect With Our Crafting Community!
Loved this craft? Want to share your family’s beautiful creations or find more inspiration? Join our vibrant community online!
Find more craft ideas, recipes, and family fun on our blog! We’re always linking up with wonderful communities and fellow bloggers who share a passion for creative living. You can find us joining the fun over at our “Where I Party” page, as well as on fantastic platforms like Home Stories A2Z, Savvy Southern Style, and My Repurposed Life. Happy crafting!