
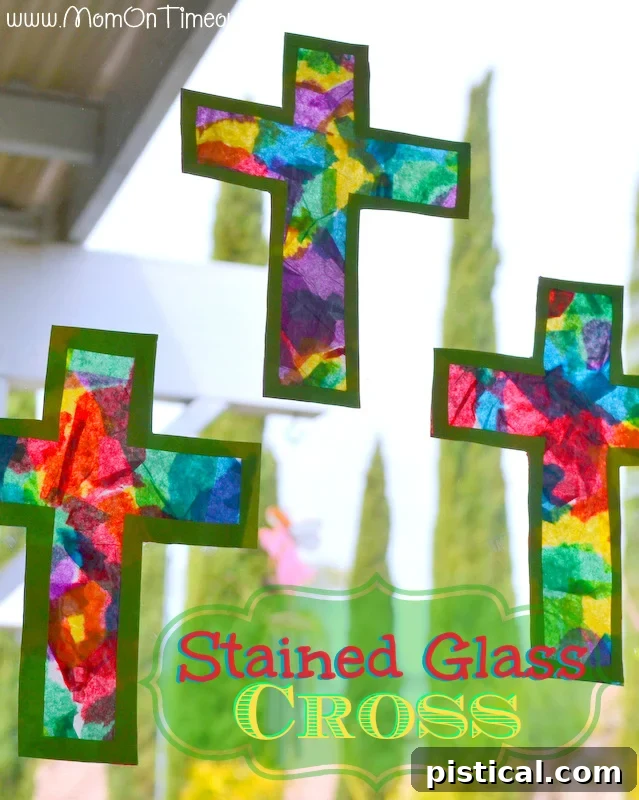
Stained Glass Cross Craft: A Beautiful and Easy Easter Project for All Ages
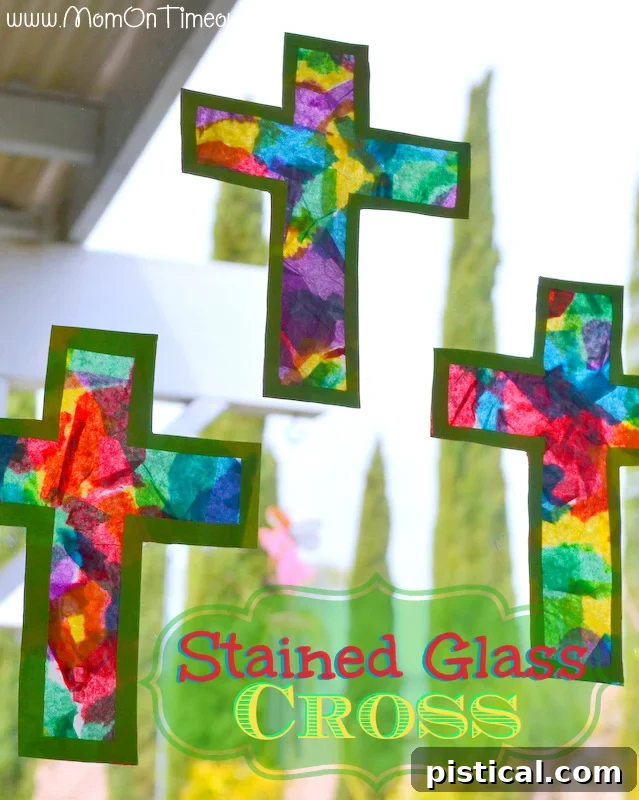
Easter is a time for celebration, reflection, and joyful family activities. What better way to embrace the spirit of the season than by engaging in a creative craft that’s both meaningful and incredibly fun for everyone? Our Stained Glass Cross craft is a truly special project that brings together simplicity, beauty, and a touch of seasonal charm. Perfect for children of all ages, from toddlers eager to tear paper to older kids refining their designs, this craft transforms ordinary materials into stunning window decorations that mimic the ethereal glow of traditional stained glass.
I absolutely adore craft projects that foster family togetherness, allowing both my boys and me to contribute our unique touches. This Stained Glass Cross craft is a shining example, as it invites participation from every family member, regardless of their crafting experience. The end results are nothing short of spectacular, casting beautiful, colorful light into any room. It’s an ideal activity to prepare for Easter, and these vibrant crosses look absolutely magnificent displayed on our sliding glass door, welcoming spring with a burst of color.
Why This Stained Glass Cross Craft Is a Must-Try Easter Activity
Beyond its aesthetic appeal, this craft offers numerous benefits, making it a standout choice for your Easter preparations.
- Fun for All Ages: This project is wonderfully adaptable. Younger children can focus on the sensory experience of tearing colorful tissue paper into small pieces, developing fine motor skills and color recognition. Older children can take on more responsibility, carefully spreading glue, arranging paper to create intricate patterns, and even assisting with the cutting process (under adult supervision). Adults can guide, supervise, and enjoy the creative process alongside their little ones, ensuring a cohesive and enjoyable family activity.
- Develops Key Skills: Engaging in this craft helps children enhance crucial developmental skills. Tearing paper strengthens hand muscles and coordination, while arranging the pieces promotes creativity, spatial awareness, and an understanding of color mixing. The entire process encourages patience and attention to detail.
- Meaningful Connection: The cross is a powerful symbol of Easter. Crafting it provides a gentle, hands-on way to discuss the significance of the holiday with children, fostering a deeper understanding and appreciation of its traditions and meaning. It transforms a craft session into a subtle educational opportunity.
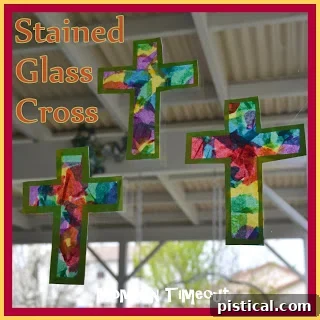
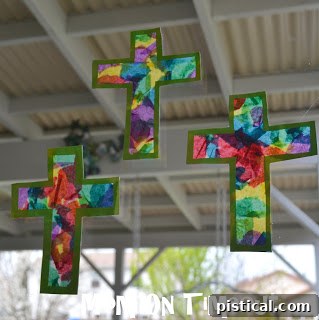
- Stunning Decorations: Once completed, these stained glass crosses aren’t just craft projects; they are beautiful works of art. Taping them to a well-lit window creates a magical effect as sunlight streams through the vibrant tissue paper, casting colorful patterns and adding a festive, spiritual glow to your home. They are perfect for brightening up any space for Easter or spring.
- Affordable and Accessible: You won’t need to hunt for obscure craft supplies. Most of the materials required are inexpensive and readily available at any craft store or even a general merchandise store. This makes it an economical choice for families looking for creative ways to celebrate without breaking the bank.
- Relatively Low Mess: Compared to paints or glitter (though you can certainly add glitter for extra sparkle!), this craft is relatively clean. White glue and tissue paper are easy to manage, and wax paper helps contain any stickiness, making cleanup a breeze.
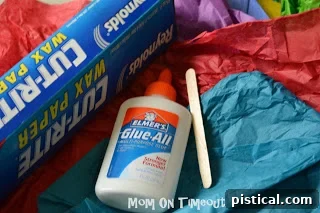
Materials You’ll Need to Create Your Stained Glass Cross
Gathering your materials is the first exciting step in any craft project. For this Stained Glass Cross, you’ll find most items are common household or craft store staples.
- Tissue Paper: A variety of colors is key to achieving that beautiful stained glass effect. Think bright jewel tones, soft pastels for a traditional Easter look, or even a mix of both. The more colors, the more vibrant your cross will be!
- Wax Paper: This forms the base and top layer of your “stained glass.” Ensure you have a roll that’s wide enough for your desired cross size.
- White Craft Glue: Standard liquid white glue works perfectly. It dries clear, allowing the colors of the tissue paper to shine through.
- Popsicle Stick: Ideal for spreading glue evenly and neatly without making a huge mess.
- Craft Knife or Scissors: A craft knife (utility knife or X-Acto knife) provides precise cuts for intricate cross shapes, but sharp scissors will also work well, especially for simpler designs or if kids are doing more of the cutting (under strict supervision).
- Cross Template: You can either use a printable cross template, or simply draw your own cross shape freehand. Feel free to vary the size and style!
- Helpers: This craft is much more fun with little hands (and big hands!) involved.
Step-by-Step Directions to Craft Your Stained Glass Cross
Follow these easy instructions to create your beautiful Stained Glass Cross. Remember, the beauty of this craft lies in its imperfection and the unique creativity of each artist!
1. Prepare Your Tissue Paper Pieces
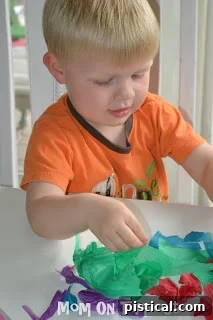
This is often the favorite step for younger crafters! Gather your colorful tissue paper sheets. Find a helper (or several!) to tear the tissue paper into small, varied pieces. There’s no need for uniformity; irregular shapes and sizes add to the authentic stained glass look. Encourage mixing colors and textures. Place the torn pieces in a shallow dish or on a tray for easy access.
2. Set Up Your Wax Paper Canvas
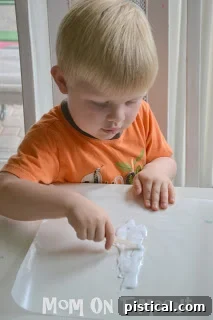
Roll out a piece of wax paper onto a protected flat surface (like a table covered with newspaper or a craft mat). The length of your wax paper should be at least double the width of your chosen cross template. This extra width is crucial as you’ll be folding it over later to create a sealed “sandwich.”
3. Apply the First Layer of Glue
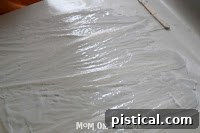
Take your white craft glue and spread a generous, even layer onto one half of the wax paper you just unrolled. Use a popsicle stick to gently spread the glue from edge to edge. Ensure there are no large puddles but that the surface is sufficiently tacky to hold the tissue paper.
4. Decorate with Tissue Paper
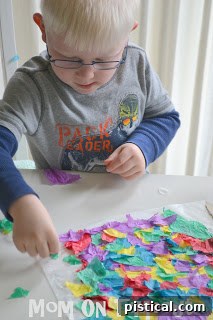
Now for the fun part! Piece by piece, carefully add your torn tissue paper onto the glue-covered wax paper. Overlap the pieces slightly, allowing colors to blend and create new hues. Continue until the entire glued surface is covered with a beautiful mosaic of tissue paper. Encourage creativity in color arrangement and layering. This is where the magic of “stained glass” truly begins to take shape.
5. Seal Your Creation
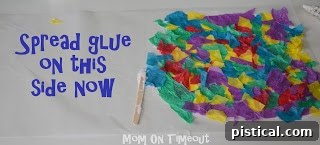
Once your tissue paper mosaic is complete, spread another thin, even layer of white glue onto the *other* half of the wax paper (the part that’s still bare). Carefully fold this glued half over on top of your tissue paper design, aligning the edges as best as possible. This creates a sealed “sandwich” that encapsulates your colorful tissue paper.
6. Smooth and Dry
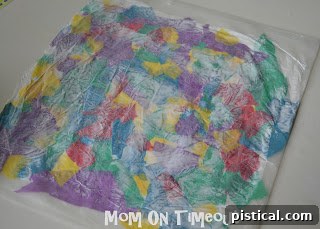
Gently smooth the folded wax paper with your hands, pressing out any air bubbles or major wrinkles. This ensures a nice, flat finish. To help it dry perfectly flat, I like to place something heavy on top, such as a stack of books or a cutting board, and let it dry completely. This might take several hours or even overnight, depending on how much glue was used and the humidity. Patience is key for a crisp result!
7. Prepare Your Cross Templates
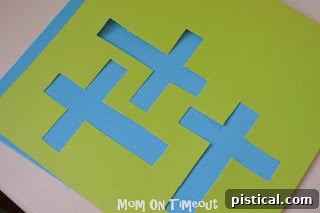
While your wax paper creation is drying, print out your chosen cross template (or carefully draw your own onto sturdy paper or cardstock). Using a craft knife allows for very clean, precise cuts around the cross shape, which can be beneficial for the final look. If using scissors, take your time and follow the lines carefully. Remember to always use a cutting mat if using a craft knife and supervise children closely.
8. Attach the Template to Your Stained Glass
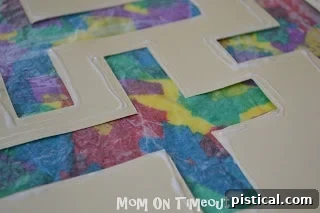
Once your wax paper is completely dry and flat, take your cut-out cross template. Run a thin, continuous line of white glue around the perimeter of the cross on the back side of the paper template. This thin line ensures that the edges of your cross will adhere smoothly to the wax paper without excess glue seeping out.
9. Final Adhesion and Drying
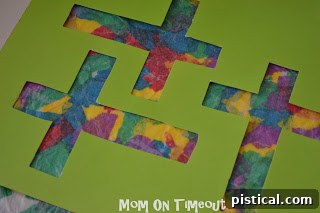
Carefully turn the glue-lined cross template over and place it onto your dried wax paper creation. Press down gently to ensure good contact between the paper template and the wax paper. You can place a piece of parchment paper or plastic wrap over it and rub to ensure adhesion without getting glue on your hands. Let this final assembly dry completely, again, perhaps under a heavy object for optimal flatness.
10. Cut Out and Display
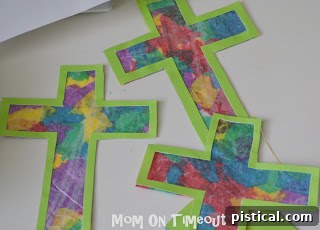
Once everything is thoroughly dry, carefully cut around the outline of your paper cross template, trimming away the excess wax paper. You will now have beautiful, vibrant stained glass crosses! To display, simply use a small piece of tape on the back and affix them to a well-lit window. Watch as the sunlight transforms your craft into a glowing piece of art, filling your room with a kaleidoscope of colors. Enjoy your homemade Easter decorations!
Tips for a Perfect Stained Glass Cross Every Time
- Protect Your Workspace: Always lay down newspaper, an old tablecloth, or a craft mat before starting to protect your surfaces from glue.
- Don’t Overdo the Glue: While you need enough glue for adhesion, too much can lead to excessive drying time and wrinkling. A thin, even layer is best.
- Layering Tissue Paper: Experiment with overlapping tissue paper pieces. When light passes through, these layers create beautiful new color combinations and depth.
- Dry Flat and Patiently: Resist the urge to peel up your craft too early. Allowing it to dry completely under a heavy object is crucial for a smooth, flat, and professional-looking finish.
- Supervise Cutting: If using a craft knife, ensure an adult is always handling it or providing very close supervision to older children. For younger kids, pre-cut the cross templates or opt for child-safe scissors for the final cut.
- Experiment with Colors: Don’t limit yourself to traditional Easter colors. Try vibrant hues for a modern look, or cool blues and greens for a peaceful effect.
Creative Variations & Beyond the Cross
This “stained glass” technique is incredibly versatile! Once you’ve mastered the cross, consider these fun variations:
- Other Easter Shapes: Use templates for Easter eggs, bunnies, chicks, or spring flowers.
- Seasonal Decor: Apply the same method for other holidays – snowflakes and stars for Christmas, autumn leaves for Thanksgiving, or hearts for Valentine’s Day.
- Adding Embellishments: Before folding the second layer of wax paper, you can sprinkle a little glitter or small sequins onto your tissue paper design for extra sparkle.
- Sun Catcher Mobiles: Create several “stained glass” shapes and string them together with fishing line or twine to create a beautiful mobile or garland.
- Gift Tags or Cards: Smaller versions of these can be glued onto cardstock to make unique, handmade gift tags or greeting cards.
More Easter Inspiration for Your Home and Family
Looking for more fantastic ideas to make your Easter extra special? Here are some additional crafts and tips from our collection:
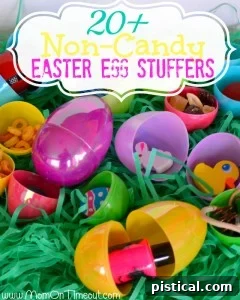
20+ Non-Candy Easter Egg Stuffers
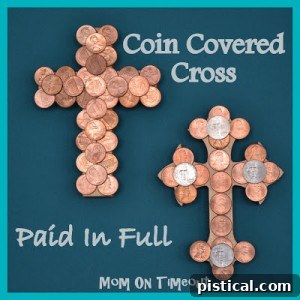
Coin-Covered Cross: A Meaningful Easter Craft

5 Free Easter Printables to Brighten Your Holiday
Frequently Asked Questions About the Stained Glass Cross Craft
- Q: Can I use different types of paper instead of tissue paper?
- A: Tissue paper is ideal because of its translucency, which allows light to pass through and create the “stained glass” effect. While you could use colored cellophane for a similar effect, regular construction paper or cardstock won’t transmit light in the same way, making the craft less effective as a suncatcher.
- Q: What if I don’t have wax paper? Can I use parchment paper?
- A: Wax paper is preferred because glue adheres well to it, and it provides a semi-translucent quality. Parchment paper is designed to be non-stick and is less translucent, so it won’t work as effectively for this specific “stained glass” technique.
- Q: How long does the glue take to dry?
- A: Drying time can vary depending on humidity and how much glue was used. Generally, it takes a few hours to be touch-dry, but for best results (especially for flatness), allow it to dry overnight with a heavy object placed on top.
- Q: Is this craft messy for kids?
- A: While glue is involved, it’s relatively contained, especially if you use a popsicle stick for spreading. Tissue paper is clean to work with. Laying down a protective covering for your workspace will help keep any mess minimal and cleanup easy.
- Q: Can I make these crosses waterproof to hang outside?
- A: Unfortunately, this craft is not waterproof. Both tissue paper and white craft glue are susceptible to water damage. These crosses are best displayed indoors, particularly on windows where they are protected from the elements.
Final Thoughts: Crafting Memories This Easter
This Stained Glass Cross craft is more than just a creative activity; it’s an opportunity to create cherished memories with your loved ones while adding a touch of handmade beauty to your home. The simplicity of the materials, combined with the stunning visual impact of the finished product, makes it an Easter tradition you’ll want to revisit year after year. So gather your supplies, invite your little helpers, and embark on a joyful journey of crafting that will illuminate your home and hearts this Easter season. Happy crafting!

Connect with me for more inspiration and craft ideas!
Linking up with amazing blogs like Where I Party, Home Stories A2Z, Savvy Southern Style, and My Repurposed Life.