
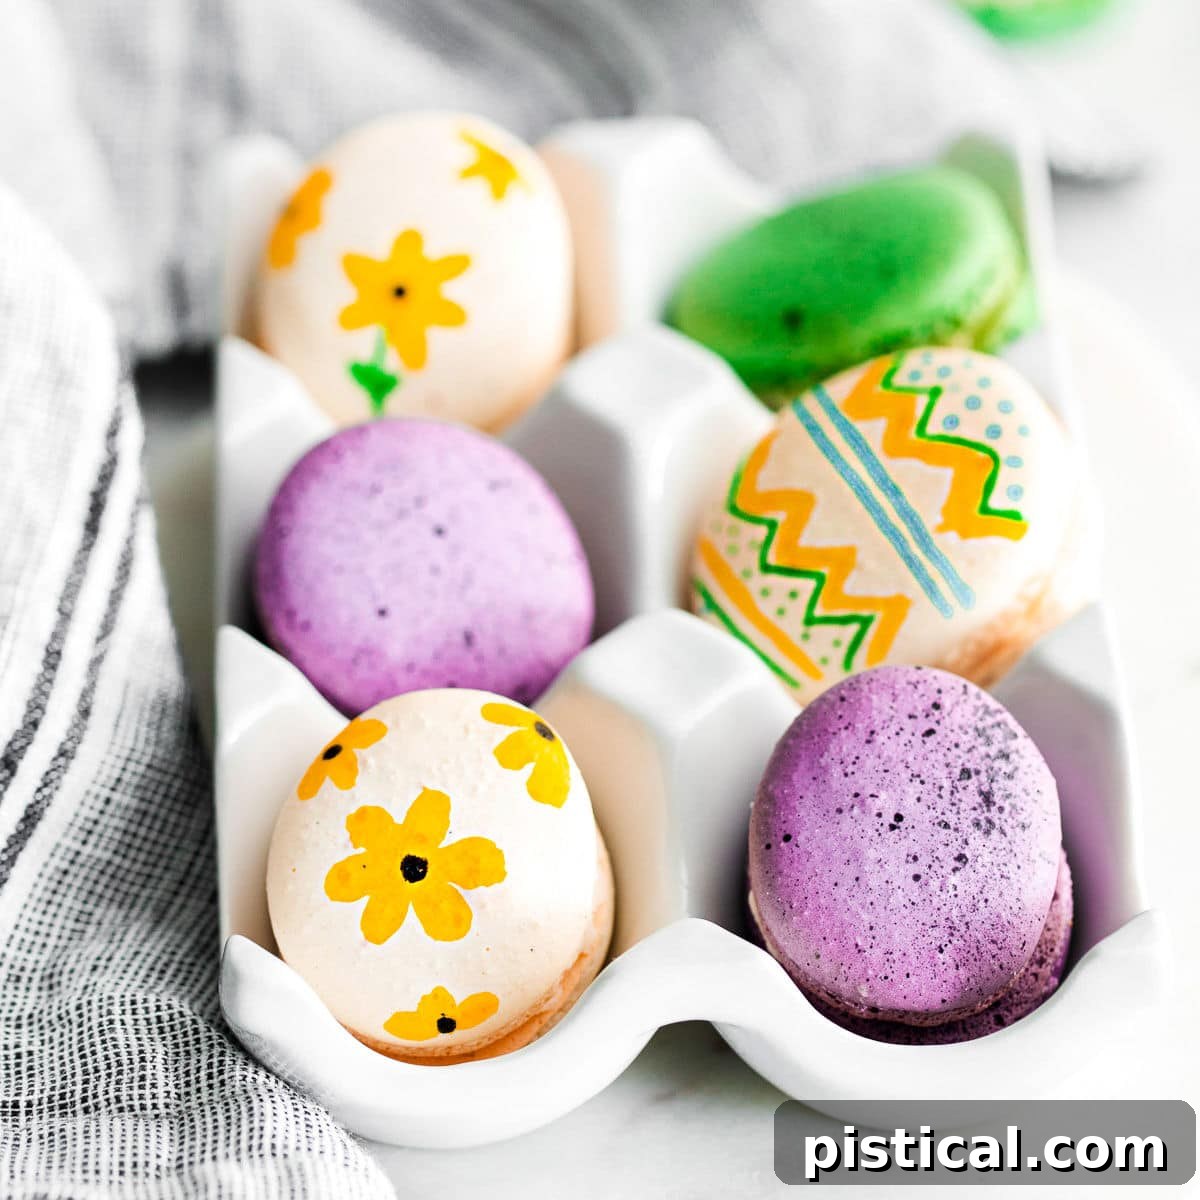
Welcome to a delightful Easter treat that combines elegance with festive charm: Easter Macarons! These exquisite French pastries, lovingly shaped and decorated like colorful Easter Eggs, are destined to be the crowning glory of your holiday dessert table. Forget ordinary sweets; these vibrant, delicate French macarons offer a unique blend of crisp shell and creamy filling, making them an unforgettable Easter dessert. If you’re preparing for a joyful Easter celebration, consider adding these beautiful macarons to your menu, alongside other seasonal favorites like light and airy Coconut Macaroons or refreshingly cool Cream Cheese Mints.
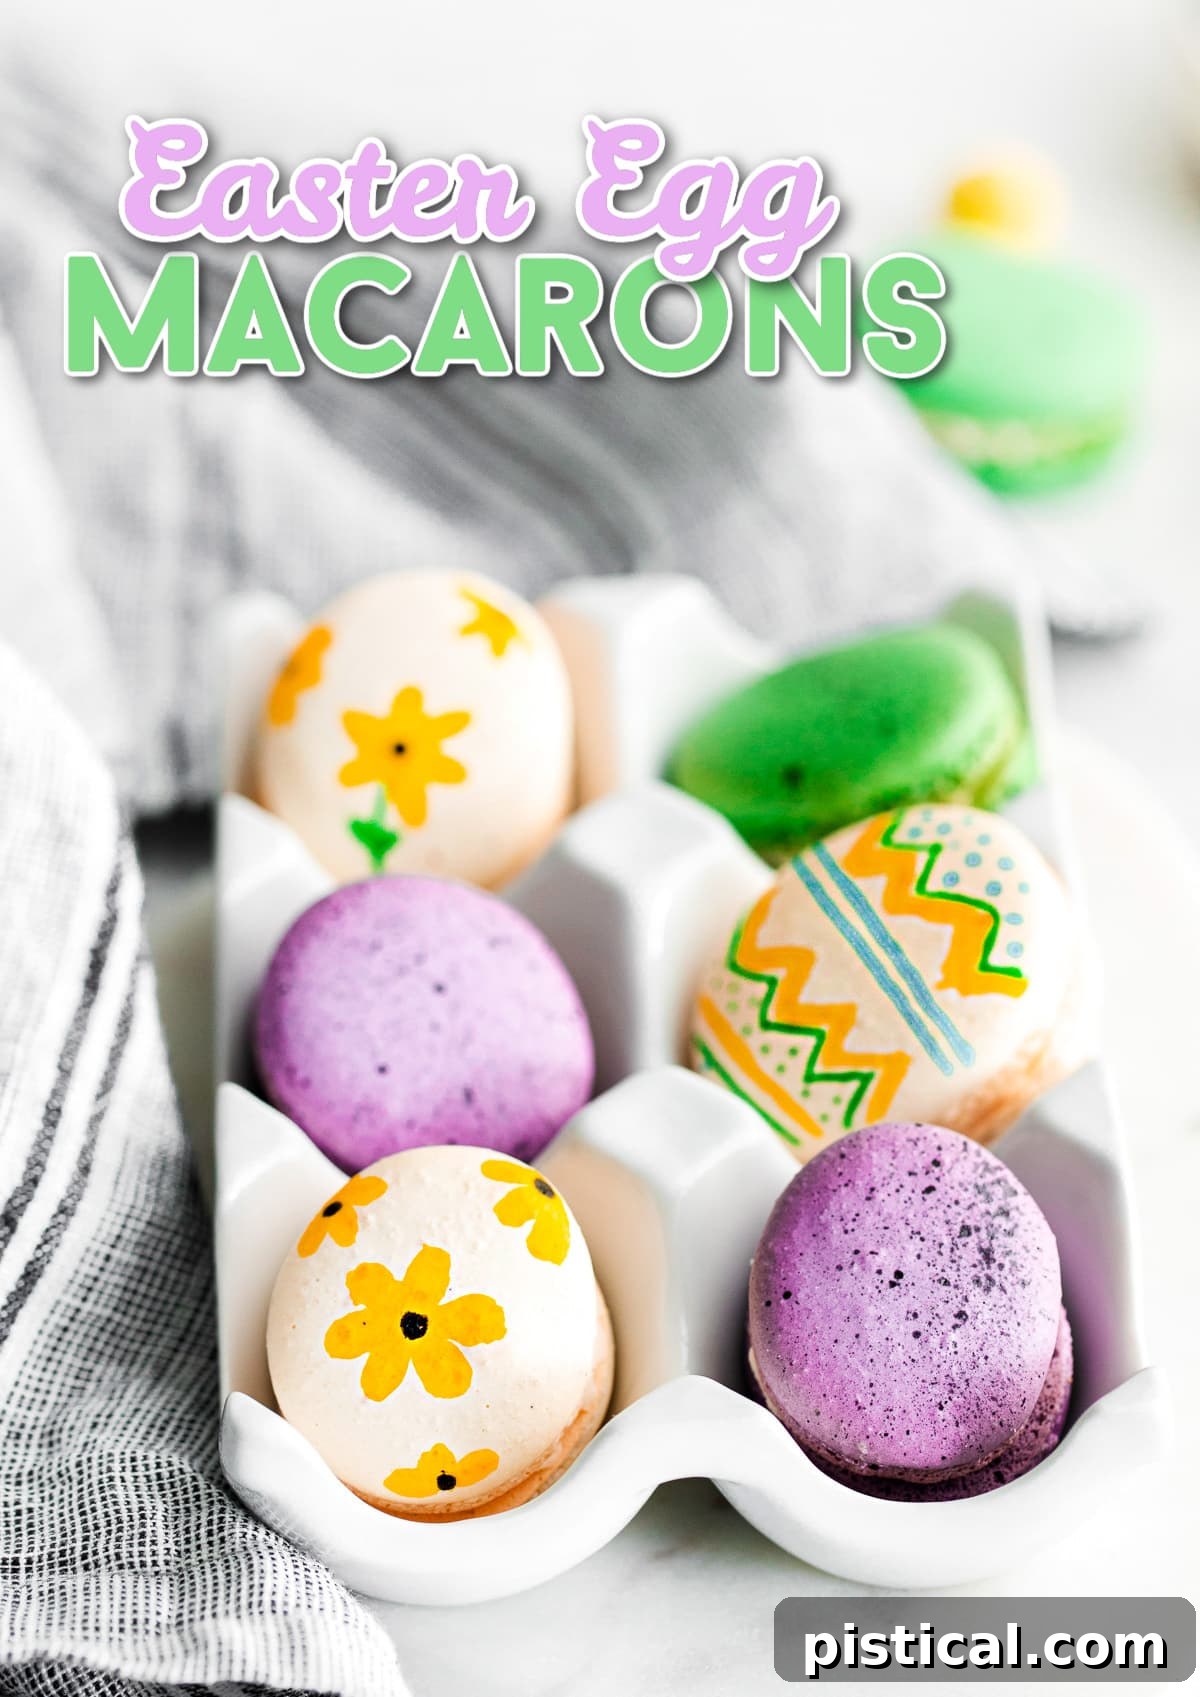
Just last month, we delved into the rich flavors of Irish Cream Macarons, a perfect indulgence for St. Patrick’s Day. Now, as spring unfolds and Easter approaches, we’re bringing you these enchanting Easter Egg Macarons. They are not only a joy to behold but also a true pleasure to create and savor. Each macaron is artfully shaped like an egg and then transformed into a miniature masterpiece with festive Easter decorations.
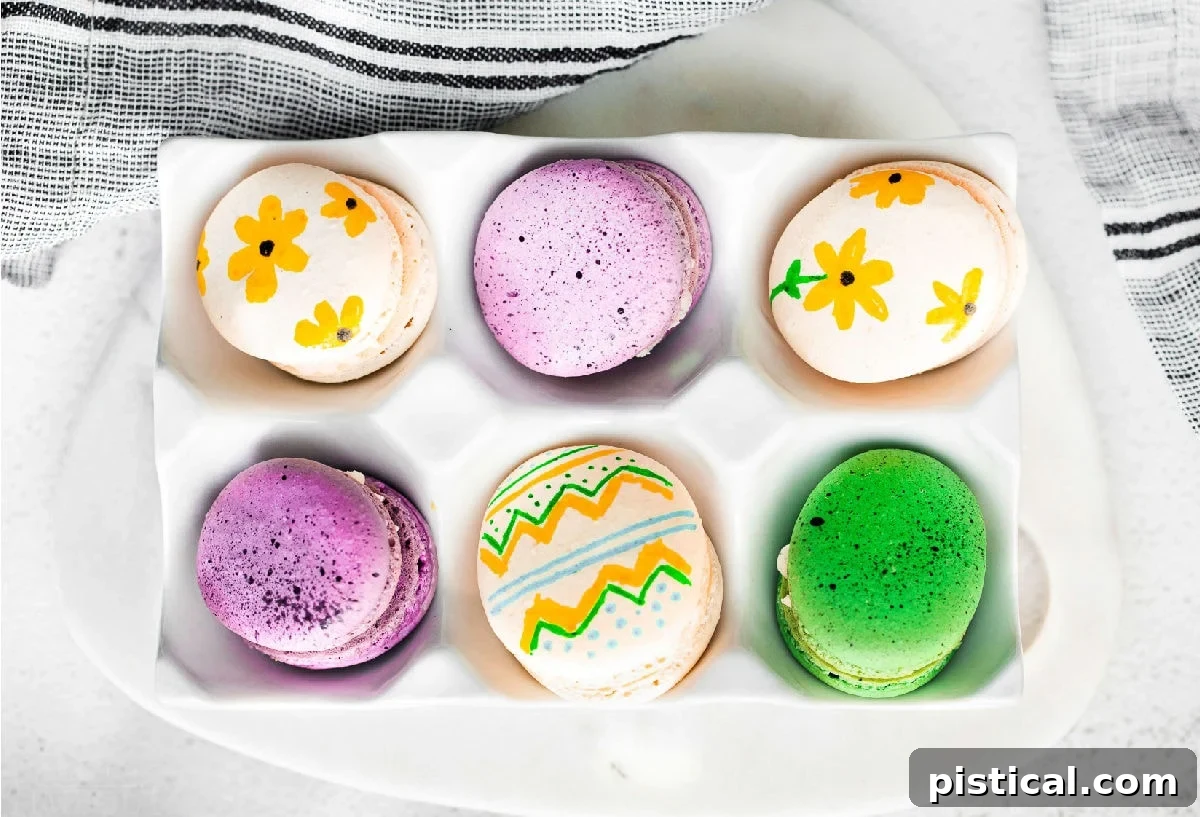
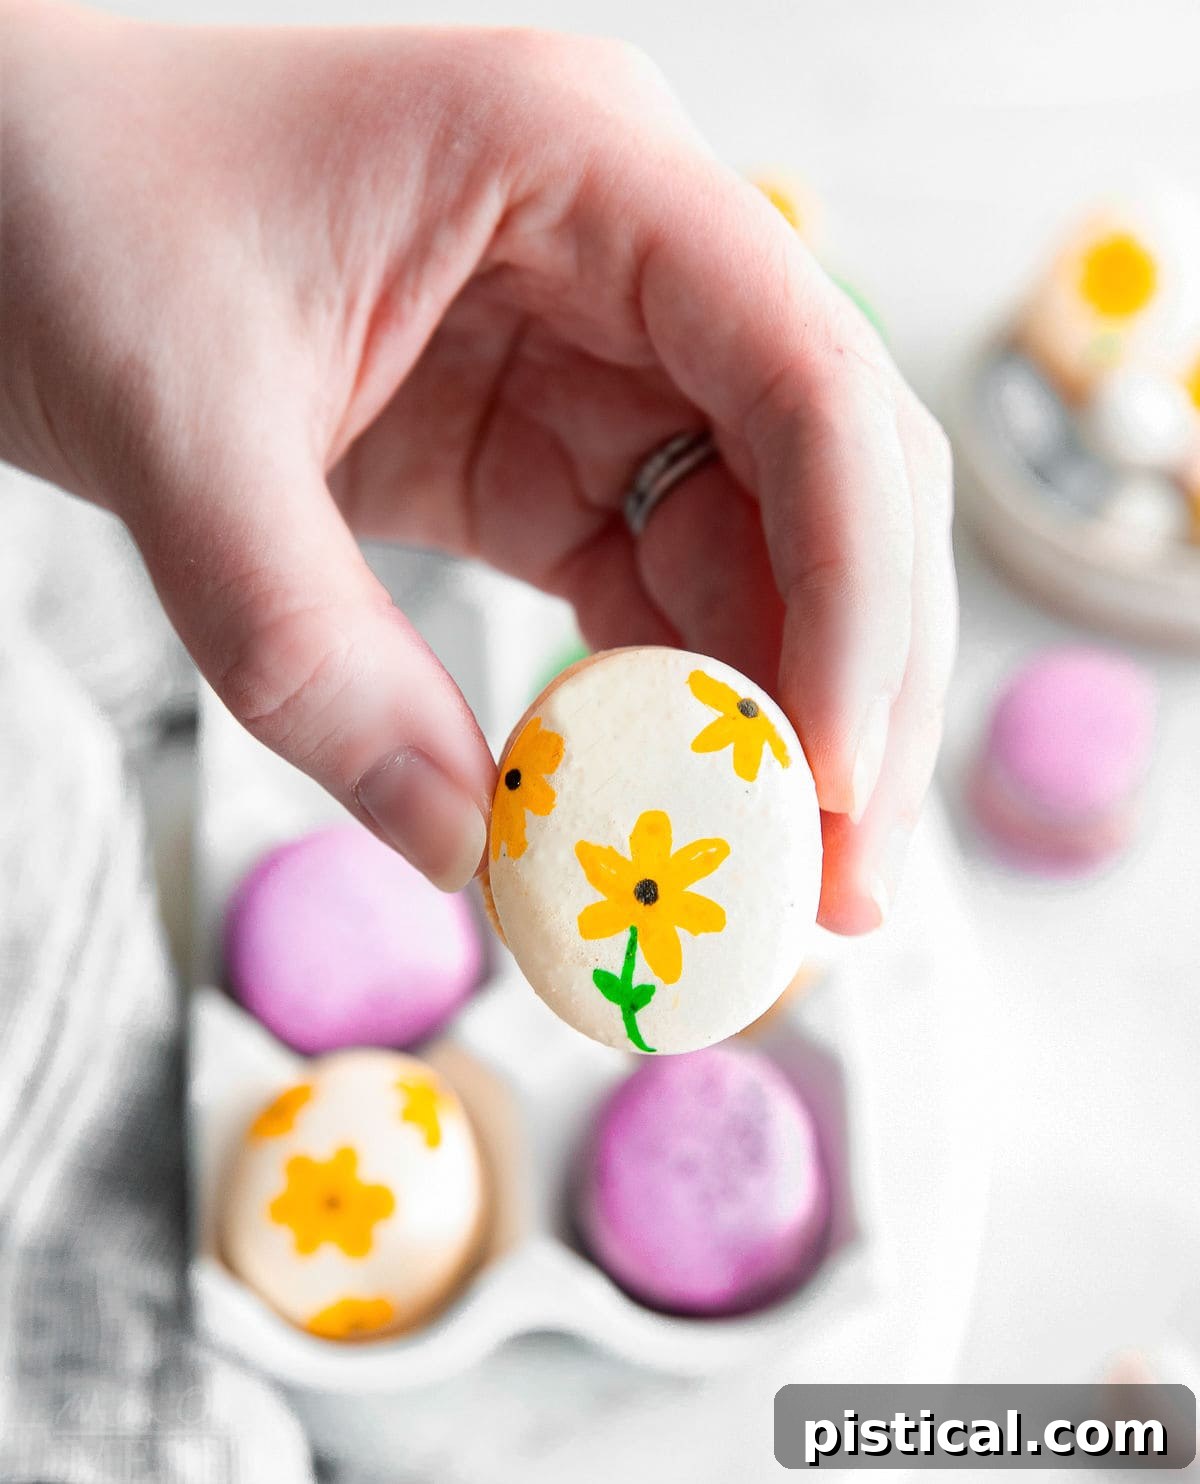
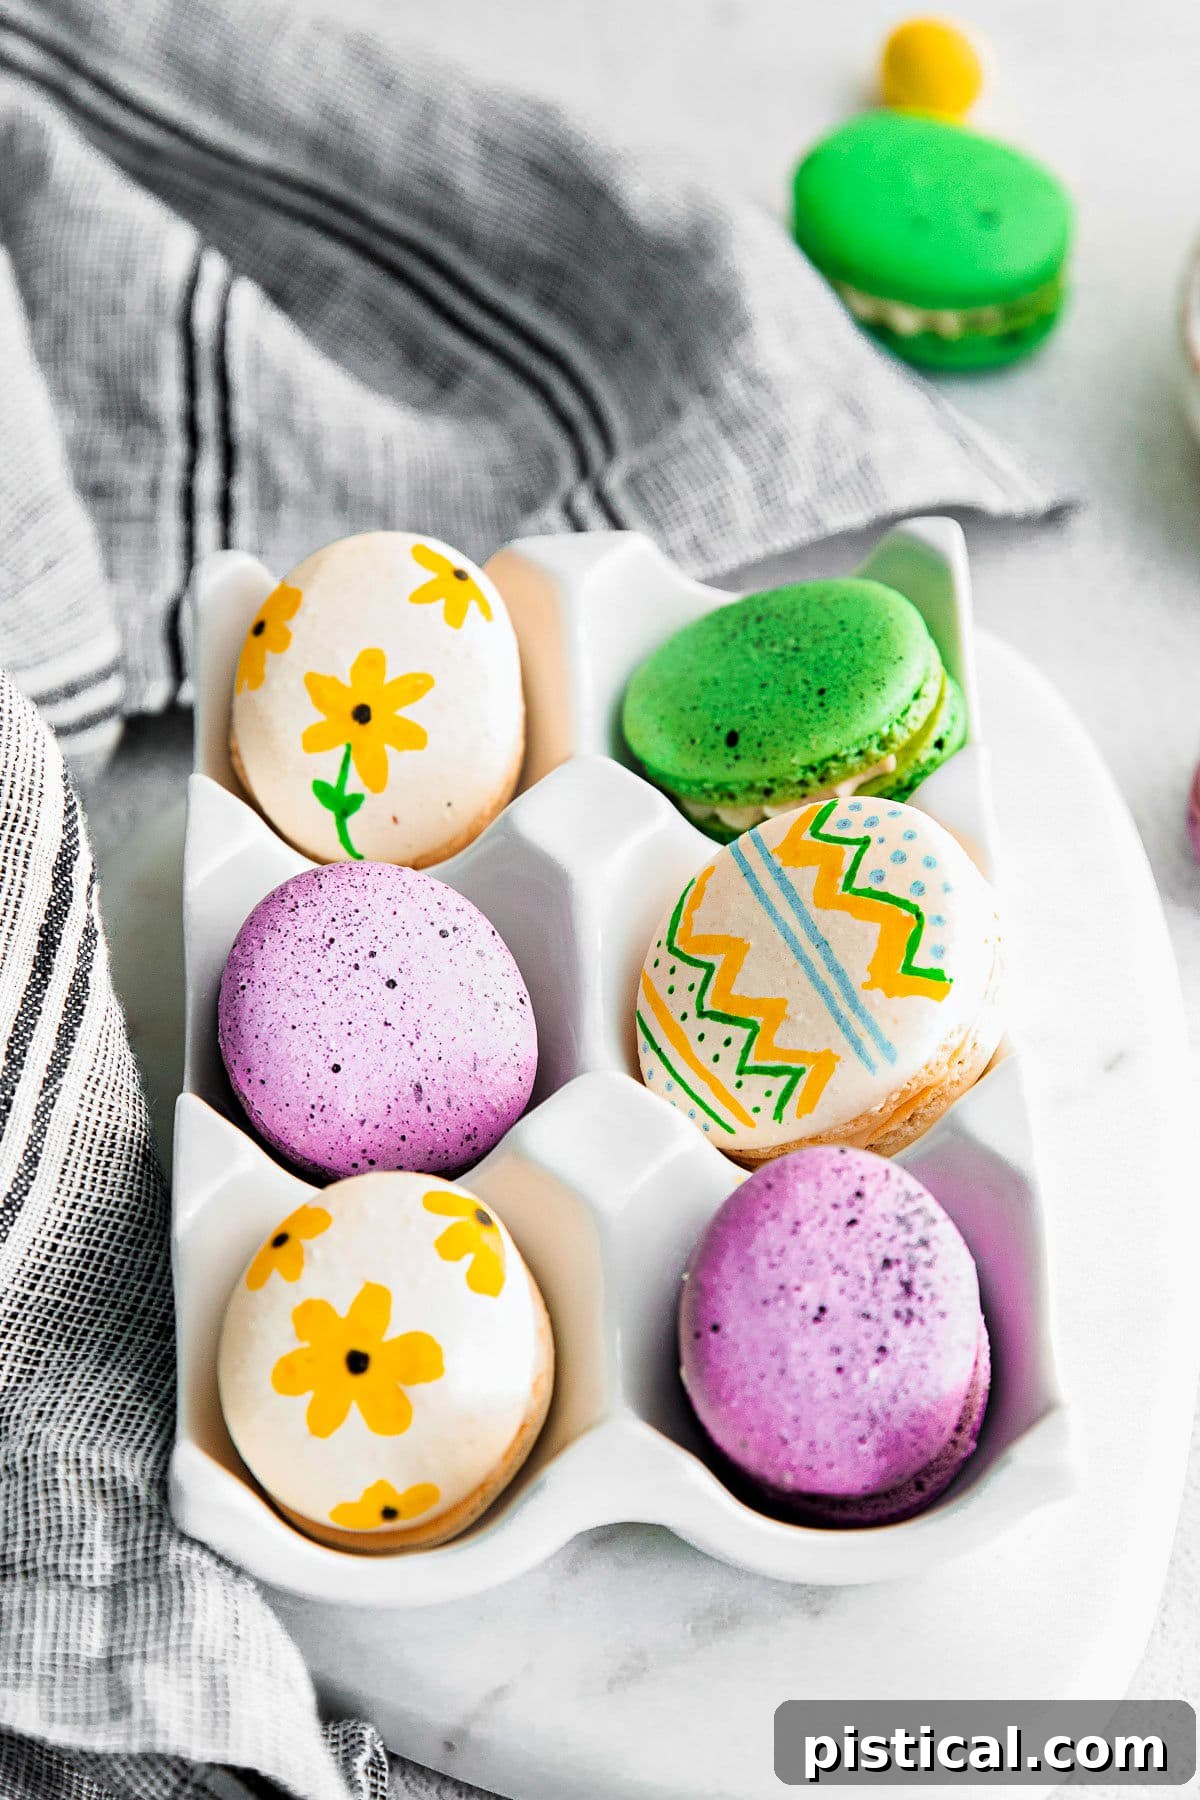
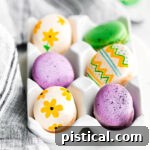
These delicious homemade macarons are almost too pretty to eat, yet their delicate crunch and smooth, flavorful filling will tempt you into taking that first delightful bite. To achieve their stunning Easter egg appearance, we utilize two distinct and creative decorating techniques:
- Food Coloring Pens: These specialized pens are a fantastic tool for adding intricate designs and vibrant colors to your macaron shells. Easily found in craft stores, major retail chains, or online, food-grade coloring pens allow for precise detailing, enabling you to create a beautiful array of uniquely decorated Easter macaron shells.
- Speckled Egg Effect: Inspired by the rustic charm of speckled robin’s eggs, this technique adds a whimsical touch. It’s the same method we employed for our popular Speckled Easter Cake. By splattering diluted gel food coloring onto the macaron tops using a pastry brush, you can achieve a charming, naturalistic look. *A crucial word of caution: Gel food coloring can stain! Always protect your work surfaces and clothing thoroughly before attempting this technique.*
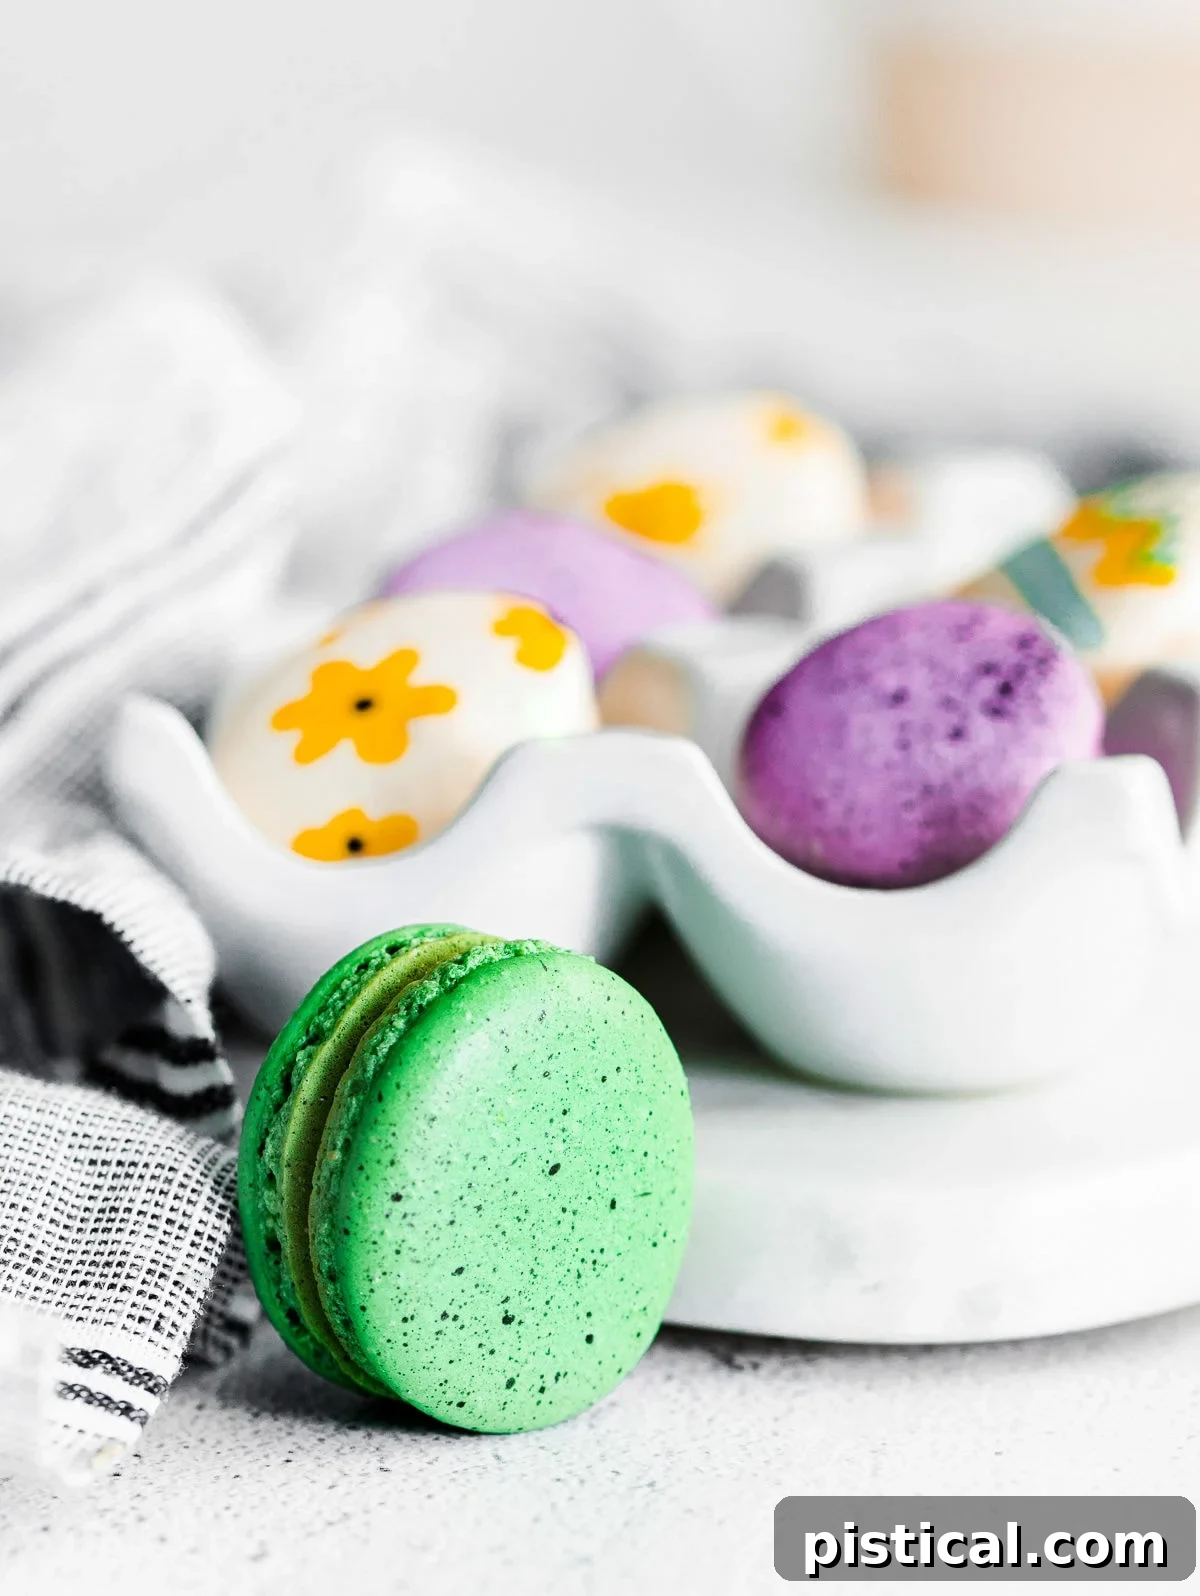
Easter Macarons: A Symphony of Flavor and Texture
Beyond their undeniable beauty, these Easter Egg Macarons are a testament to exquisite taste and delicate texture. The art of mastering French macarons involves a bit of precision and technique to achieve that signature crisp shell and luxuriously creamy middle. However, with our detailed, easy-to-follow instructions, you’ll be whipping up perfect batches in no time, impressing everyone with your newfound baking prowess. Each bite delivers a delightful contrast: the initial delicate crispness giving way to a soft, chewy interior, harmoniously complemented by the rich filling.
What Exactly Are Macarons?
Macarons are celebrated confections with a rich history, often debated to be either traditional French or Italian cookies. Their lineage traces back centuries, with recognizable forms appearing as early as the 19th century. These iconic treats are distinguished by their unique composition and delicate structure.
The delicate cookie shells themselves are primarily crafted from four essential ingredients: egg whites, granulated sugar, powdered sugar, and finely ground almond flour. The magic happens when these simple components are carefully combined and baked, resulting in a light, airy, and slightly chewy meringue-based cookie. The filling, which binds two shells together, offers endless possibilities for flavor creativity. For these festive Easter Macarons, we’ll be preparing a classic and universally loved simple vanilla buttercream, a perfect complement to the vibrant shells.
Essential Macaron Ingredients for Perfect Shells and Filling
The journey to crafting these exquisite French Macarons begins with a carefully selected, short, and sweet list of ingredients. Precision is key in macaron making, so ensuring you have the right components at hand is the first step toward success. You’ll find the full, printable recipe complete with exact measurements at the bottom of this post, but let’s first explore what you’ll need to create both the delicate shells and the luscious buttercream filling.
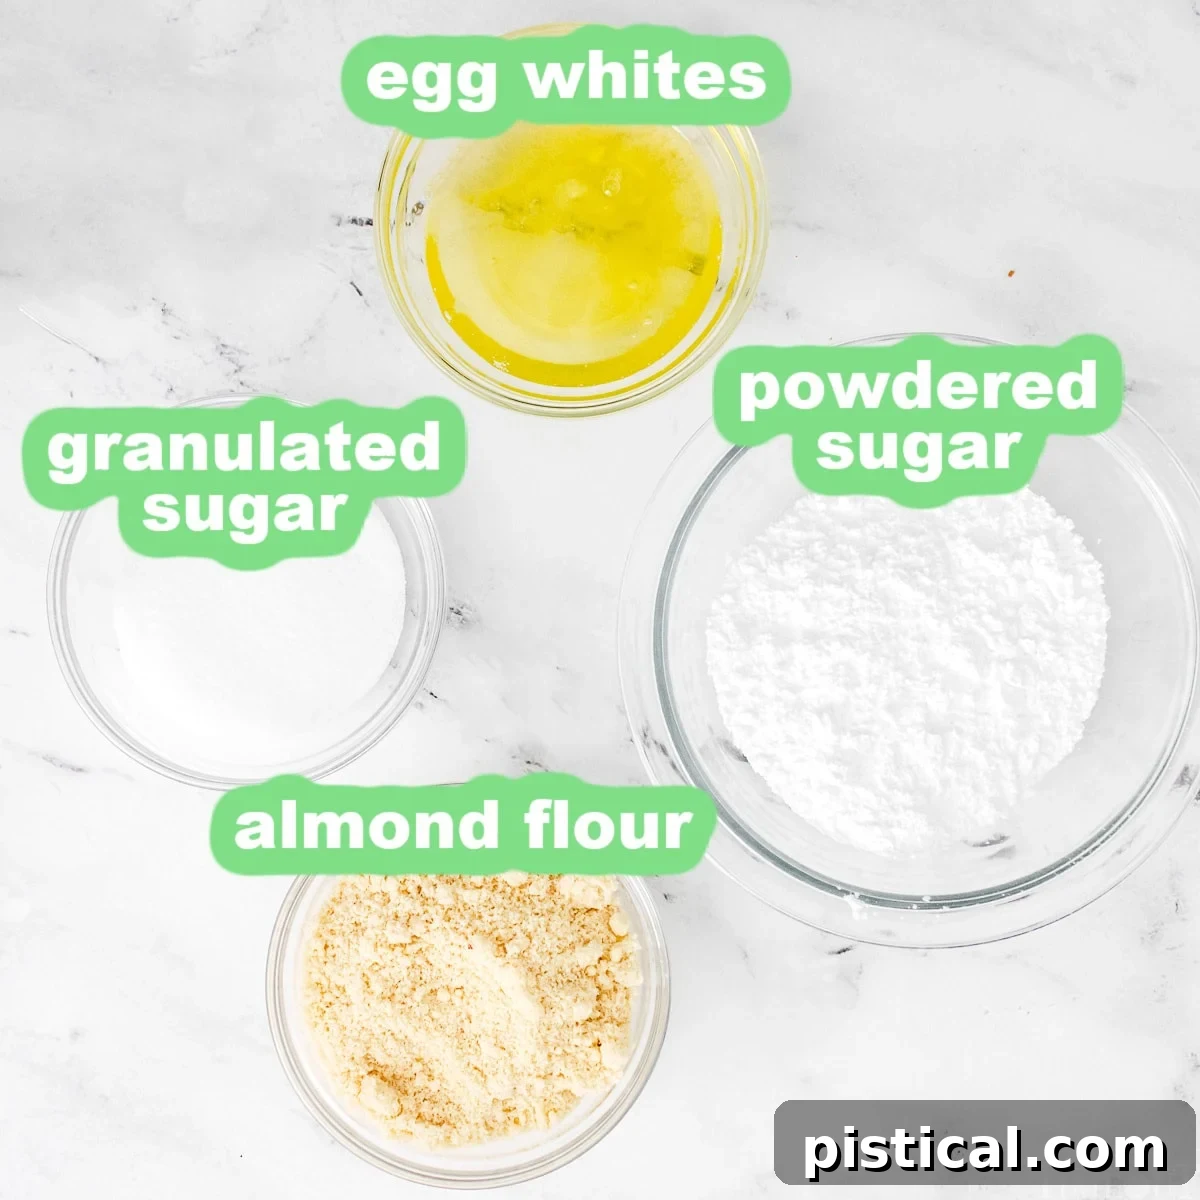
For the Delicate Macaron Shells, You’ll Need:
- Egg Whites: This is arguably the most critical ingredient for achieving the perfect macaron texture. For optimal whipping and meringue stability, it’s highly recommended to allow your egg whites to come to room temperature before use. This helps them whip up more easily and create a stable meringue structure.
- Granulated Sugar: Essential for stabilizing the egg whites and creating a glossy, firm meringue. It also contributes to the desired crispness of the shell.
- Powdered Sugar (Icing Sugar): This fine sugar plays a vital role in maintaining the shell’s light, airy, and sweet consistency. It’s important to sift it well with the almond flour to prevent lumps.
- Almond Flour: Blanched almond flour, ground very finely, is indispensable for giving macaron cookies their characteristic delicate flavor and unique, slightly chewy texture. Ensure it’s not almond meal, which is coarser and can lead to grainy macarons.
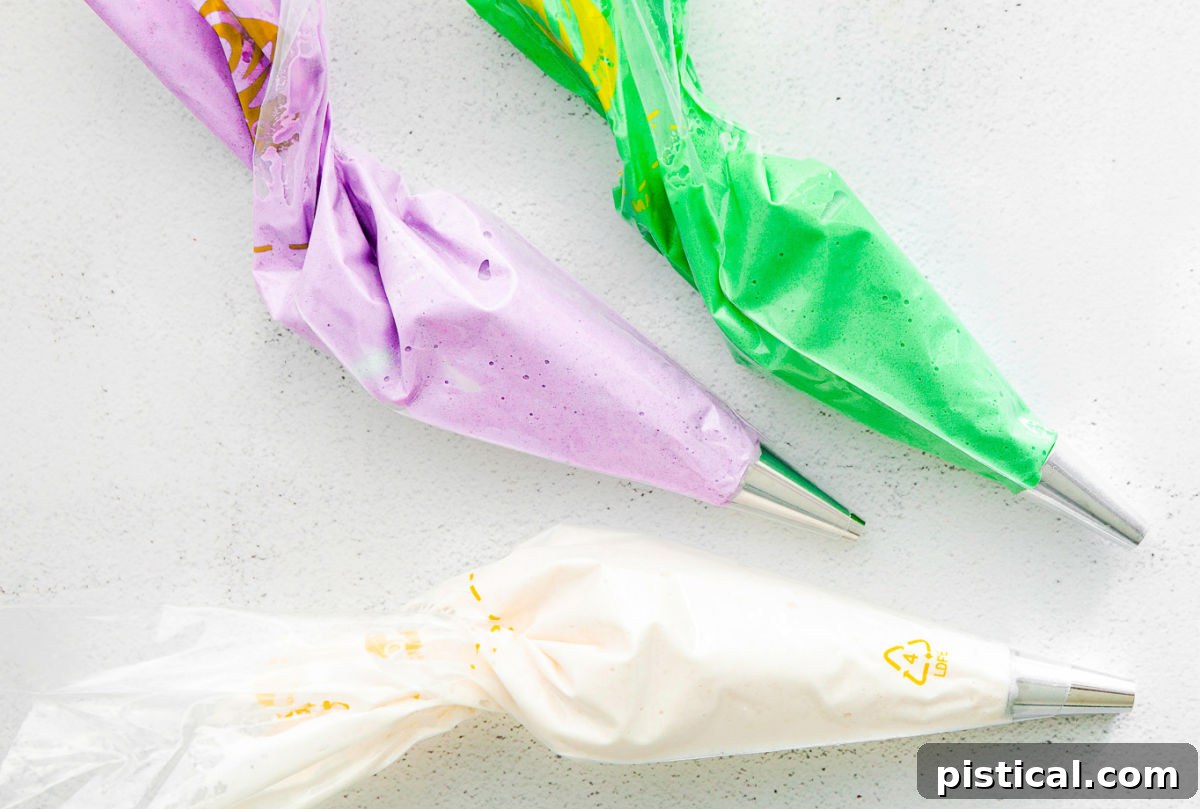
To infuse these Easter Egg macarons with their vibrant holiday hues, I suggest dividing your macaron batter into thirds. For a soft purplish-pink, combine one drop of purple and one drop of pink gel food coloring into one third of the batter. For a cheerful green, mix one drop of royal blue and one drop of yellow into another third. The remaining third can be kept pristine white for a classic look, or you can get creative with any other festive colors you desire. Remember, always use gel food coloring for the best results, as liquid food coloring can alter the batter’s consistency.
For the Decadent Vanilla Buttercream Filling:
- Unsalted Butter: The foundation of our rich and smooth buttercream filling. Ensure it’s softened to room temperature for easy beating and a creamy consistency.
- Powdered Sugar (Confectioners’ Sugar): Provides a delicate sweetness and helps create the silky-smooth texture characteristic of buttercream. Sifting is recommended to avoid lumps.
- Vanilla Extract: Infuses the buttercream with a warm, classic flavor that beautifully complements the macaron shells.
- Heavy Cream or Milk: Used sparingly, a tablespoon or two helps to adjust the buttercream’s consistency, thinning it to a pipeable texture if needed.
The Definitive Guide: How to Make Perfect French Macarons
Embarking on the journey of making perfect French macarons, whether it’s your inaugural attempt or your tenth, can feel daunting. But fear not! With a methodical approach and attention to detail, you absolutely can master these delicate cookies. Follow these straightforward steps precisely, and you will be rewarded with a batch of utterly delicious and aesthetically stunning French Macarons.
Step One: Crafting the Silky Macaron Batter (The Shells)
- First, prepare your baking sheets: Line two large baking sheets with silicone baking mats or high-quality parchment paper. If using parchment, ensure it lies perfectly flat to prevent lopsided macarons; a tiny bit of batter under the corners can help secure it.
- Set up a bain-marie: Fill a small saucepan halfway with water and place it over medium heat, bringing it to a gentle simmer. Position a heatproof bowl over the saucepan, ensuring the bottom of the bowl does not touch the simmering water.
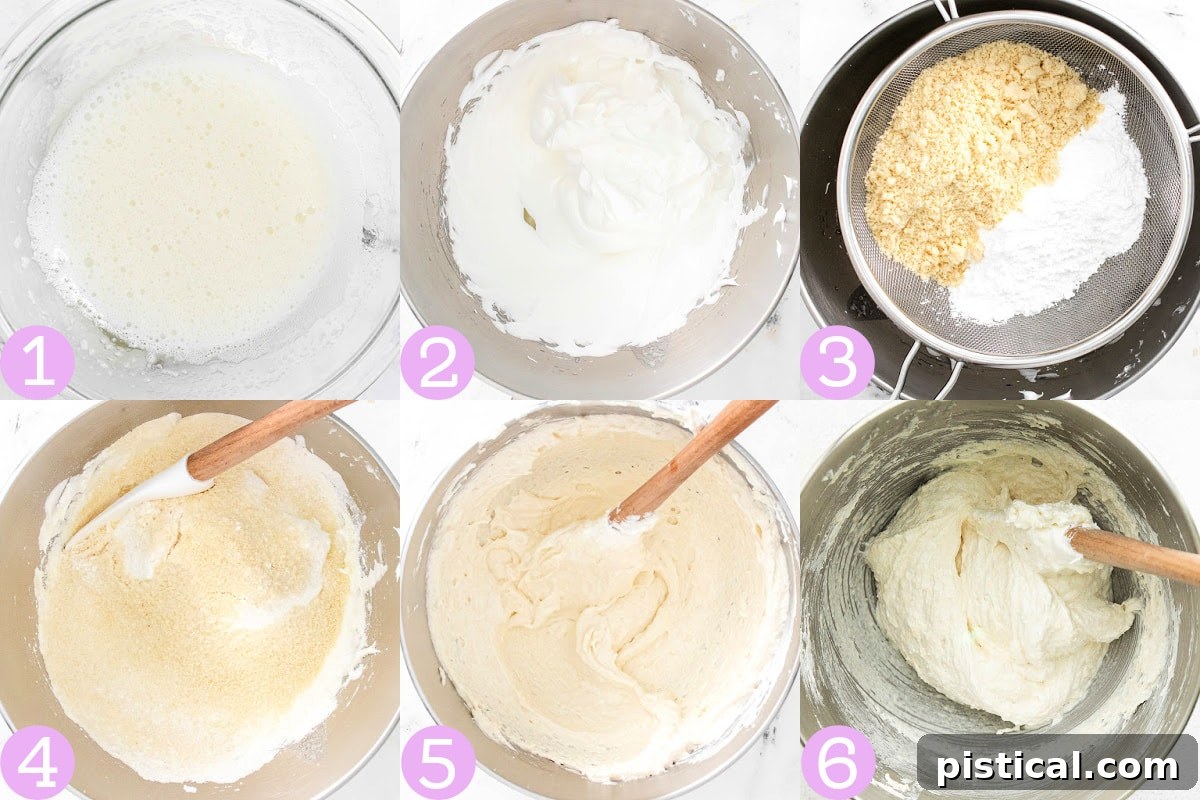
- Warm the egg whites and sugar: Add your room temperature egg whites and granulated sugar to the bowl over the bain-marie. Whisk continuously and gently for about 2 minutes, or until the sugar has completely dissolved. You can test this by rubbing a small amount of the mixture between your fingers; it should feel smooth, not grainy.
- Whip to stiff peaks: Transfer the warmed egg white mixture to the clean, dry bowl of a stand mixer fitted with the whisk attachment. Beat on medium-high speed for approximately 5 minutes, or until the mixture forms stiff, glossy peaks. When you lift the whisk, the peak should stand tall and firm without collapsing.
- Sift the dry ingredients: Carefully sift the powdered sugar and almond flour together into a separate bowl. This step is crucial for achieving smooth macaron shells, free of lumps.
- Begin the macaronage: Add the sifted dry ingredients to the whipped egg whites. Gently begin to fold the dry ingredients into the egg whites using a spatula, employing a “cut and fold” motion. At this initial stage, be careful not to deflate the meringue too much; focus on incorporating the ingredients. Scrape down the sides of the bowl frequently.
- Add color (optional): Once the dry ingredients are mostly incorporated, if you’re using gel food coloring, now is the time to add it. (Refer to the recipe card notes for color suggestions.)
- Perfect the macaronage: Continue folding the meringue, but now introduce a gentle “smushing” technique. Press the batter against the sides of the bowl in a circular motion, then scrape it down and fold it back into the center. Repeat this deflating process. The goal is to reach the perfect consistency where the batter flows smoothly off the spatula, often described as having a “lava-like” flow. This process typically takes about 5-8 smush and fold repetitions, but it truly depends on the initial stiffness of your meringue and how much you deflate it each time.
- Test the consistency (the “Figure 8” test): A reliable way to check if your batter is ready is to lift your spatula and slowly draw a figure “8” with the flowing batter. If the batter flows continuously off the spatula, allowing you to complete an “8” without breaking, it’s perfect for piping! If it breaks or falls in clumps, continue with a few more smushes and folds until the desired consistency is achieved. Patience here is key to beautifully smooth macaron shells.
Step Two: Piping and Baking Your Macarons to Perfection
- Prepare for piping: Transfer the perfectly mixed macaron batter into a piping bag fitted with an open round tip. A #12 piping tip or #10 tip is ideal for consistent sizing.
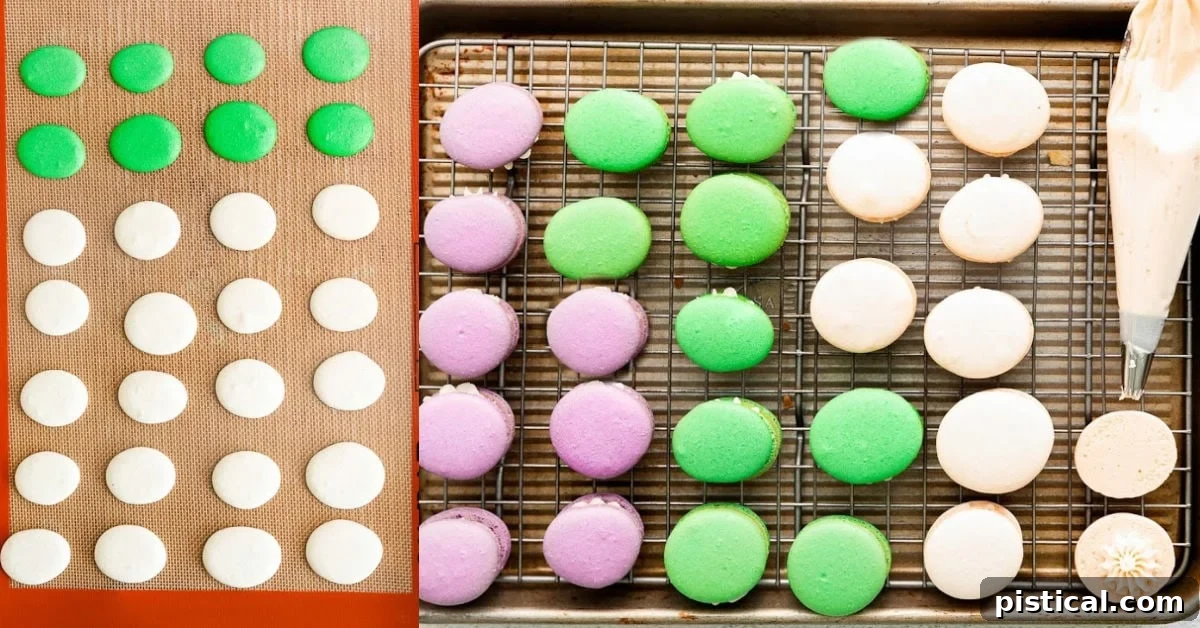
- Pipe the shells: Holding the piping bag strictly perpendicular (straight up) to the baking surface, pipe 1-inch circles or delicate egg shapes, spacing them about 2 inches apart. Using a silicone macaron mat with pre-drawn circles is incredibly helpful for maintaining uniform size and shape.
- Release air bubbles: Once a tray is piped, firmly tap the baking sheet on the counter five or six times, or drop it straight down from a few inches. This crucial step helps release any trapped air bubbles, which can cause cracking during baking. Repeat for the second tray. You’ll notice the piped shells flatten slightly.
- Rest and develop a “skin”: Allow the piped macaron shells to rest at room temperature for approximately 30 minutes to an hour, or until the tops feel dry to the touch. This “drying” process forms a slight skin, which is essential for the characteristic “feet” (pieds) to form during baking and prevents the shells from cracking.
- Preheat your oven: While the shells are resting, preheat your oven to 325°F (160°C). Using an oven thermometer is highly recommended, as accurate oven temperature is paramount for macaron success. Many home ovens run hotter or colder than indicated.
- Bake the shells: Bake one baking sheet at a time for 12 to 15 minutes. Rotate the baking sheet halfway through baking if your oven bakes unevenly. The macarons are done when they do not wobble or jiggle when you gently nudge the baking sheet.
- Cool completely: Allow the baked macarons to cool completely on the baking sheet before attempting to remove them. Rushing this step can cause them to break or leave their “feet” behind.
Step Three: Creating the Luscious Vanilla Buttercream Filling
- Beat the butter: In the bowl of a stand mixer fitted with the paddle attachment, beat the softened butter on medium speed for about 2 minutes, until it becomes light in color and fluffy.
- Combine with powdered sugar: Reduce the mixer speed to low and gradually add the powdered sugar, a little at a time, until fully incorporated. Add the vanilla extract and mix until just combined.
- Adjust consistency: If the buttercream appears too thick, beat in a tablespoon of heavy cream or milk until it reaches a smooth, pipeable consistency. Avoid adding too much liquid, as this can make the buttercream too runny.
- Prepare for piping: Transfer the finished buttercream mixture to a piping bag fitted with a piping tip of your choice. Set aside until the macaron shells are ready.
Step Four: Assemble, Decorate, and Age Your Easter Macarons
- Pair the shells: Carefully match macaron shells of similar sizes. This ensures a professional appearance and helps prevent filling from oozing out.
- Fill the macarons: Pipe a small dollop of the vanilla buttercream filling onto the flat side of one macaron shell. Gently place another matched shell on top, pressing just lightly until the filling reaches the edges.
- Decorate with flair: Now for the fun part! Use food coloring pens to draw intricate patterns, swirls, or dots on your Easter Egg macarons. Alternatively, use melted white chocolate for elegant drizzles or designs. For the whimsical speckled egg effect, combine 1 teaspoon of water with a few drops of black gel food coloring. Using a stiff pastry brush, carefully splatter the diluted dye onto the macaron shells. *Remember the warning: protect all surfaces and clothing from staining!*
- Age for optimal flavor and texture: Place the assembled and decorated macarons in an airtight container and refrigerate them overnight. This aging process is not strictly optional; it allows the filling’s moisture to soften the crisp shell, creating that perfectly chewy, melt-in-your-mouth texture that macarons are famous for, while also letting the flavors meld beautifully.
- Serve at room temperature: Before serving, bring the macarons to room temperature for about 30 minutes to an hour. This ensures the buttercream filling is soft and creamy, enhancing the overall experience.
Frequently Asked Questions About Macarons
Making macarons can sometimes raise a few questions. Here are answers to some of the most common queries to help you achieve macaron perfection:
How do I properly store macarons?
To maintain their optimal freshness, delicate texture, and exquisite flavor, your homemade French macarons should be stored in an airtight container in the refrigerator. When stored correctly, they will remain fresh and delightful for up to 4 days.
Why are my macarons turning out lopsided?
A common culprit for lopsided macarons is the angle at which you hold your piping bag. To create perfectly round and evenly shaped macaron shells every time, always hold the piping bag strictly perpendicular (straight up and down) to your baking sheet while piping. Piping at an angle can cause the batter to spread unevenly. While they’ll still be delicious, paying attention to your piping technique will help achieve that picture-perfect aesthetic.
Is it really necessary to age macarons overnight?
While you can certainly enjoy your macarons the day they are made, the overnight aging step is highly recommended and truly transformative! Aging macarons overnight allows the moisture from the filling to slowly migrate into the macaron shell. This process softens the crisp shell, resulting in the perfectly chewy, slightly melt-in-your-mouth texture that is the hallmark of a truly great macaron. It also allows the flavors of the shell and filling to meld beautifully, creating a more harmonious and delicious treat.
Trish’s Top Tips for Macaron Mastery
Achieving macaron perfection often comes down to a few key techniques and considerations. Here are some of my best tips to help you succeed:
Beat those egg whites to stiff peaks.
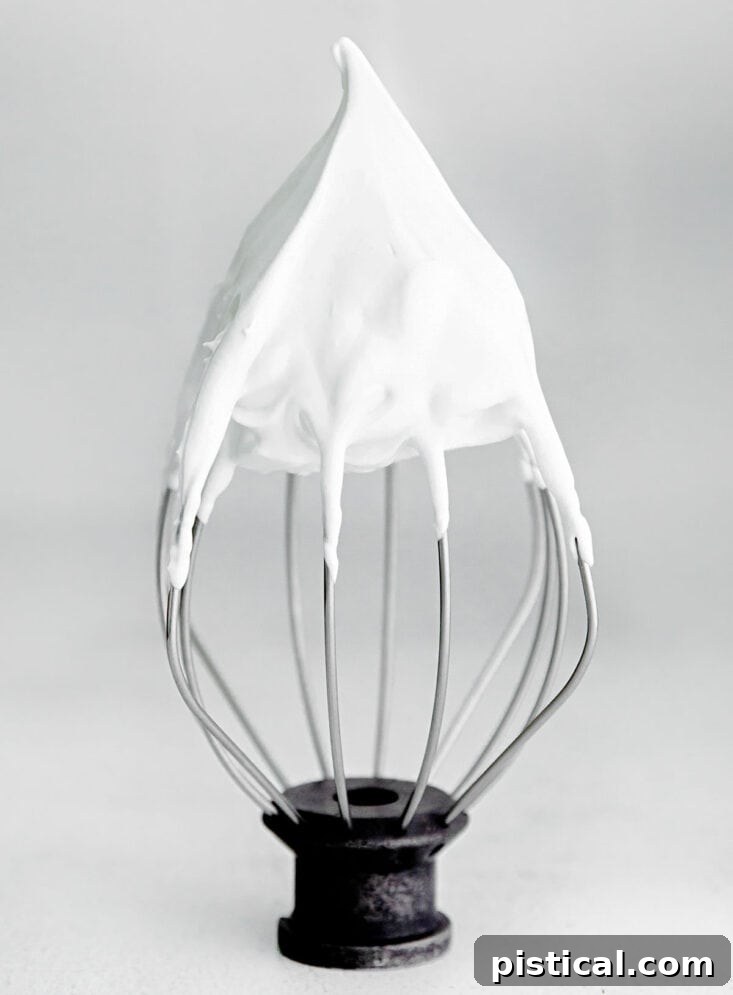
The foundation of a great macaron is a perfectly whipped meringue. It is absolutely vital to beat your egg whites until they form stiff, glossy peaks. This means when you lift the whisk, the peak of the meringue should stand firm and tall without falling over or drooping to one side. A stable meringue provides the necessary structure for your macaron shells.
Embrace the silicone baking mat. Silicone baking mats are truly a game-changer for macaron makers of all skill levels. They provide a non-stick surface that helps prevent sticking and promotes even baking. Many silicone macaron mats even come with pre-printed circles, which are incredibly helpful for piping uniformly sized macarons, ensuring consistency across your batch. An advanced trick is to place one of these mats beneath a piece of parchment paper; you can see the outline of the circles through the parchment, offering a guiding template. Some experienced macaron bakers prefer parchment paper for its super slick surface, but silicone mats provide excellent stability.
Allow macarons to sit out before indulging. While storing macarons in the refrigerator is essential, bringing them to room temperature for about an hour before serving significantly enhances their texture and flavor. The shells soften slightly, and the filling becomes more yielding and creamy, providing the ultimate macaron experience.
Match up shell sizes before assembly.
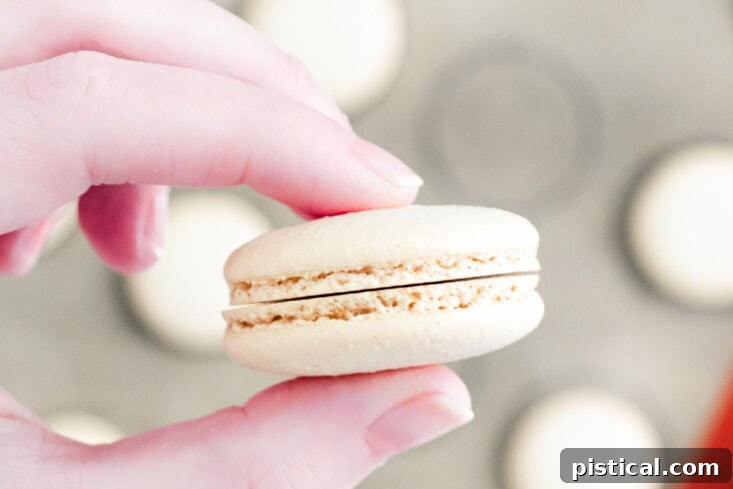
After your macaron shells have cooled, take a few moments to carefully match them up into similar-sized pairs before you begin filling. This small step makes a significant difference in the final presentation, giving your assembled macarons a more professional and polished appearance and ensuring that the filling is evenly distributed without oozing out.
Exciting Macaron Variations to Spark Your Creativity
Once you’ve mastered the basic macaron technique, the possibilities for customization are endless! Here are a few ideas to inspire your next batch of these delightful treats:
- Decorative Touches: Unleash your inner artist! Beyond food coloring pens, get creative by drizzling melted dark or white chocolate over your finished macarons, then sprinkle with edible glitter or colorful sprinkles for an extra festive touch.
- Flavorful Fillings: Experiment with different buttercream flavors for the filling. Swap out vanilla extract for almond, lemon, strawberry, pistachio, or coffee extract to create a whole new flavor profile. You can also incorporate fruit purees or melted chocolate into your buttercream.
- Vibrant Buttercream: Don’t limit the color to just the shells! You can also tint your buttercream filling with gel food coloring for a striking contrast or a harmonious blend of colors. Imagine green shells with a pale pink filling, or white shells with a rainbow swirl of buttercream!
More Delicious Easter Recipes to Explore
If you’re looking to expand your Easter feast with more delightful treats, check out these other festive recipes:
- Three Minute Easter Fluff
- Easter Chocolate Chip Cookies
- To Die For Carrot Cake
- Best Coconut Cream Pie
- Watergate Salad (Pistachio Fluff)
- Speckled Egg Easter Cake
How To Make Easter Macarons: The Full Recipe
Print Recipe
Pin Recipe
Easter Egg French Macarons
Ingredients
For the Shell
- 90 grams egg whites
- 90 grams granulated sugar
- 95 grams powdered sugar
- 95 grams almond flour finely ground
For the Filling
- 8 tablespoons salted butter softened
- 2 ¼ cups powdered sugar
- 1 teaspoon vanilla extract
Instructions
Prepare the Shells
-
Line two half sheet baking sheets with silicone baking mats or parchment paper. (If you wish to use parchment, make sure the parchment lays perfectly flat so you don’t end up with lopsided macarons. You can tape the parchment temporarily to help keep it secure while piping and then remove the tape before baking.)
-
Fill a small saucepan halfway with water and set it over medium heat. Then, place a heatproof bowl over the pan, making sure it doesn’t touch the water.
-
Add the egg whites and granulated sugar to the bowl and whisk constantly until the sugar has completely dissolved. This will take about 2 to 3 minutes. (Test to make sure the sugar is dissolved by rubbing the mixture between your fingers. If it’s smooth, it’s ready to go. If the mixture feels grainy or sandy, keep whisking for another minute or so and then try again.)
-
Transfer the egg white mixture to a clean, dry bowl of a stand mixer fitted with the whisk attachment. Beat on medium high until the mixture forms stiff peaks, about 5 minutes.
-
Sift the powdered sugar and almond flour into the egg whites.
-
Gently fold the mixture together, making sure to scrape down the sides of the bowl as you fold. Take your time and be careful that you are not deflating the egg whites just yet.
-
Gently fold the dry ingredients into the egg whites, making sure not to deflate the egg whites. Make sure to scrape the sides of the bowl as you fold.
-
Once all of the dry ingredients have been incorporated into the egg whites, add the gel food coloring, if using. (see notes below) Continue folding the meringue but this time begin gently smushing the batter against the sides of the bowl in a circular motion, then scrape down the sides of the bowl and fold it all back together. Repeat this deflating process until the batter flows smoothly off the spatula. (On average this takes about 5 smush and folds but will be dependent on how much you deflate the egg whites each time.)
-
You can test the batter’s consistency by slowly drawing a figure 8 with the batter. If the you can make an “8” with the batter flowing off the spatula in a constant stream, it’s ready! If it breaks or falls in clumps, smush and fold a few more times until the desired consistency is achieved.
-
When the meringue flows smoothly, transfer the mixture to a piping bag fitted with an open round tip. A #12 piping tip or #10 tip works perfectly.
-
Pipe 1” circles or egg shapes about 2” apart holding the piping bag perpendicular to the surface. Using a silicon macaron mat will help with this step. Once you’ve finished piping one tray, tap the tray firmly on the counter or drop straight down onto the counter five or six times to release any air bubbles. Repeat for the second tray. The shells will flatten slightly.
-
Let the shells rest for about 30 minutes or until the tops feel dry to the touch (this is called developing a skin). This can take up to an hour.
-
While the shells rest, preheat your oven to 325°F (you can check the oven temperature using an oven thermometer – this is especially helpful if you think your oven runs a little hot).
-
Bake the shells one baking sheet at a time for 12 to 15 minutes, rotating the baking sheet halfway through if necessary. The shells are done when they don’t move or jiggle about when the baking sheets are moved. Allow the macarons to cool before removing them from the tray.
Prepare the Vanilla Buttercream Filling
-
In the bowl of a stand mixer, beat butter until it has lightened in color, about 2 minutes.
-
Reduce the speed to low and slowly add the powdered sugar. Add the vanilla extract and mix until combined. If the buttercream seems too thick, beat in a tablespoon of heavy cream or milk.
-
Transfer the mixture to a piping bag fitting with a piping tip of your choosing and set aside.
Assemble and Age
-
Place the macarons in similar sized pairs. Pipe a small dollop of filling on one macaron and place another on top. Press gently, just until the filling reaches the edges.
-
To decorate the macarons, use food markers or white chocolate to draw on the macarons. To make the speckled egg macarons, combine 1 teaspoon of water with a few drops of black gel food coloring and use a pastry brush to splatter the food dye on the macarons. Be very careful not to get the food color on any surfaces, clothes, etc. It stains! Make sure to protect all surfaces!
-
Place the macarons in an airtight container in the refrigerator to age overnight. Bring to room temperature before serving. Store in the fridge for up to four days.
Notes
- Hold piping bag perpendicular to the baking sheet while piping. Holding it at an angle can result in lopsided macarons.
- Aging the macarons overnight is optional but helps to soften the shell and create that perfect crisp and chewy macaron texture that macarons are known for.
- To color the Easter Egg macarons, I divided the batter into thirds. One third I colored purplish pink (one drop of purple, one drop of pink), one third I colored green (one drop of royal blue and one drop of yellow) and the remaining third I kept white. You can, of course color these macarons with any colors you wish – just make sure to use gel food coloring!
Nutrition
|
Carbohydrates: 20g
|
Protein: 1g
|
Fat: 6g
|
Saturated Fat: 3g
|
Trans Fat: 1g
|
Cholesterol: 10mg
|
Sodium: 40mg
|
Potassium: 8mg
|
Fiber: 1g
|
Sugar: 19g
|
Vitamin A: 117IU
|
Calcium: 10mg
|
Iron: 1mg