
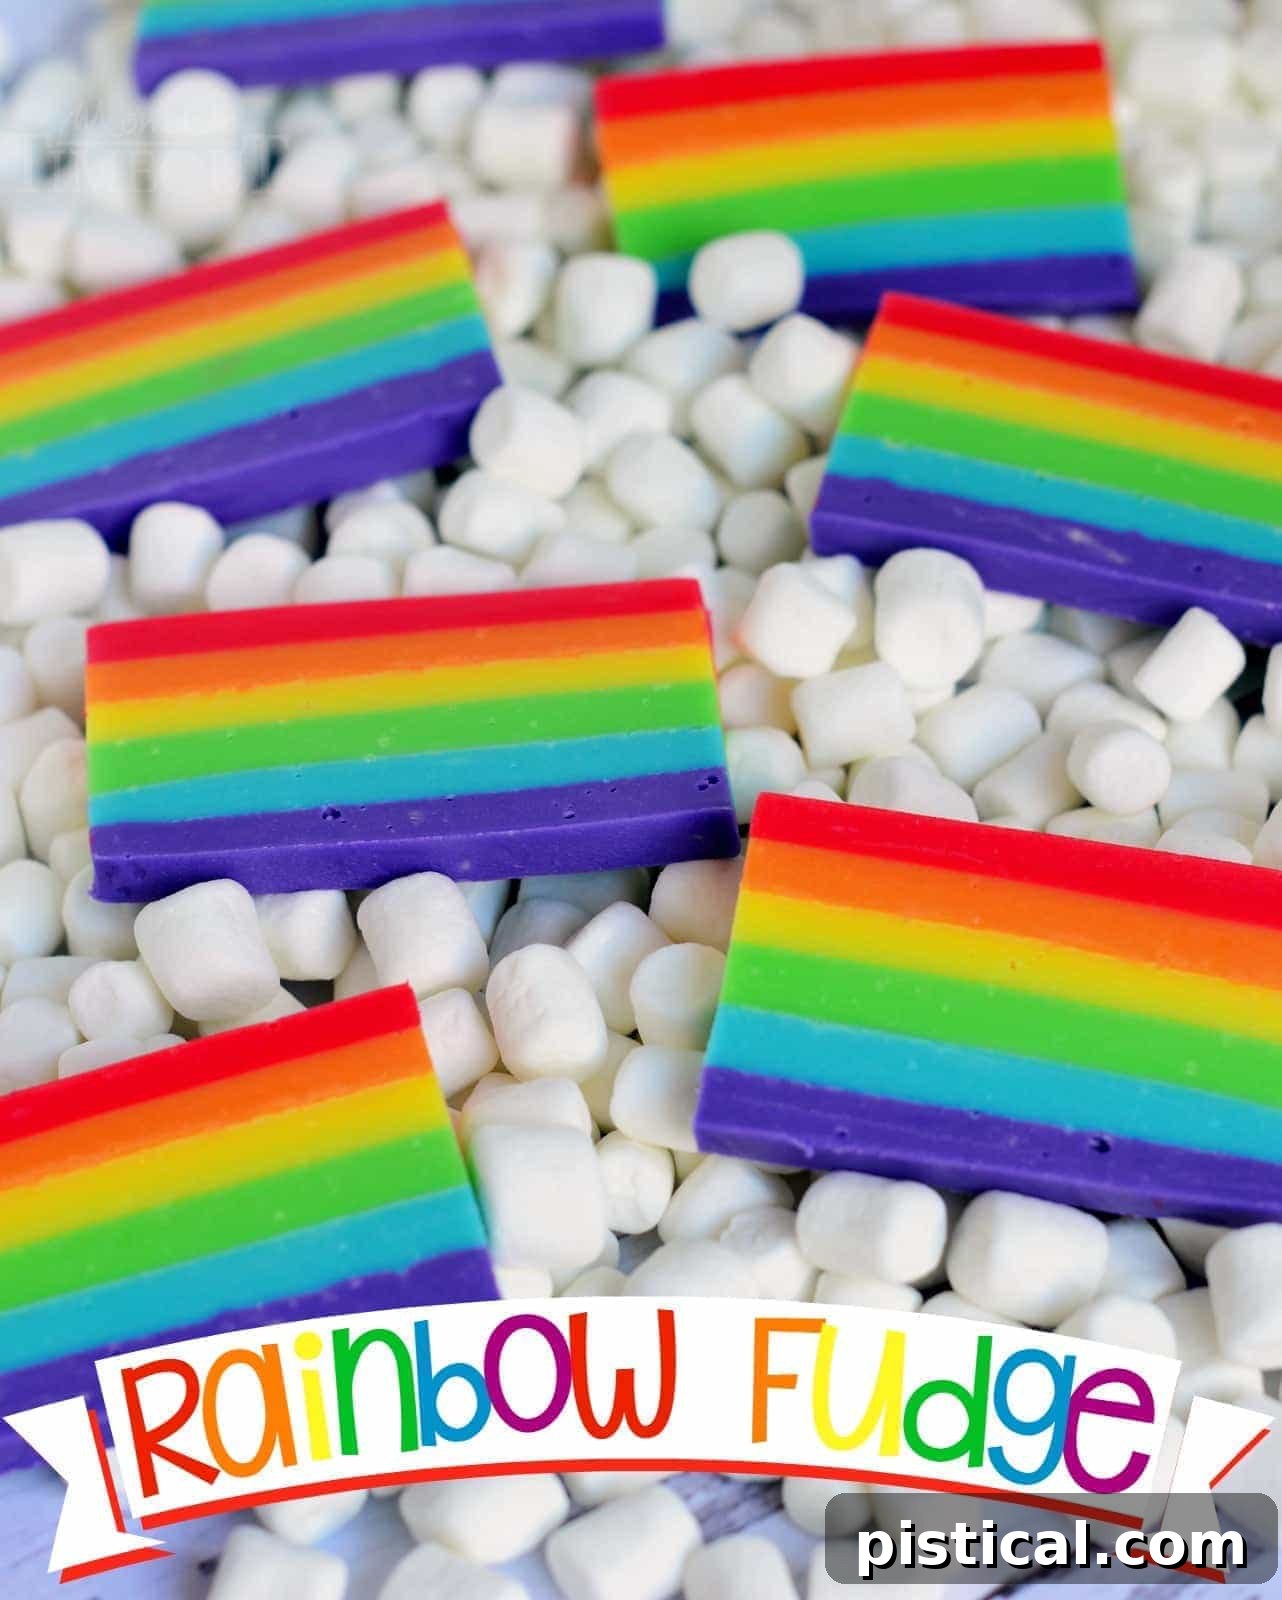
Easy Rainbow Fudge: A Vibrant, Year-Round Treat for All Occasions
I’m a firm believer in enjoying fudge year-round, not just reserving it for the festive holiday season. There’s something undeniably magical about this Easy Rainbow Fudge that makes it a perfect fit for St. Patrick’s Day celebrations, adding a pot of gold at the end of every rainbow. Beyond the luck of the Irish, its cheerful hues make it an absolute hit for birthdays, springtime gatherings, or simply any day that calls for a delightful burst of color and a moment of pure joy. For the ultimate whimsical presentation, this delightful treat is best served atop fluffy marshmallow clouds.
Stay connected and never miss a delicious update! Sign up to receive my latest recipes directly in your inbox. You can also follow my culinary adventures and daily inspirations on Facebook and Instagram!
PIN IT NOW! Share the sweetness!
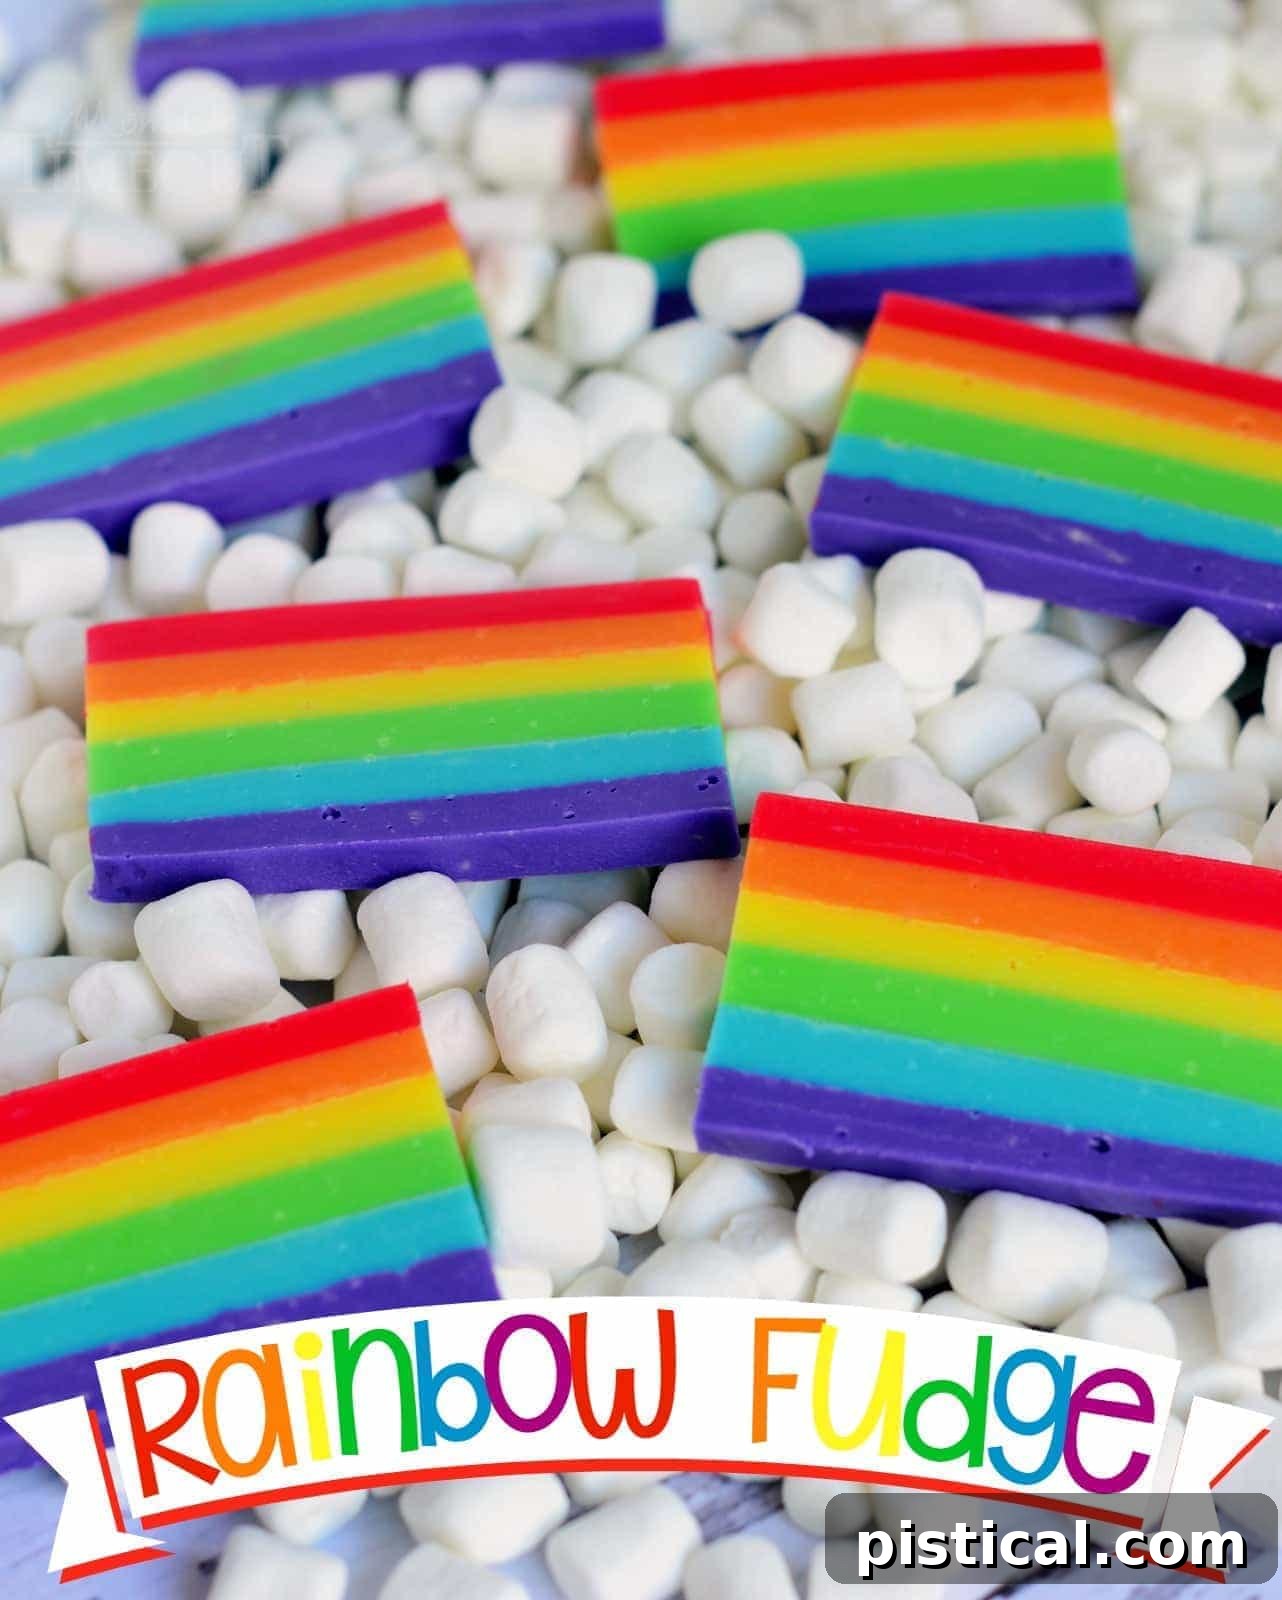
PIN THIS RECIPE FOR LATER!
This magnificent rainbow fudge has been a passion project of mine for quite some time. I first dreamt up this concept two years ago, but the timing just wasn’t right to share its magic with the world. Now, with St. Patrick’s Day just around the corner, there couldn’t be a more perfect moment to unveil this absolutely delightful Easy Rainbow Fudge! Its bright, cheerful layers embody the spirit of the holiday, promising a delicious pot of gold at the end of a culinary rainbow.
Despite its impressive appearance, I proudly call this recipe “easy” because, at its core, it truly is straightforward. The actual hands-on work required is minimal, clocking in at approximately 20 minutes. However, it’s important to note that the total time from start to finish will be about 4 hours, primarily due to the essential chilling time required for each individual layer. This patient approach is crucial to prevent the colors from bleeding into one another, ensuring each vibrant hue stands out distinctly, creating that stunning rainbow effect that makes this fudge so special.
Achieving those perfectly crisp and firm layers is key to the aesthetic appeal of this rainbow fudge. For this, I highly recommend using gel food coloring. Unlike liquid food coloring, which can thin out your fudge mixture and make it less firm, gel colors are highly concentrated and maintain the fudge’s desired consistency. I used a combination of two sets of gel colors (this one and this one) to get the full spectrum of colors. If you’re looking for a softer, more subtle palette, a pastel food color set would also yield beautiful results. For the vibrant red layer, I found that mixing the hot pink from a neon set with a few drops of traditional red food coloring delivered the ideal rich, deep crimson.
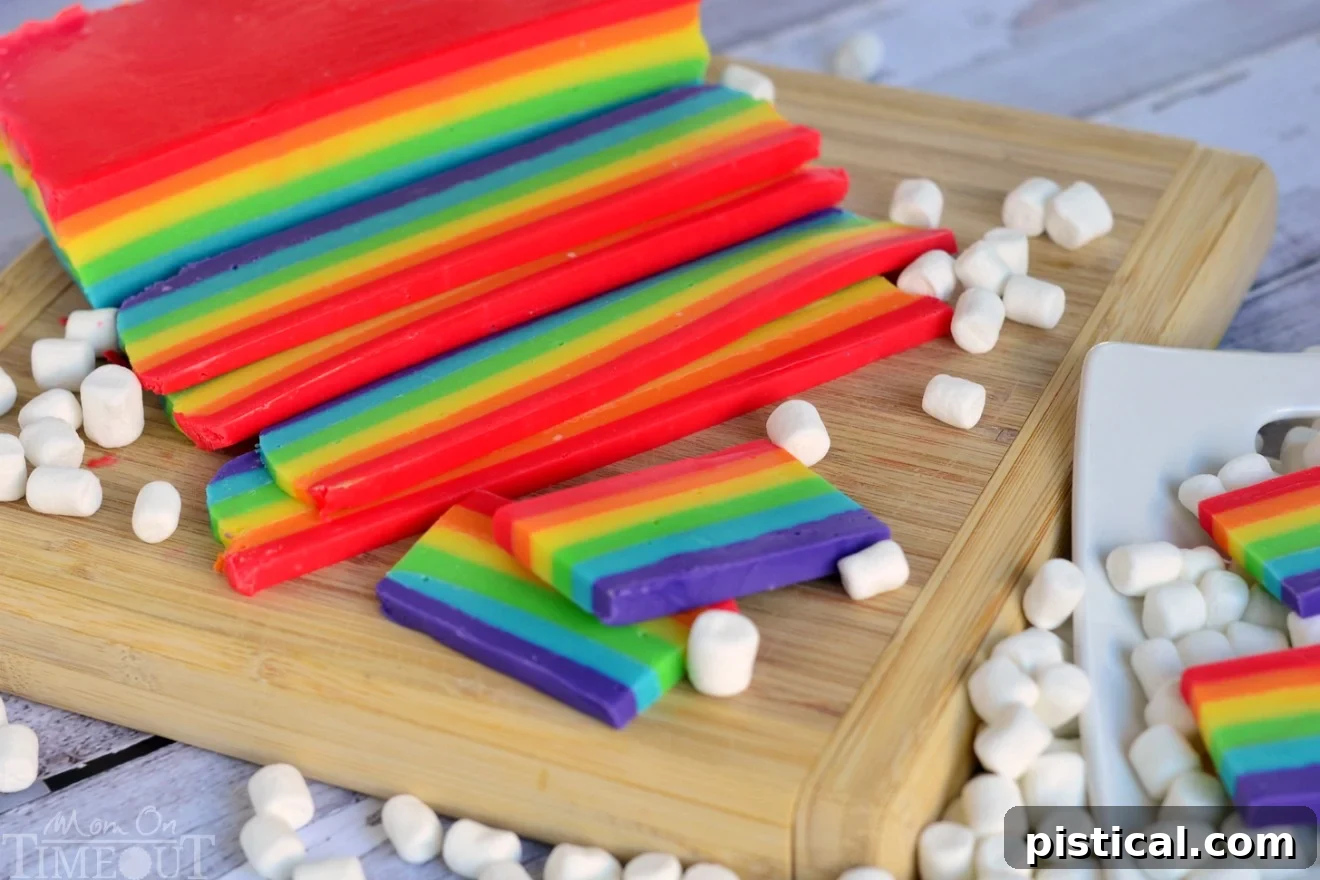
One of the most enjoyable aspects of this rainbow fudge recipe is the incredible amount of flexibility it offers for personalization. While a simple vanilla flavoring for all layers would be perfectly delicious, I love to get a little creative and flavor each layer individually, adding another dimension of surprise and delight. For my version, I went all out: a luscious red cherry, zesty orange, bright lemon yellow, refreshing green lime, classic blue vanilla, and a tropical purple coconut. This flavor journey makes each bite an adventure!
I distinctly remember bringing this fudge to my son Reece’s second-grade class, and the children absolutely went wild for it! Their eyes lit up at the sight of the colorful treat, and the different flavors were a huge hit. I packaged individual pieces of fudge with a few miniature marshmallows into small bags for each child, creating the cutest little “rainbows on clouds.” I truly wish I had photos to show you – it was an excellent example of how this fudge can double as a fantastic party favor. It’s not just a dessert; it’s an experience.
You can certainly follow my lead and go wild with unique flavors for each layer, or you can simplify things. Opting for a single flavor like vanilla, or a delightful trio such as orange, lemon, and lime, will still result in a spectacular and tasty fudge. There’s truly no wrong way to approach the flavoring here; it all depends on your preference and the occasion. If you do decide to stick with vanilla, I highly recommend using clear vanilla extract. This small detail ensures that your white chocolate base remains impeccably white, allowing the food colors to truly pop and remain pure and vibrant without any yellow tint from regular vanilla extract.
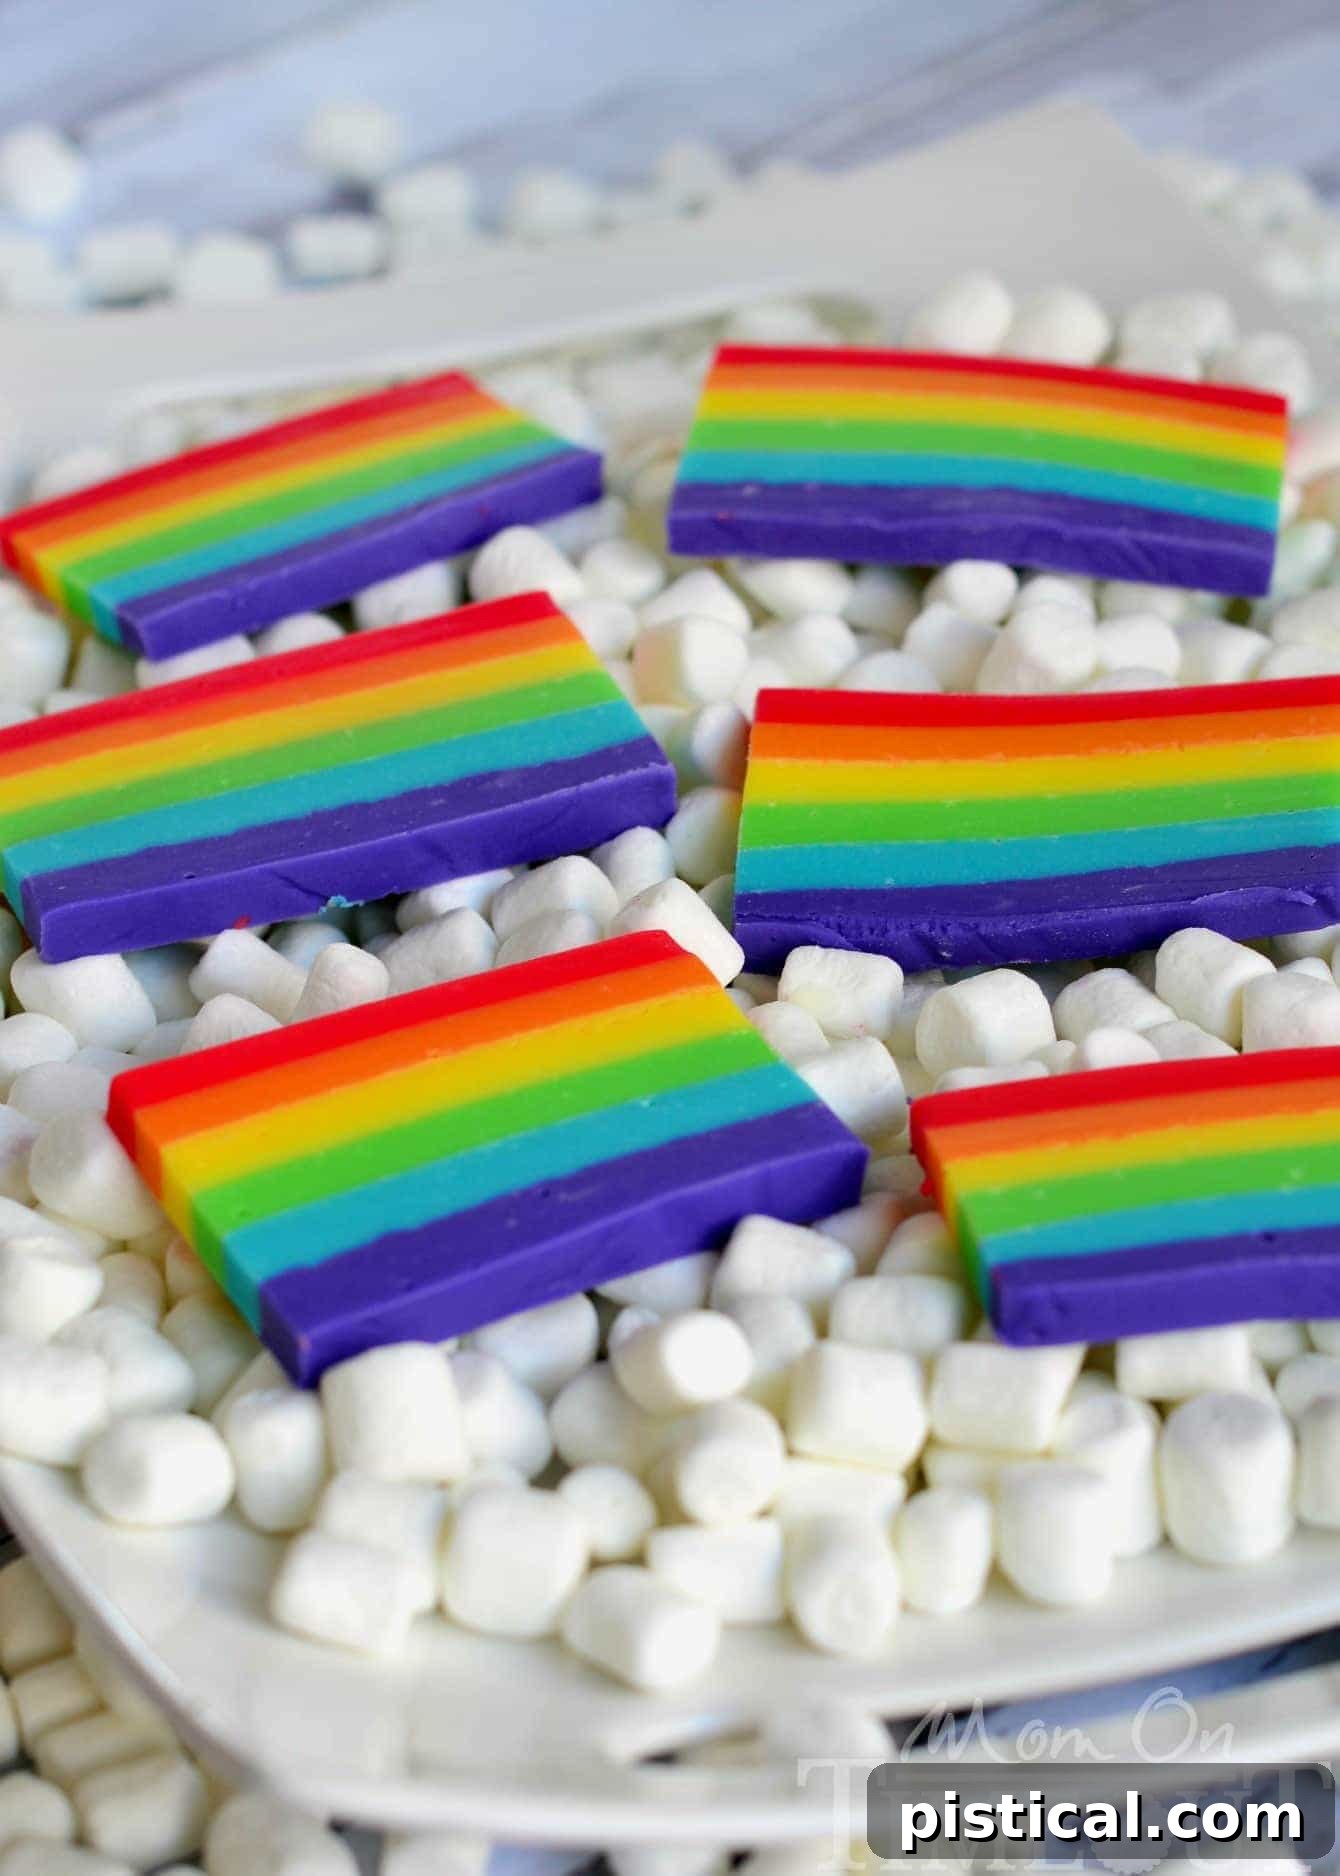
The choice of pan size plays a significant role in the final presentation of your rainbow fudge. I initially experimented with making this recipe in a loaf pan, envisioning elegant, thinner slices of rainbow fudge. While it worked, I found that the layers ended up being thicker than I desired. Instead of reducing the measurements, which would complicate the recipe, I decided to switch to an 8-inch square pan. This size proved to be ideal, yielding perfectly proportioned layers that were neither too thin nor too thick. A 9-inch square pan would also work beautifully, offering slightly thinner layers without compromising the integrity or visual appeal of the fudge.
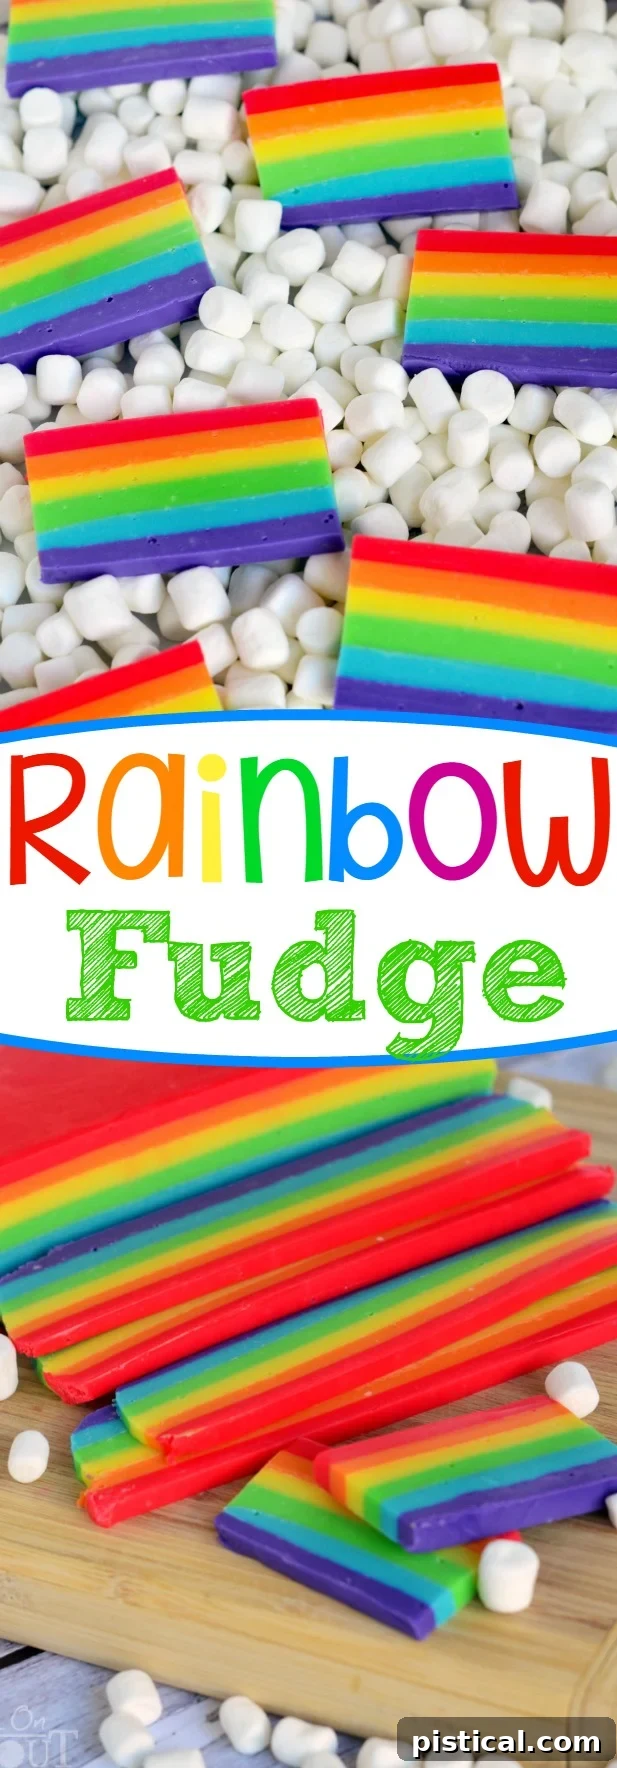
When it comes to cutting, you have options. While cutting the fudge into traditional squares is always a safe bet, for this particular recipe, I find that slicing the fudge into longer, thinner strips is much more evocative of an actual rainbow. These elongated pieces truly highlight the gradient of colors, making each serving a miniature edible artwork. Trimming the edges after the final chilling period creates clean lines, enhancing the visual appeal and making the “rainbow” effect even more pronounced.
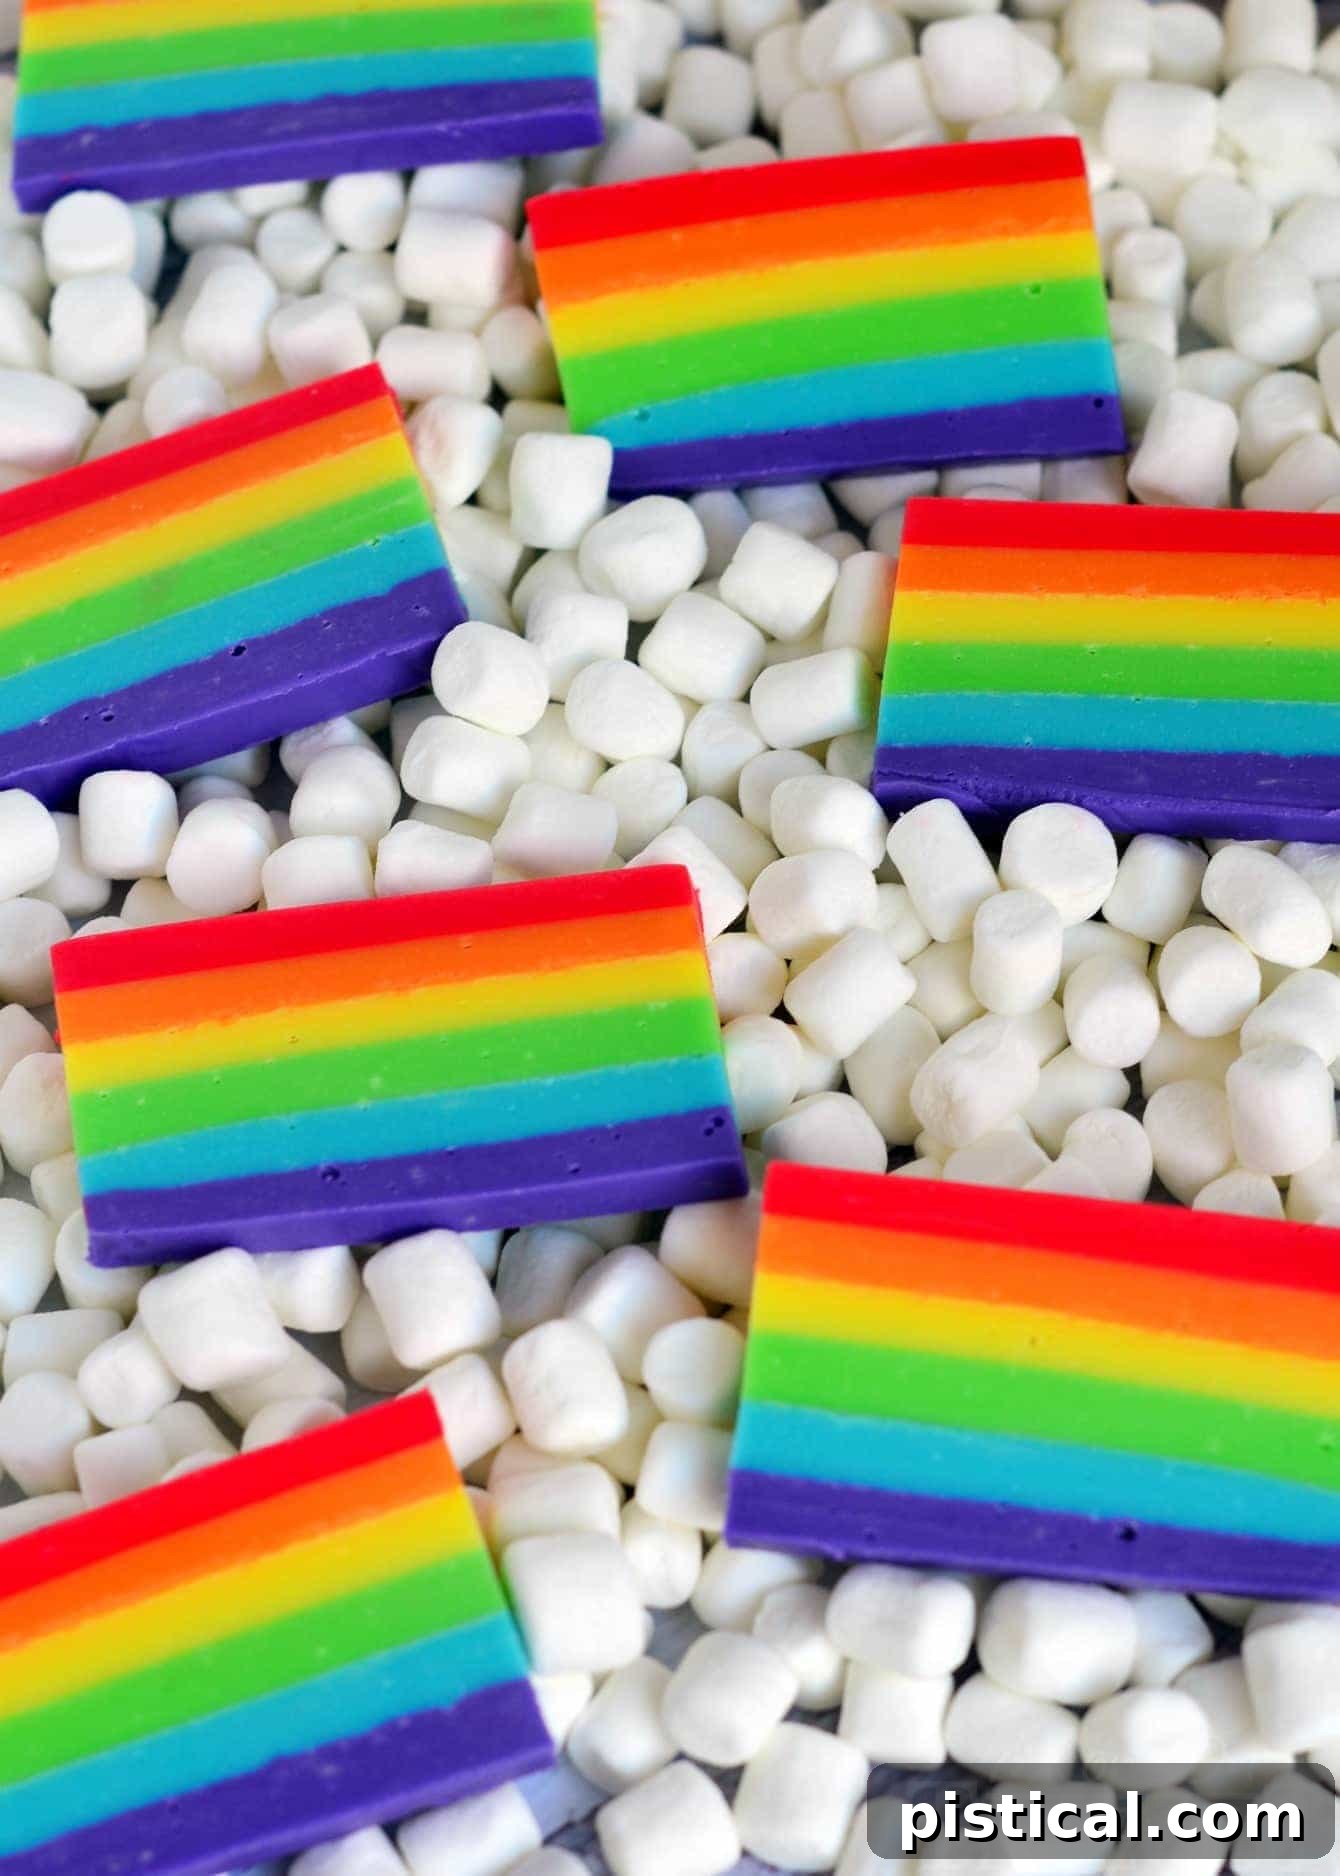
Creating this recipe was an absolute blast, and I can confidently say it’s a showstopper every single time. As I mentioned, my philosophy is all about enjoying fudge year-round, moving beyond its traditional holiday boundaries. This Easy Rainbow Fudge perfectly embodies that spirit. Its bright colors and customizable flavors make it incredibly versatile—it’s stellar for St. Patrick’s Day with its nod to rainbows and pots of gold, but equally fantastic for injecting fun into birthday parties, spring celebrations, or simply brightening any ordinary day with a touch of whimsy. To truly complete the enchanting experience, please, do yourself a favor and serve this gorgeous fudge on a bed of miniature marshmallow “clouds.” It’s a small detail that adds immensely to the magical presentation and is, in my opinion, absolutely necessary!
Don’t be daunted by the detailed instructions you’ll find below. I’ve made them extensive not because the recipe is complex, but because I want to ensure every step is crystal clear, guiding you to perfect rainbow fudge results. Happy fudging!
SAVE THIS RECIPE TO PINTEREST!
Print
Pin
Easy Rainbow Fudge
Ingredients
- 6 cups white chocolate chips
- 3 cups sweetened condensed milk (you will need three 14 oz cans)
- 3 tsp extract (your choice of flavor – see instructions below for suggestions)
- Red, orange, yellow, green, blue, purple gel food coloring
Instructions
-
Line an 8”x8” baking pan with aluminum foil, ensuring the foil extends over the sides to create “handles.” Lightly spray the foil with cooking spray.
First Layer – Purple
-
In a microwave-safe bowl, combine one cup of white chocolate chips and ½ cup of sweetened condensed milk. Heat on high in the microwave for 30 seconds; stir well. Continue to heat in 15-second intervals, stirring after each, until the chips are fully melted and the mixture is smooth and creamy. Stir in ½ teaspoon of your desired extract (suggestions: grape, vanilla, almond, or even a hint of coconut for a tropical twist) and enough purple gel food color until you achieve your desired vibrant shade. Pour this mixture evenly into the prepared pan, spreading it to form the first layer. Refrigerate for 30 minutes to allow it to set.
Second Layer – Blue
-
Repeat the melting process with another one cup of white chocolate chips and ½ cup sweetened condensed milk in a separate microwave-safe bowl. Once smooth, stir in ½ teaspoon of desired extract (suggestions: vanilla, almond, or even a berry flavor) and blue gel food color until a beautiful blue is achieved. Carefully pour this blue mixture over the chilled purple layer in the pan, spreading gently. Refrigerate for another 30 minutes.
Third Layer – Green
-
Prepare the green layer by melting one cup of white chocolate chips and ½ cup sweetened condensed milk as before. Stir in ½ teaspoon of desired extract (suggestions: lime, mint, or a neutral vanilla) and green gel food color until evenly colored. Pour over the chilled blue layer, ensuring an even spread. Return to the refrigerator for 30 minutes.
Fourth Layer – Yellow
-
For the yellow layer, melt one cup of white chocolate chips and ½ cup sweetened condensed milk. Incorporate ½ teaspoon of desired extract (suggestions: lemon, banana, or pineapple work wonderfully here) and yellow gel food color. Pour this sunny yellow mixture over the set green layer. Chill for 30 minutes.
Fifth Layer – Orange
-
Prepare the orange layer by melting one cup of white chocolate chips and ½ cup sweetened condensed milk. Stir in ½ teaspoon of desired extract (suggestions: orange, tangerine, or a creamsicle-like vanilla) and orange gel food color. Gently pour this vibrant layer over the chilled yellow layer. Place back in the refrigerator for 30 minutes.
Sixth (FINAL) Layer – Red
-
For the final red layer, combine the last one cup of white chocolate chips and ½ cup sweetened condensed milk in a microwave-safe bowl and melt until smooth. Stir in ½ teaspoon of desired extract (cherry, strawberry, or even a spicy cinnamon for a unique twist) and red gel food color until you achieve a rich, deep red. Carefully pour this layer over the chilled orange layer, smoothing the top. Refrigerate the entire pan for at least one hour, or until completely firm.
-
Once thoroughly chilled and firm, use the foil handles to lift the fudge block out of the pan. Gently peel away the foil. For a true rainbow effect, slice the fudge into ¼-inch thick strips. You can then trim off the less defined edges for a cleaner look and cut each strip in half to create smaller, manageable rainbow pieces.
-
Serve these beautiful rainbow fudge slices with miniature marshmallows for an adorable “clouds” presentation. Enjoy your magical, colorful treat!
Nutrition Information (Estimated Per Serving)
Carbohydrates: 32g |
Protein: 4g |
Fat: 12g |
Saturated Fat: 7g |
Cholesterol: 15mg |
Sodium: 59mg |
Potassium: 180mg |
Fiber: 1g |
Sugar: 32g |
Vitamin A: 77IU |
Vitamin C: 1mg |
Calcium: 132mg |
Iron: 1mg
All the Rainbows! Explore More Colorful Treats and Crafts:
Rainbow Pinwheel Cookies
Easy Rainbow Pretzel Wands
Rainbow JELLO Cubes
Stained Glass Rainbow Craft
Rainbow Sugar Cookie Bark

For a treasure trove of all my St. Patrick’s Day recipes, simply click HERE.
If your sweet tooth is calling, explore all my delightful dessert recipes HERE.
Don’t forget to sign up to receive email notifications when I post new, exciting recipes!
For even more fantastic ideas, daily inspiration, and behind-the-scenes glimpses, follow me on social media: Facebook – Pinterest – Instagram – Twitter – Bloglovin’.
Have a wonderfully colorful and delicious day!