
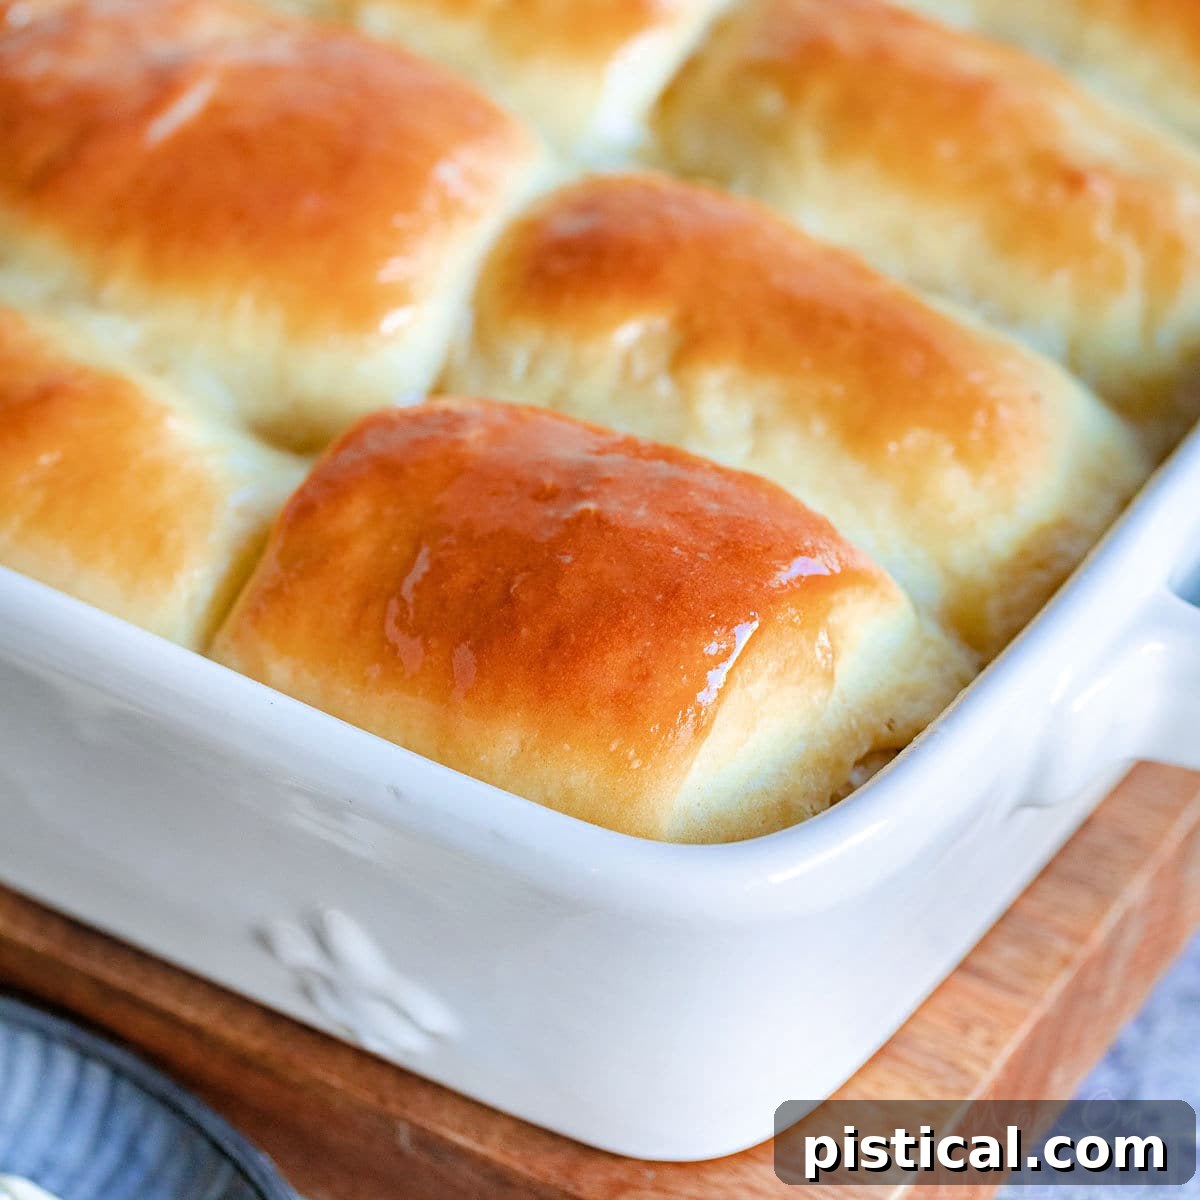
Parker House Rolls are truly a culinary delight – exquisitely soft, wonderfully fluffy, perfectly buttery, and utterly delicious! These iconic rolls serve as the ultimate complement to any dinner, transforming a simple meal into a memorable occasion, or elevating your most cherished holiday gatherings. Beyond their role as a stellar side, their delightful texture and flavor make them fantastic for creating gourmet sandwiches, especially after enjoying big holiday meals like a Thanksgiving turkey or a Christmas ham. With their light and airy crumb, these homemade rolls are destined to become the undisputed star of your plate.
Seeking to enhance the already divine experience of these rolls? Elevate their flavor profile with a generous slather of homemade Brown Sugar Cinnamon Butter for a sweet, spiced kick, or spread on some classic Honey Butter for a touch of natural sweetness. For a truly seasonal treat, embrace the autumn vibes with a dollop of our luscious homemade Pumpkin Butter!
This post is proudly sponsored by Challenge Dairy, bringing you the finest dairy products for your baking needs.
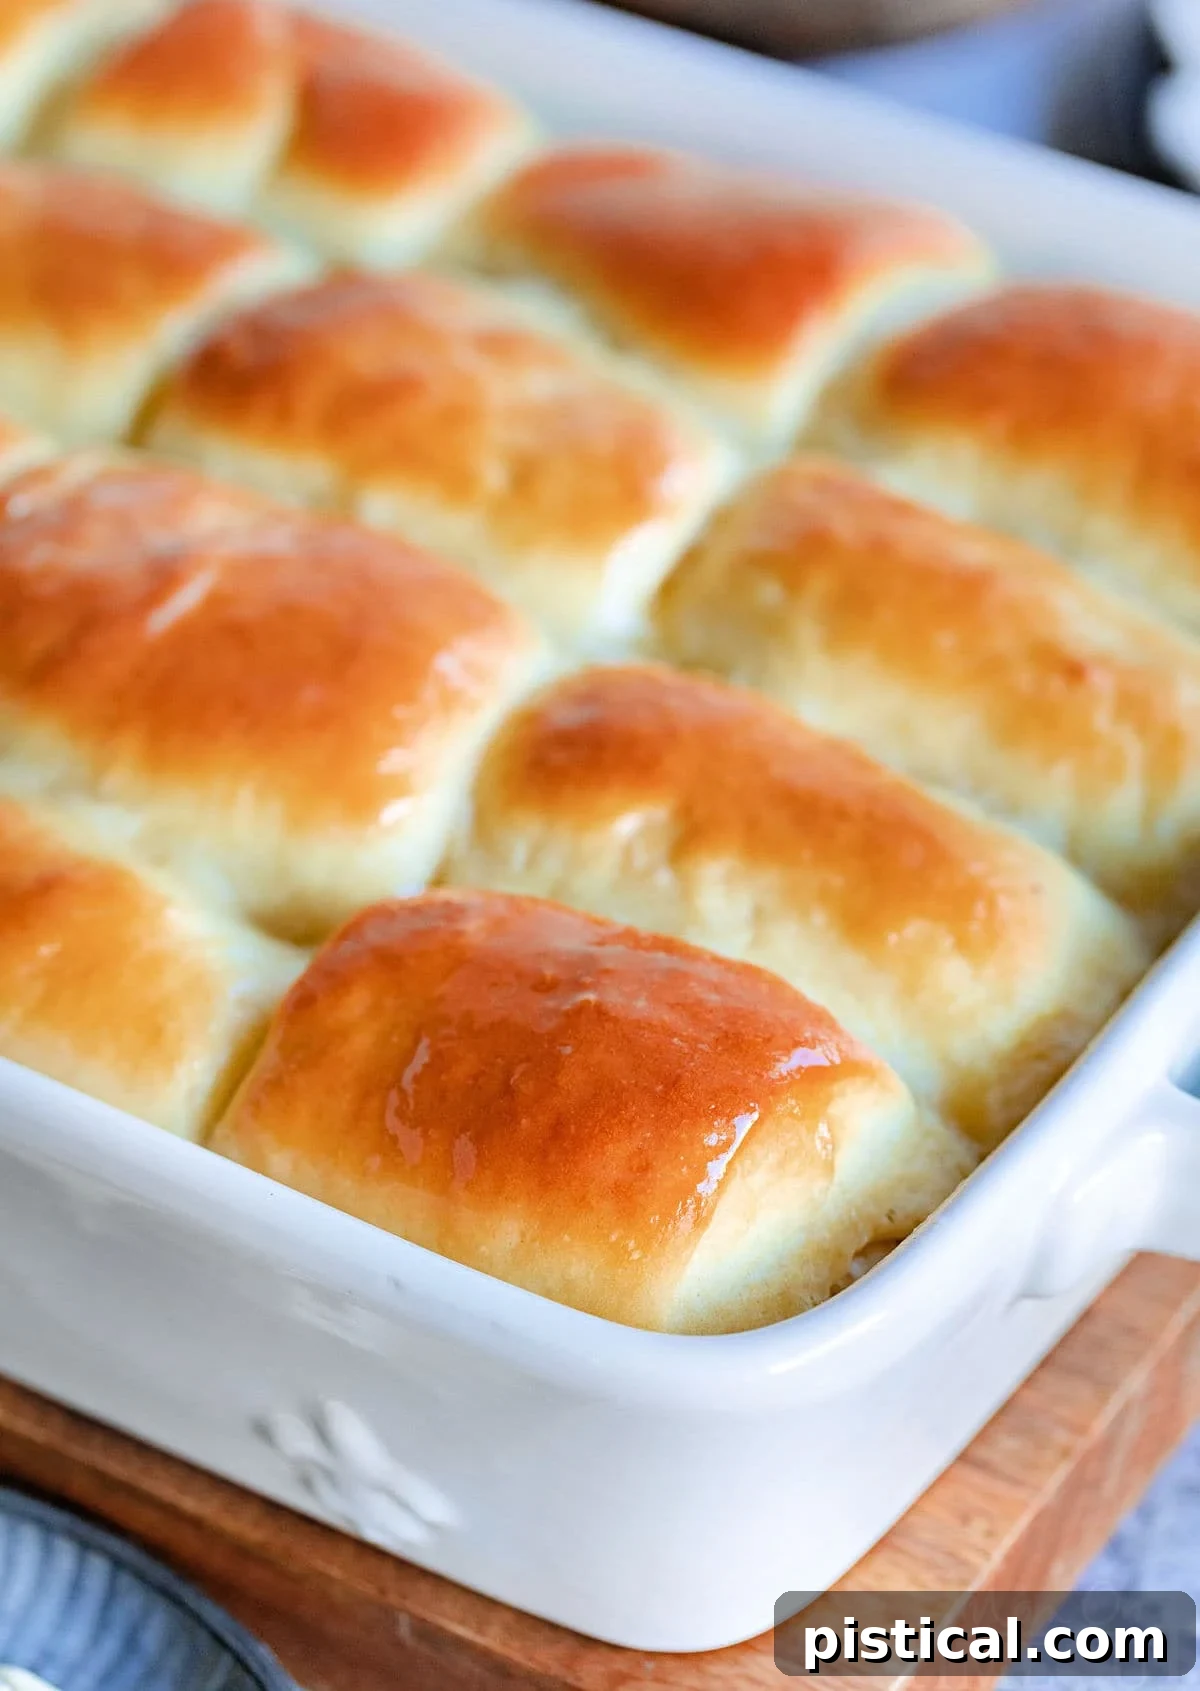
Homemade Parker House Rolls: The Ultimate Soft, Buttery Dinner Roll
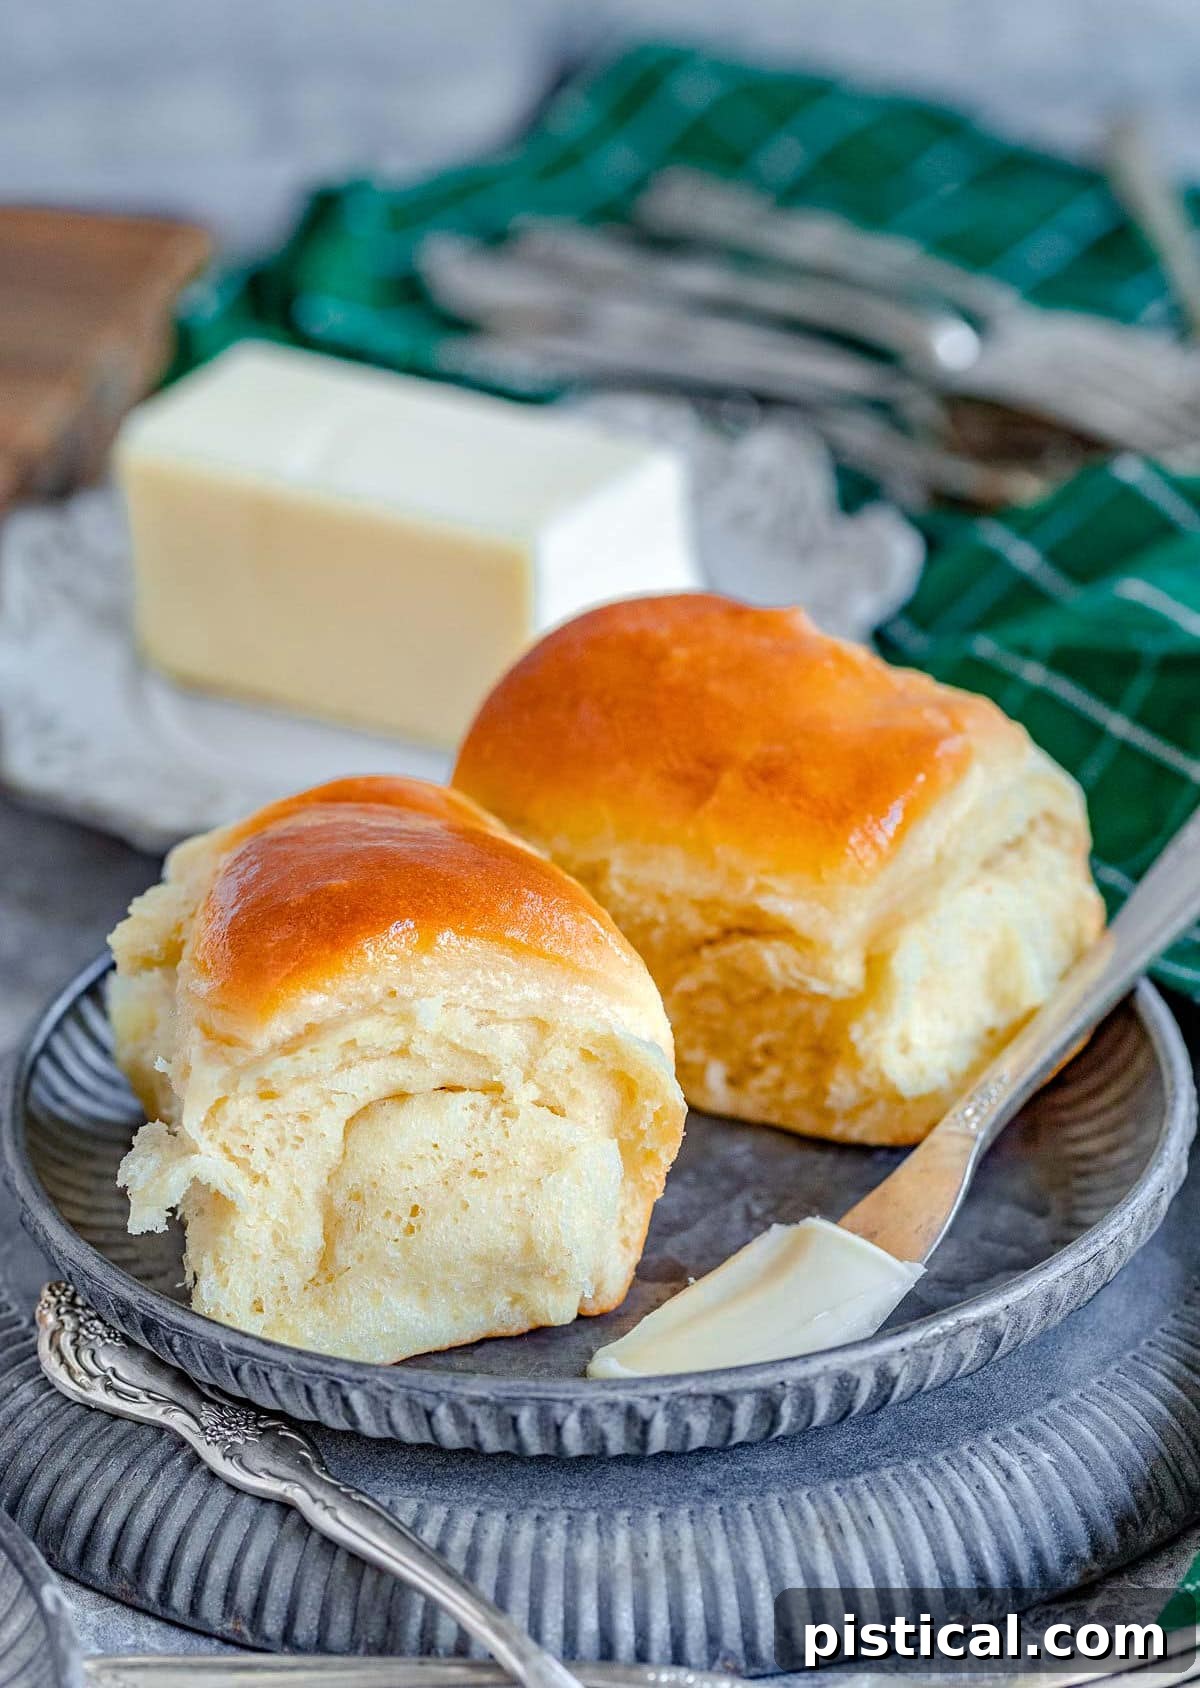
Rejoice, bread lovers! Today, we unveil the ultimate dinner roll recipe that promises to revolutionize your mealtimes: the beloved Parker House Rolls. These soft, light, impossibly fluffy, and rich with butter, pull-apart rolls are truly the elite option when it comes to bread sides. Often affectionately referred to as “purse rolls” due to their distinctive fold in the middle, they bear a charming resemblance to old-fashioned pocketbooks. In my household, my boys playfully call them “already-been-buttered” rolls, a testament to their inherent buttery goodness. But let’s be honest, that glorious initial buttering never stops any of us from adding a little extra… because when it comes to Parker House Rolls, more butter is always a good idea!
While the holidays often see savory side dishes reigning supreme, these humble yet spectacular rolls are poised to steal the show. Forget the notion of settling for mediocre frozen versions from the supermarket; the unparalleled joy of eating one of these rolls, still warm and fresh from your own oven, is an experience that simply cannot be matched. The aroma alone is enough to gather everyone around the table. Just be sure to have extra butter on hand – you’ll definitely want to pass it around!
The Enduring Legacy of Parker House Rolls: A Dash of History
Have you ever wondered about the intriguing origins of these wonderfully shaped rolls? The story of Parker House Rolls dates back to 1855, making them a true American classic with a rich history. They gained their fame from the renowned Parker House Hotel in Boston, a landmark institution that opened its doors in the mid-19th century. Legend has it that the unique, folded shape of these rolls was born out of a moment of frustration. The hotel’s resident baker, in a fit of pique or perhaps an accidental stroke of genius, purportedly threw a batch of unfinished, folded dough into the oven. What emerged was not a culinary disaster, but these distinctive, pocket-like rolls.
The innovative shape and the simple yet brilliant method of making them quickly caught on. From that fortuitous accident, Parker House Rolls have famously graced countless dinner tables and upscale restaurants for over two centuries. Their enduring popularity is a testament to their exceptional taste and charming presentation, solidifying their place as a beloved staple in American cuisine, especially during festive seasons and family gatherings. Their heritage adds a layer of charm to every soft, buttery bite.
Why This Parker House Rolls Recipe Will Become Your Favorite
There are countless reasons to fall in love with these utterly delicious homemade dinner rolls. This particular recipe stands out for several compelling factors that make it a consistent winner in any kitchen:
- The Process is Absolutely Worth the Payoff. We’ve all encountered those slightly more intricate recipes where the end result, despite all the time and effort, simply doesn’t justify the labor. This is emphatically *not* the case with these Parker House Rolls! Every minute spent on them is 100% rewarded with an exquisite, unforgettable bread experience. The satisfaction of pulling a pan of these golden, fragrant rolls from the oven is unmatched.
- Made from Everyday Pantry Staples. One of the greatest advantages of this recipe is its accessibility. You won’t need to hunt down obscure ingredients or specialty flours. This recipe relies on common items you likely already have in your kitchen, such as all-purpose flour, milk, butter, and yeast. This makes it a perfect spontaneous baking project or a reliable go-to for special occasions without extra shopping trips.
- Simplified for Success. While traditional Parker House Rolls recipes can sometimes involve tedious steps, I’ve meticulously streamlined this process over the years. My goal was to eliminate unnecessary complexities without compromising on authenticity or flavor. The result is a more manageable recipe that yields perfectly soft, pillowy rolls every time, even for those new to yeast baking. You’ll find the process surprisingly straightforward and incredibly rewarding.
- Versatile for Any Occasion. Whether it’s a cozy weeknight dinner, a grand holiday feast, or a casual weekend brunch, these rolls fit perfectly. Their adaptable nature means they pair well with a wide array of dishes, from savory roasts and stews to sweet jams and spreads. They are not just a side; they are an experience.
The Proper Way To Savor a Parker House Roll
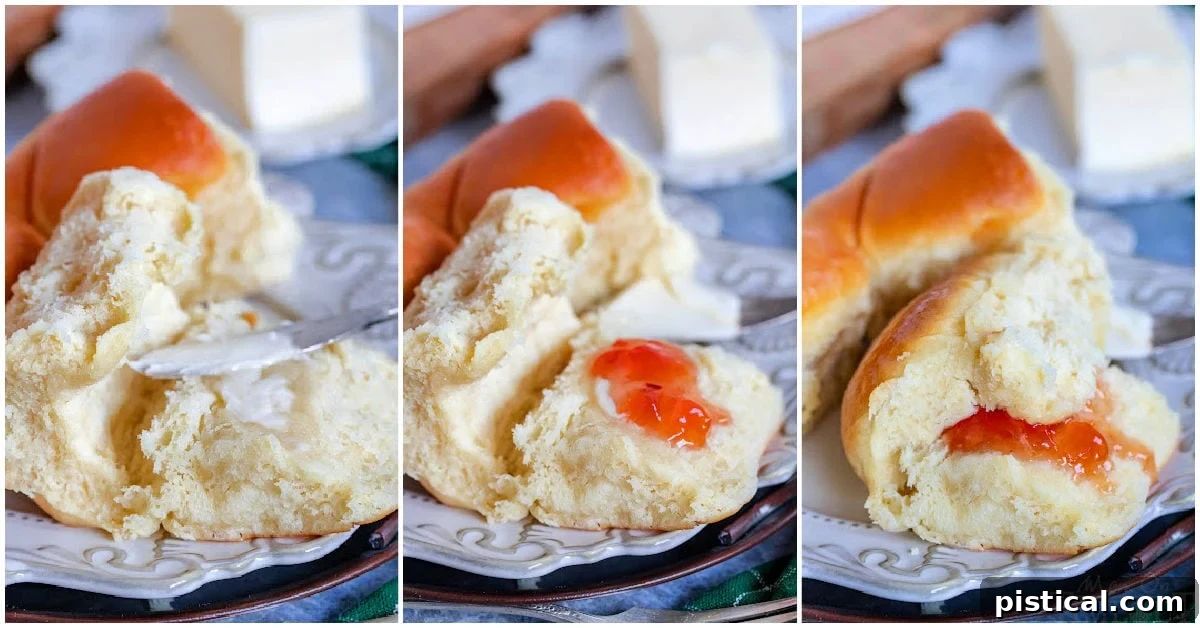
The genius of Parker House Rolls lies in their design: they are famously “pre-buttered” (thanks to the fold!) and designed to beautifully pull apart, creating a perfect pocket ready for your favorite fillings. While they are delightful on their own, the possibilities for customization are endless. Whether you opt for a simple yet satisfying combination of butter and sweet jelly, as demonstrated in the image below, or choose a more elaborate, savory medley, you truly can’t go wrong.
Imagine filling these tender pockets with a spoonful of homemade cranberry sauce, a generous scoop of savory cornbread stuffing, and a few succulent slices of crockpot turkey breast, all dunked in rich turkey gravy. It’s like having a mini holiday feast in every bite! These rolls aren’t just bread; they’re edible canvases for your culinary creativity, ready to be filled with whatever your heart desires.
My boys playfully refer to them as already-been-buttered rolls, yet that never deters any of us from adding a little extra butter for that ultimate indulgence!
Elevate Your Feast with More Tasty Holiday Side Dishes
While Parker House Rolls are undeniably a highlight, no holiday spread is complete without a variety of delicious accompaniments. Here are some of my other tried-and-true side dish recipes that perfectly complement these rolls and round out any festive meal:
- Sweet Potato Casserole: A sweet and savory classic with a delightful pecan topping.
- Cornbread Dressing: Hearty and flavorful, a staple for any holiday table.
- Creamed Corn: Creamy, sweet, and incredibly comforting.
- Green Bean Recipe: A simple yet delicious way to enjoy fresh green beans.
- Mashed Potatoes: The ultimate creamy, dreamy side, perfect for soaking up gravy.
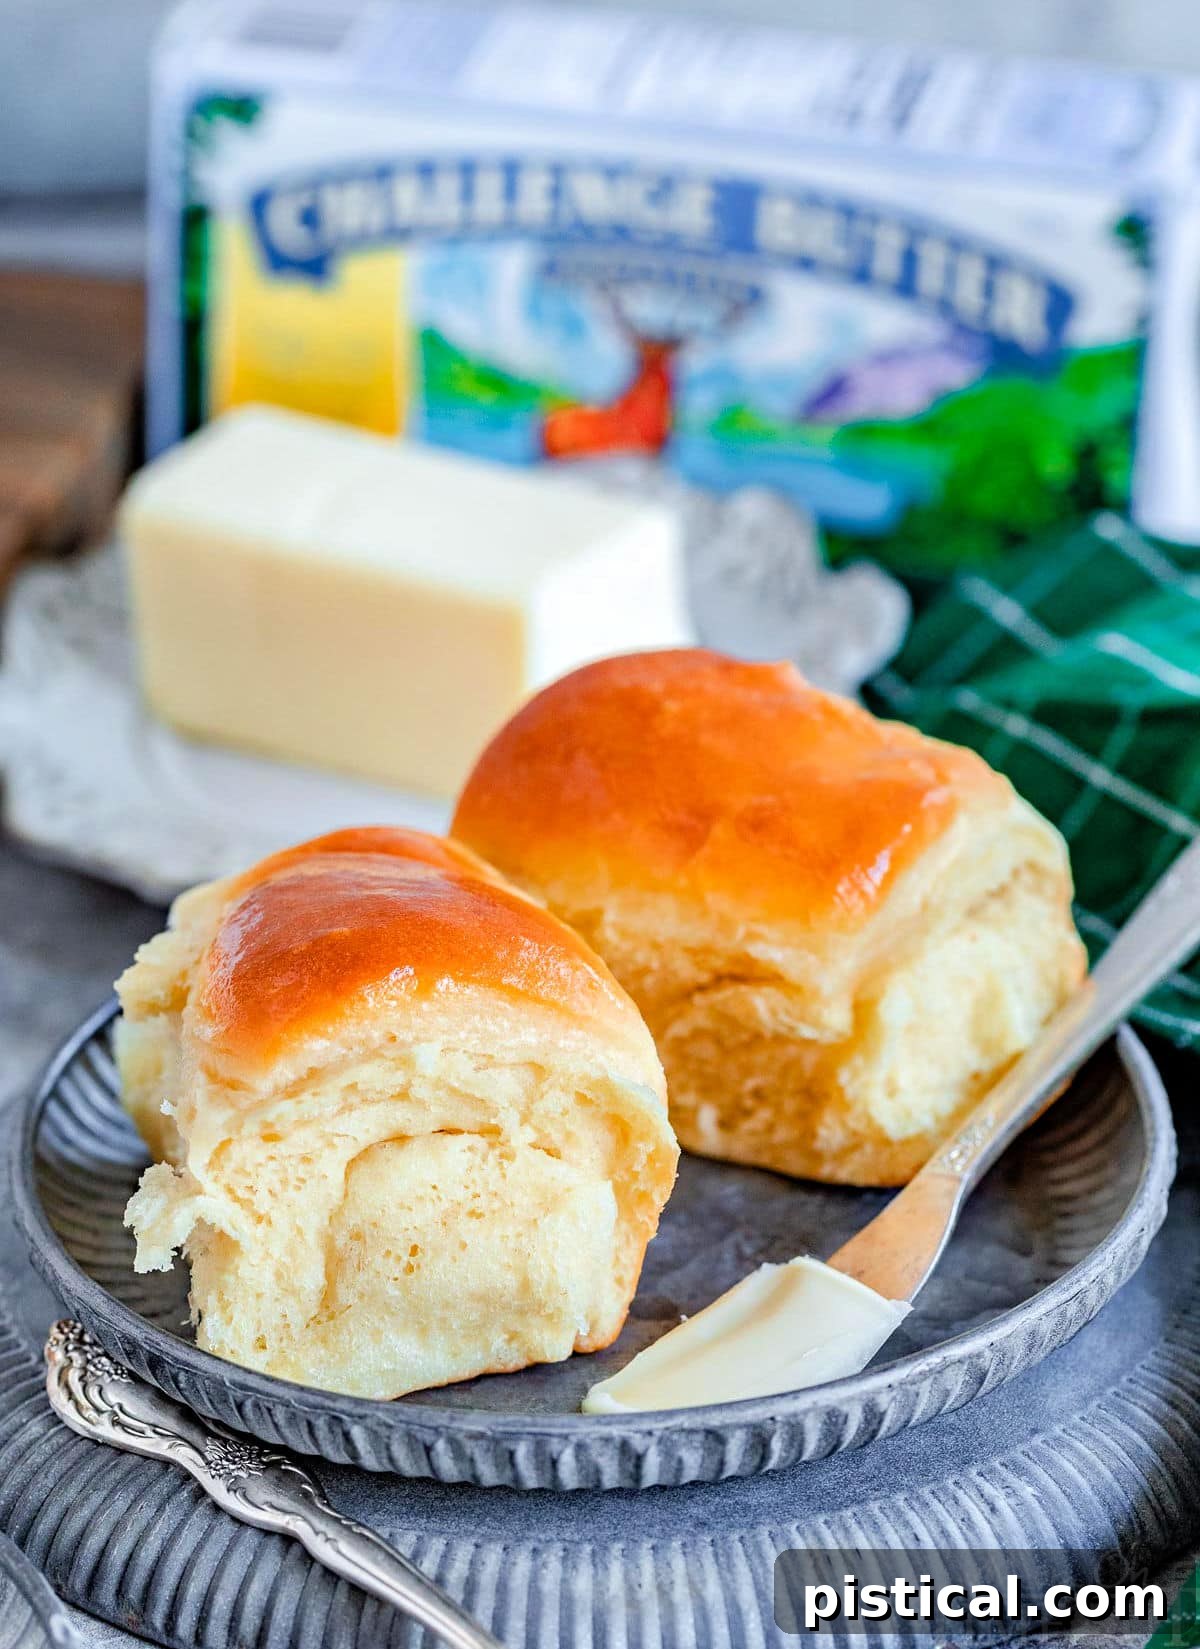
In crafting this exquisite Parker House Rolls recipe, I rely on Challenge butter because, quite simply, it’s the BEST. Challenge has been my trusted butter brand for years, a staple in my kitchen for as long as I can remember. Made with 100% real, fresh cream, it consistently delivers that rich, pure dairy flavor that is absolutely essential for baking truly outstanding rolls. I’ve grown up using Challenge products and have unwavering confidence in their quality. I know their products are outstanding, which is why I use them exclusively for all my baking and cooking endeavors!
For an extra layer of flavor and convenience, consider spreading one of Challenge’s innovative Seasoned Butters on your freshly baked rolls. The Challenge Everything Butter Snack Spread and the Challenge Garlic Parmesan with Herbs Butter Snack Spread are both incredibly delicious options that will take your rolls to the next level!
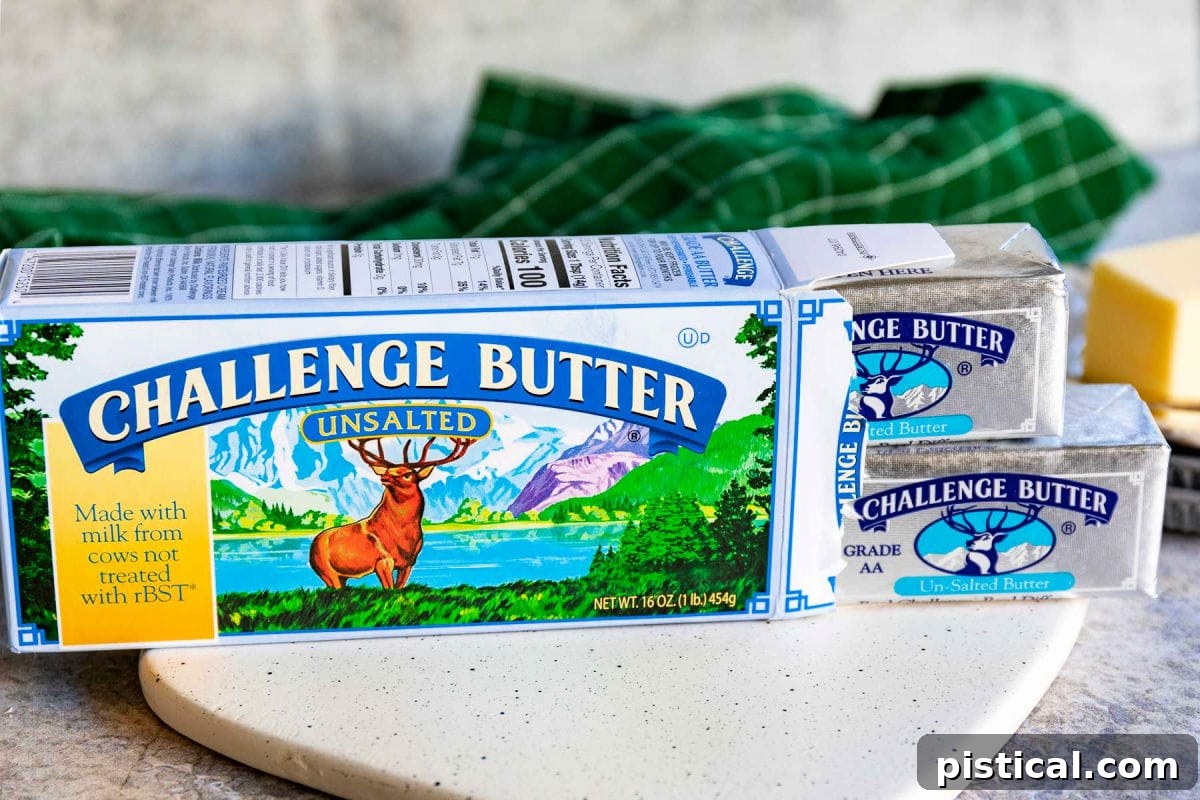
Essential Ingredients: What You’ll Need for Perfect Parker House Rolls
Parker House Rolls aren’t famous without good reason; their delightful texture and flavor have made them a beloved staple on dinner tables since 1855. Now it’s your turn to experience their magic by making your own! As always, you’ll find the full printable recipe with comprehensive instructions and precise measurements in the recipe card at the conclusion of this post. Let’s take a closer look at the key ingredients that contribute to their irresistible charm:
- Whole Milk: This is crucial for achieving the rolls’ rich flavor and tender crumb. Ensure it reaches a temperature of 110°F. This warmth is vital for activating the yeast without scalding it, creating the perfect environment for a vigorous rise.
- Active Dry Yeast: The powerhouse behind that perfect texture and impressive rise. Active dry yeast needs to be proofed (activated) in warm liquid with a little sugar, which is why we combine it with milk and sugar first. If you prefer to use rapid rise yeast (which I often do for speed), you can simply swap it directly into the recipe. Expect slightly reduced rise times, and you won’t need to let the yeast sit and foam; just add all the ingredients together and begin mixing.
- Unsalted Butter: This is where the “buttery” in Parker House Rolls truly shines! You’ll need unsalted butter at room temperature, softened but never melted. Unsalted butter allows you to control the overall saltiness of the rolls. This recipe calls for butter in three distinct stages: incorporated into the dough for richness, brushed onto the dough before folding and the second rise for flavor and separation, and finally, brushed on the rolls after baking for a glossy finish and extra buttery goodness.
- Granulated Sugar: White granulated sugar, divided for specific uses. A small amount helps to activate the yeast, providing it with food to encourage a healthy rise. The rest adds a subtle sweetness to the rolls, balancing the rich butter and complementing savory dishes.
- Fine Sea Salt: Essential for enhancing all the flavors in the dough. You’ll want fine salt, not coarse, for even distribution. Kosher salt can also be used as a suitable alternative.
- Eggs: This recipe uses one whole large egg and one egg yolk, both at room temperature. The eggs are fundamental for adding incredible richness, moisture, and a beautiful golden color to the rolls. The extra yolk contributes to a softer, more tender texture and a slightly richer flavor.
- All-Purpose Flour: I particularly love that this recipe champions versatile all-purpose flour, making it accessible for most home bakers without requiring specialty bread flour. However, having tested this recipe extensively, I can confirm it can absolutely be made with bread flour if that’s your preference. Using bread flour might result in a slightly chewier roll due to its higher protein content, but the difference is minimal and delicious either way.
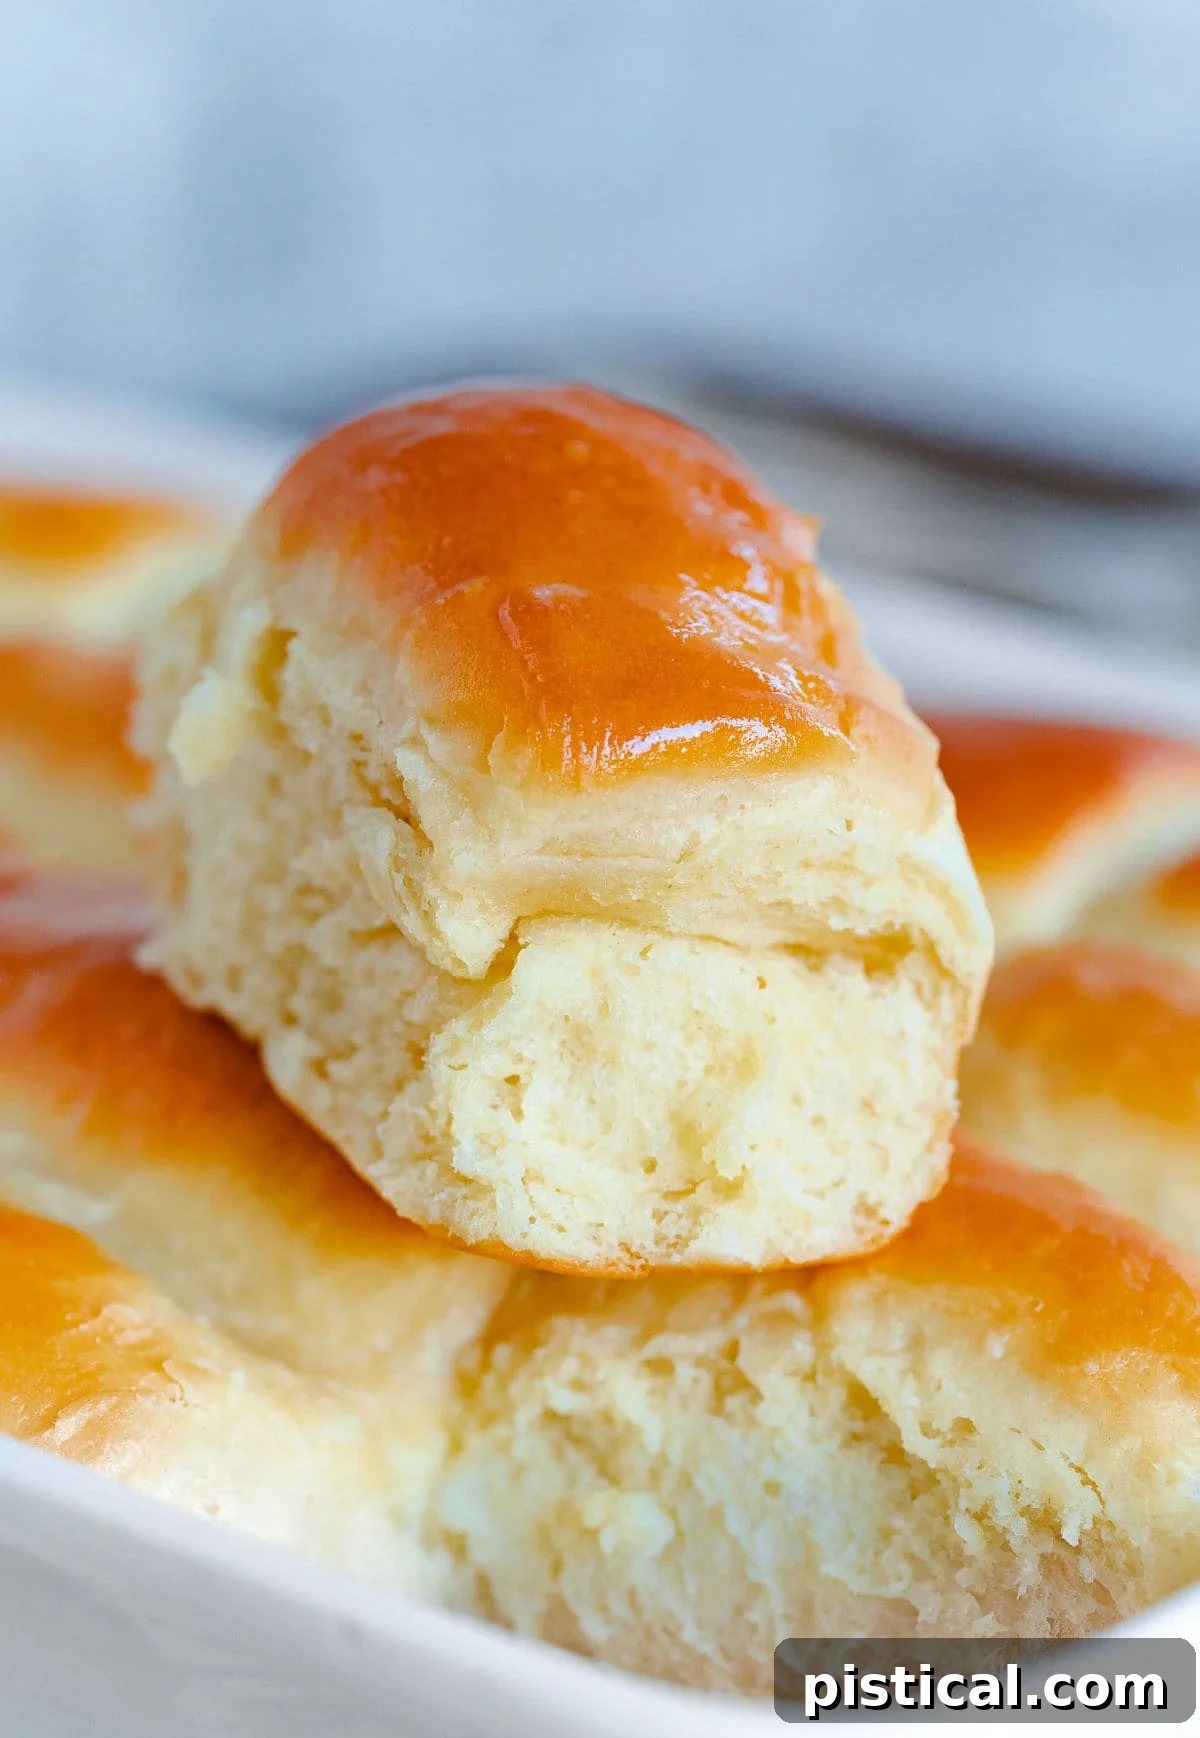
Step-by-Step Guide: How To Make Irresistible Parker House Rolls
After years of meticulously making these rolls using more complex, “traditional” methods, I’ve refined and simplified the process significantly. I truly believe the results speak for themselves: perfectly light, fluffy, and buttery rolls every single time. While homemade rolls do require a bit of dedication and patience, I’ve eliminated many of the extraneous steps, making this recipe for Parker House Rolls unequivocally worth every single second of your effort! Let’s walk through the streamlined steps to create these incredible rolls:
Phase 1: Crafting the Perfect Dough
- Activate the Yeast: In a large mixing bowl or the bowl of your stand mixer, combine the active dry yeast, the warm whole milk (at 110°F), and 2 tablespoons of the granulated sugar. Gently whisk them together until thoroughly combined. Allow this mixture to sit undisturbed for about 5 minutes, until you see a foamy layer forming on the surface. This foam indicates that your yeast is active and ready to work its magic.
- Initial Dough Mixing: To the foamy yeast mixture, add 2 ½ cups of the all-purpose flour, the fine sea salt, 6 tablespoons of softened unsalted butter, the whole egg, and the egg yolk. If using a stand mixer, attach the paddle attachment. Begin mixing on the lowest speed until all the ingredients are well incorporated, stopping occasionally to scrape down the sides of the bowl to ensure everything is evenly mixed. Once combined, increase the mixer speed to medium-low and continue mixing for another 2 minutes to develop the gluten slightly.
- Transition to Dough Hook: Switch out the paddle attachment for the dough hook. Add another ½ cup of all-purpose flour to the bowl. Mix at the lowest speed initially to prevent flour from flying everywhere. As the flour becomes mostly incorporated, increase the speed to medium-low. Continue mixing with the dough hook for approximately 2 minutes until the dough starts to come together.
- Form the Dough Ball: Add a final ½ cup of flour and repeat the mixing method, working with the dough hook on medium speed for another 2 minutes. At this point, a soft, cohesive ball of dough should have formed. The ideal consistency is soft and sticky, still adhering slightly to the bottom of the bowl but beginning to pull cleanly away from the edges. If the dough seems excessively sticky and unmanageable, you can add an additional tablespoon or two of flour at a time, but remember to use the least amount necessary to maintain its tender quality.
- First Rise (Proofing): Transfer the dough into a clean bowl that has been lightly sprayed with nonstick cooking spray. Cover the bowl snugly with a clean kitchen towel or plastic wrap. Place the covered bowl in a warm, draft-free spot at room temperature and allow the dough to rise until it has visibly doubled in size. This crucial step typically takes anywhere from 45 to 90 minutes, depending on the warmth of your kitchen.
- Prepare for Shaping: Once the dough has doubled, gently remove the cover. With a soft hand, gently punch the dough down to release the trapped air. Carefully divide the dough in half and place one half onto a very lightly floured work surface. Remember, minimal flour is key!
Phase 2: Shaping the Iconic Rolls
- Roll Out the Dough: Take one half of the dough and, using a rolling pin or your hands, roll or pat it out into a rectangular shape. Aim for dimensions of approximately 12 inches by 8 inches. A standard piece of printer paper (8.5 x 11 inches) can serve as a helpful visual guide for size.
- Butter Application: Generously brush the entire surface of the rolled-out dough with about 2 tablespoons of the softened unsalted butter. You want a light, even coating, similar to how you would butter dough for cinnamon rolls. Using softened, rather than melted, butter makes this step much neater and easier. If your butter isn’t spreading easily, microwave it for a few seconds until it’s just on the verge of melting – this will give it the perfect consistency for brushing.
- First Fold: Carefully cut the buttered dough rectangle in half lengthwise. You will now have two smaller rectangles, each roughly 4 inches by 12 inches. Take one of these rectangles and fold it lengthwise, bringing one long edge almost to meet the other, but intentionally leaving about ½ inch of the opposite edge exposed. This forms the characteristic “purse” shape. Repeat with the second rectangle.
- Cut into Rolls: Now, take each of the folded rectangles and cut them in half crosswise, then cut each of those halves in half again. This should yield 8 individual pieces of dough, each roughly 3 inches in length.
- Arrange in Baking Dish: Lightly grease a 9×13-inch baking dish. Place the rolls into the prepared dish with their folded side facing down. Arrange them in neat rows, typically four rolls per row, ensuring the longer sides of the rolls align with the longer side of the baking dish.
- Repeat for Remaining Dough: Go through the entire rolling, buttering, cutting, and arranging process with the second half of your dough. By the end, you should have a total of 16 beautifully shaped Parker House Rolls nestled in your baking dish.
Phase 3: Bake to Golden Perfection & Final Buttering
- Second Rise: Cover the baking dish again with a clean kitchen towel or plastic wrap. Allow the rolls to undergo their second rise for approximately one hour, or until they have visibly puffed up and are nearly doubled in size. As they approach readiness, preheat your oven to 350°F (175°C).
- Bake Until Golden: Once the rolls are nicely puffed, remove the cover and place the baking dish into the preheated oven. Bake for 20 to 25 minutes. The rolls should emerge gloriously golden brown on top and feel set to the touch, indicating they are cooked through.
- Final Butter Brush & Serve: Immediately upon removing the hot rolls from the oven, brush their tops generously with the remaining softened butter. The melted butter will seep into the warm rolls, adding an extra layer of flavor and a beautiful sheen. Allow them to cool for just a few minutes before pulling them apart and serving warm. Enjoy the fruits of your labor!
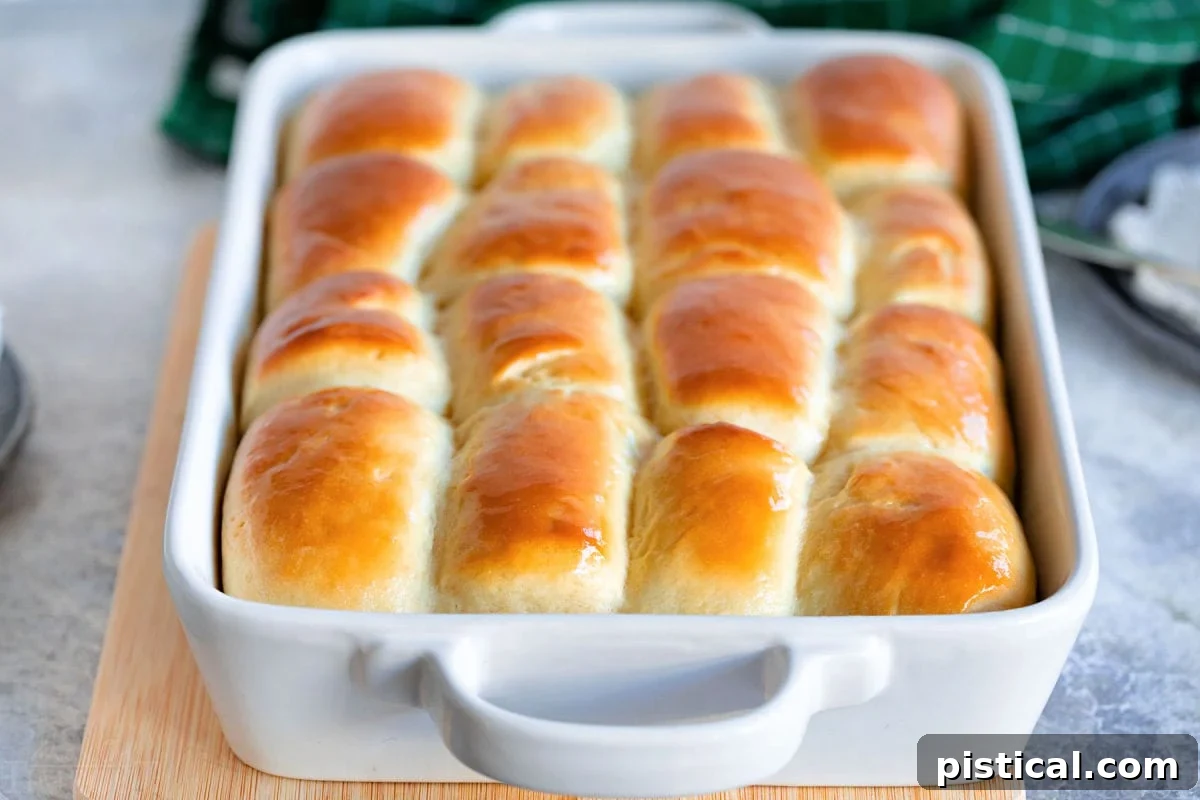
My Golden Rule of Bread and Roll Making: The Flour Factor
Among the many valuable tips for successful bread making, one stands paramount and has become my unwavering golden rule: always use the least amount of flour possible. The key to truly tender, fluffy bread and rolls lies in maintaining a dough that is soft, pliable, and just barely manageable. You want it to be sticky enough that it still slightly adheres to the bottom of your mixing bowl, but pulling away from the sides. Over-flouring is the quickest path to tough, dry bread, robbing your creations of that delightful chewiness and softness. So, when adding flour, do so judiciously – just enough to form a cohesive dough without making it stiff. Even when handling the dough for shaping, lightly flour your hands or gently grease them instead of dusting the entire surface with excess flour. This mindful approach to flour will ensure your Parker House Rolls are perfectly light and ethereal every single time.
Storage and Freezing: Enjoying Your Rolls Longer
These delicious Parker House Rolls are so good, you’ll want to make sure none go to waste! Proper storage ensures you can savor their goodness for days or even months:
For Leftovers: Store any leftover baked rolls in an airtight container at room temperature for up to 3 days. To refresh them, simply warm them gently in the oven for a few minutes until soft and fragrant.
For Freezing Baked Rolls: Once the rolls have completely cooled after baking, transfer them to a freezer-safe container or a heavy-duty freezer bag. They can be frozen for up to 3 months. To serve, thaw them at room temperature, then reheat in a preheated oven (around 300-325°F or 150-160°C) until warmed through and soft.
For Freezing Dough (Make-Ahead Option): If you want to prepare the rolls far in advance, you can freeze the dough. Follow the recipe instructions all the way through the second rise. Instead of baking, carefully place the rolls (still in their baking dish) into the freezer for about 8 hours, or until completely solid. Once frozen, transfer the solid rolls to a freezer-safe container, separating layers with wax paper, and store for up to 3 months. To bake, thaw the frozen dough at room temperature (this can take several hours), then bake as directed in the recipe.
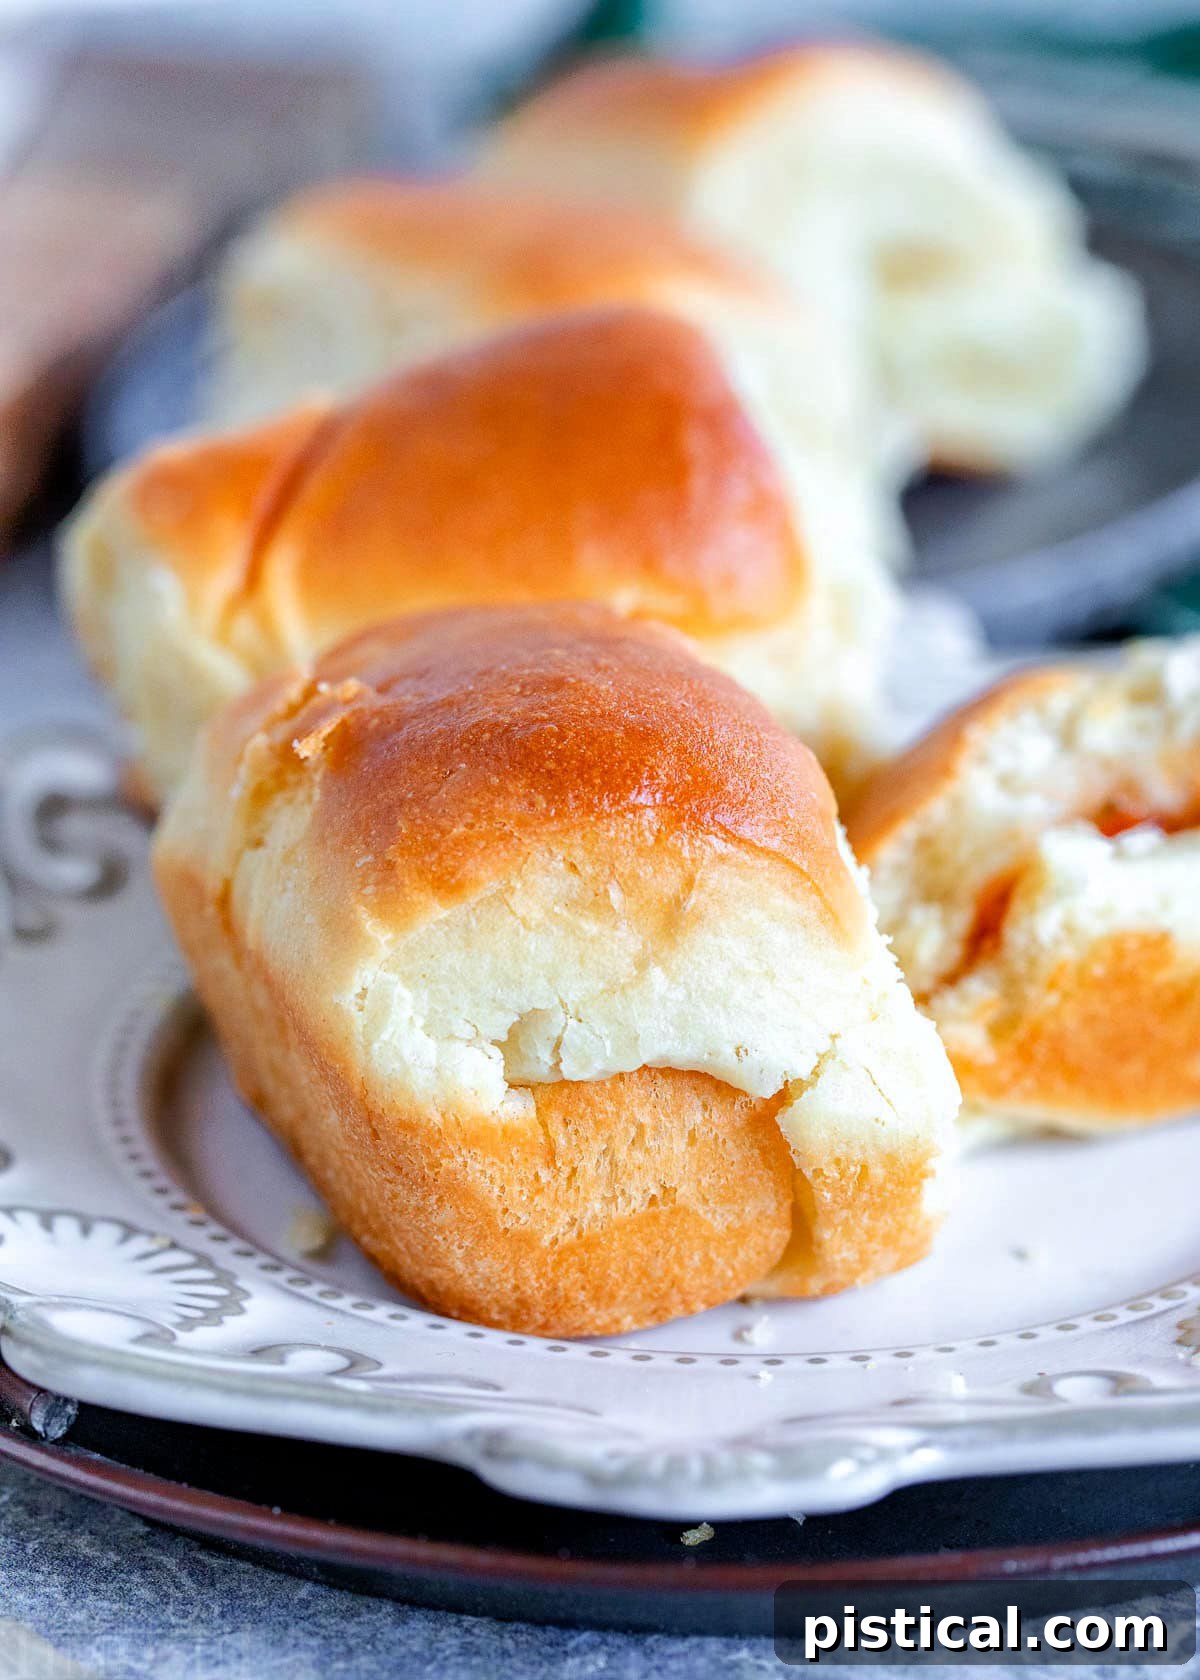
Parker House Roll FAQs: Your Questions Answered
These iconic rolls gained their widespread fame from the Parker House Hotel in Boston, a prestigious establishment that opened its doors in 1855. The intriguing story behind their name and unique shape suggests a moment of accidental genius: rumor has it that the hotel’s resident baker, in a fit of anger or a moment of serendipity, haphazardly threw a batch of folded, unfinished dough into the oven. The result was these distinctive, pocket-shaped rolls. The novel shape and the delicious outcome quickly caught on, leading to their enduring popularity and their esteemed place on dinner tables and in restaurants for over two centuries.
Absolutely, Parker House Rolls freeze beautifully! You have two excellent options for freezing:
Baked Rolls: Bake the rolls according to the recipe, allow them to cool completely to room temperature, and then store the baked rolls in a freezer-safe airtight container or heavy-duty freezer bags for up to 3 months. To enjoy, simply thaw them at room temperature and then warm them in the oven before serving.
Dough: You can also freeze the unbaked dough. Follow the recipe through the entire second rise. Once the rolls have fully risen in the pan, freeze them in the pan for approximately 8 hours, or until they are completely solid. Then, transfer the frozen rolls to a freezer-safe container, using layers of wax paper to prevent sticking, and store for up to 3 months. To bake, thaw the dough at room temperature (which may take several hours), and then proceed with baking as directed in the recipe.
Yes, these rolls are perfect for making ahead, which can be a huge time-saver for busy schedules or holiday preparations! If you wish to prepare the rolls the day before, simply make the dough and shape the rolls up until the second rise. Instead of allowing the rolls to rise again at room temperature, cover the baking dish tightly with plastic wrap and place it in the refrigerator overnight, or for up to 12 hours. The next day, remove the rolls from the refrigerator and let them come to room temperature (this might take 1-2 hours) before baking them as directed in the recipe. This method ensures fresh, warm rolls without all the day-of fuss.
Trish’s Top Tips and Tricks for Perfect Rolls
Achieving truly outstanding Parker House Rolls is all about a few key techniques and a little attention to detail. Here are my favorite tips and tricks to ensure your rolls are absolutely perfect every single time:
- When it comes to any bread or roll recipe, my absolute top advice is to add as little extra flour as possible. A sticky dough is a happy dough! You want the dough to be soft and just barely manageable. Too much flour will result in dense, tough rolls. Even when you’re handling the dough for shaping, just very lightly flour your hands or, better yet, try greasing your hands with a little oil or butter to prevent sticking.
- I highly recommend using softened butter as opposed to fully melted butter for brushing the dough. Melted butter can create a huge mess and soak into the dough unevenly. Softened butter, on the other hand, spreads smoothly and evenly. Just make sure your butter is soft enough to be easily brushed, almost at the point of melting, but still holding its shape.
- For an optional but delicious touch, some recipes suggest a sprinkling of sea salt over top of the baked rolls just before serving. This can add a lovely contrast to the buttery sweetness. This is entirely optional, however; they are truly magnificent either way!
- Room Temperature Ingredients: Always ensure your eggs and milk are at room temperature. This helps them incorporate more easily into the dough and promotes a more consistent rise.
- Warm, Draft-Free Spot for Rising: Yeast thrives in warmth. Find a cozy, draft-free spot for your dough to rise – a slightly warmed oven (turned off!), a sunny windowsill, or even near a warm appliance works well.
- Don’t Overbake: Keep a close eye on your rolls in the oven. They should be golden brown, but overbaking will dry them out. They will continue to cook slightly after removal due to residual heat.
More Biscuits and Rolls Recipes To Try
If you’ve fallen in love with making homemade bread, you’ll be thrilled to explore these other fantastic biscuit and roll recipes from my kitchen:
- Classic Dinner Rolls: A versatile and delicious roll perfect for any meal.
- Perfect Biscuits Every Time: Flaky, tender biscuits that live up to their name.
- Pumpkin Dinner Rolls: A seasonal favorite, subtly sweet and beautifully colored.
- Homemade Crescent Rolls: Buttery and light, these are a joy to pull apart.
- Angel Biscuits: A unique hybrid, combining the lightness of a roll with the richness of a biscuit.
Parker House Rolls Recipe Card
Print Recipe
Pin Recipe
Parker House Rolls
Ingredients
- 1 ¼ cup whole milk 110°F
- 3 teaspoons active dry yeast
- 6 tablespoons unsalted butter softened
- 4 tablespoons granulated sugar divided
- 1 ½ teaspoons fine sea salt
- 1 large egg plus 1 egg yolk room temperature
- 3 ½ to 4 ¼ cups all purpose flour
- 5 tablespoons unsalted butter softened, for brushing on dough, divided
Instructions
-
Combine yeast, 2 tablespoons granulated sugar and warm milk in a large mixing bowl or the bowl of a stand mixer. Gently whisk together to combine. Let sit until foamy, about 5 minutes.
-
Add 2 ½ cups of flour, salt, 6 tablespoons softened butter, remaining 2 tablespoons of sugar, egg and egg yolk. Attach the paddle attachment and turn the mixer to the lowest speed and mix until ingredients are incorporated, scraping down the sides of the bowl as necessary. Increase the speed to medium low and continue to mix for 2 minutes.
-
Change the attachment to the dough hook, add ½ cup flour and incorporate the flour at the lowest speed, increasing to medium low when the flour is mostly incorporated, mixing for a total of 2 minutes.
-
Add another ½ cup flour and repeat, mixing at medium speed for another 2 minutes until a ball of dough is formed. Add additional flour as necessary, a couple tablespoons at a time. The dough should be sticky and soft, pulling away from the edge of the bowl but still adhering to the bottom. Remember the golden rule: add the LEAST amount of flour possible to still be able to handle the dough. Lightly flour or grease your hands if necessary.
-
Transfer the dough to a lightly greased bowl (a quick spray with nonstick cooking spray works well) and cover with a towel or plastic wrap. Let rise at room temperature in a draft-free space until doubled in size, about 45 to 90 minutes.
-
Remove the cover once risen and gently punch the dough down to release air.
-
Divide your dough in half and transfer one half to a very lightly floured surface. We want to add very minimal additional flour to the rolls during shaping.
-
Roll or pat out the dough into a rectangle measuring approximately 8” x 12” (use a piece of printer paper, 8.5 x 11, as a guide for size).
-
Brush the dough all over with 2 tablespoons of the softened butter, ensuring a light, even coating, much like you would for cinnamon rolls. Softened butter is preferred over melted butter for a neater application. If your butter is too firm to brush, microwave it for a few seconds until it’s very soft, almost liquid.
-
Cut the buttered dough in half lengthwise, creating two 4″ x 12″ rectangles. Take one rectangle and fold it lengthwise so that one long edge nearly meets the other, leaving about ½″ of the opposite edge showing. This creates a rectangle roughly 2 ¼″ x 12″. Repeat with the second rectangle.
-
Cut each of these folded rectangles in half, then cut those halves in half again. This will give you four 3″ pieces from each rectangle, totaling 8 rolls from this half of the dough.
-
Turn the rolls over and place them, folded side down, in a lightly greased 9 x 13 inch baking dish. Arrange them in four rows, with the longer sides of the rolls aligning with the longer side of the baking dish. (Refer to images in the post above for visual guidance if needed.)
-
Repeat the entire rolling, buttering, and cutting process with the second half of the dough. You should yield 16 rolls in total.
-
Cover the baking dish loosely with plastic wrap or a light towel and let the rolls rise once more until they are nicely puffed up and almost doubled in size, approximately 45 minutes to 1 hour. As the rolls near the end of their rise, preheat your oven to 350°F (175°C).
-
Remove the towel or plastic wrap and bake the rolls for 20 to 25 minutes. They should become beautifully golden brown on top and feel set when gently pressed.
-
Once out of the oven, immediately brush the tops of the hot rolls with the remaining softened butter. The butter will melt into the warm rolls, adding incredible flavor and a shiny finish. Pull them apart to serve and savor every delicious bite!
Video
Notes
Using rapid rise yeast. If you prefer to use rapid rise yeast instead of active dry yeast, simply swap it directly into the recipe. You can expect the rise times to be slightly reduced. With rapid rise yeast, you don’t have to let the yeast sit and foam; just add all the ingredients in together and start mixing.
To make ahead of time. For convenient preparation, you can make the rolls the day before. Prepare the rolls up until the second rise. Instead of letting them rise again at room temperature, cover the baking dish securely and place it in the refrigerator overnight, or for up to 12 hours. Before baking, allow the rolls to come to room temperature (this might take 1-2 hours) and then bake as directed.
To freeze. You have two options for freezing:
Baked Rolls: Bake the rolls as directed, let them cool completely, then store the baked rolls in a freezer-safe container for up to 3 months. Thaw at room temperature, then heat in the oven and serve.
Unbaked Dough: Follow the recipe through the entire second rise. Freeze the rolls in the pan for about 8 hours until solid. Then, transfer them to a freezer-safe container between layers of wax paper for up to 3 months. Thaw the dough to room temperature before baking as directed above.
Nutrition