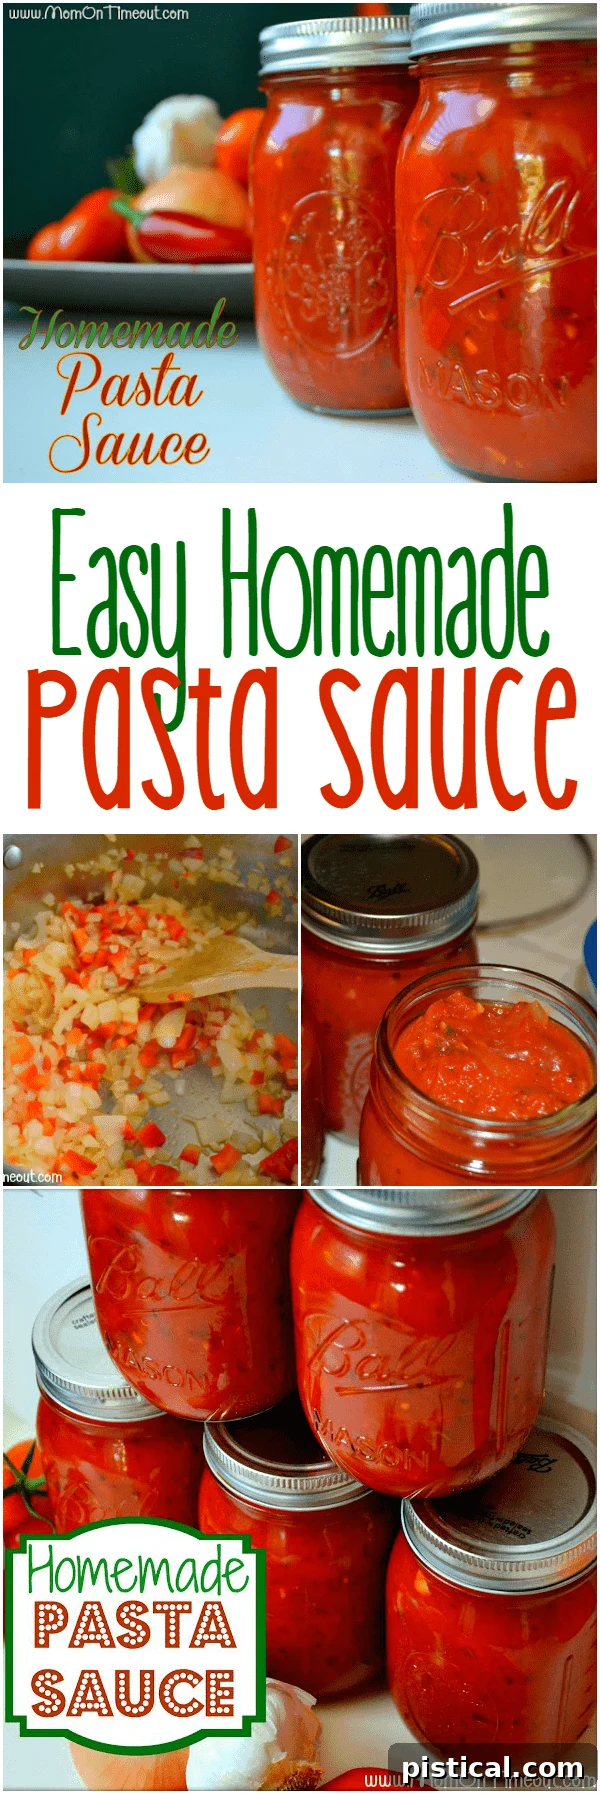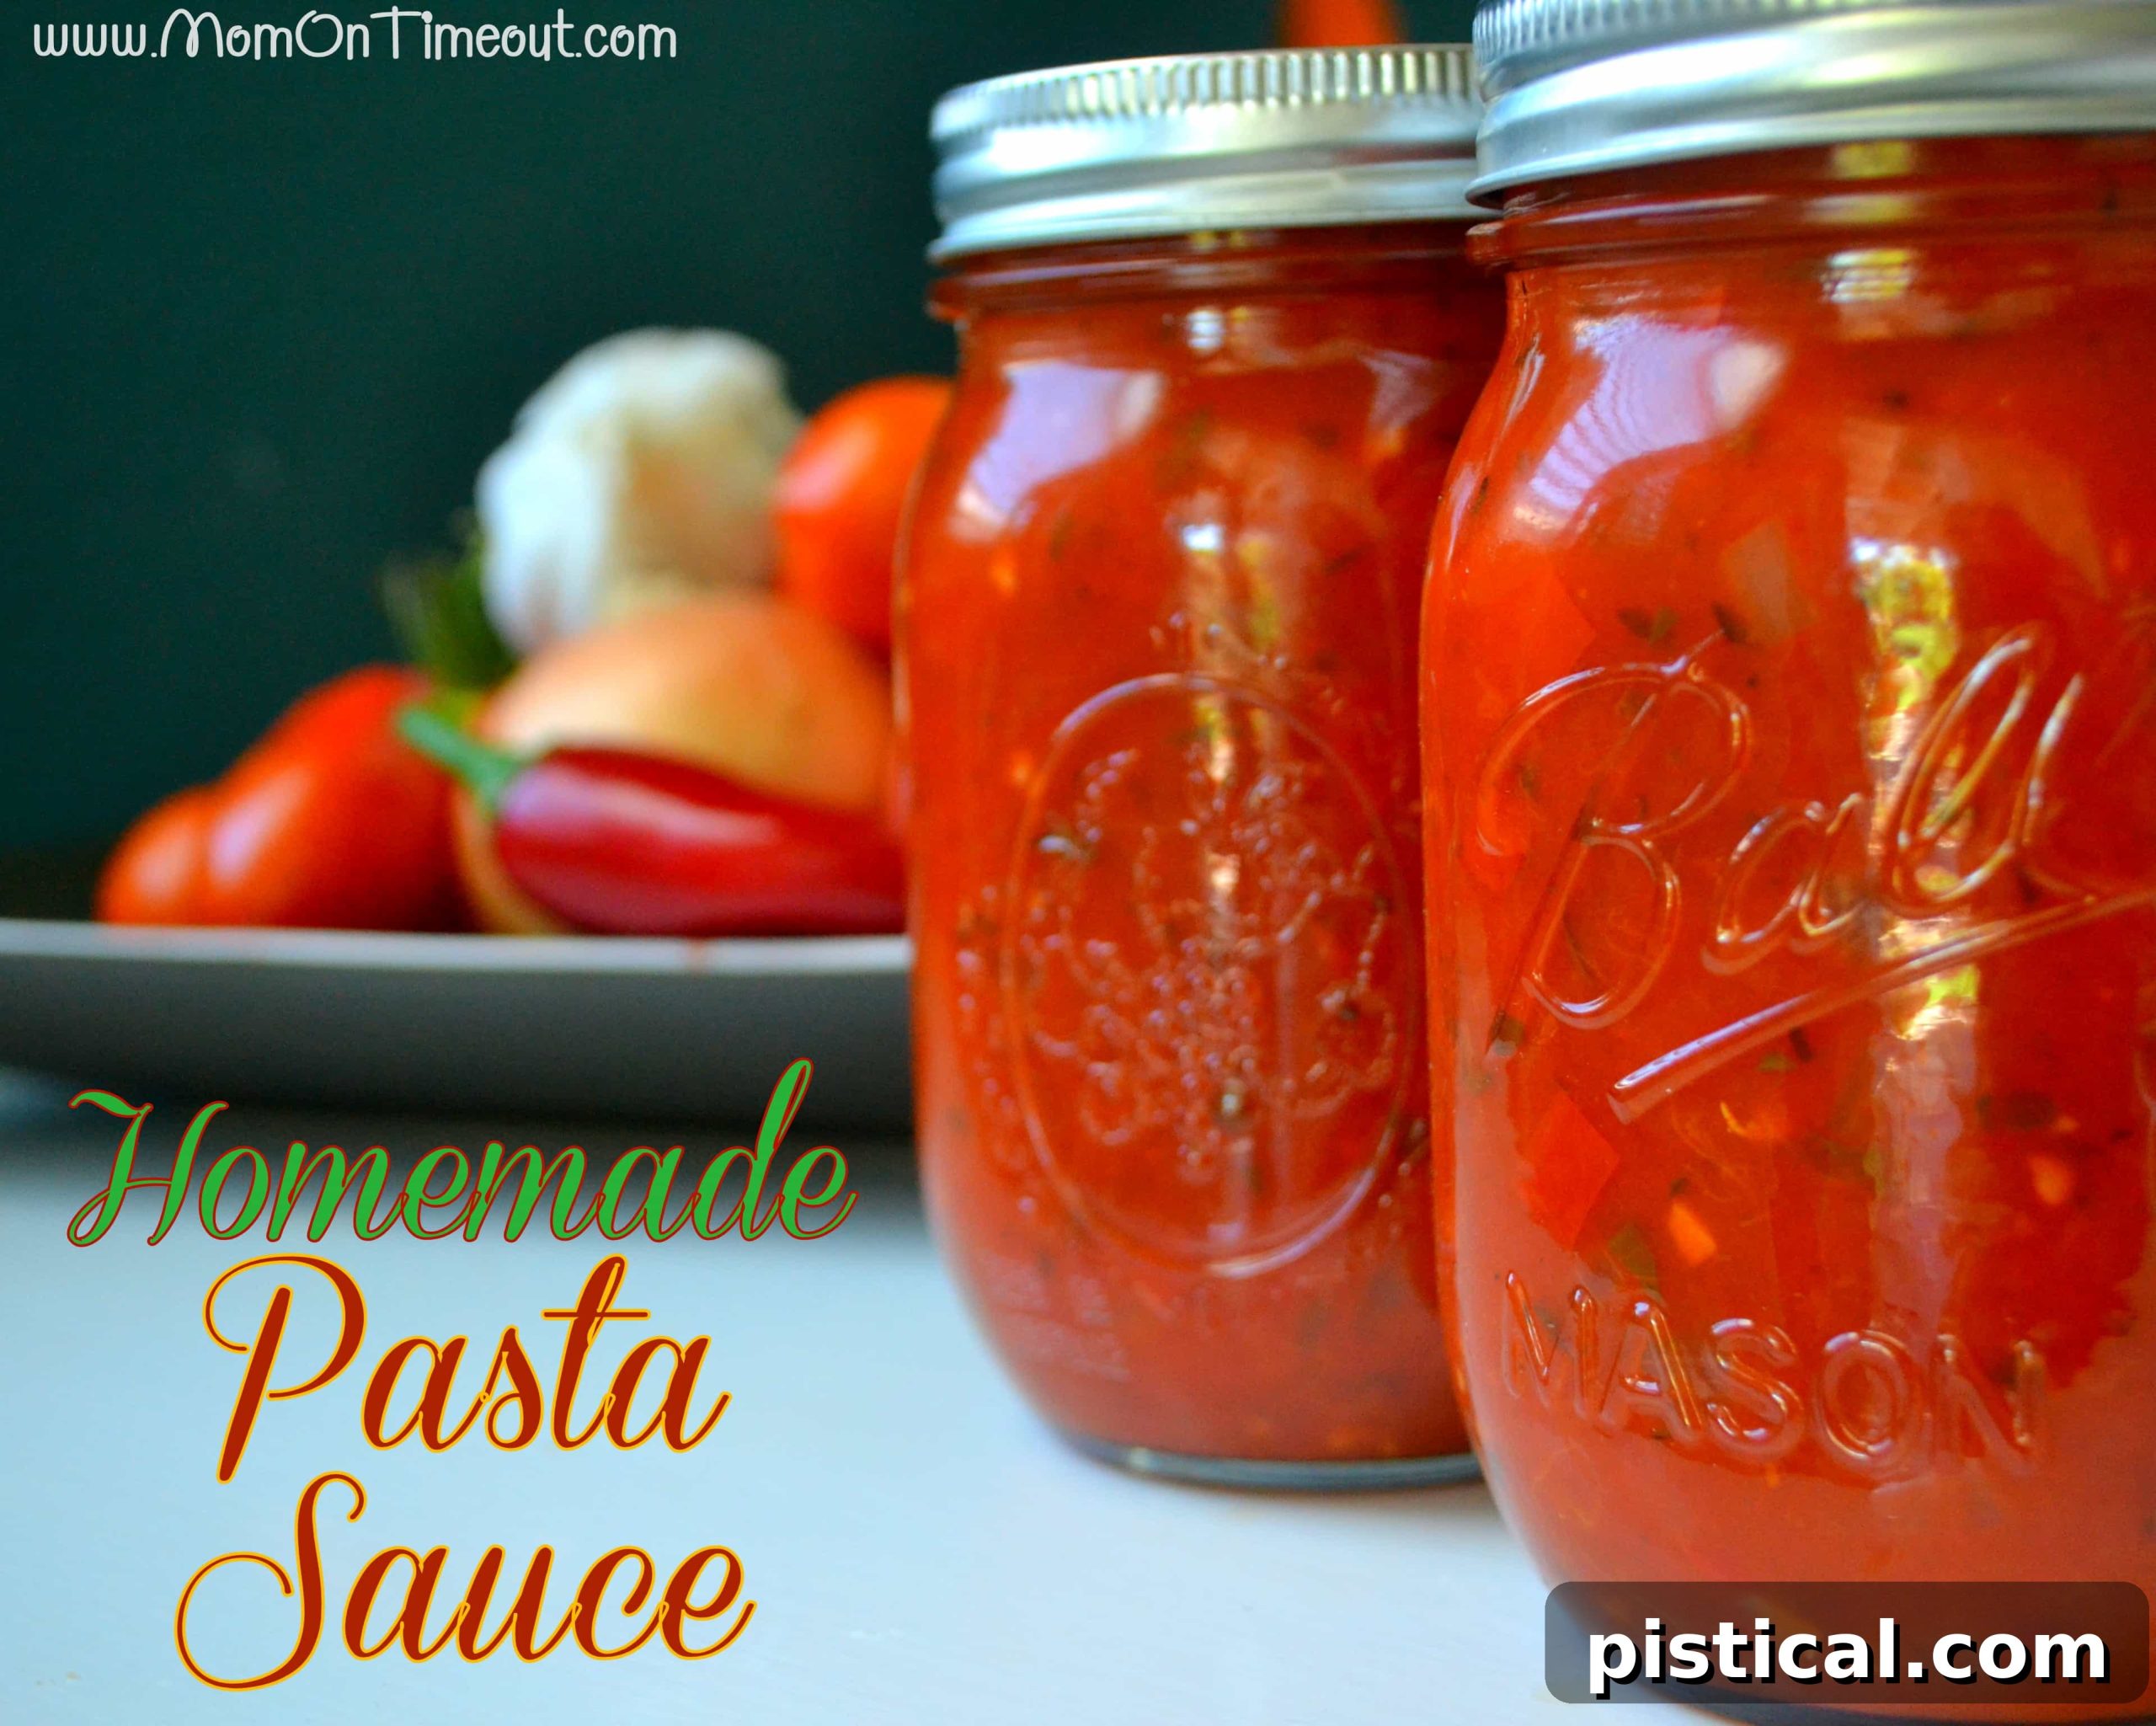
Easy Homemade Pasta Sauce: Fresh from Your Garden to Your Table
There’s nothing quite like the vibrant taste of homemade pasta sauce, especially when it’s crafted from the bounty of your own garden. This recipe is your ultimate guide to creating a rich, flavorful sauce that truly celebrates the freshness of peak-season tomatoes and vegetables. Whether you’re a seasoned gardener looking to utilize an abundant harvest or simply a food enthusiast craving authentic flavors, this easy homemade pasta sauce will transform your weeknight meals.
And for those wondering about preservation methods, you’re in luck! This versatile sauce is perfect for both canning, ensuring shelf-stable goodness for months, or simply freezing in convenient bags for quick future meals. Say goodbye to store-bought mediocrity and hello to a pantry (or freezer) full of delicious, wholesome pasta sauce!
Embracing the Art of Homemade: From Garden Abundance to Pantry Staple
This year, my tomato plants decided to put on quite a show, gifting me with an overwhelming abundance of ripe, red tomatoes. While a delightful problem to have, it quickly became apparent I needed a plan to preserve this garden gold. My initial thought turned to canning, a method I’d always approached with a mix of fascination and apprehension. The idea of “canning” always seemed shrouded in mystery – why glass jars for canning? How does one ensure proper sealing? What if all that effort goes to waste if the taste isn’t right? These questions used to deter me.
However, faced with a mountain of gorgeous tomatoes, I decided it was time to conquer my canning fears. I dove deep into online resources, sifting through countless recipes and, more importantly, finding answers to all my pressing questions about the science and safety behind food preservation. Once I understood the techniques and rationale, the entire process felt less daunting and more like a rewarding culinary adventure. And trust me, the results were well worth it!
For those who prefer a simpler preservation method or are not yet ready to venture into canning, this recipe offers a fantastic alternative: freezing. You can prepare this delicious sauce, allow it to cool, and then easily store it in freezer bags for months of ready-to-use goodness. It’s truly a flexible recipe designed to fit your lifestyle and kitchen comfort level.
Beyond the practicalities, making your own pasta sauce from scratch is an unparalleled experience. It allows you to control the ingredients, avoid artificial additives, and customize flavors to your family’s preferences. The aroma of simmering tomatoes, garlic, and fresh herbs fills your kitchen, creating a warm, inviting atmosphere that store-bought sauce simply can’t replicate. Plus, utilizing fresh, local produce ensures a superior taste and nutritional profile that shines through in every bite.
Essential Ingredients for a Robust Homemade Pasta Sauce
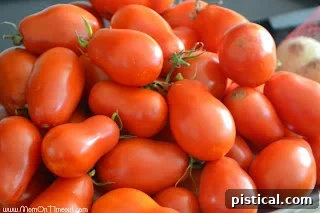
This recipe yields approximately 5 pints of rich, delicious sauce, with a little extra left over for immediate enjoyment. The key to a fantastic sauce begins with quality ingredients, especially your tomatoes. Roma tomatoes are highly recommended for their meaty texture and lower water content, which contributes to a thicker sauce with less cooking time.
Ingredients:
- 15 lbs of ripe tomatoes (Roma tomatoes are ideal for their low water content)
- 2 medium onions, finely chopped
- 1 red bell pepper, diced
- 5 cloves of garlic, minced
- 1 Tablespoon vegetable oil (or olive oil for richer flavor)
- 2 Tablespoons fresh basil, chopped
- 1 teaspoon salt (adjust to taste)
- 1/2 teaspoon black pepper, freshly ground
- 1 Tablespoon sugar (balances acidity and enhances tomato flavor)
- 1 teaspoon dried parsley
- 1/2 teaspoon red pepper flakes (optional, for a touch of heat)
- 2 Tablespoons dried oregano
- 2 bay leaves
- A dash of Worcestershire sauce (adds depth of flavor)
- 1 small can (6 oz) of tomato paste (optional; use if a thicker sauce is desired)
- 1/4 cup lemon juice (from a bottle; essential for safe canning to ensure proper acidity)
Step-by-Step Directions for Crafting Your Homemade Pasta Sauce
1. Prepare Your Tomatoes: Skin Removal
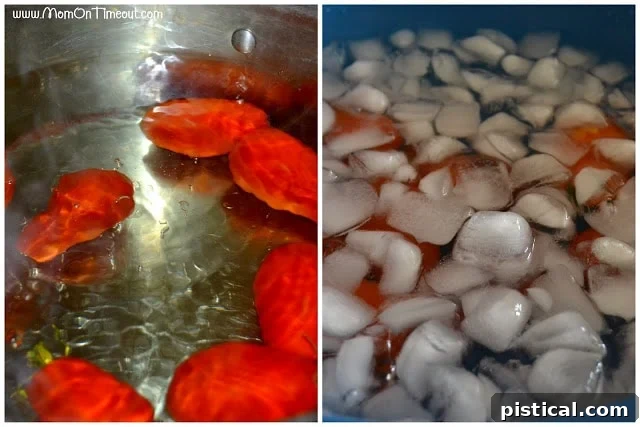
The first crucial step for a smooth, professional-quality sauce is removing the tomato skins. This process, known as blanching, is surprisingly simple. Bring a large pot of water to a rolling boil. While the water heats, prepare an ice bath by filling a large bowl with ice and cold water. Carefully submerge 5-6 tomatoes at a time into the boiling water for about 45 seconds. You’ll notice the skins beginning to crack. Immediately transfer the blanched tomatoes from the boiling water to the ice bath to stop the cooking process. After a minute or two in the ice bath, the skins will easily slip off. Most of my tomato skins practically peeled themselves!
2. Deseeding and Draining for a Thicker Sauce
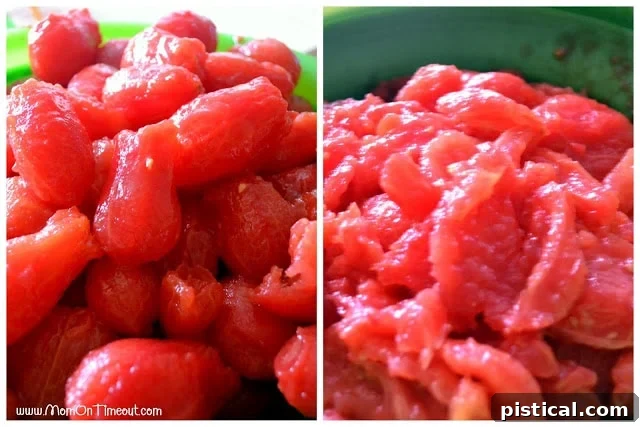
Next, we’ll remove the seeds and excess juice from the skinned tomatoes. While some prefer a more technical approach of cutting and scraping, I found the most efficient method was to simply use my hands. Gently open up each tomato and lightly shake or squeeze out the seeds and watery pulp. Once deseeding is complete, place the tomatoes into a colander. Allow them to sit for a while, letting any remaining excess liquid drip out. This step is vital for achieving a rich, thick sauce. Removing this watery juice early means less cooking time to evaporate liquids, which in turn helps preserve more of the tomatoes’ natural vitamins and nutrients. It’s a smart way to maximize both flavor and nutritional value!
3. Sautéing Aromatics
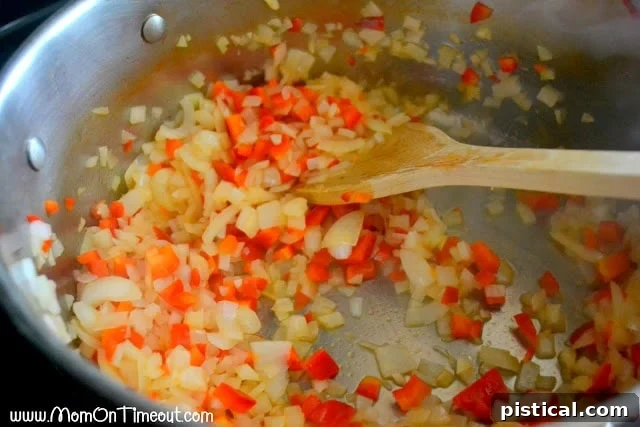
In a large, heavy-bottomed pot or Dutch oven, heat the vegetable oil over medium heat. Add the chopped onions and red bell pepper. Sauté them for several minutes, stirring occasionally, until they become translucent and tender. This process softens their texture and brings out their sweet, aromatic flavors, forming a delicious base for your sauce. Once the onions and peppers are softened, add the minced garlic and continue to sauté for another two to three minutes until fragrant. Be careful not to burn the garlic, as it can turn bitter.
4. Simmering to Perfection
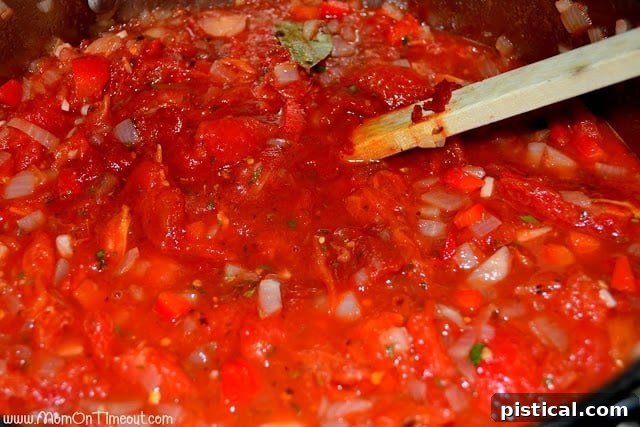
Add the prepared tomatoes to the pot with the sautéed aromatics. Let them cook down for 10-15 minutes before incorporating the remaining ingredients: fresh basil, salt, black pepper, sugar, dried parsley, red pepper flakes (if using), dried oregano, bay leaves, and a dash of Worcestershire sauce. Stir everything thoroughly to combine. Bring the sauce to a gentle simmer and let it cook, uncovered, until it reaches your desired thickness. Stir occasionally to prevent sticking and ensure even cooking.
If you prefer a smoother sauce or want to speed up the breakdown of the tomatoes, you can use a potato masher directly in the pot. The total simmering time will vary depending on the juiciness of your tomatoes and your preferred consistency. For a rich, thick sauce, it typically takes a little over an hour. Remember, a longer simmer allows the flavors to meld beautifully and intensify.
5. Sterilization for Safe Canning
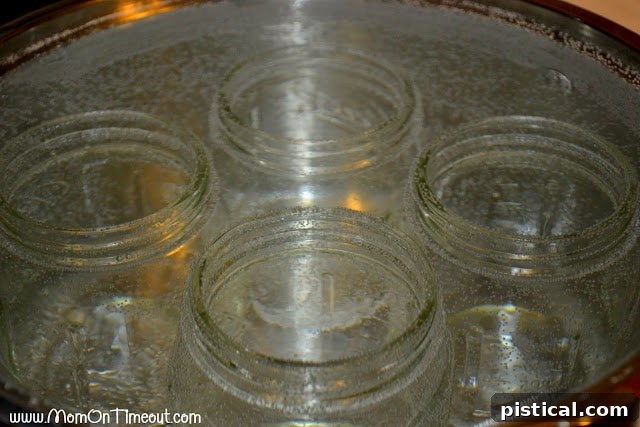
Before you begin the canning process, meticulous sterilization of all your equipment is paramount for food safety and preventing spoilage. This includes every jar, lid, and utensil that will come into contact with the hot sauce. While some sources suggest using a dishwasher’s sanitizing cycle, I prefer to use a large canning pot to boil my jars and lids. Witnessing the water at a full boil provides visual assurance that everything is properly sanitized. Place your clean jars and lids into the canning pot, cover them with water, and bring to a rolling boil for at least 10 minutes. Keep them hot until you are ready to fill.
6. Filling and Preparing Jars for Water Bath Canning
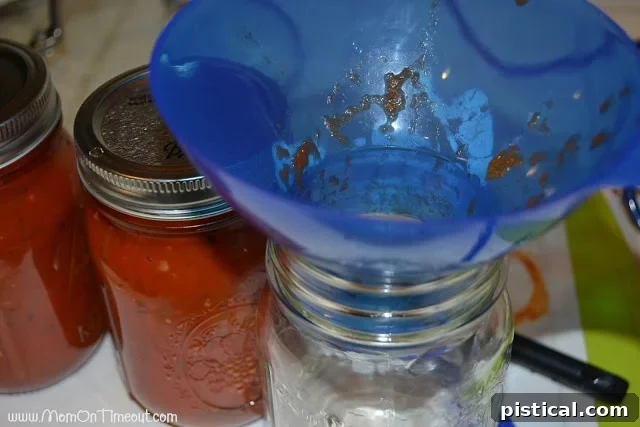
Once your equipment is sterilized and the sauce has reached your desired consistency (and is still hot), it’s time to fill the jars. Keep your canning bath simmering or boiling. Set up your warm/hot jars with a canning funnel – this tool is truly indispensable for a clean and efficient filling process, minimizing mess (and believe me, there can be plenty of tomato-related mess!). Carefully ladle the hot pasta sauce into each jar, leaving a 1/4-inch headspace from the rim. This headspace is crucial for proper sealing and creating a vacuum seal.
After filling, wipe the rim of each jar thoroughly with a clean, damp cloth to remove any sauce residue. This ensures a tight, reliable seal. Place a hot lid on top of each jar, followed by a screw band, and hand-tighten until fingertip tight (not too tight). Now, carefully place the filled jars into your simmering canning pot using jar tongs. Ensure the jars are completely covered by at least 1 inch of water – more is always better. Bring the water back to a full, rolling boil and maintain it for the entire processing time.
For pint-sized jars, process for 35 minutes. For quart-sized jars, process for 40 minutes. If the water stops boiling at any point during the processing time, stop your timer and restart it only once the water returns to a vigorous boil. Consistency in temperature is key for safe canning.
Note for Freezing: If you’re opting to freeze your sauce instead of canning, simply let the prepared sauce cool completely. Then, ladle it into freezer-safe bags or containers, remove as much air as possible, and place them in the freezer for convenient future use. This method is equally effective for long-term storage and offers great flexibility.
7. Cooling and Checking Seals
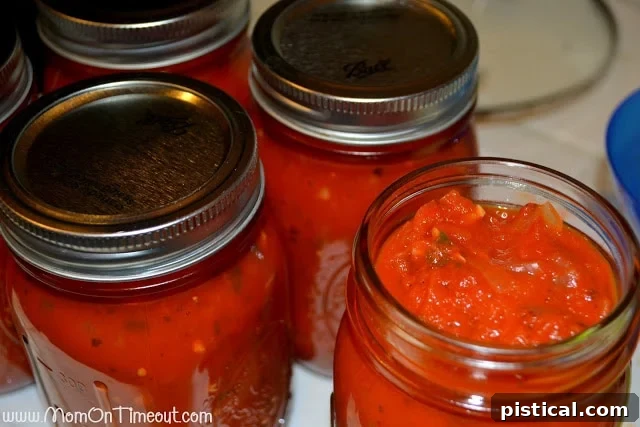
Once the processing time is complete, carefully lift the jars out of the boiling water using jar tongs and place them on a clean towel or cooling rack, ensuring they are not touching each other. It is absolutely crucial to **DO NOT** touch, bump, or move the jars for a full **24 HOURS**. This undisturbed cooling period allows the vacuum seal to properly form. You’ll often hear a satisfying “ping” sound as the lids seal.
After 24 hours, the screw bands can be removed or at least loosened to prevent them from rusting in place. To verify a proper seal, press lightly on the center of each lid. If the lid is concave and does not pop up and down, it has successfully sealed. If a lid yields and pops, the jar did not seal correctly. In such a case, immediately refrigerate that jar and consume its contents within a few days. Don’t worry, nearly all of my jars sealed perfectly, so you should have great success!
This freshly canned or frozen homemade pasta sauce is incredibly versatile. We enjoyed our first batch this week on Easy, Cheesy, Chicken Parmesan Sandwiches, and it was absolutely divine! My family is already eagerly anticipating future meals featuring this delightful sauce. Now you know how to turn your garden’s bounty into a delicious, long-lasting pantry staple!
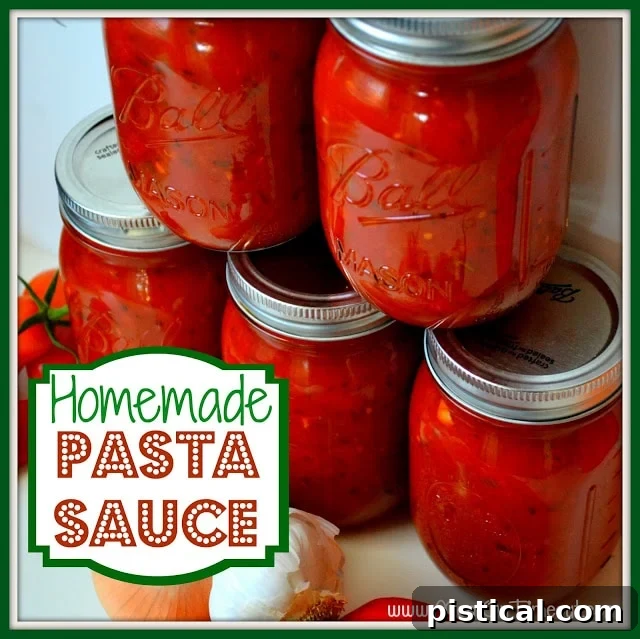

Homemade Pasta Sauce
This easy homemade pasta sauce recipe is a fantastic way to utilize all those fresh veggies from your garden! Not keen on canning? No worries, this sauce can also be frozen in freezer bags.
Course: Dinner
Cuisine: American
Keyword: homemade pasta sauce
Prep Time: 1 hour
Cook Time: 45 minutes
Total Time: 1 hour 45 minutes
Servings: 5 pints
Author: Trish – Mom On Timeout
Ingredients
- 15 lbs tomatoes (mostly Roma)
- 2 medium onions, chopped
- 1 red bell pepper, chopped
- 5 cloves garlic, minced
- 1 tbsp vegetable oil
- 2 tbsp fresh basil
- 1 tsp salt
- 1/2 tsp black pepper
- 1 tbsp sugar
- 1 tsp dried parsley
- 1/2 tsp red pepper flakes (optional)
- 2 tbsp dried oregano
- 2 bay leaves
- dash of Worcestershire sauce
- 1 small can (6 oz) tomato paste (optional; use if sauce is not thick enough)
- 1/4 cup lemon juice (from a bottle; used to acidify)
Instructions
-
First, remove the tomato skins. Bring a pot of water to a boil and prepare an ice bath. Submerge tomatoes (5-6 at a time) in boiling water for about 45 seconds. Immediately transfer to the ice bath. Skins will easily slide off.
-
Next, remove seeds and excess tomato juice. Use your hands to open tomatoes and shake out seeds. Squeeze out juice, then place tomatoes in a colander to drain further. This helps create a thick sauce and preserves nutrients.
-
Sauté onions and peppers in oil in a large pot for several minutes until translucent and soft. Add minced garlic and sauté for another few minutes until fragrant.
-
Add the prepared tomatoes to the pot and cook for 10-15 minutes before adding all other ingredients (basil, salt, pepper, sugar, parsley, red pepper flakes, oregano, bay leaves, Worcestershire sauce). Stir to combine and simmer until the sauce reaches your desired thickness. This can take over an hour, depending on tomato type and initial liquid. A masher can be used to break down tomatoes faster.
-
Before canning, sterilize every utensil, jar, and lid. Boil jars in a canning bath for at least 10 minutes to sanitize them properly.
-
Set up warm, sterilized jars with a funnel. Fill jars with hot sauce, leaving 1/4 inch headspace. (If freezing, let sauce cool and ladle into freezer bags, remove air, and freeze).
-
Wipe jar rims, place lids, and hand-tighten rings. Place filled jars in the canner, ensuring they are covered with at least 1 inch of boiling water. Process pint jars for 35 minutes and quart jars for 40 minutes at a full, rolling boil. Restart timer if water stops boiling.
-
After processing, lift jars out and let them cool undisturbed for 24 hours. DO NOT touch or move them. After 24 hours, remove or loosen rings. Check seals by pressing the lid center; if it doesn’t pop up, it’s sealed. Unsealed jars should be refrigerated immediately.
Nutrition
Calories: 345kcal | Carbohydrates: 71g | Protein: 15g | Fat: 6g | Saturated Fat: 3g | Sodium: 812mg | Potassium: 3734mg | Fiber: 20g | Sugar: 46g | Vitamin A: 12748IU | Vitamin C: 233mg | Calcium: 196mg | Iron: 6mg