
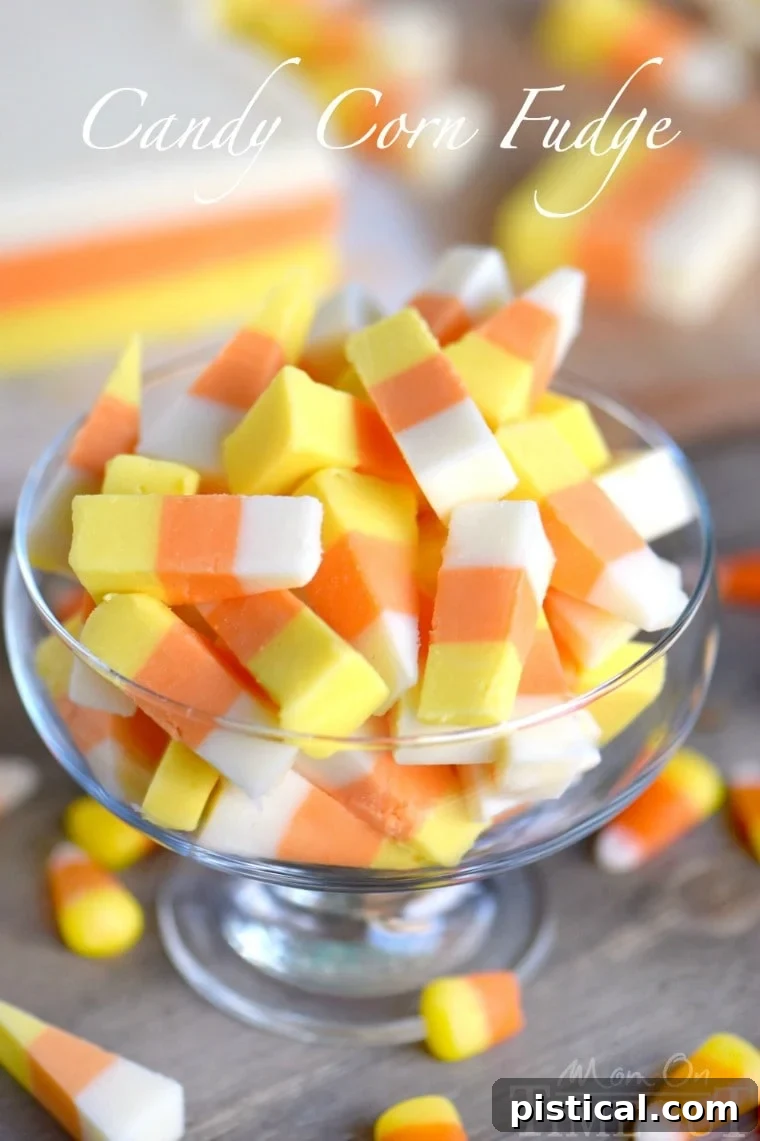
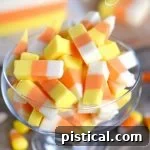
This Easy Candy Corn Fudge recipe is destined to become a beloved annual tradition! Imagine vibrant layers of creamy, honey-flavored fudge, meticulously crafted to mimic the iconic look of candy corn. It’s a delightful and visually stunning treat that brings a touch of festive fun to any autumn gathering. Best of all, there’s no sweetened condensed milk required for this wonderfully simple creation!
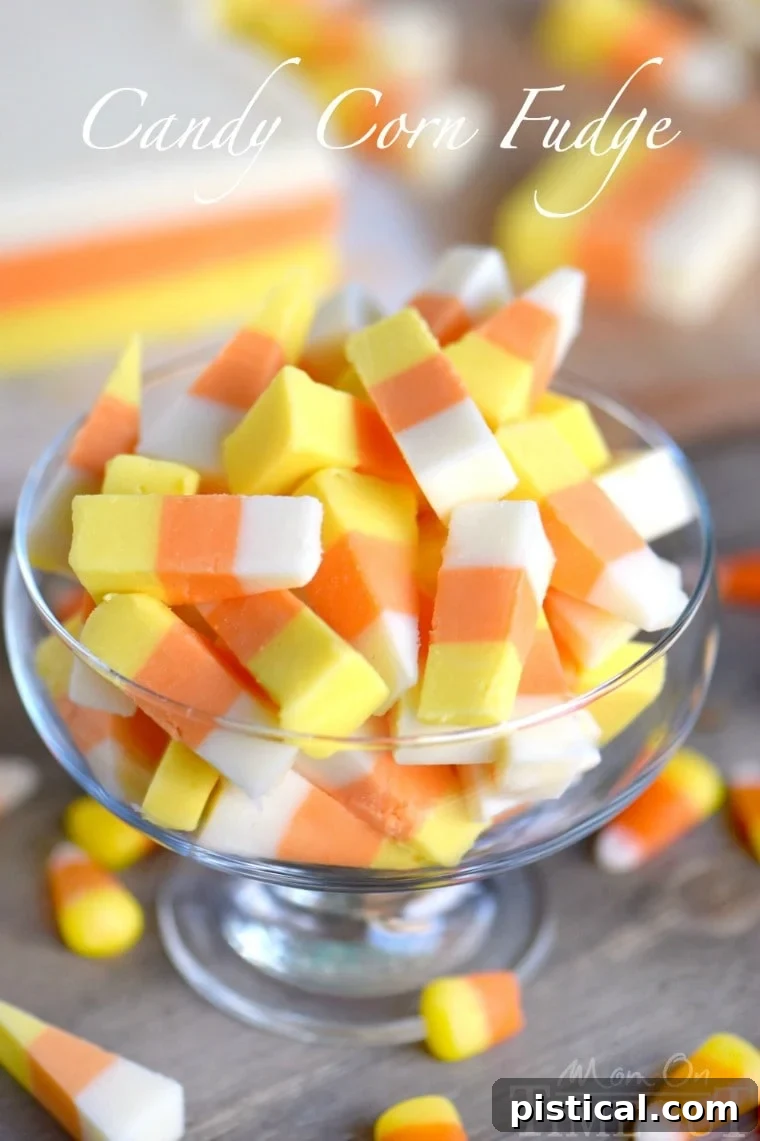
Embrace the Autumn Spirit with Homemade Candy Corn Fudge
As the leaves begin to turn and the crisp autumn air settles in, our thoughts inevitably drift to all things fall – and for many, that means candy corn! This quintessential Halloween candy, with its distinctive yellow, orange, and white layers, holds a special place in holiday traditions. We love keeping a bowl of candy corn readily available throughout the fall months, and I often find myself stocking up on extra bags to satisfy those sudden cravings that inevitably strike throughout the year.
This fudge recipe is more than just a sweet treat; it’s a celebration of the season. It’s not only incredibly easy to prepare but also irresistibly fun, making it the perfect addition to your Halloween festivities. Its charming appearance and delightful flavor are sure to impress both kids and adults alike, making it an ideal choice for parties, school events, or simply enjoying a cozy night in.
The Secret to Simplicity: A Foolproof Fudge Base
The foundation of this incredible candy corn fudge comes from my tried-and-true Small Batch 3 Minute Cranberry Pistachio Fudge recipe. This base is remarkably versatile and simplifies the fudge-making process, allowing you to create rich, creamy fudge without the fuss. Its small batch nature is particularly convenient when you’re preparing treats for a smaller gathering or simply want to avoid an overwhelming amount of sweets. The recipe calls for a standard loaf pan, making it accessible for any home baker.
What truly elevates this candy corn fudge is the thoughtful flavoring of each layer. For the vibrant orange and yellow layers, I infused them with real honey, echoing the subtle, sweet notes found in traditional candy corn. To ensure the top layer remained a pristine white, I opted for clear vanilla extract, which delivers a classic vanilla taste without imparting any unwanted color. This careful attention to detail ensures both an authentic flavor profile and a visually striking resemblance to everyone’s favorite fall confection.
Achieving Perfect Candy Corn Hues
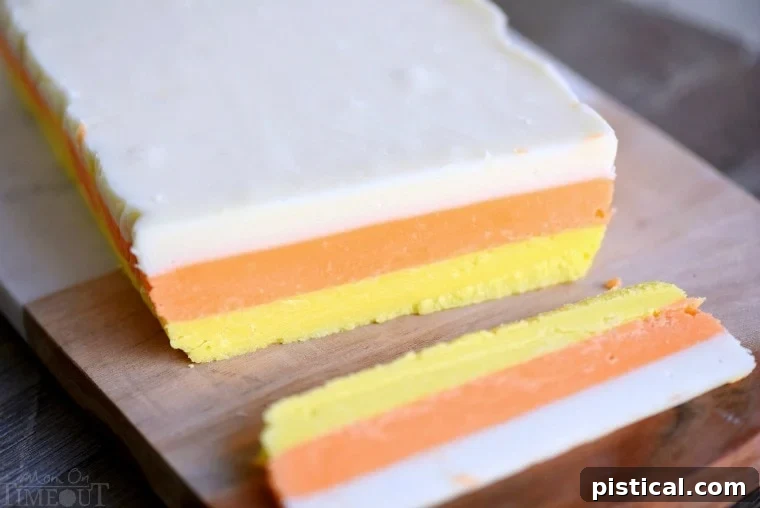
To capture those iconic candy corn colors, the right food coloring is essential. I highly recommend using gel food coloring for its concentrated pigment and ability to create vibrant shades without altering the fudge’s consistency. For the bright orange layer, I used this Wilton Gel Food Color Set, and for the sunny yellow, this Wilton Gel Food Color Set provided the perfect shade (though this alternative set would also work beautifully). Gel colors allow for precise control over the intensity, so you can achieve your desired shade with just a small amount.
Crafting this beautiful layered fudge is a straightforward process, but patience is key. Each layer needs adequate time to chill and set properly before the next one is added. You’ll start with the yellow layer, allowing it to firm up in the refrigerator for at least 30 minutes. This crucial step prevents the colors from bleeding into one another, ensuring crisp, distinct lines between each segment. The same chilling time applies to the orange layer. After the final white layer is smoothly spread, the entire fudge block requires a longer chill of at least two hours. This extended refrigeration guarantees that all layers are perfectly set, making the fudge easy to slice and preventing any crumbling. Once fully chilled, it’s ready for the fun part: slicing it into wedges or triangles that genuinely resemble candy corn. Prepare to be amazed by how easy and rewarding this process is!
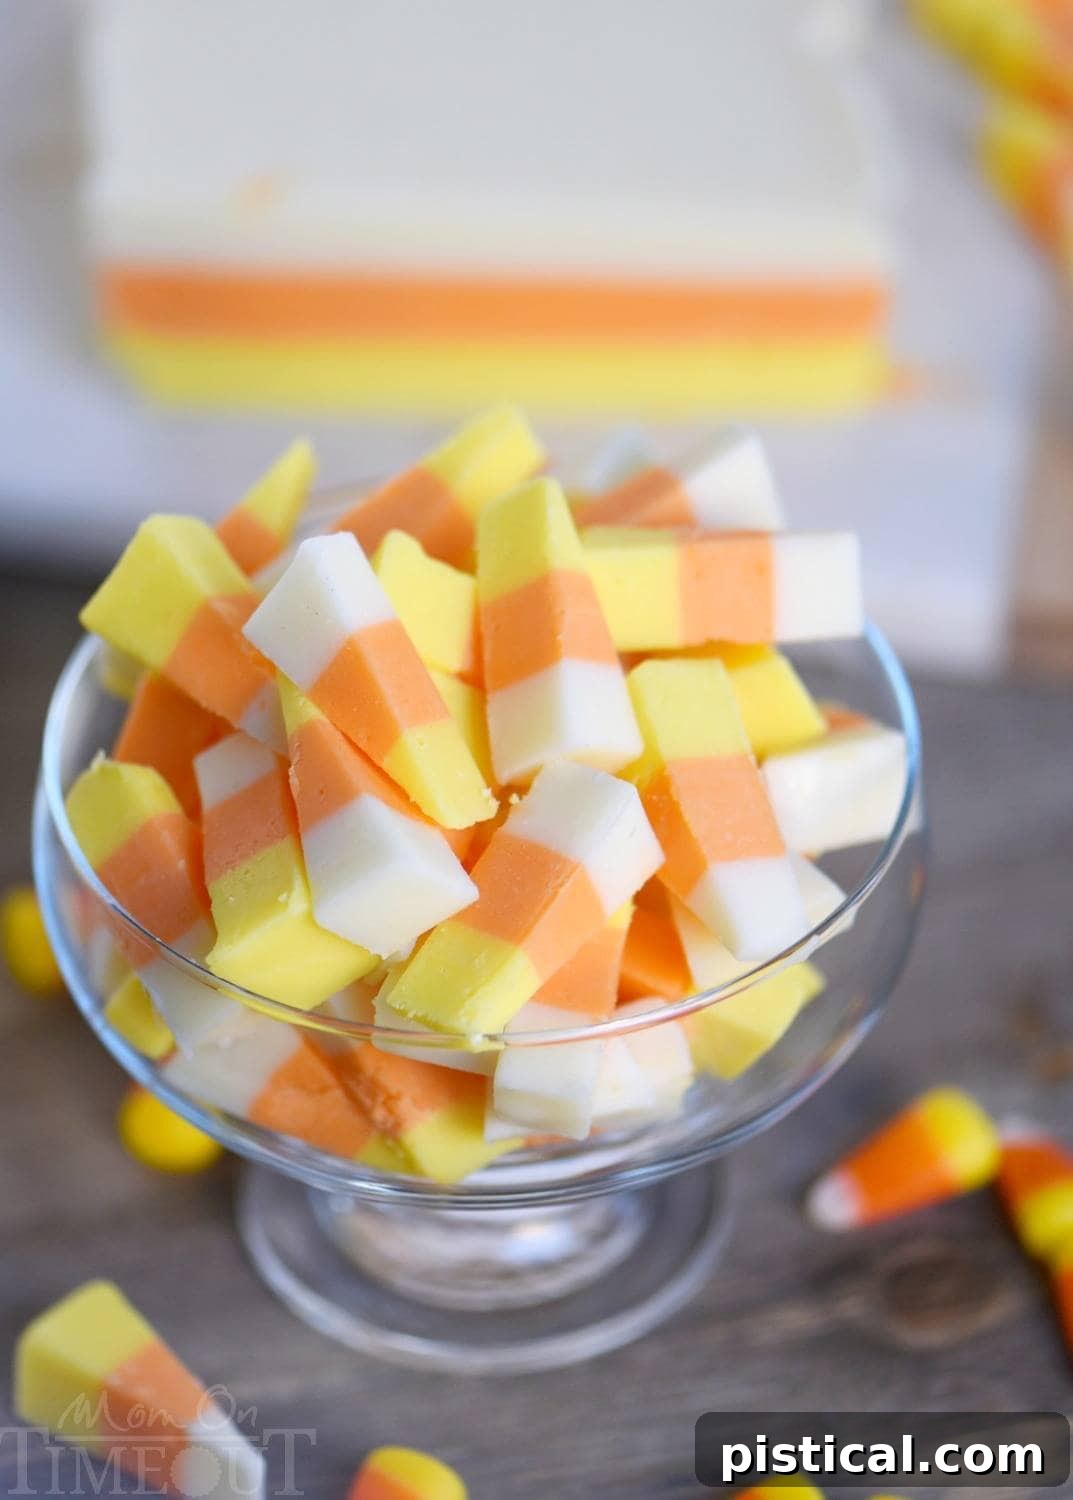
The simplicity of this recipe truly makes it a joy to prepare. My own boys were absolutely thrilled with the results and wholeheartedly embraced the delicious honey flavor of this easy, homemade fudge. It’s a treat that not only looks fantastic but also delivers on taste, making it a guaranteed hit with the whole family.
Tips for Perfect Candy Corn Fudge Every Time
Creating this eye-catching Candy Corn Fudge is surprisingly simple, but a few tips can ensure your success and make the process even smoother:
- Quality Ingredients Matter: Start with good quality white chocolate chips. They melt more smoothly and contribute significantly to the fudge’s creamy texture and rich flavor.
- Don’t Overheat: When melting the chocolate chips and heavy cream in the microwave, use short intervals (30 seconds) and stir thoroughly after each. White chocolate can seize if overheated, becoming grainy. Low and slow is the key to a silky smooth mixture.
- Achieve Vibrant Colors: Gel food coloring is your best friend here. Unlike liquid food coloring, it’s highly concentrated, so you’ll need less, which prevents thinning out your fudge. Add it gradually, stirring well until you reach your desired shade of yellow and orange.
- Even Layers: When spreading each layer into the loaf pan, use an offset spatula or the back of a spoon to ensure an even, flat surface. This will result in beautifully defined lines when you cut the fudge.
- Patient Chilling is Crucial: Do not skip or shorten the chilling times between layers. This is vital for each layer to set properly and prevent colors from bleeding. The final 2-hour chill is equally important for the fudge to firm up completely for clean cuts.
- Clean Cuts: For perfectly shaped candy corn triangles, use a sharp knife. For the cleanest cuts, you can warm your knife slightly under hot water, wipe it dry, and then slice. Repeat this process for each cut.
- Storage: Store your finished Candy Corn Fudge in an airtight container at room temperature for up to a week, or in the refrigerator for an extended shelf life.
Serving Suggestions and Customizations
This Candy Corn Fudge is incredibly versatile for various autumn occasions. It makes a show-stopping addition to any Halloween party dessert table, easily standing out among other treats. Package a few pieces in decorative bags or boxes for charming homemade gifts for teachers, neighbors, or friends. It’s also a perfect sweet bite to enjoy with a warm cup of coffee or tea on a crisp fall evening.
While the honey flavor is wonderfully authentic, feel free to experiment with other extracts to customize your fudge. A hint of orange extract in the orange layer, or lemon extract in the yellow, could add an interesting twist. You could also sprinkle a few chopped mini candy corn pieces on top of the final white layer before it sets for extra texture and visual appeal.
More Halloween Desserts to Delight
If you’re planning a Halloween feast or simply love to bake spooky treats, this Candy Corn Fudge is just the beginning! Explore these other fantastic recipes to complete your festive spread:
- Spiral Slice and Bake Halloween Cookies: Fun, easy, and impressive cookies for any spooky gathering.
- Candy Corn Popcorn Munch: A sweet and salty snack mix that’s addictive and perfect for movie nights.
- Easy Pumpkin Patties: Creamy, pumpkin-flavored treats that are simple to make and full of fall flavor.
- Black Widow Brownie Bites: Spooky and decadent, these are perfect for a creepy-crawly dessert table.
- Pumpkin Brownies: A moist and flavorful twist on a classic, blending chocolate with autumn’s favorite squash.
- Pumpkin Popcorn Balls: A chewy, sweet, and festive treat that’s fun for kids to help make.
- Candy Corn Poppers: Another creative way to enjoy the beloved candy corn flavor in a bite-sized format.
- Pumpkin Chocolate Chip Cookies: A soft, chewy, and comforting cookie that marries pumpkin and chocolate perfectly.
How To Make This Amazing Candy Corn Fudge
Print
Pin
Easy Candy Corn Fudge
Course: Dessert
Cuisine: American
Keyword: Halloween, Fudge, Candy Corn
Prep Time: 15 minutes
Total Time: 15 minutes (plus chilling)
Servings: 64
Calories: 97 kcal
Author: Trish – Mom On Timeout
Ingredients
Yellow Layer
- 12 oz white chocolate chips
- ¼ cup heavy whipping cream
- 1 tbsp honey – OR 1 tsp of extract of your choice (lemon, orange, etc.)
- Yellow food color
Orange Layer
- 12 oz white chocolate chips
- ¼ cup heavy whipping cream
- 1 tbsp honey – OR 1 tsp of extract of your choice (lemon, orange, etc.)
- Orange food color
White Layer
- 12 oz white chocolate chips
- ¼ cup heavy whipping cream
- 1 tsp vanilla extract (clear is best! OR 1 tsp of extract of your choice (lemon, orange, etc.))
Instructions
Yellow Layer
- Line a 9×5-inch loaf pan with foil, ensuring extra foil hangs over two sides for easy removal. If using non-stick foil, no further prep is needed. Otherwise, lightly spray the foil with cooking spray.
- In a medium microwave-safe bowl, combine the white chocolate chips, heavy whipping cream, and honey (or your chosen extract).
- Microwave on high for 30 seconds. Stir well. Repeat this process, microwaving for 30-second intervals and stirring after each, until the chips are completely melted and the mixture is smooth.
- Add yellow food color and stir until the color is uniform throughout the fudge. Add more food color as needed to achieve your desired vibrant shade.
- Evenly spread this yellow mixture into the prepared loaf pan. Chill in the refrigerator for at least 30 minutes to allow the layer to set.
Orange Layer
- In a separate medium microwave-safe bowl, combine the white chocolate chips, heavy whipping cream, and honey (or your chosen extract) for the orange layer.
- Microwave on high for 30 seconds. Stir. Repeat, microwaving and stirring until the chips are melted and smooth.
- Add orange food color and stir until the color is uniform. Adjust the amount of food color to achieve a bright orange shade.
- Carefully spread this orange mixture evenly over the chilled yellow layer in the loaf pan. Return the pan to the refrigerator and chill for at least another 30 minutes.
White Layer
- In a clean medium microwave-safe bowl, combine the white chocolate chips and heavy whipping cream for the white layer.
- Microwave on high for 30 seconds. Stir. Repeat, microwaving and stirring until the chips are melted and smooth.
- Stir in the vanilla extract (clear vanilla is recommended to maintain the white color).
- Gently spread this white mixture evenly over the chilled orange layer. Place the fudge back in the refrigerator and chill for at least 2 hours, or until completely firm.
- Once fully set, use the foil overhangs as handles to lift the fudge block out of the pan. Place it on a cutting board.
- Using a sharp knife, cut the fudge into slices, and then cut each slice into wedges or triangles to mimic the shape of candy corn.
- Store any leftover fudge in an airtight container at room temperature or in the refrigerator for up to one week. Enjoy your festive homemade treat!
Nutrition
Carbohydrates: 10g |
Fat: 6g |
Saturated Fat: 3g |
Cholesterol: 7mg |
Sodium: 15mg |
Potassium: 47mg |
Sugar: 9g |
Vitamin A: 45IU |
Vitamin C: 0.1mg |
Calcium: 34mg