
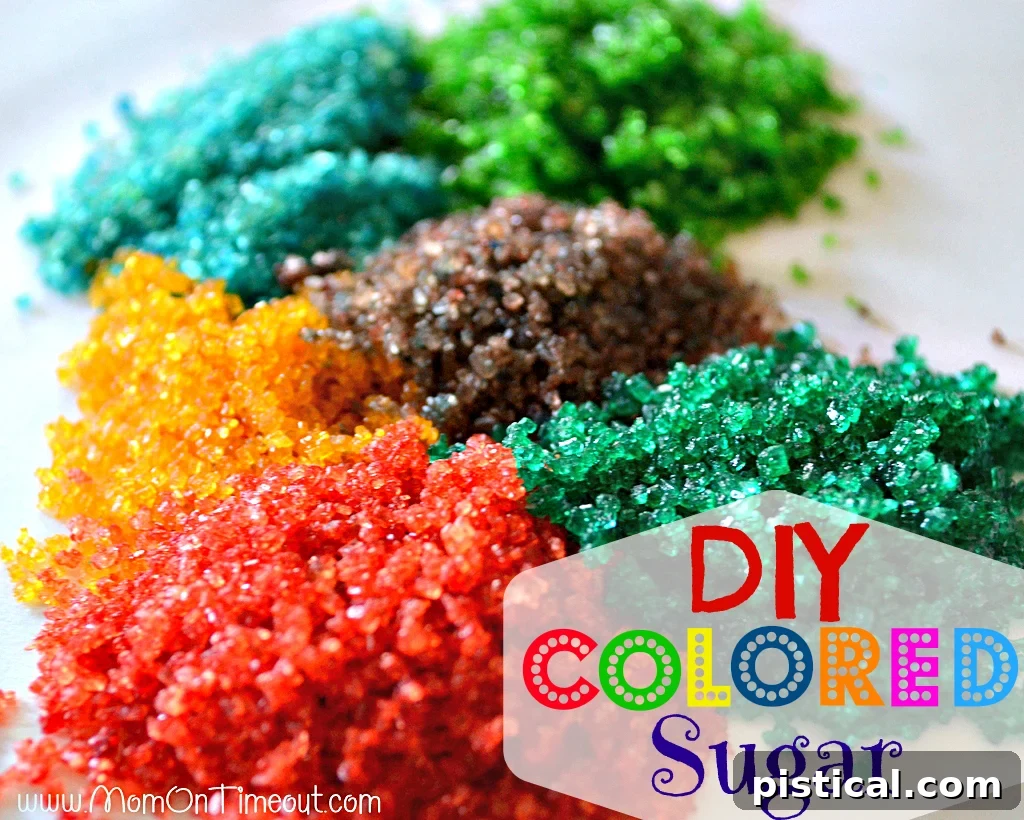
You’ll never believe how incredibly easy it is to make your own vibrant colored sugar right in your kitchen!
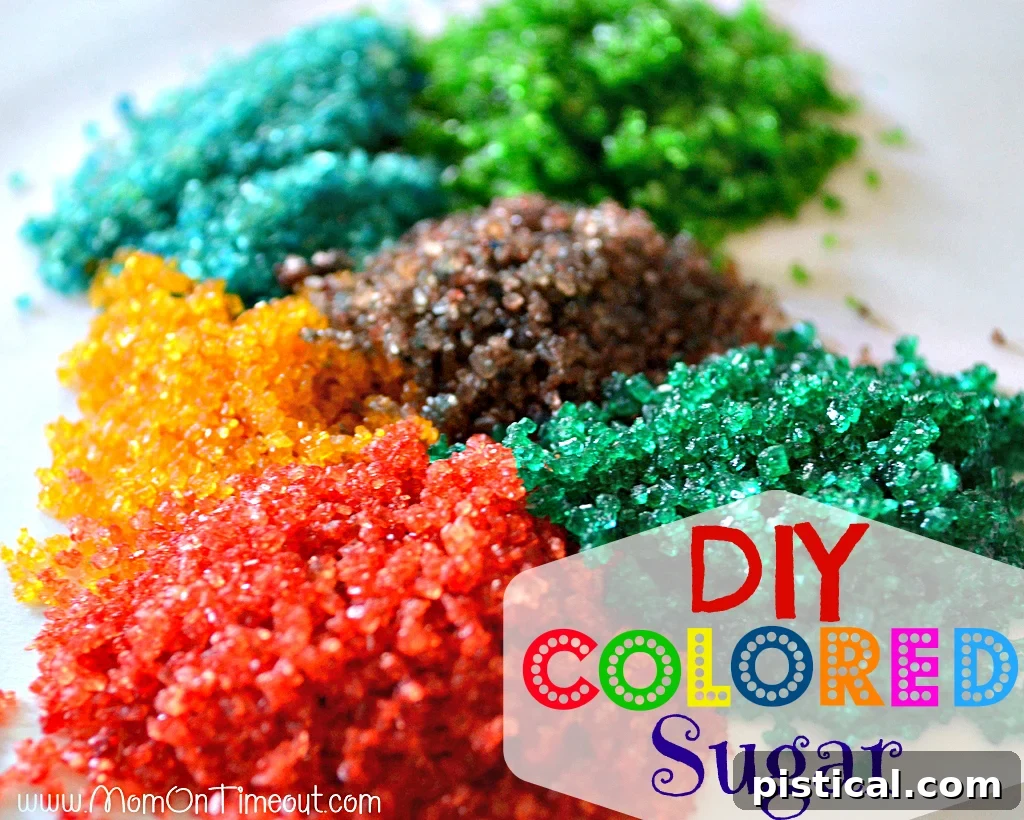
Unlock Your Creativity: The Ultimate Guide to Making Homemade Colored Sugar
Are you tired of the limited, often expensive, selection of colored sugars at the grocery store? Do you dream of perfectly matching sprinkles to your party theme or holiday decor? What if we told you that you could create an endless array of stunning, custom-colored sugars at home with just two simple ingredients and a few minutes of your time? This guide will show you how to master the art of DIY colored sugar, transforming ordinary granulated sugar into dazzling decorations that will elevate your baking to a whole new level.
My journey into homemade colored sugar began quite unexpectedly. A few months ago, while preparing for my son Bryce’s birthday party, we had baked a mountain of delicious cookies, and the boys were eager to frost and decorate them. To my dismay, I realized I had no colored sugar left, and a quick store run wasn’t an option. Instead of giving up on our decorating plans, a thought sparked: why not try to make our own? My first attempt, mixing sugar and food coloring in a bowl with a fork, was a sticky, clumpy mess. But the next idea – using a plastic bag to shake it all up – was an instant success!
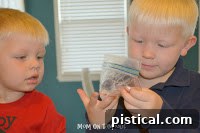
The boys and I had an absolute blast experimenting with different colors. They loved choosing the number of drops, making predictions about the final shade, and shaking the bags with gusto. It was a fantastic, hands-on activity that added an extra layer of fun to our party prep. We even had a few surprises, like the yellow food coloring that consistently tricked them into thinking it would turn out orange! This simple technique truly opened up a world of possibilities for our baking adventures.
Why You’ll Love Making Your Own Colored Sugar
Once you discover how easy and rewarding it is to make your own colored sugar, you’ll likely never go back to store-bought again. Here’s why this simple DIY project is a game-changer for any baker or craft enthusiast:
- Unleash Endless Creativity: Forget the limited shades found on supermarket shelves. With homemade colored sugar, your color palette is limitless. Mix and match food colorings to create custom hues that perfectly complement your party theme, holiday decorations, or artistic vision. Imagine vibrant rainbows, subtle pastels, or bold, striking tones – all crafted by you!
- Budget-Friendly Baking: Store-bought colored sugar can be surprisingly expensive, especially if you need multiple colors or large quantities. Making your own is incredibly cost-effective, using basic granulated sugar and a few drops of food coloring, saving you money in the long run.
- Freshness and Control: You control the ingredients, ensuring your sprinkles are fresh and free from any unwanted additives. You’ll know exactly what’s going into your delicious treats.
- Fun for All Ages: This project is a fantastic activity for kids. It’s safe, simple, and offers a wonderful opportunity for sensory play, color recognition, and hands-on fun in the kitchen. Plus, they get to enjoy the fruits of their labor on their decorated treats!
- Convenience: No more last-minute dashes to the store when you realize you’re out of that specific shade of blue. You can whip up any color you need, whenever you need it, from the comfort of your home.
- Versatility: Colored sugar isn’t just for cookies. Use it to decorate cupcakes, cakes, cake pops, brownies, donuts, or even to rim cocktail glasses for a festive touch. The possibilities are truly endless.
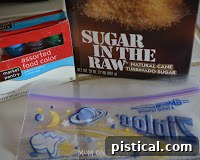
What You Will Need:
Gathering your simple supplies is the first step towards a rainbow of possibilities. Here’s what you’ll need:
- Plastic Bags: Small, sealable plastic bags (like sandwich or snack-sized Ziploc bags) work best. They allow for easy shaking and prevent messes.
- Food Coloring:
- Gel Food Coloring: Highly recommended for its vibrant, concentrated colors and minimal moisture. This reduces clumping and yields brighter results.
- Liquid Food Coloring: Can be used, but you might need a few more drops to achieve intense colors, and the added moisture could require a bit more drying time.
- Natural Food Coloring: For those preferring natural options, these are also available, though results may vary in vibrancy.
- Sugar: The foundation of our colorful creation!
- Granulated Sugar: The most common choice, producing fine crystals perfect for a classic, smooth sparkle.
- Raw Sugar (Turbinado or Demerara): For larger, coarser crystals that offer a rustic, artisanal look and a more pronounced crunch.
- Caster Sugar: An even finer grain than granulated, creating a delicate, powdery shimmer.
- Optional but Recommended:
- Baking Sheet and Parchment Paper: For spreading out the colored sugar to dry.
- Airtight Containers: For storing your beautiful homemade creations.
Step-by-Step Guide to Making Colored Sugar:
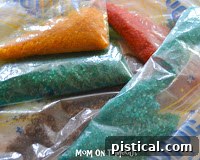
Making colored sugar is incredibly straightforward. Follow these steps for perfect results every time:
- Measure Your Sugar: Start with a small amount, typically 1/4 to 1/2 cup of sugar per bag. This allows for easier mixing and ensures even coloring. If you plan to make a large batch of one color, you can use more, but keep it manageable for shaking.
- Add Food Coloring: Place your measured sugar into a small, sealable plastic bag. Add a drop or two of your chosen food coloring. Remember, a little goes a long way, especially with gel colors. You can always add more later to intensify the shade, but you can’t remove it!
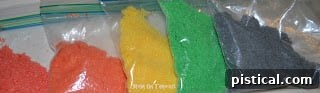
- Seal and Shake: Seal the plastic bag tightly, making sure all the air is out. Then, get shaking! Vigorously shake and tumble the bag for about 30-60 seconds, ensuring the food coloring comes into contact with all the sugar crystals.
- Massage Away Clumps: As you shake, you might notice the sugar starting to clump together. This is normal and happens because of the moisture from the food coloring. Simply use your fingers to gently massage and break up any clumps from the outside of the bag. Continue shaking and massaging until the color is evenly distributed and the sugar returns to its loose, crystalline form. This might take a few minutes of continuous effort.
- Check and Adjust Color: Open the bag and inspect the color. If you desire a deeper, more vibrant shade, add another drop or two of food coloring, reseal the bag, and repeat the shaking and massaging process until you reach your desired hue.
- Spread and Dry: This is a crucial step for preventing stickiness and ensuring long-term storage. Once your sugar is perfectly colored and lump-free, spread it out in a thin, even layer on a baking sheet lined with parchment paper. Allow it to air dry for at least 30 minutes, or longer if you used more liquid coloring. In humid environments, you might even consider letting it dry overnight. Ensure it’s completely dry and free-flowing before storing.
Tips for Perfect Homemade Colored Sugar:
- Go for Gel: If possible, opt for gel food coloring. It’s more concentrated, produces richer colors, and introduces less moisture, which means less clumping and quicker drying times.
- Start Small, Add More: Always begin with just one or two drops of food coloring. It’s much easier to add more color than to try and dilute an overly intense shade.
- Patience with Clumps: Don’t get discouraged if the sugar clumps initially. A little patient massaging through the bag will break it all down into perfectly colored, individual crystals.
- Ensure Complete Drying: This is key! If your colored sugar isn’t fully dry before storage, it can clump permanently or even grow mold.
- Batch It Up: Enlist the help of family members, especially little ones! Having multiple bags going at once, each creating a different color, makes the process faster and a lot more fun. The more the merrier!
Creative Variations and Uses:
The beauty of homemade colored sugar lies in its versatility. Once you’ve mastered the basic technique, you can explore endless creative possibilities:
Mix and Match for Custom Shades
Don’t limit yourself to single colors! Experiment by adding drops of different food colorings to the same bag. Want a unique teal? Start with blue, then add a tiny drop of green. Dreaming of a perfect lavender? Combine red and blue. The color wheel is your guide – mix primary colors to create secondary and tertiary hues that are uniquely yours. You can even try creating ombre effects by gradually adding more of one color to a batch.
Experiment with Sugar Textures
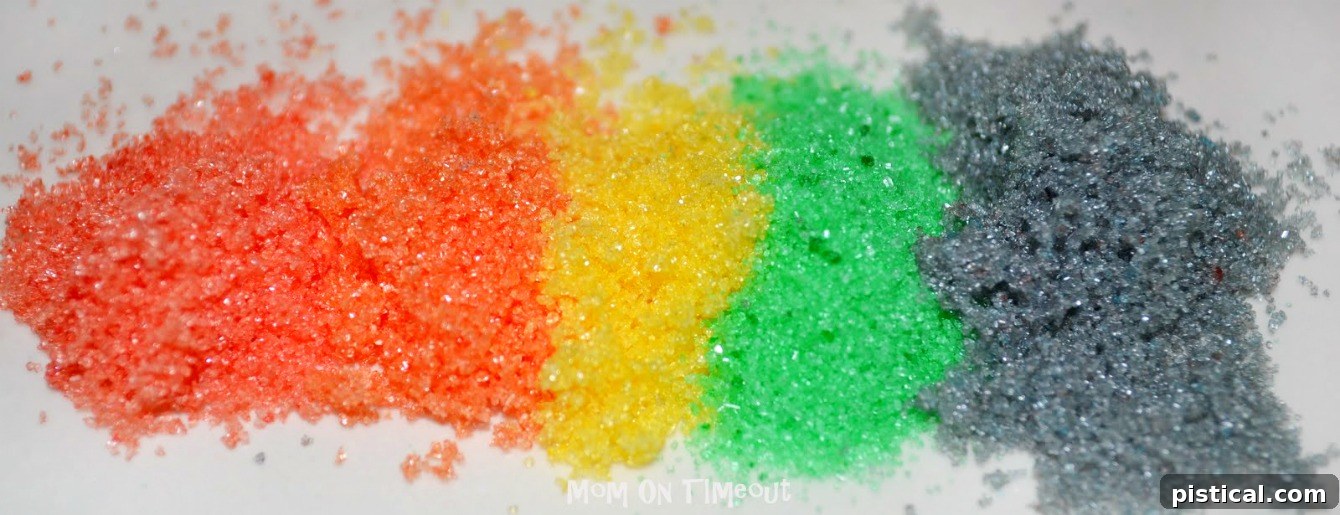
This is what the granulated sugar looks like:
And this is what the raw sugar looks like:
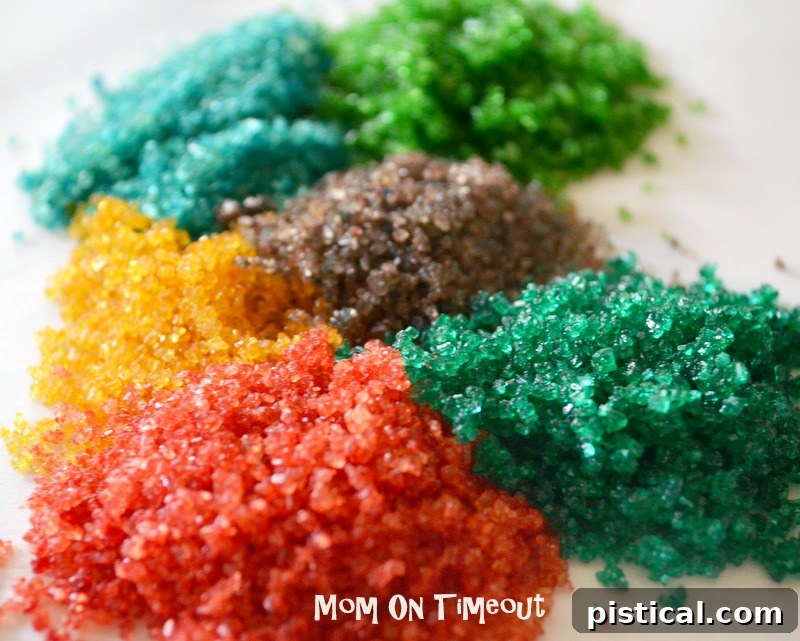
As mentioned, different types of sugar yield different textures and visual effects. Granulated sugar creates a classic, fine sprinkle, while raw sugar provides larger, coarser crystals with a more pronounced sparkle and crunch. Try both to see which you prefer for various applications.
Neon and Glitter Effects
Amplify the fun with special food colorings! Neon food colors are fantastic for creating eye-popping, electric shades that stand out. For an extra touch of magic, once your colored sugar is dry, mix in a small amount of edible glitter or luster dust. This adds an incredible shimmer and makes your treats truly sparkle under the light.
Decorating Beyond Cookies
While perfect for cookies, your homemade colored sugar has a myriad of uses:
- Cupcakes and Cakes: Sprinkle generously over frosted cupcakes or use stencils to create intricate patterns on cakes.
- Donuts and Pastries: Add a colorful crust to homemade donuts or danishes.
- Fruit: Dip sliced fruit (like strawberries or apple wedges) into colored sugar for a delightful, sparkly treat.
- Beverages: Create a festive rim for cocktail or mocktail glasses by dipping the moistened rim into your custom sugar.
- Edible Gifts: Package your homemade colored sugar in pretty jars with a ribbon for a thoughtful, personalized gift for fellow bakers.
This holiday season, I’m particularly excited to host several cookie decorating parties, knowing that we’ll have an unlimited palette of awesome, custom-made sprinkles at our fingertips. The joy of creating and customizing these simple decorations truly enhances the festive spirit.
Storage Solutions for Your DIY Colored Sugar:
Once your colored sugar is completely dry, you can store it in several ways:
- Plastic Bags: For convenience, you can keep the sugar in the same plastic bags you used to color it, as long as they are sealed tightly.
- Airtight Containers: For longer-term storage and easier access, transfer your beautiful colored sugar into airtight containers. Small spice jars, glass containers, or even re-sealable plastic containers work perfectly. Stored properly in a cool, dry pantry, your homemade colored sugar will last indefinitely.
Frequently Asked Questions (FAQ):
Q: How long does homemade colored sugar last?
A: When stored in an airtight container in a cool, dry place, homemade colored sugar can last for many months, virtually indefinitely. The key is to ensure it is completely dry before storing to prevent clumping or moisture-related issues.
Q: Can I use liquid food coloring instead of gel?
A: Yes, you can use liquid food coloring. However, you might need to use a bit more to achieve vibrant colors, and the extra moisture will likely require a longer drying time on a parchment-lined baking sheet to ensure the sugar is completely dry and free-flowing.
Q: What if I don’t have plastic bags?
A: While plastic bags are highly recommended for their ease of use and even coloring, you can use a jar with a tight-fitting lid. Add sugar and food coloring, seal the jar, and shake vigorously. You might still need to break up clumps with a spoon or your fingers. A bowl and spoon can also work for very small batches, but it’s more prone to uneven coloring and mess.
Q: Can I make large batches of colored sugar?
A: Yes, you can make larger batches, but it’s often easier to achieve consistent color by working in smaller batches (e.g., 1/2 to 1 cup of sugar at a time) in multiple bags. If making a very large quantity of a single color, use a bigger, sturdy freezer bag and allow ample drying time.
Q: Is this activity safe for children?
A: Absolutely! Making colored sugar is a wonderful, safe, and engaging activity for children with adult supervision. It teaches them about colors, measurements, and provides a fun, hands-on experience in the kitchen. Just ensure they don’t consume excessive amounts of the raw colored sugar or food coloring directly.
Embrace the joy of creation and add a personalized touch to all your baked goods and festive decorations. Making your own colored sugar is not just a practical skill; it’s an opportunity for fun, creativity, and adding a little extra sparkle to your life!
More fun ideas from our kitchen:
Peanut Butter Popcorn Munch – A Sweet & Salty Treat
Homemade Mini Corn Dogs – A Fun Family Favorite
Reese’s Peanut Butter Cup Mini Cheesecakes – Decadent Dessert

For more exciting Easter ideas, go HERE.
For a wide array of delicious dessert recipes, go HERE.
Sign up for our newsletter to get new recipes and tips directly in your inbox!
For even more great ideas and daily inspiration, follow me on Facebook – Pinterest – Instagram – Twitter – Bloglovin’.