
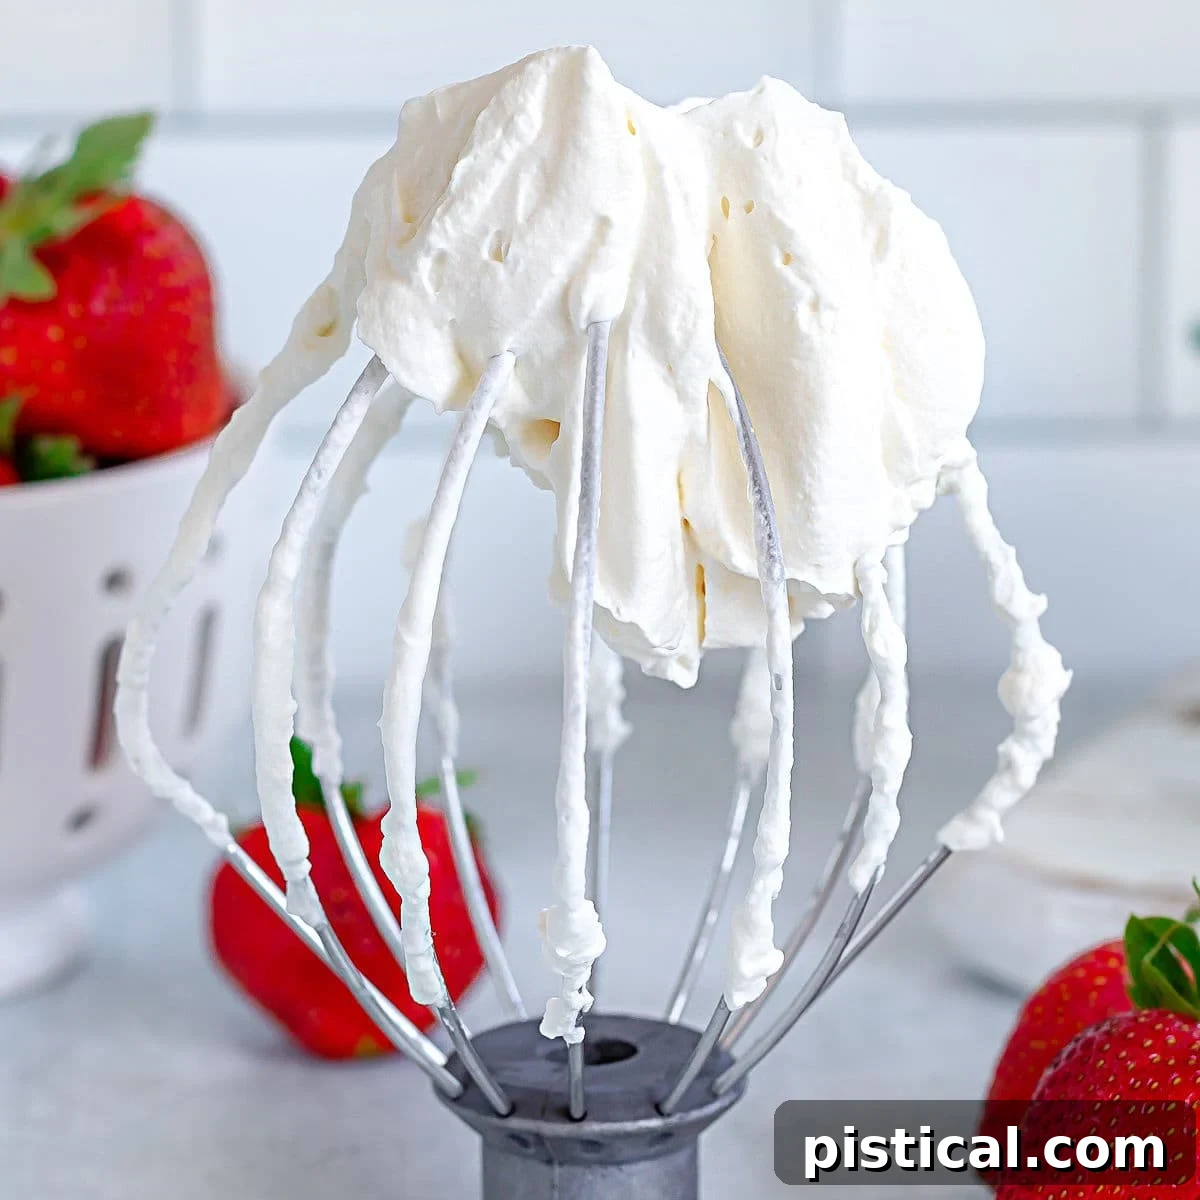
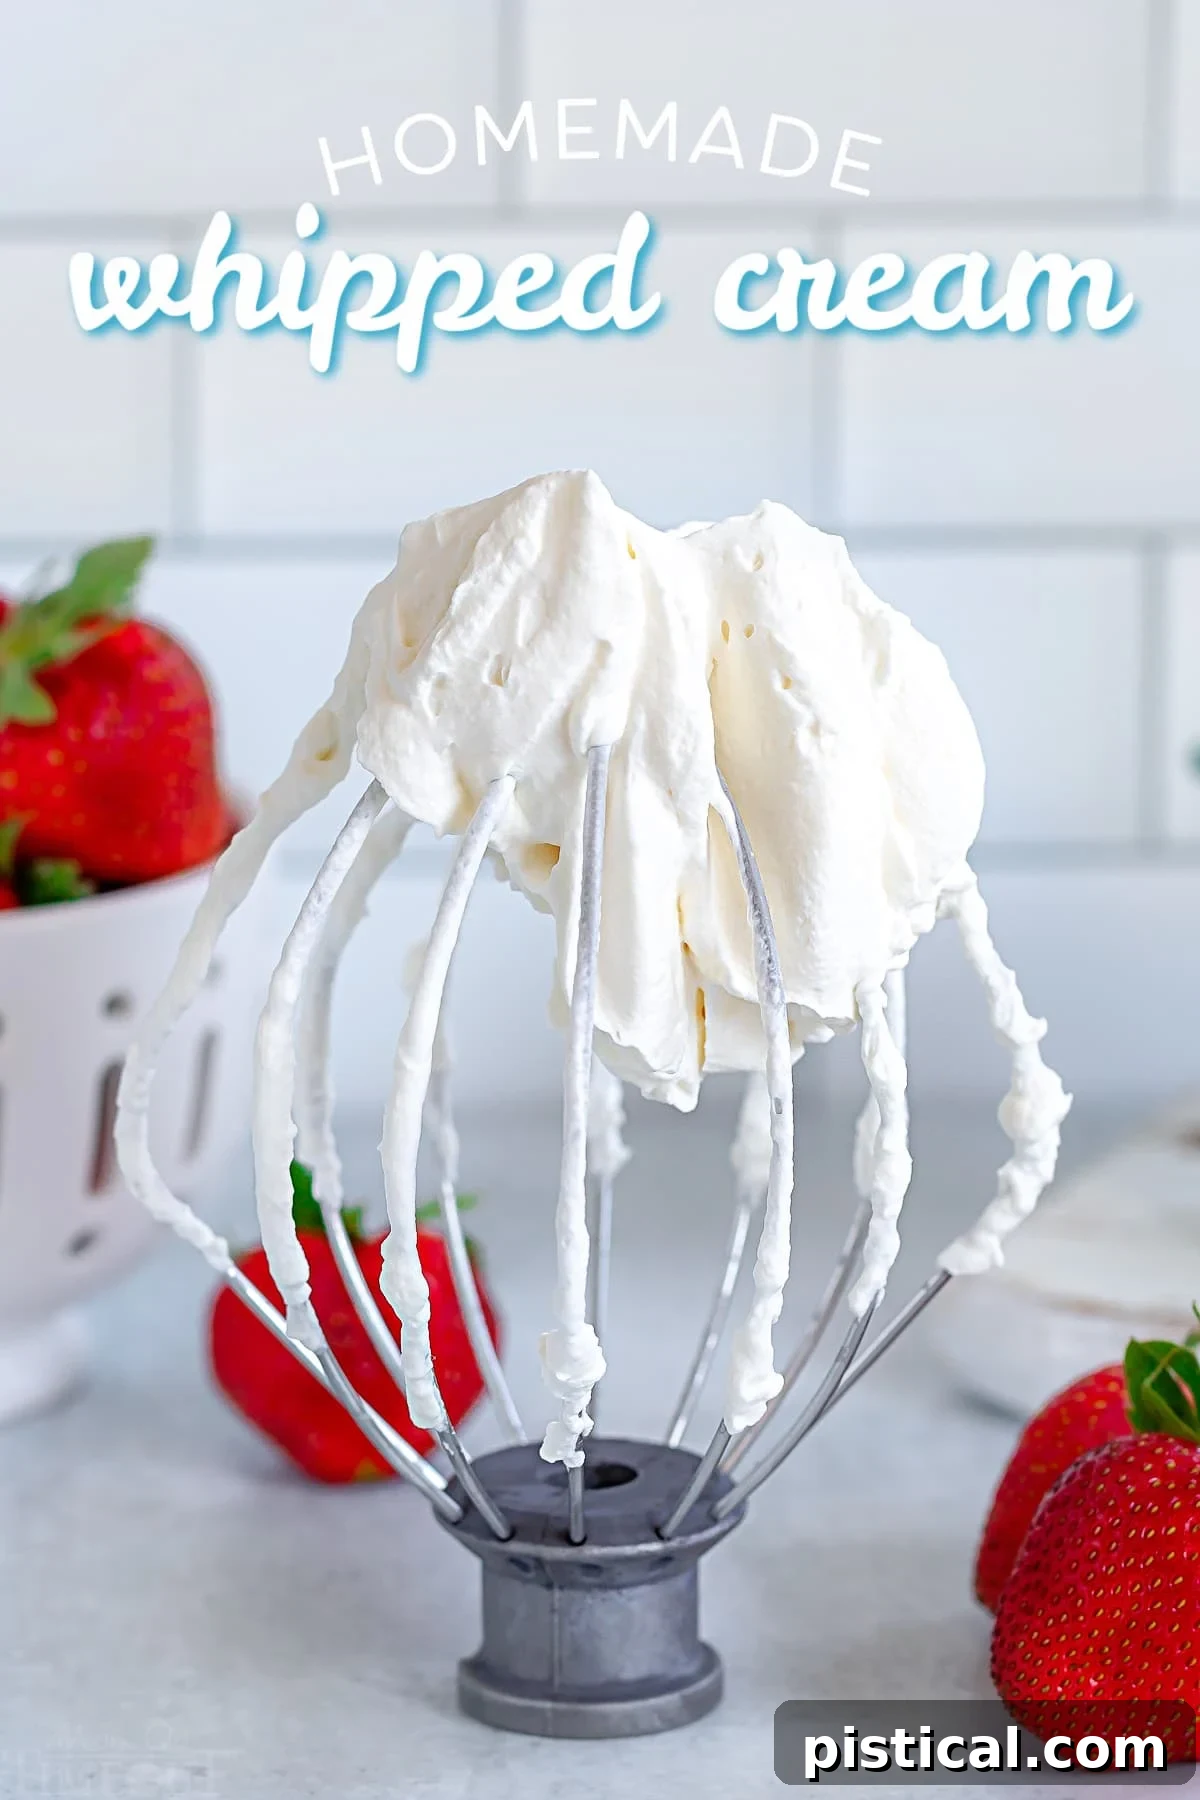
Unlock the secret to an irresistibly creamy dessert topping with this incredibly simple Homemade Whipped Cream recipe. In just 5 minutes, and with only 3 essential ingredients, you can transform ordinary dairy cream into a light, airy, and delicately sweetened cloud that elevates any sweet treat. Forget the store-bought cans; once you experience the superior taste and texture of fresh, homemade whipped cream, there’s no turning back. It’s the ultimate accompaniment for everything from luscious Coconut Cream Pie to rich Chocolate Pound Cake, fresh berries, and even your morning coffee.
Why Homemade Whipped Cream is a Must-Try
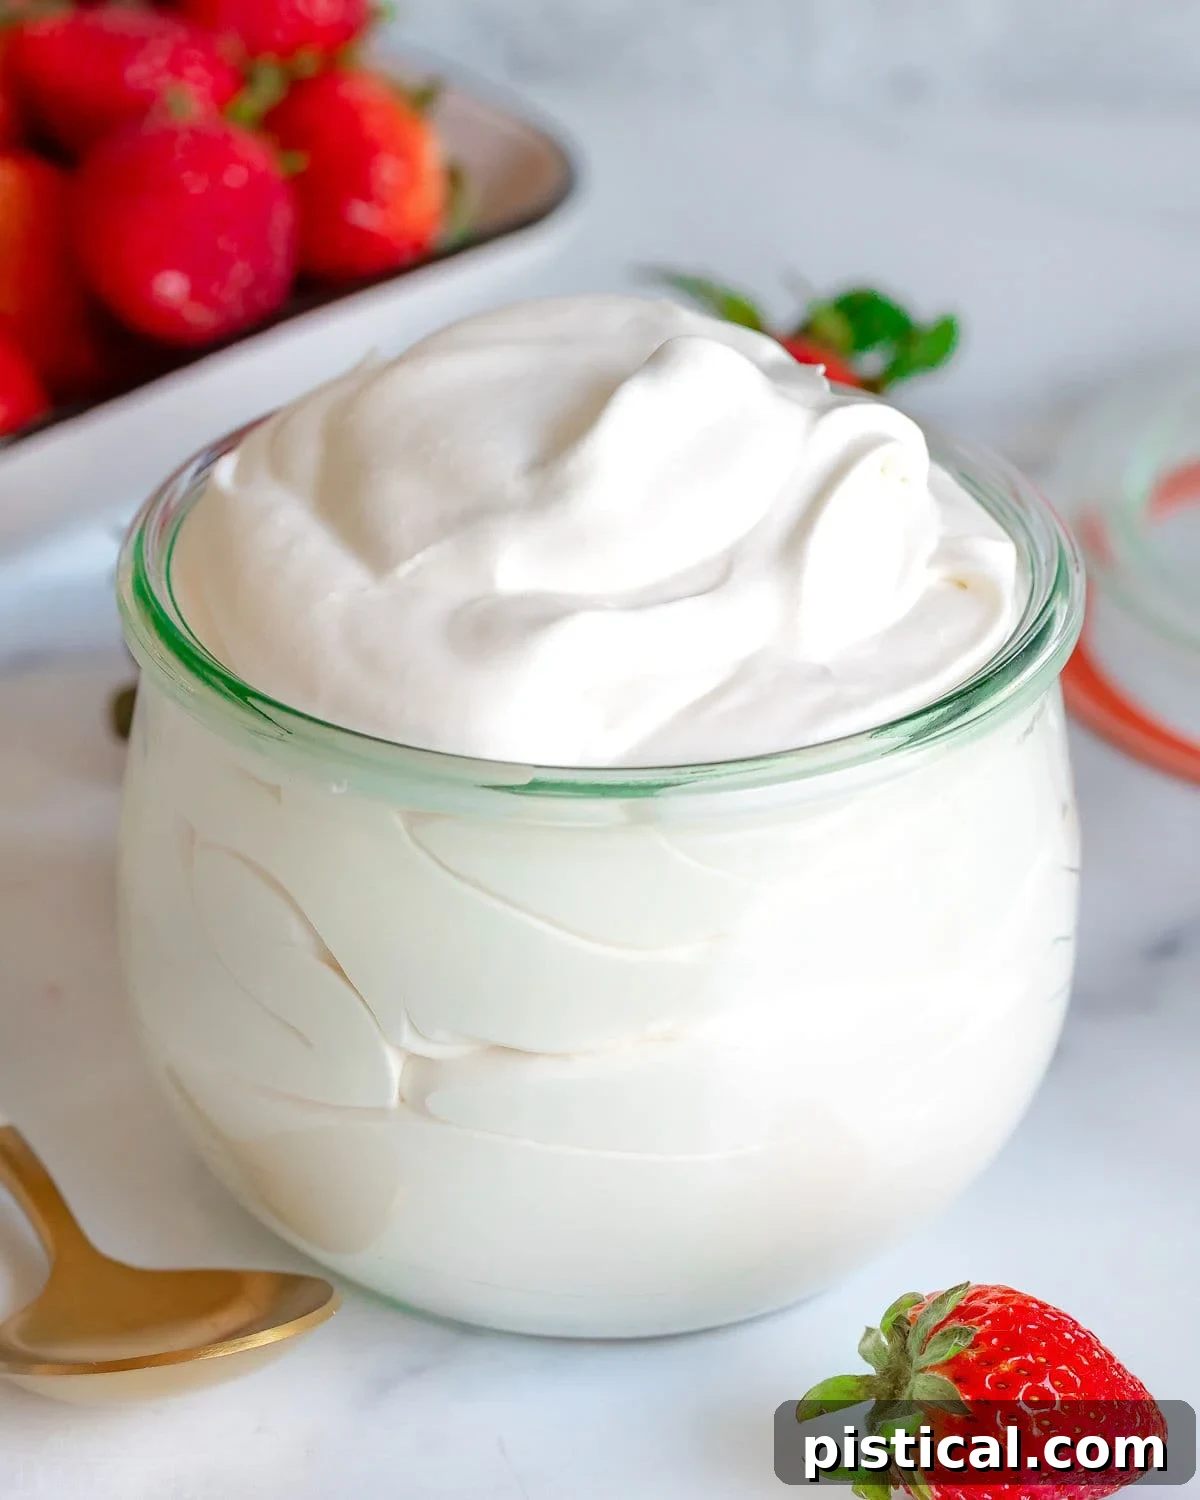
There’s a common misconception that making whipped cream from scratch is complicated or time-consuming. We’re here to bust that myth! Homemade whipped cream is not only incredibly easy to prepare but also delivers a freshness and depth of flavor that canned versions simply cannot match. Its light, pillowy texture and perfectly balanced sweetness make it an unparalleled addition to countless desserts and beverages.
In a mere five minutes, with just three staple ingredients, you can whip up a batch that will impress your family and friends. It’s the kind of small effort that yields tremendous results, transforming everyday dishes into gourmet experiences. Imagine dolloping generous clouds of this ethereal topping on hot cocoa, fresh fruit tarts, or a stack of fluffy pancakes. Once you witness how effortlessly it comes together and taste the difference, you’ll wonder why you ever settled for anything less.
Understanding Whipped Cream Consistencies: Soft, Medium, and Stiff Peaks
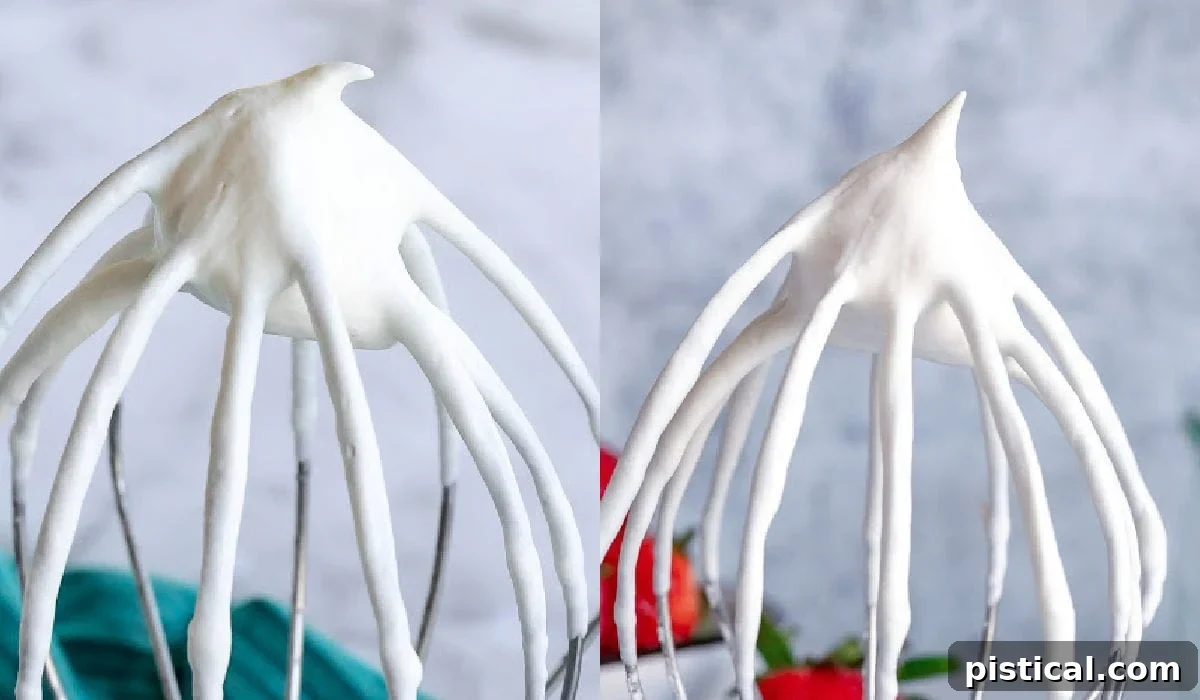
The beauty of homemade whipped cream lies in its versatility. Depending on your intended use, you can adjust the whipping time to achieve different consistencies, known as “peaks.” Understanding these stages is key to perfect whipped cream for any occasion.
- Soft Peaks: This is the initial stage of whipping. When you lift the beater or whisk attachment from the bowl, the cream will form gentle peaks that immediately droop and fall back into the bowl. Soft peaks are delicate and ideal for mixing into mousses, folding into fruit salads for a lighter touch, or as a very soft topping that gently melts into hot beverages.
- Medium Peaks: Progressing from soft peaks, medium peaks hold their shape more firmly but still have a slight curl or tip that flops over. This is often considered the ideal consistency for dolloping onto pies, tarts, and sundaes. It offers a beautiful visual appeal and a pleasant mouthfeel that holds up well. You can observe this consistency in the left image of the collage below.
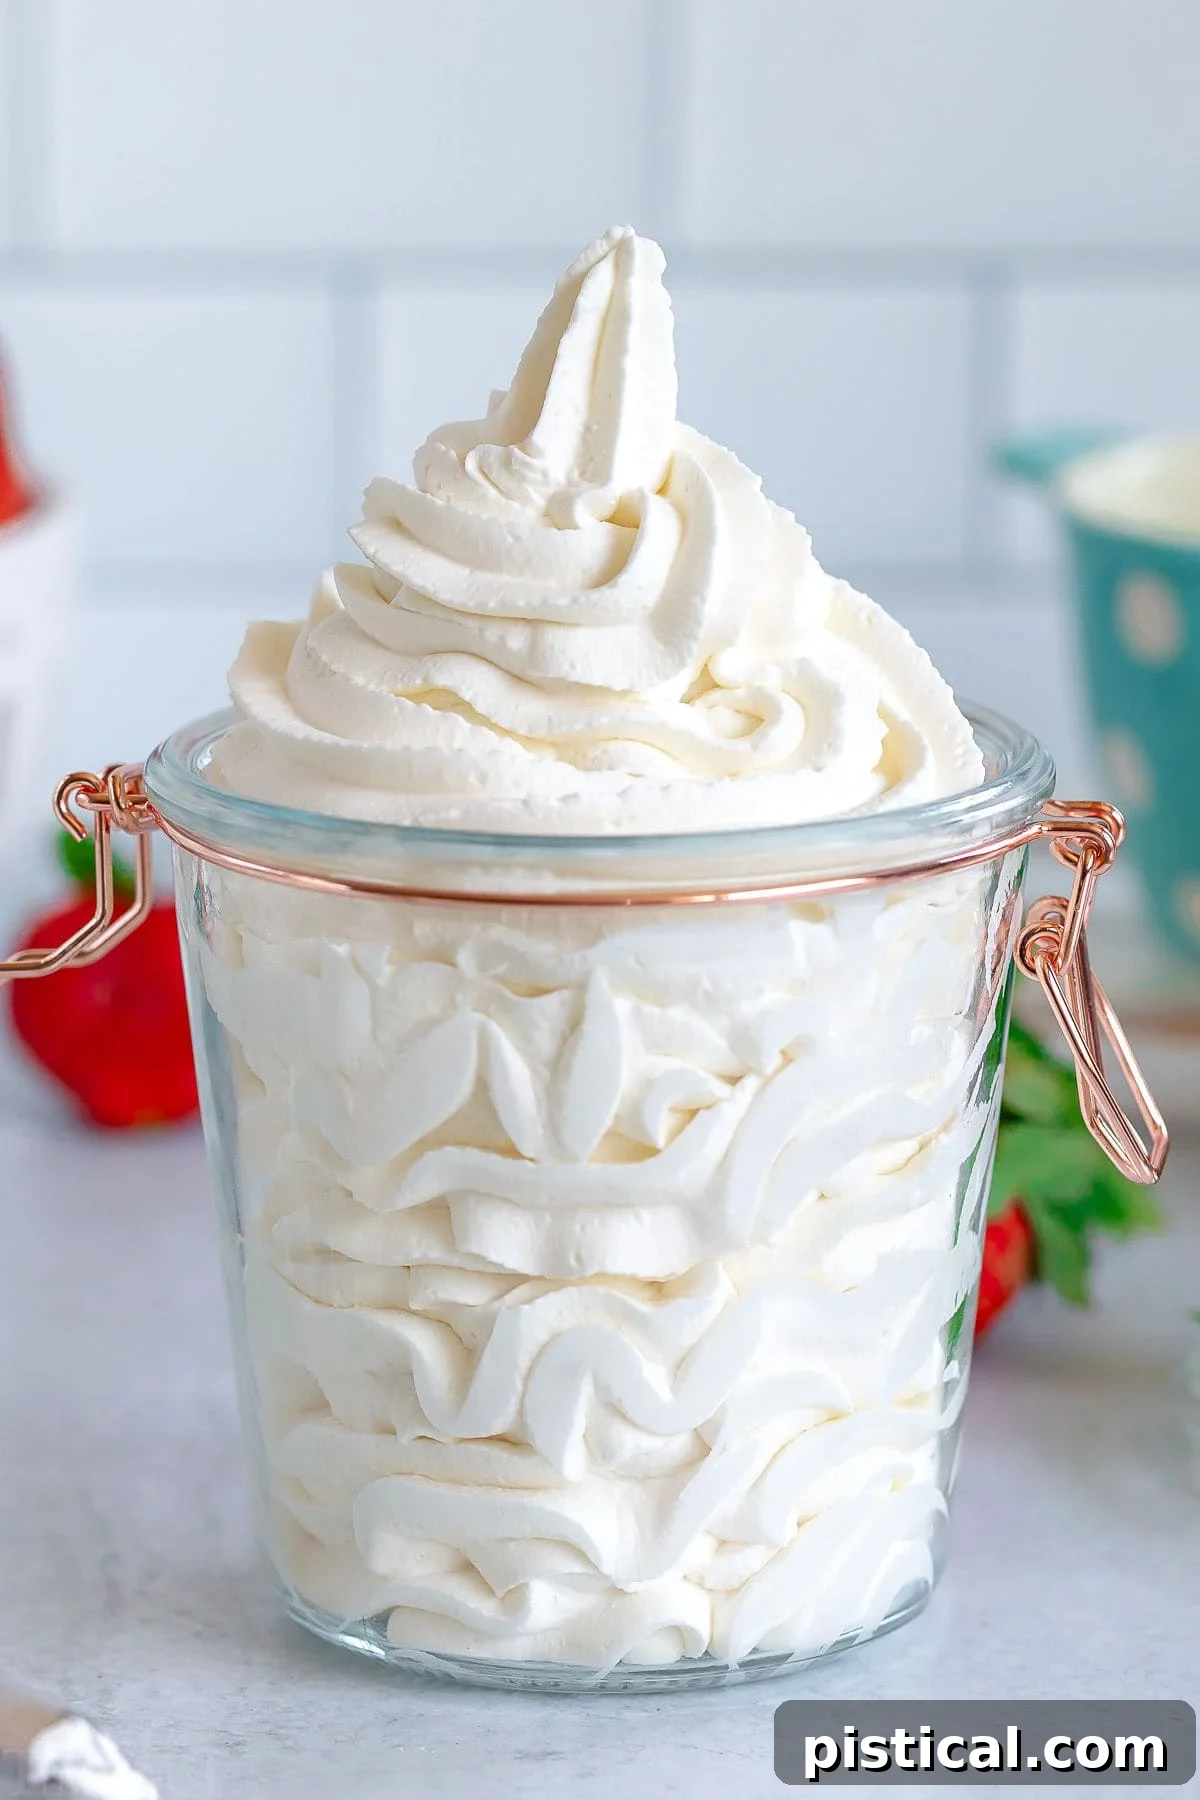
- Stiff Peaks (or Firm Peaks): This stage is achieved when the cream stands straight up and holds its shape without any drooping when the whisk is lifted. Stiff peaks are crucial for piping decorative designs onto cakes, cupcakes, or creating stable layers in trifles and parfaits. They provide the most structural integrity and are excellent for presentations. The right image in the collage below illustrates stiff peaks perfectly.
Mastering these different peak stages allows you to tailor your whipped cream precisely to your dessert’s needs, enhancing both its flavor and presentation. For a more in-depth guide on identifying these consistencies, you can refer to culinary resources on whipping cream peaks.
Heavy Cream vs. Heavy Whipping Cream: What’s the Difference?
When it comes to making whipped cream, the terms “heavy cream” and “heavy whipping cream” are often used interchangeably, and for good reason. Both contain a high enough fat content to create stable, fluffy whipped cream.
The key factor is the milk fat percentage. Both heavy cream and heavy whipping cream must contain at least 36% milk fat. This high fat content is what allows the cream to hold its shape, creating those beautiful, stable peaks that resist collapsing back into a liquid state quickly. Whether your carton says “heavy cream” or “heavy whipping cream,” you’re good to go for this recipe.
On the other hand, whipping cream (sometimes called “light whipping cream”) typically contains a lower milk fat percentage, usually between 30% and 35%. While it can still be whipped, the lower fat content means it will produce a less stable and lighter whipped cream that tends to deflate more quickly. If you use whipping cream, it’s best to serve it immediately after preparation to enjoy its freshness and texture before it begins to revert to its liquid form. For the most dependable and long-lasting whipped cream, always opt for heavy cream or heavy whipping cream.
Delightful Pairings: What to Serve with Homemade Whipped Cream
The versatility of homemade whipped cream knows no bounds. It’s a universal enhancer for almost any sweet treat, transforming simple dishes into extraordinary delights. Here are some of our favorite ways to enjoy this fluffy, sweetened cloud:
Classic Dessert Toppings:
- Pies and Tarts: A generous dollop is essential for creamy pies like Coconut Cream Pie, No Bake Lemon Pie, and Key Lime Pie. It also adds a rich contrast to fruit-based tarts.
- Cakes and Cheesecakes: Elevate a simple Chocolate Pound Cake or a decadent No Bake Raspberry Cheesecake with a swirl of fresh cream. It brings lightness and moisture.
- Fruit Crisps and Cobblers: Pair warm, bubbling fruit desserts like Cherry Almond Crisp or Raspberry Peach Crumble with a cool dollop of whipped cream for a delightful temperature and texture contrast.
Fruit-Focused Delights:
- Fresh Berries: Strawberries, raspberries, blueberries, or a mixed berry medley shine with a simple accompaniment of whipped cream. It’s a light and refreshing dessert on its own.
- Fruit Salads and Trifles: Integrate soft peaks into fruit salads for a creamy element, or layer stiff peaks in elaborate desserts like Lemon Strawberry Trifle for impressive presentation and flavor.
Beverages and Frozen Treats:
- Hot Beverages: Top your Slow Cooker Peppermint White Hot Chocolate or a comforting Vanilla Chai Tea Latte with a generous swirl for an indulgent treat.
- Ice Cream and Sundaes: While delicious on its own, whipped cream adds an extra layer of decadence to scoops of No Churn Vanilla Ice Cream, especially when drizzled with Strawberry Sauce or Caramel Sauce.
And for those playful moments, a spoonful straight from the whisk is an undeniable guilty pleasure!
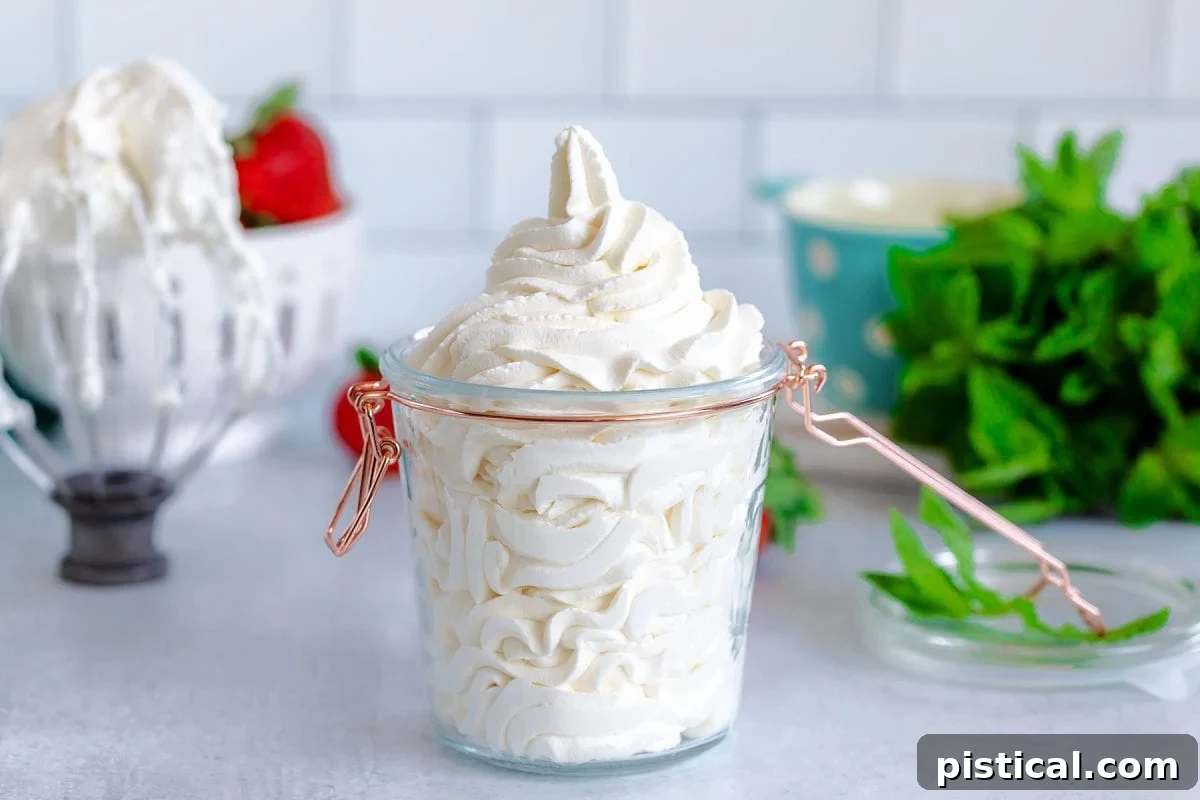
Achieving Perfect Pipe-able Whipped Cream
For those times you want to add a decorative flourish to your desserts – elegant swirls on pies, delicate rosettes on cupcakes, or beautiful borders on cakes – you’ll need a whipped cream that’s firm enough to hold its shape through a piping bag. This means aiming for stiff peaks, and even a little beyond.
To achieve pipe-able whipped cream, continue beating the heavy cream until very firm, stiff peaks form. The cream should be thick, glossy, and hold its shape impeccably when the whisk is lifted. If you’re unsure, give it another quick spin in the mixer, but exercise caution! The transition from stiff peaks to over-beaten, curdled cream (well on its way to butter) happens surprisingly fast. Keep a close eye on it, especially in the final stages.
Should you accidentally over-beat your whipped cream and find it too stiff, thick, or a little lumpy (with a slightly curdled appearance), don’t despair! It can often be rescued. Slowly add one tablespoon of cold heavy whipping cream at a time. Gently fold or whisk it in on the lowest speed possible (or by hand with a whisk) until the lumps disappear and the cream regains a smooth, pipe-able consistency. You might need to repeat this 3 or 4 times. Avoid using a higher speed, as it can aggravate the lumps and lead to further over-beating. Even if it remains a bit extra thick, it will still taste absolutely delicious!
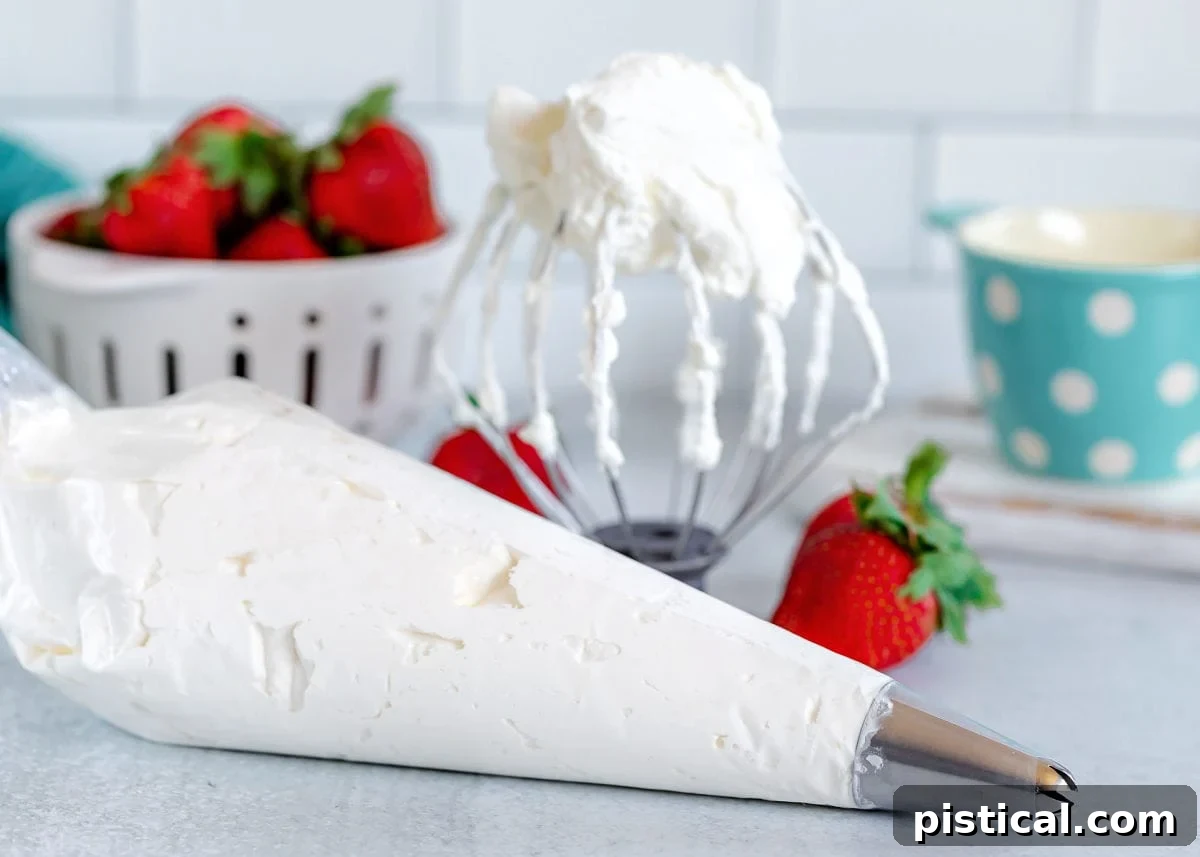
Once your whipped cream reaches the desired pipe-able consistency, carefully transfer it to a piping bag fitted with your chosen tip. Now, you’re ready to beautifully adorn pies, individual strawberry shortcakes, ice cream sundaes, or any other dessert your heart desires with elegant swirls and designs.
Essential Ingredients for Fluffy Whipped Cream
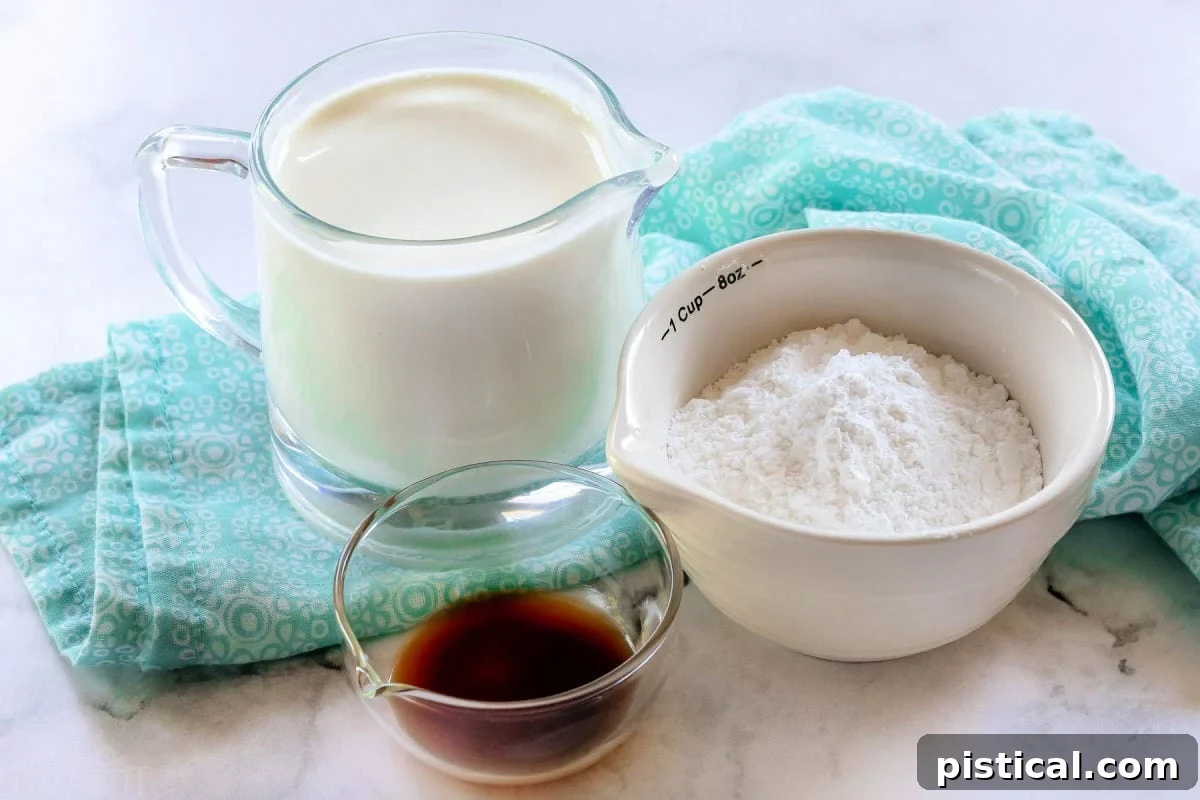
At its core, whipped cream is simply heavy cream aerated into a fluffy consistency. However, to truly elevate its flavor and make it a perfect companion for a wide range of desserts, we add a couple of key ingredients. Here’s a breakdown of the three simple components you’ll need:
- Cold Heavy Whipping Cream or Heavy Cream: This is the star of the show. The colder your cream is, the faster and more efficiently it will whip up, resulting in a smoother, lighter, and more stable whipped cream. Many bakers swear by chilling not only the cream but also the mixing bowl and whisk attachment. I often pop my heavy cream into the freezer for about 15 minutes before pouring it into the mixer bowl to ensure it’s extra cold.
- Powdered Sugar (Confectioners’ Sugar): This is my preferred sweetener for whipped cream. Unlike granulated sugar, which can sometimes leave a slightly grainy texture, powdered sugar dissolves quickly and completely, ensuring a silky-smooth finish. It also contains a small amount of cornstarch, which acts as a stabilizer, helping the whipped cream hold its shape longer. Adjust the amount from ¼ to ⅓ cup based on your personal preference for sweetness.
- Vanilla Extract: You might be surprised by how much flavor a touch of vanilla extract adds. Without it, whipped cream can taste a bit bland. Vanilla provides a warm, aromatic note that complements virtually any dessert without overpowering it. It’s the perfect all-rounder flavor, enhancing the creaminess without being dominant.
Simple Steps to Homemade Whipped Cream
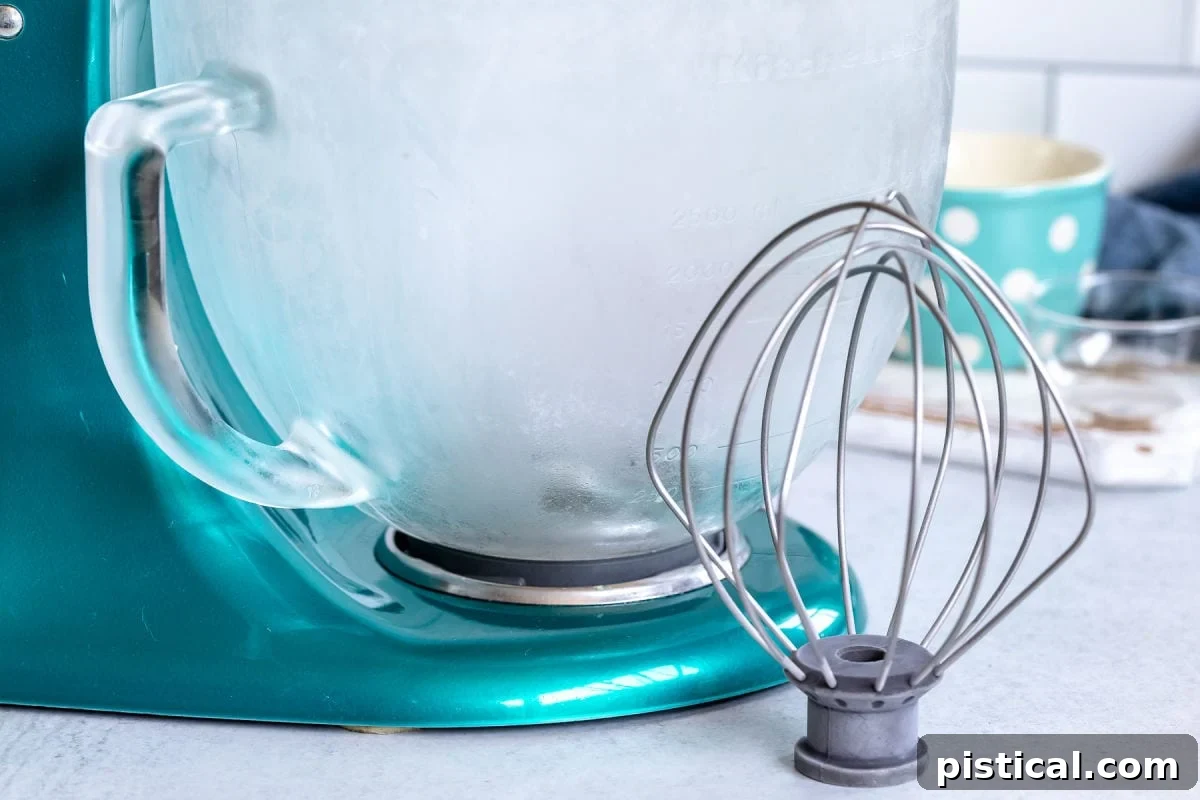
- Chill Your Equipment: For optimal results, place your mixing bowl (preferably metal) and whisk attachment in the freezer for 5 to 10 minutes. This helps the cream whip up faster and achieve a lighter, more stable consistency.
- Start Whipping the Cream: Pour the extra-cold heavy whipping cream into your chilled mixing bowl. Begin beating on medium-low speed with the whisk attachment, gradually increasing to medium-high speed. Continue until the cream becomes bubbly and starts to visibly thicken, forming very soft peaks.
- Add Sweetener and Flavor: Once the cream begins to thicken, add the powdered sugar and vanilla extract. This ensures they are evenly incorporated without deflating the cream.
- Beat to Desired Peaks: Continue beating on medium-high speed until your desired peak consistency forms (soft, medium, or stiff peaks). Watch carefully, as the cream can go from perfect to over-beaten very quickly in the final stages. Stop immediately once the desired peaks are reached to avoid curdling.
For the freshest taste and best texture, use your homemade whipped cream immediately. If preparing in advance, cover it tightly with plastic wrap or transfer it to an airtight container and store it in the refrigerator for up to 1-2 days. Give it a gentle whisk by hand before serving if it has softened slightly.
Trish’s Expert Tips and Tricks for Perfect Whipped Cream
Over years of making countless batches of whipped cream, I’ve gathered a few tried-and-true tips that ensure success every time. These small details can make a big difference in achieving that perfectly light, stable, and delicious whipped cream.
- The Power of Cold: Seriously, chill everything! The colder your heavy cream, mixing bowl, and whisk attachment are, the faster and more efficiently your cream will whip. I make it a habit to pop my cream into the freezer for 10-15 minutes and my bowl/whisk for 5-10 minutes before I start. The science behind it is simple: fat globules in cold cream are firmer and emulsify better, creating a more stable foam. That said, don’t fret if you don’t have time to chill your equipment – I’ve successfully made whipped cream countless times with room-temperature bowls, especially when traveling with my stand mixer. It might just take a few minutes longer, which is perfectly fine!
- Stay Attentive – Don’t Walk Away! This is perhaps the most critical tip. Once your cream starts to form soft peaks, do not step away from your mixer. Whipped cream transitions from soft peaks to stiff peaks, and then to over-beaten (curdled) cream, surprisingly fast. What seems like just a few more seconds can push it past perfection. Keep a close eye on the consistency, stopping the mixer and checking the peaks every few seconds in the final stages to ensure you achieve precisely the texture you’re looking for.
- Scrape Down the Bowl: Just like with cake batter or cookie dough, it’s a good practice to periodically stop the mixer and scrape down the sides and bottom of the bowl with a spatula. This ensures that all the cream is evenly incorporated and whipped. Otherwise, you might end up with beautifully thick whipped cream in the center, but runny, unwhipped cream clinging to the edges of the bowl. Chilling your bowl actually helps minimize this issue, providing yet another reason to embrace the cold!
- Start Slow, Then Speed Up: While it’s tempting to start at high speed, begin whipping your cold cream on a medium-low speed for about a minute. This allows the cream to begin aerating gently. Then, gradually increase the speed to medium-high. This method helps to create smaller, more uniform air bubbles, resulting in a finer, more stable whipped cream.
Frequently Asked Questions About Homemade Whipped Cream
While granulated sugar can technically be used, it’s not recommended for the best results. Granulated sugar crystals can sometimes fail to dissolve completely, leading to a slightly gritty texture in your whipped cream. Additionally, whipped cream made with granulated sugar tends to be less stable and may weep or deflate more quickly. If it’s your only option, use it, but try to serve the whipped cream immediately.
Homemade whipped cream is definitely at its peak freshness and fluffiness when served the day it’s made. However, it can be prepared up to a day or two in advance. Store it in an airtight container in the refrigerator to prevent it from absorbing other odors and to maintain its texture. If it has softened slightly upon standing, you can give it a gentle whisk by hand to fluff it up again before serving.
In very small amounts, plain whipped cream (without artificial sweeteners like xylitol, which is highly toxic to dogs) is generally considered safe for dogs who don’t have dairy sensitivities. However, it’s high in fat and sugar, which aren’t ideal for a dog’s diet. It’s best to offer it sparingly as a tiny treat, if at all. For regular treats, it’s always better to stick to dog-specific options like these homemade dog treats.
Absolutely! While a stand mixer or hand mixer makes the process much quicker and easier, you can certainly whip cream by hand using a sturdy whisk and a large bowl. It requires a bit of arm strength and persistence, but it’s a great workout and delivers equally delicious results. Just ensure your cream and bowl are very cold to aid the process.
The most common reasons for cream not whipping are that it’s not cold enough, or it’s not heavy cream (i.e., it has too low a fat content). Ensure your heavy cream is straight from the fridge (or even briefly chilled in the freezer). Also, make sure your mixing bowl and whisk are cold. If all else fails, sometimes a very clean, dry bowl and whisk are necessary, as any grease can inhibit whipping.
Creative Variations to Elevate Your Whipped Cream
While classic vanilla whipped cream is always a winner, don’t hesitate to experiment with different flavor extracts to customize it for specific desserts or seasons. A little extract goes a long way, so start with a small amount and taste as you go.
- Seasonal Flavors: Try a hint of peppermint extract for festive Christmas treats, bright lemon or orange extract for refreshing summer desserts, or warm maple or almond extract for cozy fall bakes.
- Coffee or Chocolate: Add a teaspoon of instant espresso powder (dissolved in a tiny bit of hot water) for a coffee-flavored whipped cream, or a tablespoon of unsweetened cocoa powder for a subtle chocolate version.
- Citrus Zest: Finely grated lemon, lime, or orange zest can add a wonderfully fresh and aromatic touch without altering the liquid balance.
- Spices: A pinch of cinnamon, nutmeg, or pumpkin pie spice can transform your whipped cream for seasonal treats.
For a balanced flavor profile, I often like to use half vanilla extract and half of another flavored extract. This allows the new flavor to shine while still benefiting from vanilla’s comforting base notes.
Homemade Whipped Cream Recipe Card
Homemade Whipped Cream
This simple Homemade Whipped Cream recipe yields the most perfect, lightly sweetened whipped cream imaginable. Made with just 3 simple ingredients and ready in just 5 minutes, it really is the perfect topping for cakes, pies and ice cream!
Condiment, Dessert
American
homemade whipped cream, whipped cream, whipped cream recipe
5 minutes
12
113 kcal
Trish – Mom On Timeout
Ingredients
- 1½ cups heavy cream (extra cold, can place in the freezer for 10 to 15 minutes)
- ¼ to ⅓ cup powdered sugar (depending on how sweet you want your whipped cream)
- 1 teaspoon vanilla extract
Instructions
- Chill the mixing bowl and whisk attachment in the freezer for 5 to 10 minutes.
- Pour heavy whipping cream into the mixing bowl and beat on medium to medium-high speed with the whisk attachment until the cream gets bubbly and starts to thicken.
- Add the powdered sugar and vanilla extract.
- Continue beating on medium-high speed until stiff peaks form, being careful not to over-beat.
- Use whipped cream immediately or cover and store in an airtight container in the fridge for a day or two.
Notes
- Use heavy whipping cream or heavy cream for this recipe for best results due to their higher fat content.
- A hand or stand mixer with a whisk attachment is highly recommended for best results. While possible to whip cream with a hand whisk, it is strenuous and time-consuming.
- This whipped cream can be made up to 2 days in advance but is genuinely best when enjoyed the day it is made. Always store it in an airtight container in the refrigerator to maintain freshness.
Nutrition
Calories: 113kcal |
Carbohydrates: 3g |
Protein: 1g |
Fat: 11g |
Saturated Fat: 7g |
Cholesterol: 41mg |
Sodium: 11mg |
Potassium: 23mg |
Sugar: 3g |
Vitamin A: 437IU |
Vitamin C: 1mg |
Calcium: 19mg |
Iron: 1mg