
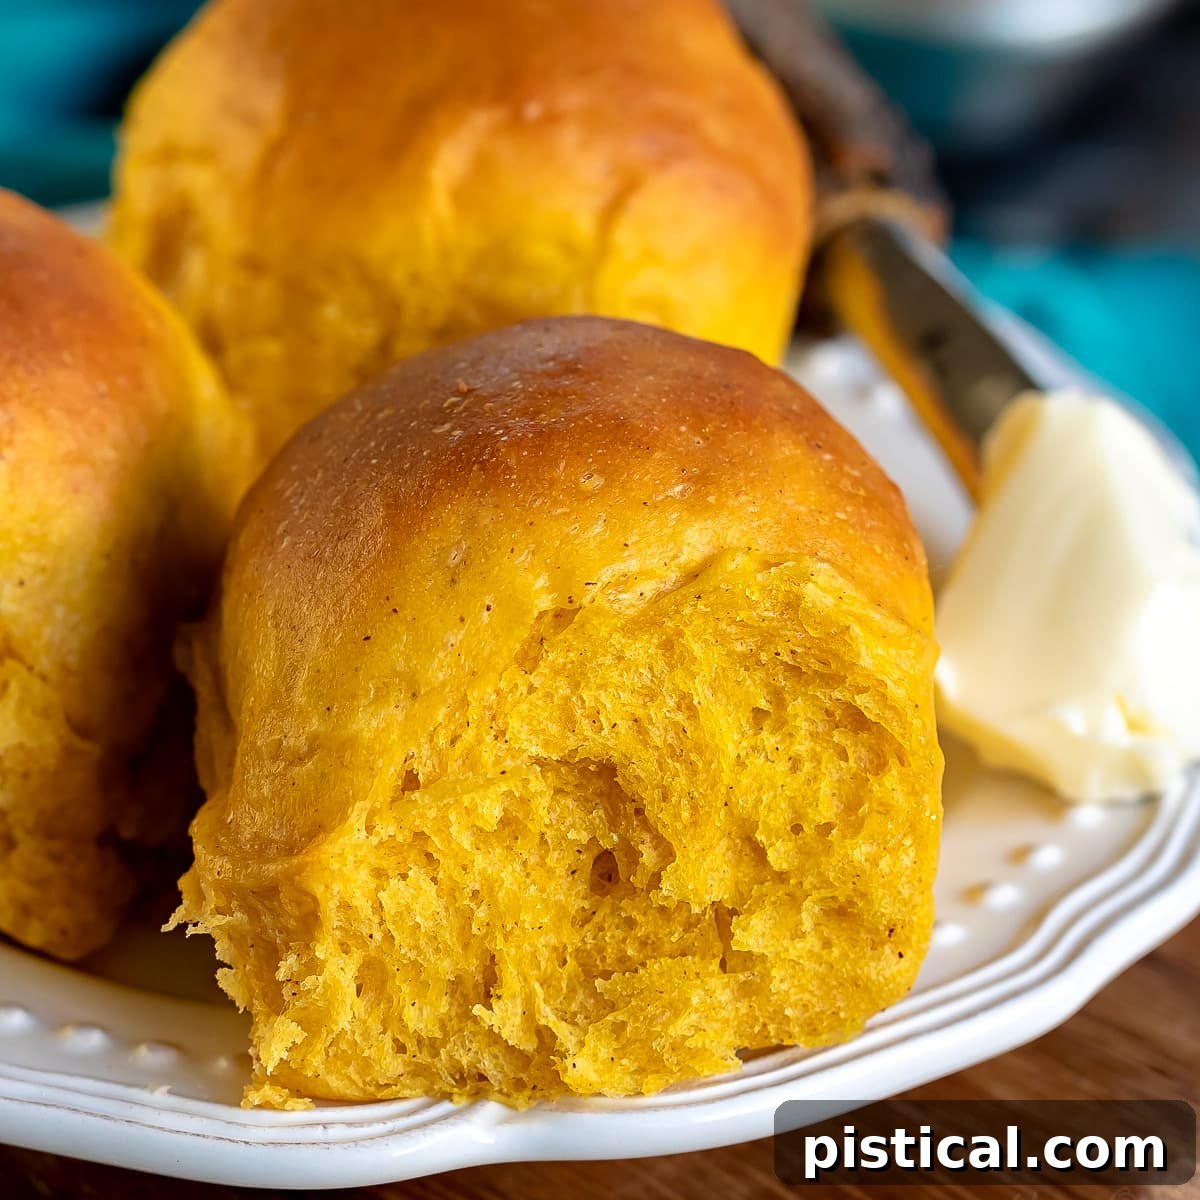
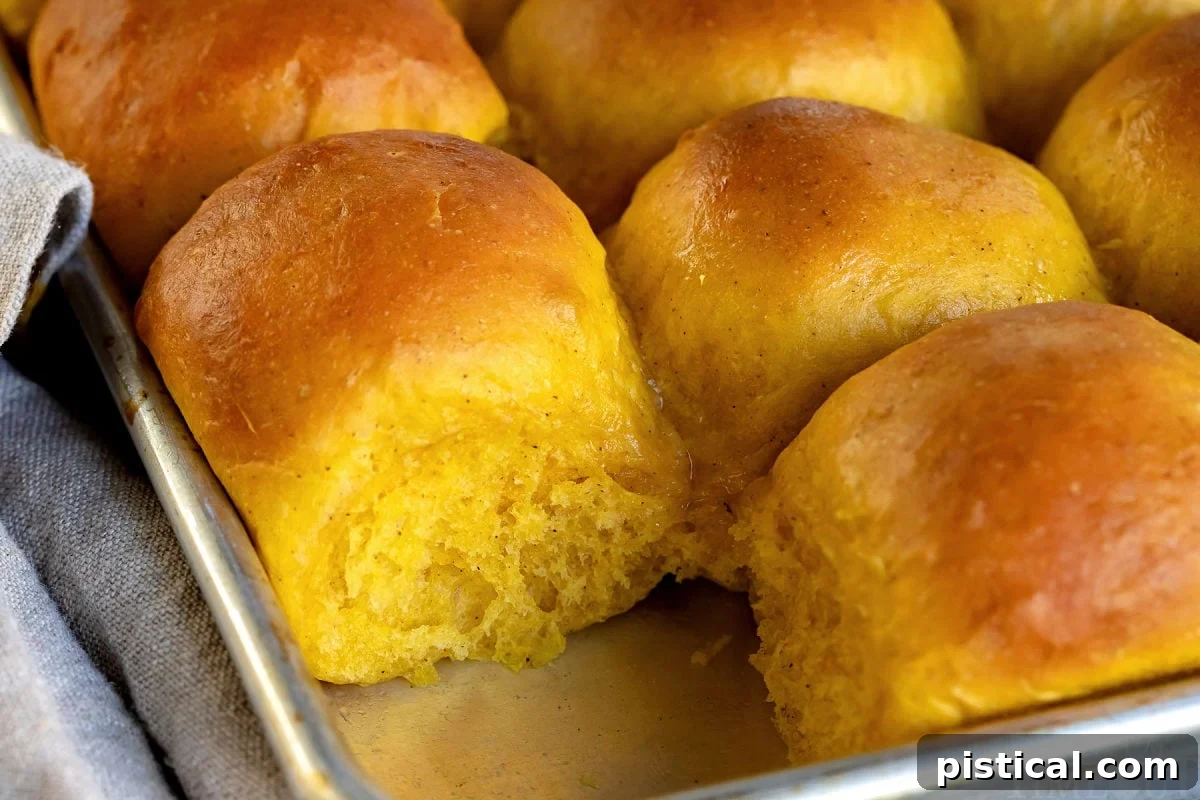
Indulge in the warmth and comfort of homemade Pumpkin Dinner Rolls! These incredibly light, fluffy, and buttery rolls are infused with rich pumpkin flavor and aromatic spices, making them an indispensable addition to any holiday feast or fall gathering. Crafted with just a handful of simple ingredients, this easy-to-follow recipe promises not only a mouthwatering treat but also a delightful aroma that will make your home smell absolutely amazing. Perfect for Thanksgiving, Christmas, or any cozy occasion, these rolls are destined to become a new family favorite. If you adore pumpkin-infused delights, you’ll also love exploring my Pumpkin Chocolate Chip Bread and Pumpkin Chocolate Chip Cookies!
The Journey to Perfect Pumpkin Dinner Rolls
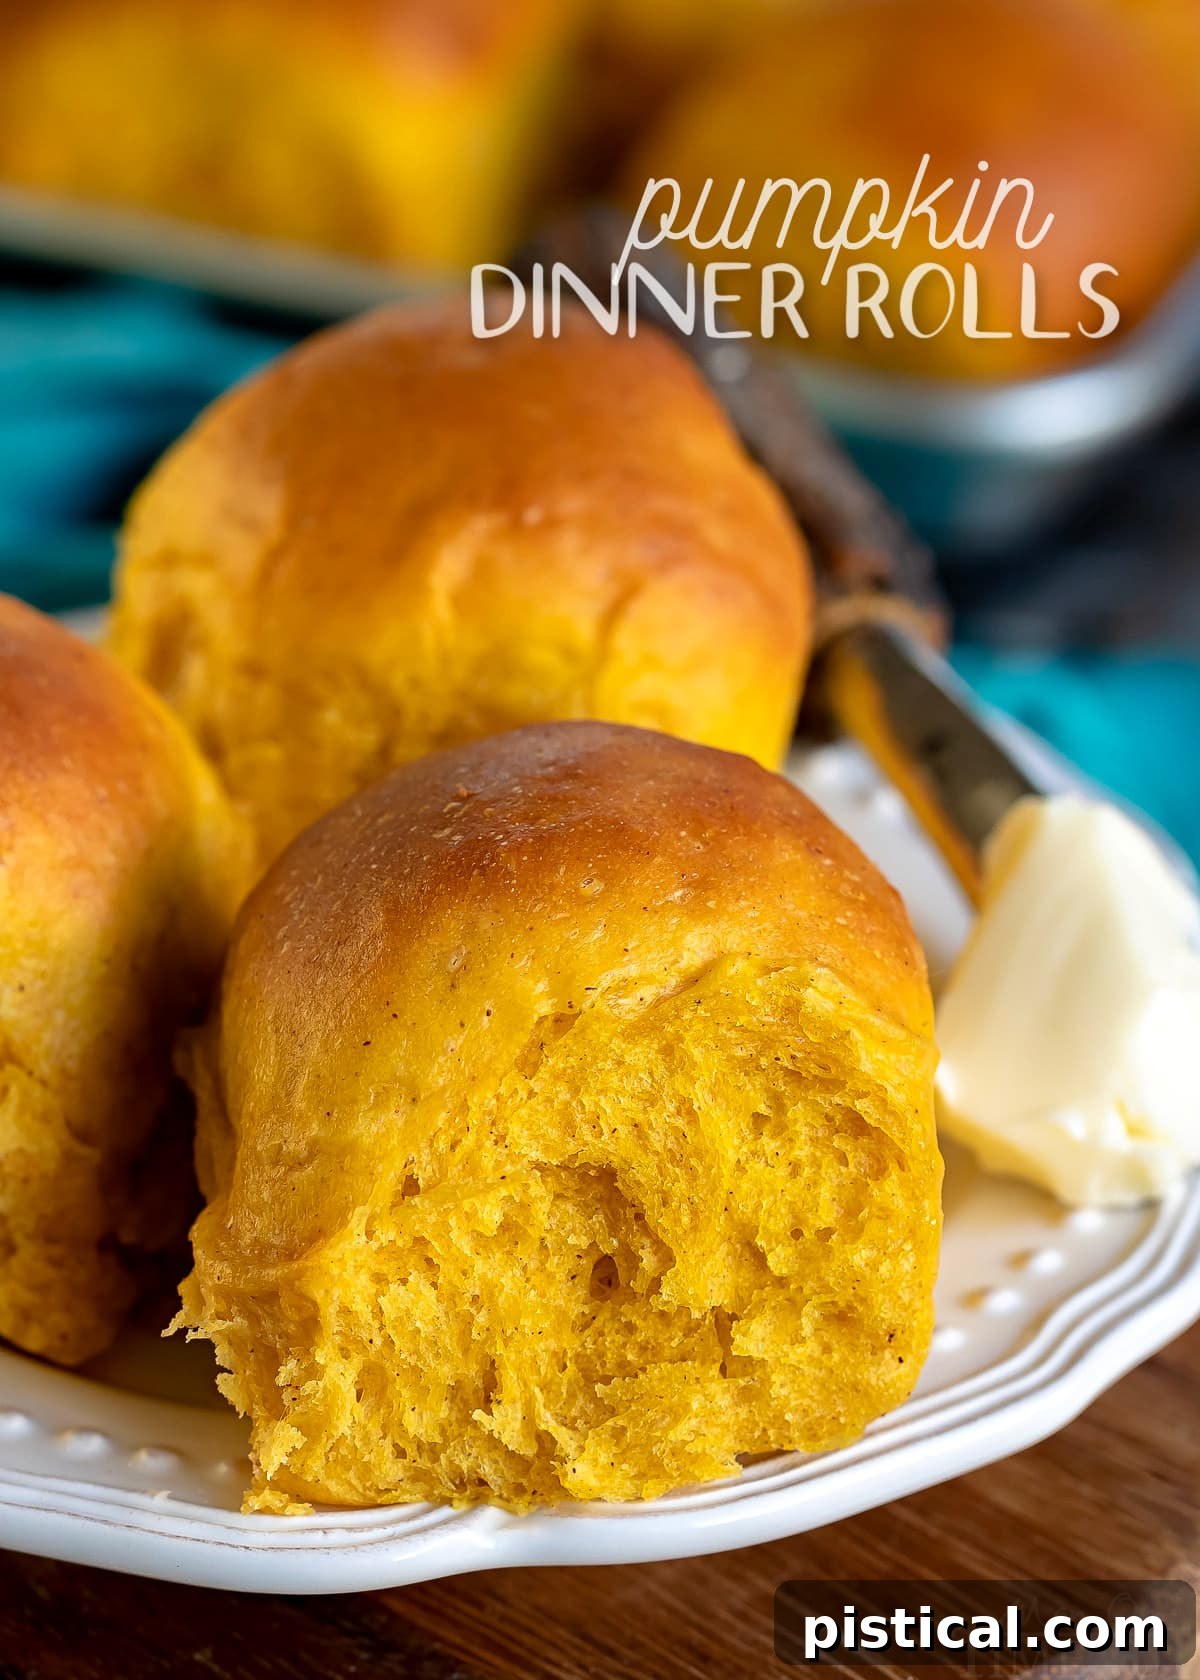
Creating a new recipe always involves a bit of experimentation, and these pumpkin dinner rolls were no exception. When I first embarked on developing this recipe, I wasn’t entirely sure what the outcome would be. However, the concept of fluffy, pumpkin-infused rolls was too enticing to resist, so I dove in with excitement. To my absolute delight, the very first test batch exceeded all expectations. The rolls emerged from the oven wonderfully soft, perfectly golden, and bursting with that characteristic autumnal pumpkin flavor.
Encouraged by this initial success, I refined the recipe over a few additional test runs, meticulously adjusting proportions to achieve the ideal balance of flavor and texture. The result? Rolls that are, without a doubt, one of the best things I’ve baked in months. They truly embody the essence of comfort food, bringing joy and a delightful scent to our home with every batch. This recipe is a testament to how simple ingredients can come together to create something truly extraordinary and memorable.
Why You’ll Fall in Love with These Pumpkin Rolls
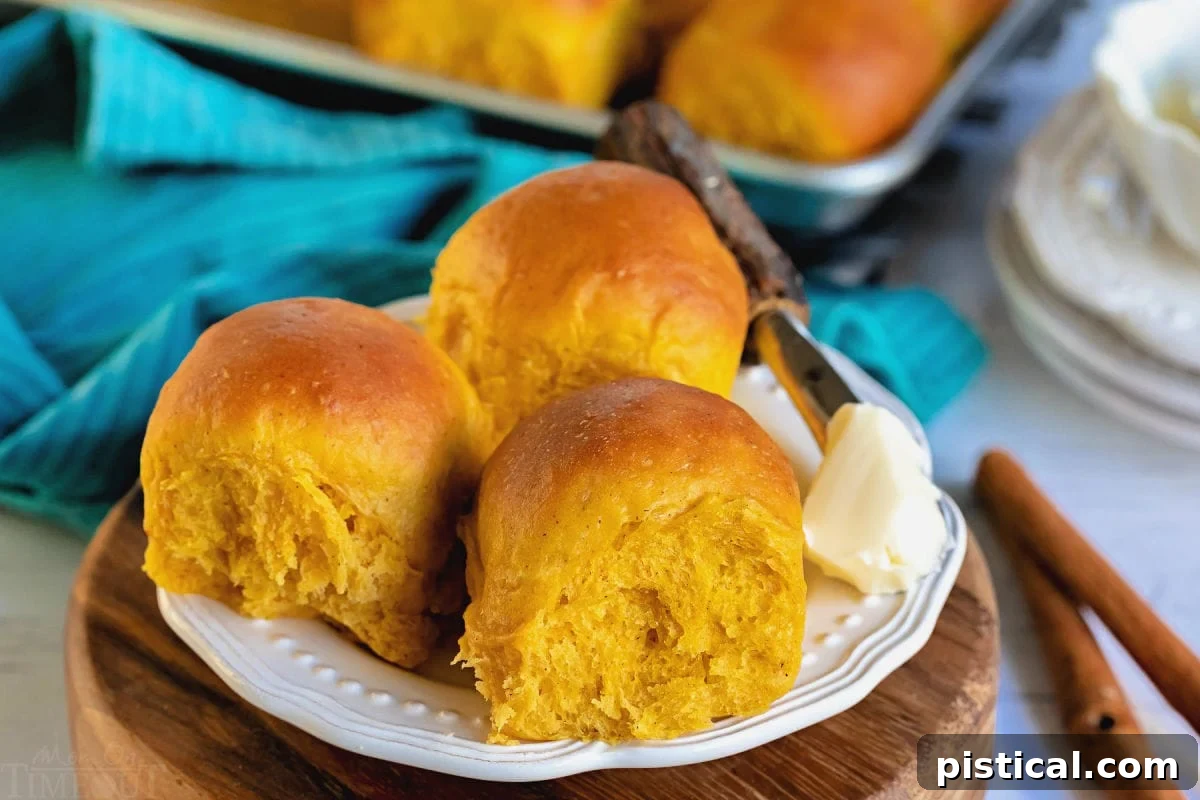
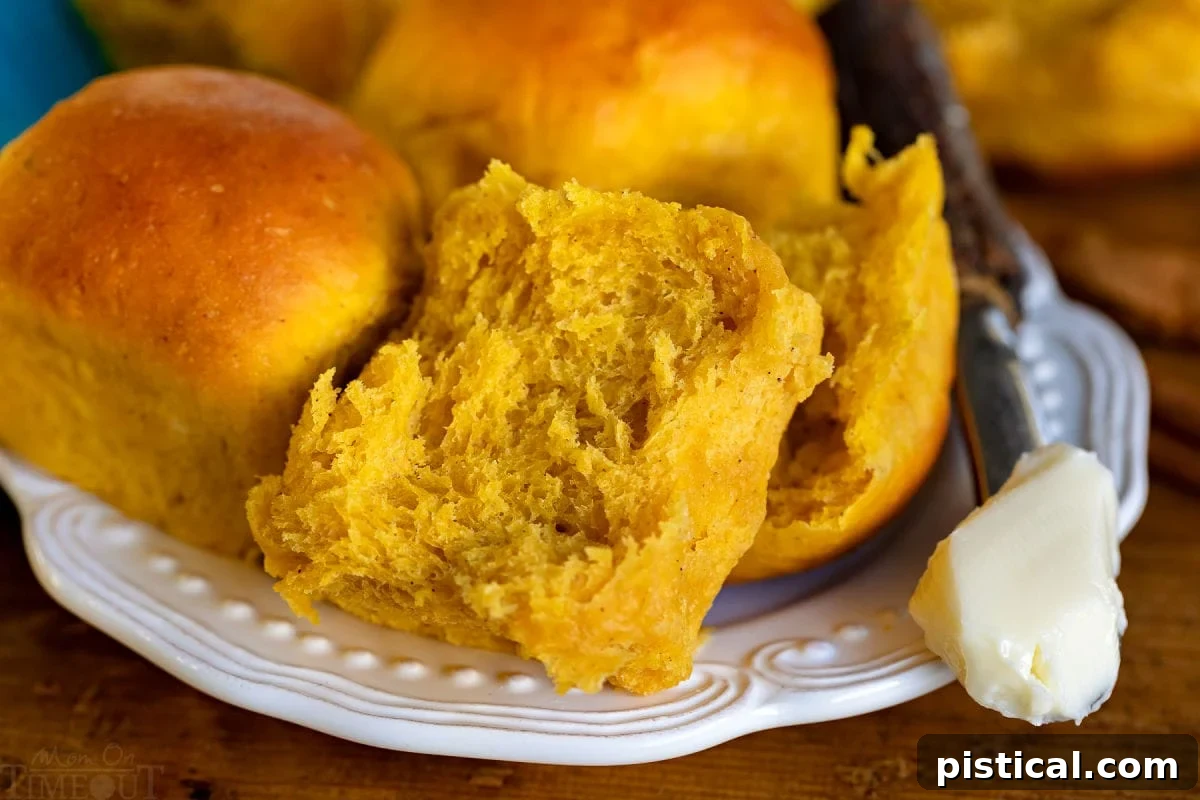
These aren’t just any dinner rolls; they’re an experience. The moment these pumpkin dinner rolls start baking, your kitchen will be filled with an intoxicating aroma that instantly evokes feelings of fall and holiday cheer. Imagine the sweet, earthy scent of pumpkin mingling with warm spices like cinnamon and nutmeg – it’s pure heaven! Beyond the incredible smell, the rolls themselves are a marvel of texture and taste. Each bite offers a cloud-like softness, a delicate chew, and a rich, buttery pumpkin flavor that is simply irresistible.
They strike the perfect balance between savory and subtly sweet, making them incredibly versatile. Whether you serve them alongside a hearty holiday meal or simply enjoy them with a smear of butter, they elevate any dining experience. The ease of this homemade recipe also means you can enjoy fresh, warm rolls whenever the craving strikes, without needing special baking skills. Prepare to impress your family and friends with these delectable rolls that vanish almost as quickly as they’re made!
Perfect Pairings: What to Serve with Your Pumpkin Dinner Rolls
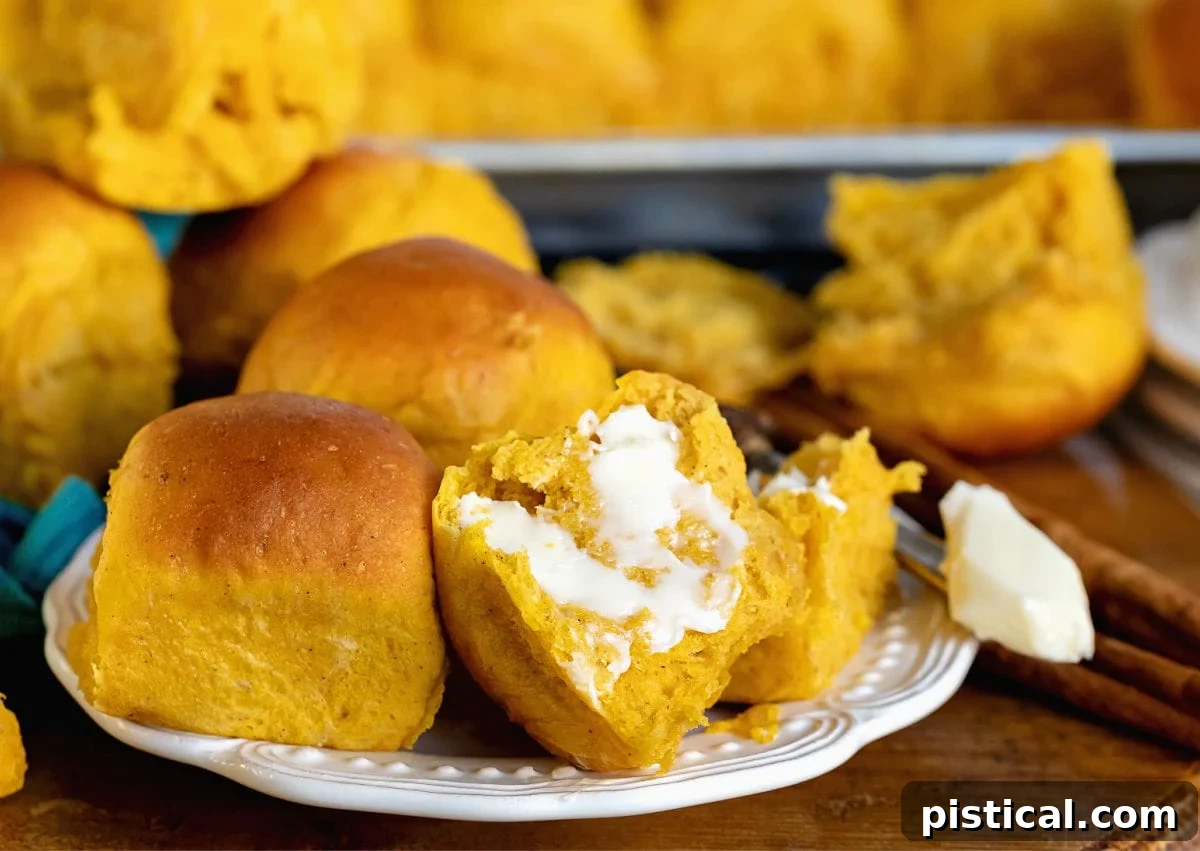
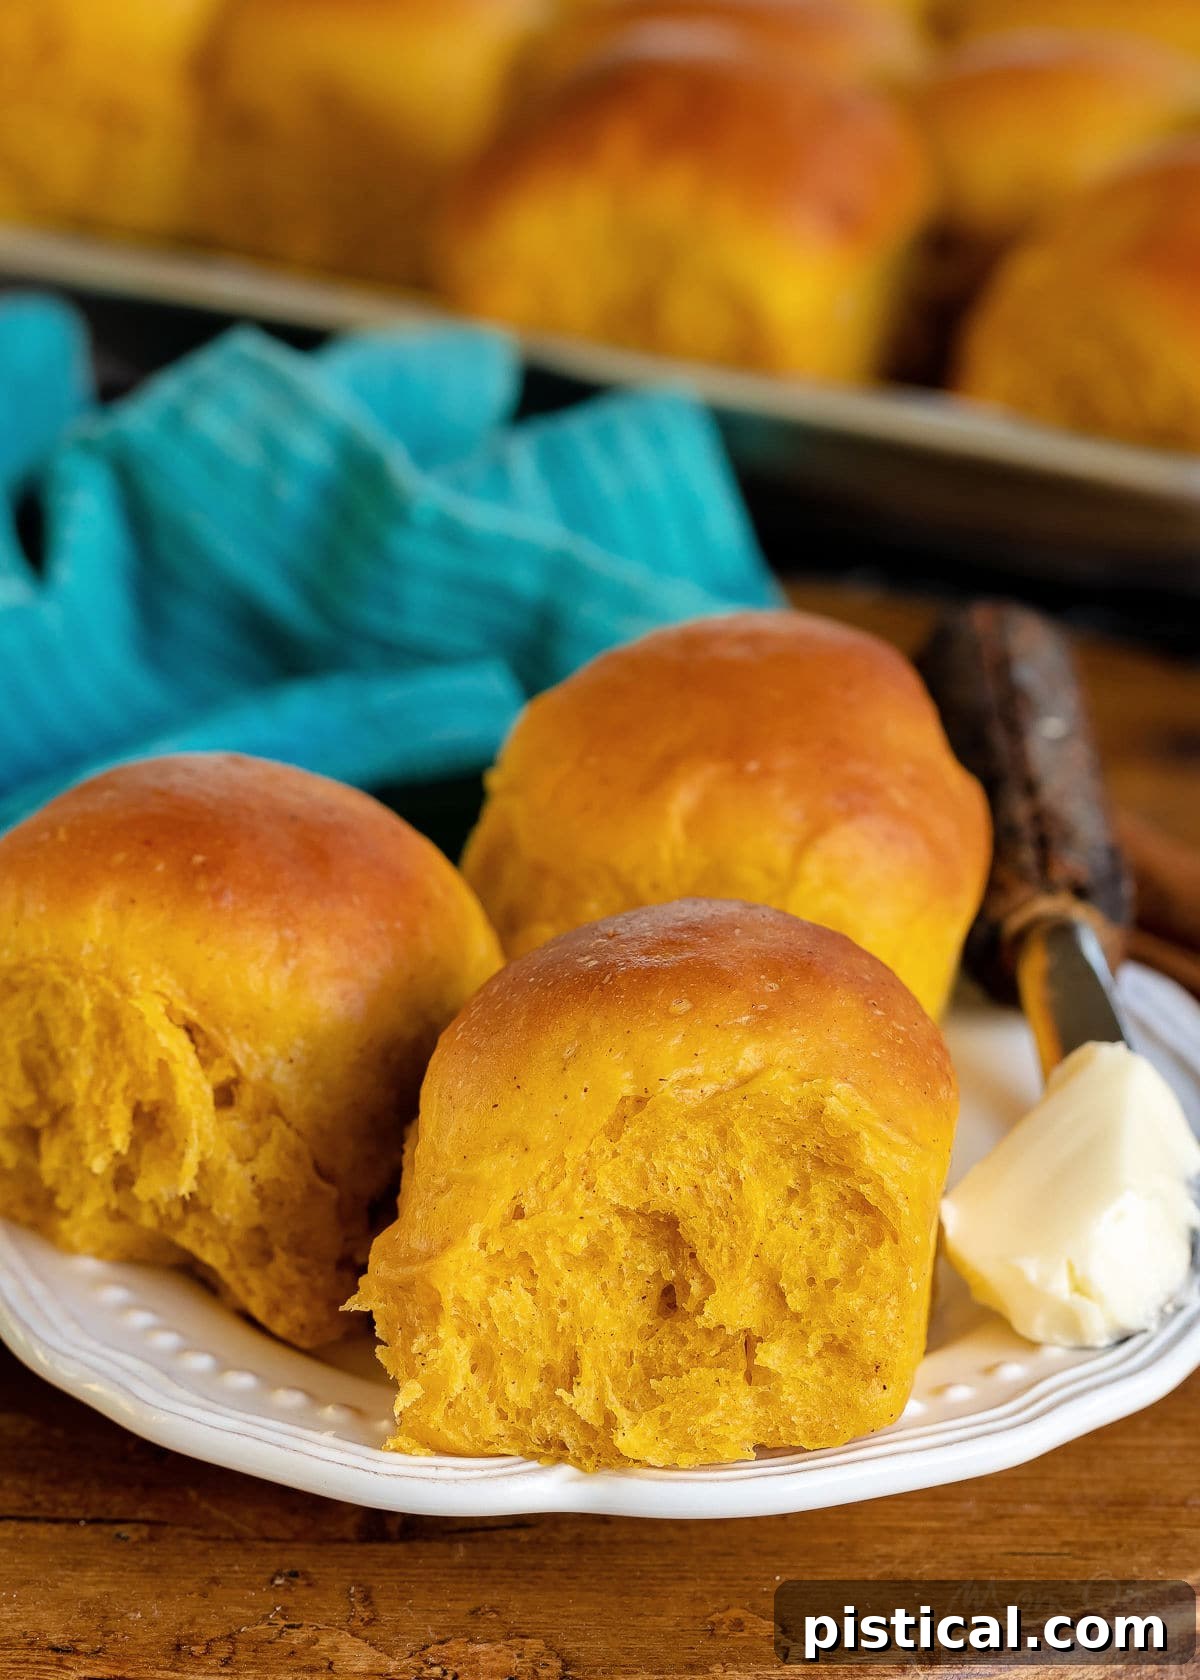
You might be surprised at how quickly a batch of these pumpkin dinner rolls disappears! In my home, the first batch was devoured by my family within hours – a true testament to their deliciousness. I’ve made these rolls countless times since, and we’ve enjoyed them in many ways: simply on their own, with a generous spread of softened butter, or for an extra special treat, paired with homemade Brown Sugar Cinnamon Butter or luscious Honey Butter. Trust me, these combinations will transform your mealtime.
The irresistible aroma of these rolls baking is just a preview of the delightful taste that awaits. They taste like autumn in every bite and are so utterly delicious, we often find ourselves baking a fresh batch weekly throughout the cooler months. These versatile rolls complement almost any meal, from comforting soups and hearty stews to elaborate holiday spreads. They are an absolute showstopper when served alongside these classic dishes, enhancing every flavor on your plate:
- Creamy Mashed Potatoes: The soft texture of the rolls perfectly complements the rich and smooth potatoes.
- Rich Turkey Gravy: Dip a warm roll into savory gravy for an unforgettable bite.
- Tender Crockpot Turkey Breast: These rolls are the ideal accompaniment to a juicy, perfectly cooked turkey.
- Sweet and Tangy Cranberry Sauce: The subtle sweetness of the rolls balances the tartness of cranberry sauce beautifully.
- Classic Candied Yams: A fantastic pairing for a full-on holiday flavor experience.
- Hearty Soups and Stews: Their fluffy texture is perfect for soaking up delicious broths.
Essential Ingredients for Your Pumpkin Dinner Rolls
This recipe for pumpkin dinner rolls shares many similarities with my beloved classic dinner rolls, but with a few key, flavorful twists that make them uniquely autumnal. The primary differences lie in the choice of sugar and the star ingredients: pumpkin puree and pumpkin pie spice. Here’s a closer look at what you’ll need to create these irresistible rolls:
- All-Purpose Flour: This forms the essential structure and foundation of your fluffy rolls. The recipe calls for a range (4 ½ to 5 ½ cups) because flour absorption can vary; you’ll add it gradually until your dough reaches the perfect consistency.
- Rapid Rise, Instant Yeast: This type of yeast is fantastic for quick and easy baking, as it doesn’t require proofing before mixing with other ingredients. While you can substitute with active dry yeast, remember that it will likely require a longer rise time to achieve the desired doubled size.
- Brown Sugar: I specifically chose brown sugar for these rolls because its rich, molasses-like flavor beautifully complements the sweetness and earthiness of pumpkin, adding a depth that granulated sugar just can’t match.
- Salt: A fundamental ingredient that enhances all the other flavors and controls yeast activity, ensuring a perfectly balanced taste.
- Warm Milk: Crucial for activating the yeast, the milk needs to be warm, but not hot. Aim for a temperature between 110-115°F (43-46°C). Milk that’s too cold won’t activate the yeast, and milk that’s too hot will kill it, preventing your rolls from rising.
- Pure Pumpkin Puree: Ensure you pick up pure pumpkin puree, not pumpkin pie filling. Pie filling contains added spices and sugar, which will alter the flavor profile of these rolls. Look for cans labeled “100% Pure Pumpkin.”
- Pumpkin Pie Spice: This aromatic blend of cinnamon, nutmeg, ginger, and cloves is what truly gives these rolls their signature fall flavor. While you could use just cinnamon, the complexity of pumpkin pie spice adds an unparalleled depth to the pumpkin rolls.
- Unsalted Butter (softened): Incorporating softened butter into the dough contributes to the rolls’ incredibly tender crumb and rich, buttery flavor. Using unsalted butter allows you to control the overall saltiness of the recipe.
- Room Temperature Egg: A room temperature egg emulsifies more easily with other ingredients, creating a smoother, more uniform dough and contributing to the rolls’ structure and richness.
- Melted Butter (for brushing): A final brush of melted butter after baking gives the rolls a beautiful golden sheen, adds extra richness, and keeps their crust soft and tender.
Crafting Your Delicious Pumpkin Rolls: A Step-by-Step Guide
My original dinner rolls recipe quickly became a reader favorite due to its incredible ease and speed. You’ll be thrilled to know that this pumpkin-infused version is just as straightforward, ensuring a delightful baking experience from start to finish. Let’s walk through the process to create these wonderfully soft and flavorful rolls:
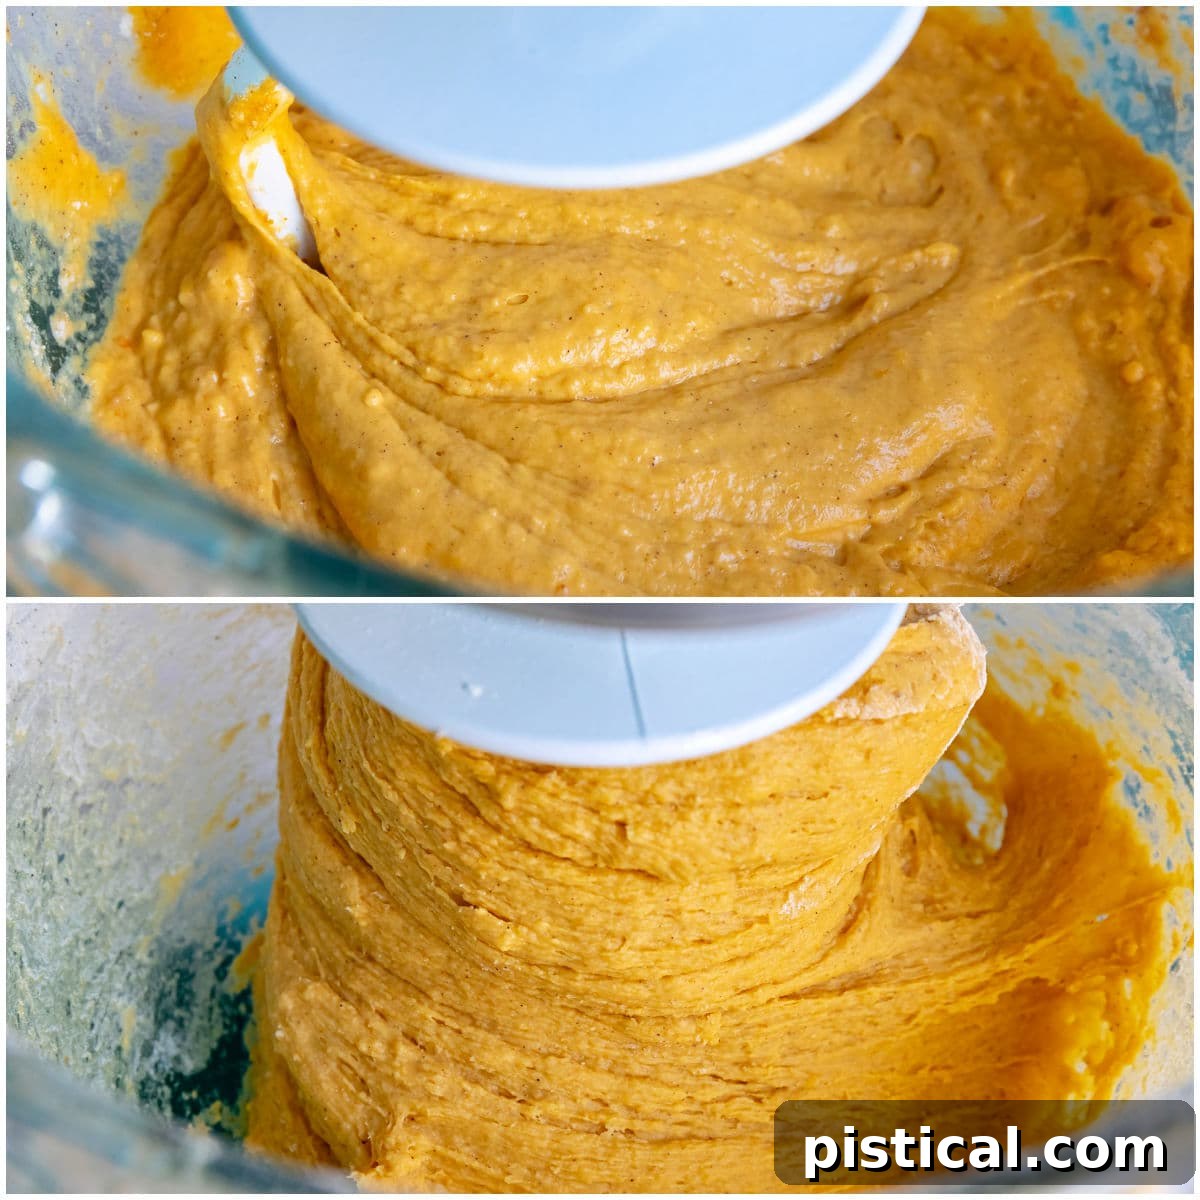
- Combine Dry and Wet Ingredients: In the large bowl of a stand mixer, begin by combining 3 cups of your all-purpose flour, rapid rise instant yeast, brown sugar, pure pumpkin puree, pumpkin pie spice, and salt. Then, pour in the warm milk, softened butter, and room temperature egg. This combination sets the stage for a rich and flavorful dough.
- Mix and Form Dough: Attach the dough hook to your stand mixer. Start mixing on the lowest speed to gently incorporate the flour, scraping down the sides of the bowl as needed to ensure all ingredients are well combined. Once the initial flour is absorbed, increase the mixer speed to medium and beat the mixture for about 2 minutes. The dough will start to come together.
-
Gradually Add More Flour: Add ½ cup of additional flour and continue blending with the dough hook until fully incorporated. Repeat this process with another ½ cup of flour, mixing at medium speed for another 2 minutes. Continue adding small amounts of flour, a tablespoon or two at a time, if necessary, until a cohesive ball of dough forms. The goal is for the dough to be slightly sticky yet soft, and it should pull cleanly away from the edges of the bowl. Avoid adding too much flour, as this can result in dense rolls.

-
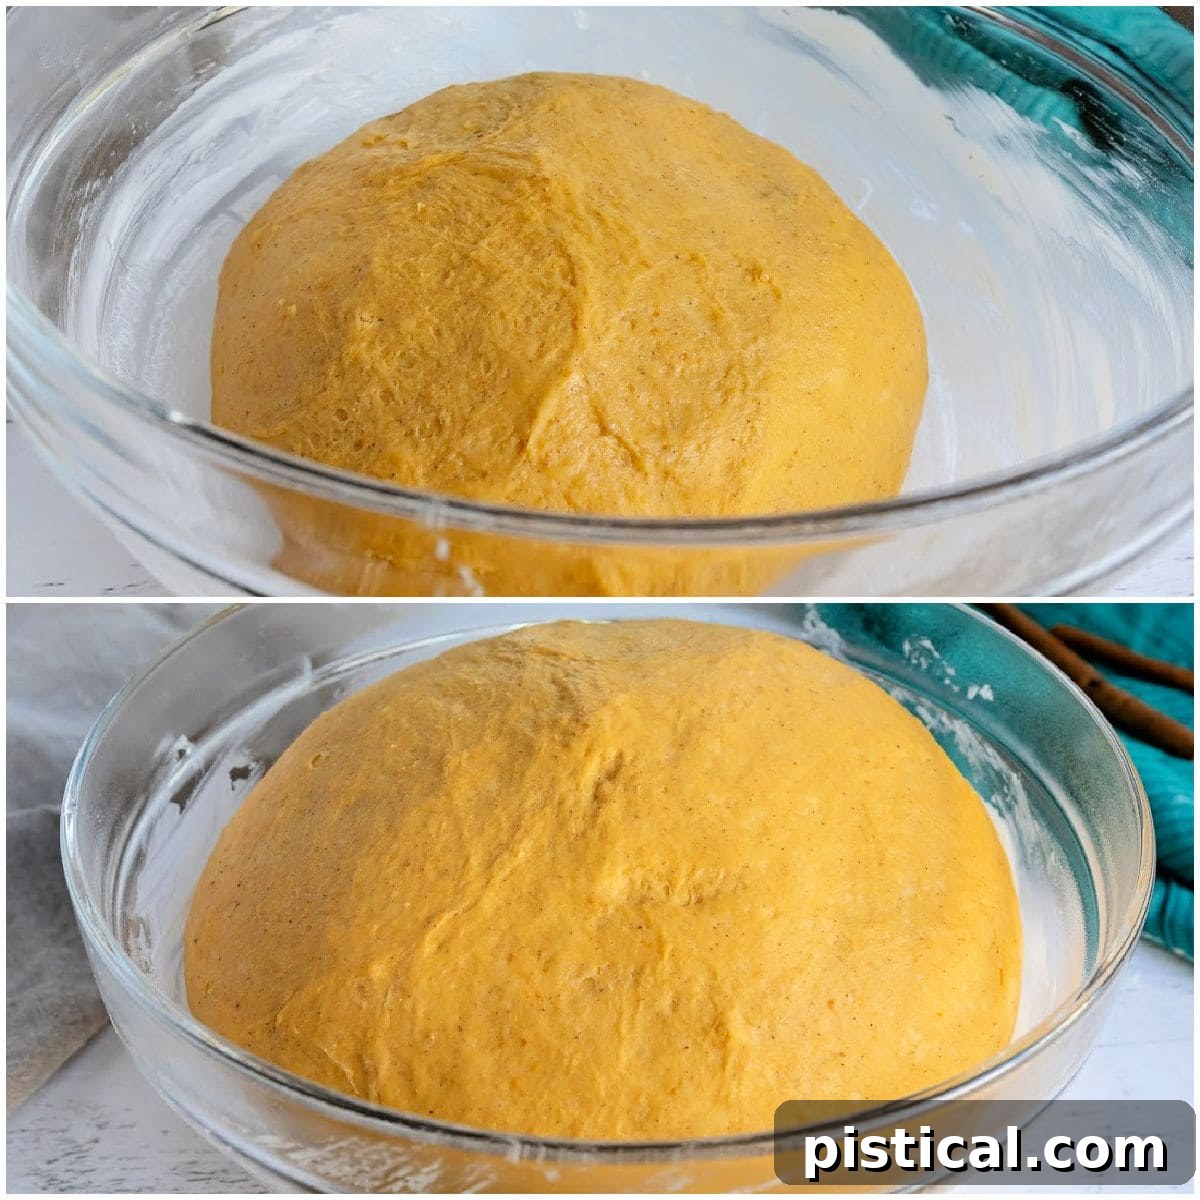
First Rise (Bulk Fermentation): Lightly grease a clean bowl with a little oil or butter. Transfer your freshly mixed dough into this bowl, turning it once to coat all sides. Cover the bowl securely with a clean kitchen towel or plastic wrap. Place the covered bowl in a warm, draft-free spot and allow the dough to rise until it has visibly doubled in size. This usually takes approximately 45 minutes, but keep an eye on it as rise times can vary based on your kitchen’s temperature.
- Deflate the Dough: Once the dough has doubled, gently remove the towel or plastic wrap. Lightly punch down the dough to release the accumulated gases. This step is crucial for achieving a fine, even crumb in your finished rolls.
-
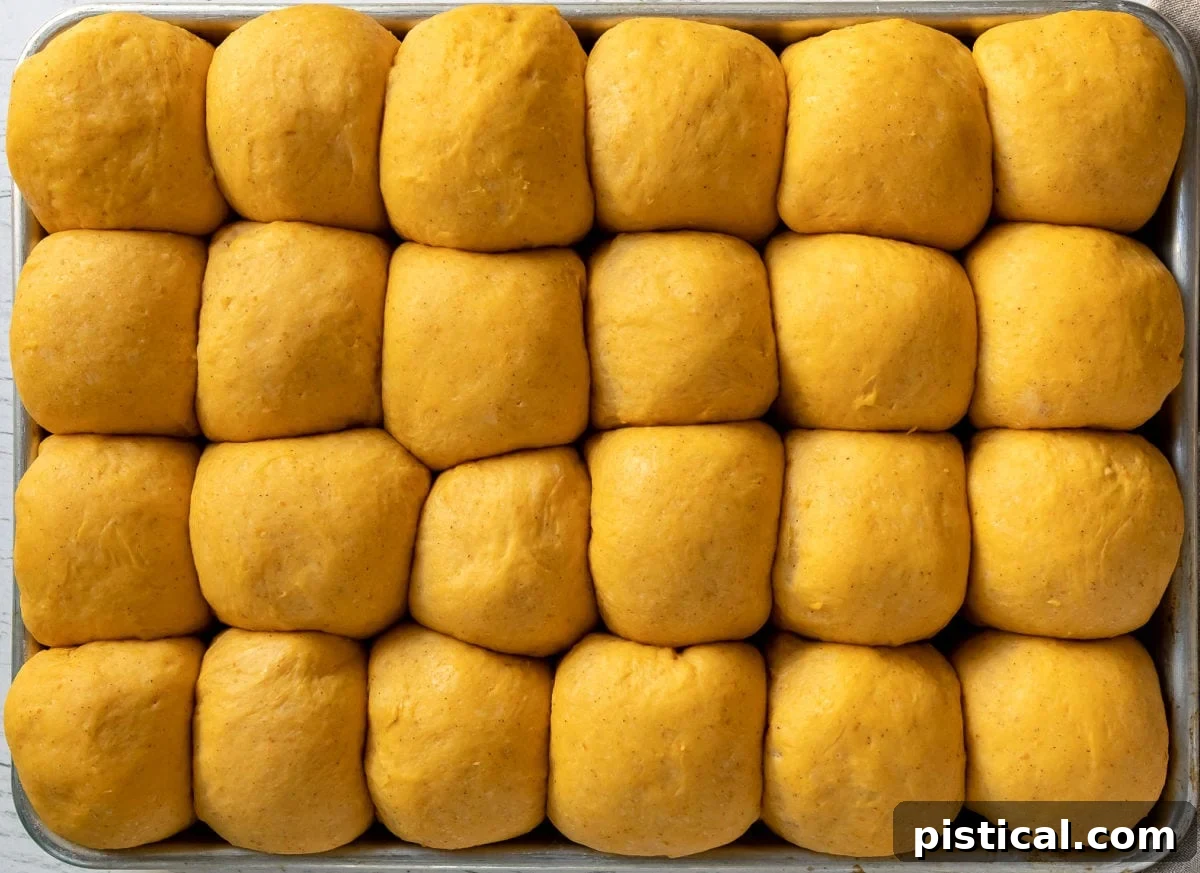
Shape the Rolls: Now it’s time to divide and shape your dough into individual rolls. Pinch off pieces of the dough and form 24 uniform rolls. To ensure even baking, you can weigh each portion of dough to be approximately 2 ounces (though this may vary slightly based on your total flour usage). Roll each piece into a smooth ball.
- Second Rise (Proofing): Transfer the shaped rolls to a lightly greased quarter baking sheet or a 9×13-inch baking dish, arranging them with a little space between each. Cover the rolls again with a towel or plastic wrap. Allow them to rise for an additional 45 minutes at room temperature, or until they have visibly doubled in size once more and look puffy.
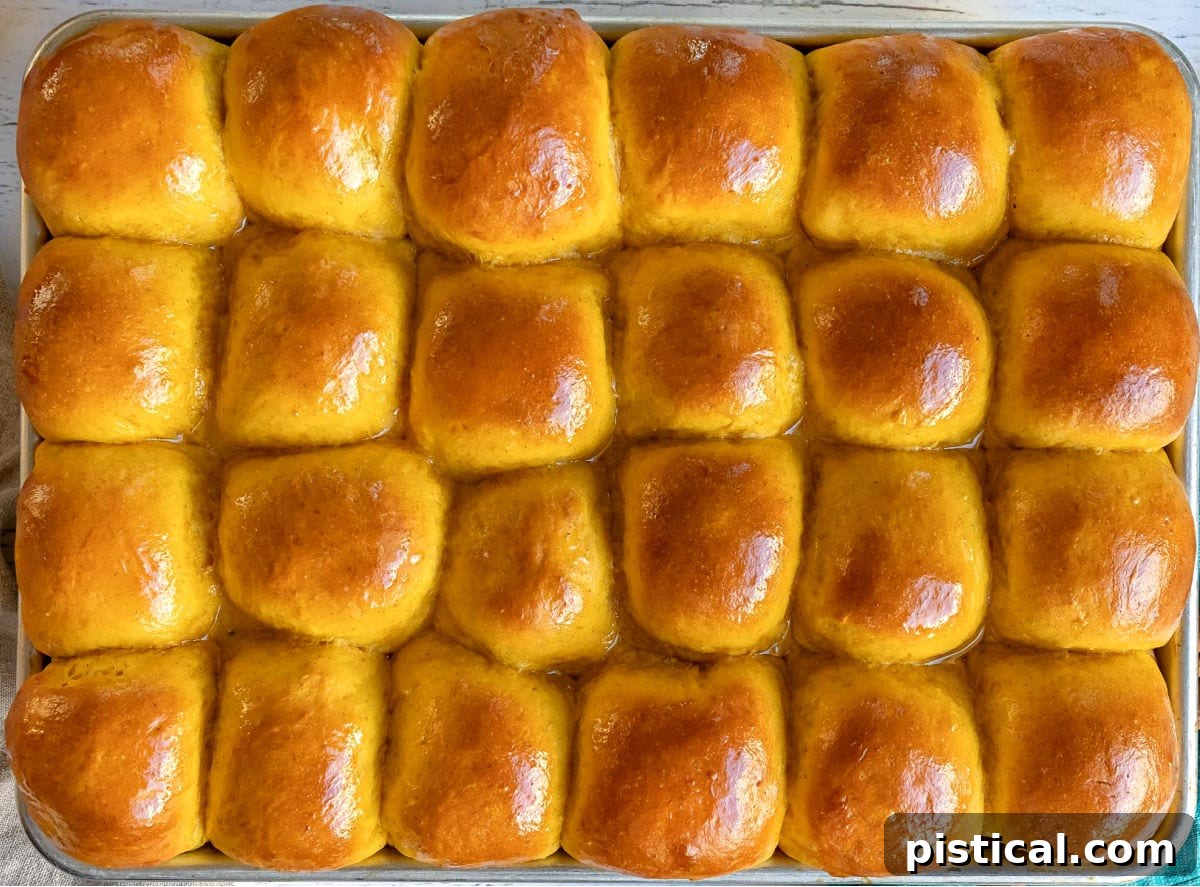
- Preheat and Bake: While the rolls are completing their second rise, preheat your oven to 375°F (190°C). Once the oven is hot and the rolls are fully risen, place them in the preheated oven. Bake for 12 to 15 minutes, or until the tops are beautifully golden brown and the rolls are cooked through. If you notice the rolls browning too quickly, loosely tent them with aluminum foil to prevent over-browning.
- Butter and Serve: Immediately after removing the hot rolls from the oven, generously brush their tops with the 2 tablespoons of melted butter. This adds an incredible shine, a burst of buttery flavor, and helps to keep the crust soft. Serve these delectable pumpkin dinner rolls warm and enjoy them fresh! Leftover cooled rolls can be stored in an airtight plastic bag for up to 3 days to maintain their freshness.
Expert Tips and Tricks for Flawless Pumpkin Dinner Rolls
Achieving perfectly light and fluffy pumpkin dinner rolls is simpler than you might think, especially with a few expert tips guiding your way. These insights will help ensure your baking process is smooth and your results are spectacular every time:
- Mise en Place (Prepare Your Ingredients): Before you even start mixing, measure out all your ingredients. This practice, known as “mise en place,” ensures that everything is ready to go, preventing any last-minute scrambling and making the process seamless. Having all components measured out means you can simply dump them into the mixer bowl and begin.
- Mastering Milk Temperature: The temperature of your milk is absolutely critical, as it’s what activates the yeast. You’re aiming for a warm temperature, ideally around 110°F (43°C). I typically warm my milk in a glass measuring cup in the microwave, then use a reliable thermometer to check its exact temperature. If it gets too hot, let it cool down to the correct range. A milk temperature that’s too high will kill the yeast, and too low will prevent it from activating, both leading to rolls that won’t rise. Killing the yeast is a definite no-no in baking!
- Optimal Rising Environment: Both the first and second rise times for your dough will typically be around 45 minutes, or until the dough has clearly doubled in size. To encourage a steady and even rise, place your dough in a warm, draft-free location. Cover the bowl or baking sheet loosely with a clean tea towel or plastic wrap to maintain moisture and warmth.
- Uniform Roll Size for Even Baking: For best results and consistent baking, strive to make your rolls as uniform in size as possible. An easy method is to pat your dough into a rectangle, approximately 8 x 12 inches. Cut this rectangle into 4 even strips, and then cut each strip into 6 squares, yielding a total of 24 rolls. For ultimate precision, you can use a kitchen scale to weigh each portion of dough.
- Shaping for a Smooth Top: When rolling your dough into balls, I like to create a beautifully smooth top. Achieve this by gently pulling the “seams” of the dough downwards towards the bottom and then giving it a slight twist. This creates a neat, round top. Place this “seam” side down on your baking sheet, ensuring the exposed top of the roll is perfectly rounded and smooth for a professional finish.
- Monitor Baking and Prevent Over-Browning: Start checking your rolls around the 12-minute mark. If you notice them browning faster than you prefer before they are fully cooked, simply tent the baking sheet loosely with a piece of aluminum foil. I personally love my rolls to be a beautiful golden brown; once they achieve that color, they’re usually done. Always test a roll from the center of the pan for doneness, and use foil only if more baking time is needed.
- The Golden Sheen of Melted Butter: The secret to that irresistible golden sheen and soft crust on your pumpkin dinner rolls is brushing them generously with melted butter immediately after they come out of the oven. This final touch adds an extra layer of richness and makes them even more appealing.
Remember to spoon and level your flour, rather than scooping directly from the bag. This method prevents you from adding too much flour, which can lead to dense rolls. We’re aiming for light and fluffy perfection!
Frequently Asked Questions About Pumpkin Dinner Rolls
Here are answers to some common questions about making and storing these delightful pumpkin dinner rolls:
Can these rolls be made in advance?
Absolutely! These rolls are excellent for preparing ahead of time, which is especially convenient during busy holiday seasons. Follow the instructions precisely through step 8, where the rolls are shaped and placed on the baking sheet or in a baking pan. At this point, instead of letting them rise, cover the baking dish tightly with plastic wrap and refrigerate it overnight (for up to 12-18 hours). The next day, approximately 3 hours before you plan to bake and serve them, remove the rolls from the refrigerator. Allow them to come to room temperature and complete their second rise (which may take slightly longer due to being chilled). Once doubled in size, bake and serve as directed. This method ensures fresh, warm rolls without the morning rush!
Can these rolls be frozen?
Yes, these pumpkin dinner rolls freeze beautifully, both before and after baking!
- Freezing Unbaked Rolls: To freeze unbaked rolls, follow the recipe through step 8 (shaping the rolls). Instead of placing them directly on a baking sheet for a second rise, arrange them on a large baking sheet with a little space between each roll. Flash freeze them for about 30 minutes, or until they are firm. Once frozen, transfer the individual rolls to a freezer-safe ziplock bag or airtight container. When you’re ready to bake, remove the desired number of rolls from the freezer, place them on a greased baking sheet, let them thaw completely, and then allow them to rise before baking as usual. This usually takes several hours.
- Freezing Baked Rolls: You can also freeze the rolls after they have been baked! Allow the baked rolls to cool completely to room temperature. Once cooled, place them in a freezer-safe bag or airtight container. They can be stored in the freezer for up to 2-3 months. To reheat, simply thaw them at room temperature, then warm them in a preheated oven (around 300°F/150°C) for 5-10 minutes, or until heated through and soft again.
More Favorite Holiday & Fall Side Dishes
Beyond these incredible pumpkin dinner rolls, explore these other fantastic side dishes that are perfect for your holiday spread or any comforting fall meal. They pair wonderfully and will round out any feast beautifully:
- Loaded Scalloped Potatoes: Creamy, cheesy, and utterly decadent – a crowd-pleasing potato dish.
- Homemade Biscuit Recipe: Flaky, buttery biscuits that are simple to make and always a hit.
- Nana’s Famous Green Bean Recipe: A classic and flavorful way to prepare green beans that everyone will love.
- The Best Turkey Gravy: Essential for any roast, this gravy is rich, smooth, and full of flavor.
- Twice Baked Potato Casserole: All the goodness of twice-baked potatoes in an easy-to-serve casserole form.
- The BEST Homemade Baked Mac and Cheese: A creamy, comforting classic that is perfect for any gathering.
The Ultimate Pumpkin Dinner Rolls Recipe

Print
Pin
Pumpkin Dinner Rolls
Ingredients
- 4 ½ -5 ½ cups all purpose flour
- 4 ½ teaspoons rapid rise, instant yeast
- ⅓ cup brown sugar
- 1 teaspoon salt
- 1 cup warm milk 110° – 115° F degrees
- 1 cup pumpkin pure pumpkin, not pumpkin pie filling
- 1 teaspoon pumpkin pie spice
- 5 tablespoons butter softened
- 1 egg room temperature
- 2 tablespoons melted butter to brush on top
Instructions
-
Combine 3 cups of flour, yeast, brown sugar, pumpkin, pumpkin pie spice, salt, warm milk, butter, and egg in the bowl of a stand mixer.
-
Attach the dough hook and turn the mixer on to the lowest speed and mix until flour is incorporated, scraping down the sides of the bowl as necessary.
-
Increase speed to medium and beat for 2 minutes.
-
Add 1/2 cup flour and blend with the dough hook until incorporated. And another 1/2 cup flour and repeat, mixing at medium speed for another 2 minutes until a ball of dough is formed.
-
Add additional flour as necessary. The dough should be slightly sticky and soft and pulling away from the edge of the bowl.
-
Transfer the dough to a lightly greased bowl and cover with a towel or plastic wrap. Let rise until doubled in size, about 45 minutes.
-
Remove the towel or plastic wrap and deflate the dough by punching down lightly.
-
Pinch off pieces of the dough and form 24 rolls. You can weigh them to keep the rolls close to the same size. Mine were about 2 ounces each but this will vary depending on how much flour you added.
-
Transfer the rolls to a lightly greased quarter baking sheet or 9 x 13 baking dish. Cover with a towel or plastic wrap and let rise for an additional 45 minutes at room temperature or until doubled in size.
-
Preheat oven to 375 degrees. Bake the rolls for 12 to 15 minutes or until golden brown and cooked through. If the rolls are getting too brown, just tent the rolls with foil.
-
Remove rolls and brush hot rolls with the melted butter. Serve immediately or store cooled rolls in a plastic bag for up to 3 days.