
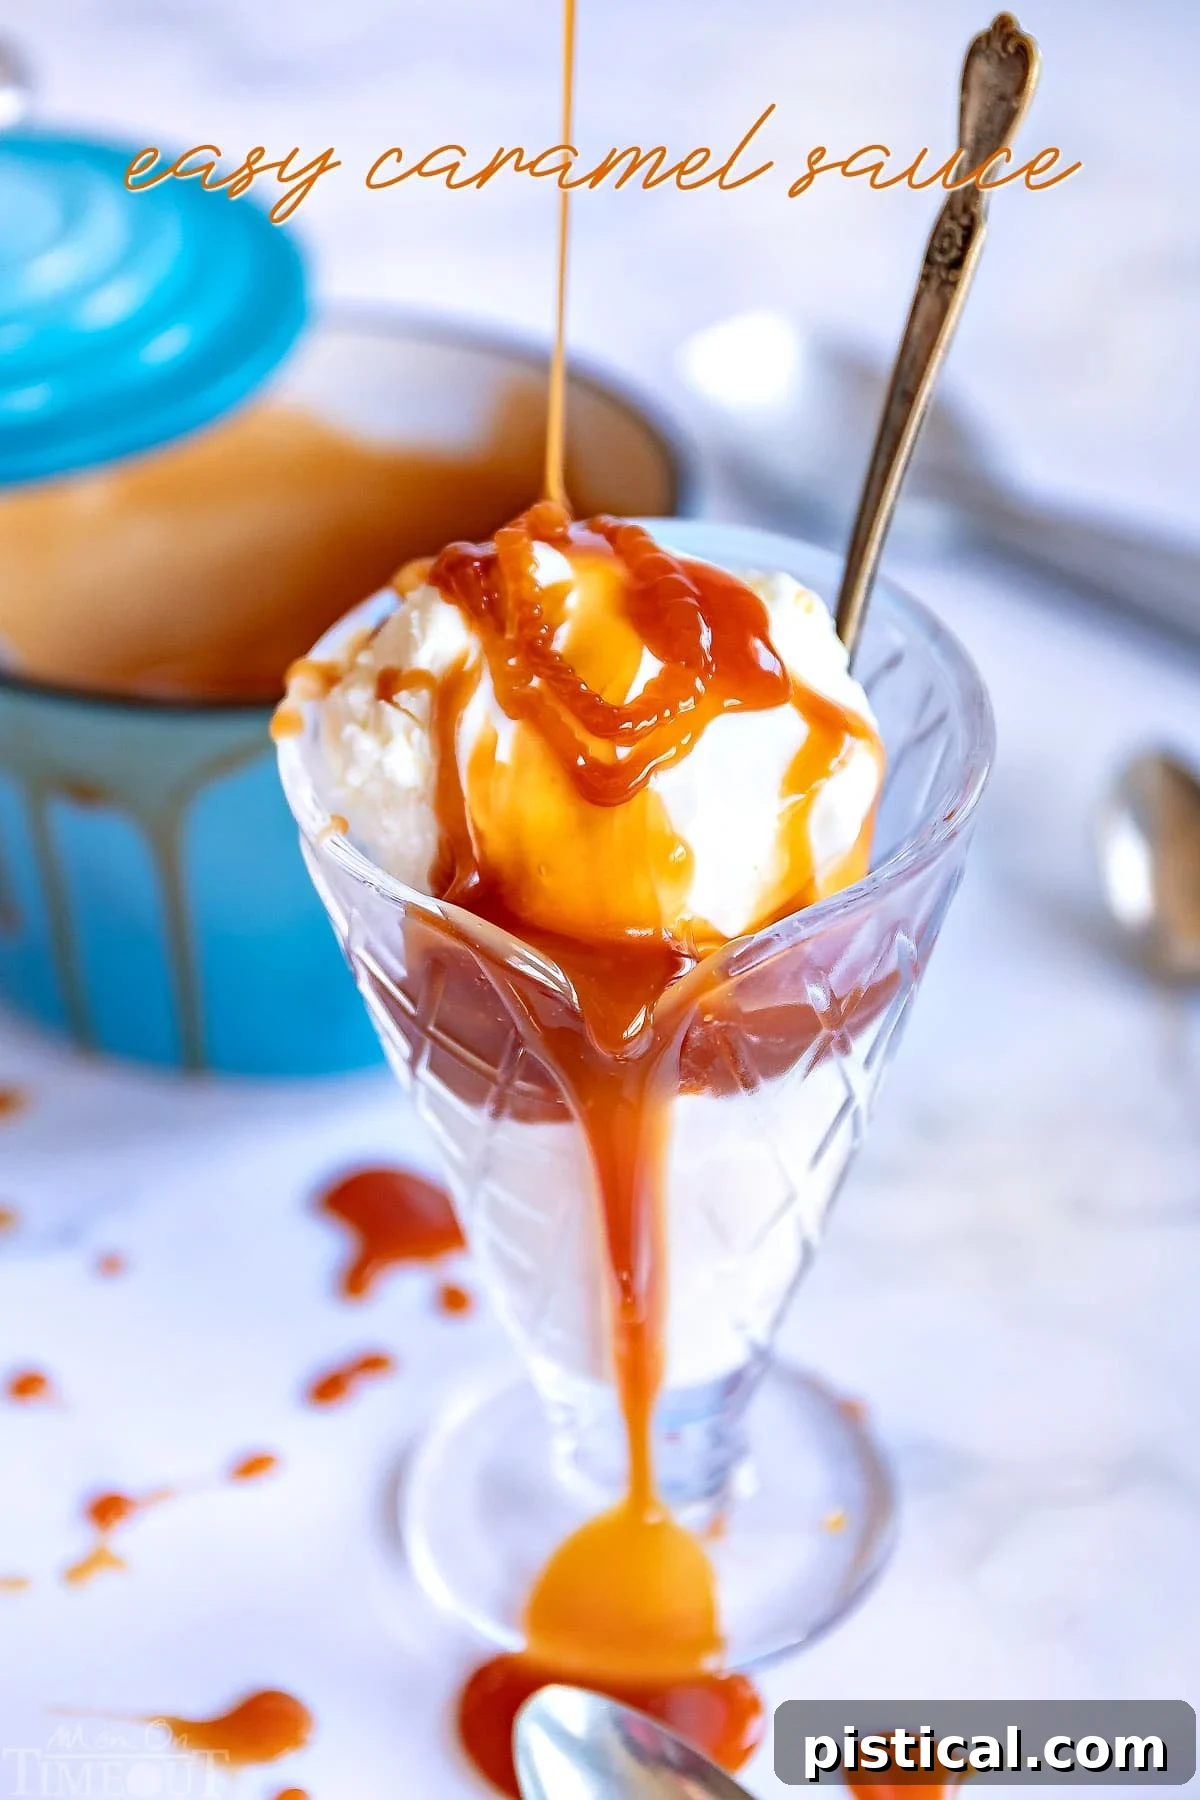
Get ready to transform your dessert game with the easiest and most decadent Caramel Sauce recipe you’ll ever make! Forget store-bought options; this homemade delight boasts a richness and depth of flavor that’s simply unparalleled. Crafted with just a few staple ingredients, this versatile sauce is incredibly simple to prepare, yet it yields a gourmet result that will have everyone asking for more. Once you experience the magic of homemade caramel, you’ll want to drizzle it over everything, all year long!
Caramel isn’t just a topping; it’s a culinary superpower that elevates a myriad of dishes. Imagine your morning pastries, like these irresistible Overnight Caramel Pecan Cinnamon Rolls, bathed in golden caramel. Or take your dessert to the next level with a luxurious Chocolate Bread Pudding with Salted Caramel Sauce. Even a simple fruit plate becomes an elegant treat with this Easy Caramel Apple Dip. Prepare to fall in love with caramel all over again!
The Ultimate Guide to Making Heavenly Homemade Caramel Sauce
There’s an undeniable allure to caramel – that perfect balance of buttery richness and sweet indulgence. It’s a flavor profile that evokes comfort, warmth, and pure joy. For years, I’ve been obsessed with finding the perfect caramel sauce recipe, one that’s not only incredibly delicious but also surprisingly simple to whip up at home. And I’m thrilled to share with you what I believe is the absolute best easy caramel sauce recipe out there. This isn’t just a recipe; it’s an invitation to elevate your culinary creations with a condiment so divine, you’ll wonder how you ever lived without it.
Once you make a batch of this luscious caramel sauce, you’ll understand why it quickly becomes a refrigerator staple. Just like my beloved Strawberry Ice Cream Topping, this caramel sauce is perfect for impromptu dessert cravings or planned culinary masterpieces. It cools to a wonderfully spoonable yet firm consistency, making it ideal for layering into baked goods or drizzling generously.
Think about incorporating it into delightful treats like these rich Oatmeal Caramel Truffle Brownies or the utterly irresistible Peanut Butter Caramel Toffee Chocolate Chip Cookie Bars. We even snuck it into a show-stopping Brownie Ice Cream Cake. Truly, this sauce makes everything better!
The possibilities don’t end there. Imagine it cascading over scoops of your favorite homemade ice cream, like a scoop of Monster Cookie Dough Ice Cream. Or, for a sophisticated twist on a classic, skip the traditional cream cheese icing on an Easy Banana Cake and serve it warm with this golden caramel sauce – reminiscent of a banana fosters dessert. Seriously, you absolutely CANNOT go wrong with this recipe!
The Science of Sweetness: Demystifying Caramelization
Before we dive into the steps, let’s understand a bit about what makes caramel sauce so magical. Caramelization is a non-enzymatic browning reaction where sugar molecules break down under heat, rearranging themselves into new compounds that give caramel its distinctive deep flavor and golden-brown hue. Achieving perfect caramel involves careful temperature control and a keen eye for color. This recipe simplifies that process, ensuring fantastic results even for first-time caramel makers.
I previously shared my popular Buttermilk Bourbon Caramel Sauce, and while that one offers a unique twist, this basic caramel sauce recipe is the foundation for all great caramels. It uses a straightforward technique that minimizes fuss and maximizes flavor, delivering consistently superior results every single time.
Crafting Your Own Liquid Gold: How to Make Caramel Sauce
Making caramel sauce, while relatively simple, requires attention and a bit of patience. It’s a process that can go from perfect to burnt in a matter of seconds. Therefore, I always recommend reading through the entire recipe – ingredients and instructions – at least twice before you even start. This ensures you’re fully prepared and know what to expect, preventing any unwelcome surprises.
Consider caramel making akin to a delicate dance: things often happen slowly, and then, all of a sudden, very quickly. If you’re not prepared or not paying close attention, your sugar can, and will, burn, resulting in a bitter, unusable mess. To ensure success, gather and pre-measure all your ingredients. You don’t want to be scrambling to measure out heavy cream while simultaneously trying to monitor the sugar’s delicate transformation.
Let’s Get Started: Your Step-by-Step Caramel Journey
- Prepare Your Pan: In a medium, heavy-bottomed saucepan, combine the granulated sugar and water (and optional corn syrup, if using – this can help prevent crystallization). Place the pan over medium-low heat.
- Dissolve the Sugar: Whisk or stir the mixture frequently until all the sugar granules have completely dissolved. This typically takes 3 to 5 minutes. The mixture should become clear. Maintaining a medium heat prevents the sugar from burning prematurely and helps it dissolve evenly.
- Bring to a Boil: Increase the heat to medium-high and bring the sugar syrup to a gentle boil. At this point, resist the urge to stir the mixture directly with a spoon or whisk.
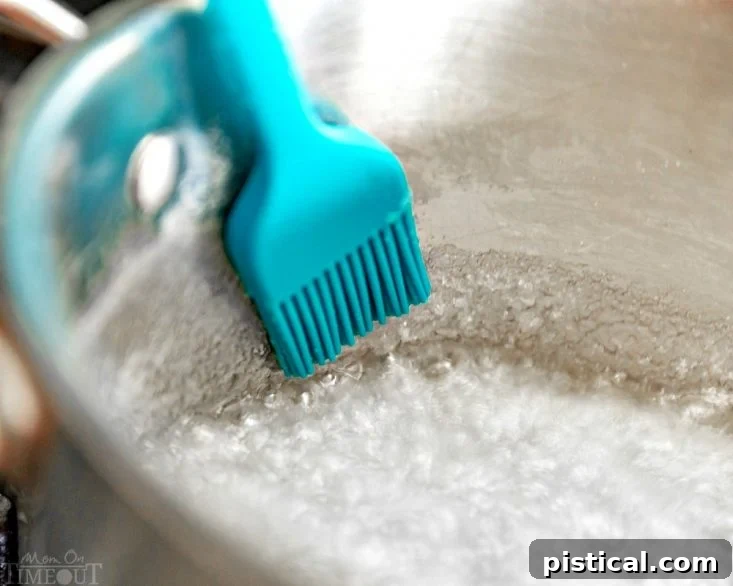
- Monitor and Swirl: Allow the sugar to cook undisturbed. Instead of stirring, gently swirl the pan occasionally to ensure even cooking. As sugar crystals might form on the sides of the pan, use a clean, wet silicone brush to gently brush them down into the syrup. This crucial step prevents the formation of unwanted sugar crystals, which can make your caramel grainy.
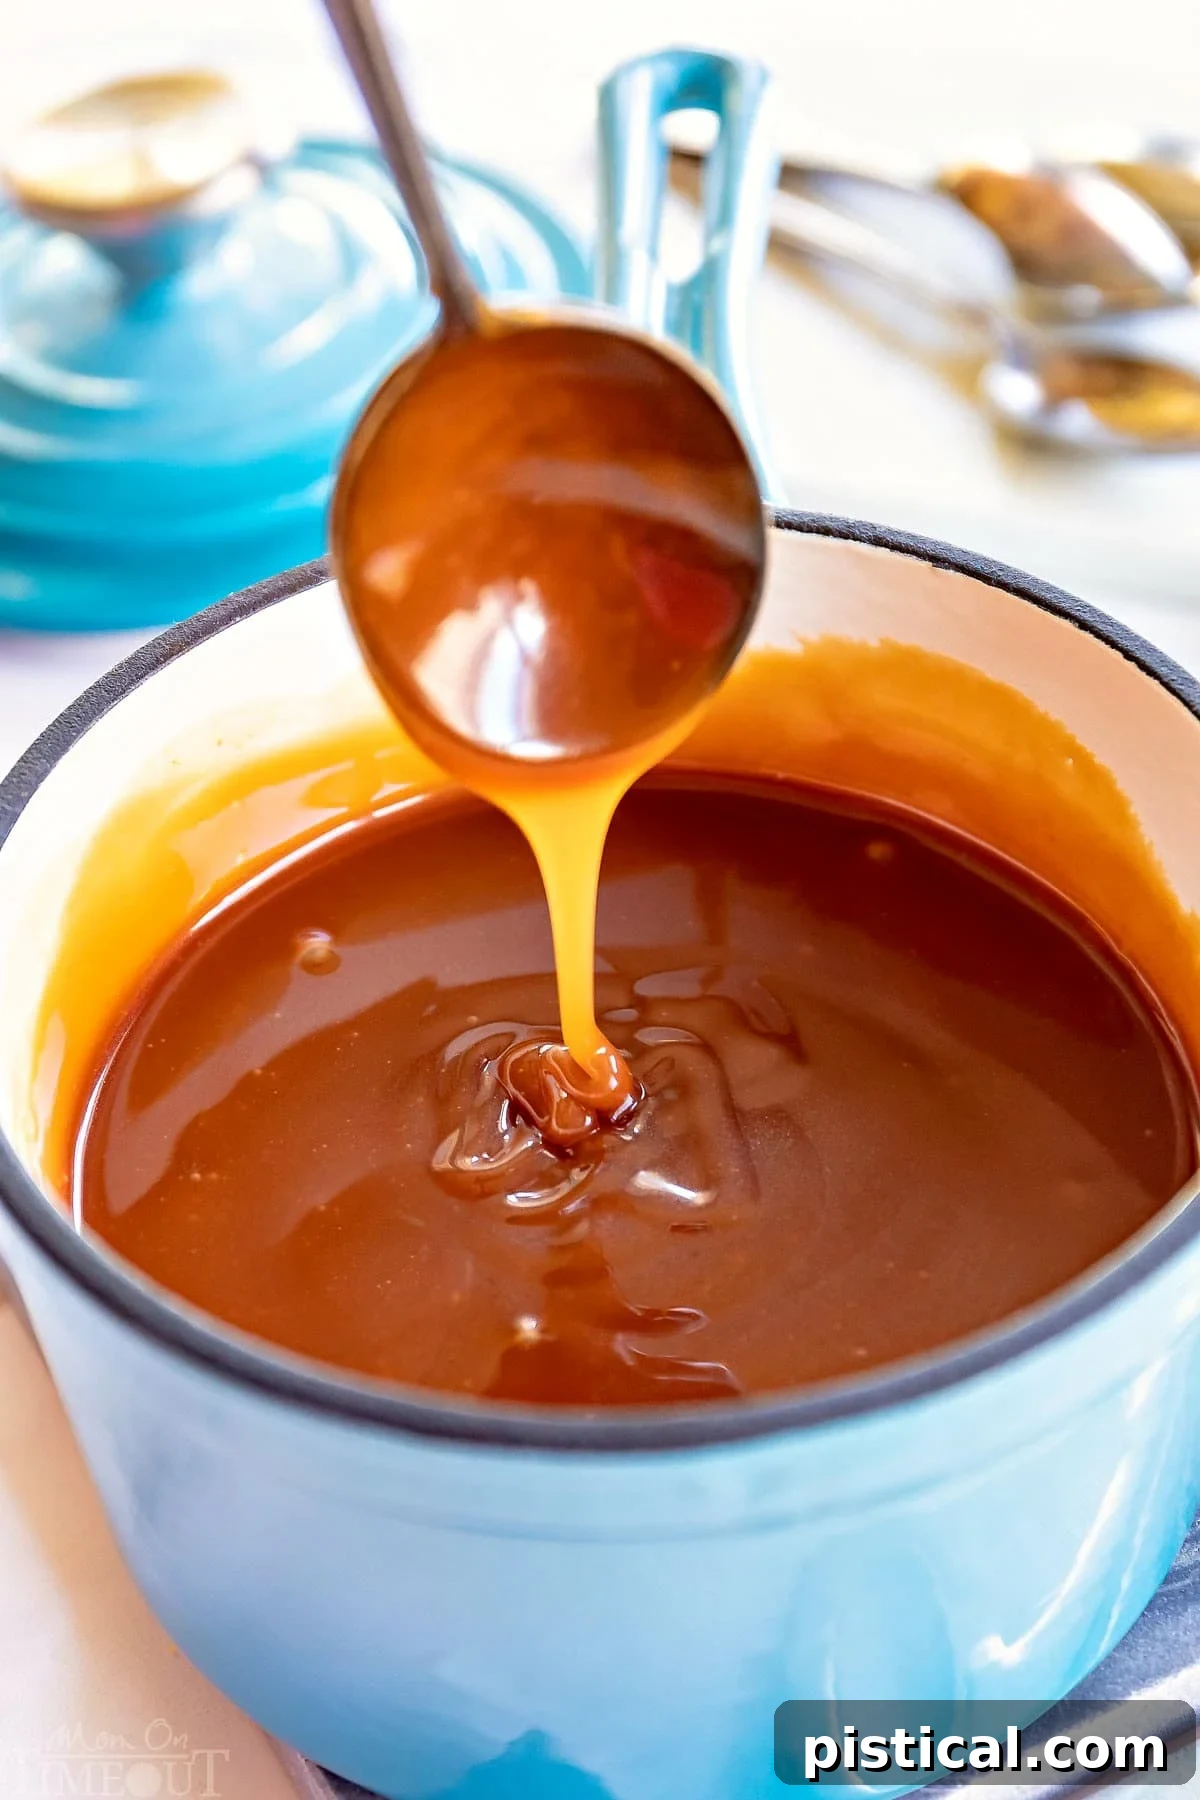
- Watch for Color Transformation: Continue swirling and cooking until the mixture beautifully transforms into a rich, golden amber color. This usually takes between 6 to 9 minutes once boiling begins. This golden hue is your visual cue for perfect caramelization; it should resemble the color of a new penny.
- Remove from Heat: As soon as it reaches the desired amber color, immediately remove the pan from the heat. The cooking process continues even after removing it from the burner due to residual heat, so acting quickly is essential.
- Incorporate Dairy and Salt: Carefully and slowly stir in the heavy cream, unsalted butter, and salt (if making salted caramel). Be prepared, as the mixture will bubble up vigorously and steam will rise. Continue stirring until the butter has completely melted and the caramel sauce is smooth and homogeneous.
- Add Vanilla (Optional): If you’re using vanilla extract, stir it in now. The warmth of the caramel will infuse it beautifully.
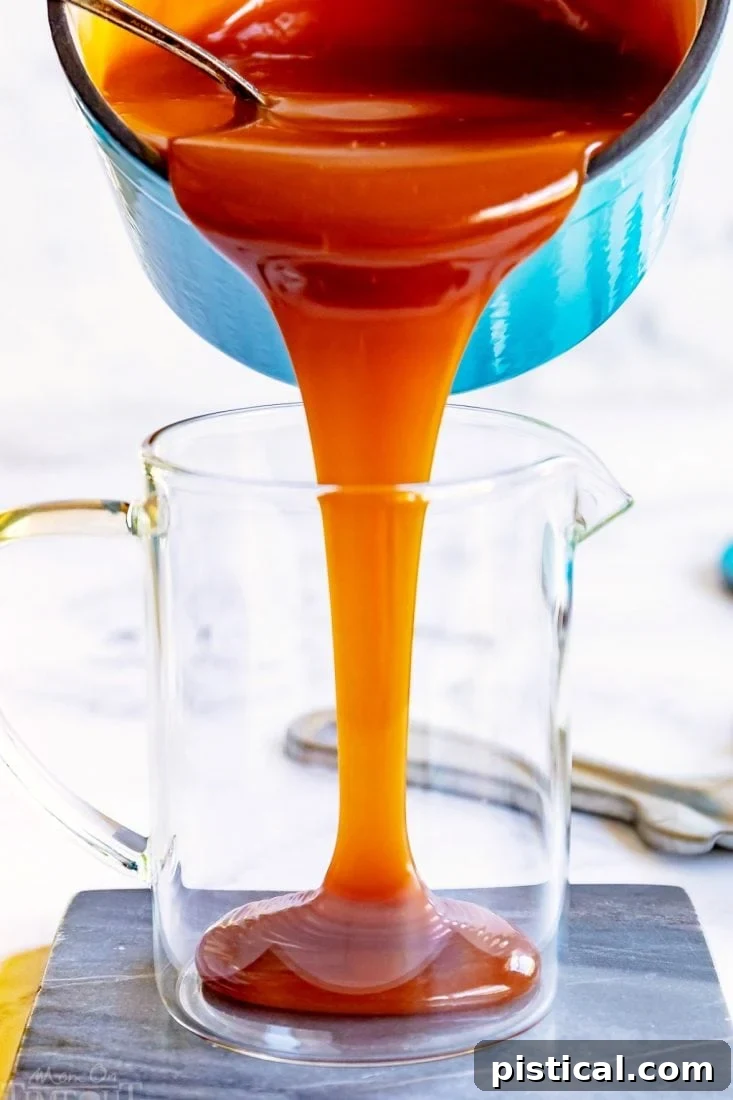
- Cool and Store: Allow the homemade caramel sauce to cool in the saucepan for about 15 minutes. This helps it thicken slightly before transferring. Once slightly cooled, pour it into a clean, large glass jar or another airtight container for storage.
The Simple Stars: Key Ingredients for Perfect Caramel Sauce
At its heart, caramel is a beautiful marriage of sugar, butter, and heavy cream. However, a few additional components elevate this simple combination into an extraordinary, flavor-packed sauce. Let’s delve into what each ingredient brings to the table:
- Granulated Sugar: This is the foundation of our caramel. As it heats, the sugar melts and caramelizes, developing its signature flavor and color.
- Water: Adding a small amount of water to the sugar at the initial stage serves a couple of vital purposes. Firstly, it helps to evenly distribute the heat and prevents the sugar from burning too quickly while it melts and dissolves. Secondly, it makes the initial stirring process much easier. Don’t worry, the water will evaporate completely as the sugar cooks, leaving behind pure caramelized goodness.
- Heavy Cream: This is where the magic happens for creaminess! Heavy cream is essential for creating that smooth, luxurious texture we crave in caramel sauce. It stops the caramelization process when added, and its fat content contributes to the rich mouthfeel. Make sure it’s at room temperature for best results, as cold cream can cause the hot sugar to seize.
- Unsalted Butter: Butter adds incredible richness, a beautiful sheen, and a delightful buttery note that complements the sweet caramel flavor perfectly. Using unsalted butter allows you to control the exact amount of salt in your sauce, especially if you’re aiming for a salted caramel.
- Salt (Optional, but Highly Recommended): This easy caramel sauce recipe instantly transforms into a irresistible salted caramel sauce with the simple addition of sea salt or kosher salt. Just half a teaspoon or so is enough to provide that distinct, crave-worthy balance of sweet and salty. I personally prefer sea salt for its subtle crunch and nuanced flavor, so use it if you have it on hand! The salt truly enhances and balances the sweetness, making the caramel taste even more complex and delicious.
- Vanilla Extract (Also Optional, but a Flavor Enhancer): While vanilla is not traditionally found in classic caramel sauce recipes, my extensive testing (and I mean, I’ve made this caramel sauce recipe at least 873 times in the past two months to perfect it!) revealed that a touch of vanilla extract makes the caramel noticeably better. I initially worried it might detract from the pure buttery caramel flavor, but it only enhanced it, adding a layer of aromatic warmth that takes the sauce to new heights.
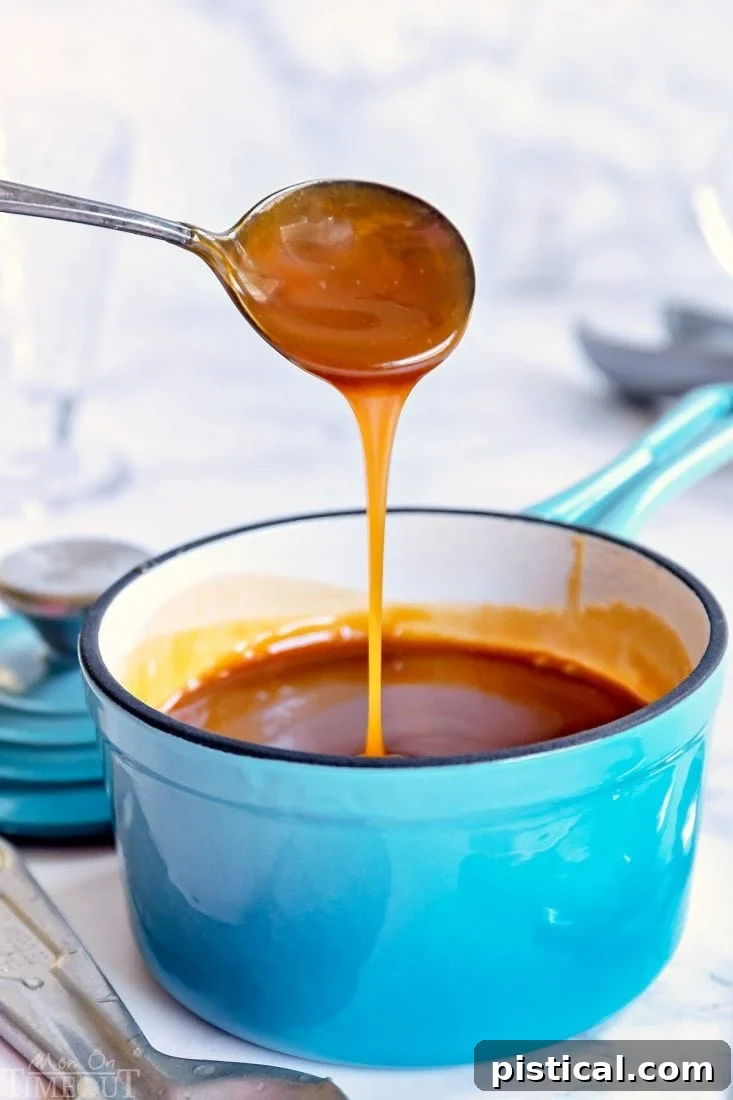
Salted Caramel Sauce: A Simple Elevation
The distinction between a classic caramel sauce and a salted caramel sauce is delightfully straightforward: it’s all in the salt! By simply incorporating a small amount of salt, you transform a sweet condiment into a complex flavor experience that tantalizes the taste buds with its perfect balance of sweet and savory notes. For the best results, opt for a good quality sea salt or kosher salt. While both work wonderfully, I personally find that sea salt lends a superior depth of flavor and a subtle textural nuance. You don’t need much – just about half a teaspoon is usually sufficient to impart that special, addictive salted caramel essence.
Frequently Asked Questions About Homemade Caramel Sauce
Here are some common questions and helpful answers to ensure your caramel-making experience is a resounding success:
- What makes the caramel sauce so incredibly creamy?
The luscious creaminess of this caramel sauce is attributed to two key ingredients: the heavy cream and butter. These dairy components are added to the caramelized sugar, transforming it from a brittle, glassy candy into a smooth, pourable, and utterly delectable sauce.
- How do I know the exact moment to turn off the heat?
Timing is crucial in caramel making, and the best indicator is the color of the sugar syrup. You’re aiming for a beautiful, rich golden amber – think the vibrant hue of a brand-new copper penny. If it starts to darken beyond this shade, it’s likely headed towards a burnt taste, which is unfortunately irreversible. If you suspect it’s overcooked, it’s always better to err on the side of caution and “abort mission” rather than risking the entire batch, especially since the cream and butter are the more expensive components. Refer to a visual guide or video if you’re unsure, and remember: sooner is almost always better than later when it comes to caramel color!
- How long can I safely store homemade caramel sauce?
When properly stored in a clean, airtight glass jar and kept in the refrigerator, your homemade caramel sauce will remain fresh and delicious for up to 3 weeks.
- What’s the best way to reheat my caramel sauce?
If you’ve stored your caramel in a glass jar (which is highly recommended), reheating is simple. Straight from the fridge, it will be quite firm, almost like a solid block of butter. To achieve that dreamy, drizzly consistency, warm it up slowly in the microwave at 50% power, in 30-second intervals. Make sure to stir well between each interval to ensure even heating and prevent scorching. Alternatively, you can gently reheat it in a small saucepan over low heat on the stovetop, stirring constantly until it reaches your desired consistency.
- What if my caramel burns or crystallizes?
Burning is often due to high heat or uneven cooking. If it smells burnt or tastes bitter, unfortunately, there’s no saving it, and it’s best to start over. Crystallization usually happens if sugar crystals cling to the sides of the pan and fall back into the syrup, or if you stir it too much after it starts boiling. Using a wet silicone brush to clean the sides of the pan during the boiling stage is key to preventing this.
Essential Tools for a Smooth Caramel Making Experience
You don’t need a professional candy thermometer or a fancy kitchen setup to make incredible caramel sauce. However, a few specific tools will make the process much easier, safer, and more successful. Here are my top recommendations:
- Heavy-Bottomed Saucepan: This is arguably the most important tool. A heavy-bottomed saucepan provides superior, more even heat distribution, which is crucial for preventing hot spots and scorching the sugar. Its depth also offers a safety advantage; when you add the cream and butter to the hot sugar, the mixture will bubble up vigorously, and a deep pan helps to keep everything safely contained and prevents boil-overs.
- Liquid Measuring Cups: For precise measurements of your heavy cream, liquid measuring cups are invaluable. I personally love a fun beaker set for its accuracy and ease of use.
- Silicone Brush: This simple tool is a secret weapon against crystallization. As sugar crystals tend to build up on the inner sides of the pan during cooking, a wet silicone brush allows you to gently brush them down into the boiling syrup, dissolving them and ensuring a silky-smooth caramel texture.
- Heat-Proof, Airtight Glass Jars: For proper storage and easy reheating, heat-proof, airtight glass jars are ideal. Canning jars are excellent for this purpose, and I always keep a variety of sizes on hand for homemade sauces like this one. They are durable, safe for hot liquids, and perfect for refrigerator storage.
- Heat-Resistant Whisk or Spatula: While not strictly essential if you use a spoon, a heat-resistant whisk or sturdy spatula is great for the initial sugar dissolving phase and for stirring in the cream and butter.
Explore More Irresistible Sweet Treats
If you’re a fan of decadent desserts, you’ll love these other popular recipes that are perfect for satisfying any sweet tooth:
- To Die For Carrot Cake
- The Best Coconut Cream Pie
- Best Key Lime Pie
- Cheesecake Brownies
- The BEST Ambrosia Salad
The BEST Homemade Caramel Sauce: Recipe Card
This easy recipe for homemade caramel sauce yields a rich, velvety condiment that far surpasses any store-bought version. It’s incredibly versatile and perfect for drizzling, dipping, or incorporating into your favorite desserts year-round. This recipe makes approximately 32 servings (about 2 cups total) and has a prep time of 5 minutes and a cook time of 15 minutes.
Ingredients
- 1 cup granulated sugar
- 4 tablespoons water
- ½ cup heavy cream (at room temperature)
- 5 tablespoons unsalted butter, cut into pieces
- ½ teaspoon kosher salt or sea salt (optional, for salted caramel)
- 1 teaspoon vanilla extract (optional)
Instructions
- In a medium, heavy-bottomed saucepan, combine the sugar and water. If using, add 1 tablespoon of corn syrup now to help prevent crystallization. Cook over medium heat, stirring frequently, until the sugar completely dissolves and the mixture is clear (about 3-5 minutes).
- Increase the heat to medium-high and bring the sugar syrup to a vigorous boil.
- At this stage, do NOT stir the caramel sauce with a spoon. Instead, gently swirl the mixture around the pan occasionally to ensure even cooking. Use a clean, wet silicone brush to carefully brush down any sugar crystals that form on the sides of the pan; this prevents crystallization.
- Continue cooking and swirling until the mixture transforms into a deep, rich amber color (typically 6-9 minutes from boiling). Watch closely, as it can burn quickly.
- Immediately remove the pan from the heat. Carefully and slowly pour in the heavy cream, add the butter pieces, and stir in the salt (if using). The mixture will bubble up and steam significantly; be cautious. Continue stirring until the butter has fully melted and the caramel is smooth and uniform.
- If desired, stir in the vanilla extract until fully incorporated.
- Allow the caramel sauce to cool in the saucepan for about 15 minutes before carefully pouring it into a clean, heat-proof glass jar for storage.
- Store the homemade caramel sauce in the refrigerator for up to 3 weeks.
Notes
- This recipe can be easily doubled if you need a larger batch.
- Adding one tablespoon of corn syrup with the sugar and water at the beginning is an optional step that helps to prevent sugar crystals from forming during the cooking process.
- For best results, ensure your heavy cream is at room temperature before adding it to the hot caramel.
Congratulations! You’ve just created a batch of the most incredible homemade caramel sauce. Whether you drizzle it, dip into it, or bake with it, this recipe is sure to become a beloved staple in your kitchen. Enjoy the rich, buttery sweetness!