
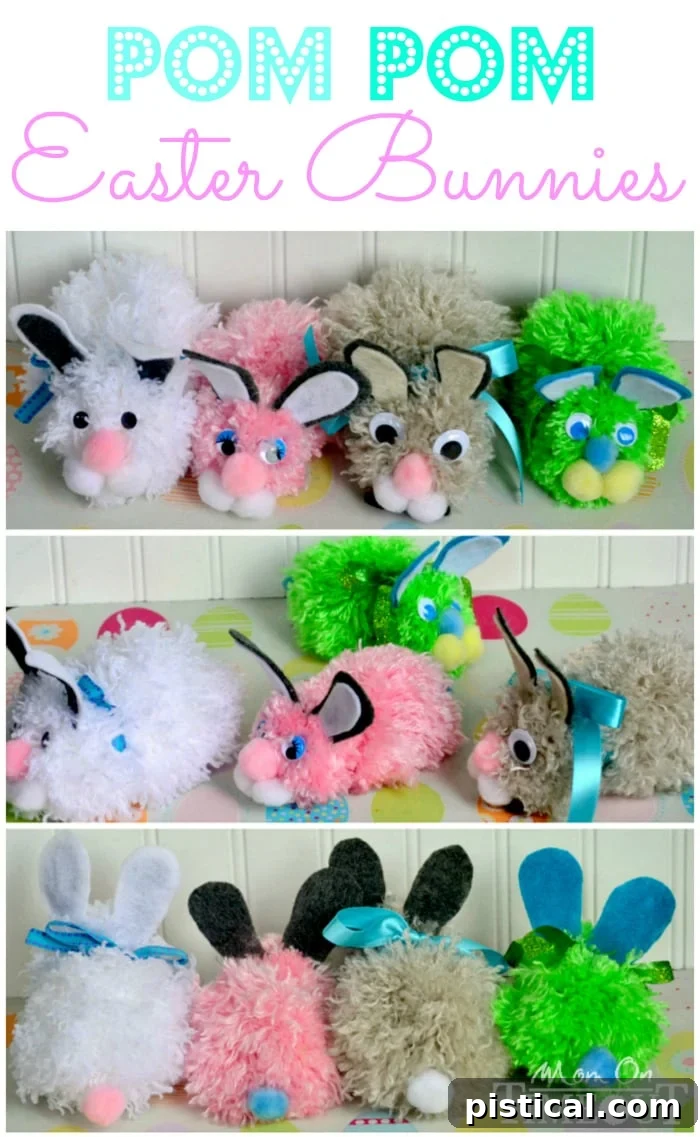
Delightful DIY Pom Pom Easter Bunnies: Your Guide to Crafting Joy!
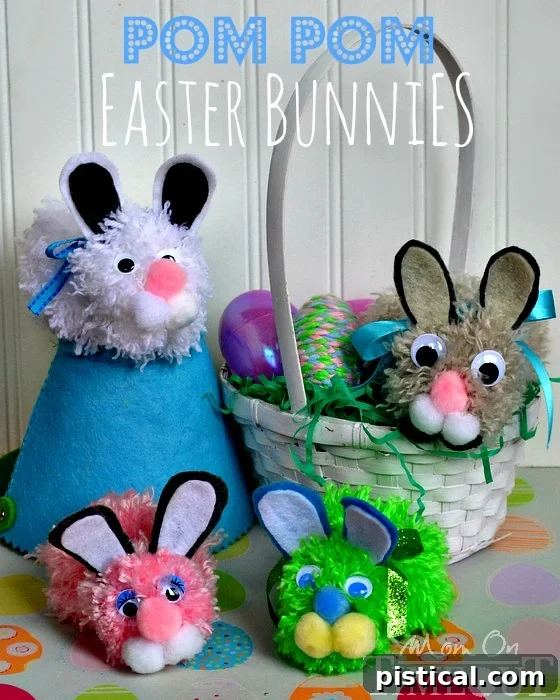
Welcome to a world of fluffy fun and Easter cheer! There’s nothing quite like the joy of creating something handmade, especially when it comes to celebrating festive seasons like Easter. If you’re looking for an incredibly cute, wonderfully tactile, and surprisingly simple craft project that brings smiles to everyone’s faces, then you’ve hopped to the right place! Get ready to dive into the delightful process of making your very own Pom Pom Easter Bunnies.
Our household recently embarked on a fantastic pom-pom adventure, and the results were beyond adorable. What started as a simple idea for an Easter craft quickly blossomed into these charming little bunnies that look remarkably like miniature stuffed animals. The vision in my head was sweet, but the actual outcome was truly spectacular – they turned out even cuter than I imagined! These aren’t just crafts; they’re personalized companions waiting to be snuggled and cherished.
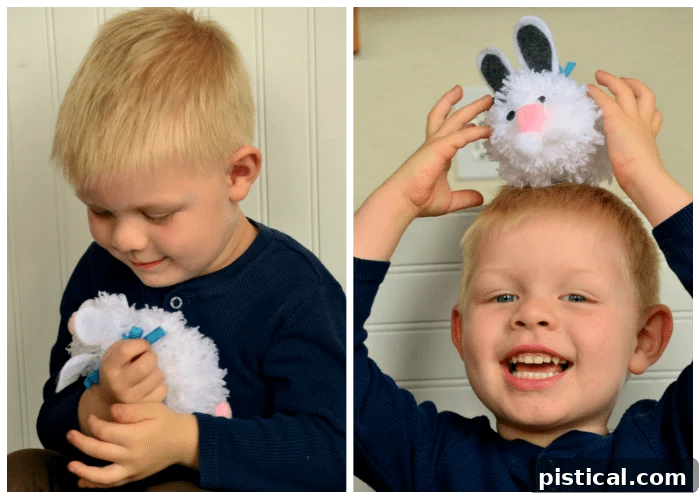
The boys were absolutely smitten with their new fuzzy friends. Bryce immediately claimed the white bunny, affectionately naming him “Comfy” – a perfectly descriptive name for such a soft, cuddly creation. Reece, ever the thoughtful namer, is still contemplating the perfect monikers for his gray and green bunnies. He’s taking the task very seriously, which is half the fun! And of course, I couldn’t resist making a little pink bunny for myself, because, let’s be honest, who can resist a tiny, pastel pom-pom friend?
These bunnies offer endless possibilities for personalization. From choosing vibrant yarn colors to adding unique embellishments, each bunny you create will have its own distinct personality. They’re perfect as charming Easter basket stuffers, delightful spring decorations for your home, or heartfelt handmade gifts for loved ones. This craft is suitable for crafters of all ages, making it a fantastic activity for family bonding and sparking creativity.
Gather Your Crafting Essentials: Materials Needed
Before we embark on our pom-pom bunny-making journey, let’s ensure we have all the necessary supplies. Most of these items are readily available at craft stores, and you might even have some tucked away in your crafting stash already!
- Yarn: This is the heart of your pom-pom bunny! Choose any color, or even multiple colors, that inspire you. Soft acrylic yarn is usually the easiest to work with for pom-poms and creates a lovely, fluffy texture. Consider traditional pastels for Easter (pink, blue, yellow, green) or natural tones (white, cream, gray, brown) for a more classic bunny look. Variegated yarn can also add a unique touch!
- Hot Glue Gun and Glue Sticks: A hot glue gun is your best friend for quickly and securely assembling your bunny. Always exercise caution when using a hot glue gun, especially with children, and supervise them closely. For younger crafters, a low-temperature glue gun or a strong craft glue like fabric glue can be a safer alternative, though drying time will be longer.
- Felt for Ears: Felt is perfect for crafting sturdy, shapable ears. You’ll want two complementary colors – one for the outer ear and one for the inner ear. Pink, white, or light brown felt are classic choices for the inner ear, contrasting nicely with an outer ear of the same color as your bunny’s yarn, or a different fun shade.
- Googly Eyes: These instantly bring your bunny to life! Googly eyes come in various sizes, so pick a size that suits the overall scale of your bunny. Self-adhesive googly eyes are super convenient, but standard ones work just as well with a dab of hot glue.
- Small, Store-Bought Pom Poms: These are ideal for creating the bunny’s nose, cheeks, and a fluffy tail. Look for smaller sizes, typically 0.5 to 1 inch in diameter. You can use a tiny pink pom-pom for the nose, two white ones for cheeks, and a larger white one for the tail to mimic a real bunny’s cottontail. If you prefer, you can also make your own mini pom-poms from yarn.
- Ribbon (Optional): A small ribbon tied around the bunny’s neck can add an extra touch of charm and personality, turning your bunny into a dapper little friend. Choose a thin satin or grosgrain ribbon in a coordinating color.
- Scissors: Sharp scissors are essential for cutting yarn cleanly and shaping the felt ears.
Step-by-Step Guide to Crafting Your Pom Pom Bunny
Now that you have all your materials, let’s get started on bringing these adorable creatures to life! Follow these detailed instructions to craft your very own Pom Pom Easter Bunny.
Step 1: Crafting Your Pom Poms and Preparing the Ears
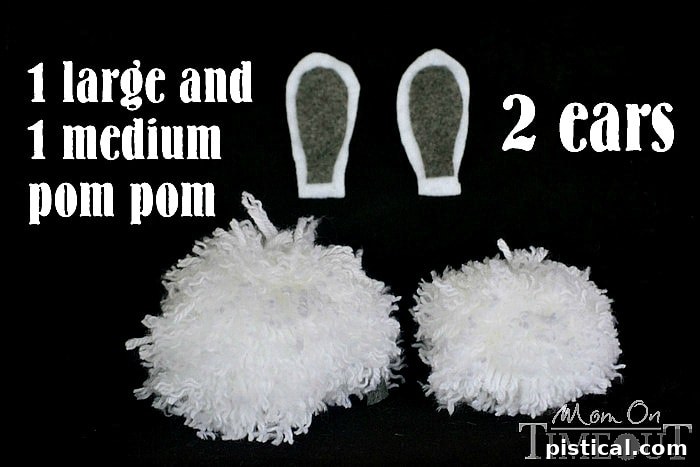
The foundation of your bunny lies in two perfectly fluffy pom-poms: one for the body and one for the head. You’ll want one to be slightly larger than the other to create the distinct body and head shape.
If you’re new to pom-pom making, don’t worry! It’s an incredibly satisfying skill to learn. You can easily find detailed tutorials online, or use a pom-pom maker tool for consistent results. For this project, I opted for a simple hand-wrapping method, creating a larger pom-pom by wrapping yarn around four fingers and a slightly smaller one using three fingers. This creates a wonderful size difference for the body and head respectively. Ensure both pom-poms are dense and fluffy by wrapping ample yarn.
Next, let’s prepare the ears. Grab your felt. For each bunny, you will need to cut out two outer ear shapes (these can be the same color as your yarn or a contrasting shade) and one smaller inner ear shape (typically pink or white). Think of a classic bunny ear shape – long, rounded at the top, and slightly narrower at the base. Once cut, take one outer ear piece and one inner ear piece, and carefully glue the smaller inner piece onto the larger outer piece using your hot glue gun. Repeat this process for the second ear, creating a pair of adorable, two-toned felt ears. A small dab of glue is all you need to keep them secure.
Step 2: Connecting the Pom Poms to Form the Bunny’s Body
Now that you have your two pom-poms and your felt ears ready, it’s time to assemble the main structure of your bunny. Take your larger pom-pom (which will be the body) and your smaller pom-pom (the head). Before gluing, envision how your bunny will sit and pose. You’ll want to find the perfect spot on each pom-pom to join them.
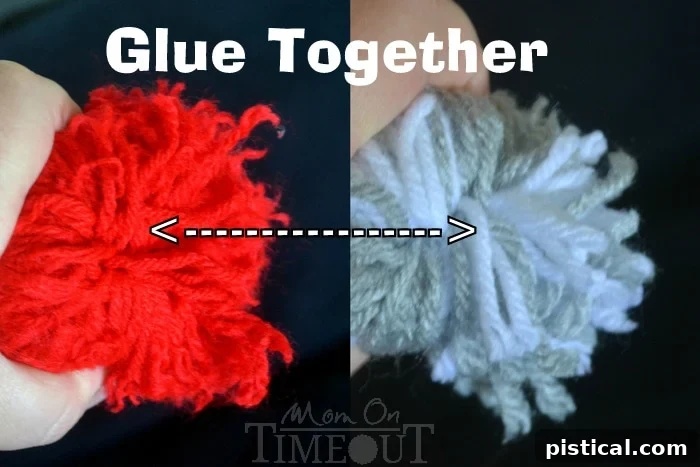
To ensure a strong bond, gently pull apart some of the yarn strands in the area where you intend to glue, exposing the central yarn tie of the pom-pom. This provides a more solid surface for the hot glue to adhere to, rather than just gluing to the fluffy exterior. Repeat this for both pom-poms. Apply a generous amount of hot glue to one exposed section, then firmly press the other pom-pom’s exposed section onto it. Hold them together for a few seconds until the glue sets. This creates the foundational shape of your bunny.
(Please excuse the different colored pom-pom in the demonstration image below; the original photo from the bunny-making session was not clear enough to illustrate this crucial step effectively. Rest assured, the technique remains the same!)
Once glued, your bunny should begin to take shape, looking something like this:
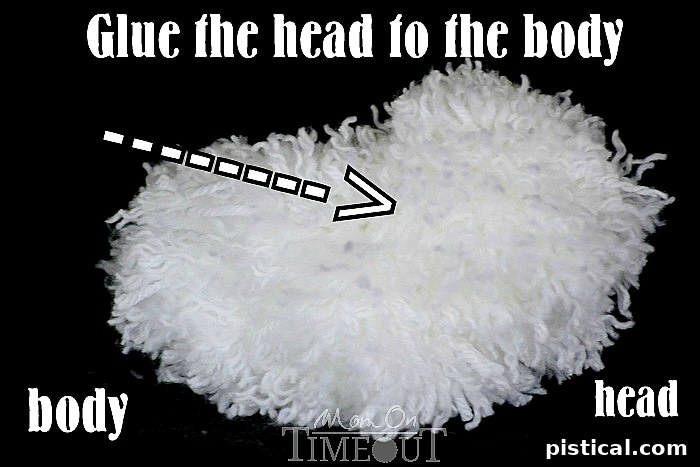
Step 3: Adding Charming Facial Features and Positioning the Ears
This is where your bunny truly comes to life! Carefully position the felt ears on the top of the smaller pom-pom (the head). For stability and a natural appearance, you’ll want to gently part the yarn strands and insert the base of each felt ear as close to the center of the head as possible. Apply a small amount of hot glue to the base of the ear and press it firmly into the parted yarn, holding it until secure. This technique ensures the ears stand up nicely and look like they’re naturally emerging from the bunny’s head.
Now, let’s give your bunny a face! Glue on the googly eyes just above the center of the head. Decide on your bunny’s expression – close together for a sweet look, or slightly wider apart for a more curious gaze. Below the eyes, attach a small store-bought pom-pom for the nose. Then, add two smaller pom-poms on either side of the nose for chubby cheeks. While we briefly considered adding felt teeth and yarn whiskers, the boys ultimately vetoed the idea for a simpler, rounder face – proof that personalization is key!
At this point, your pom-pom creation is really starting to look like an adorable bunny!
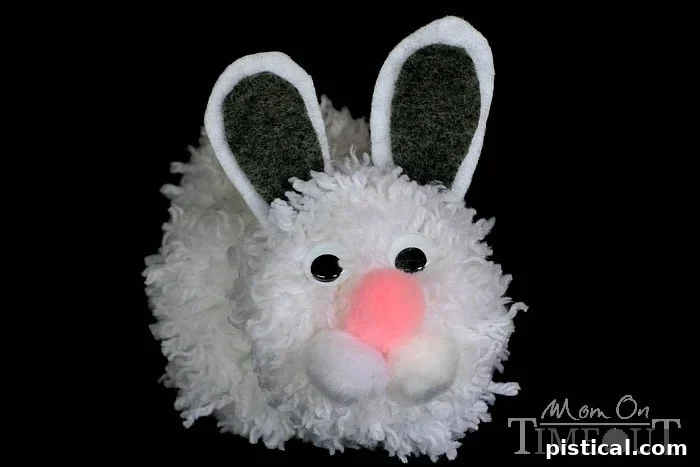
Step 4: The Finishing Touches: Tail and Embellishments
Your bunny is almost complete! The final steps involve adding the quintessential bunny tail and any optional embellishments.
For the tail, select a small fluffy pom-pom (white is a classic choice for a cottontail) and glue it securely to the back of the larger pom-pom (the body). Make sure it’s positioned low enough to look natural but high enough to be seen. A little hot glue will make it stick perfectly. This adds that charming, fluffy backside that makes a bunny so distinct.
To add a touch of flair, take a piece of ribbon and tie it gently around your bunny’s neck, forming a cute bow. This simple addition can really elevate the look of your handmade bunny and give it a polished, finished appearance. Feel free to get creative with other embellishments: tiny felt flowers, a mini bow tie, or even a small stitched smile could add even more character to your unique creation.
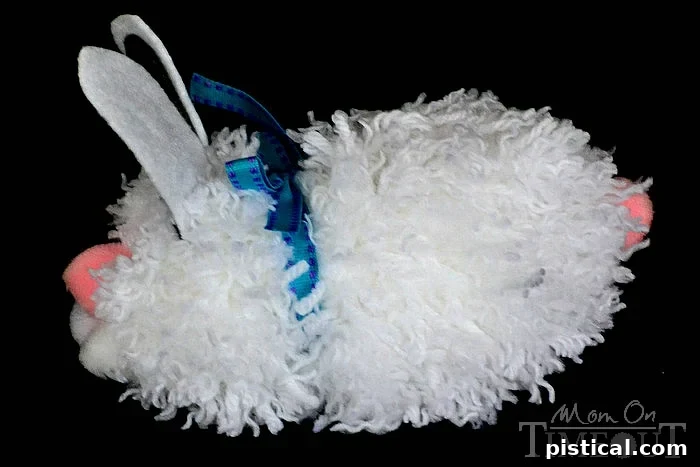
Celebrate Your Handiwork!
And there you have it! You’ve successfully crafted your very own adorable Pom Pom Easter Bunny. Isn’t it amazing what you can create with a little yarn, felt, and glue?
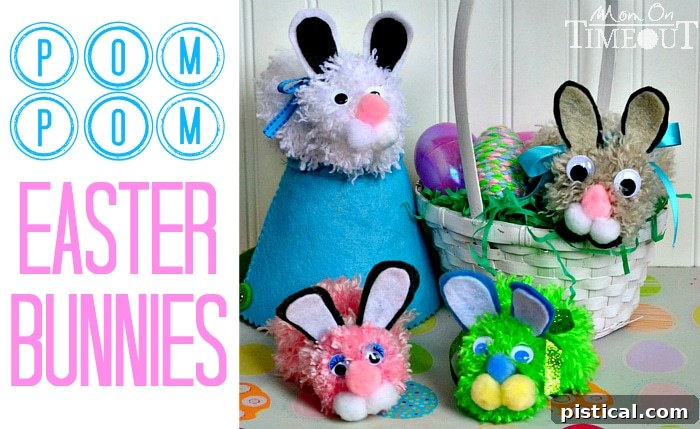
These charming little bunnies are not just crafts; they’re keepsakes, gifts, and delightful additions to your Easter decor. Imagine finding one nestled in your Easter basket this year, or gifting one to a special friend or family member. They bring a touch of handmade warmth and whimsy to any setting.
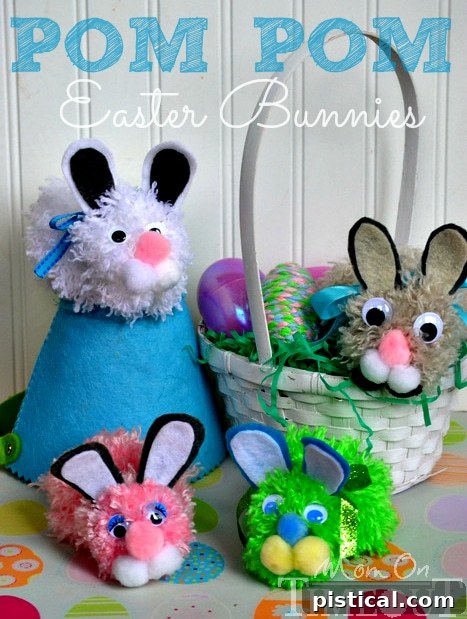
Just look at these little guys! Their fluffy texture and sweet faces are truly irresistible. Who in your life would absolutely adore receiving one of these handmade bunnies this Easter? Or perhaps you’ll make a whole family of them to decorate your home for the spring season!
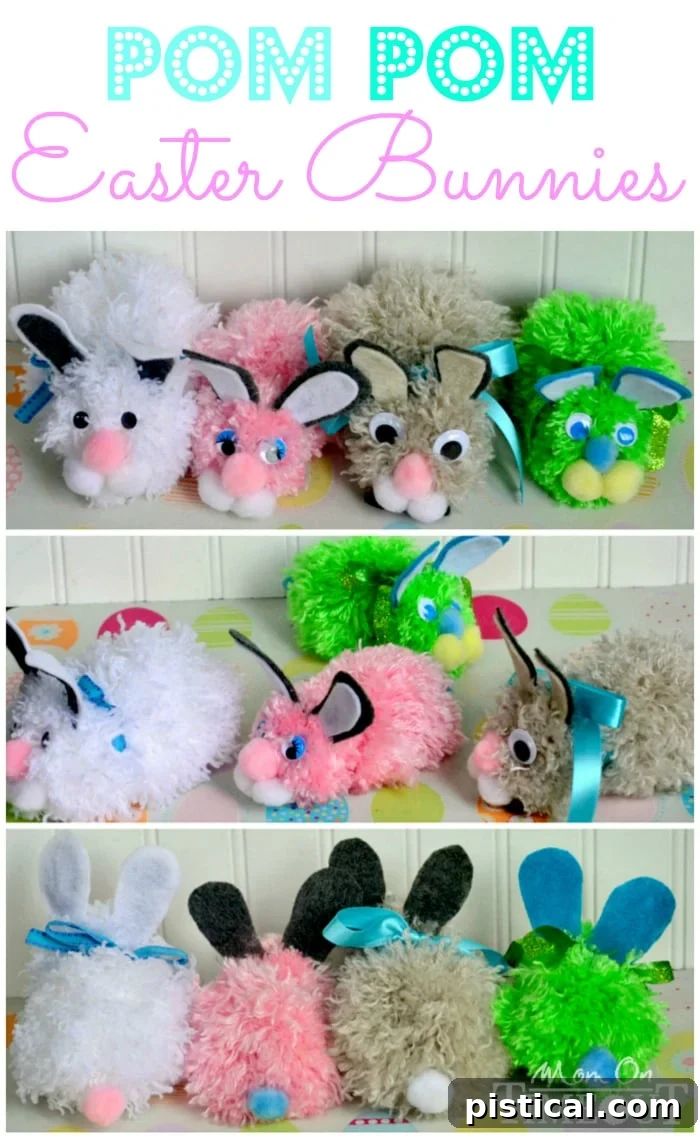
Discover More Easter Craft Ideas!
If you’ve enjoyed crafting these Pom Pom Easter Bunnies, you’ll love exploring some of our other festive and creative Easter projects. Keep the crafting fun going with these wonderful ideas:
20+ Non-Candy Easter Egg Stuffers: Move beyond candy and discover creative, fun, and healthier alternatives to fill your Easter eggs. Perfect for sparking joy without the sugar rush!
Stained Glass Cross: A beautiful and meaningful craft that kids will love to make, creating a lovely window decoration that catches the light. This project is a wonderful way to teach about the symbols of Easter.
Braided, Yarn-Wrapped Easter Eggs: Transform ordinary plastic eggs into vibrant, textural masterpieces using colorful yarn. This craft is fantastic for developing fine motor skills and results in stunning decorations.
Egg Peeps: A whimsical and easy craft that turns simple egg shapes into iconic “Peeps” candy characters. Perfect for little hands and guaranteed to bring smiles.

Stay connected with us for more creative ideas, recipes, and family fun!
Follow me on Bloglovin’!
Linking up here, Home Stories A2Z, Savvy Southern Style, and My Repurposed Life.