
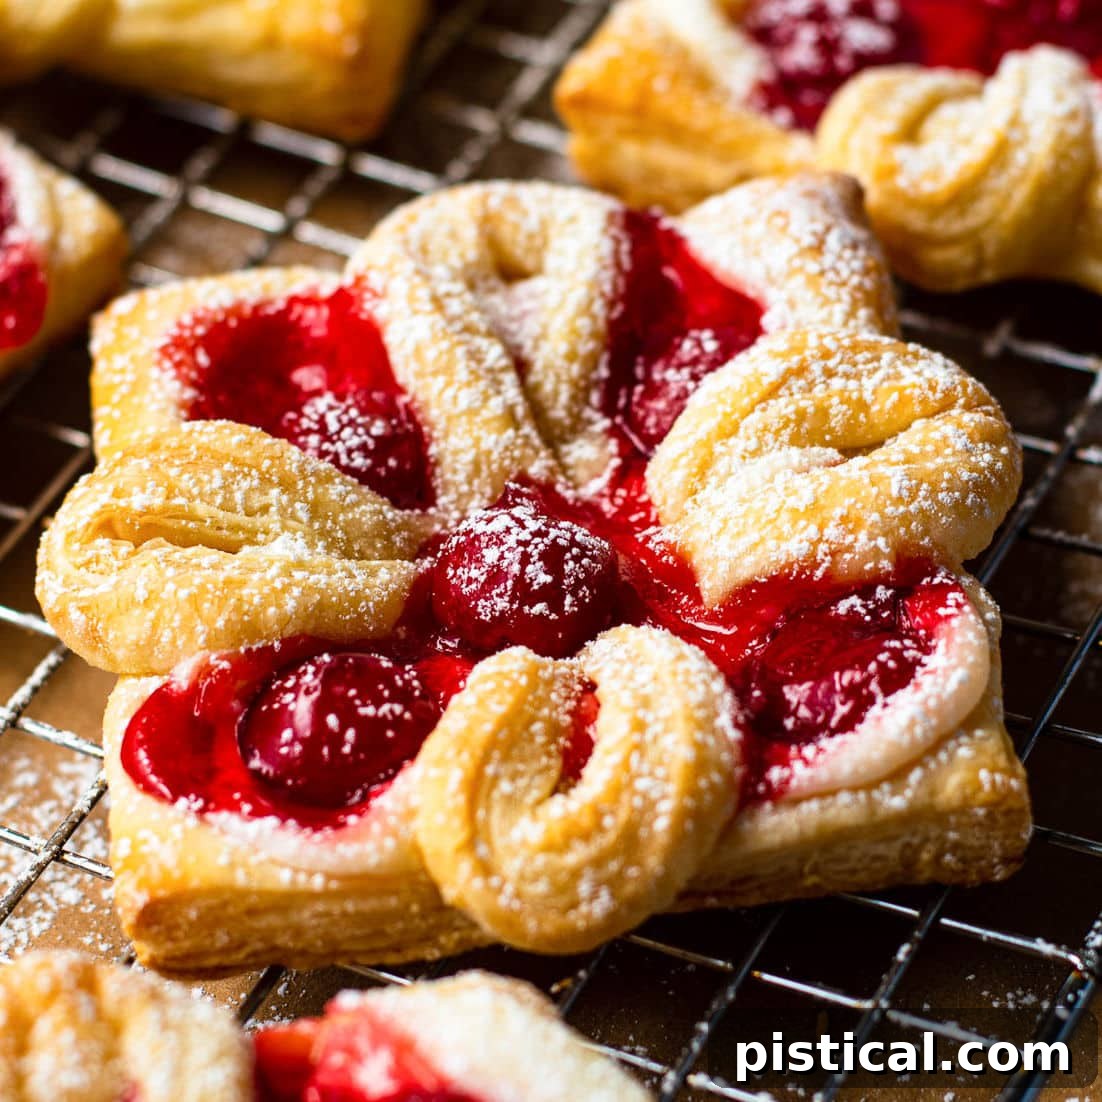
Welcome to the ultimate guide for making a truly delightful and incredibly easy Cherry Cheese Danish! This recipe elevates your breakfast or brunch into something truly special, offering a gourmet experience without the complicated fuss. Whether you’re planning a lavish holiday spread, a memorable weekend brunch, or simply craving a sweet treat on a quiet Tuesday morning, these danishes are your perfect solution. The vibrant, juicy cherries are more than just a topping; they’re the crown jewel atop a rich, creamy cheese filling, nestled within a perfectly crisp puff pastry. What makes this recipe an absolute game-changer? A brilliant shortcut that ensures success every time, making it a beloved family favorite you’ll return to again and again. If you’re looking to complete your breakfast feast, don’t forget to explore our other beloved recipes: Hearty Breakfast Casserole, our secret to Perfect Homemade Biscuits, fluffy Buttermilk Pancakes, and everyone’s favorite – Crispy Baked Bacon!
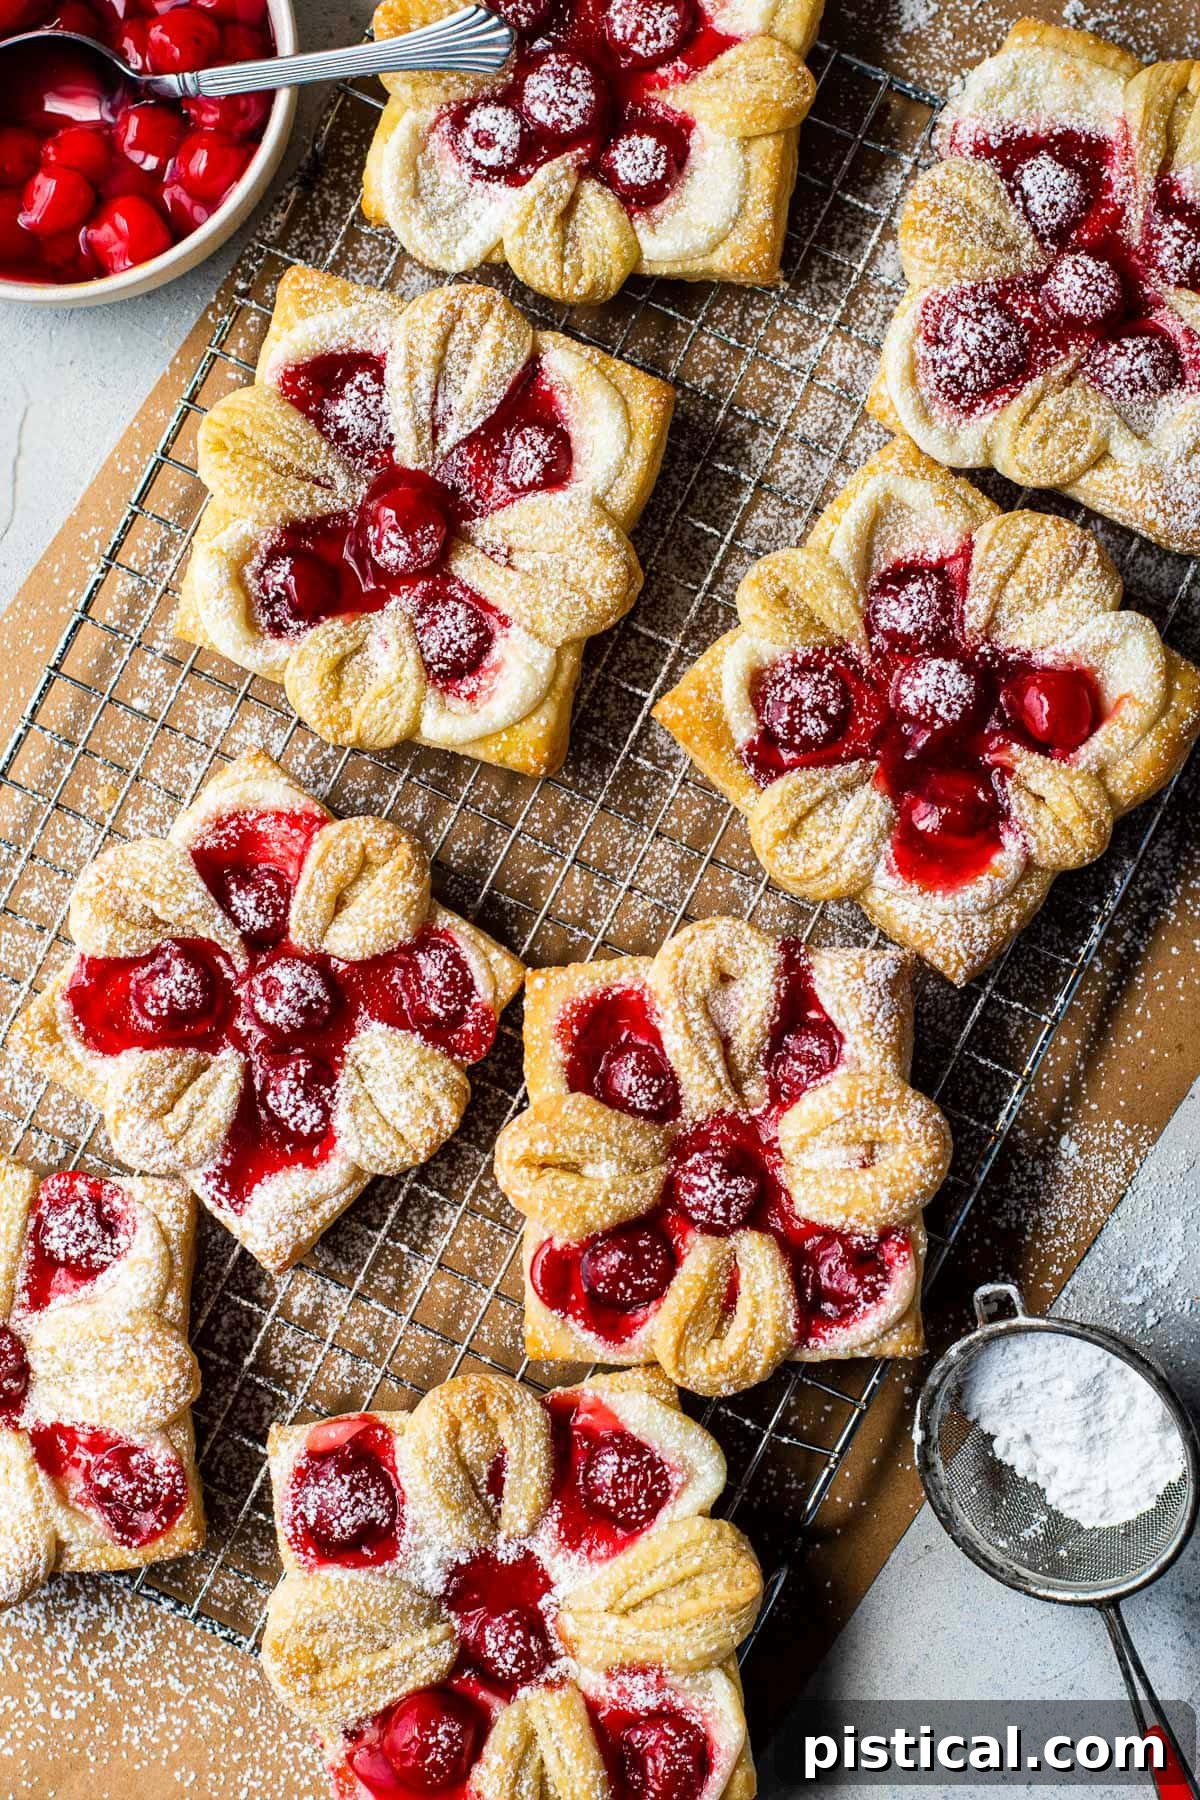
Elevate Your Morning with Homemade Cherry Cheese Danishes
There’s something inherently delightful about a freshly baked danish. That flaky, golden pastry, giving way to a luscious, sweet, and tangy cream cheese filling, is pure bliss. And when you introduce the burst of bright, sweet cherries? It’s simply irresistible. Cheese Danishes have long been a celebrated treat in our home, often reserved for those special holiday mornings like Christmas. However, this particular recipe changes everything. By incorporating a clever shortcut, we transform this seemingly elaborate pastry into an easy breakfast solution that’s perfect for any day of the week, from a lazy weekend to a bustling weekday.
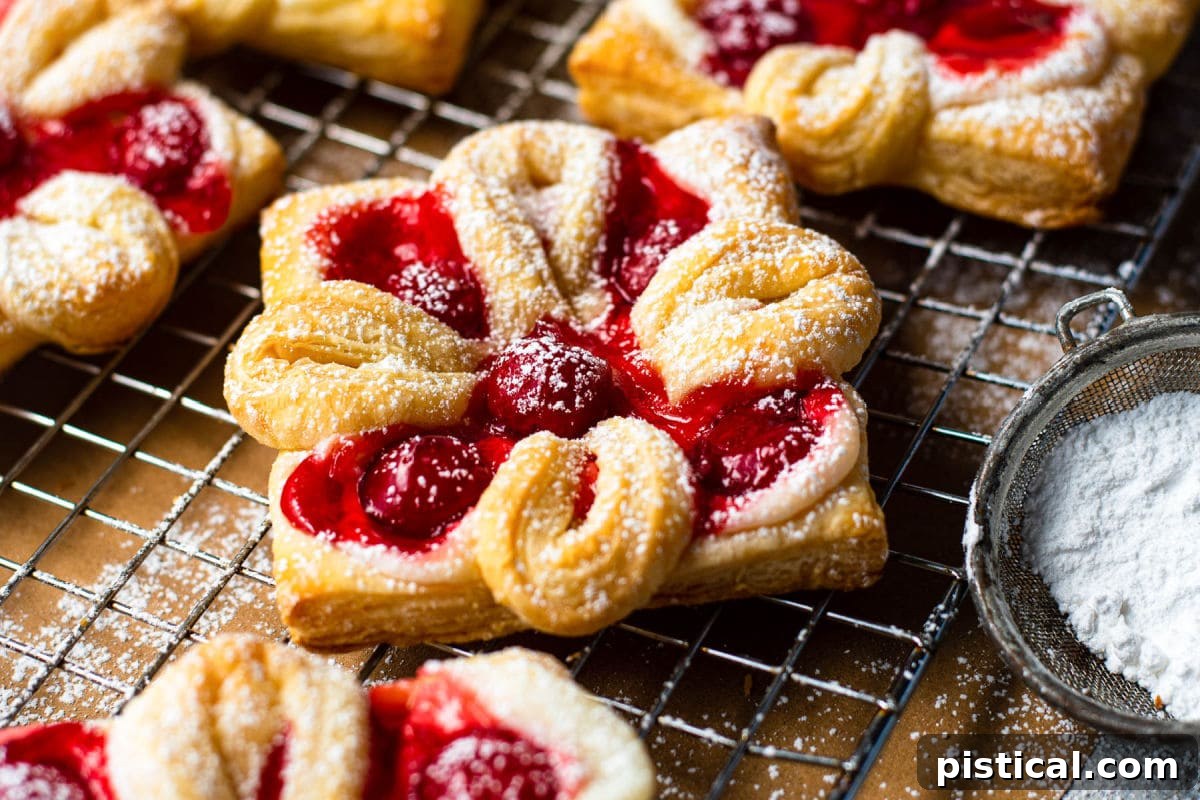
Imagine biting into the delicate crunch of a golden-brown puff pastry, followed by the smooth, rich embrace of cream cheese, perfectly balanced with a hint of sweetness, and then a juicy cherry providing that ultimate fruity finish. It’s a harmonious blend of textures and flavors that will undoubtedly become a highlight of your morning. The impressive appearance belies the true simplicity of its creation, making you look like a pastry chef with minimal effort.
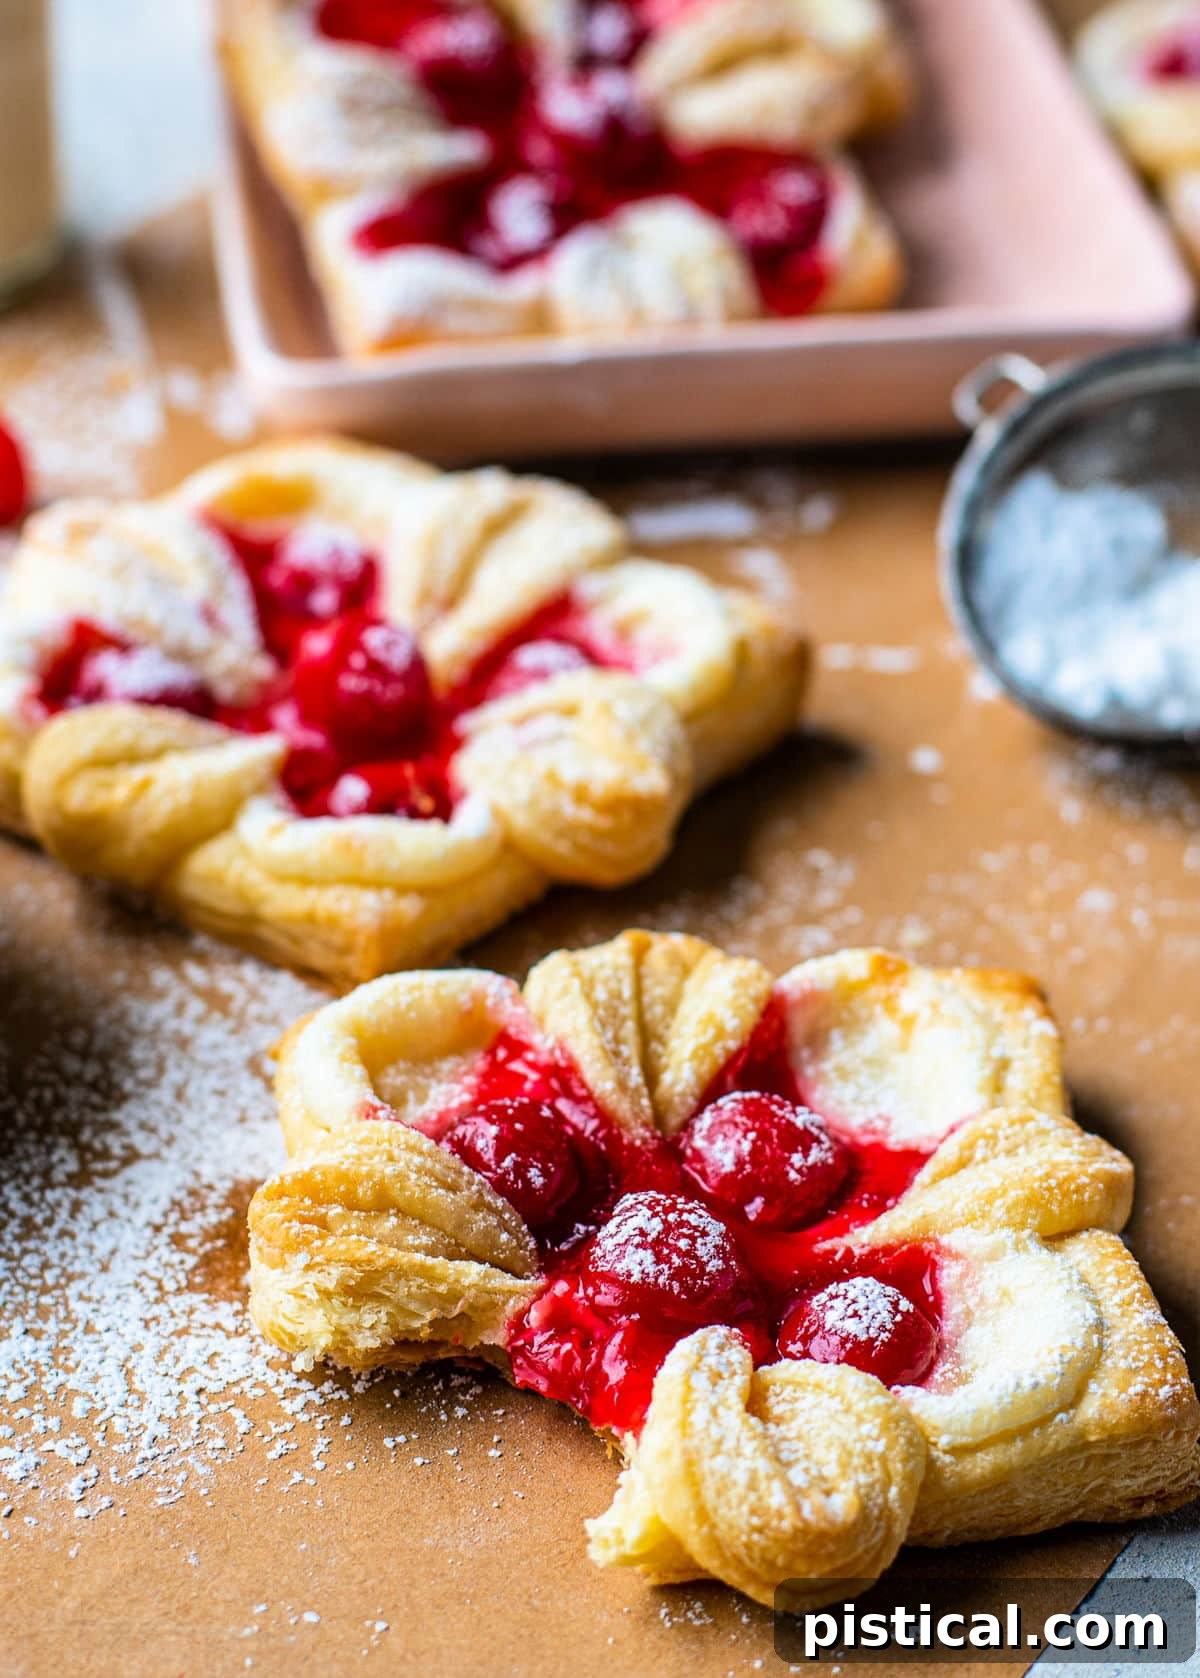
The Secret to Effortless Elegance: An Easy Danish Recipe
Don’t be fooled by the sophisticated appearance of these cherry cheese danishes; this recipe is designed for ease and convenience, making it a true winner any time of year. The secret? We lean on readily available ingredients: frozen puff pastry sheets and canned pie filling. These two simple components do the heavy lifting, allowing you to create bakery-quality pastries right in your own kitchen with astonishing speed.
In fact, this recipe requires a mere six ingredients, including the elegant dusting of powdered sugar that adorns the finished danishes. And if you prefer a glossy finish, we’ve included instructions for a simple glaze below that adds another layer of allure. While the assembly might look a tad intricate at first glance, trust the process! My step-by-step guide, complete with helpful visual cues from the accompanying images, ensures a smooth and successful baking experience. You’ll be amazed at how quickly you master the art of danish making.
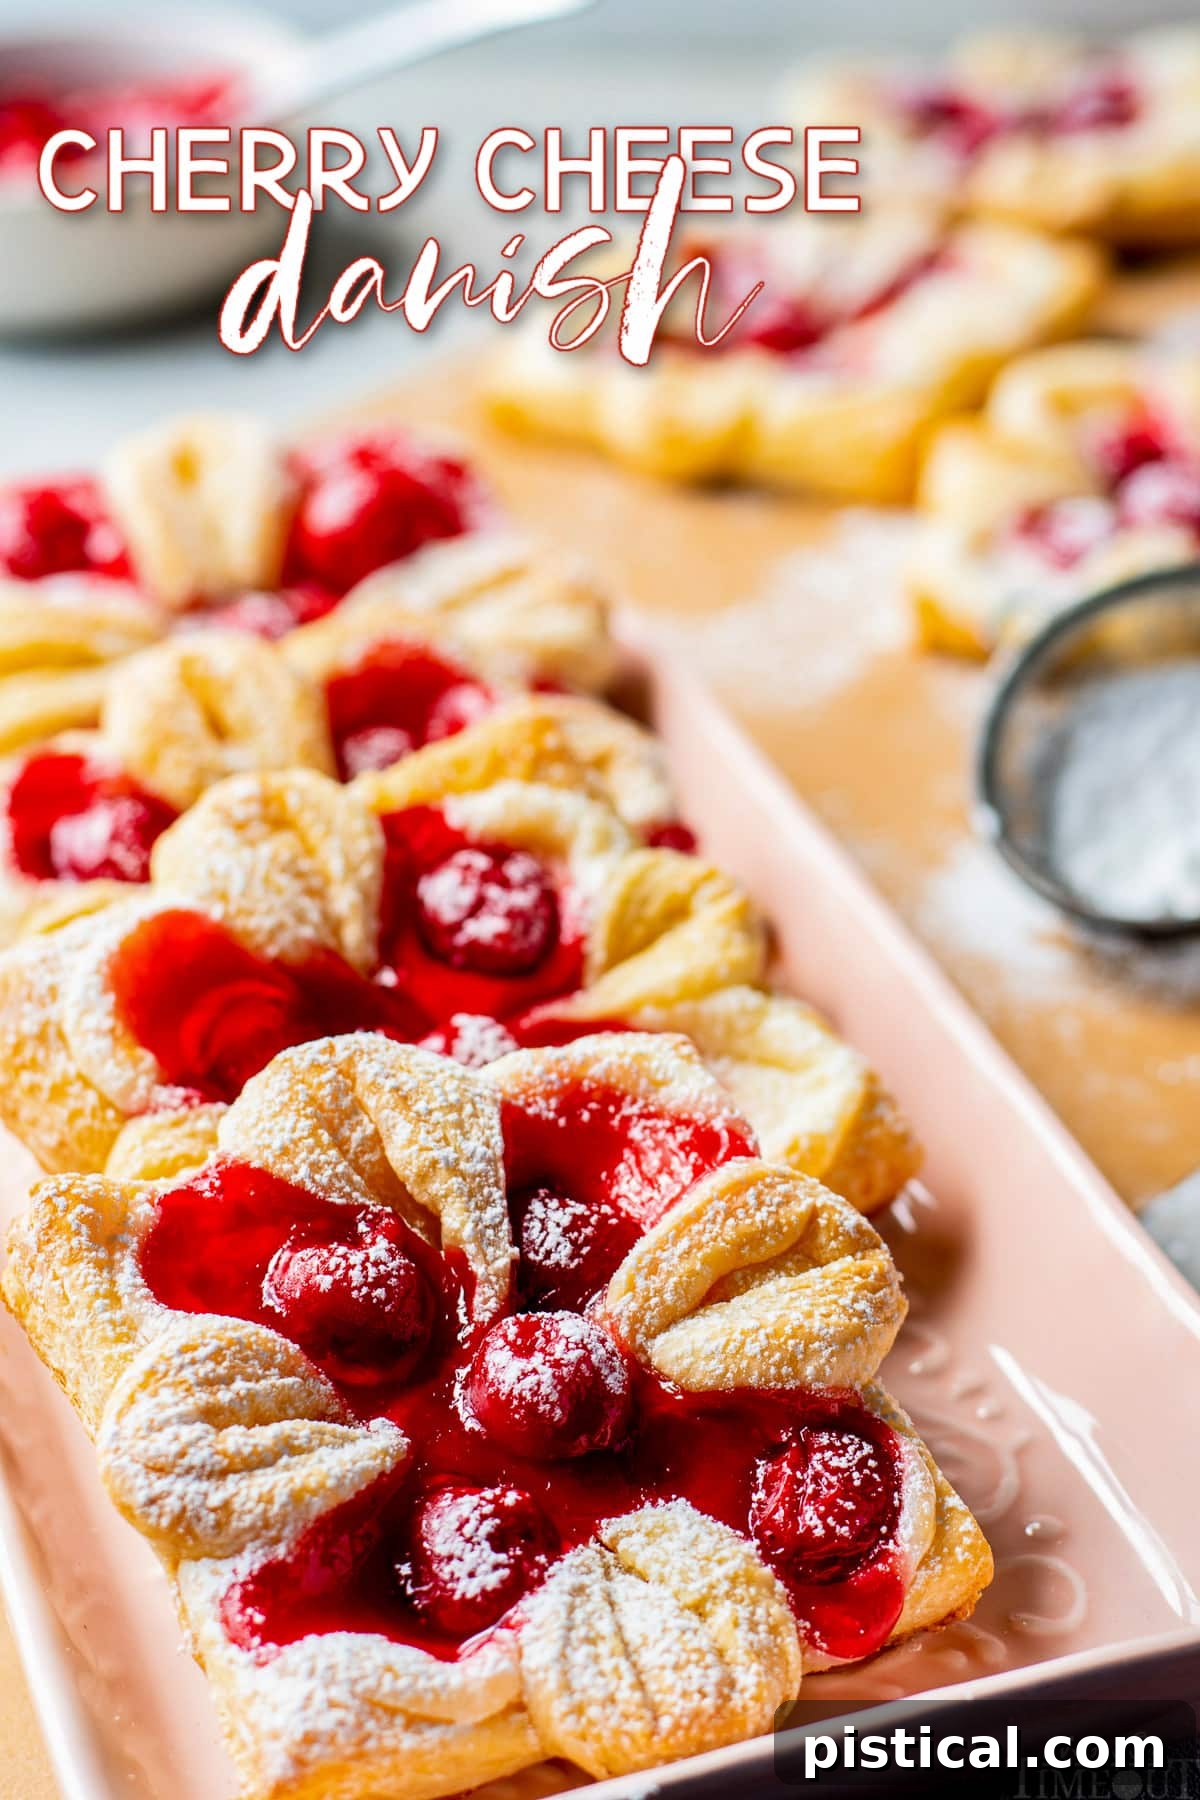
Essential Ingredients for Your Cherry Cheese Danishes
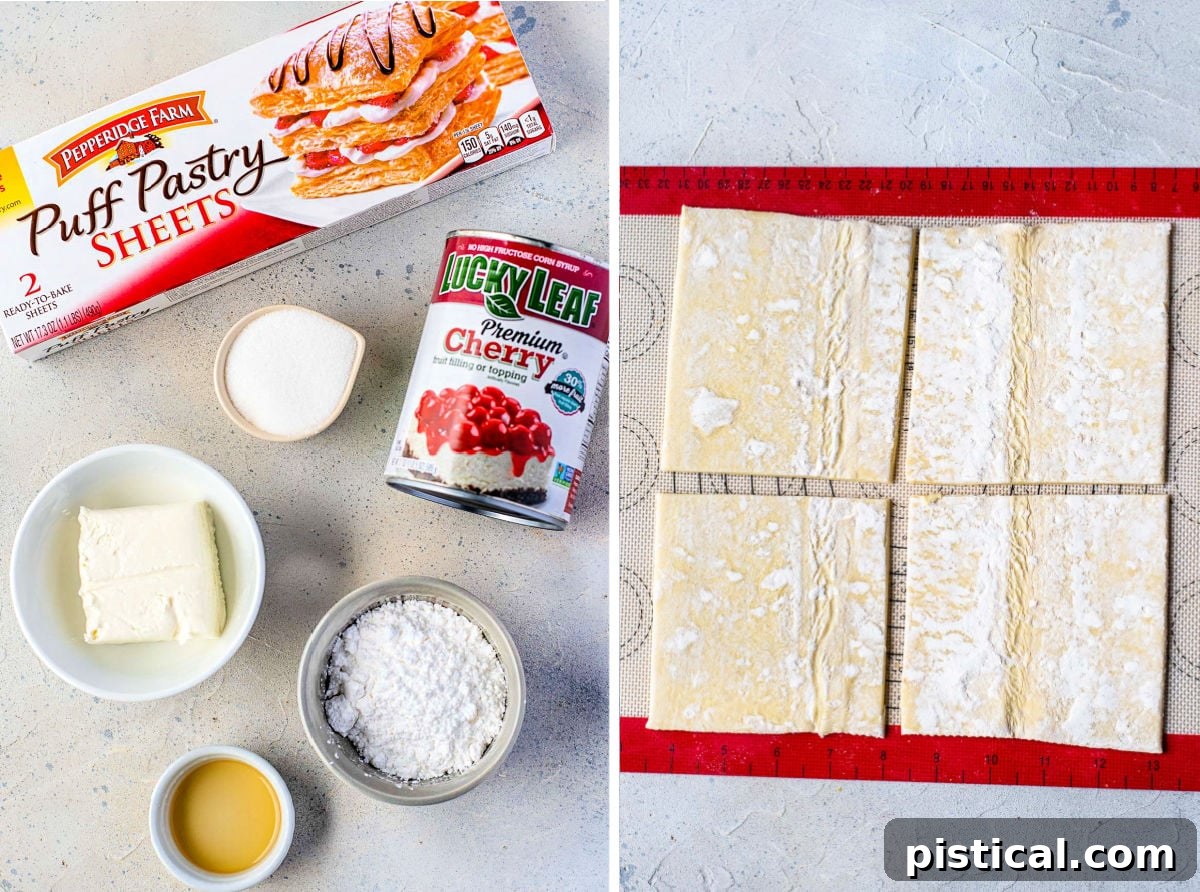
Gathering your ingredients is the first step to creating these exquisite pastries. You’ll be delighted to find that only six core items are needed, most of which contribute to the wonderfully rich and creamy cheese filling. For the best results, always aim for quality ingredients, as they truly shine in a simple recipe like this.
- Puff Pastry: The foundation of our danishes! This recipe calls for one standard box containing two sheets of frozen puff pastry. This will yield eight beautiful danishes. If you’re looking to make a smaller batch, simply halve the recipe and use just one sheet. Remember to thaw it properly for optimal flakiness.
- Cream Cheese: The heart of our decadent filling. For the richest, most luxurious flavor and texture, we highly recommend using full-fat cream cheese. Ensure it’s softened to room temperature before mixing to achieve a smooth, lump-free filling.
- Granulated Sugar: A touch of sweetness to perfectly complement the tanginess of the cream cheese, creating a balanced and irresistible filling.
- Vanilla Extract: Adds a warm, aromatic depth to the cream cheese mixture. For an adventurous twist and a more sophisticated flavor profile, consider substituting with high-quality Bourbon. The subtle notes it imparts are truly exceptional.
- Cherry Pie Filling: The star fruit of our danishes! Choose your favorite brand for the best taste. While cherry is a classic, don’t hesitate to explore other fruit pie fillings like apple, blueberry, or strawberry for delightful variations (more on this below!).
- Powdered Sugar: Essential for that delicate, snowy finish that makes these danishes look as good as they taste. It adds a final touch of sweetness and visual appeal. Alternatively, refer to our simple glaze recipe provided further down if you prefer a different kind of sweetness and shine.
Mastering the Art: How to Make Cherry Cheese Danishes
Creating these stunning cherry cheese danishes is simpler than you might imagine. Follow these detailed steps, and you’ll be enjoying flaky, delicious pastries in no time!
- Prepare Your Workspace: Begin by preheating your oven to 400°F (200°C). Line a baking sheet with parchment paper or a silicone baking mat. This ensures easy cleanup and prevents sticking.
- Portion the Pastry: Gently unroll one sheet of thawed puff pastry onto your prepared surface. Using a pizza cutter or a sharp paring knife, cut the pastry sheet in half, then cut each half in half again. This will yield four equal squares. You’ll repeat this process with the second puff pastry sheet later.
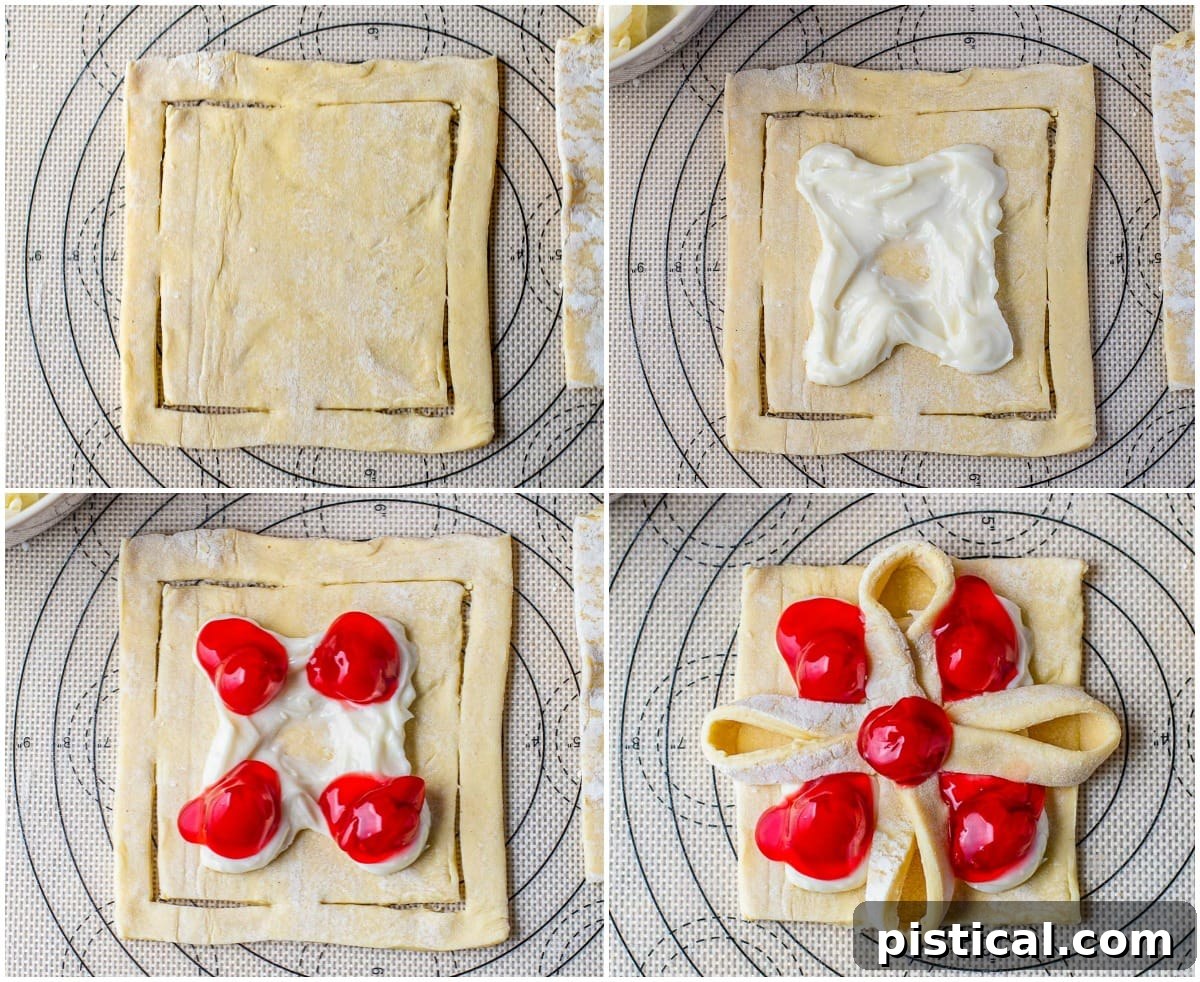
- Craft the Danish Shape: This step creates the classic danish structure. On each pastry square, make four distinct cuts from the corners, heading inward, but not meeting in the center. Imagine drawing a capital ‘L’ from each corner, leaving a small, uncut square in the very center and a half-centimeter border around the entire edge. Start approximately ½ centimeter in from the corner and cut parallel to one side, stopping just before the middle. Then, from that same corner, cut downwards parallel to the adjacent side, again stopping before the middle. Repeat this L-shaped cut from all four corners of each square. Refer to the photo for a clear visual guide. A very sharp paring knife is essential for clean cuts.
- Transfer to Baking Sheet: Carefully transfer your cut pastry squares to the prepared baking sheet, leaving ample space between each one to allow for puffing.
- Prepare the Cream Cheese Filling: In a medium bowl, combine the softened cream cheese, granulated sugar, and vanilla extract (or Bourbon, if using). Mix until the filling is smooth, creamy, and free of lumps. Spoon one scant teaspoon of this luscious cream cheese mixture onto each of the four corners of the pastry squares where your ‘L’ cuts meet, forming small mounds.
- Add the Cherry Filling: Place a single cherry and a small amount of the pie filling directly on top of each cream cheese mound at the corners.
- Moisten for Adhesion: Dip your finger lightly in water and gently dampen the edges of each cut corner piece. This will act as a natural adhesive, helping the pastry stick together during baking.
- Fold and Seal: Carefully fold each cut corner piece towards the center of the danish, overlapping them slightly to create a pinwheel effect. Gently press the tips of the folded corners into the center to secure them. Finally, place one additional cherry right in the middle of the danish for an extra touch of flavor and visual appeal.
- Repeat for Remaining Pastry: Once the first four danishes are assembled, repeat steps 2 through 8 with the second roll of puff pastry.
- Bake to Golden Perfection: Place the baking sheet into your preheated oven and bake for approximately 12 minutes, or until the danishes are beautifully golden brown and puffed. Baking time may vary slightly depending on your oven.
- Garnish and Serve: Remove the baked danishes from the oven. While still warm, generously sprinkle them with powdered sugar. Allow them to cool slightly on a wire rack before serving. Enjoy your homemade, bakery-style treats!
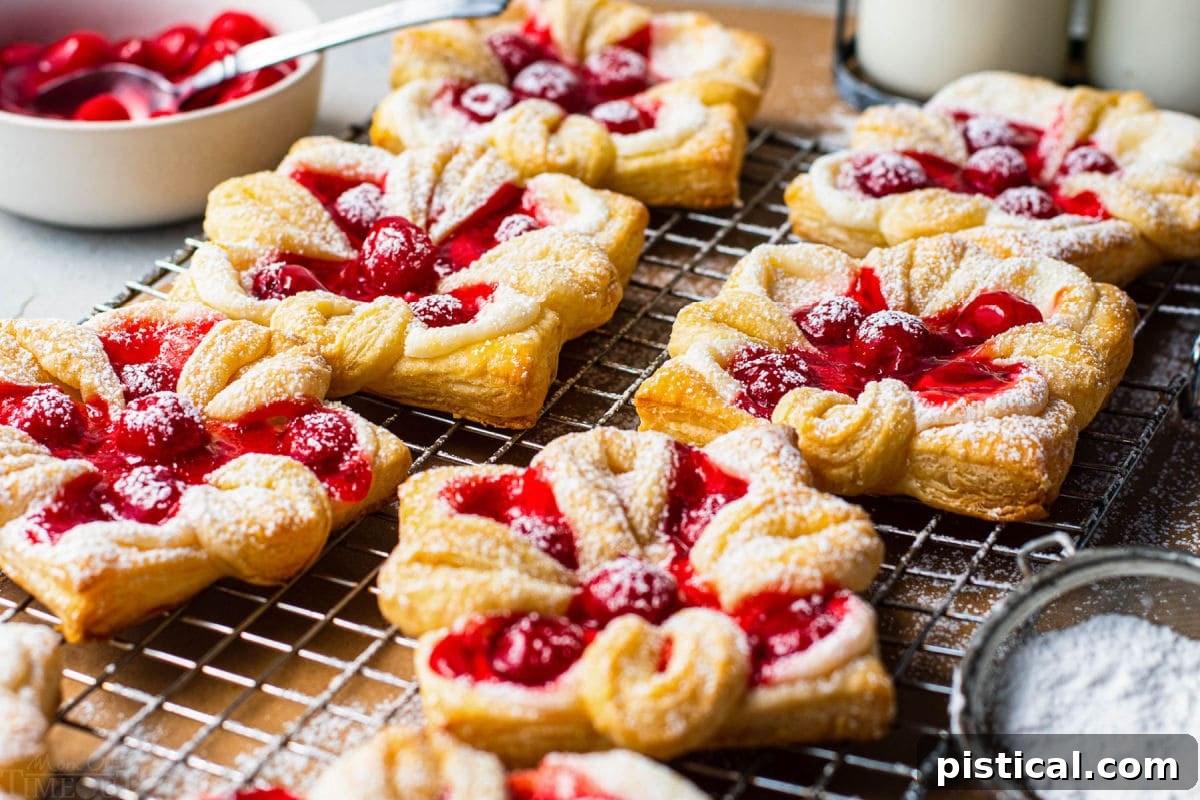
Pro Tip for Perfect Powdered Sugar Dusting: Achieve that professional, even dusting of powdered sugar you see in bakeries! My go-to tool for consistently perfect results is this dusting wand by OXO. If you don’t have a specialized dusting wand, a small mesh sifter or a fine-mesh strainer will work beautifully to evenly distribute the powdered sugar without clumps.
Finishing Touches: Danish Glaze for a Sweet Shine
While a dusting of powdered sugar provides a classic and elegant finish to these danishes, a simple glaze can add an extra layer of sweetness and a beautiful sheen. It’s incredibly easy to make and requires just two common pantry ingredients.
For this quick and delicious glaze, you’ll need:
- Powdered sugar
- Milk (any kind will work, but whole milk yields a richer glaze)
How to Make the Glaze: In a small bowl, simply whisk together about half a cup of powdered sugar with two teaspoons of milk. Start with two teaspoons, then assess the consistency. If the glaze is too thick to drizzle, add another teaspoon of milk, one drop at a time, until it reaches your desired pourable consistency. If it becomes too thin, gradually mix in a tablespoon of powdered sugar until it thickens up. It’s truly that simple to adjust!
Once your danishes have cooled slightly from the oven, use a spoon to generously drizzle the glaze over the tops. Let the glaze set for a few minutes before serving to guests or enjoying them yourself. The subtle crunch of the glaze adds another delightful texture.
Mastering Puff Pastry: Essential Tips for Success
Frozen puff pastry is truly the star ingredient that makes this recipe so incredibly quick and accessible, transforming complex pastries into a simple home baking project. However, working with puff pastry does come with a few key considerations to ensure you achieve that signature flaky, airy texture.
- Proper Thawing is Crucial: Allow your frozen puff pastry sheets to thaw completely in the refrigerator for several hours, ideally overnight. This slow thawing process helps prevent the butter layers from melting prematurely. If you find yourself short on time, you can defrost it at room temperature on a lightly floured surface. Be sure to carefully flip it a few times as it thaws to ensure even defrosting and prevent sticking, but keep a close eye on it.
- Maintain a Cool Temperature: The integrity of puff pastry lies in its distinct layers of butter and dough. If the pastry becomes too soft or warm, the butter will begin to melt and incorporate into the dough, which will significantly reduce the flakiness. If your pastry starts to feel too pliable or sticky while you’re working with it, immediately return it to the refrigerator for 10-15 minutes until it firms up again. A cool workspace also helps maintain the pastry’s temperature.
- Work Smart, Not Hard: Since this recipe typically uses both sheets of puff pastry from a standard box, it’s best to keep one sheet chilled in the refrigerator while you work with the other. This prevents the second sheet from warming up unnecessarily. This approach also makes it incredibly easy to scale the recipe: if you only want to make four danishes, simply use one sheet of pastry and save the other for another time!
Beyond Cherries: Creative Danish Variations to Try
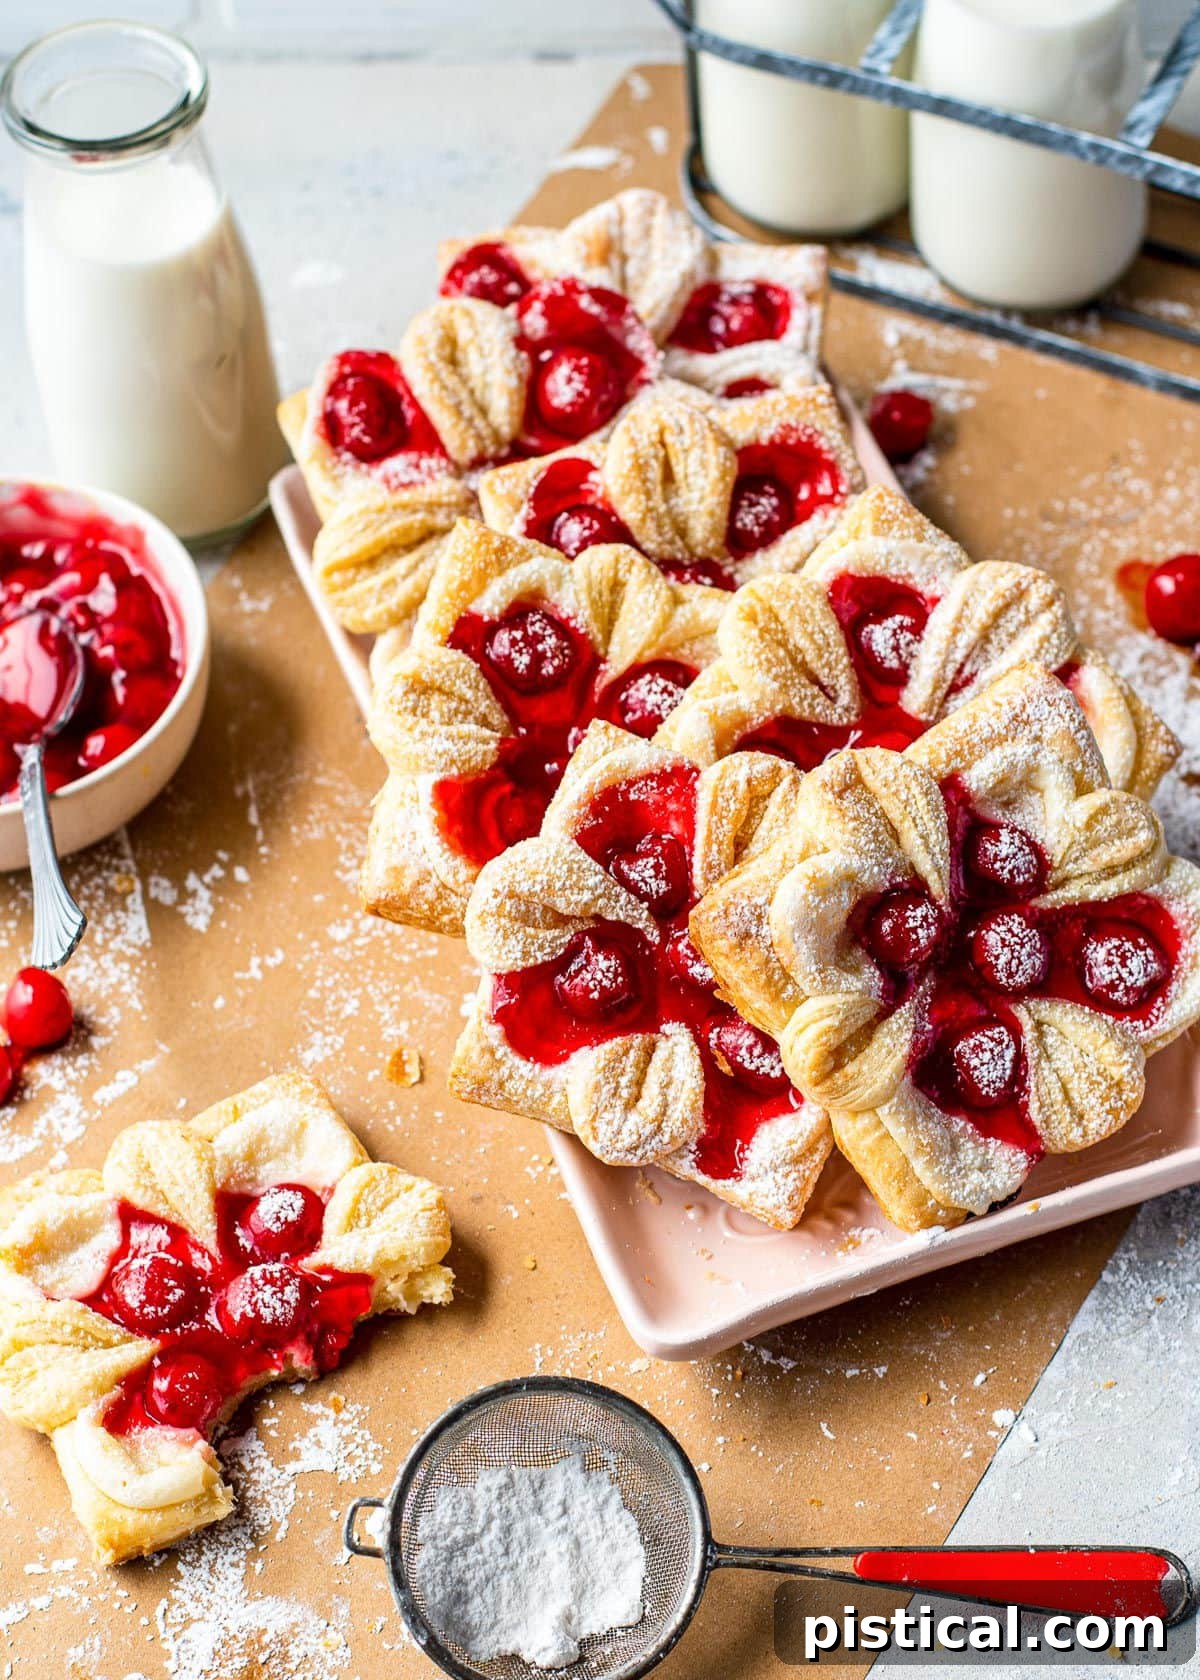
While our easy cherry cheese danish recipe is a timeless classic, its versatility means you’re only limited by your imagination! The basic framework of flaky puff pastry and creamy cheese filling is a perfect canvas for countless flavor combinations. Don’t stop at cherries – let your creativity soar with these delightful variations:
- Explore Fruit Fillings: This recipe performs beautifully with virtually any fruit pie filling. Dare to try apple, blueberry, strawberry, peach, or even mixed berry pie filling! Each offers a unique flavor profile that pairs wonderfully with the sweet cream cheese. You can also use fresh fruit tossed with a little sugar and cornstarch if you prefer a less sweet, more natural fruit flavor. For a fall treat, a pumpkin puree spiced with cinnamon and nutmeg can be an unexpected delight.
- Elevate Your Toppings:
- Powdered Sugar & Glaze: As previously mentioned, a simple dusting of powdered sugar or a delicate milk glaze are fantastic finishing options.
- Nutty Crunch: Add a lovely textural contrast by sprinkling some sliced almonds, chopped walnuts, or pecans over the danishes just a few minutes before they finish baking. The nuts will toast lightly in the oven, enhancing their flavor. After baking, you can still add powdered sugar or a glaze over the nuts for an extra layer of yumminess.
- Zest Appeal: A finely grated lemon or orange zest can be mixed into the cream cheese filling or sprinkled on top of the finished danishes for a bright, citrusy aroma and flavor that cuts through the sweetness.
- Chocolate Drizzle: For the ultimate indulgence, melt some dark or white chocolate and drizzle it over the cooled danishes. This adds a rich, decadent touch that’s perfect for chocolate lovers.
- Savory Adventures: While traditionally sweet, don’t shy away from savory danishes! Omit the sugar from the cream cheese filling and add herbs like dill or chives, then top with roasted red peppers, spinach, or even a sprinkle of feta cheese before baking.
More Irresistible Breakfast & Brunch Inspiration
If these cherry cheese danishes have awakened your appetite for more incredible morning treats, you’re in luck! We have a treasure trove of delicious recipes to make your breakfast and brunch moments truly unforgettable. From sweet and indulgent to savory and satisfying, there’s something for everyone to enjoy. Expand your culinary repertoire with these fantastic options:
- Decadent Stuffed French Toast
- Simply Divine Cinnamon Swirl Bread
- Bright Lemon Blueberry Scones
- Chewy Cranberry Almond Breakfast Cookies
- Classic Almond Bear Claw Pastries
- Kid-Friendly Chocolate Chip Pancakes
For even more free recipes, cooking tips, and daily inspiration, be sure to follow along on Facebook, Pinterest, and Instagram! Join our community of food lovers and never miss out on a delicious new idea.
Cherry Cheese Danish Recipe Card
This easy Cherry Cheese Danish recipe is fancy enough for holidays and special occasions yet simple enough to make on a Tuesday morning. A delicious breakfast that looks so impressive!
Recipe Overview
- Course: Breakfast
- Cuisine: American
- Keyword: cheese danish, cherry danish, danish recipe, puff pastry
- Prep Time: 15 minutes
- Cook Time: 12 minutes
- Servings: 8 danishes
- Calories: Approximately 276 kcal per serving
- Author: Trish – Mom On Timeout
Ingredients
- 17.3 ounces frozen puff pastry (1 box, containing 2 sheets)
- 6 ounces cream cheese, softened
- ⅓ cup granulated sugar
- 1 ½ teaspoon vanilla extract (or 3 tablespoons of bourbon for an alternative flavor)
- 21 ounces cherry pie filling
- Powdered sugar for dusting on top
Instructions
- Preheat your oven to 400°F (200°C). Line a baking sheet with parchment paper or a silicone baking mat.
- Unroll one sheet of thawed puff pastry and cut it into four even squares. A pizza cutter works great for this!
- To create the danish shape, leave a ½ centimeter border around the edges. From each corner, make an L-shaped cut towards the center, stopping about ½ centimeter from the middle and without meeting the other cuts. (Refer to post photos for visual guidance).
- Repeat this cutting technique on all four pastry squares.
- In a bowl, mix the softened cream cheese, sugar, and vanilla extract (or Bourbon) until smooth. Place one scant teaspoon of this filling onto each of the four corners of your cut pastry squares.
- Add one cherry and a small amount of pie filling on top of each cream cheese portion at the corners.
- Lightly dip your finger in water and dampen the pastry edges of each corner to help them stick together.
- Carefully fold each cut corner piece towards the middle of the danish, pressing gently to secure them. Place an additional cherry in the very center.
- Repeat this process with the second roll of puff pastry, making another four danishes.
- Bake the danishes for approximately 12 minutes, or until golden brown and puffed.
- Remove from oven, allow to cool slightly, and sprinkle generously with powdered sugar before serving. Enjoy!
Notes & Tools
Achieve a flawless finish by using a Dusting Wand or a Strainer/Sifter for powdered sugar. Essential tools for this recipe include Sheet Pans, a Silicone Baking Mat, and a Pizza Cutter for easy pastry cutting.
Nutrition Information (per serving)
- Calories: 276 kcal
- Carbohydrates: 23g
- Protein: 3g
- Fat: 19g
- Saturated Fat: 7g
- Cholesterol: 23mg
- Sodium: 145mg
- Potassium: 48mg
- Fiber: 1g
- Sugar: 9g
- Vitamin A: 286IU
- Calcium: 24mg
- Iron: 1mg