
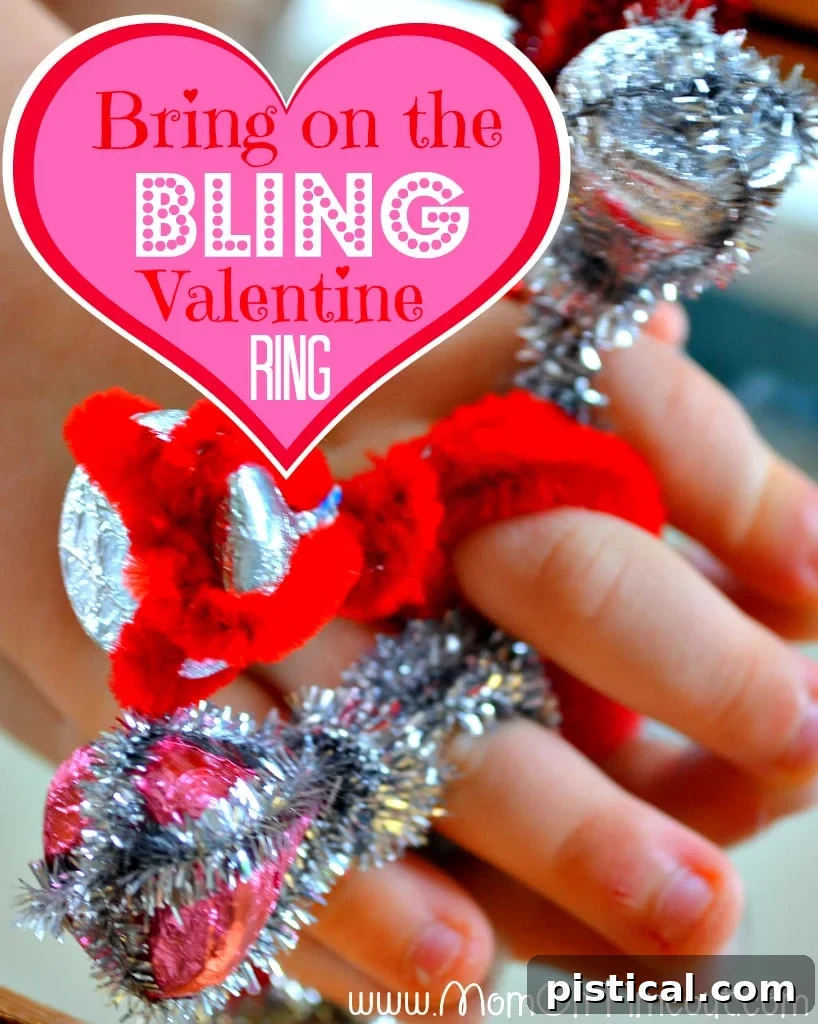
Craft Sparkling Memories: DIY Hershey’s Kisses Valentine’s Day Rings
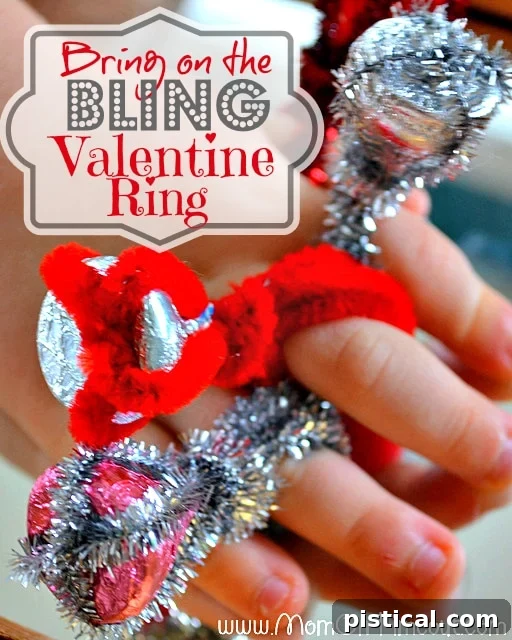
Valentine’s Day is a time for sharing love, and what better way to do that than with a heartfelt, handmade gift that’s both sweet and charming? Forget expensive jewelry; this year, let’s create something truly unique and memorable: dazzling “gemstone” rings crafted from colorful Hershey’s Kisses and simple pipe cleaners. This incredibly easy and super fun craft project is perfect for kids of all ages, offering a delightful activity that results in wearable candy bling. It’s an ideal choice for classroom parties, a cozy afternoon craft session at home, or simply to add a touch of sparkle to someone’s day.
The inspiration for these adorable rings often comes from places like Disney Family Fun magazine, known for its creative and kid-friendly ideas. The moment you see these little treasures, you’ll know your children will absolutely adore making them and wearing them. The beauty of this craft lies in its simplicity; you can pull everything together in a matter of seconds, using just two readily available craft supplies. Plus, it’s a wonderful opportunity to discuss colors, shapes, and even a little bit about “precious stones” with your little ones. Imagine the excitement as they proudly display their “ruby,” “pink sapphire,” and “diamond” rings!
The magic truly happens when you introduce the concept of “bling.” We love to use metallic pipe cleaners to enhance this effect, because let’s be honest, a little extra sparkle never hurt anyone! The vibrant red Hershey’s Kisses instantly transform into dazzling rubies, the delicate pink ones become beautiful pink sapphires, and the classic silver Kisses are undeniably magnificent diamonds. Watching children engage with this craft, you’ll hear exclamations of joy and wonder. My own son, Reece, once declared he felt like “royalty” while wearing his creation. It’s moments like these, where a simple craft sparks such imaginative play and feelings of majesty, that make these DIY candy rings so incredibly special and worth every moment of crafting.
Materials You’ll Need for Your Bling Rings
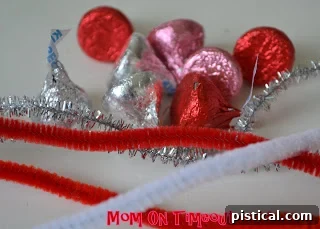
Gathering your supplies for this fun Valentine’s Day project couldn’t be simpler. You only need two main items, making it an incredibly budget-friendly craft suitable for large groups, like school classes or scout troops. Make sure to have a few extra Kisses on hand – for snacking, of course!
- Hershey’s Kisses: Choose a variety of colors and flavors to represent different “gemstones.” Red foil Kisses can be rubies, pink foil Kisses (like Valentine’s editions or special flavors) can be pink sapphires, and the classic silver foil Kisses make perfect diamonds. Dark chocolate or milk chocolate variations can add another layer of visual interest and taste!
- Pipe Cleaners: Standard pipe cleaners work wonderfully, but for an extra touch of glamour, opt for metallic or glitter pipe cleaners. Gold, silver, red, and pink are excellent choices for a Valentine’s Day theme. You’ll need two pipe cleaners per ring to ensure stability and a comfortable fit.
- Scissors: For trimming excess pipe cleaner, ensuring no sharp ends are left exposed.
That’s it! With these basic supplies, you’re ready to embark on a delightful crafting adventure that promises sparkle, sweetness, and smiles.
Step-by-Step Guide to Crafting Your Candy Rings
Creating these Hershey’s Kiss rings is an incredibly straightforward process, perfect for little hands with a bit of guidance. Follow these simple steps to make your own edible jewelry!
Step 1: Forming the “X” Base
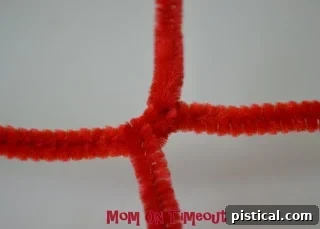
Begin by taking two pipe cleaners. Lay one pipe cleaner horizontally and the other vertically over it, creating a perfect cross or an “X” shape in the center. This forms the foundation for your ring. The intersection point will be directly under your Hershey’s Kiss, so aim for the middle of each pipe cleaner for the best balance and symmetrical ring shape. Gently twist the pipe cleaners around each other once or twice right at the center where they intersect. This initial twist will secure them together and create a stable base for the “gemstone.” Ensure it’s snug but not overly tight at this stage.
Step 2: Placing Your Hershey’s Kiss “Gem”
Carefully place your chosen Hershey’s Kiss directly onto the center of the “X” you just formed with the pipe cleaners. The flat bottom of the Kiss should sit perfectly on the twisted intersection. This is the moment your candy transforms into a sparkling gem! A helpful tip here for maximizing the “bling effect”: remove the small paper plume from the top of the Hershey’s Kiss *before* placing it. While not essential, we found that without the paper, the shiny foil of the Kiss truly stands out, enhancing its resemblance to a polished gemstone. It’s a small detail that makes a big difference in the final aesthetic.
Step 3: Securing the Kiss
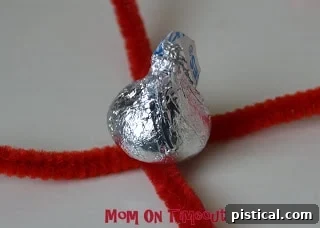
Now, gently bring all four ends of the pipe cleaners upwards, guiding them to meet at the very tip of the Hershey’s Kiss. Imagine you’re cradling the Kiss with the pipe cleaners. Once all four ends are gathered at the top, just above the point of the Kiss, twist them together very tightly. This twisting motion will firmly secure the Hershey’s Kiss in place, ensuring it won’t slip out. The tighter you twist, the more secure your “gem” will be. This forms the bezel setting for your candy jewel. If you decide to keep the paper plume, make sure it’s nestled neatly between the twisted pipe cleaners or gently guided out of the way.
Step 4: Separating the “Prongs”
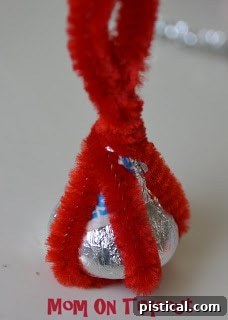
After securing the Kiss, you’ll have a bundle of twisted pipe cleaners extending from its tip. Carefully separate these into two distinct sections, with two pipe cleaner ends on each side. Gently pull these separated pairs away from the Hershey’s Kiss, allowing them to extend outwards. These four ends will form the band of your ring, providing the necessary material to wrap comfortably around a finger. Ensure the base of the Kiss remains snug and centered as you separate the pipe cleaner strands.
Step 5: Forming the Ring Band
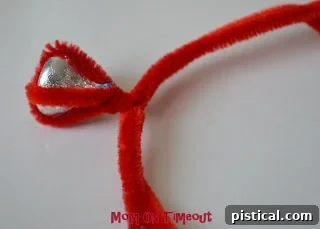
Take the separated pipe cleaner ends and begin to bend them downwards and around to form the circular band of the ring. The easiest and most effective way to do this is by wrapping the pipe cleaners around your own finger, or the finger of the person who will wear the ring, to get the correct size. This ensures a comfortable and snug fit. Once you have a good circular shape, gently slide it off your finger, keeping the shape intact. The flexibility of pipe cleaners makes this step incredibly simple, allowing for easy size adjustments.
Step 6: Finishing the Ring
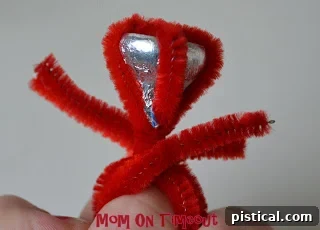
Once the ring band is formed, you’ll have the remaining ends of the pipe cleaners. Twist these ends securely around the top of the ring band, near where the Hershey’s Kiss is attached, or tuck them neatly into the existing twists. This step is crucial for securing the ring’s shape and preventing it from unraveling. After twisting, use a pair of scissors to carefully trim any excess pipe cleaner, especially if the ends are too long or sharp. It’s vital to ensure there are no sharp points sticking out that could scratch or poke little fingers. Smooth down any rough edges by gently pressing the trimmed ends against the main pipe cleaner structure. Safety first, especially when crafting for children!
Step 7: The Finished “Bling”
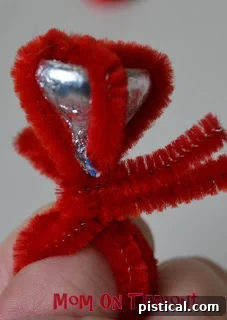
Voila! Your adorable Hershey’s Kiss Valentine’s Day ring is complete. The final product should be a sturdy, sweet, and sparkly piece of wearable candy art. Family Fun magazine suggested an optional step of cutting out small tags and attaching them to the rings with messages like “You’re a Gem!” or “Will you be my Valentine?”. While a lovely idea for gifting, we often find that kids are so eager to wear their new “bling” that tags become an afterthought. The immediate joy of slipping on their creation and showing it off is usually paramount. These rings are not just crafts; they’re immediate sources of happiness and imaginative play!
Why Kids (and Adults!) Adore These Candy Rings
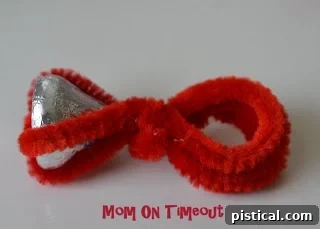
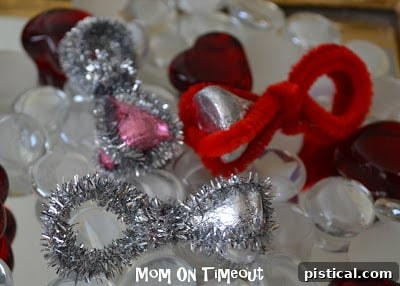
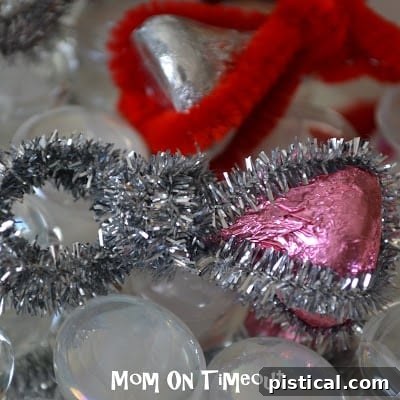
There’s an undeniable magic in creating something with your own hands, especially when that creation involves chocolate and sparkle. These Hershey’s Kisses rings tap into a child’s natural love for both candy and imaginative play. For many kids, the idea of wearing “jewelry” – especially one that doubles as a treat – is incredibly exciting. The simple act of choosing their “gemstone” color, twisting the pipe cleaners, and then proudly wearing their creation fosters a sense of accomplishment and creative confidence.
The immediate reward of a wearable, edible craft is a powerful motivator. My children, Reece and Bryce, were instantly captivated by the idea of feeling “majestic” and “royal” with their new rings. They didn’t just wear them; they transformed into kings, queens, and noble knights, their candy rings becoming prized symbols of their imaginary kingdoms. This craft isn’t just about making an object; it’s about igniting imagination, encouraging role-playing, and creating happy memories. It’s a wonderful way to introduce basic crafting skills while reinforcing concepts like color recognition and fine motor development.
These rings also make fantastic, inexpensive, and personal gifts for friends, classmates, and teachers on Valentine’s Day. They carry a unique charm that store-bought items simply can’t replicate. The thought and effort put into a handmade gift, even one as simple as this, speak volumes. Plus, who can resist a sweet treat disguised as a sparkling piece of jewelry? It’s the perfect blend of sentimentality and indulgence.
Behind the Scenes: Our Little Hand Models at Work!
Here’s a glimpse of the action, featuring our very enthusiastic (and well-compensated!) hand models. These little helpers certainly know how to bring a craft to life!
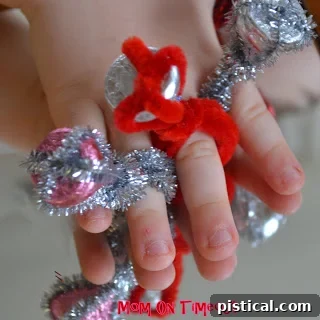
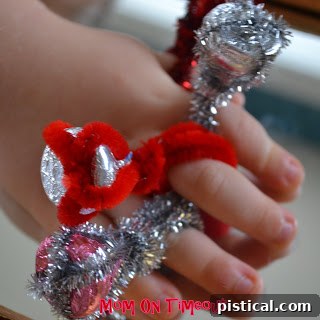
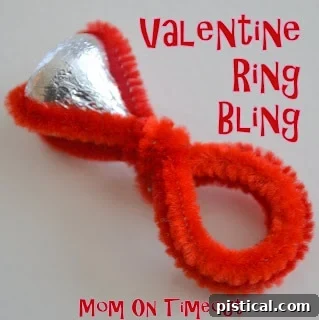
As you can see, the engagement and excitement are palpable. These “action shots” truly capture the essence of what makes this craft so special: the joy of creation, the thrill of wearing something unique, and the sheer fun of a sweet reward. It’s a reminder that sometimes the simplest ideas yield the greatest happiness, making for truly memorable Valentine’s Day activities.
More Valentine’s Day Fun: Crafts & Recipes to Love!
If you’re looking for more ways to celebrate love and creativity this Valentine’s Day, explore these delightful crafts and delicious recipes. They’re perfect for continuing the festive spirit with family and friends!
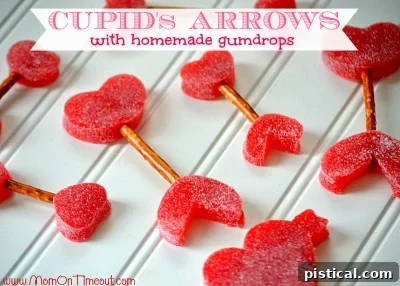
Cupid’s Arrows with Homemade Gumdrops: Unleash your inner Cupid with these adorable and edible arrows. Crafted with vibrant homemade gumdrops, these treats are not only fun to make but also delicious to share. They make a perfect classroom treat or a charming addition to any Valentine’s Day goodie bag, adding a touch of whimsy to your celebrations.
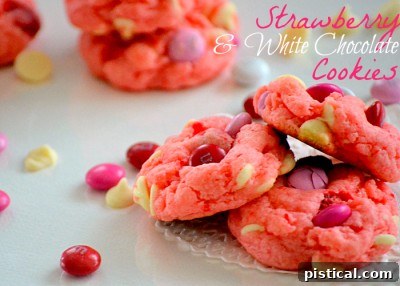
Strawberry Cake Mix Cookies Recipe: Short on time but big on flavor? These Strawberry Cake Mix Cookies are your answer! With their beautiful pink hue and delightful strawberry taste, they are the epitome of Valentine’s Day baking simplicity. They’re soft, chewy, and incredibly easy to whip up, making them a fantastic last-minute treat for parties or a sweet surprise for loved ones.
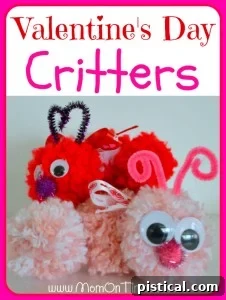
Valentine’s Day Critters: Dive into a world of imagination with these charming Valentine’s Day Critters! Using a few basic craft supplies, you can help your children create a menagerie of lovable creatures, each with a touch of Valentine’s spirit. These personalized creations are fantastic for decorating, gifting, or just enjoying some creative playtime.
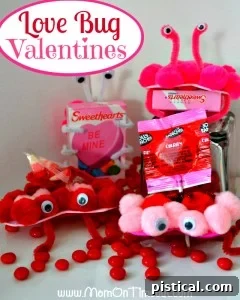
Love Bug Valentines: Spread some love with these irresistibly cute Love Bug Valentines! This craft combines simple materials with a dash of creativity to produce charming little creatures that are perfect for exchanging with friends and family. They’re a wonderful alternative to traditional cards, adding a handmade touch that everyone will appreciate.

Connect with us for more creative ideas and delicious recipes!
We love sharing and connecting! Find more inspiration and link up with us at Mom On Timeout’s Link Parties, Home Stories A2Z, Savvy Southern Style, and My Repurposed Life. Happy crafting!