
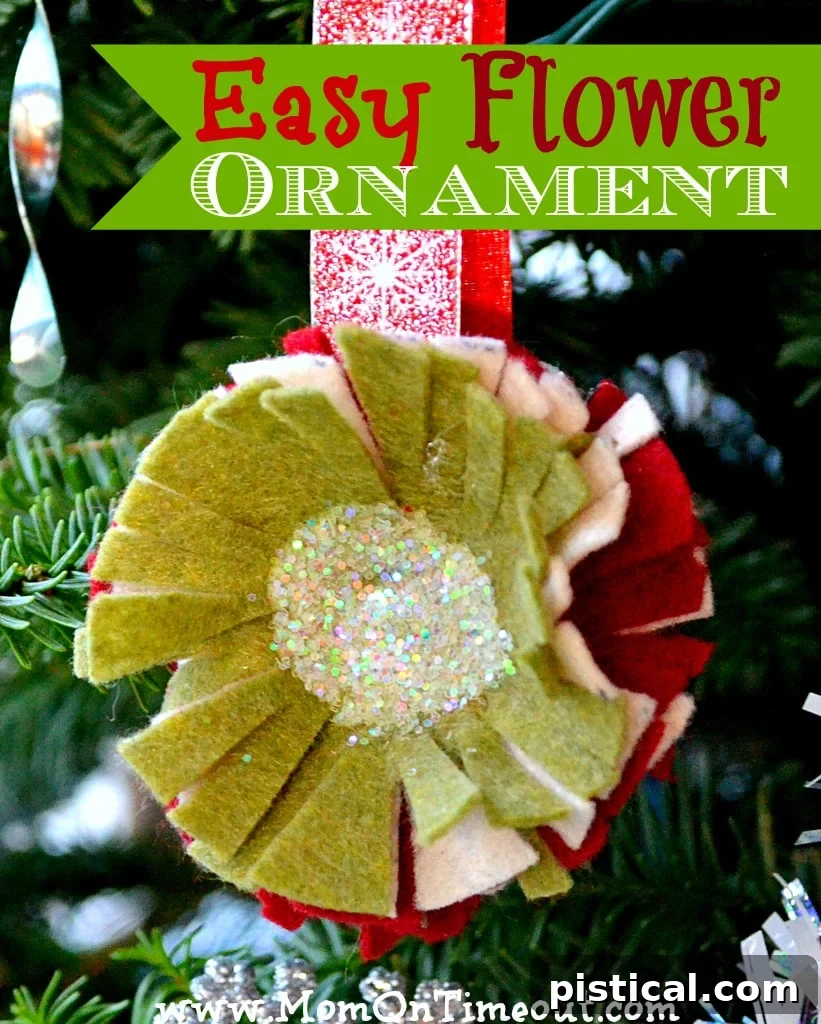
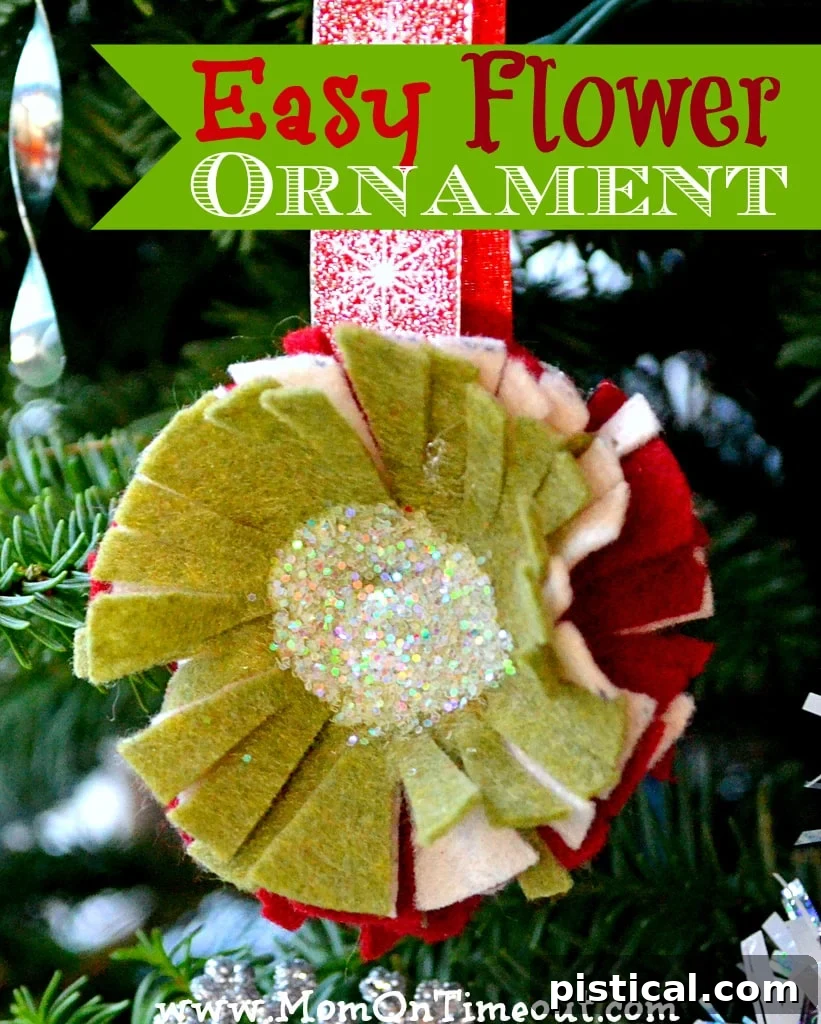
Crafting Joy: An Easy Felt Flower Ornament Tutorial
Embrace the festive spirit and add a touch of handmade charm to your holiday decor with these incredibly simple yet stunning felt flower ornaments. Whether you’re looking for a quick craft project, a thoughtful gift topper, or a durable decoration that kids can safely handle, this DIY felt ornament tutorial is perfect. This afternoon, surrounded by a mountain of colorful felt, inspiration struck, leading to this adorable creation that took mere minutes to whip up. Not only are these ornaments wonderfully cute, but their lightweight and unbreakable nature makes them an ideal addition to any Christmas tree. Get ready to transform simple felt into beautiful floral accents that radiate warmth and holiday cheer!
Why You’ll Love This Easy Felt Flower Ornament Craft
Crafting your own Christmas ornaments brings a special kind of magic to the holiday season. This felt flower ornament stands out for several compelling reasons:
- Effortlessly Easy: No complex techniques or extensive crafting experience required. This project is beginner-friendly and perfect for a relaxed afternoon.
- Lightning Fast: You can create a beautiful ornament in under 10 minutes, making it ideal for last-minute decorations or mass production for gifts.
- Kid-Friendly: With some adult supervision for the hot glue, this is a fantastic project to do with children. Felt is forgiving, and the steps are simple enough for little hands.
- Durable and Unbreakable: Say goodbye to shattered ornaments! Felt is soft, lightweight, and won’t break if dropped, making it safe for homes with pets or small children.
- Versatile Uses: Beyond tree ornaments, these felt flowers make charming gift toppers, additions to garlands, or even festive brooches.
- Affordable: Felt is an inexpensive craft material, allowing you to create many ornaments without breaking the bank.
- Customizable: The design possibilities are endless! Experiment with different colors, glitter, and embellishments to match any decor style.
Gather Your Crafting Supplies for DIY Felt Flowers
Before diving into the creative process, ensure you have all your materials neatly organized. Having everything at hand will make this quick craft even quicker and more enjoyable.
- Felt Sheets: You’ll need at least three different colors of felt. Craft felt is readily available and works perfectly. Consider holiday-themed colors like reds, greens, whites, silvers, or golds, or branch out with pastels for a whimsical look. The beauty of felt is its affordability, so don’t hesitate to experiment with various hues.
- Scissors: A good pair of sharp fabric scissors will make cutting the felt circles and fringes much easier and cleaner.
- Circle Template or Compass: To ensure your felt circles are uniform, use a cookie cutter, a drinking glass, or a compass to trace a consistent size. A 2-3 inch diameter is ideal for a standard ornament.
- Pencil or Fabric Marker: For tracing your circles onto the felt.
- Hot Glue Gun and Glue Sticks: Hot glue provides an instant and strong bond, which is perfect for this fast-paced project. If crafting with children, a strong craft glue that dries clear can be used, though it will require longer drying times.
- Glitter: Fine craft glitter in a color that complements your felt (e.g., silver, gold, iridescent, or a matching color) will add a beautiful sparkle to the center of your flower.
- Ribbon: A thin ribbon (about 1/4 to 1/2 inch wide) is needed to create a hanging loop for your ornament. Choose a color that coordinates with your felt. You’ll need about 6-8 inches per ornament.
Step-by-Step Tutorial: Creating Your Felt Flower Ornaments
Step 1: Select Your Felt Colors
The foundation of a beautiful felt flower ornament lies in your color choices. For a vibrant and dynamic look, I recommend starting with three distinct colors of felt. These can be complementary colors, contrasting shades, or various tones of the same color for an ombre effect. You have complete creative freedom here! While three colors offer a lovely depth, feel free to use more or fewer depending on the aesthetic you’re aiming for. Consider classic Christmas reds and greens, icy blues and whites, or even whimsical pinks and purples.
Step 2: Trace and Cut Your Felt Circles
Once your colors are chosen, it’s time to create the individual “petals” of your flower. Using a circle template (like a cookie cutter, the rim of a glass, or a craft punch) and a pencil or fabric marker, trace circles onto your felt. The size of your circles will determine the overall size of your ornament. For a standard ornament, circles around 2 to 3 inches in diameter work well.
The number of circles you cut is crucial for the fullness of your felt flower. For a moderately full ornament like the one pictured, 6-8 circles are typically sufficient. I personally used 7 circles for mine, and it achieved a beautiful, layered look. If you desire a denser, more robust flower, cut more circles. For a flatter, more delicate flower, use fewer. Cut out each circle neatly with sharp scissors.
Step 3: Glue the Circles Together
Now, let’s assemble the layers of your felt flower. Take one felt circle as your base. Apply a small dot of hot glue (about the size of a pea) directly in the center of this circle. Carefully place another felt circle on top, aligning its center with the glue dot. Press gently to secure.
Continue this process, layering each subsequent felt circle on top of the previous one, always applying glue only to the very center. By gluing only the center, you allow the outer edges of the felt circles to remain free, which will create the beautiful dimensionality of your flower once the fringes are cut. Vary the colors as you stack to achieve a pleasing visual effect. Ensure the circles are somewhat staggered as you stack them, so the edges peek out from underneath, adding to the layered look.
Step 4: Cut the Fringes
This step truly brings your felt flower to life! With your stack of glued circles, take your scissors and begin cutting fringes around the perimeter of the entire stack. Start from the outer edge and cut towards the center, stopping just before you reach the glued area. The key is to cut through all the layers simultaneously.
The width of your fringes is entirely up to you – thinner cuts will create a delicate, feathery look, while wider cuts will result in a more robust, petal-like appearance. You can make them uniform or vary them for a more organic feel. Don’t be afraid to add more circles to your stack at this point if you feel your flower needs additional fullness. Simply glue them to the center and continue cutting fringes. Fluff out the fringes gently with your fingers to open up the flower.
Step 5: Add a Sparkle with Glitter
A touch of glitter adds that perfect festive shimmer. Apply a small amount of hot glue or craft glue right in the very center of your felt flower, where all the fringes meet. Immediately sprinkle glitter generously over the glue. For best results, place the flower over a piece of scrap paper or a tray to catch any excess glitter. Once the glue is dry, gently shake off the excess glitter. This will leave a sparkling, eye-catching center, mimicking the stamen of a real flower. Gold or silver glitter is classic, but a contrasting color can also make a bold statement!
Step 6: Attach the Hanging Ribbon
Almost done! Now, your beautiful felt flower needs a way to hang. Take a piece of ribbon, approximately 6-8 inches long. Form it into a loop.
Carefully spread apart the layers of felt at the back of your flower, near the center. Drop a small amount of hot glue into this space. Quickly press one end of your ribbon loop onto the glue, ensuring it’s securely adhered. Hold it in place for a minute until the glue sets. Repeat this for the other side of the ribbon loop, making sure the loop itself is positioned correctly and not twisted. You want the ribbon to create a sturdy hanger for your ornament.
Spread the layers apart and drop in some hot glue.
Press the ribbon onto the glue and let dry for a minute. Repeat for the other side of the ribbon.
Your Completed Felt Flower Ornament!
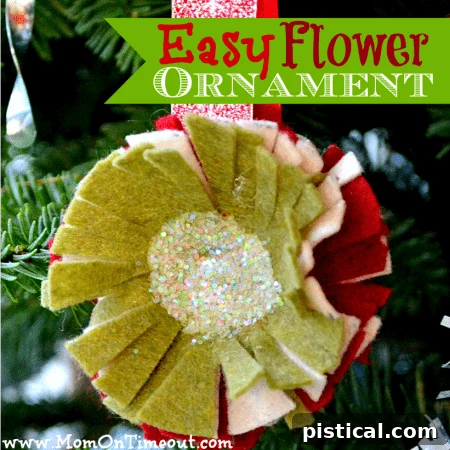
Behold the beautiful result of your quick and easy crafting! The layered felt, sparkling glitter, and soft fringes combine to create a truly charming ornament. Here’s a closer look at the side profile to appreciate its delightful dimension:
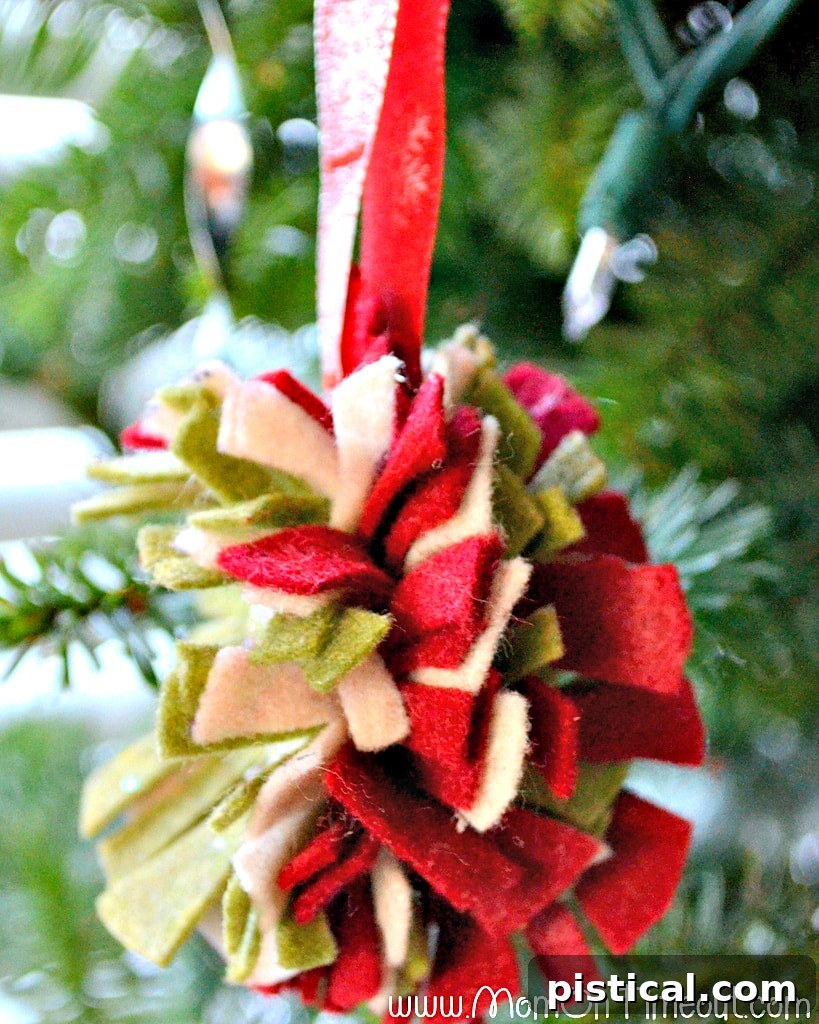
As mentioned, I utilized 7 circles for my design, which yielded this lovely, full appearance. However, the true beauty of this DIY project lies in its adaptability. You can effortlessly customize the number of felt circles to achieve your desired aesthetic – whether you prefer a more subtle, flatter bloom or a lavish, voluminous flower. Experimentation is key to discovering your perfect ornament!
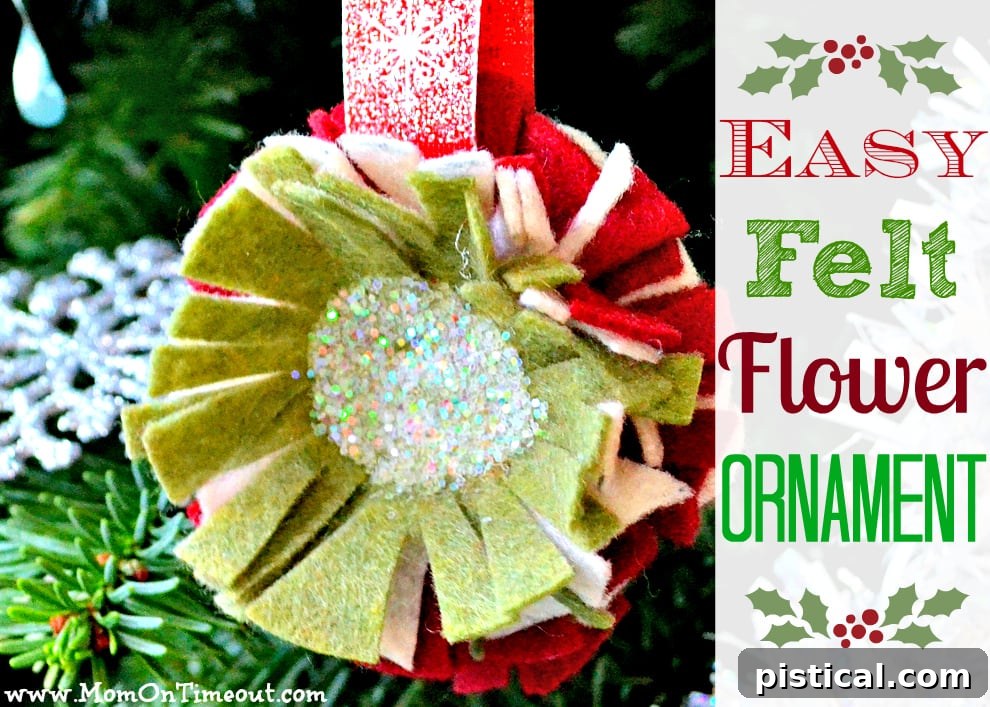
Tips, Variations, and Creative Uses
This easy felt flower ornament is just the beginning! Here are some ideas to further inspire your creativity:
- Kid-Friendly Crafting: For younger children, pre-cut the felt circles and fringes. They can then handle the layering and glittering (with supervision for glue). For school-age children, they can participate in every step, fostering fine motor skills and creativity.
- Beyond Glitter: While glitter adds a wonderful sparkle, consider other embellishments for the center. A decorative button, a small jingle bell, a cluster of beads, or even a tiny pom-pom can create a unique focal point.
- Different Shapes: Don’t limit yourself to circles! Try cutting heart shapes, star shapes, or even leaf shapes for different floral effects.
- Garland Creation: Make several felt flowers and string them together with twine or a longer ribbon to create a festive garland for your mantelpiece, doorway, or staircase.
- Gift Toppers: Ditch traditional bows and use these felt flowers to adorn your wrapped gifts. They add a personal, handmade touch that can be repurposed by the recipient.
- Personalized Touches: Use fabric paint pens to draw small patterns or initials on one of the felt layers before assembling.
- Scented Ornaments: Dab a few drops of essential oil (like pine or cinnamon) onto the back of the felt to create a naturally scented ornament that will subtly fill your home with holiday aromas.
- Brooches or Hair Clips: Instead of a ribbon loop, glue a safety pin back or a hair clip to the back of the felt flower for a wearable accessory.
Share Your Handmade Creations!
I hope you enjoyed this quick and rewarding craft project. These easy felt flower ornaments are a delightful way to add personalized charm to your holiday decorations, create heartfelt gifts, or simply enjoy a moment of creative tranquility. The simplicity and versatility of this project make it a favorite for crafters of all skill levels.
Now it’s your turn! Gather your supplies, choose your favorite felt colors, and get ready to craft some beautiful felt flowers. I’d love to see your unique interpretations and how you incorporate them into your holiday festivities. Don’t hesitate to share your finished ornaments and creative ideas! Happy crafting!
Connect with me!
Facebook | Twitter | Pinterest | Google+ | RSS
Linking up here, Home Stories A2Z, and My Repurposed Life.